This post is sponsored by Vist Bend. All the content and opinions expressed here are my own.
Before we get to my new favorite pizza, let’s talk about one of my favorite beer cities on the planet! Bend, Oregon is a city for beer lovers, dog lovers, nature lovers, so add it to your list, my friends. If you’re Pacific Northwest-based, it’s not more than a drive away, and if you aren’t then you obviously need a good reason to travel this way.
Bend is a place where everything seems both exciting and slow-paced. There is a lot you CAN do, and nothing you NEED to do. Right on the Deschutes River, in the shadow of the Cascade mountains with water perfect for brewing, mountains that need to be climbed, slopes that beg to be conquered. But If you’re like me and you’re just in it for the beer drinking and the dog petting, it’s also a perfect getaway.
My recommendations for breweries to add to your list for the aforementioned dog-petting-beer-drinking good time:
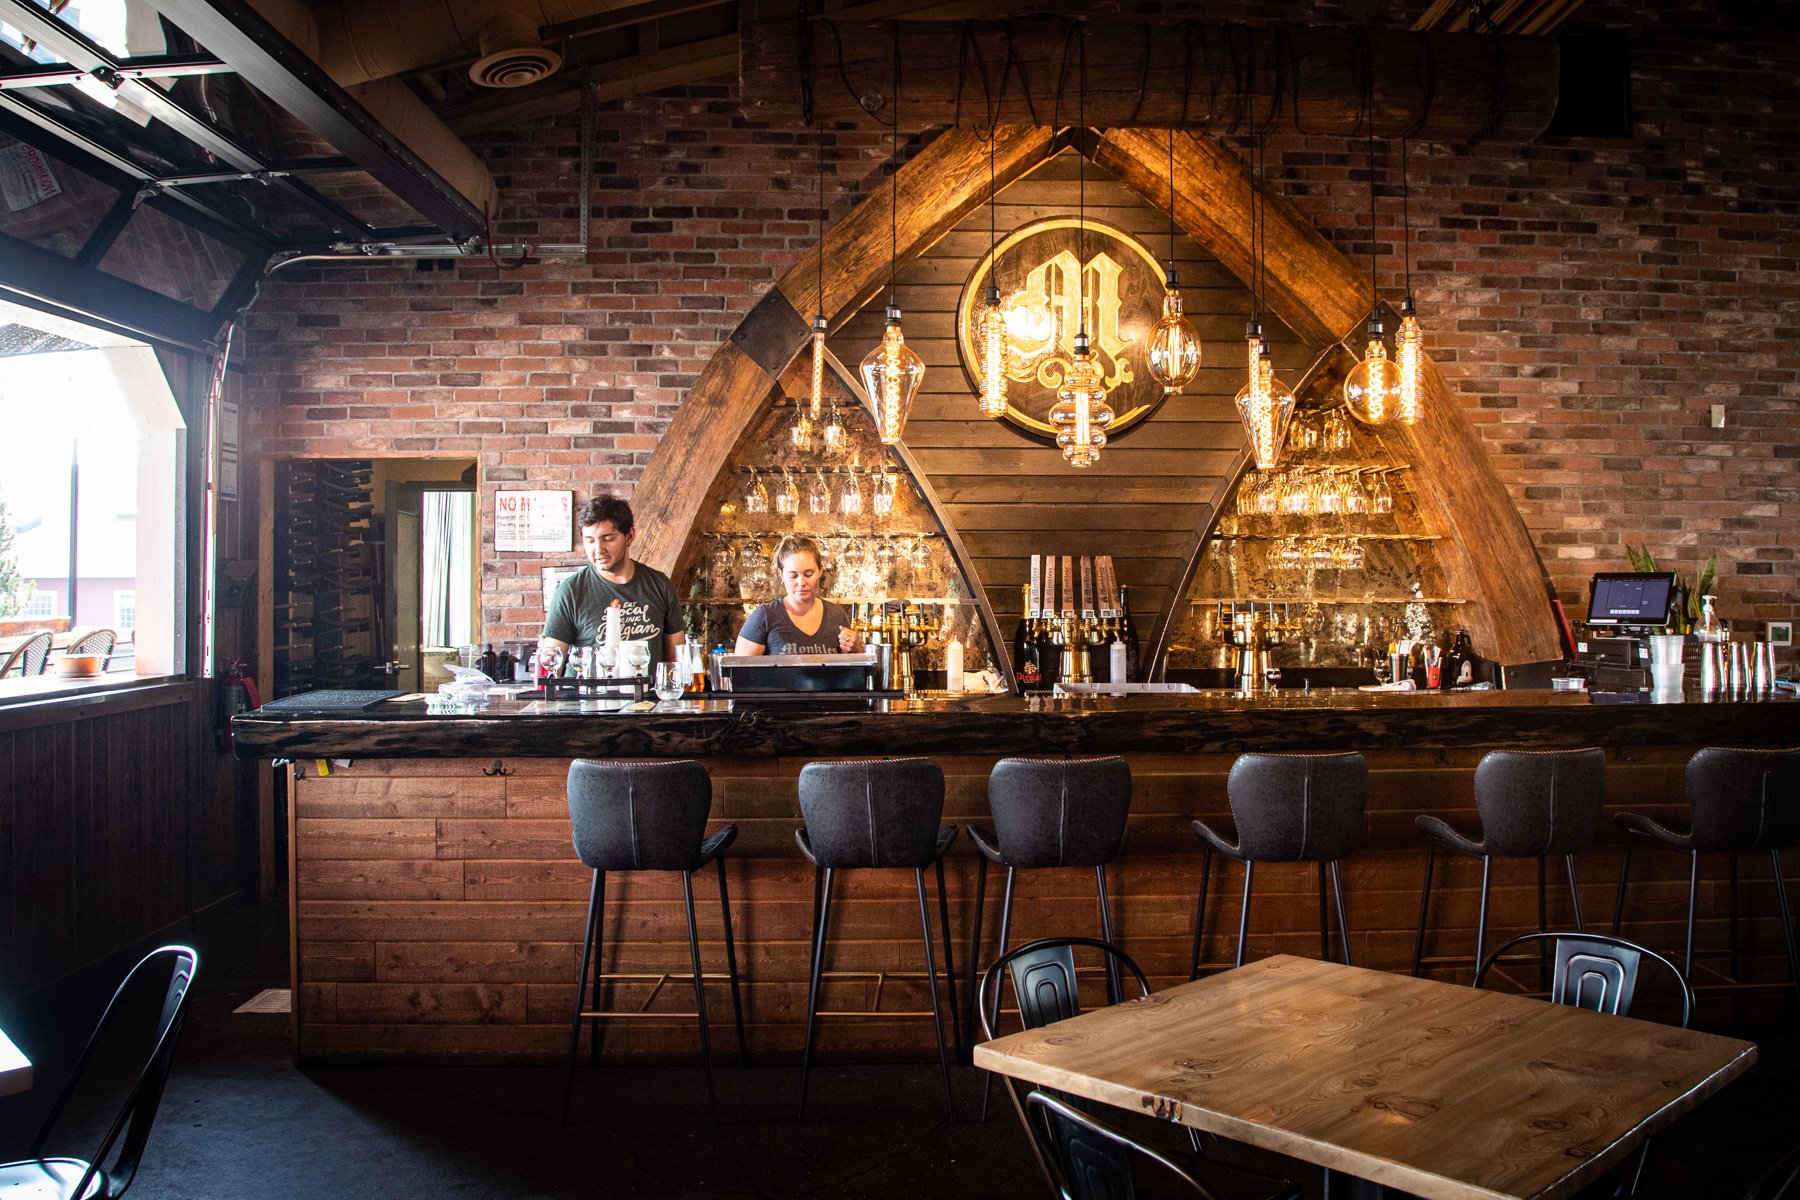
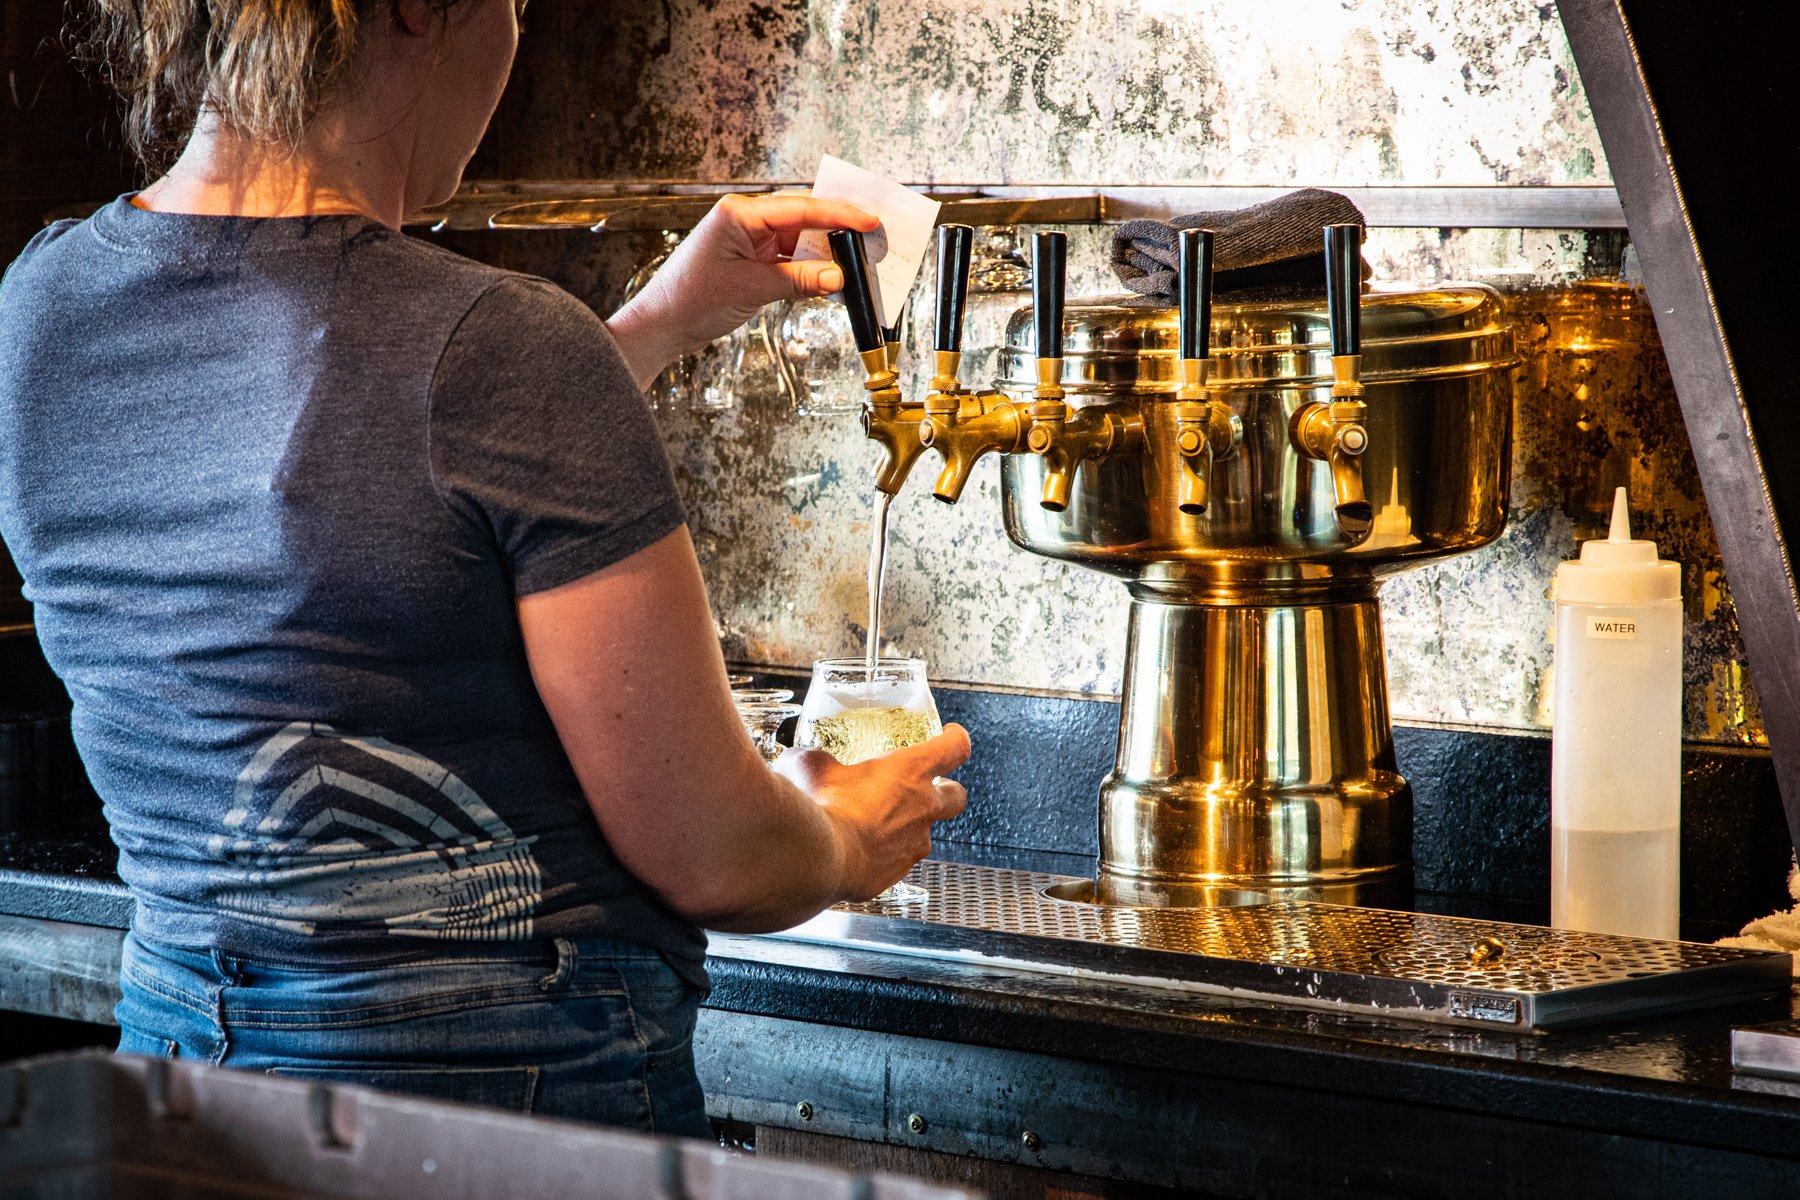
Monkless brewing. Not just for the Abby ale inspired Belgian beers (no monks required) but also for the space. GABF named it mid-sized brewpub of the year (that’s a big deal for those who don’t know), and it’s easy to see why with its river views, great food, and complex yet accessible beer.
It’s not a conversation about Bend beer without a mention of Crux. One of the most popular spots to grab a beer in the entire city (possibly the state) because of its flawless beer, large open outdoor space, live music, food trucks, and pettable dog visitors. It’s really a must-visit.
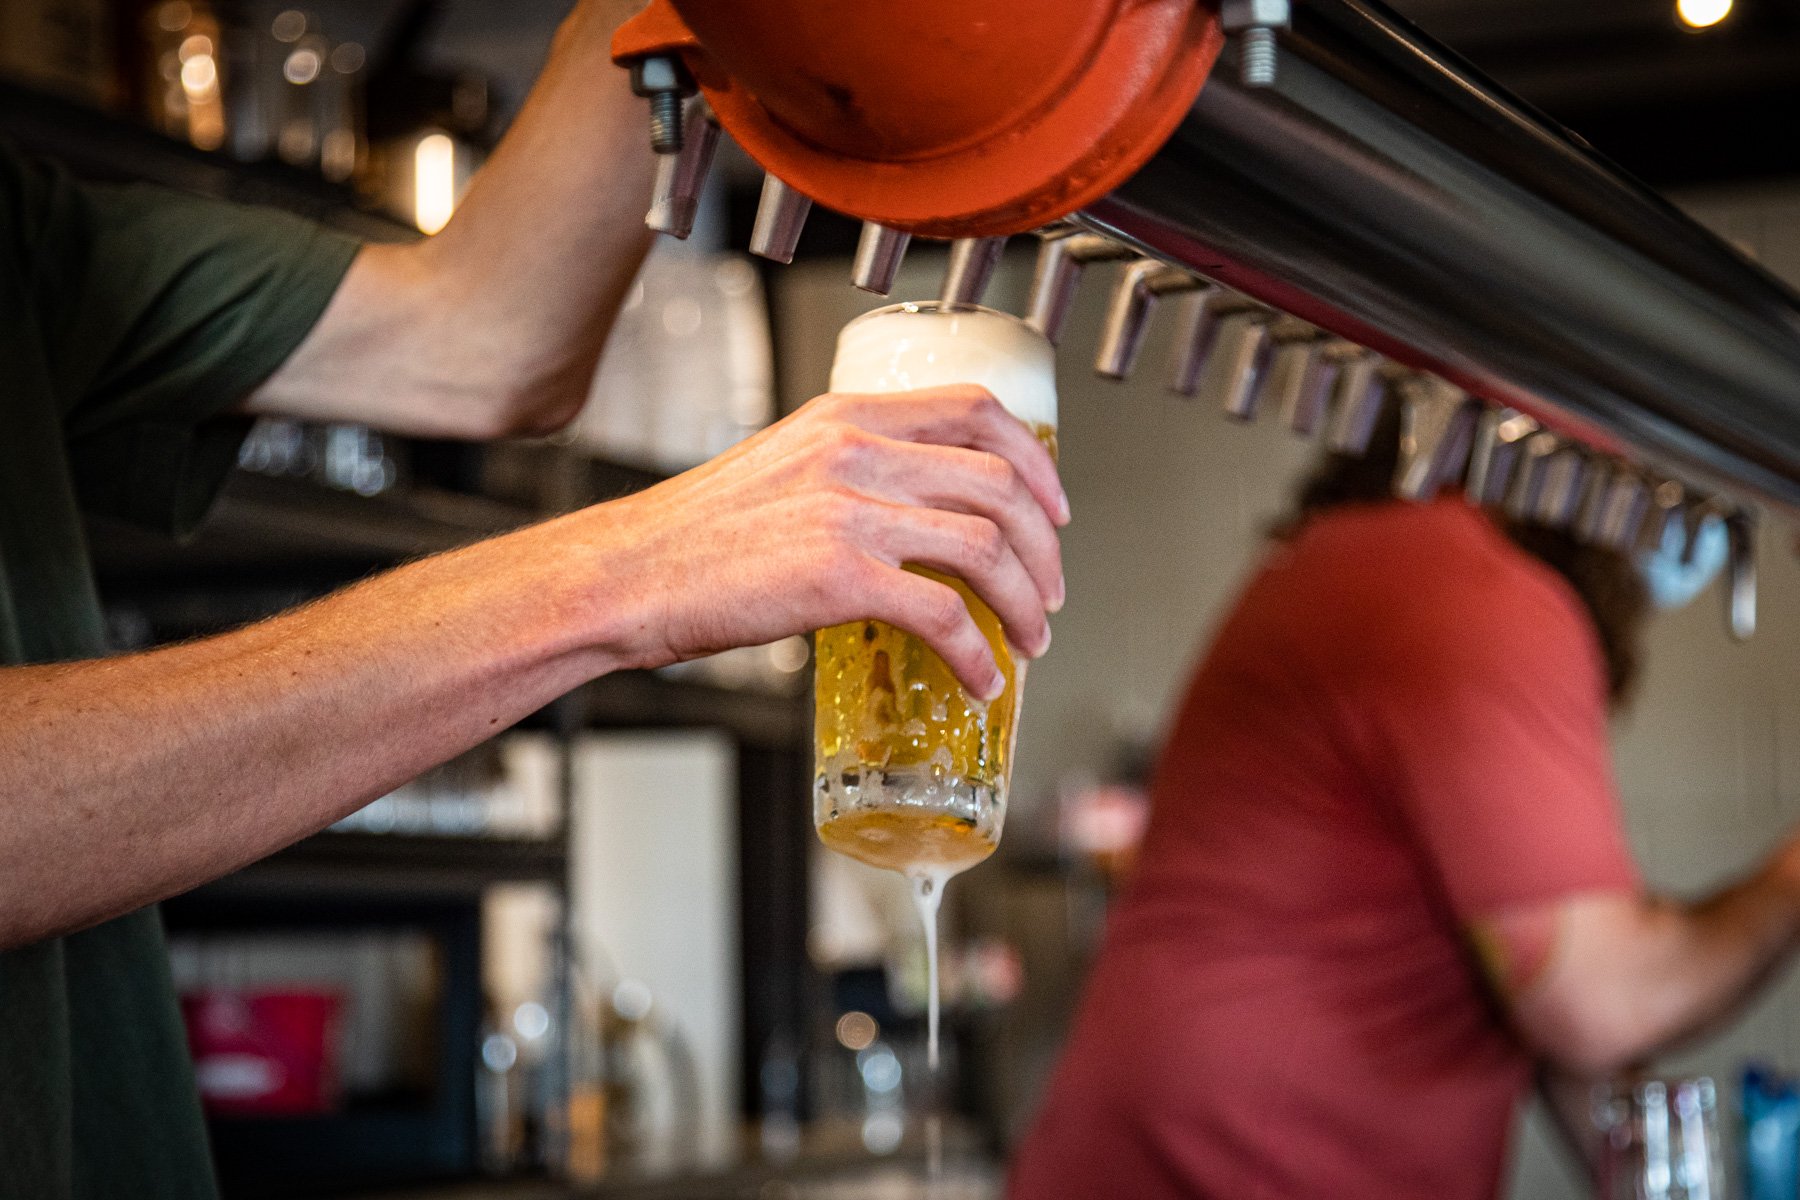
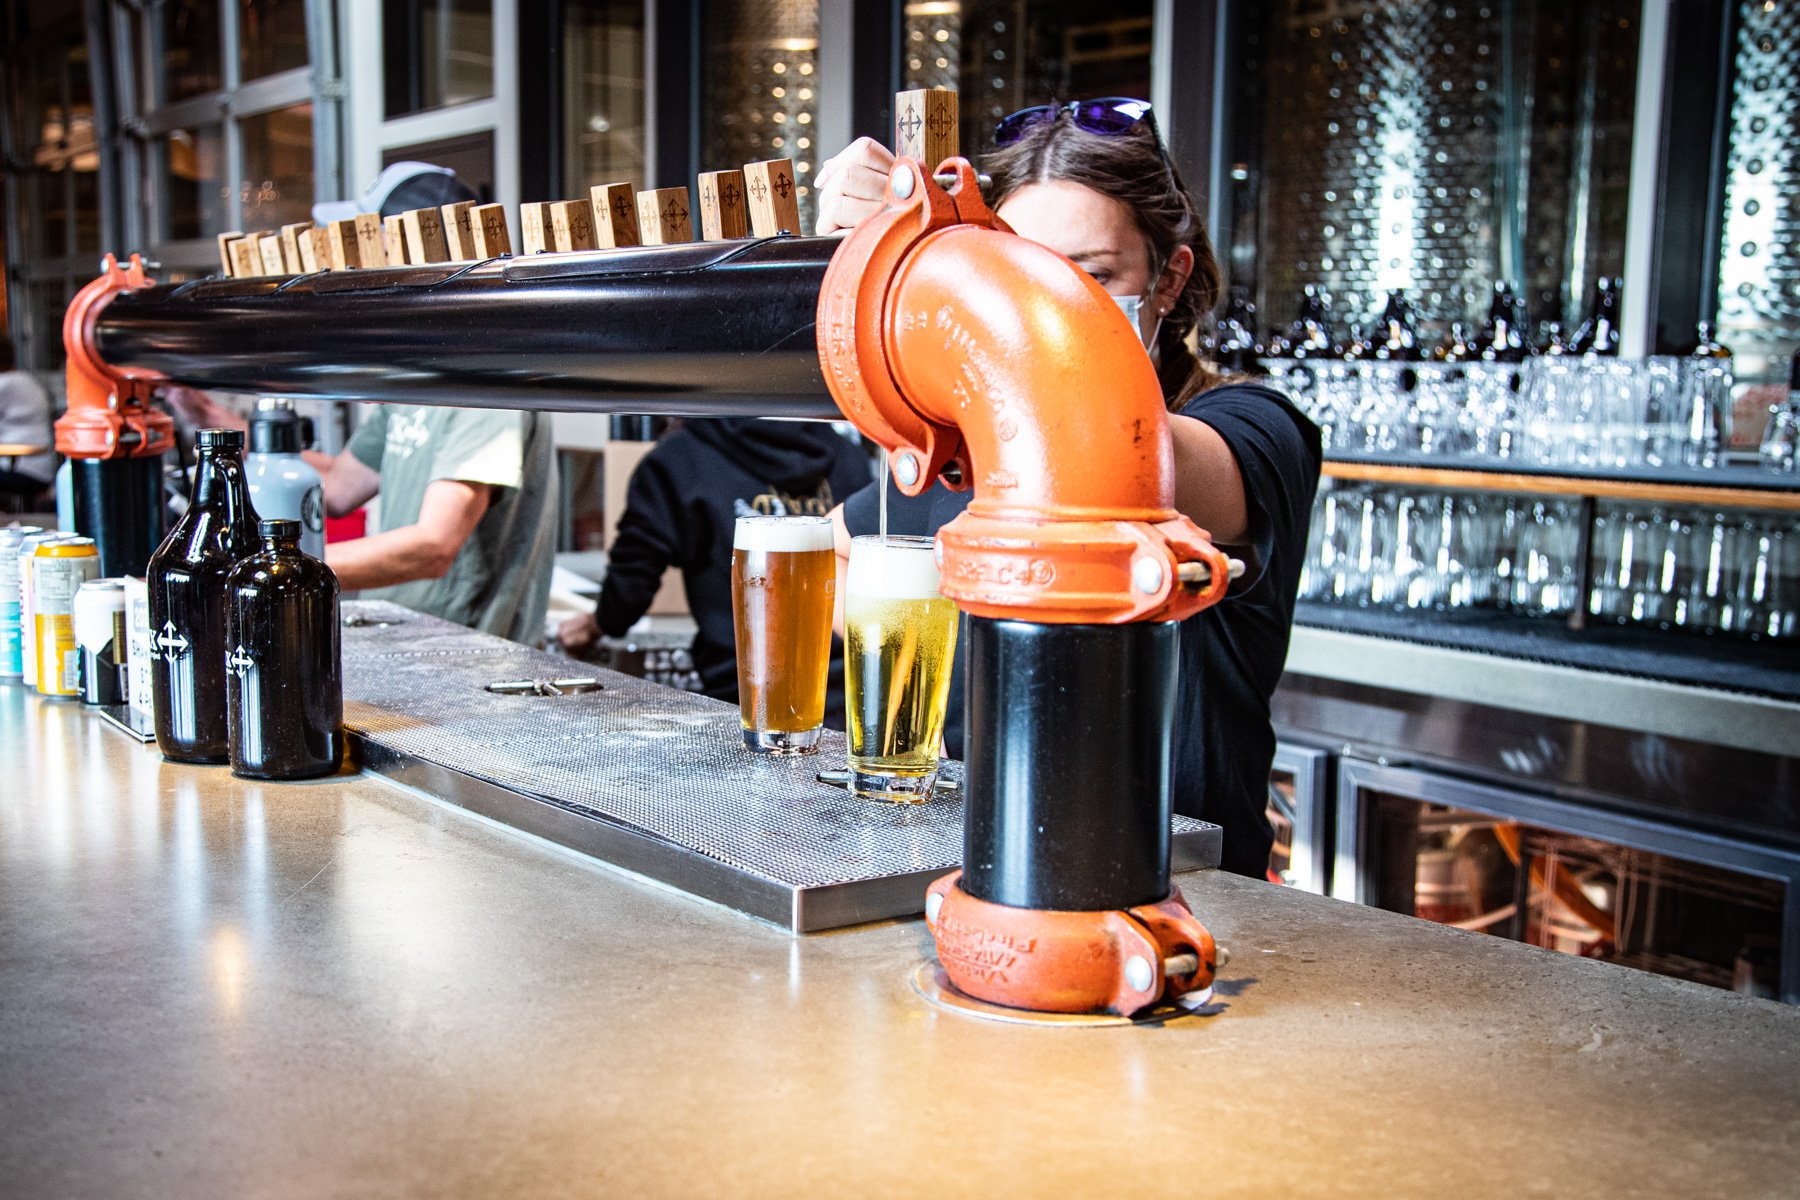
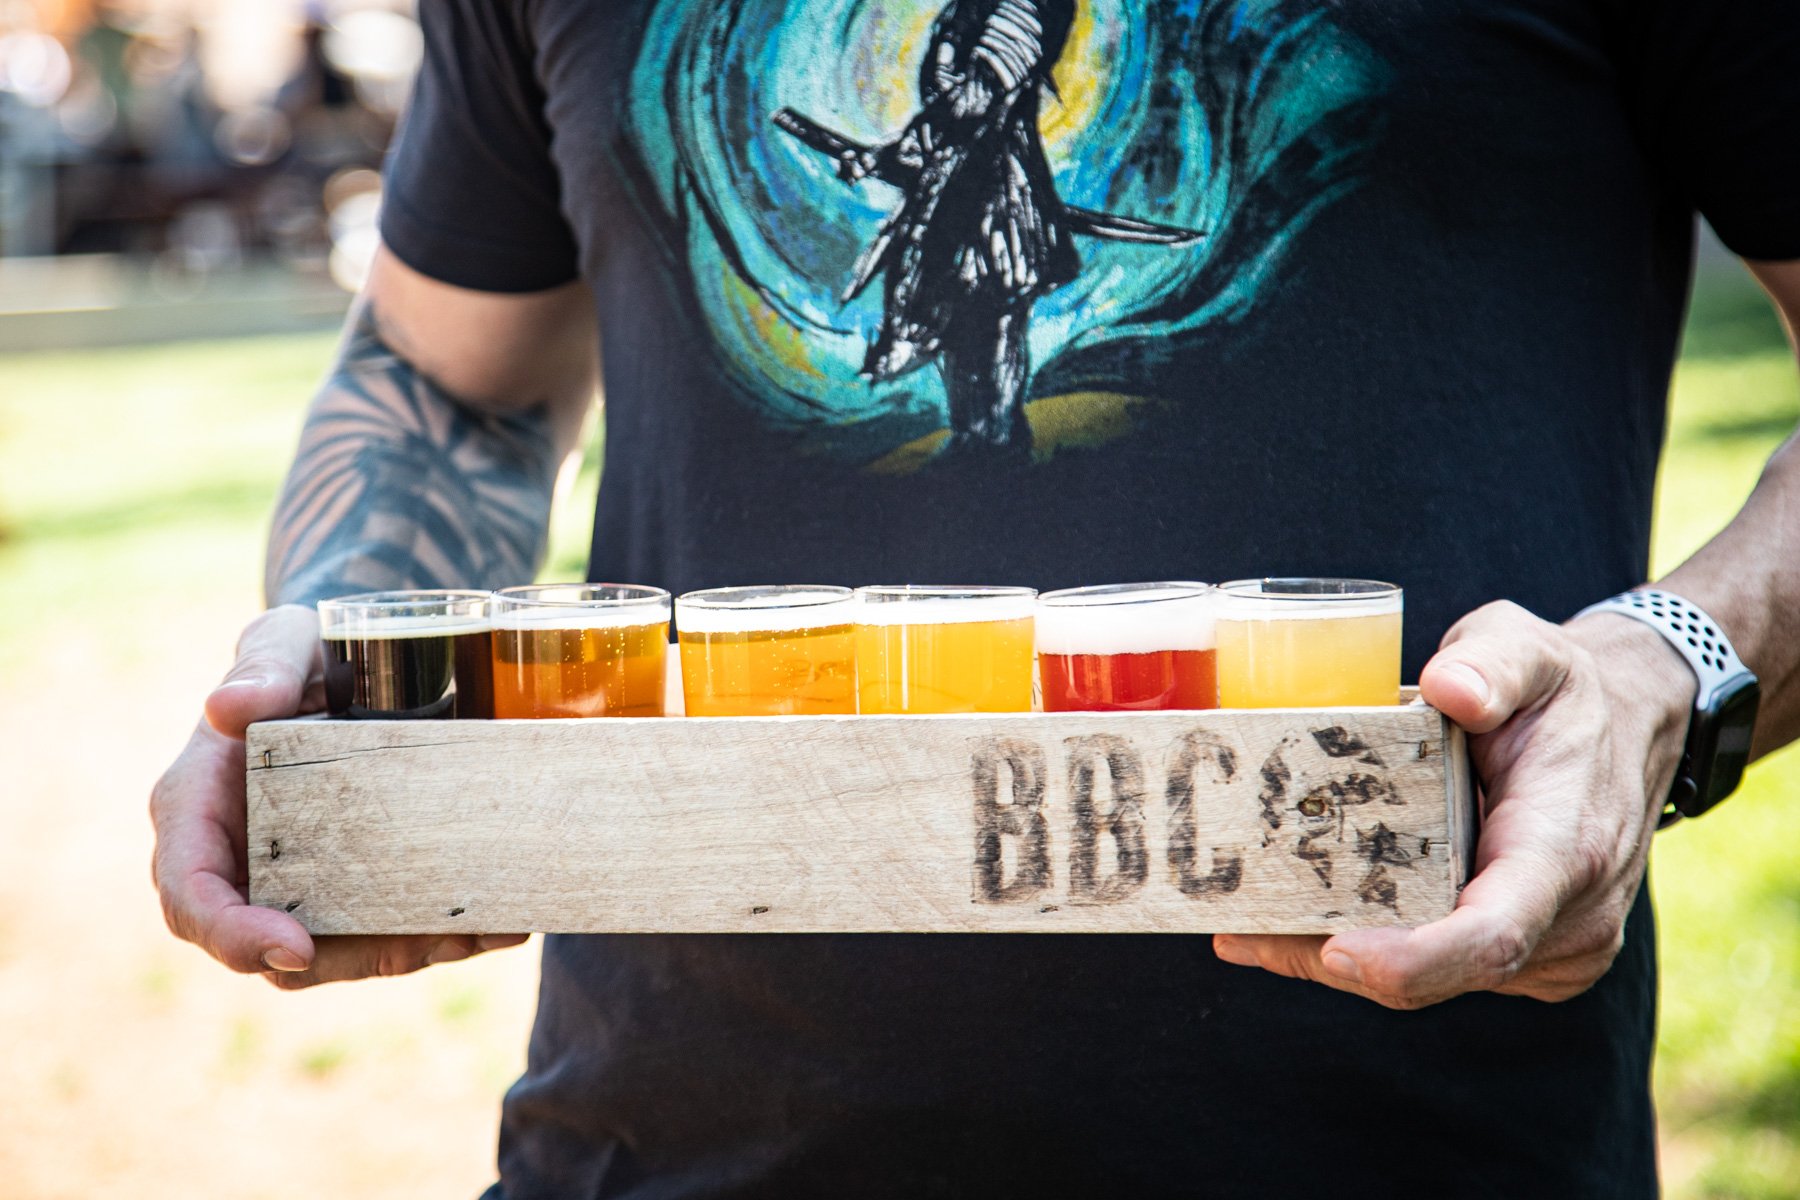
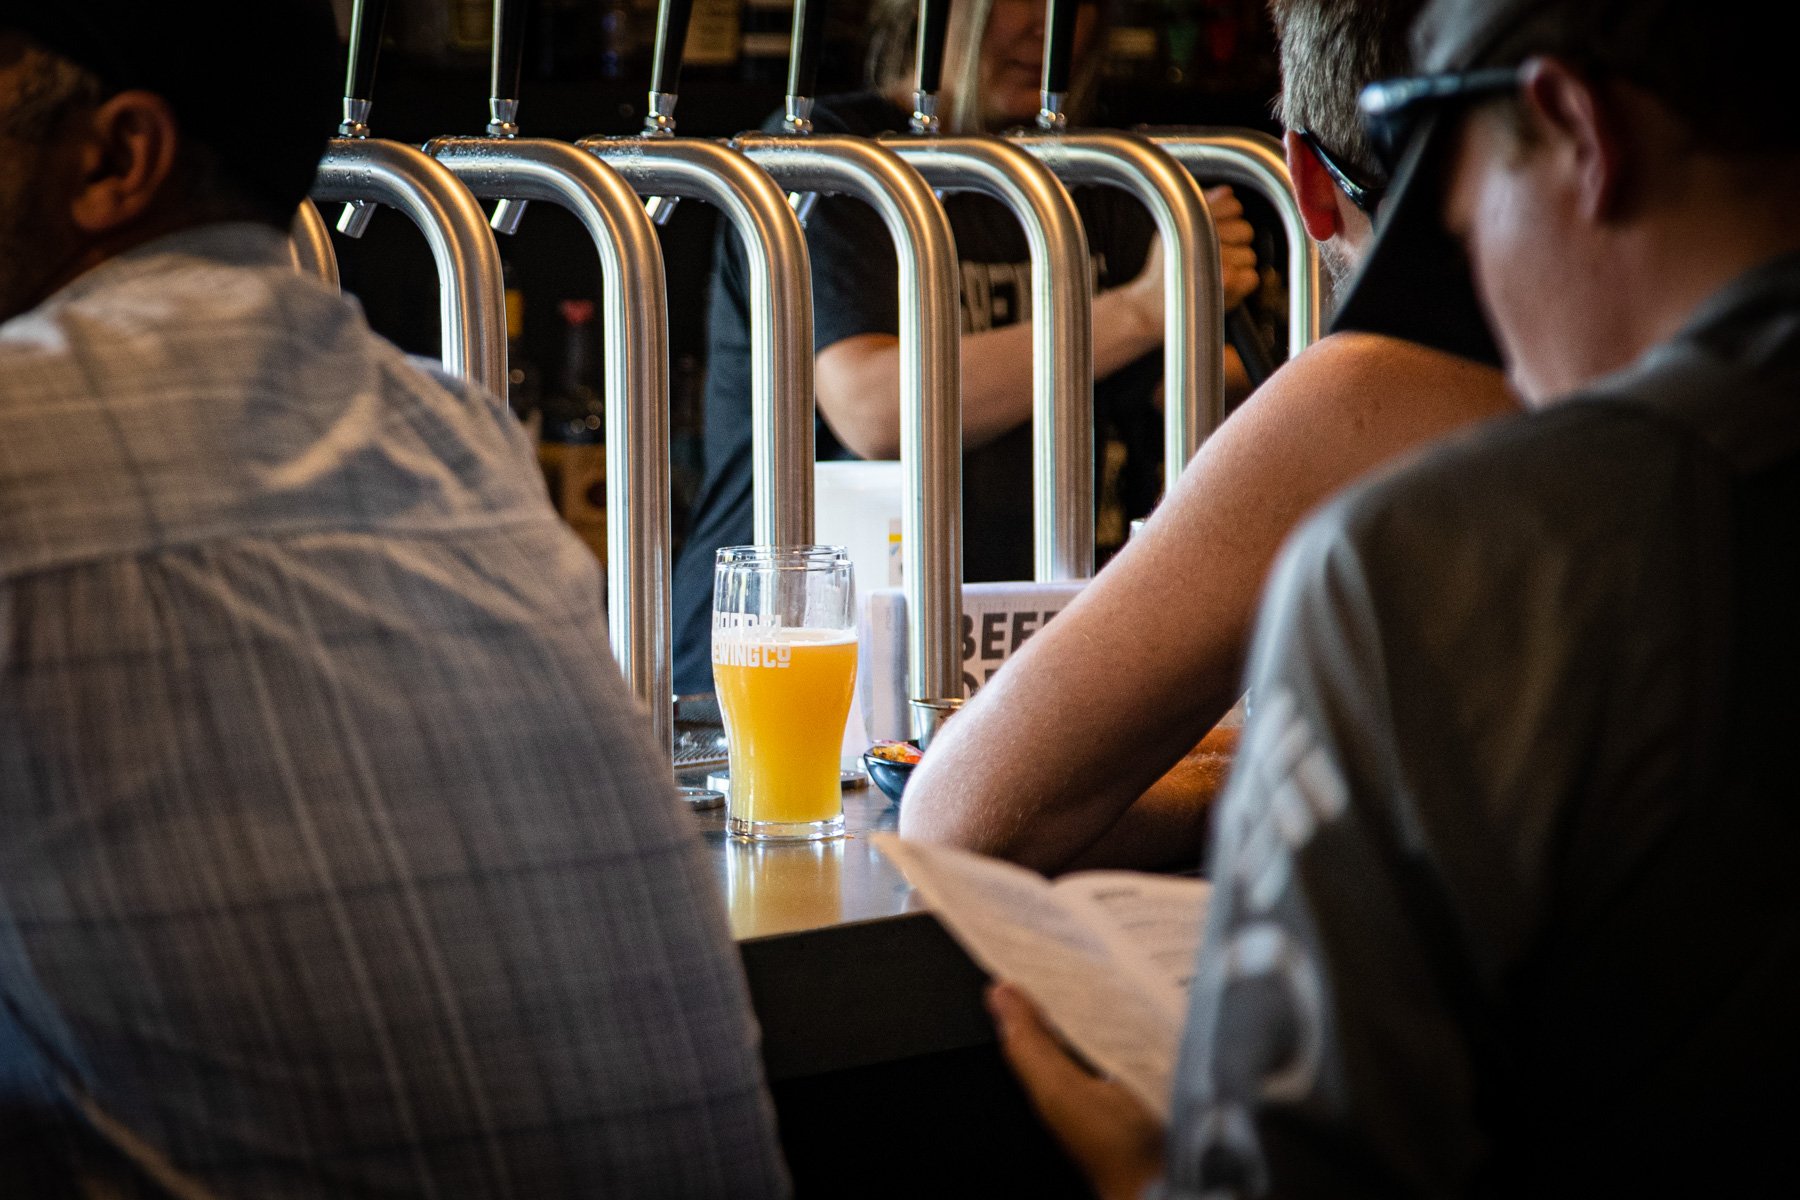
Bend Brewing: There may not be a better place to have a beer in the city than the edge of the river outside of Bend Brewing. The taproom isn’t super large but the outdoor space is mighty and expansive. It’s located right in downtown Bend and is walkable from the most popular part of the city. Sitting by the river with a Bend Brewing beer might just be the perfect afternoon.
10 Barrel is a popular pub and an easy place to hang out if you can find a spot. It’s also a great place to sample the sneak peek R&D beers you won’t be able to get anywhere else while filling up on their handmade pizza.
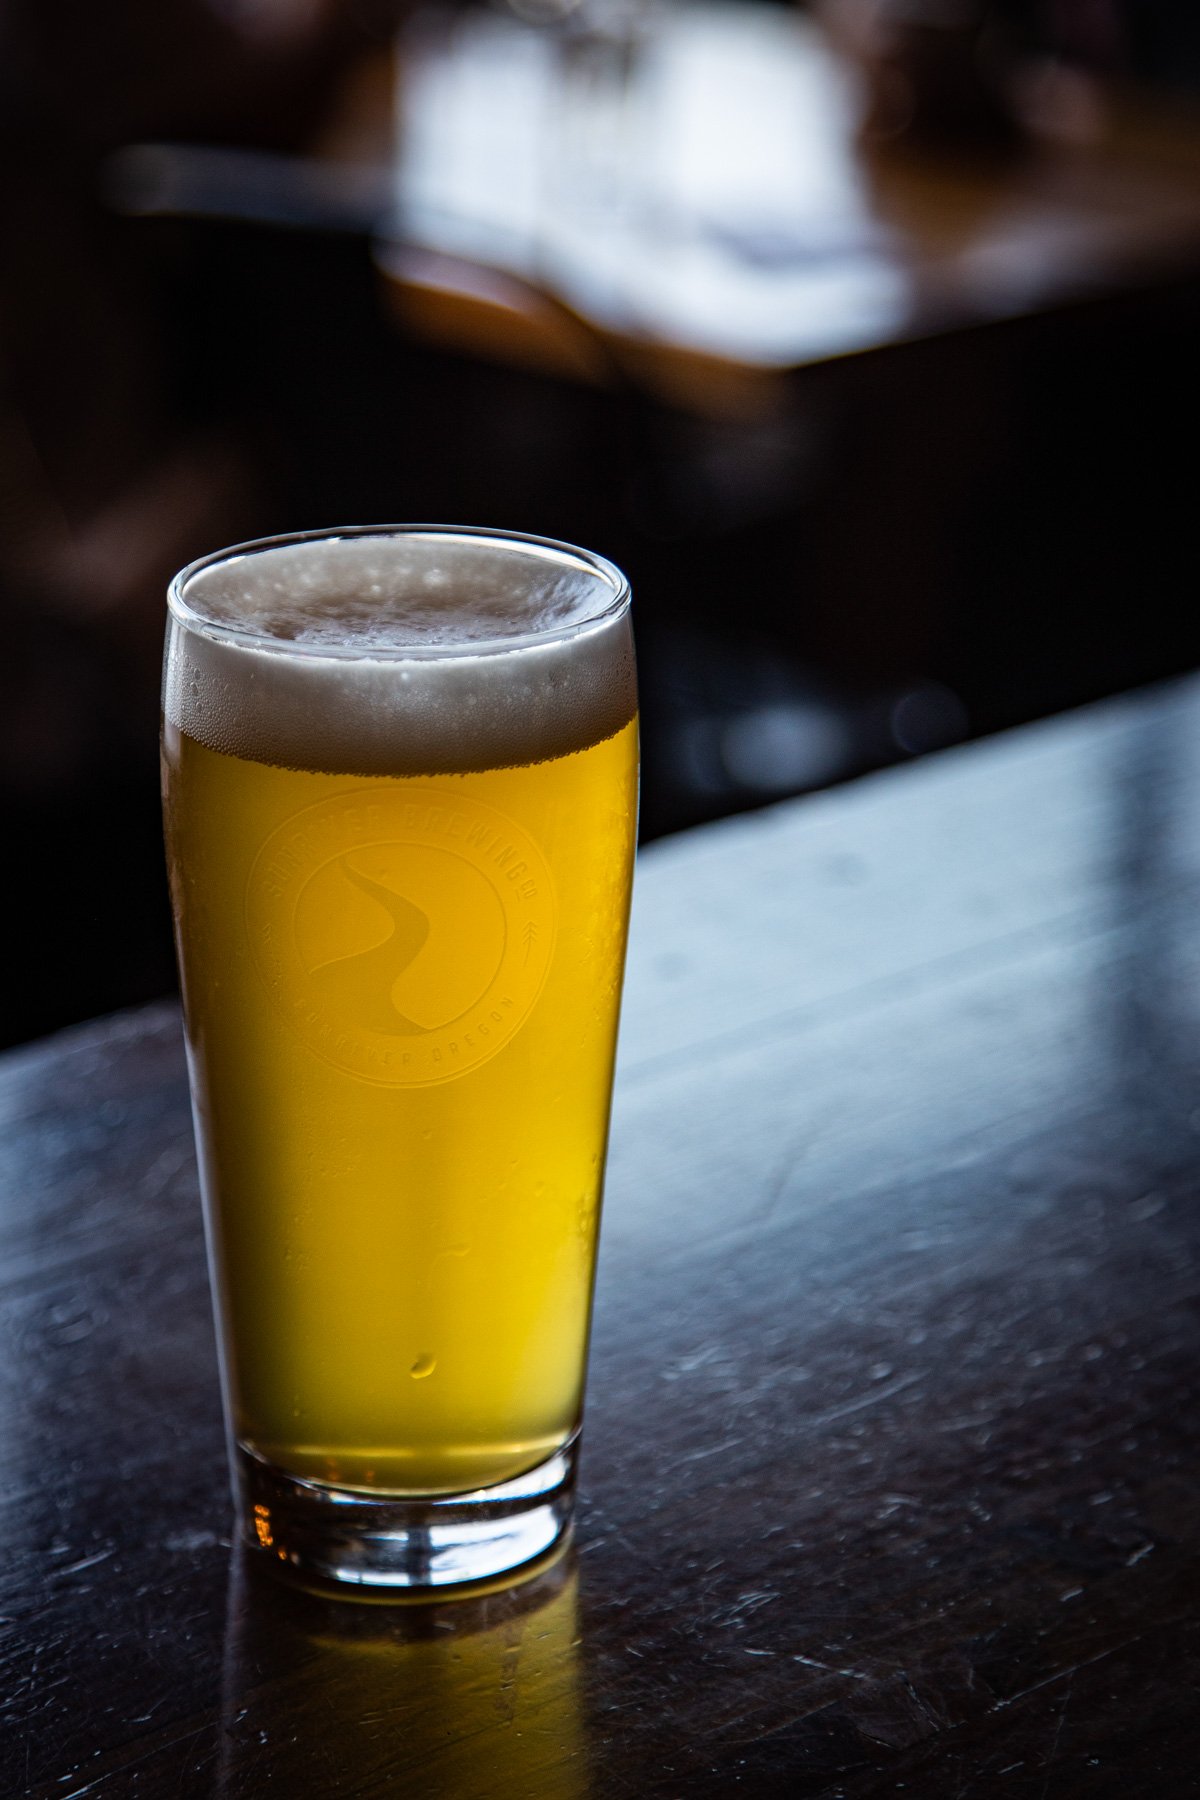
Sunriver Brewing: They have a beer that tastes like coca puffs. THEY HAVE A BEER THAT TASTES LIKE COCA PUFFS! All by itself Sunriver’s Cocoa Cow is reason enough to visit. It’s probably my favorite beer in Bend. It’s also a quick walk from 10 Barrel, so make this a joint adventure.
On Tap: While not a brewery, this space is perfect to catch all the beers from the breweries you didn’t get to visit in town, all while chowing down on some food truck grub. The tap list is extensive with tons of local favorites.
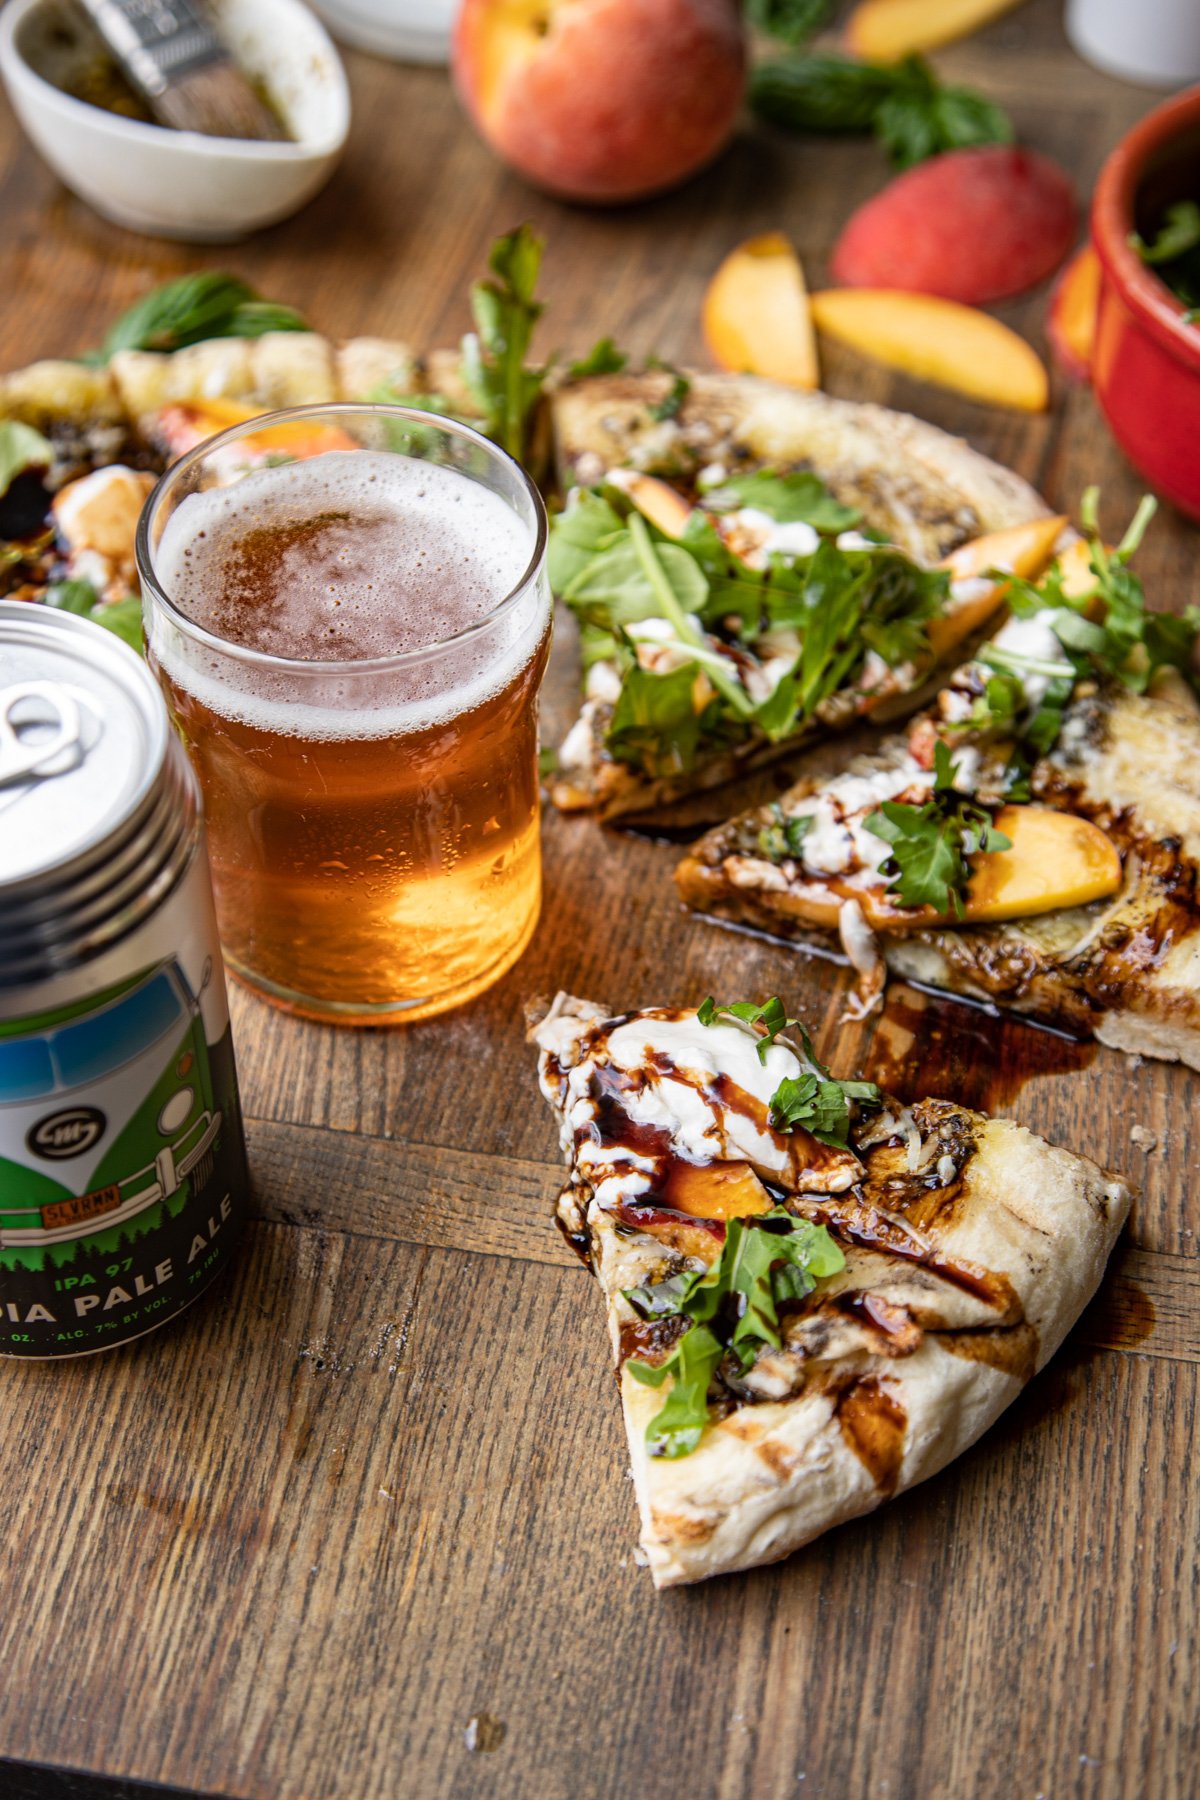
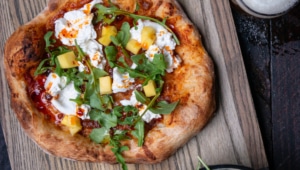
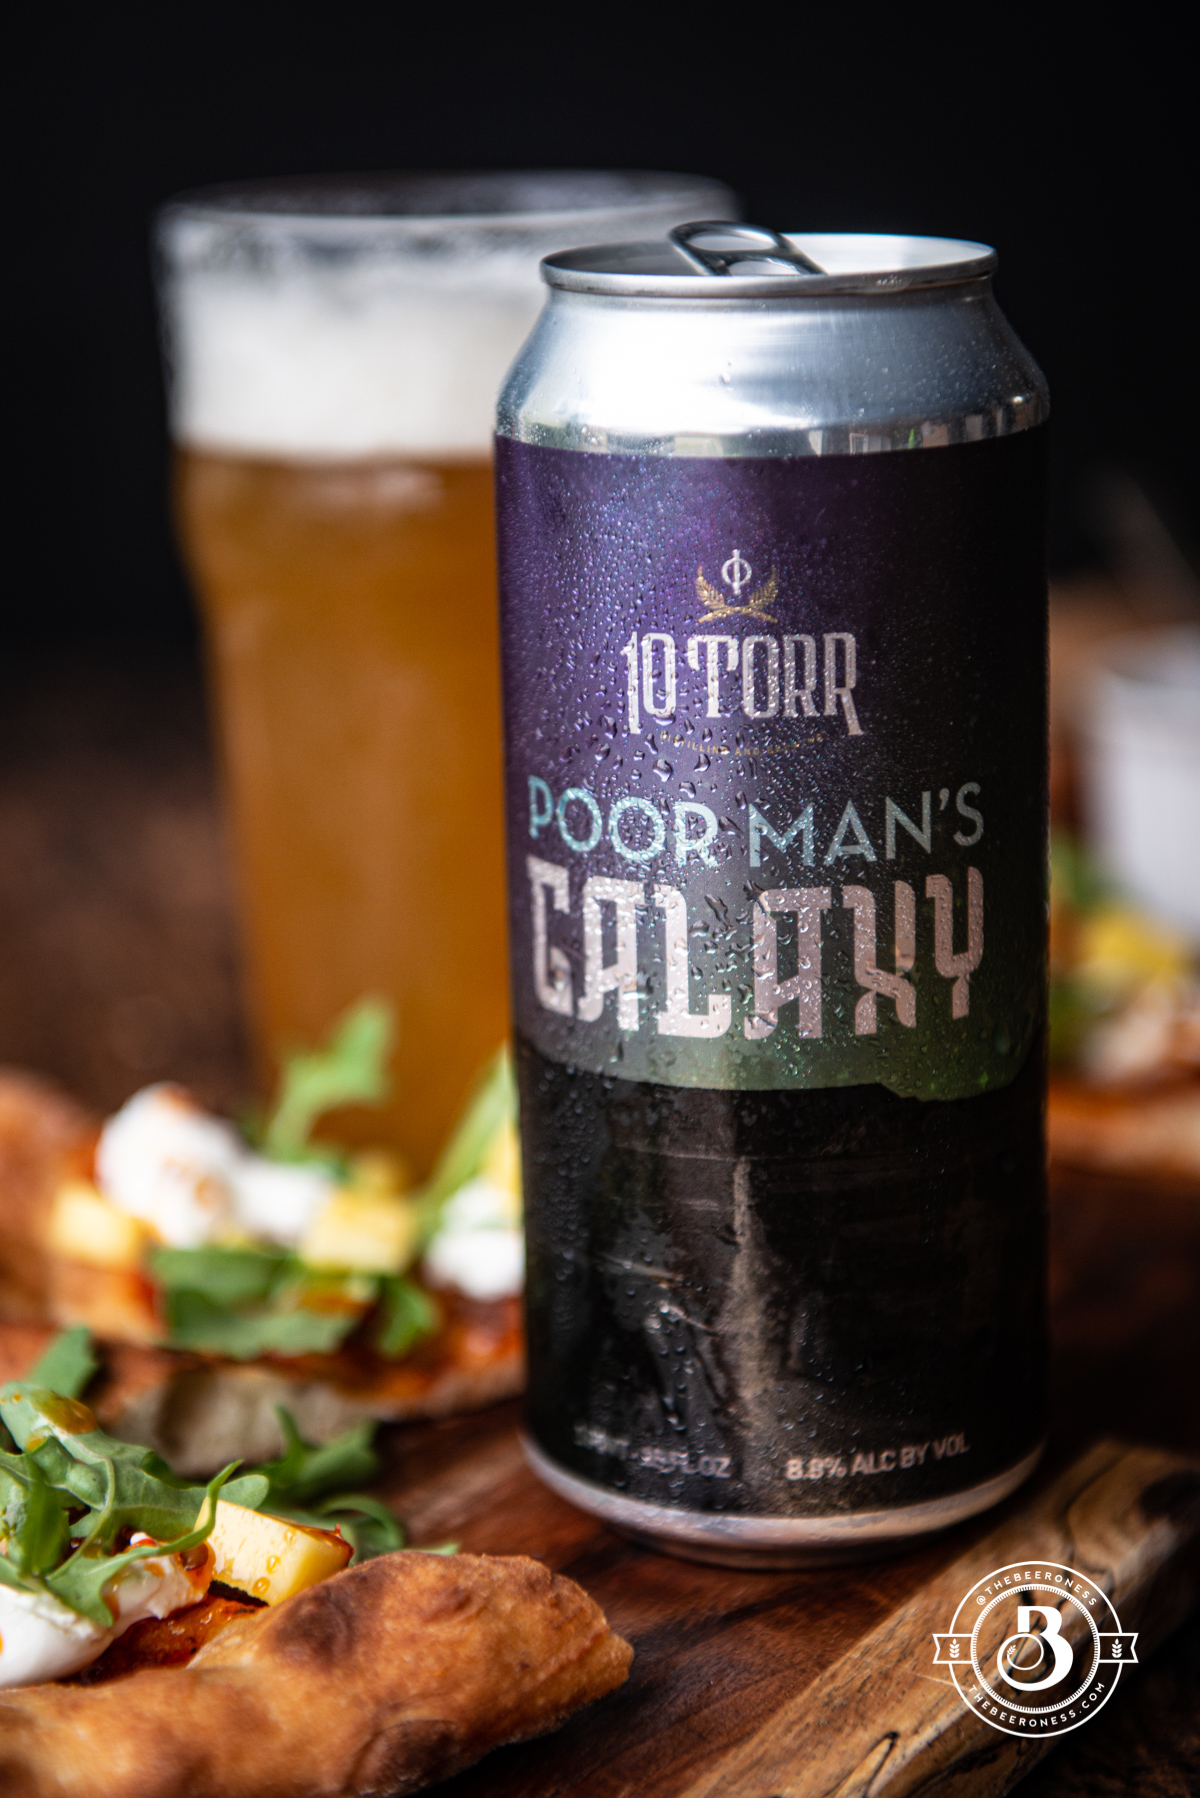
For my new favorite pizza, I used an IPA from Bend’s Silvermoon, a local favorite and one of the first breweries to start in Bend many (silver) moons ago.
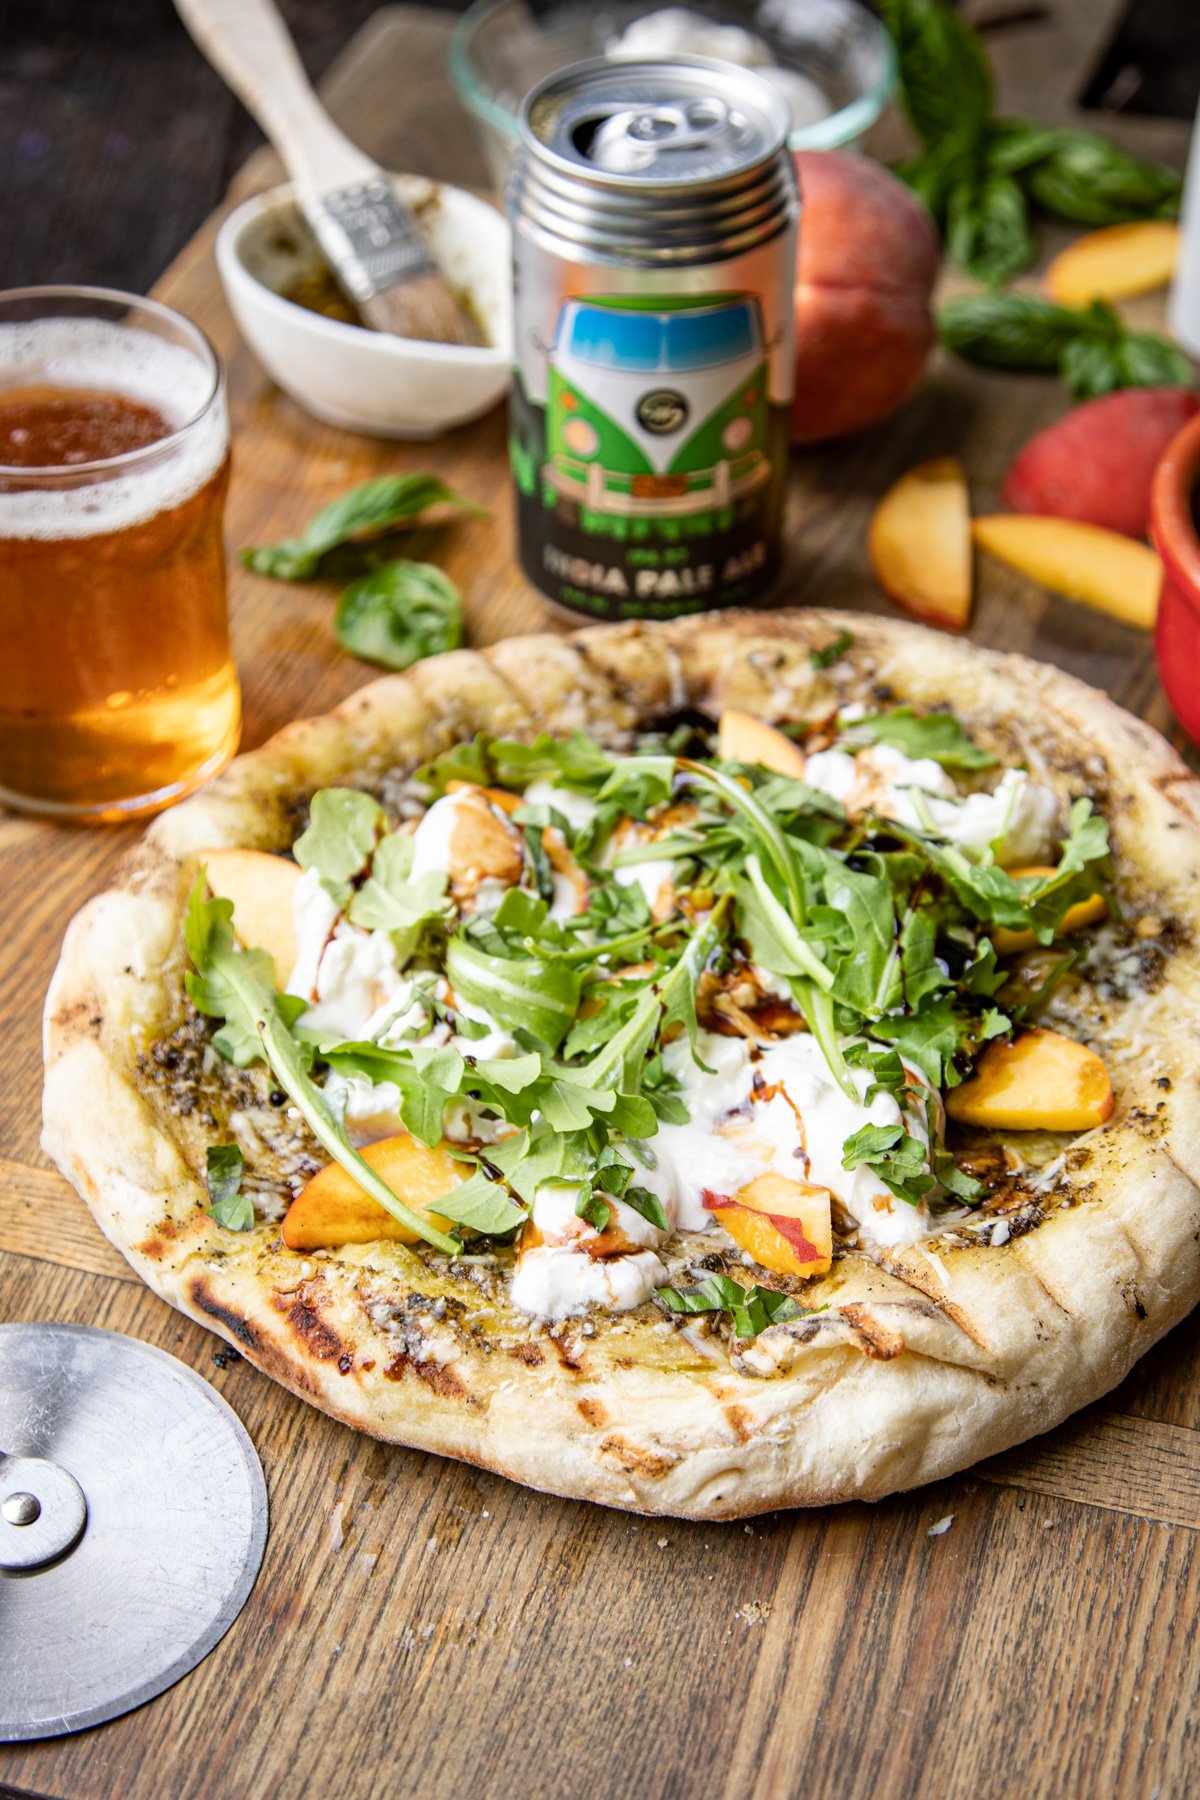
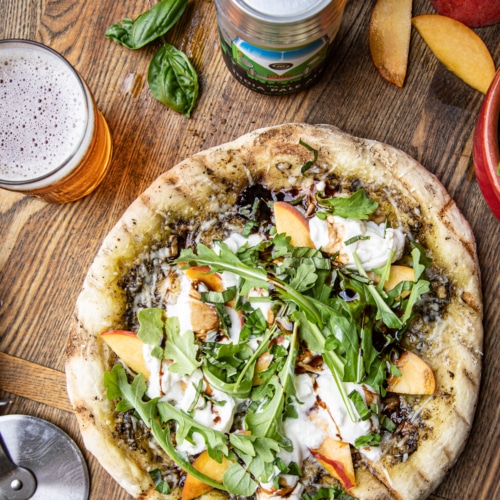
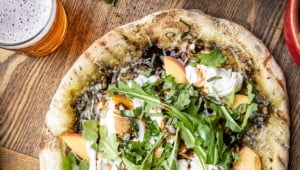
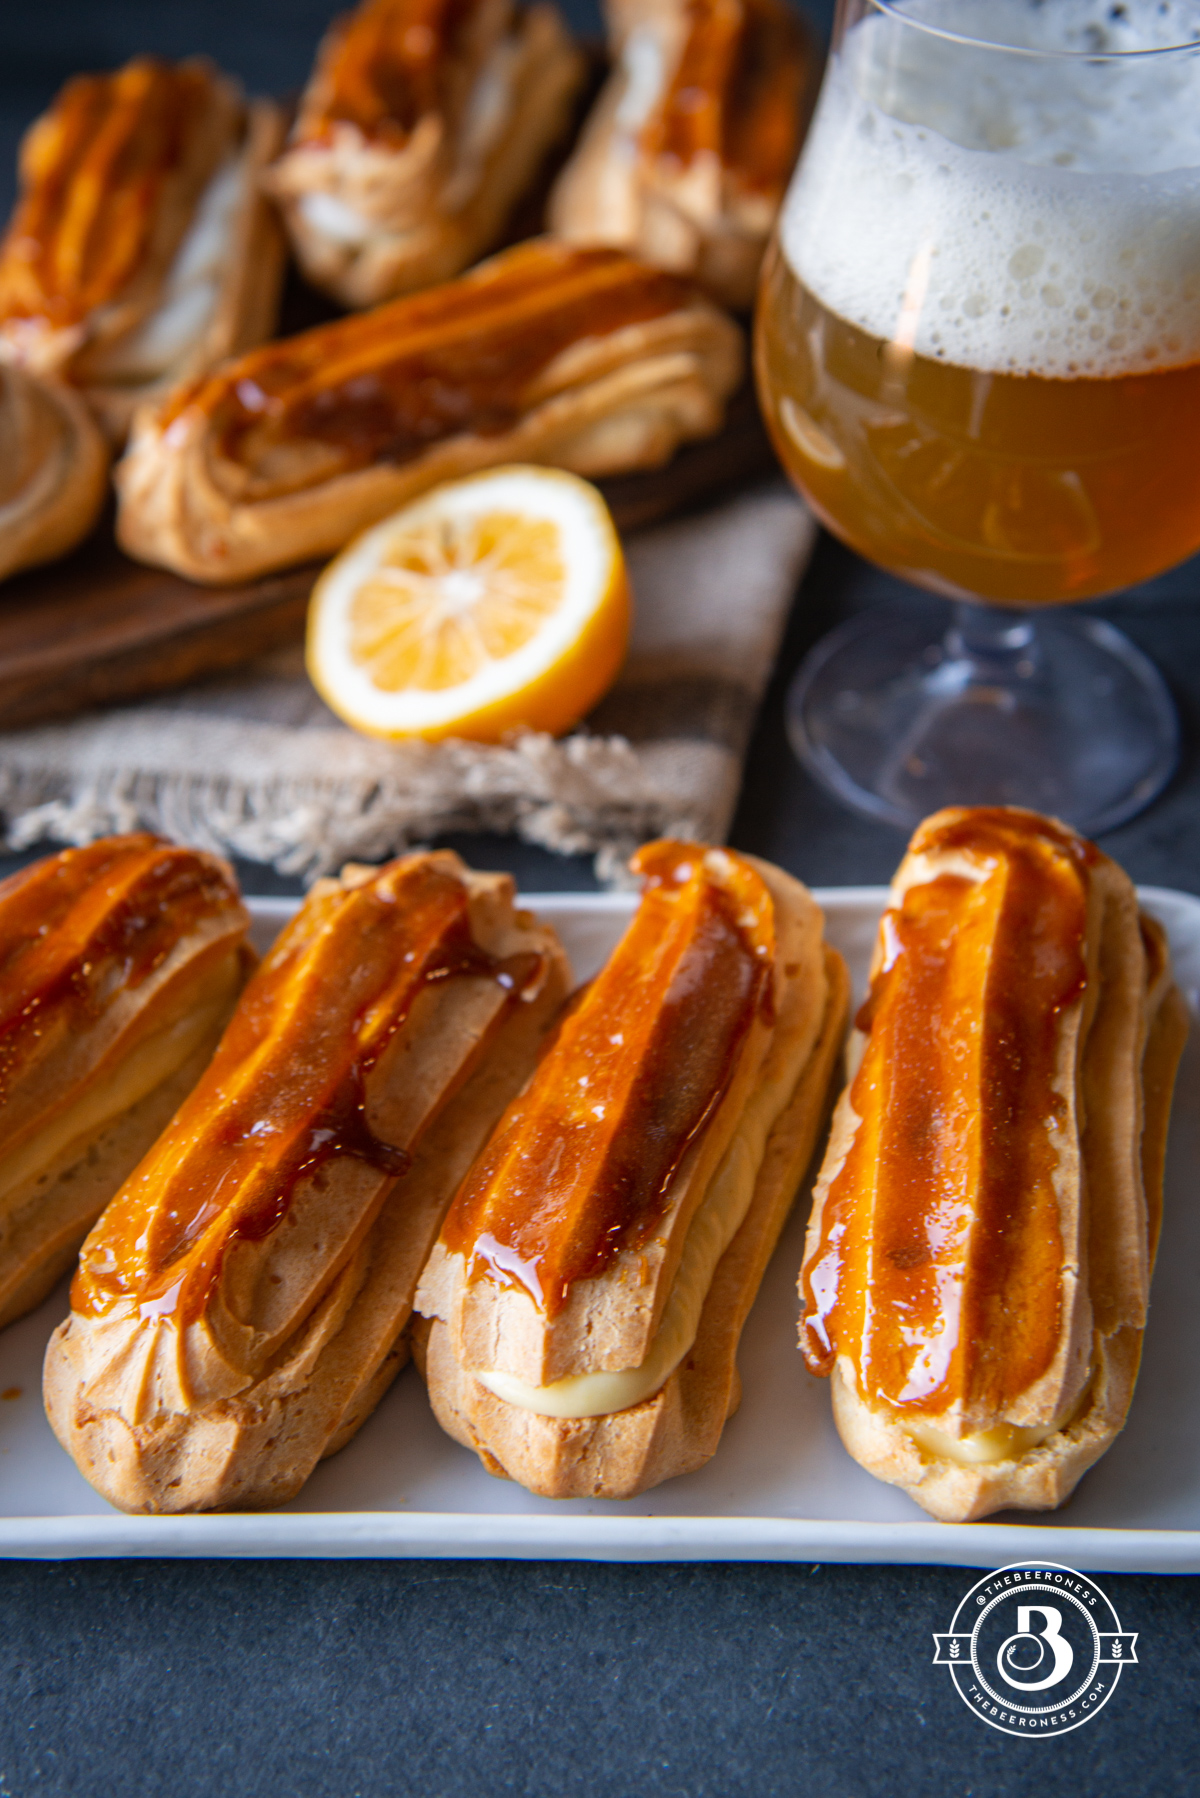
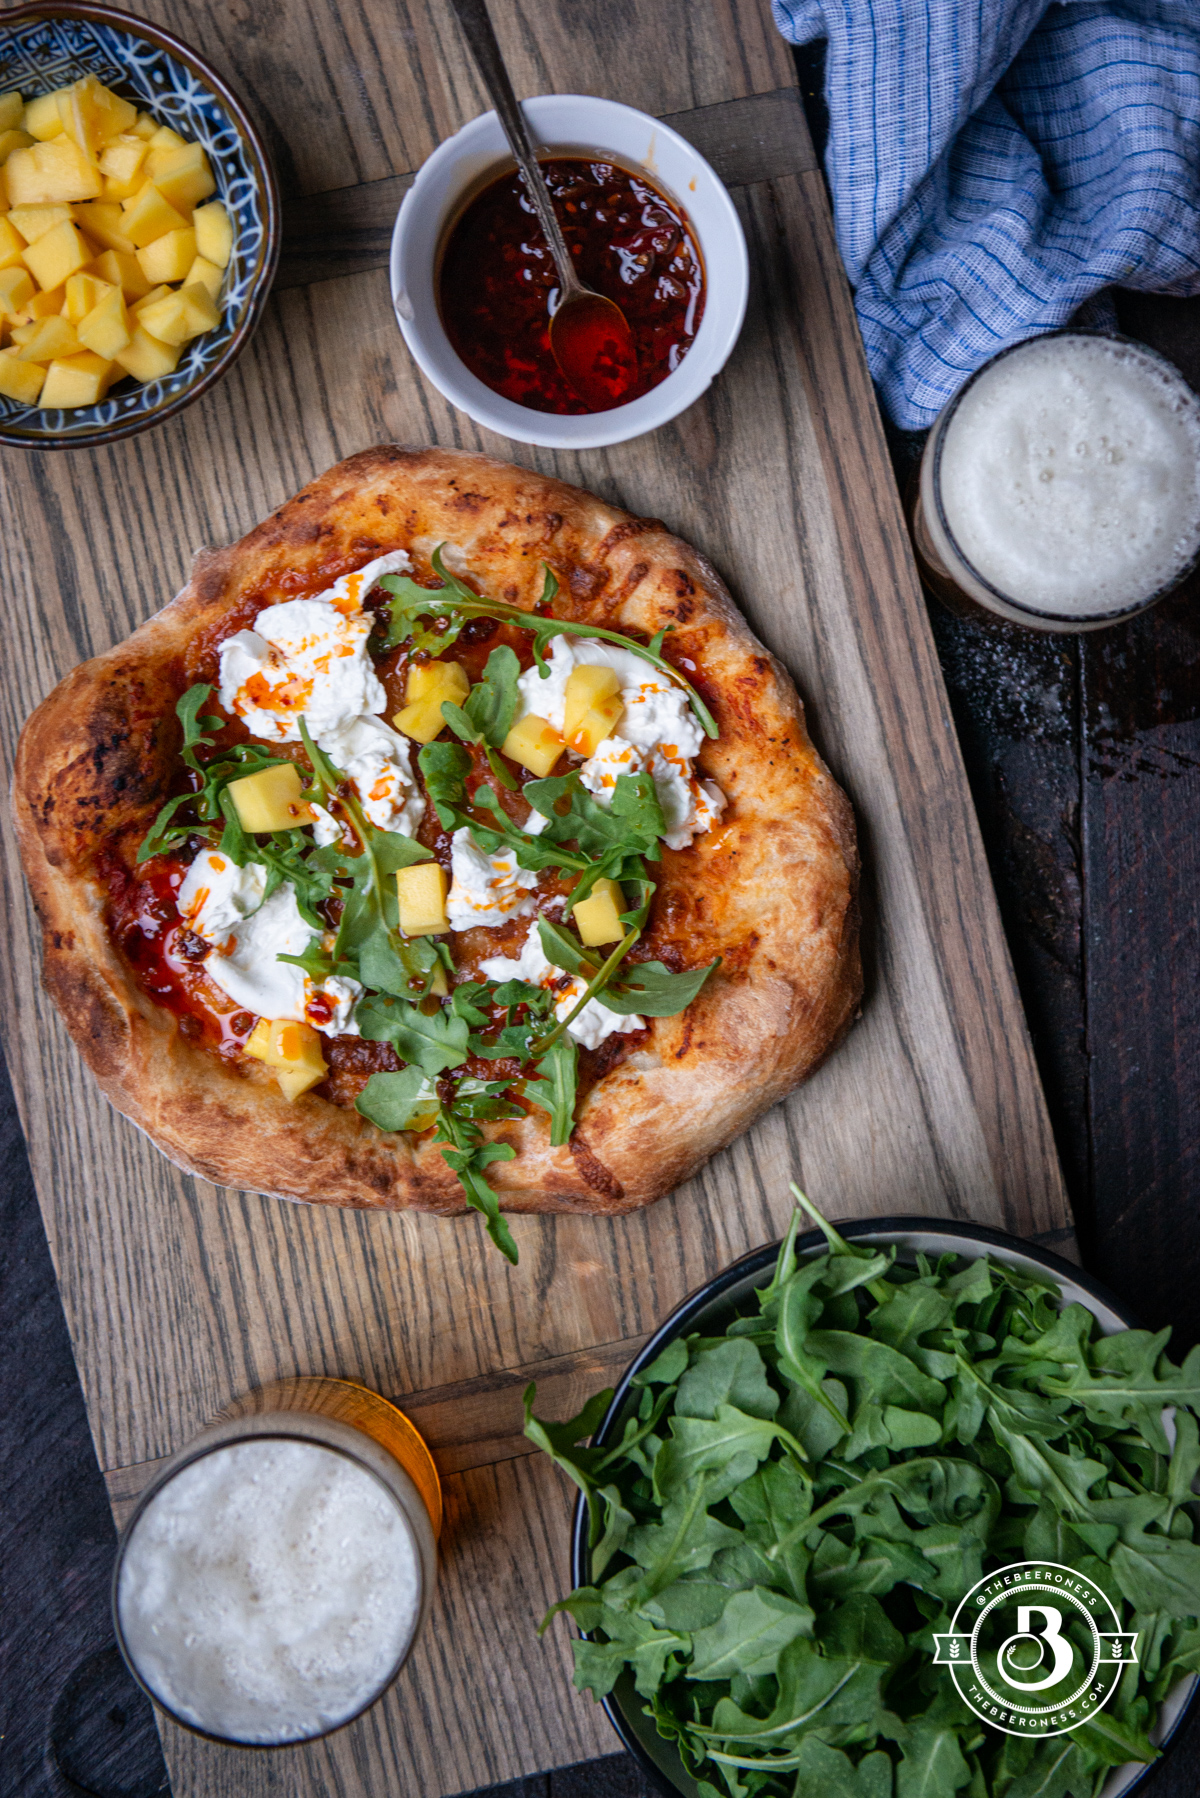
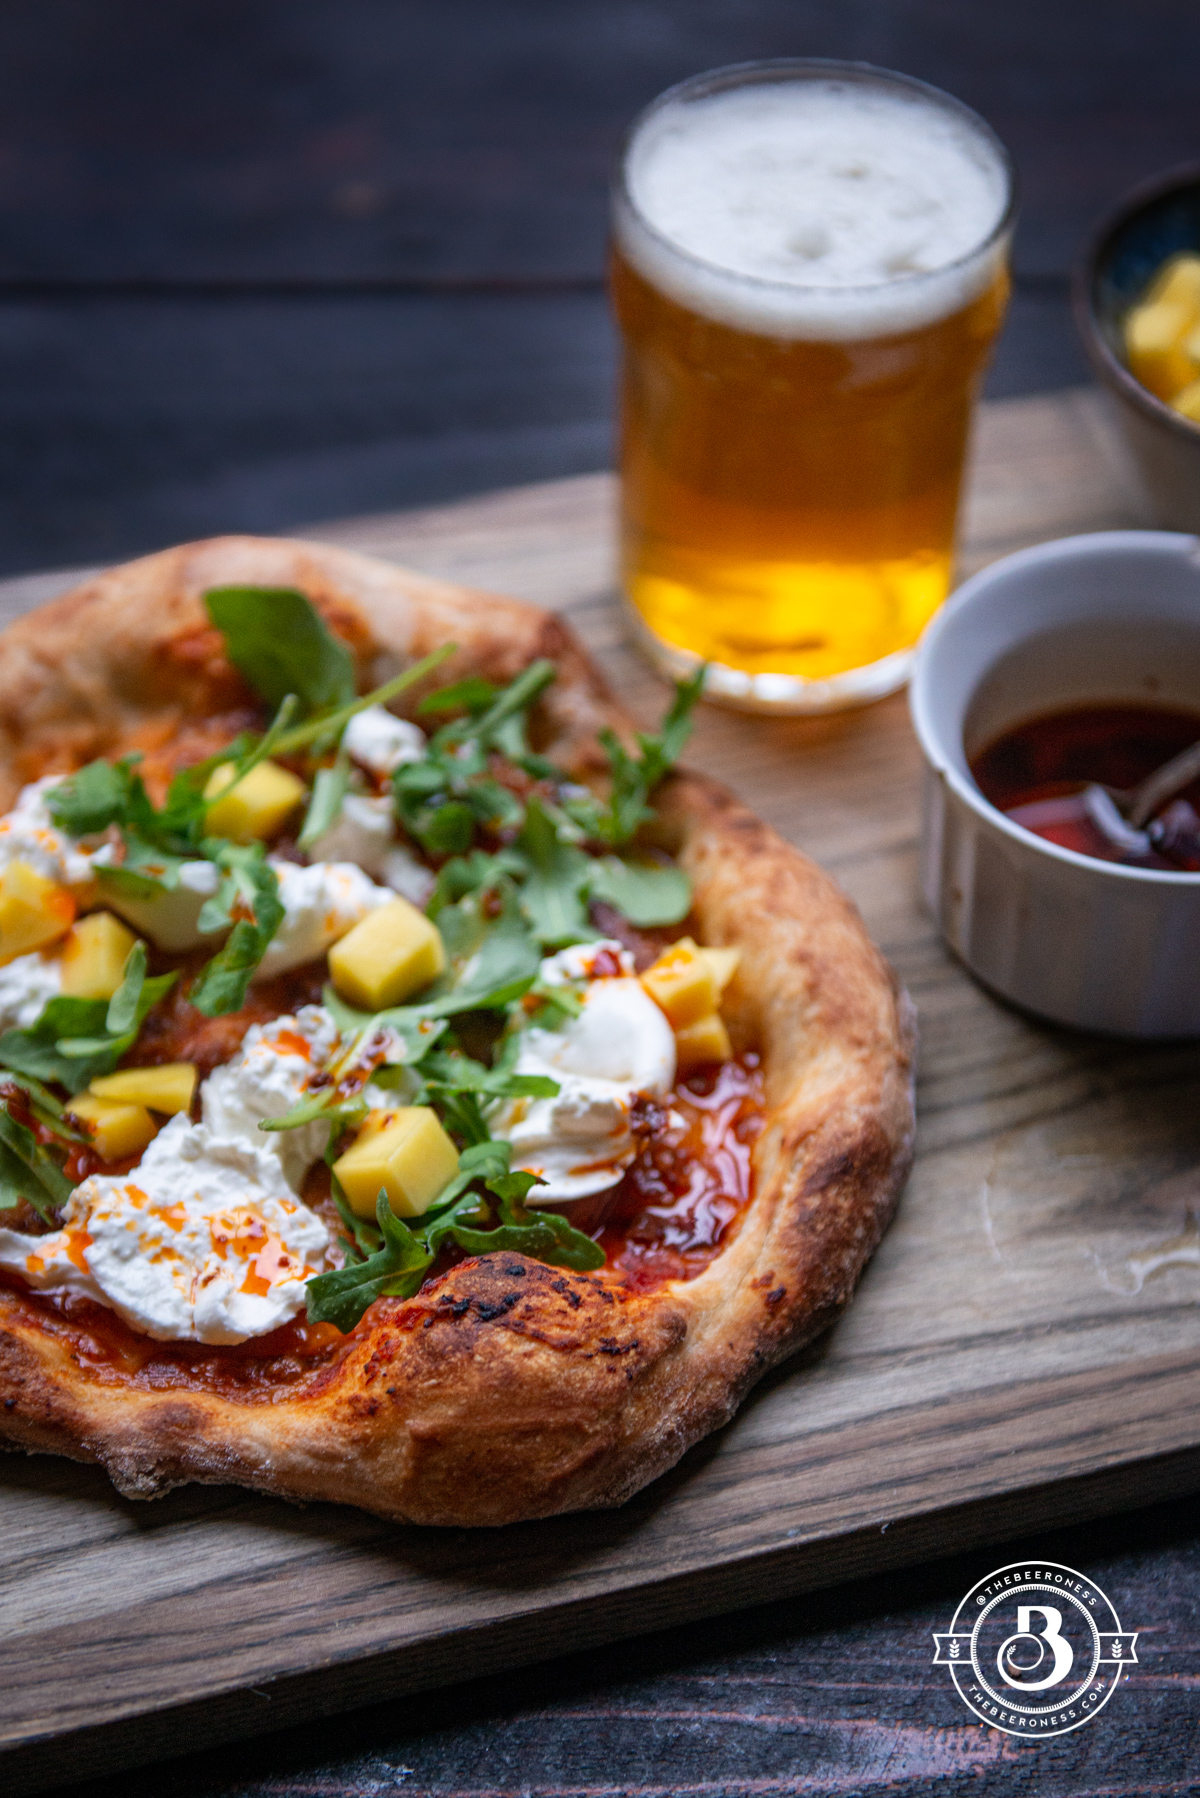
Grilled Beer Crust Pizza with Peaches, Burrata, and Pesto
Ingredients
For the Crust:
- 2 ½ cups 300g bread flour
- 2 ¼ teaspoons 1 envelope rapid rise yeast
- ½ teaspoon 1.5g garlic powder
- 1 teaspoon 5g granulated sugar
- ¾ cup 6oz wheat beer
- ½ teaspoon 3g kosher salt
- ¼ cup 60g olive oil
For the Toppings:
- Olive oil
- ¼ cup prepared pesto sauce
- ¼ cup parmesan cheese
- 1 large ripe, yellow peach, sliced
- 6-8 leaves basil sliced
- 2 4oz balls of burrata cheese
- ½ cup baby arugula
- 2 tablespoons balsamic glaze
Instructions
- In the bowl of a stand mixer fitted with a dough hook attachment, add the flour, yeast, garlic powder and sugar.
- Mix until combined. Heat the beer until the temperature reaches between 120°F and 125°F (double check your yeast package to confirm this is the temperature your yeast needs. Default to the temperature listed on the package).
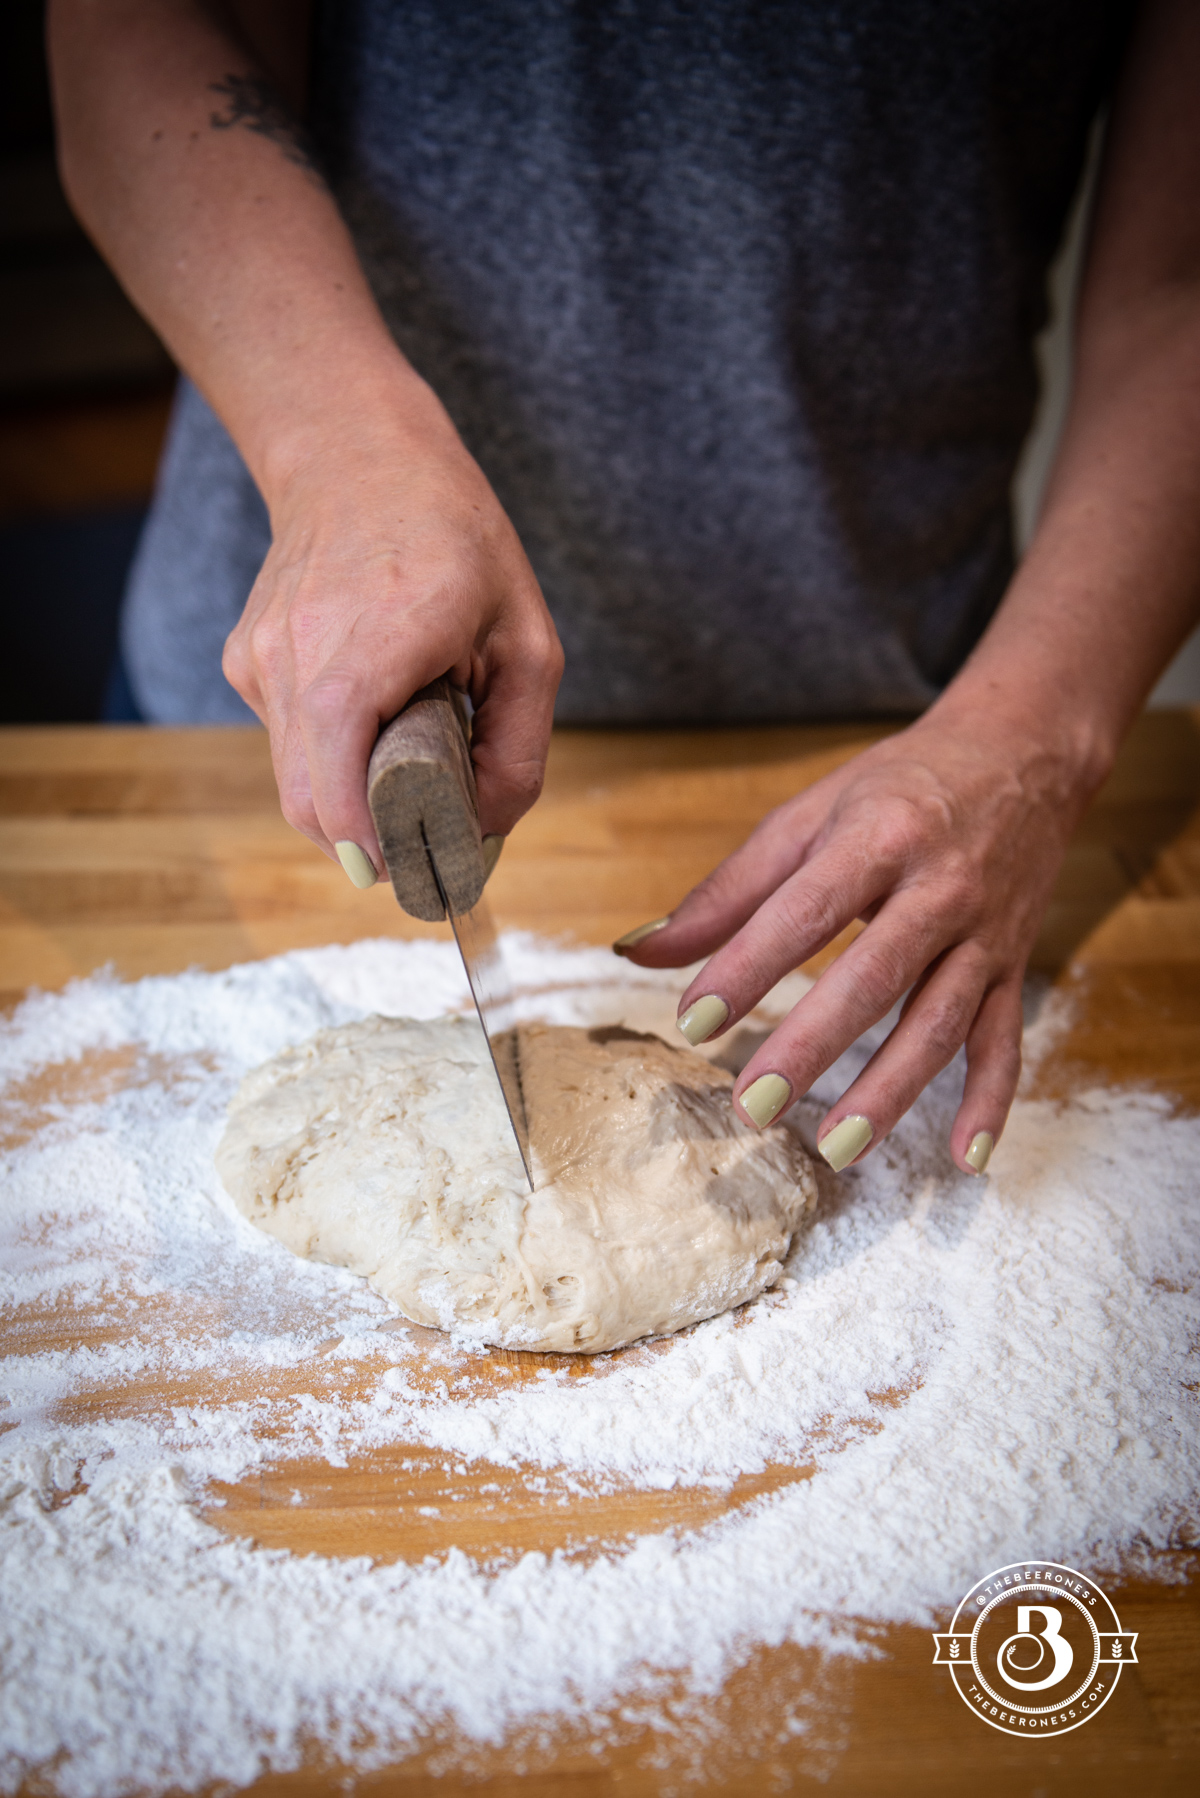
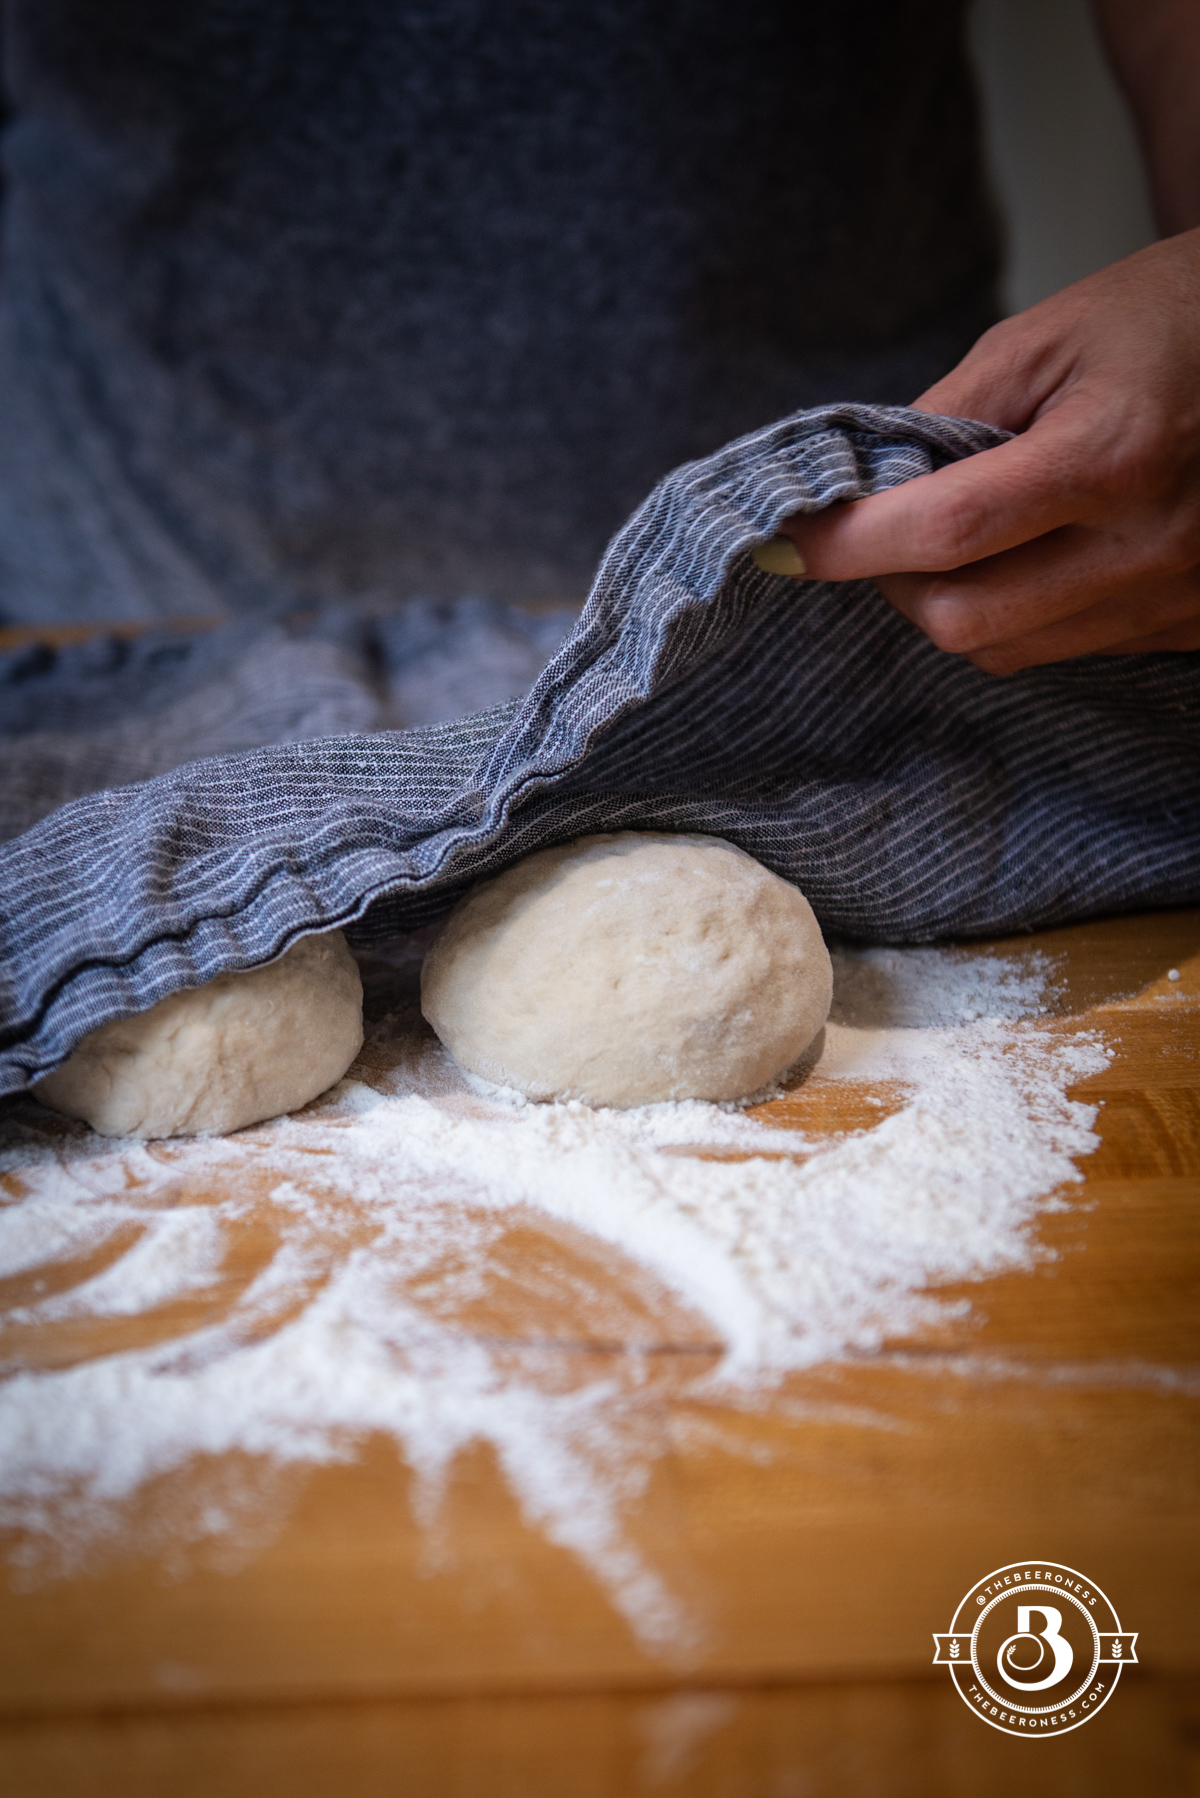
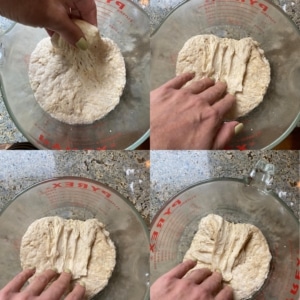
- Add the beer to the stand mixer and mix on medium speed. Once most of the flour has been moistened, slowly add the salt and oil while the mixer is still running. Turn speed to high and beat until dough is smooth and elastic, about 8 minutes. Transfer dough to a lightly oiled bowl, tightly wrap with plastic wrap. Allow to sit in a warm room until doubled in size, about 45 to 60 minutes.
- Preheat the grill to 500°F.
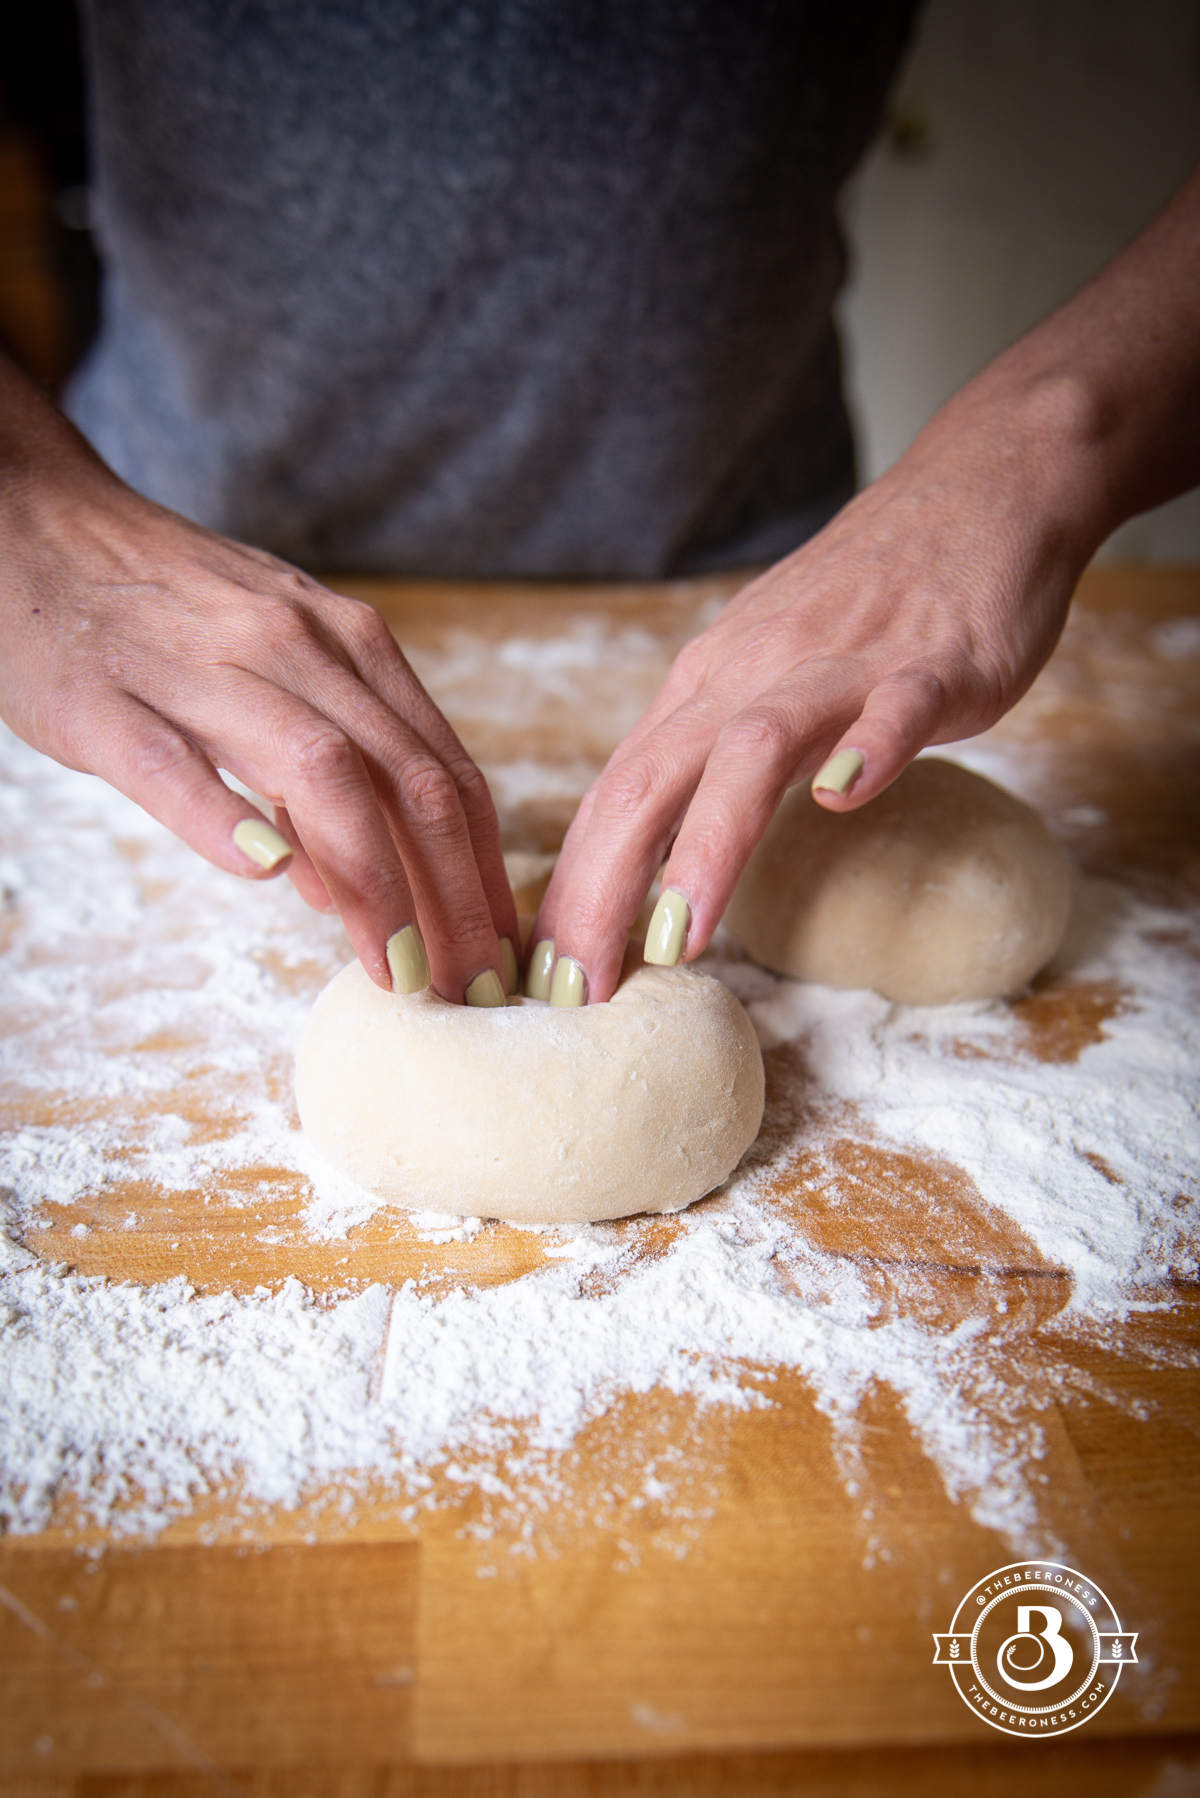
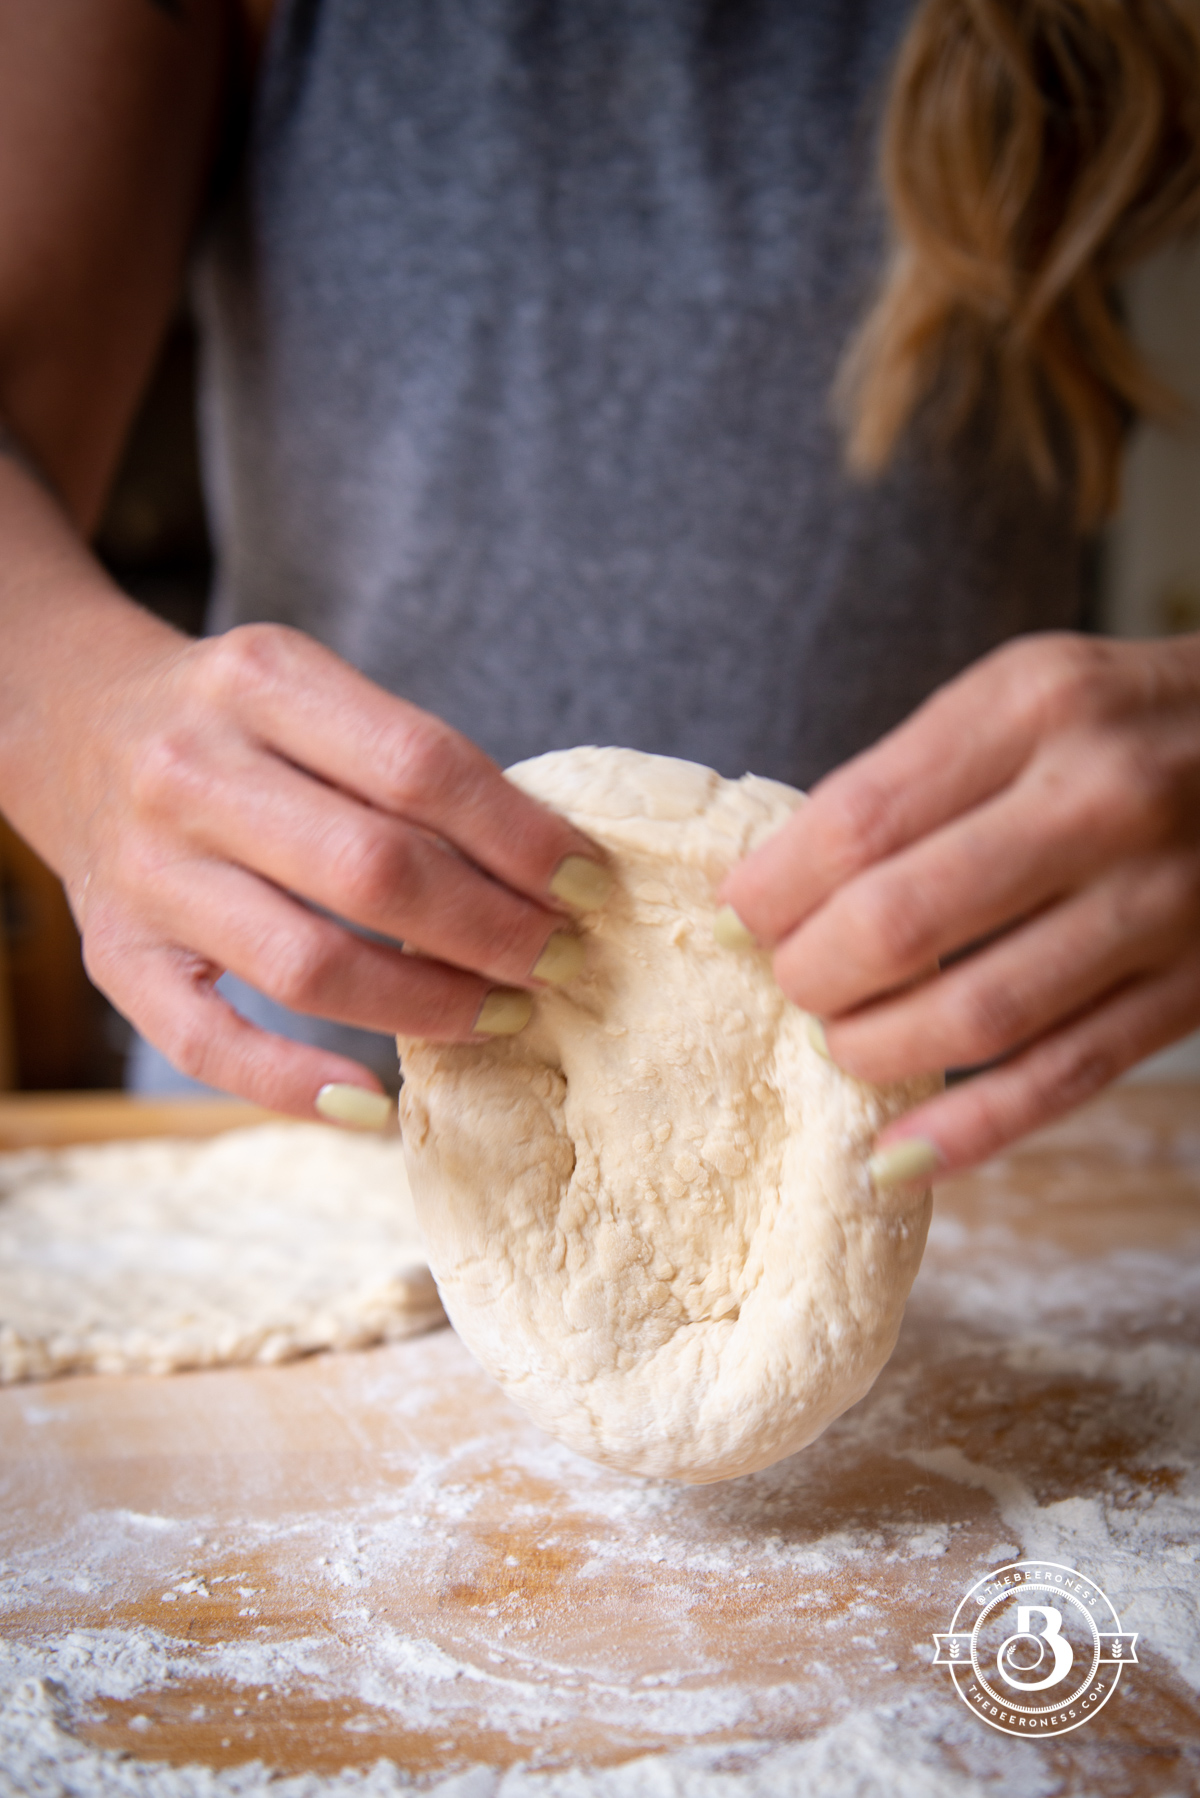
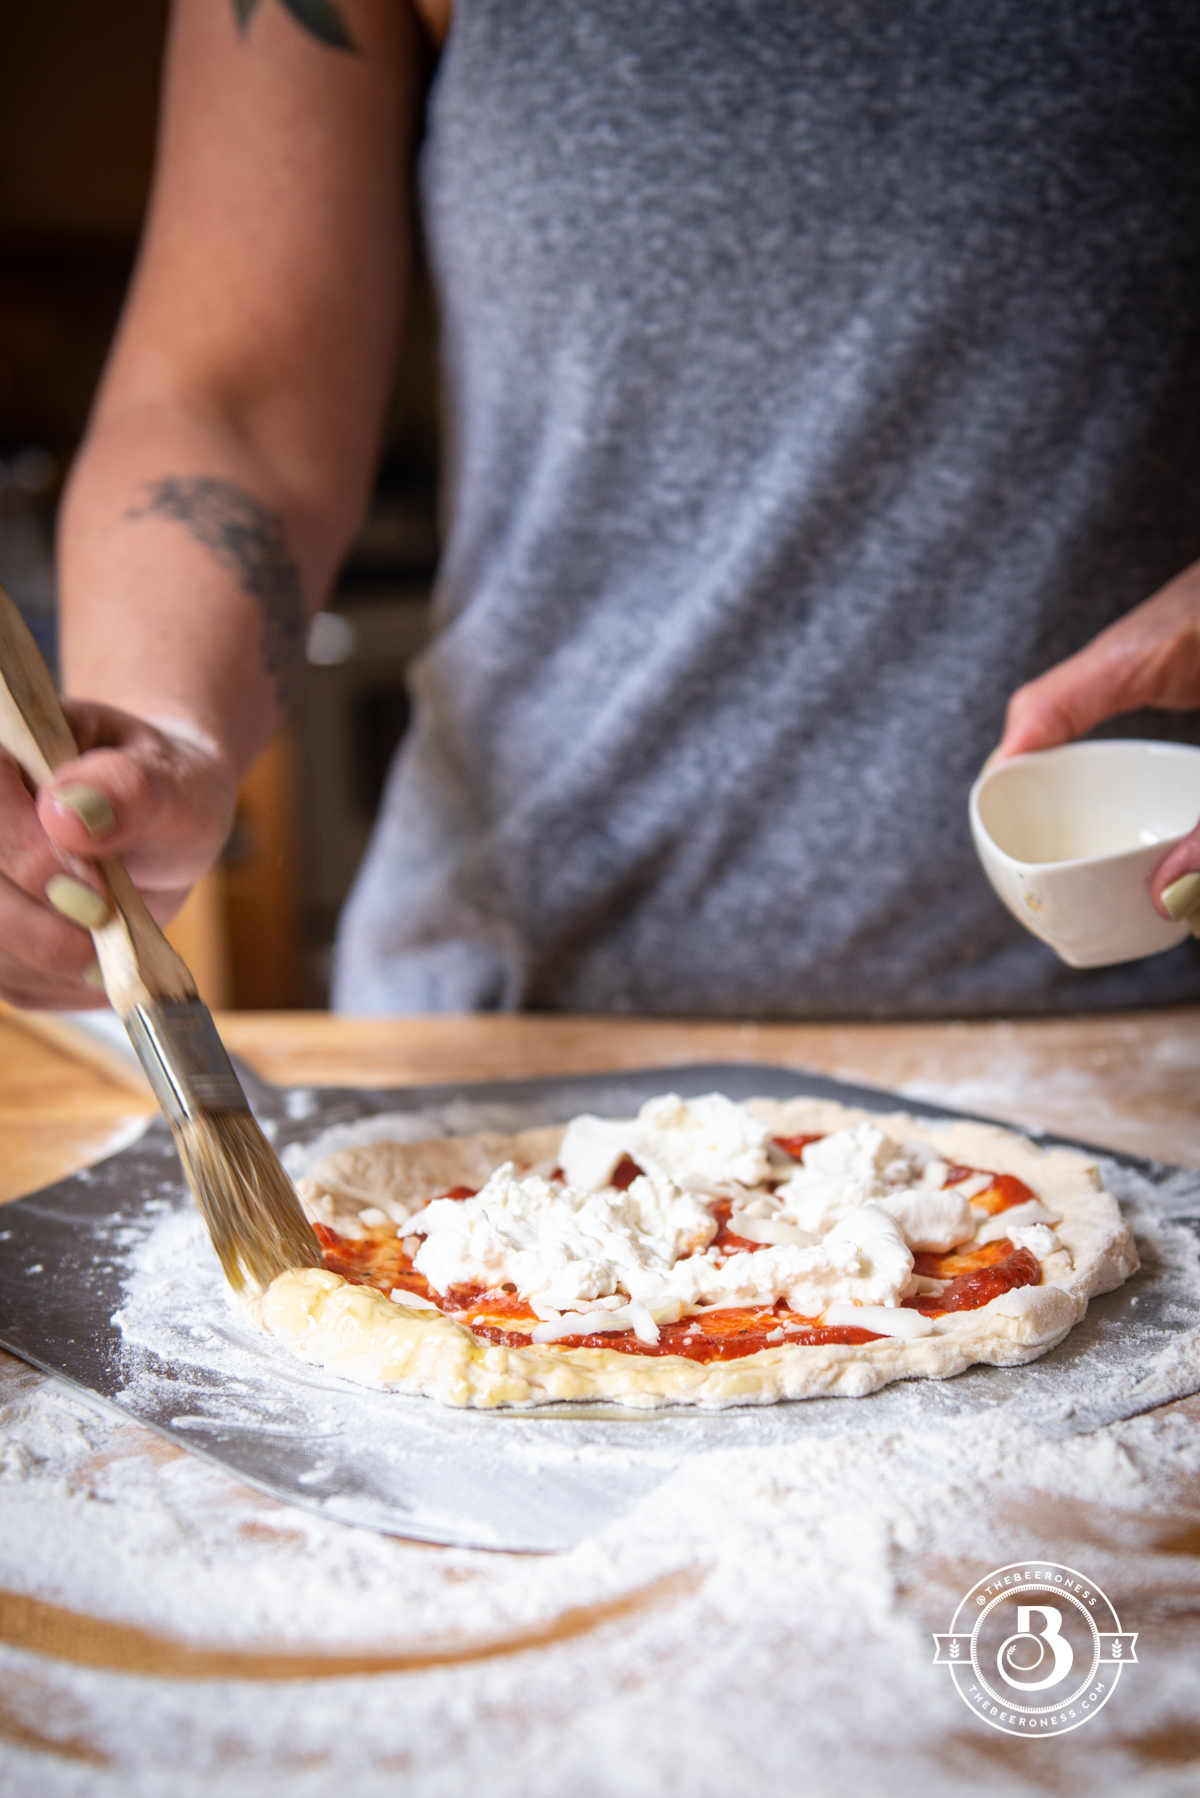
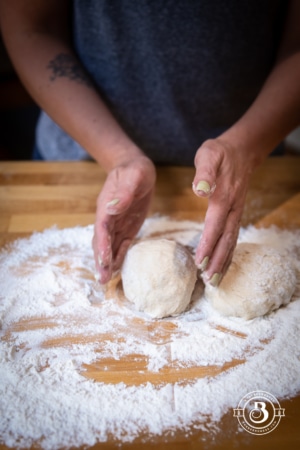
- Roll the dough out on a lightly floured surface to about 10-inches in diameter, add to a pizza peel covered with flour or cornmeal. Brush with olive oil.
- Add to the grates of the grill, oiled side down. Close the lid and allow to cook until grill marks appear, use the pizza peel to remove the crust, transfer to a work station.
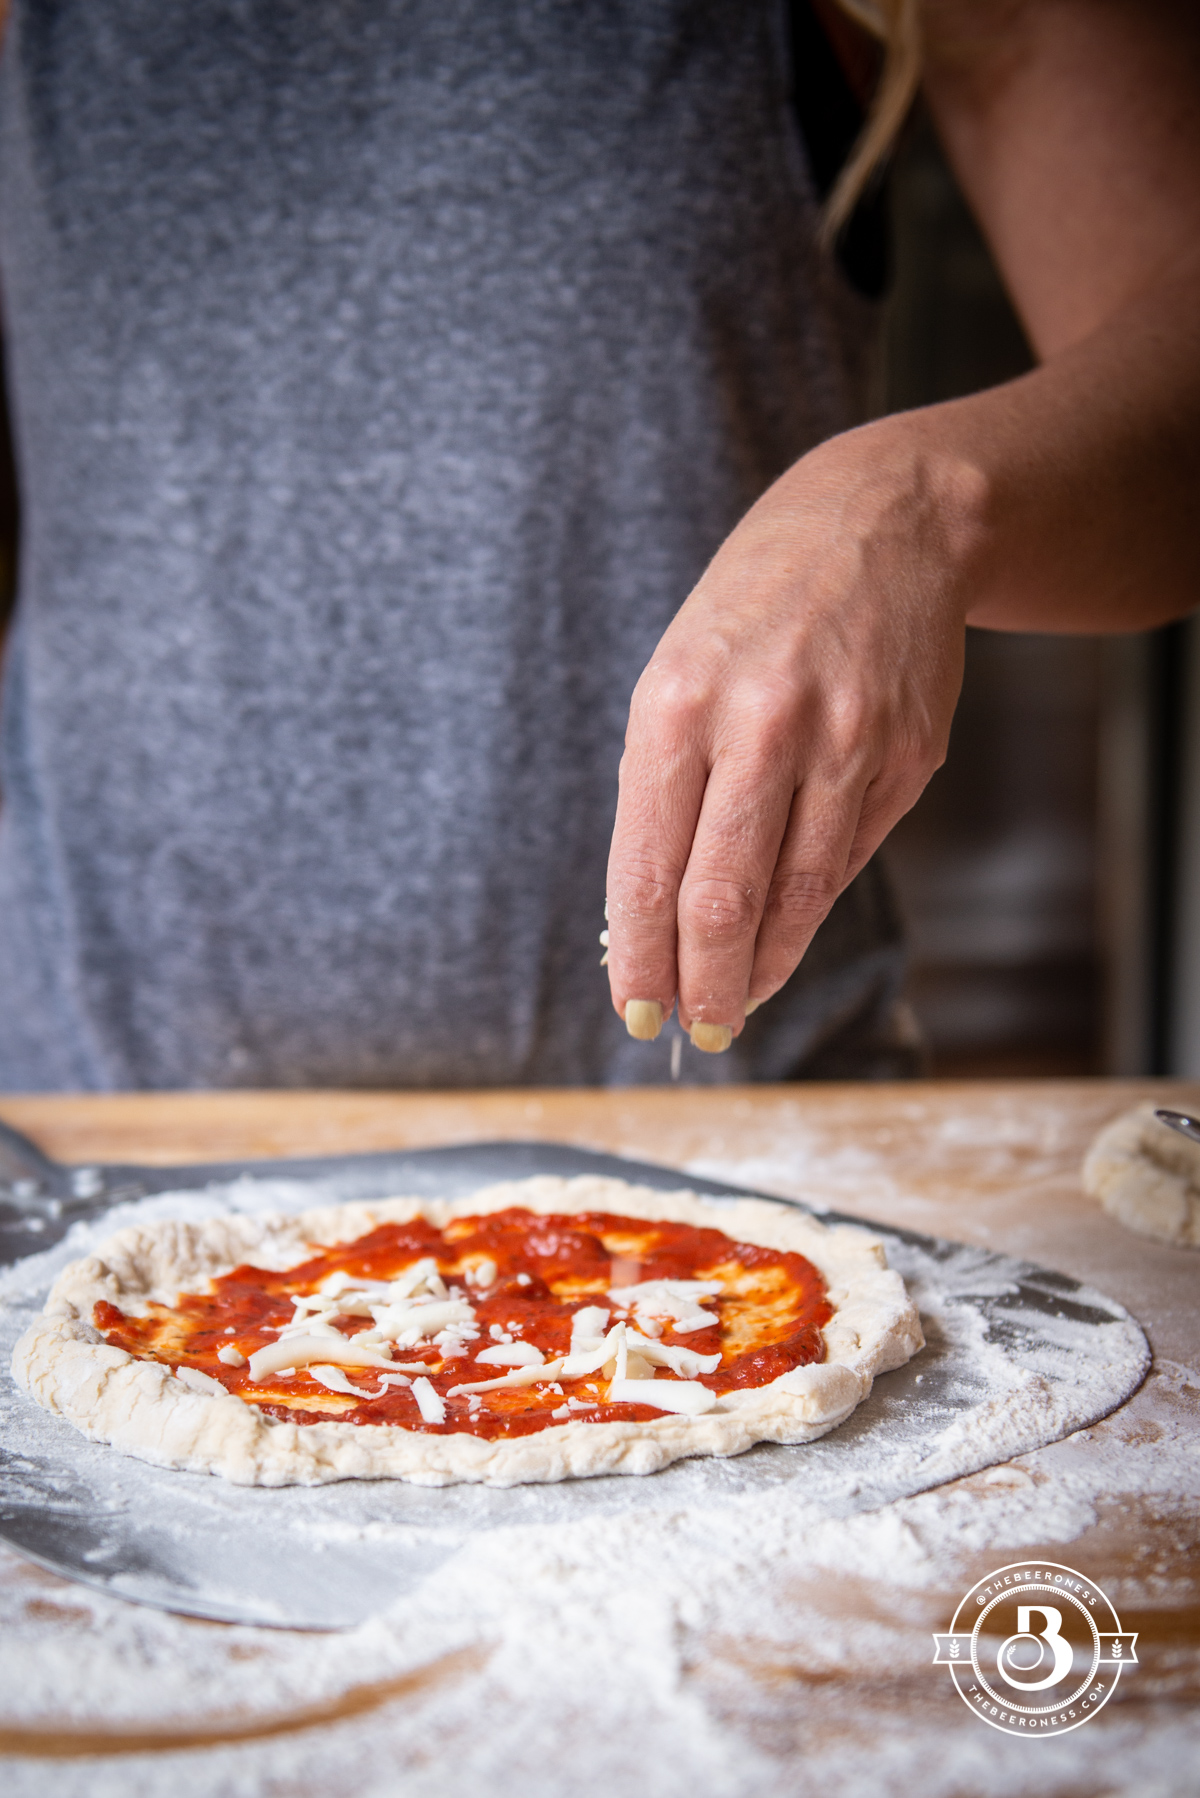
- Cover with pesto sauce and sprinkle with parmesan cheese.
- Return the pizza to the grill.
- Shut the lid and allow to cook until the top of the crust is bubbly and starting to brown, about 6-8 minutes.
- Remove from the grill, transfer to a serving platter, top with peaches, basil, burrata (pulled the burrata apart and distribute across the pizza), arugula, and balsamic glaze.
- Slice and serve.


