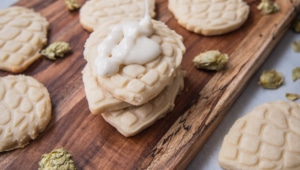
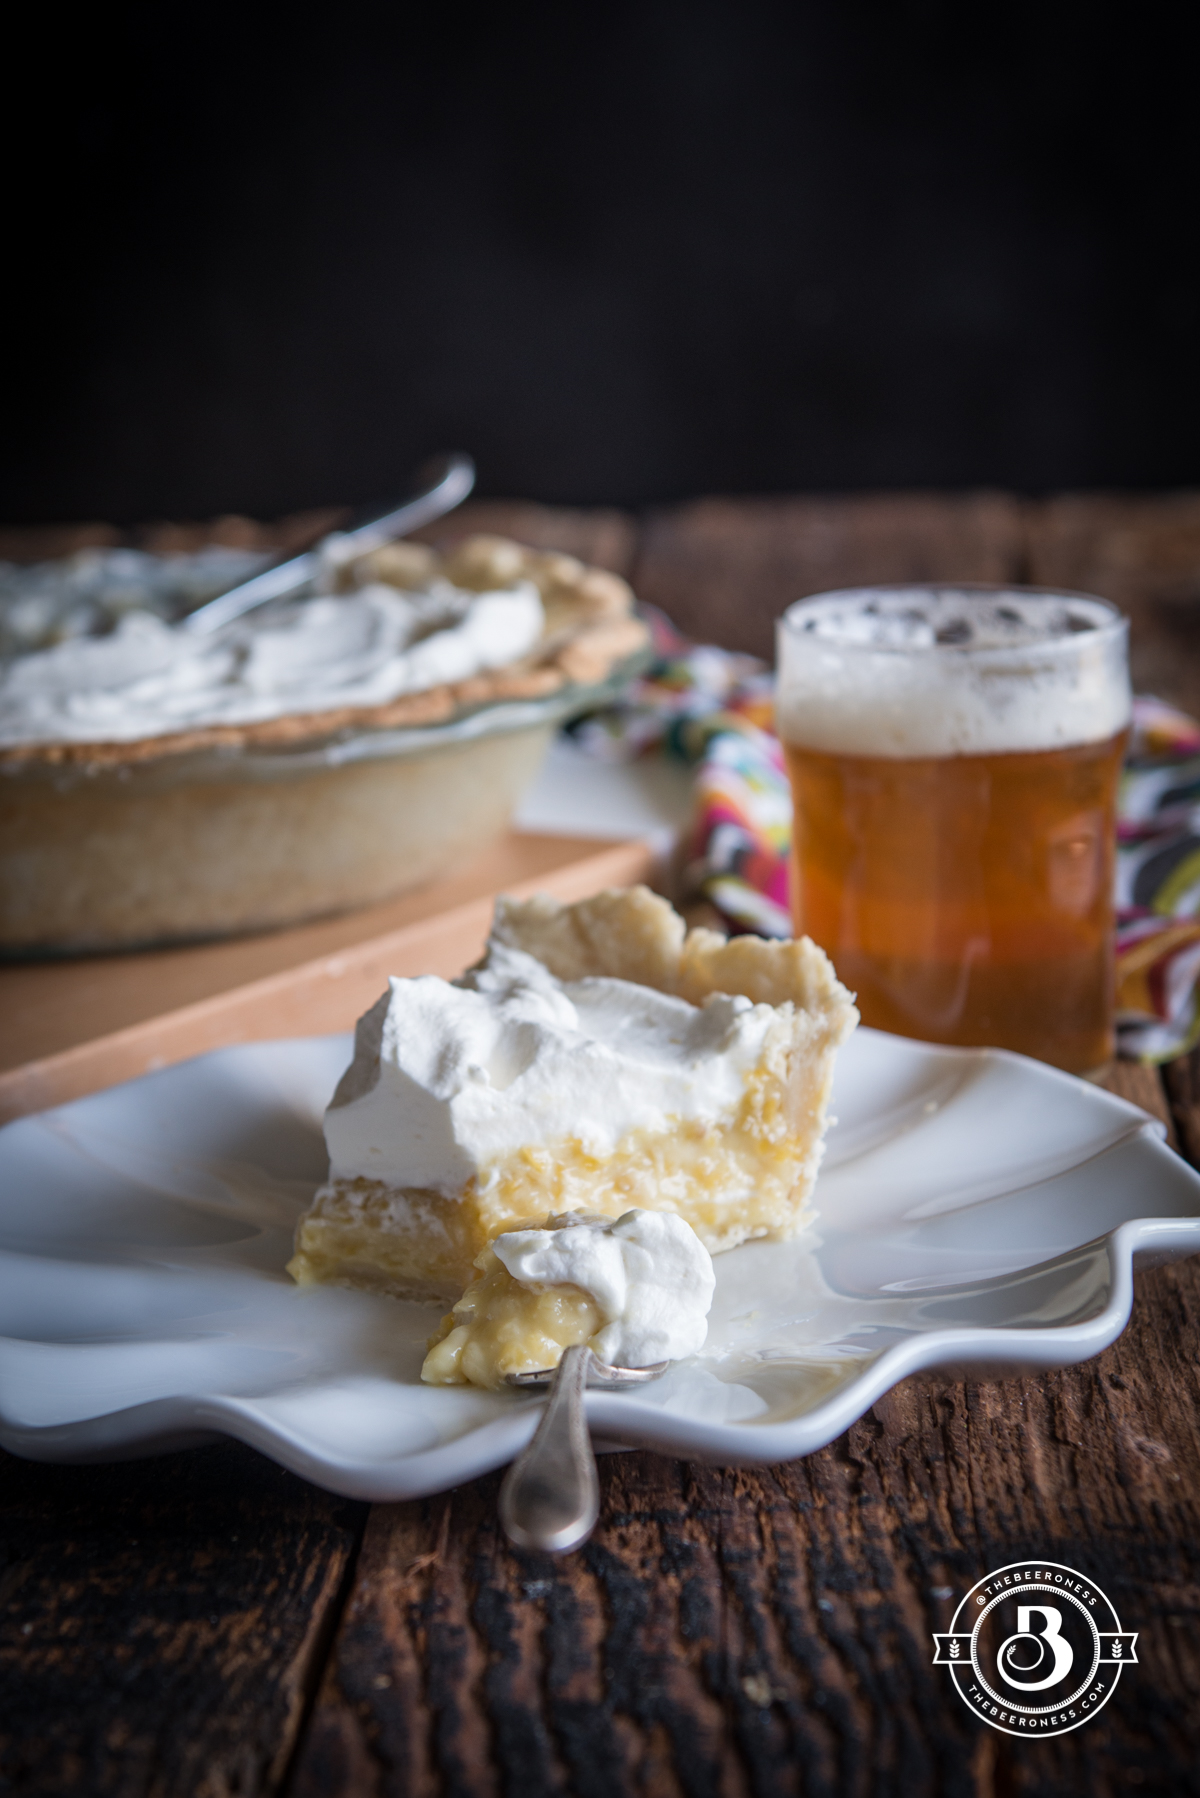
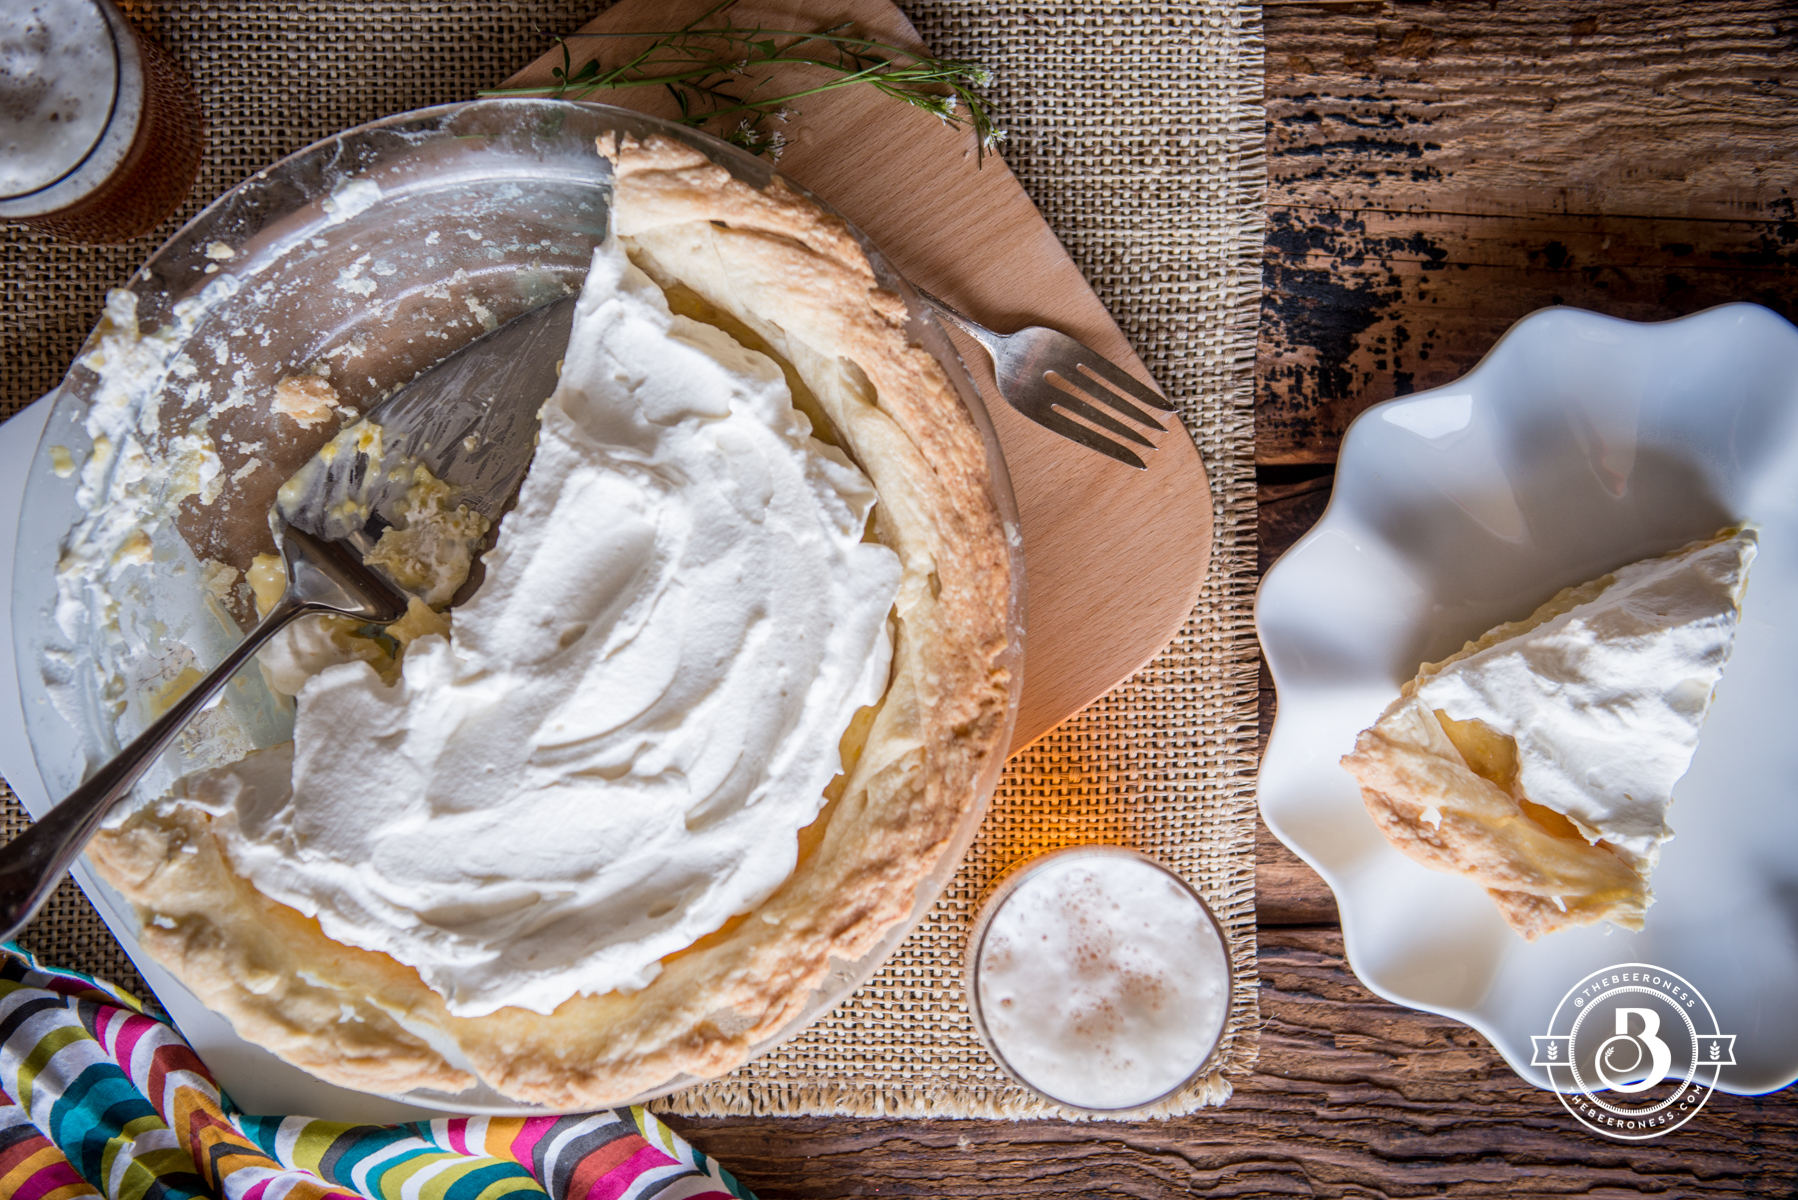
Coconut Pilsner Mango Cream Pie
We’ve already talked about how much I hate bananas because they’re basically portable baby food and you need to eat fruit like a grownup who has teeth. Unless you don’t have teeth, then you get a pass.
I don’t get jealous of people eating them raw like a jungle creature, but I DO get jealous when I see the pie. YOU KNOW THE PIE. The one that’s creamy and looks so delicious, until you get close enough to smell it and it smells like baby food and jungle creatures. It’s usually served at those diners that your grandma frequents that serves food that tastes like hangovers and road trips but in a good way.
So, I decided to make a [that one fruit] cream pie, but with far, far superior food. One that takes physical and mental dexterity because it’s so tricky to get to the fruit meat. If you ranked fruit according to how easy it was to get into your mouth without pit or peel, mango would be a solid 8 out of ten. Not as hard as a lychee, but MUCH harder than a banana. But SO worth it because while bananas taste like what it would be like if fruit had assholes, mangos taste like a beach vacation with unicorns.
And I think we can all agree, no matter where you stand on the idea of putting a banana in your face, mango is just way better. So let’s make a mango pie and drink some beer.
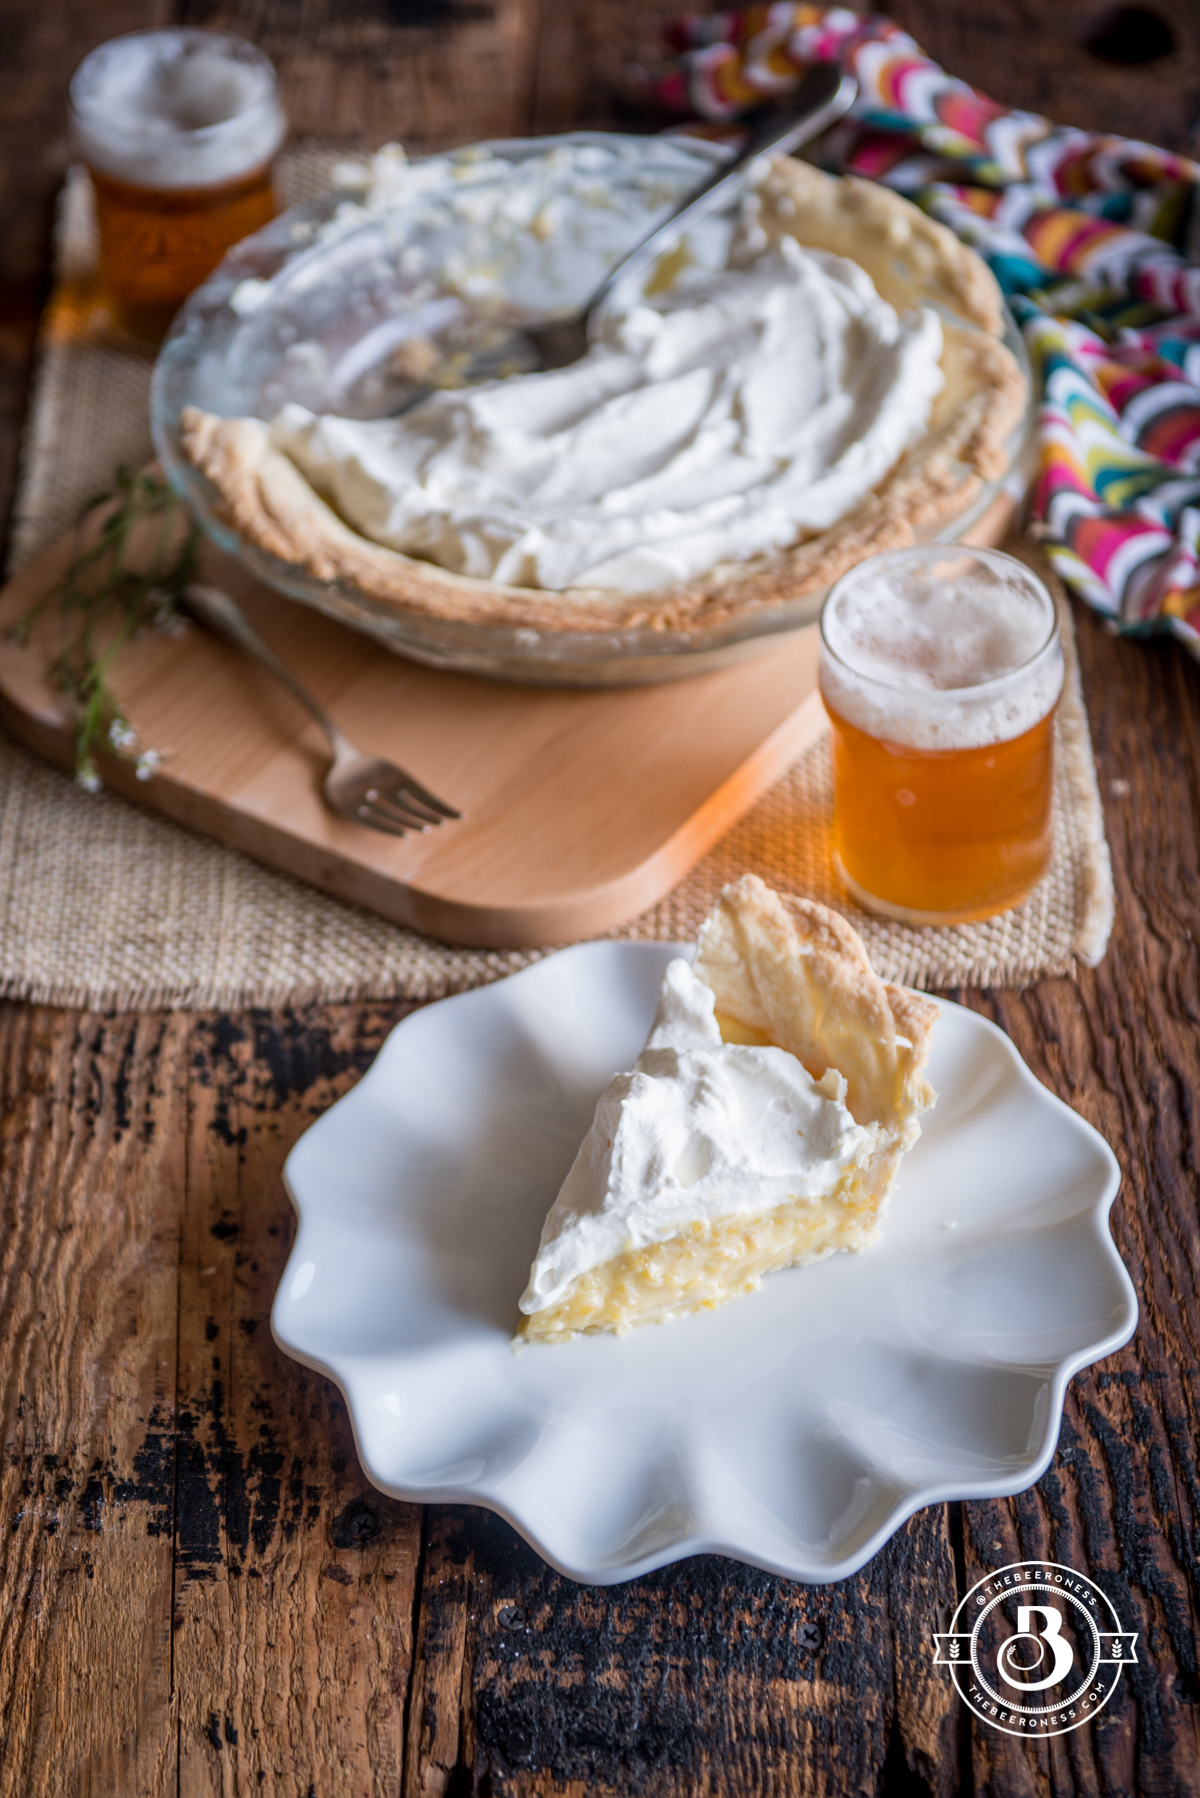
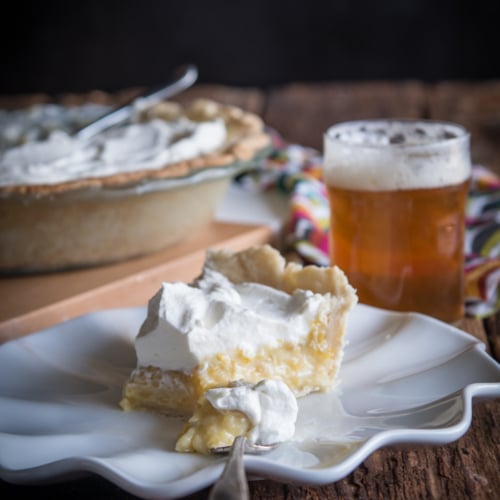
Coconut Pilsner Mango Cream Pie
Ingredients
Crust:
- 1 ¼ cups (150g) all-purpose flour
- 1 teaspoon salt
- 1 tablespoons sugar
- 10 tablespoons (142g) cold unsalted butter, cut into cubes
- 3 tablespoons cup ice-cold pale ale or pilsner
Filling:
- 1 large mango Tommy Atkins, Palmer
- 1 can (15oz) full fat coconut milk
- 3 tablespoon cornstarch
- ¼ cup (2oz) beer (pilsner or hefeweizen)
- 1 eggs
- 2 egg yolks
- 1 ¼ cups (250g) granulated sugar
- 2 tablespoons (28g) lime juice
- ½ teaspoon salt
For the whipped cream:
- 2 cups (460g) heavy cream
- ¼ cup (30g) powdered sugar
- 1 teaspoon vanilla extract
- pinch salt
Instructions
Make the crust
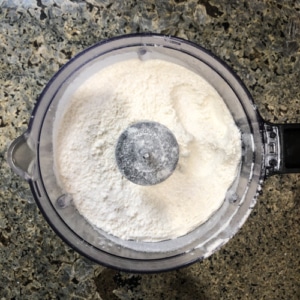
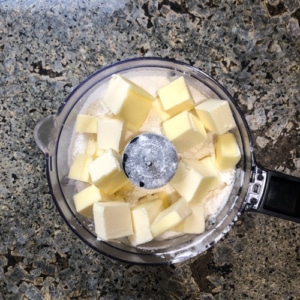
- Add ¾ cup of flour, salt, and sugar to a food processor, pulse to combine. Add the butter, process until well combined and dough gathers around the blade.
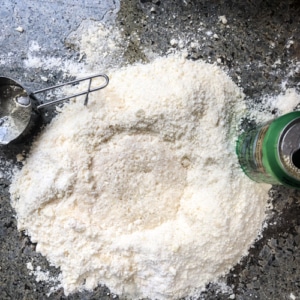
- Add the remaining flour and pulse 6-8 times or until all the flour has been coated.
- Transfer to a bowl. Using a rubber spatula, stir in the beer until completely incorporated into the dough. Dough will be very soft.
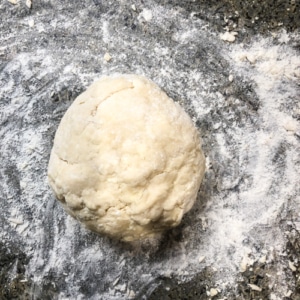
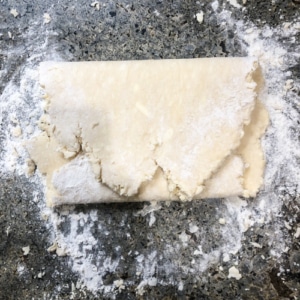
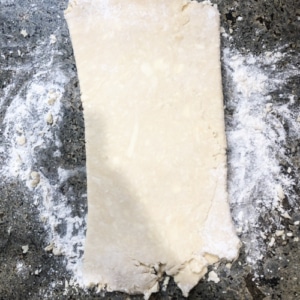
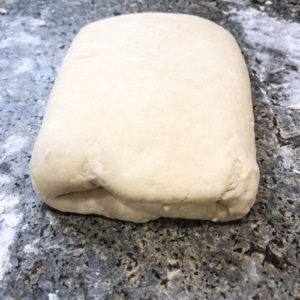
- Lay a long sheet of plastic wrap on a flat surface.Add the dough to the center of the sheet, Form into flat disks.Wrap disk tightly in plastic wrap, chill until firm, about 1 hour and up to 5 days.
Make the filling
- Preheat oven to 350°F.Add the flesh of the mango (peel and pit removed) to a food processor, process until smooth.
- Add the mango puree along with the remaining filling ingredients to a pot, off heat. Whisk until well combined.
- Add the pot to medium-high heat, bring to a boil, whisking continuously. Boil until thickened, about 6 minutes, remove from heat.
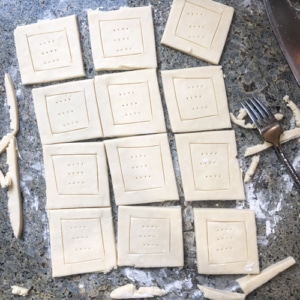
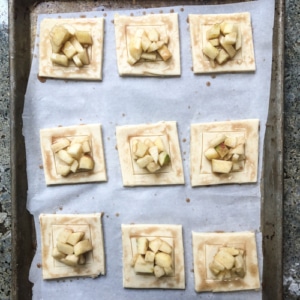
- Roll the dough out on a lightly floured surface into a large circle. Line the pie plate evenly with the dough. Pour the filling into the piecrust.
- Bake for 25-30 minutes or until the crust has turned golden brown. Remove from oven, allow to cool to room temperature. Transfer to the fridge, chill until set, about 3 hours and up to 24.
- Make the whipped cream
- Add the whipped cream ingredients to the bowl of a stand mixer, mix on high until well-combined and soft peaks form.
- Top the pie with whipped cream, slice and serve.