I once knew a man who lived to be 101. We had a bit of an unlikely friendship, since he had reached retirement age long before I was even born. He was smart, funny, and seems to have no concept of the age gap, reminding me that once his hip was better, he would take me dancing and then I would fall in love with him and leave my husband.
Life was a constant opportunity to make people laugh, and he took full advantage of it.
When he moved to Los Angeles in the 1940’s to get his pneumonia stricken daughters out of the frigid East Coast winters, he was without money, without a job, and without an education. He walked in to a Taxi company headquarters and asked for a job. He had a fantastic driving record and a winning smile, in his book, that’s the only resume he needed. As soon as the hiring manager found out that he had only live on the west coast of a week, knew nothing about Los Angeles freeways, and had never driven a cab, he shut down the interview.
"If you don’t know how to get from LAX to the Roosevelt Hotel, how are you going to get the client there??"
Jack responded with this famous smile, "Well if you don’t give me the cab, it’s gonna take a whole lot longer!"
He got the job.
Jack worked as a cab driver, running tourist from the Airport to Hollywood for over 30 years. He was also the very first Employee of the Month for the Cab company, and to date, the recipient of the most complimentary letters ever sent to the cab company about one of their employees.
As I sat with him only a few months before he died, I asked him if he had any regrets.
"Not really. The secret to living 100 years and not regretting anything is this: Do your best. Don’t hurt anyone. Make friends with anyone who will let you."
Not bad advice.
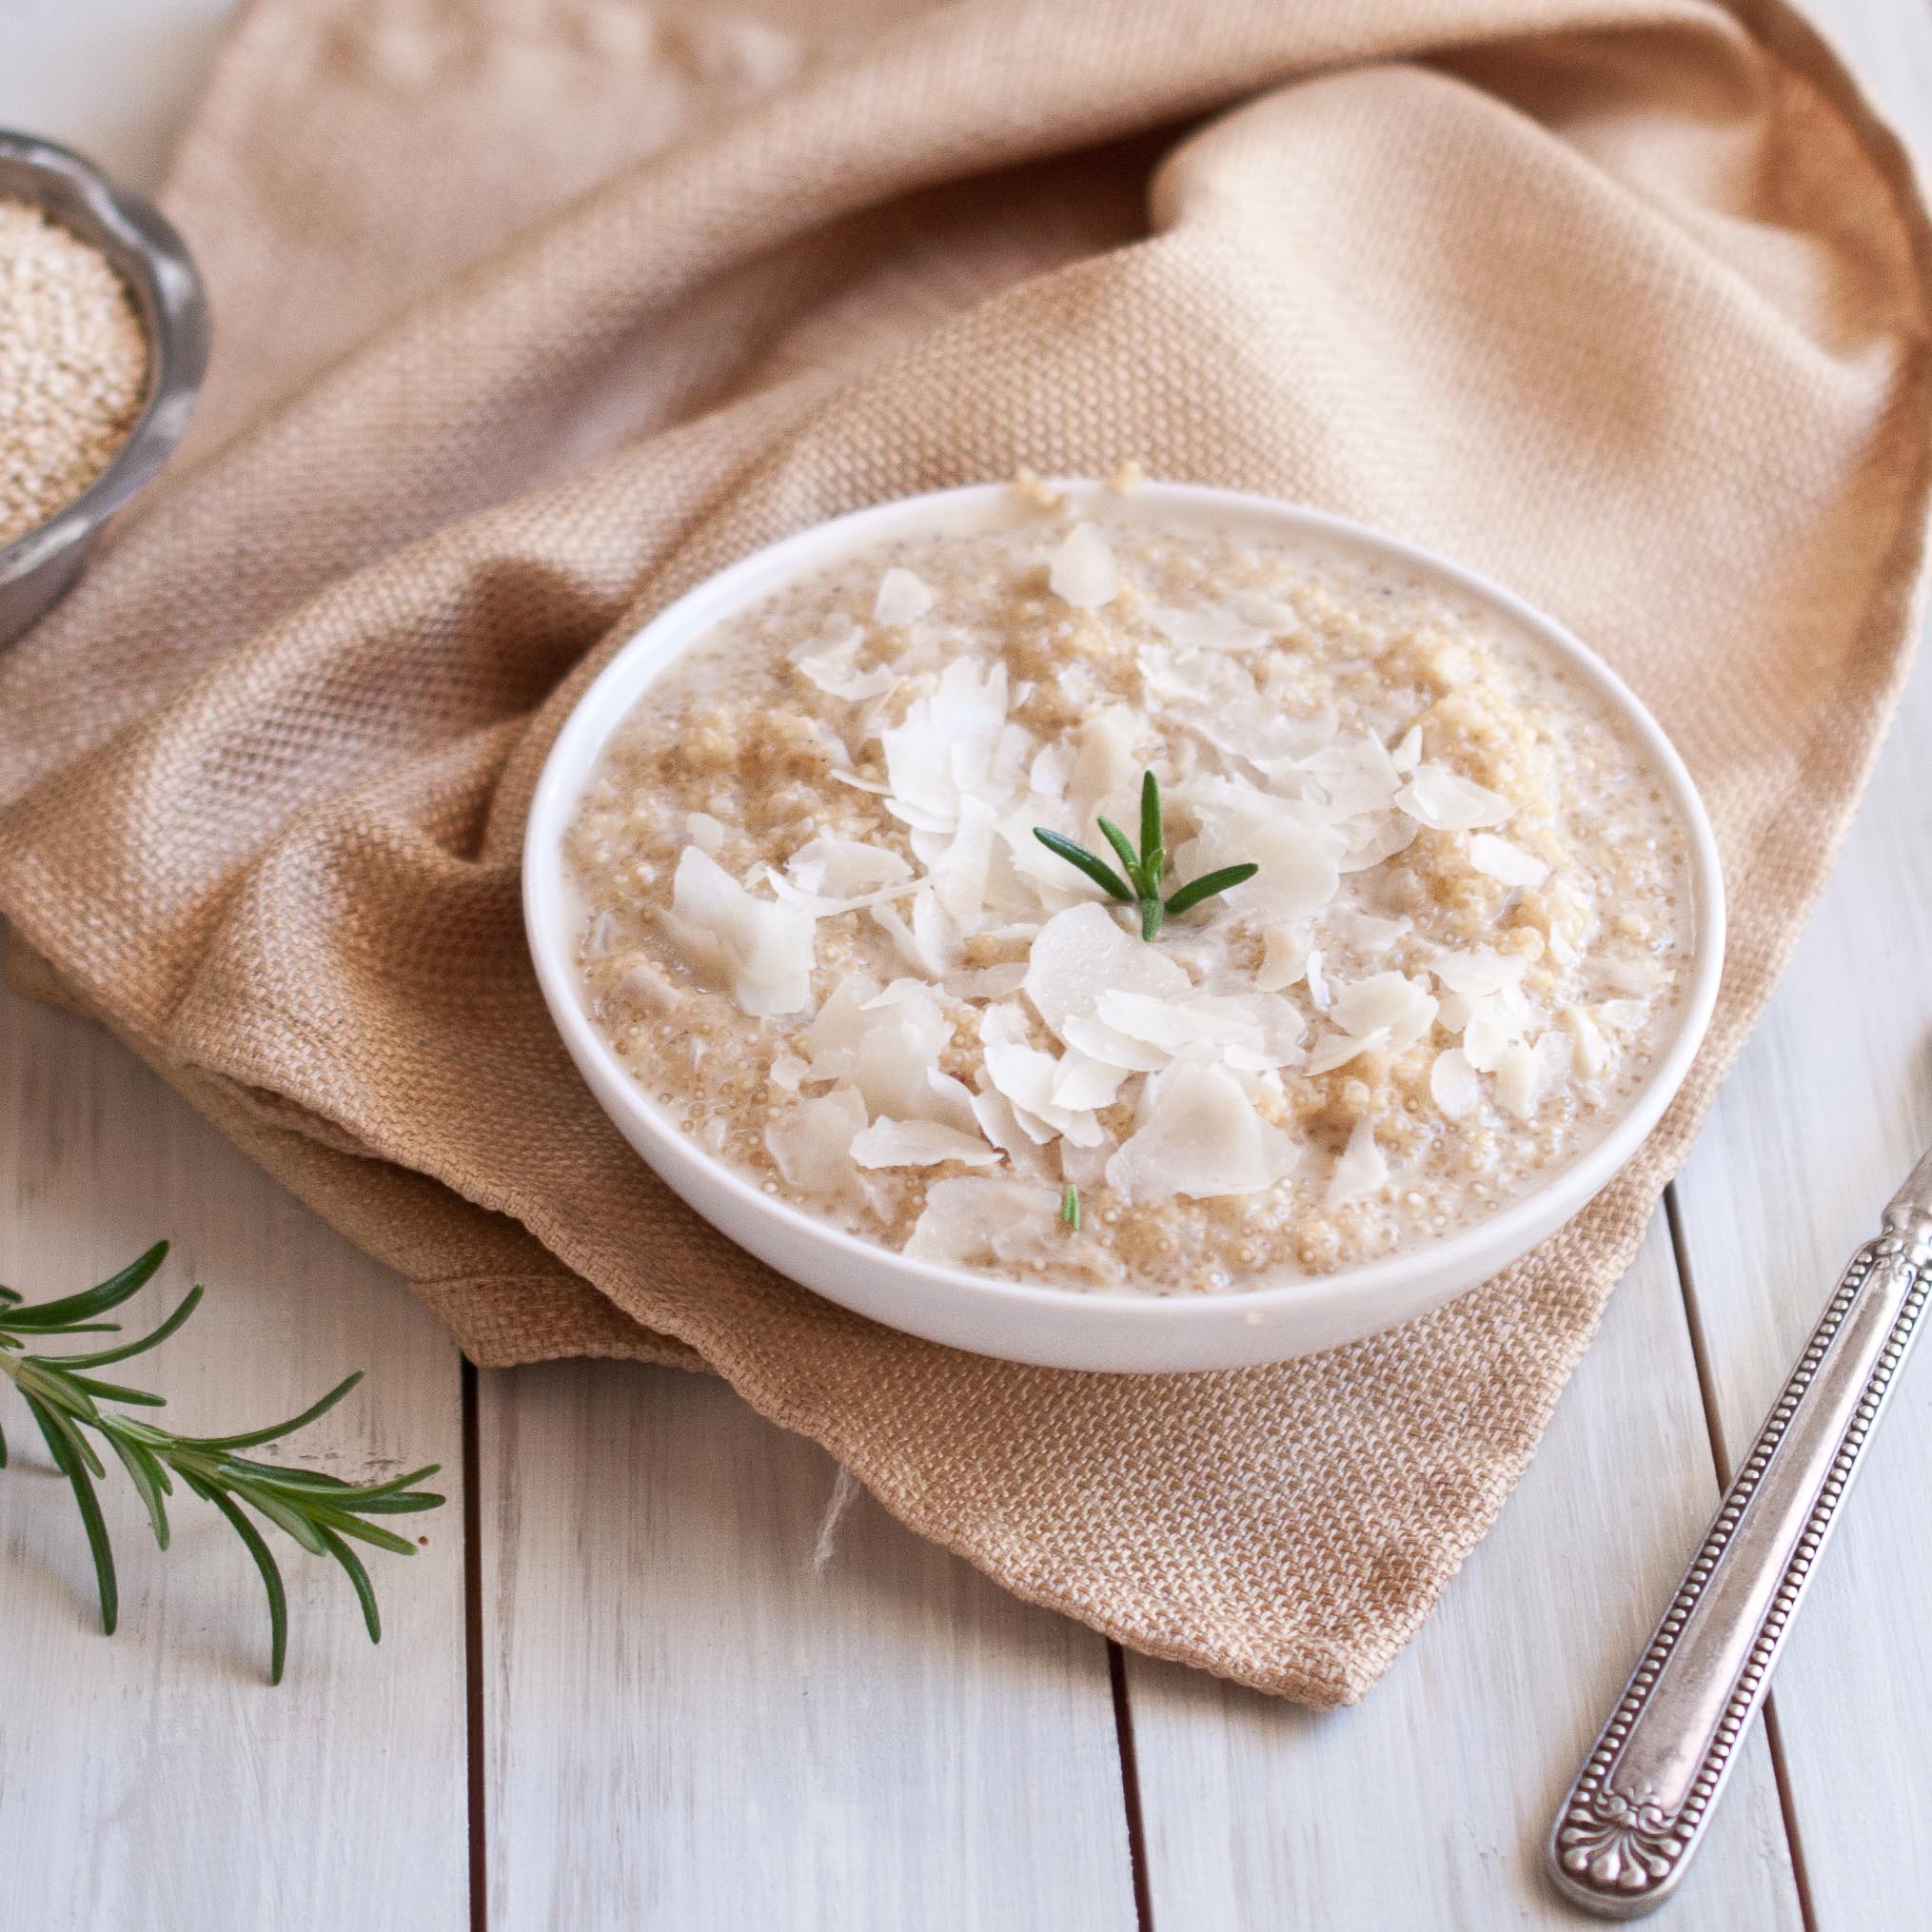
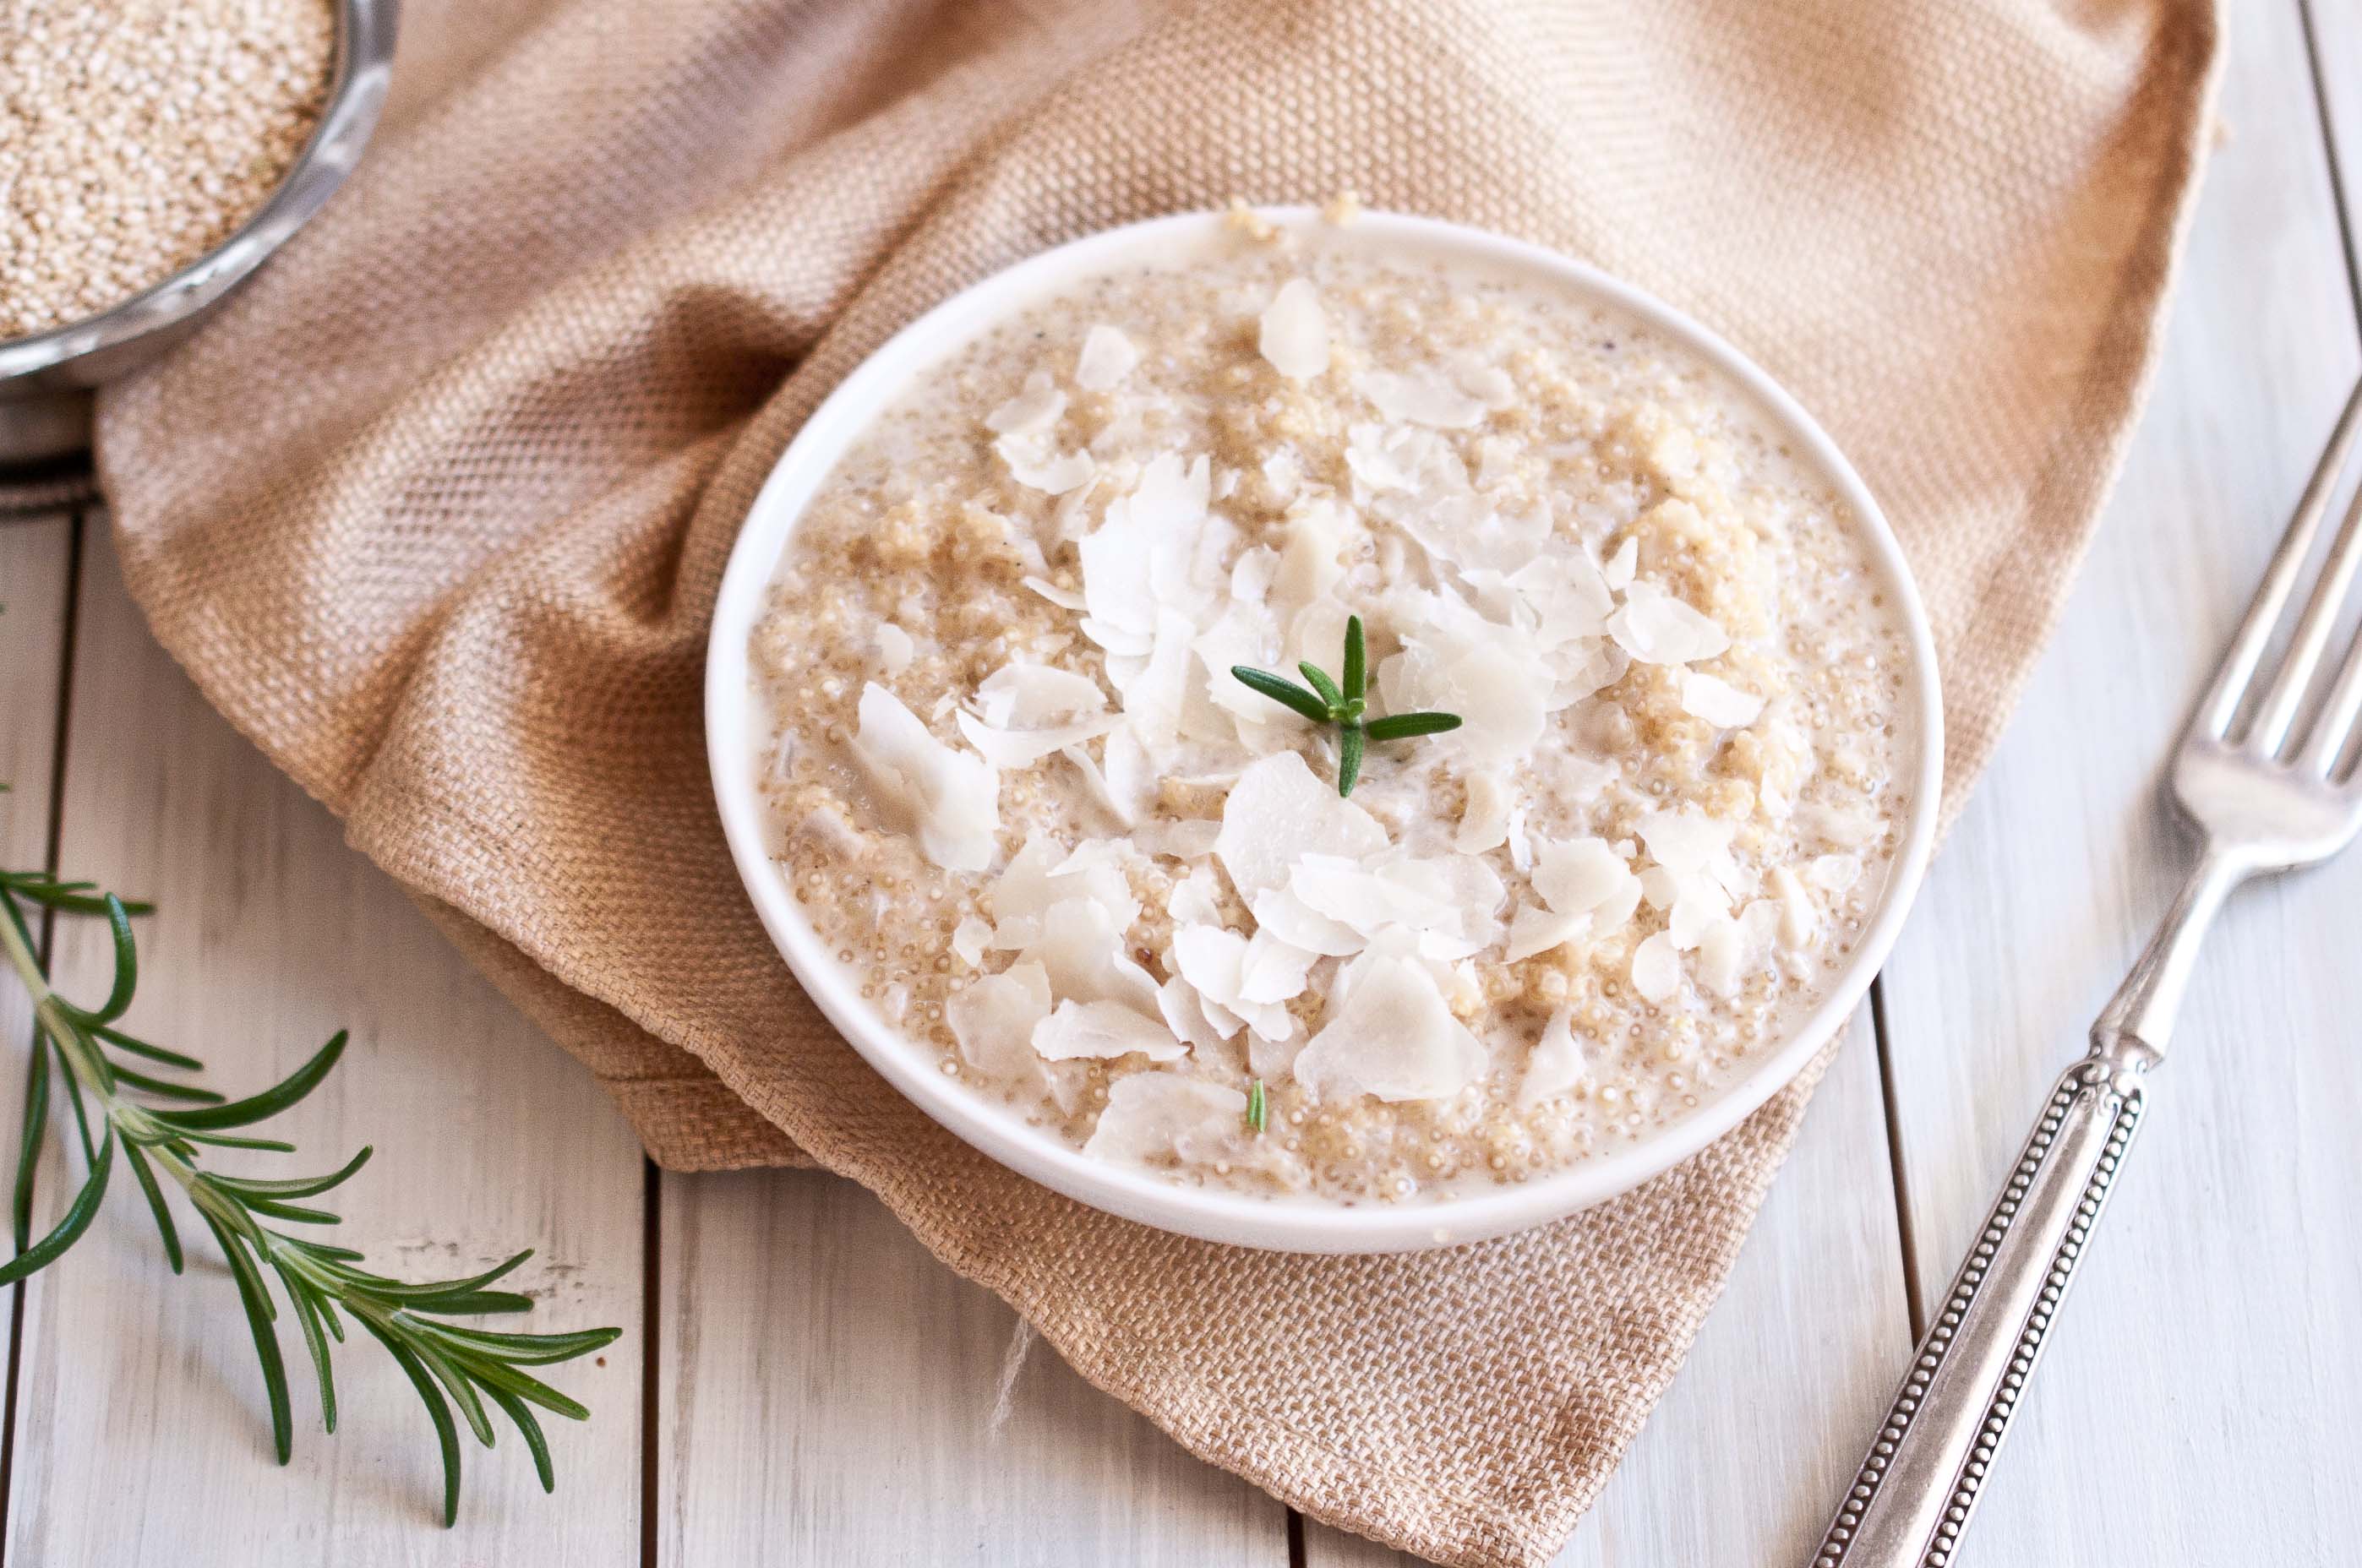
Here is another recipe to make for your friends. Sit together on long Saturday mornings, chatting, making memories and friends that will stay with you, even when you live to be 100.
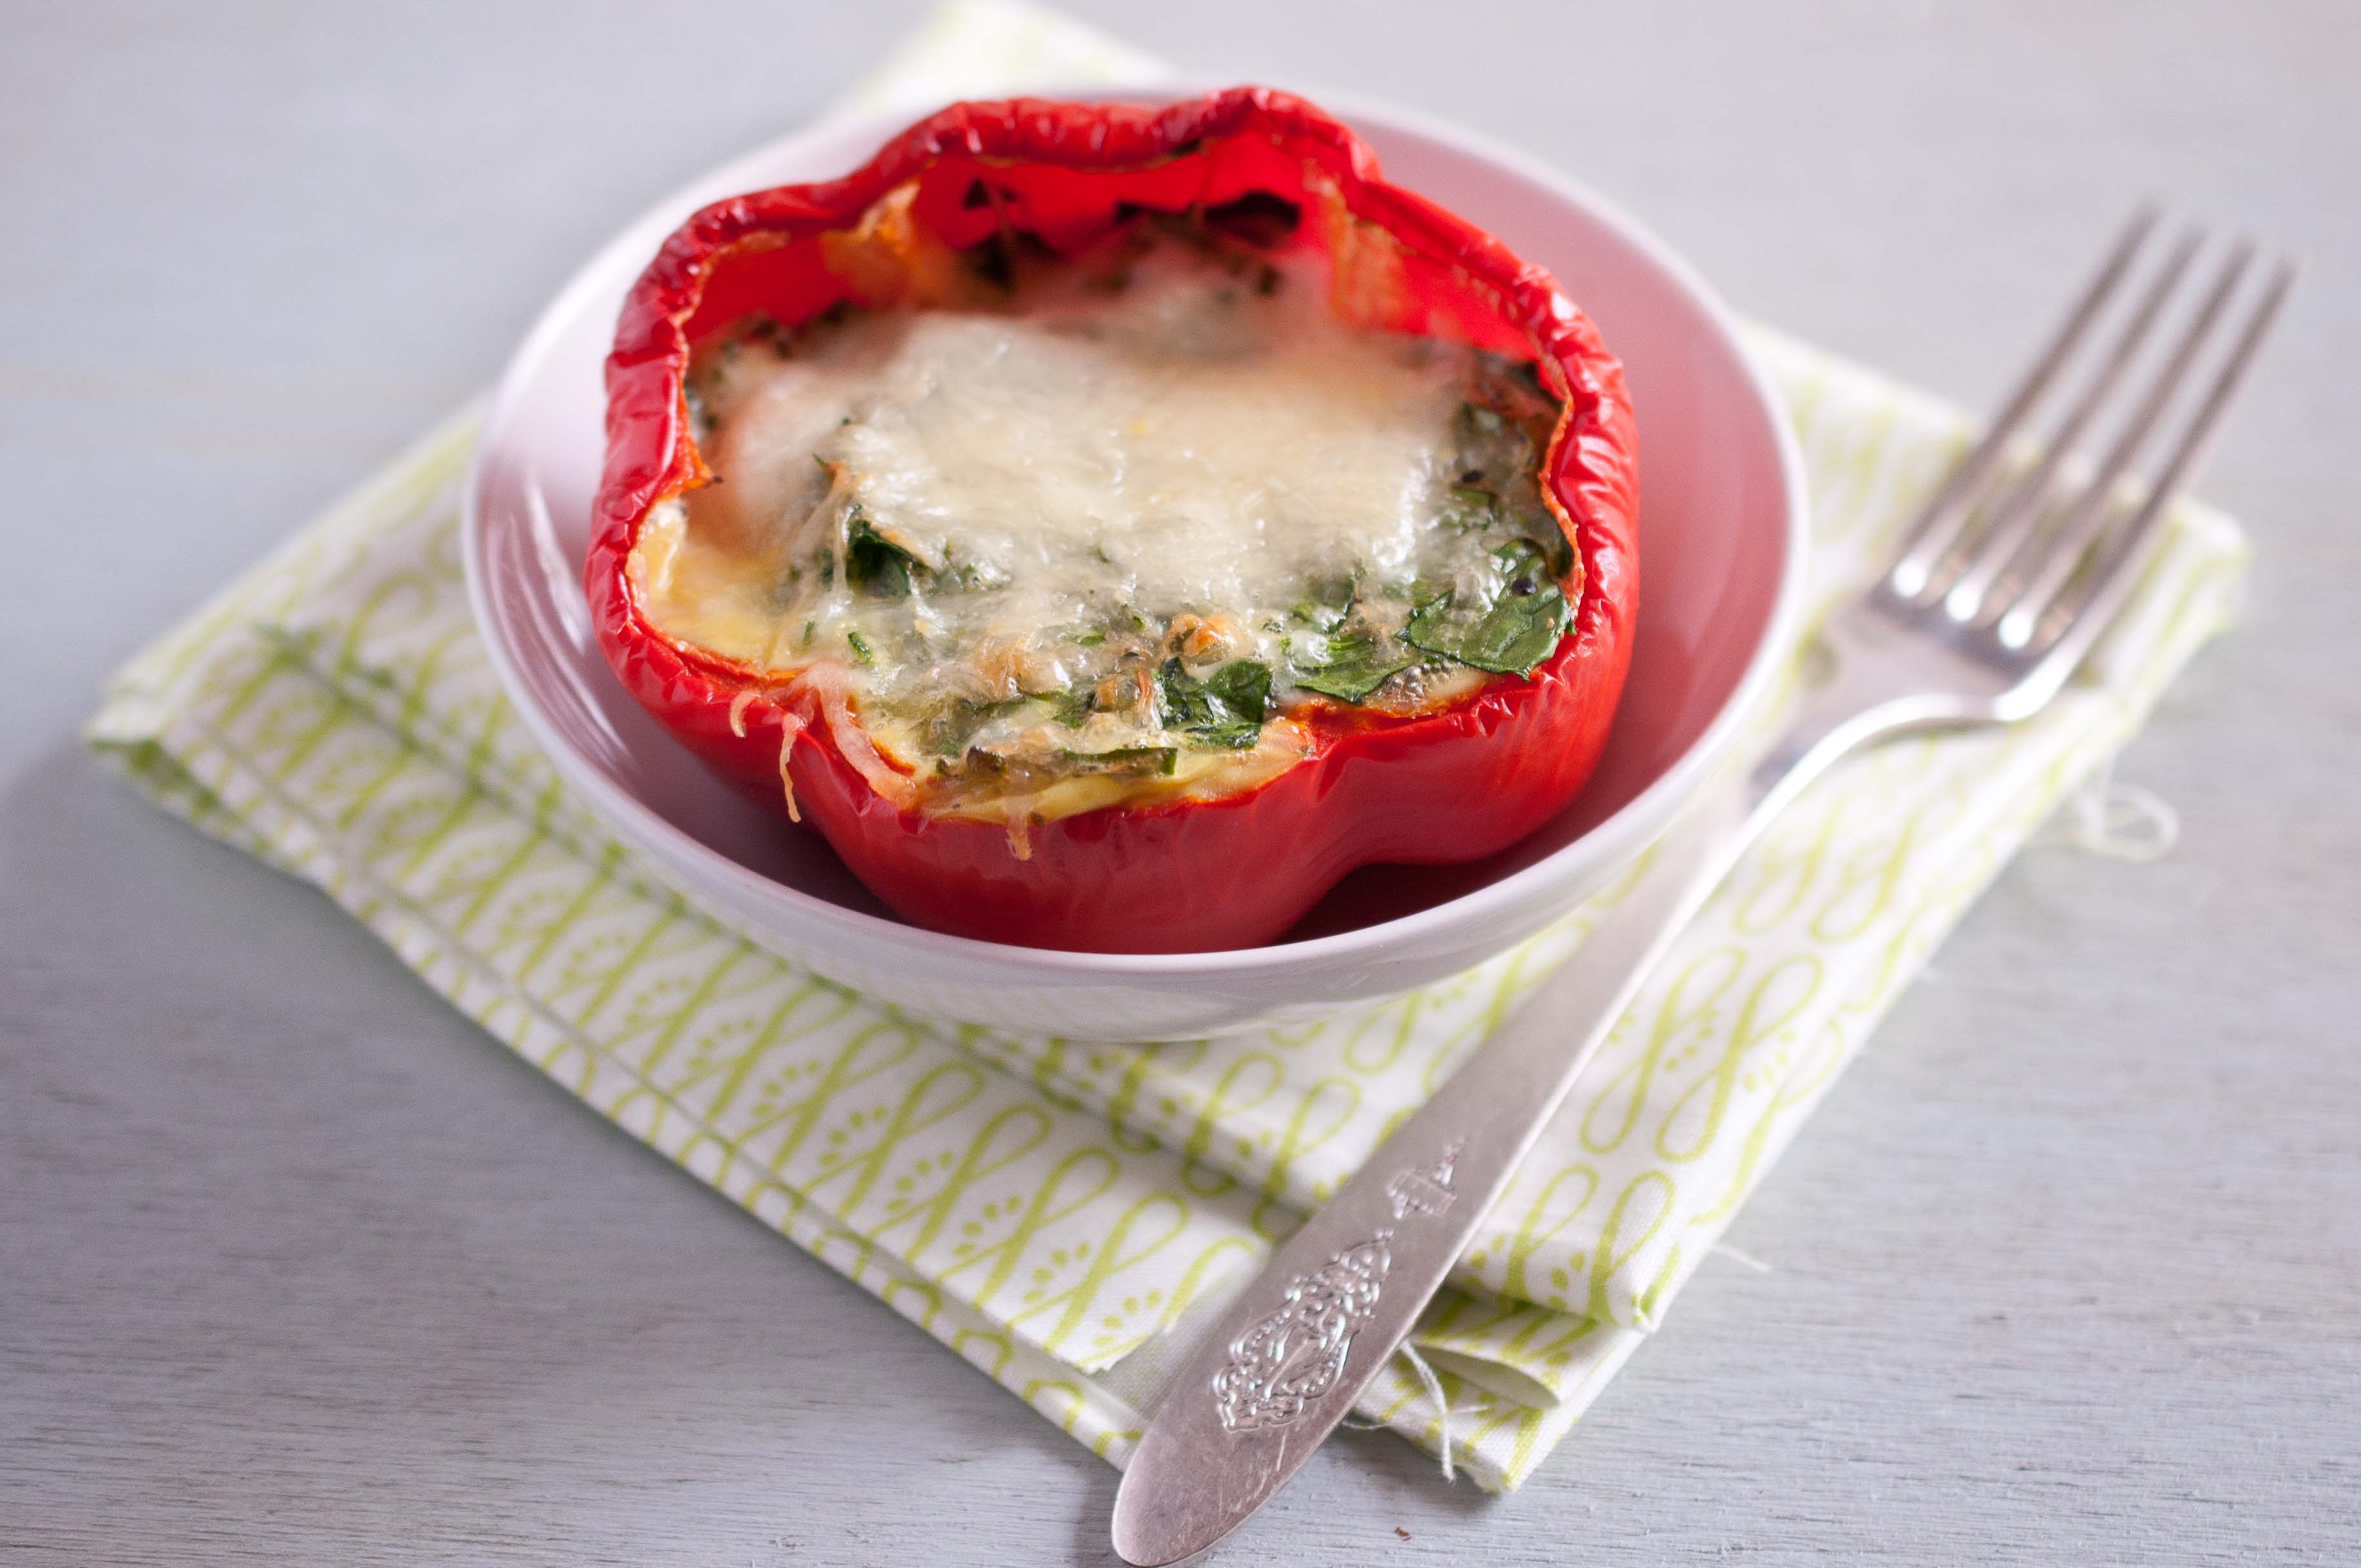
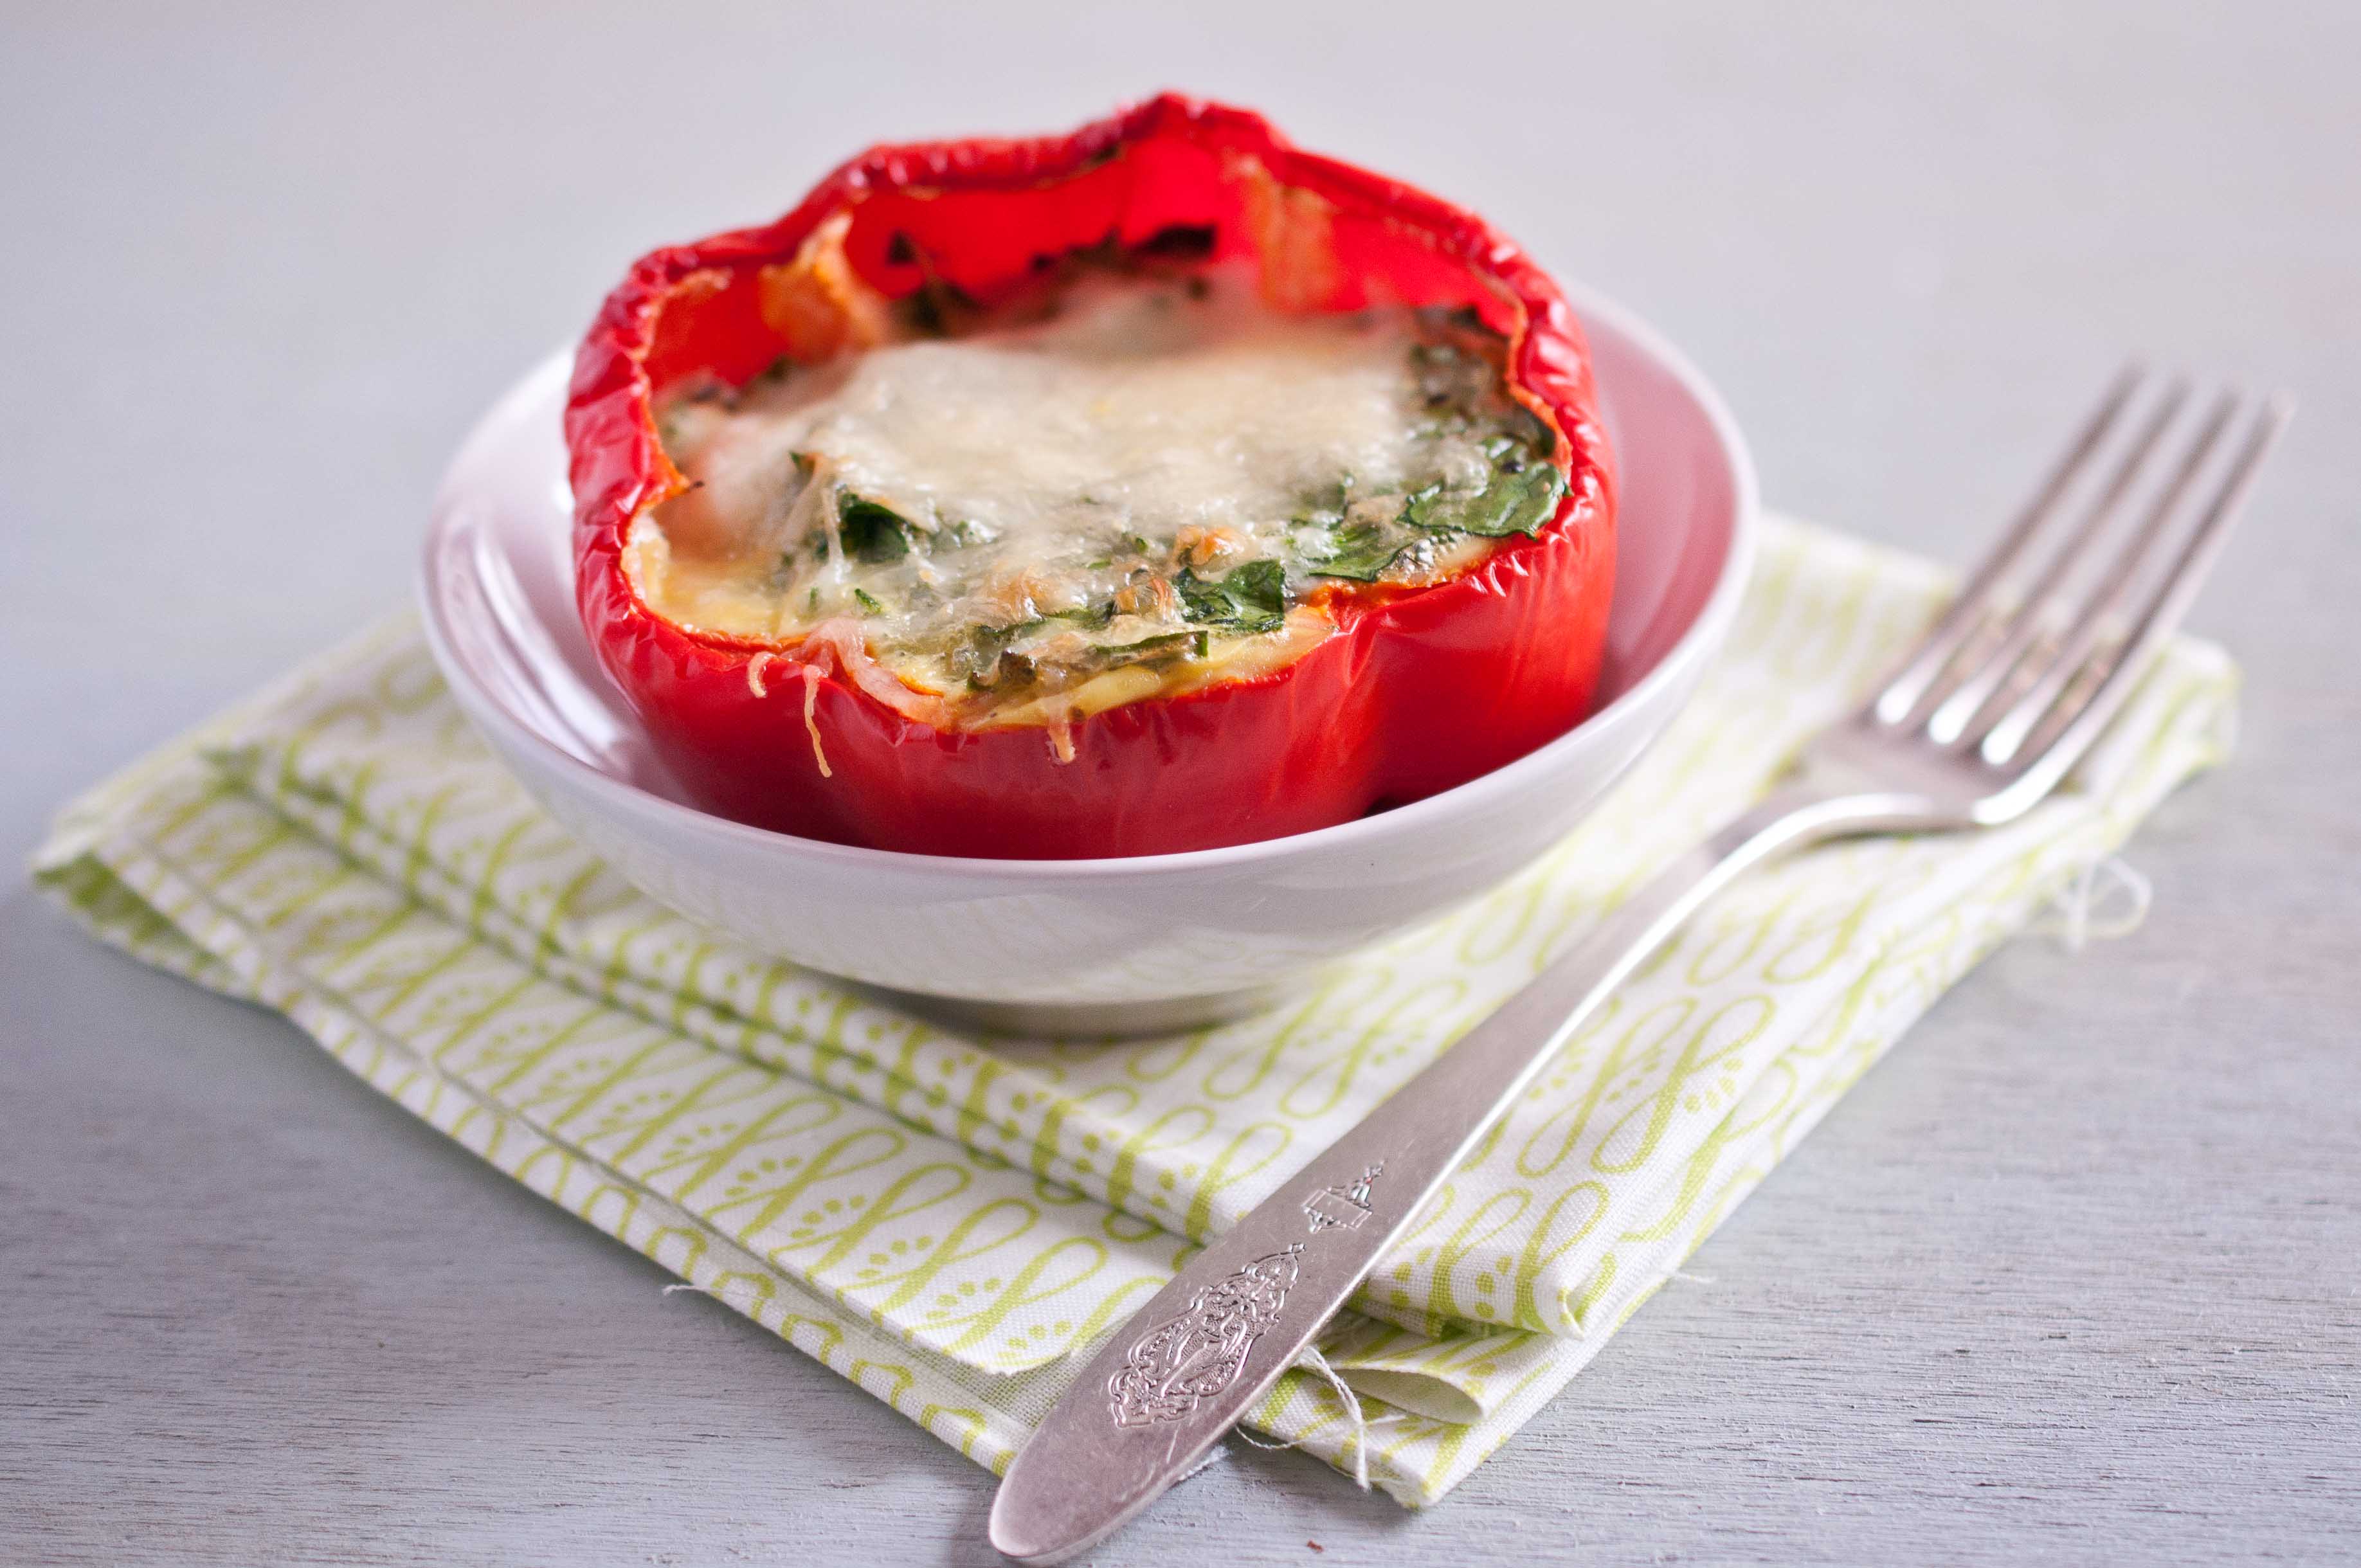
Spinach Quiche In Red Pepper Cup
4 large red bell peppers (try to find ones with flat bottoms, that will firmly stand up straight when set on a plate)
6 eggs
1/2 cup milk
1/2 cup heavy cream
3 raw breakfast sausages, casings removed, chopped
1/2 cup shredded Gruyere or Mozzarella, (plus 2 tbs for garnish if desires)
1/4 tsp salt
1/2 tsp pepper
1 cup fresh spinach, chopped
1 tbs scallions, chopped
Place oven rack on the lowest position and preheat oven to 350.
Cut the bell peppers in half, across the middle. You can chop the top half of the bell peppers, removing stems and seed, and place pieces in a freezer bag, saving it for a later meal.
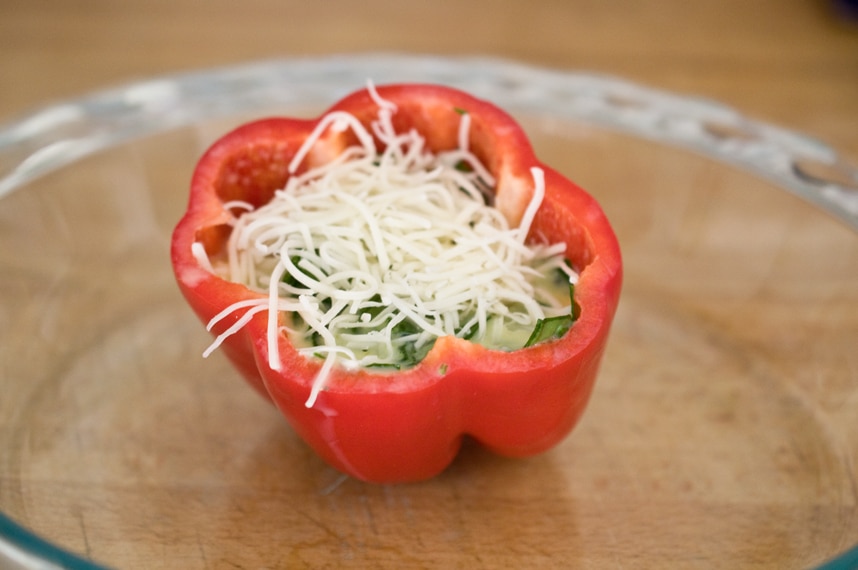
Place the bottom half of the bell peppers in a glass baking dish, cut side up. Make sure to use bell peppers that can stand up on their own, or baking them will be a challenge.
In bowl, beat the eggs until well combined. Add the remaining ingredients and stir until well combined.
If you use, chopped frozen spinach, make sure to thaw, rinse and remove as much water as you can, too much moisture won’t allow this to set up.
Place baking dish with red peppers inside the oven. Pour the egg mixture into the red pepper cups until almost full (leave about 1/4 inch to 1/2 inch space at the tops) and sprinkle with cheese, if desired.
Bake for 45-55 minutes or until the center of the quiche no longer wobbles when you gently shake the rack.