A pie post for you. I feel a little guilty about this, even though I know this is super valuable information if you were, in fact, the person who was chosen to bring the pie this year. Usually, I spend all weekend cooking, baking and photographing to present to you 3 solid posts each week. But, I was at the International Food Bloggers Conference all weekend and I didn’t get a chance to indulge in my weekend food rituals. I did, however, have an awesome non-cooking weekend meeting all of those friends that I only see in the computer, giggling over glasses of wine, eating beautiful & copious amounts of food, making juvenile jokes, and turning on-line friendships into lasting ones.
So, instead of trying to "throw something together" that isn’t worth the web space it takes up, or just forgetting about you and how much I value your visits to my little corner of this huge blogland, I am providing my picks for the BEST pies for Thanksgiving.
Pie that is both familiar and brand new. Three are made from my own hands, and two are picks from other very talented bakers that I love and hope to try out some day.
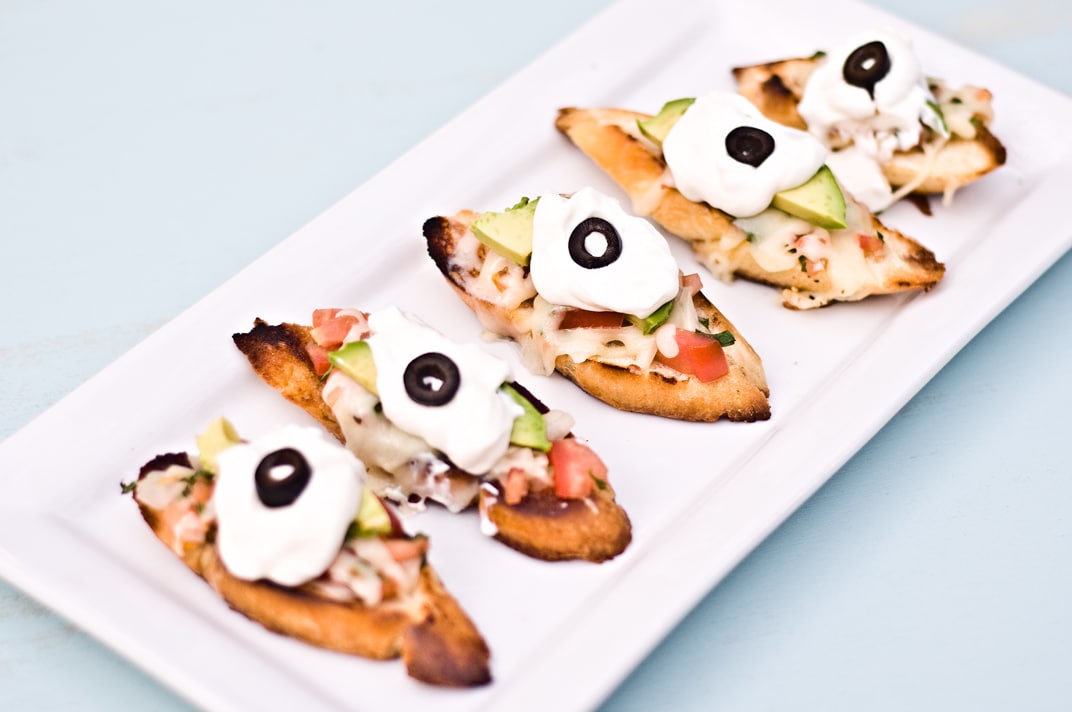
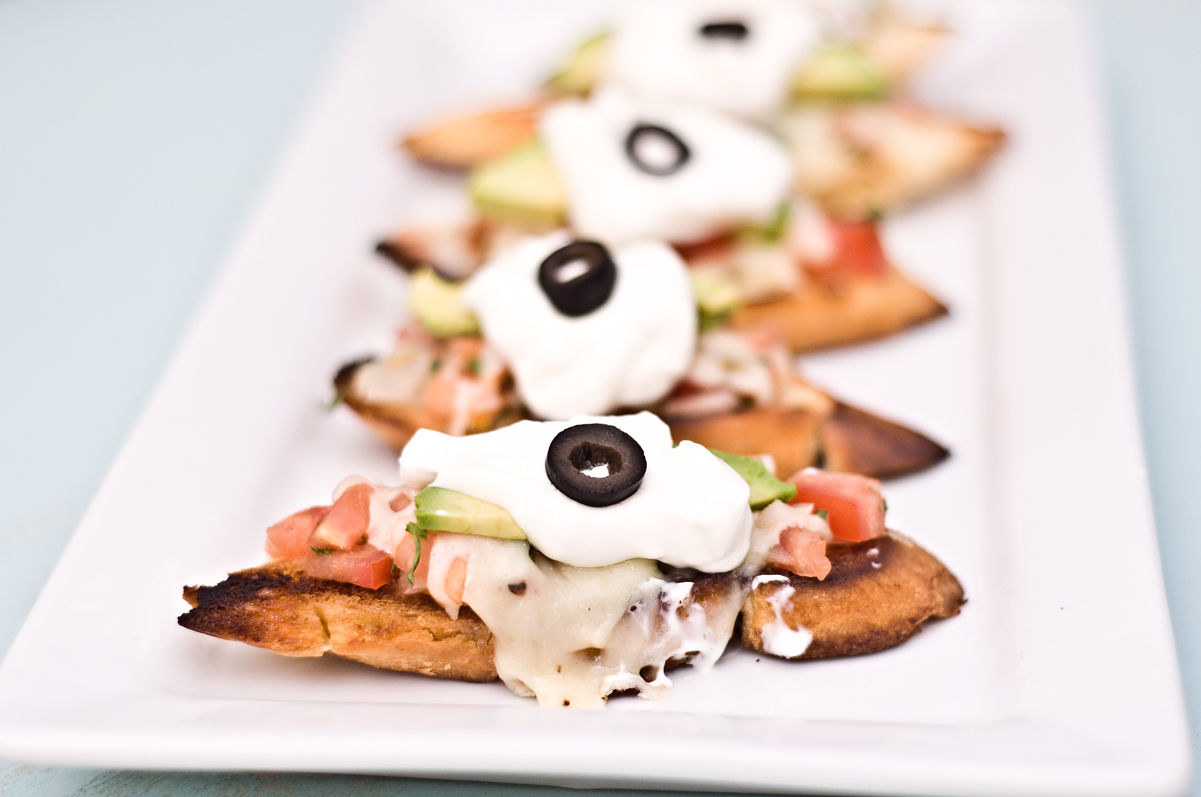
I do have a great post lined up for Friday, an amazing pre-Thanksgiving appetizer.
And next week I will be bringing to you fun, delicious and inventive ways to use leftovers.
But for today, please enjoy my favorite twists on old favorites. And forgive me for "calling in sick" today.
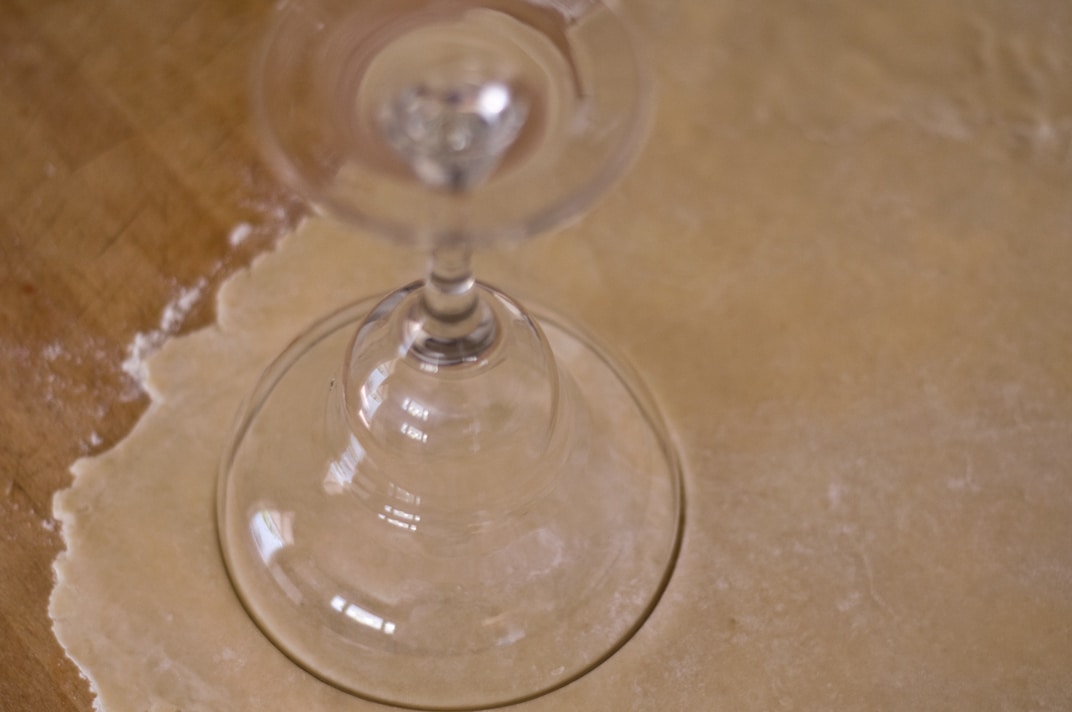
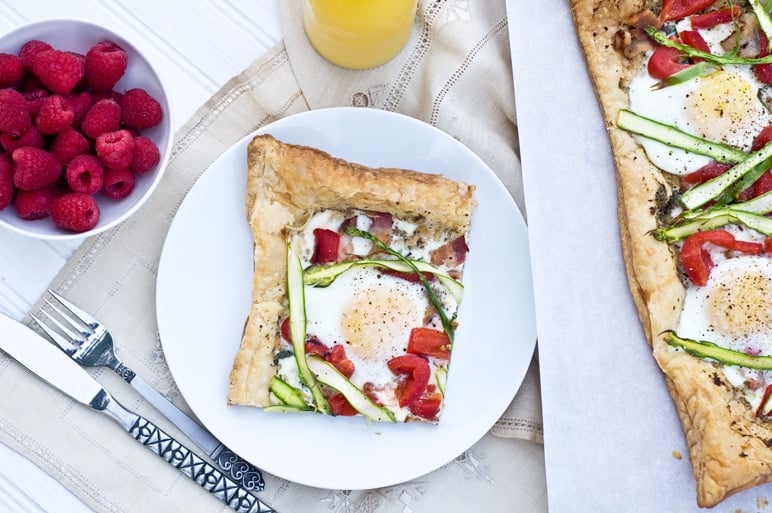
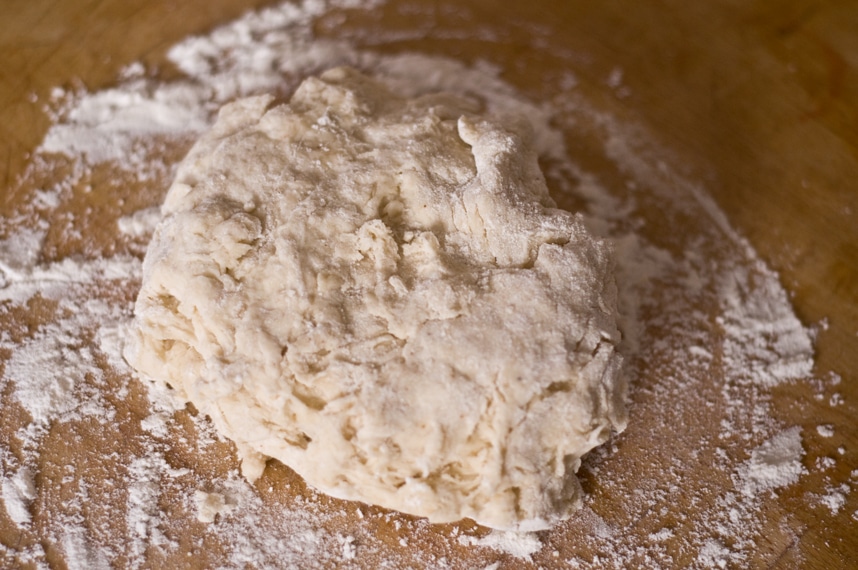
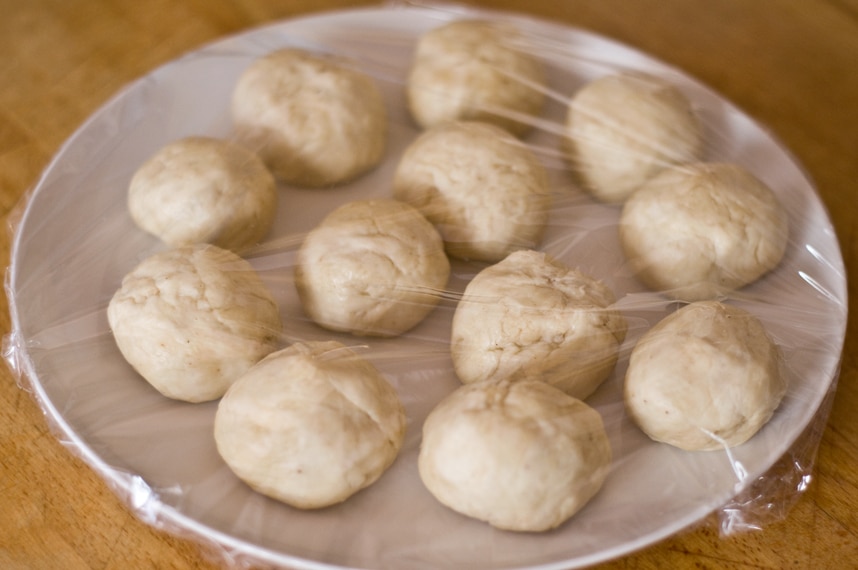
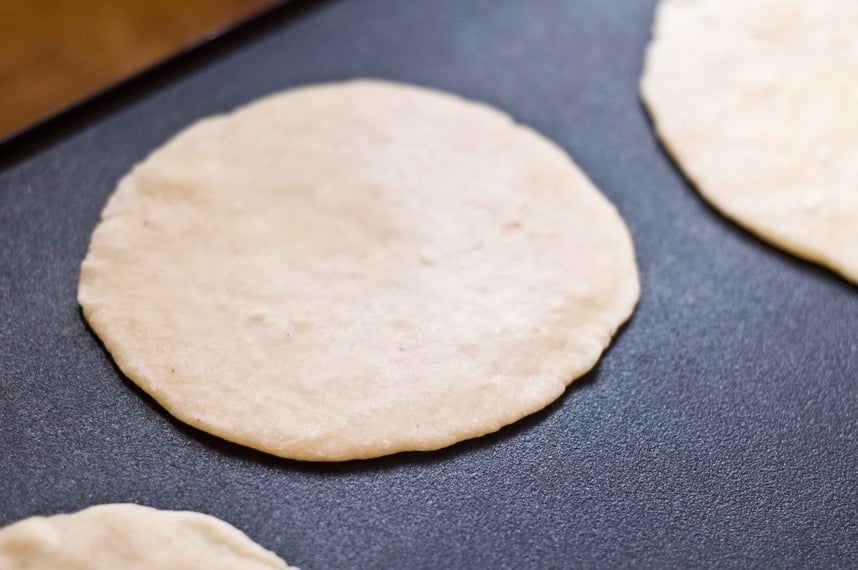
Staring with an EASY and delicious homemade crust is a must.

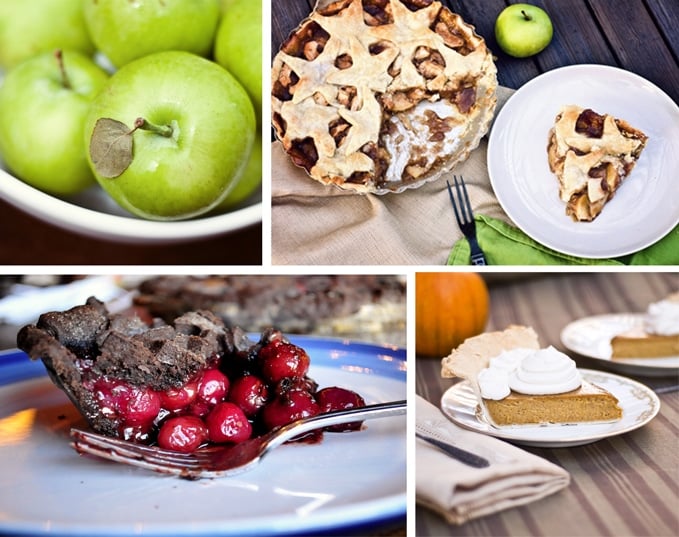
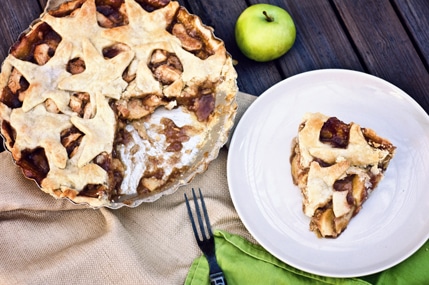
1. Caramel Apple Pie: Traditional Apple Pie with a Creamy Caramel Makeover
This will become a family favorite. Creamy caramel, apples and an adorable start crust.
2. Chocolate Covered Cherry Pie: A Chocolaty Version Of A Traditional Pie
This beauty includes a chocolate pie crust, chocolate ganache and fresh cherries. Even Warrant would be proud.

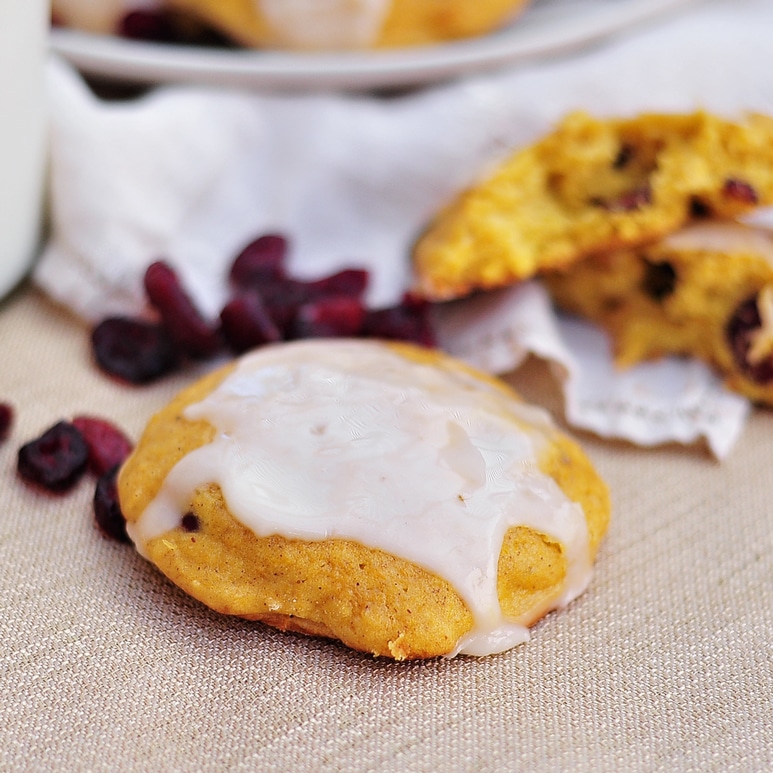
3. Sour Cream Pumpkin With Bourbon Whipped Cream: A Creamy Boozy Version Of A Fall Favorite
Pumpkin pie is a Thanksgiving staple. Make the best one they have ever had and top with a bourbon whipped cream.

4. Chocolate Pecan Pie: From She Wears Many Hats
I have been wanting to try to make a Chocolate Pecan Pie and this one looks pretty damn perfect.
 5. Spicy Sweet Potato: From Bitter Sweet
I love the spicy take on a southern favorite

Take a second to like my Facebook Page to receive info about new post in your feed.


