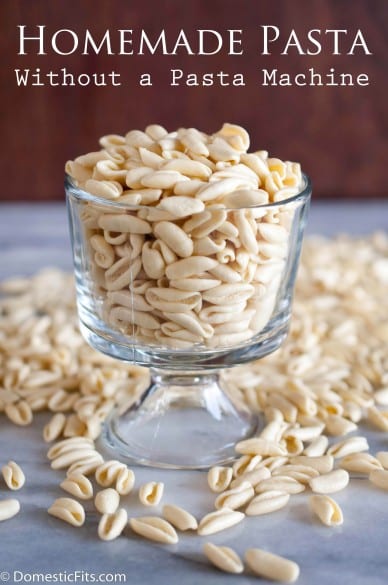
Homemade raviolis are a food lovers endeavor. It’s time consuming, physically trying, and a bit tedious. There are plenty of places that can sell you beautiful hand made raviolis, but you do it because you want to be there. In the kitchen, shoulders aching from kneading, hands covered with yolk and flour, feeling a connection to the Sicilian grandmothers who stood barefoot on unfinished wooden floors teaching the art to their eager but bored grandchildren.
It’s as much about the journey as it is about the cheese filled destination. I love homemade pasta, there is something meditative about the repetition of the process. I’m always glad for the time I spent, pushing myself closer to mastering the craft of pasta making. And the end product is a handsome reward for the labor.
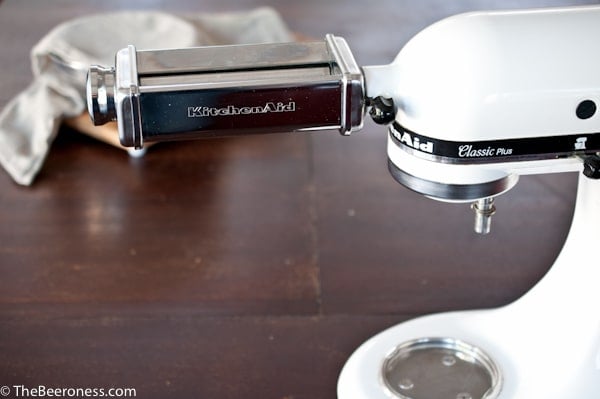
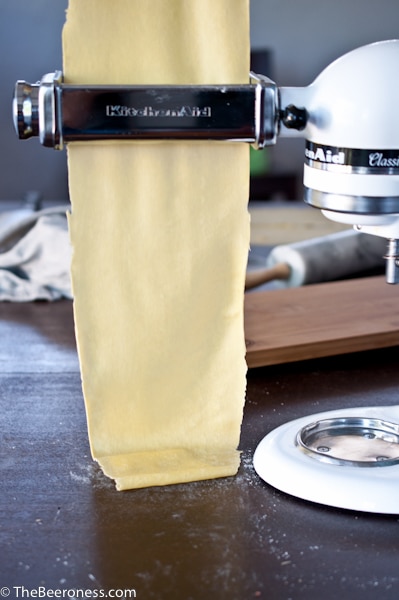
I used the KitchenAid pasta rollers. I love these, and even though they are more than most people want to spend on what will probably be an occasional use item, it’s a worth while investment. I don’t use these often, but when I do, I’m so glad I have them. The set comes with three rollers: a pasta dough roller (to make sheets), a fettuccine cutter and a spaghetti cutter. Because they’re automatic (meaning you don’t have to use one hand to crank the roller) it makes feeding the pasta into the roller fantastically easy. The KitchenAid pasta roller and cutters are also very well made and should last a life time, long enough for you to pass down to your future eager but bored grandchildren.
How To Make Raviolis
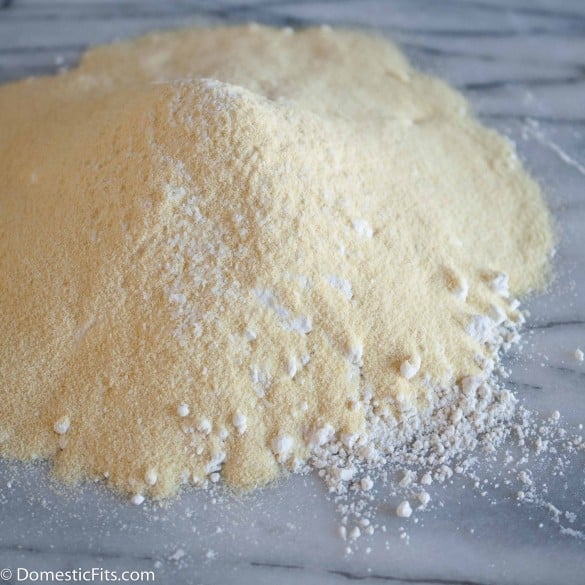
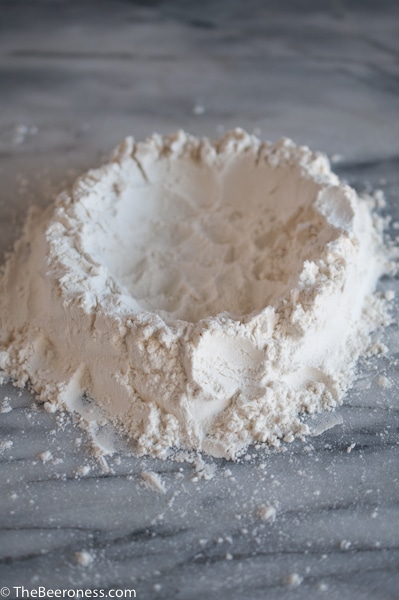
On a flat surface add the flour. Make a well with walls that are about 1 inch thick, make sure the well is large enough to hold the eggs, milk and oil.
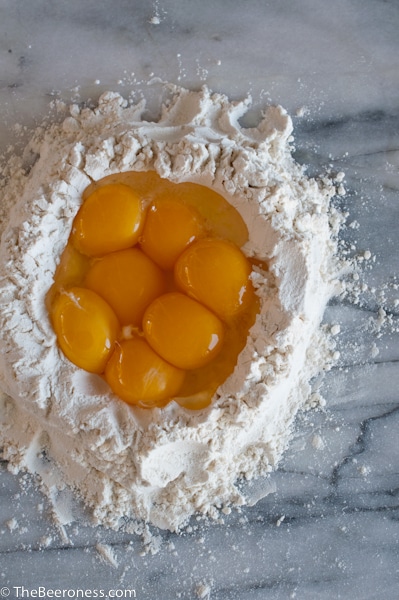
Add the yolks, egg, milk and oil. Break the yolks.
Using your fingers, or a fork, stir quickly. The motion will allow the liquid to pick up flour from the walls and will gradually become thicker. This will take about 10 minutes.

As the liquid becomes thicker, close to a paste consistency, start to push the flour walls up over and into the liquid pool. Continue to stir until the flour and liquid is mostly incorporated.

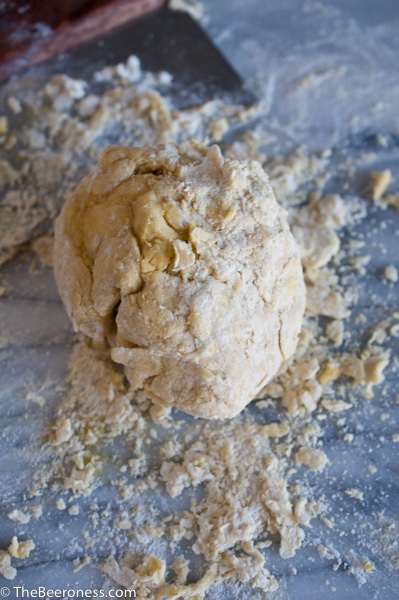
Pull the dough into a ball, it will be shaggy and seem a bit dry.
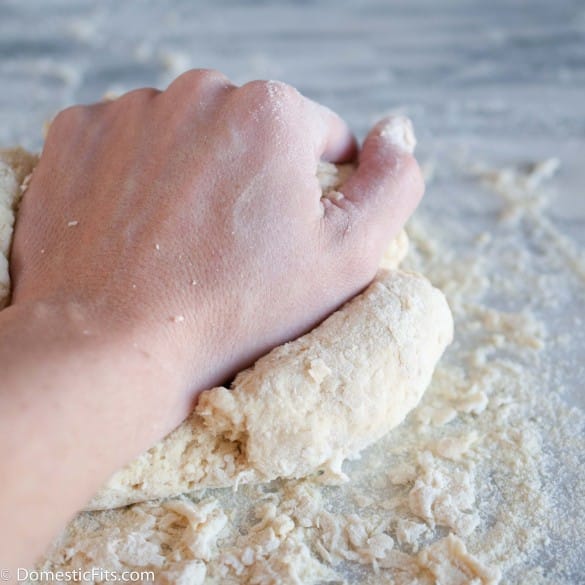
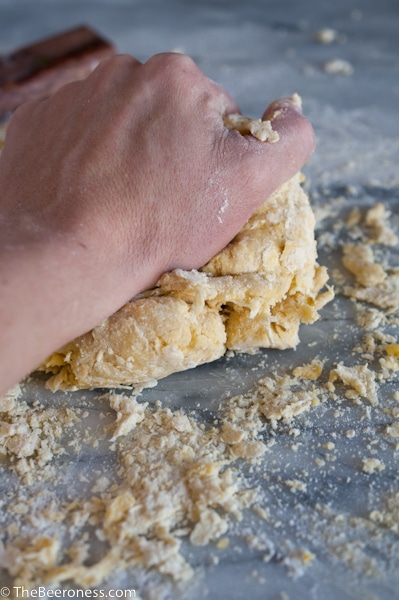
Knead on a flat surface with the heel of your hand, this will take a ten to fifteen minutes. Knead until the dough is smooth and slightly elastic. If you aren’t sure if the dough is done, keep kneading. This isn’t a dough that can be over worked, but too little kneading is a problem.
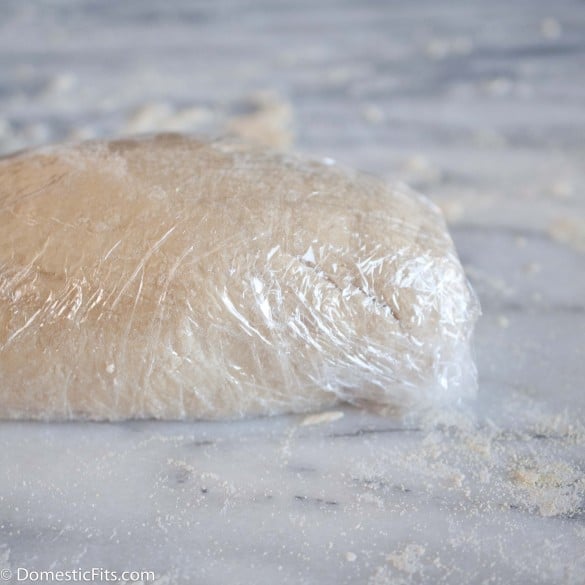
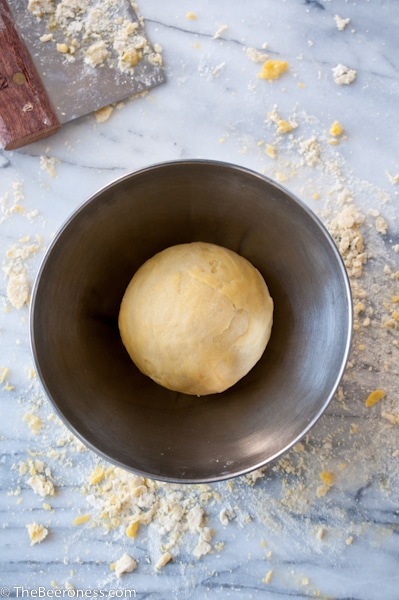
Put dough into a small bowl and cover tightly and allow to rest for 30 minutes at room temperature.
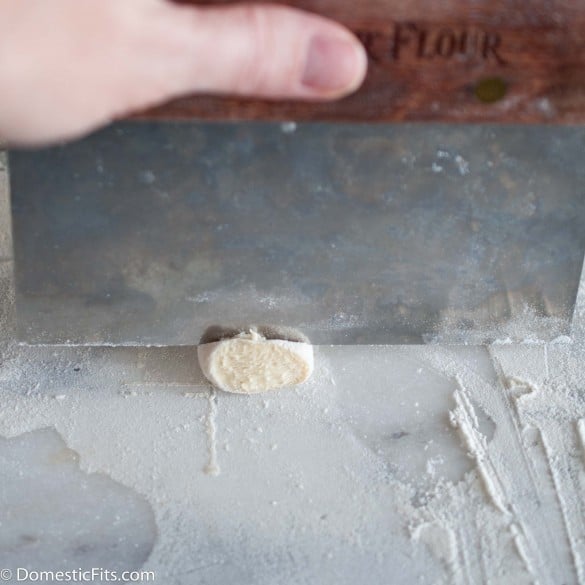
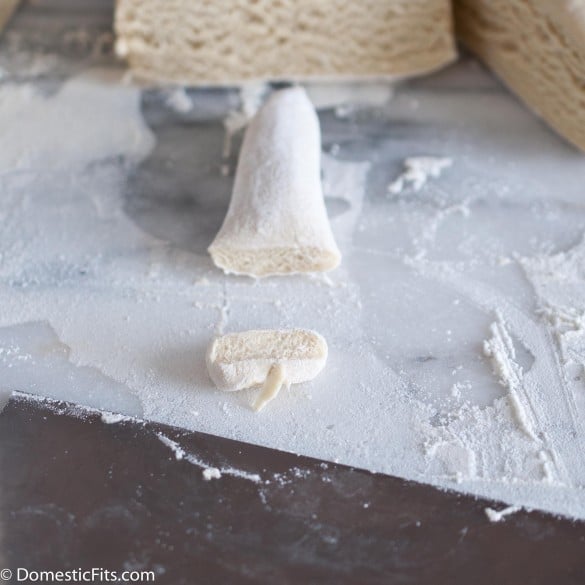
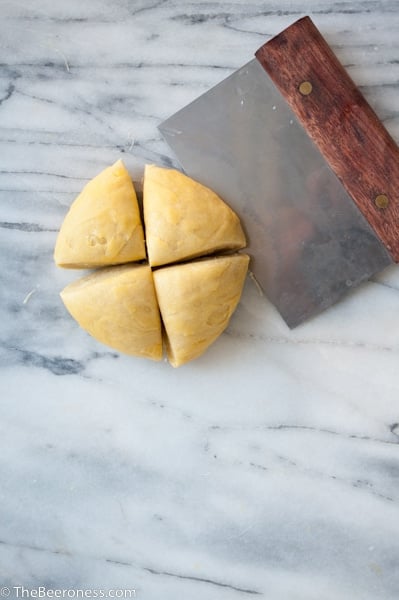
Cut into 4 sections. Place any dough sections you are not working with back in the bowl and cover.
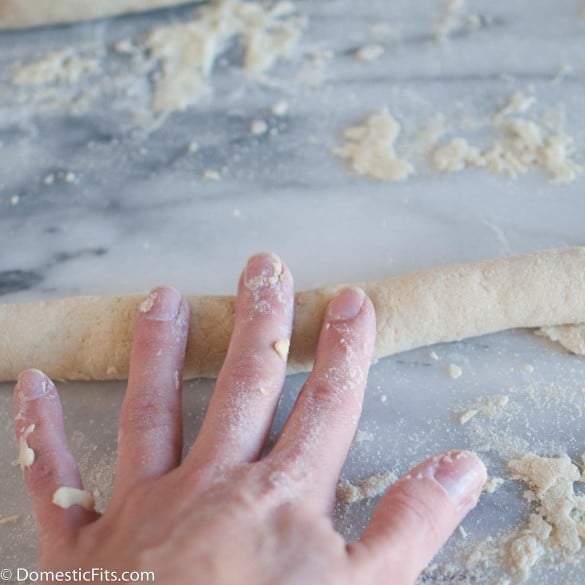
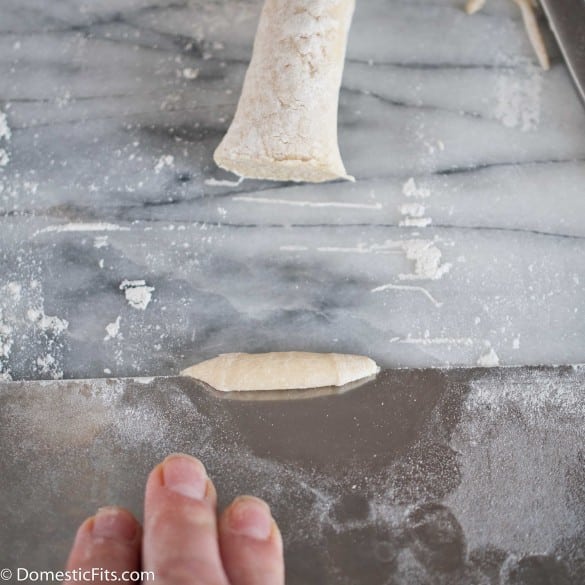
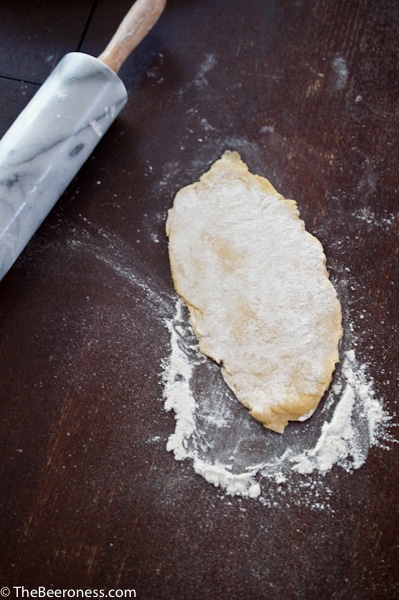
One at a time, roll out the dough sections to about ¼ to ½ inch rectangle.
Attach the KitchenAid Pasta Roller attachment to your stand mixer.
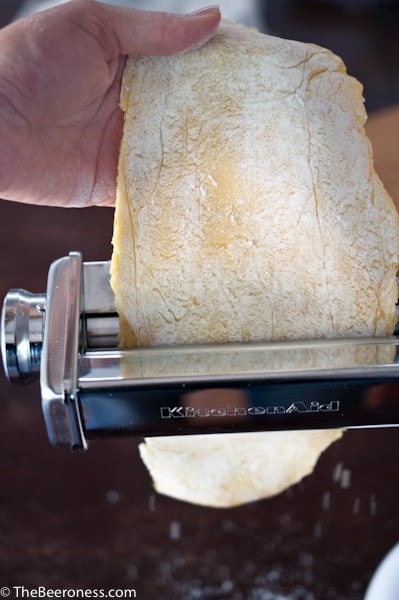
Set the thickness to 1 (the thickest setting). Turn the KitchenAid stand mixer to a speed of 2.Feed the dough rectangle into the pasta roller narrowest side first.
Pass through two or three times. Narrow the thickness to a 3. Pass the dough sheet through two or three times, this should get easier and easier with each pass.
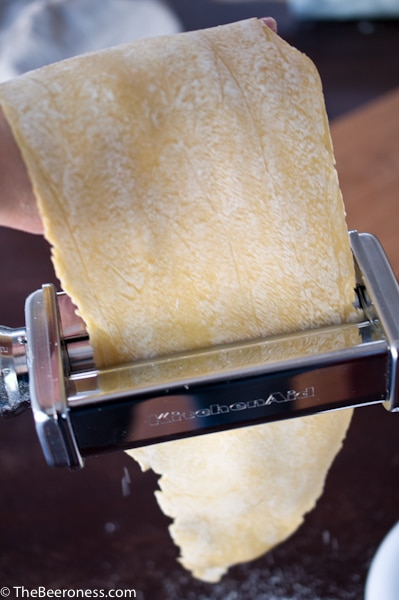
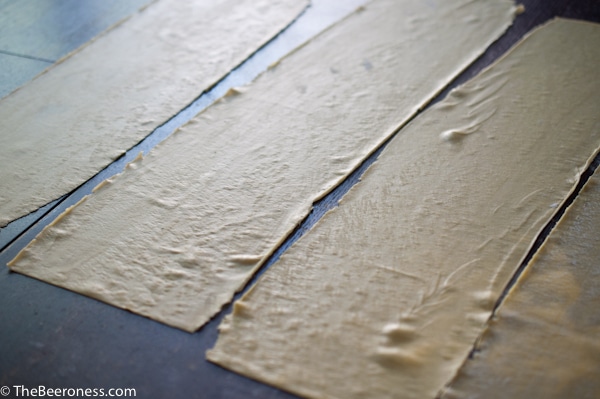
Narrow the thickness to a 5. Pass the dough sheet through two or three times, this should get easier and easier with each pass. You want the dough sheets to be so thin you can see through them.
Lay the sheets on a flat surface. It’s best to do this one at a time, moving through the steps as not to let the dough dry out, but for the purposes of photography and natural light, I broke that rule.
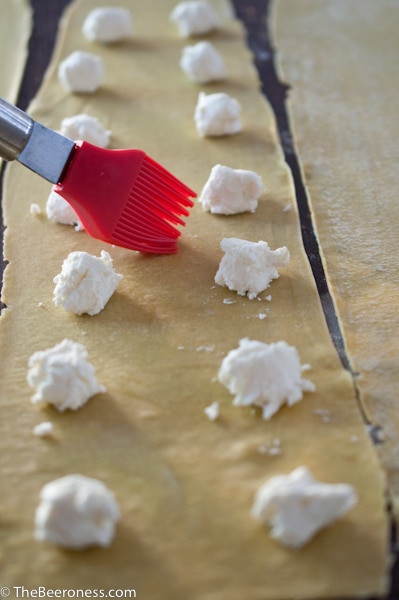
Place about 2-3 tsp of filling on the dough sheets about 1 ½ inches apart, in to rows.

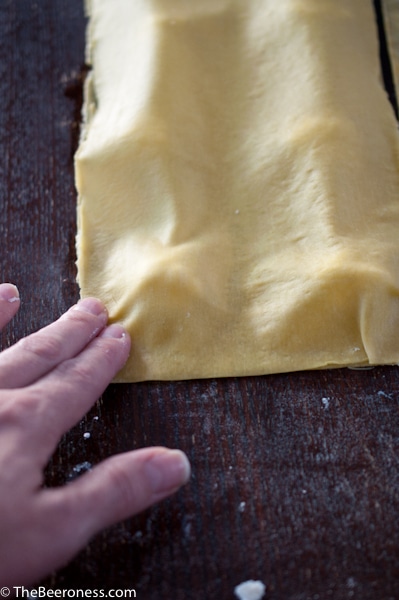
Brush the dough with water around the balls of filling. Top with second sheet of pasta.
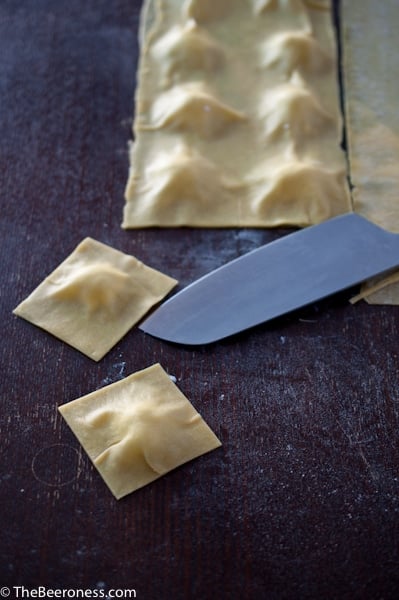
Press the pasta around the filling, sealing well.
Use a sharp knife or a pastry wheel to cut into squares.
Place on a plate, allow to sit for about 10 minutes.

Cook in a pot of lightly salted boiling water until raviolis float and are cooked through.
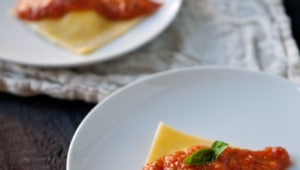
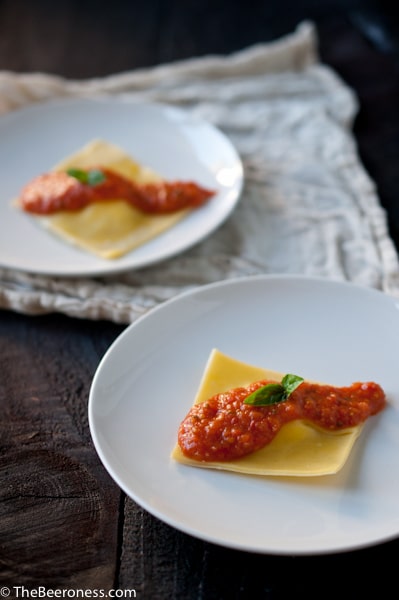
Drain, plate and top with sauce.
Goat Cheese Raviolis with Blistered Sugar Plum Tomatoes and Hefeweizen Marinara
Ingredients
- 1 ¾ cups sifted all-purpose flour
- 3 large egg yolks room temperature
- 1 large egg room temperature
- 1 ½ teaspoons olive oil
- 1 tablespoon milk
- 3 ounces goat cheese
- 2 tbs chop fresh herbs, if desired
For The Marinara
- 1 lb sugar plum tomatoes or grape tomatoes
- 1 tbs olive oil
- ½ white onion chopped
- 3 cloves garlic minced
- 1 cup beer
- 5 large basil leaves chopped
- 1 tsp chopped fresh oregano
- ½ tsp salt
- ½ tsp pepper
- 2 tbs tomato paste
Instructions
- On a flat surface add the flour. Make a well with walls that are about 1 inch thick, make sure the well is large enough to hold the eggs, milk and oil.
- Add the yolks, egg, milk and oil. Break the yolks.
- Using your fingers, stir quickly. The motion will allow the liquid to pick up flour from the walls and will gradually become thicker. This will take about 10 minutes.
- As the liquid becomes thicker, close to a paste consistency, start to push the flour walls up over and into the liquid pool. Continue to stir until the flour and liquid is mostly incorporated.
- Pull the dough into a ball, it will be shaggy and seem a bit dry.
- Knead on a flat surface with the heel of your hand, this will take a ten to fifteen minutes. Knead until the dough is smooth and slightly elastic. If you aren’t sure if the dough is done, keep kneading. This isn’t a dough that can be over worked, but too little kneading is a problem.
- Put dough into a small bowl and cover tightly and allow to rest for 30 minutes at room temperature.
- Cut into 4 sections. Place any dough sections you are not working with back in the bowl and cover.
- One at a time, roll out the dough sections to about ¼ to ½ inch rectangle.
- Attach the KitchenAid Pasta Roller attachment to your stand mixer.
- Set the thickness to 1 (the thickest setting).
- Turn the KitchenAid stand mixer to a speed of 2.
- Feed the dough rectangle into the pasta roller narrowest side first.
- Pass through two or three times.
- Narrow the thickness to a 3. Pass the dough sheet through two or three times, this should get easier and easier with each pass.
- Narrow the thickness to a 5. Pass the dough sheet through two or three times, this should get easier and easier with each pass. You want the dough sheets to be so thin you can see through them.
- Lay the sheets on a flat surface.
- Place about 2-3 tsp of goat cheese on the dough sheets about 1 ½ inches apart, in to rows.
- Brush the dough with water around the balls of goat cheese (sprinkle with fresh herbs, if desired). Top with second sheet of pasta.
- Press the pasta around the filling, sealing well. Use a sharp knife or a pastry wheel to cut into squares.
- Place on a plate, allow to sit for about 10 minutes.
- Cook in a pot of lightly salted boiling water until raviolis float and are cooked through.
- Drain, plate and top with sauce.
Make the sauce:
- Heat the oil in a cast iron skillet over medium high heat, cook the onions until soft about five minutes.
- Add the tomatoes, cook until soft and the skin has blistered. Add the garlic, cook for about 30 seconds.
- Add the beer and cook until the beer has mostly evaporated, about ten minutes.
- Add the remaining basil, oregano, salt and pepper, stir, remove from heat.
- Add to a food processor along with the tomato paste, process until smooth.