I grill pizza more often than I grill anything else. Unless you have a pizza oven in your backyard, it’s likely your best option when it comes to at home pizza cooking. Or, in this case, parking-lot-back-of-a-truck-with-a-portable-grill cooking. You get those lovely grilled char marks that you want when open flames are cooking your food, and it’s easy to modify to your guest eating persuasions.
Tailgate Pizza Tips:
Prep as much as you can ahead of time. If you’re making more than one pizza, write down the toppings you want for each, prep them all and store them in small containers to take with you. The dough can, and should, be made in advance. Just make sure to punch down the dough every 12 hours (literally just punch the middle of it to deflate, you can also grab the sides and pull to deflate). Pizza dough is best if it’s able to cold ferment in the fridge for a few days.
Don’t forget to bring a surface to roll out the dough. Some people like to use a rolling pin, while others think hand shaping the dough is the only way to go, it’s your call.
Brush the grates with olive oil to keep the dough from sticking. I sometimes oil the dough and flip it onto the grill like a giant pancake, but that’s just me.
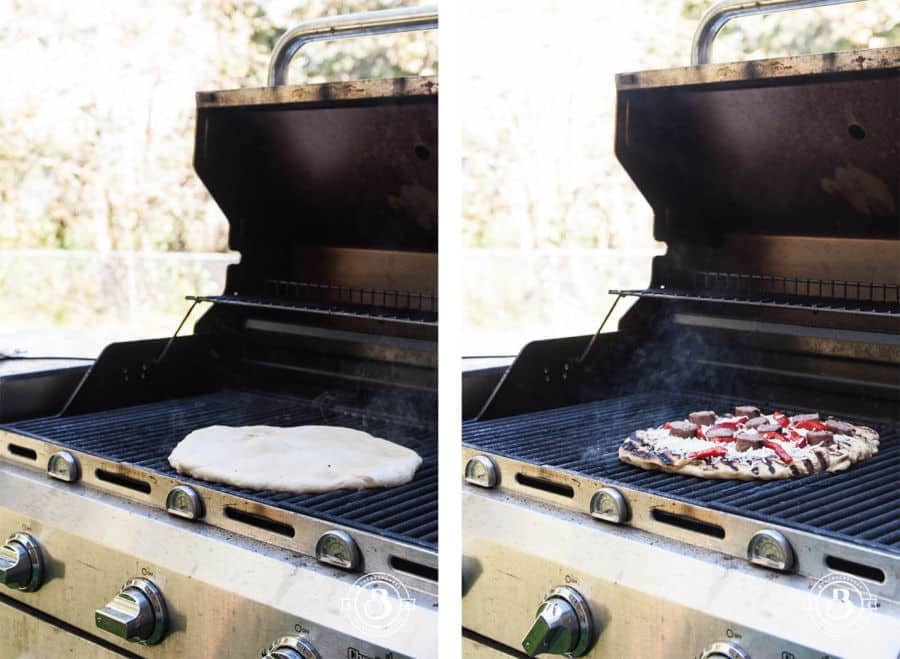
You only want to grill the underside until it holds shape. It’s going back on the grill to heat the toppings and melt the cheese, undercooking it the first time will prevent overcooking it the second time.
Pizzas take about 8 minutes to cook, so they are easy to make as-needed. Plus they don’t take up too much room in the cooler, leaving you way more space for beer. Which, really, is the most important part.
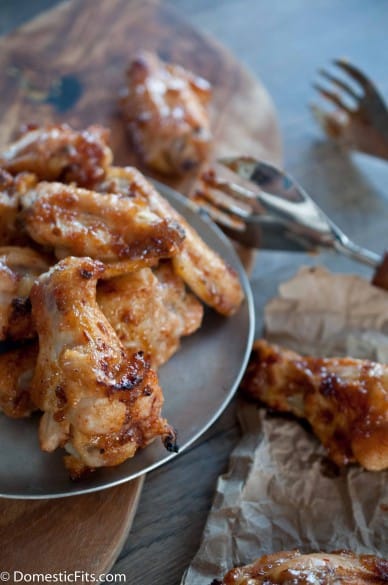
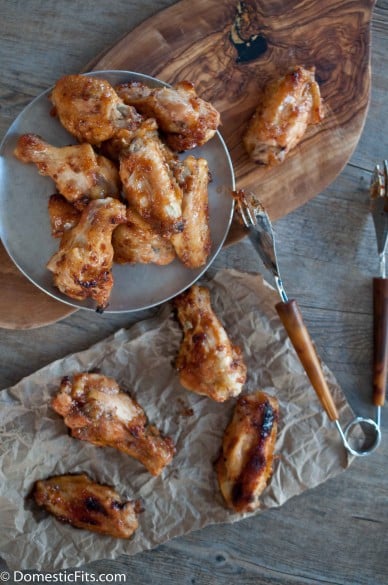
I used Stout & Sriracha BBQ Sauce
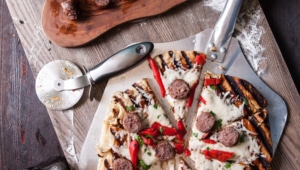
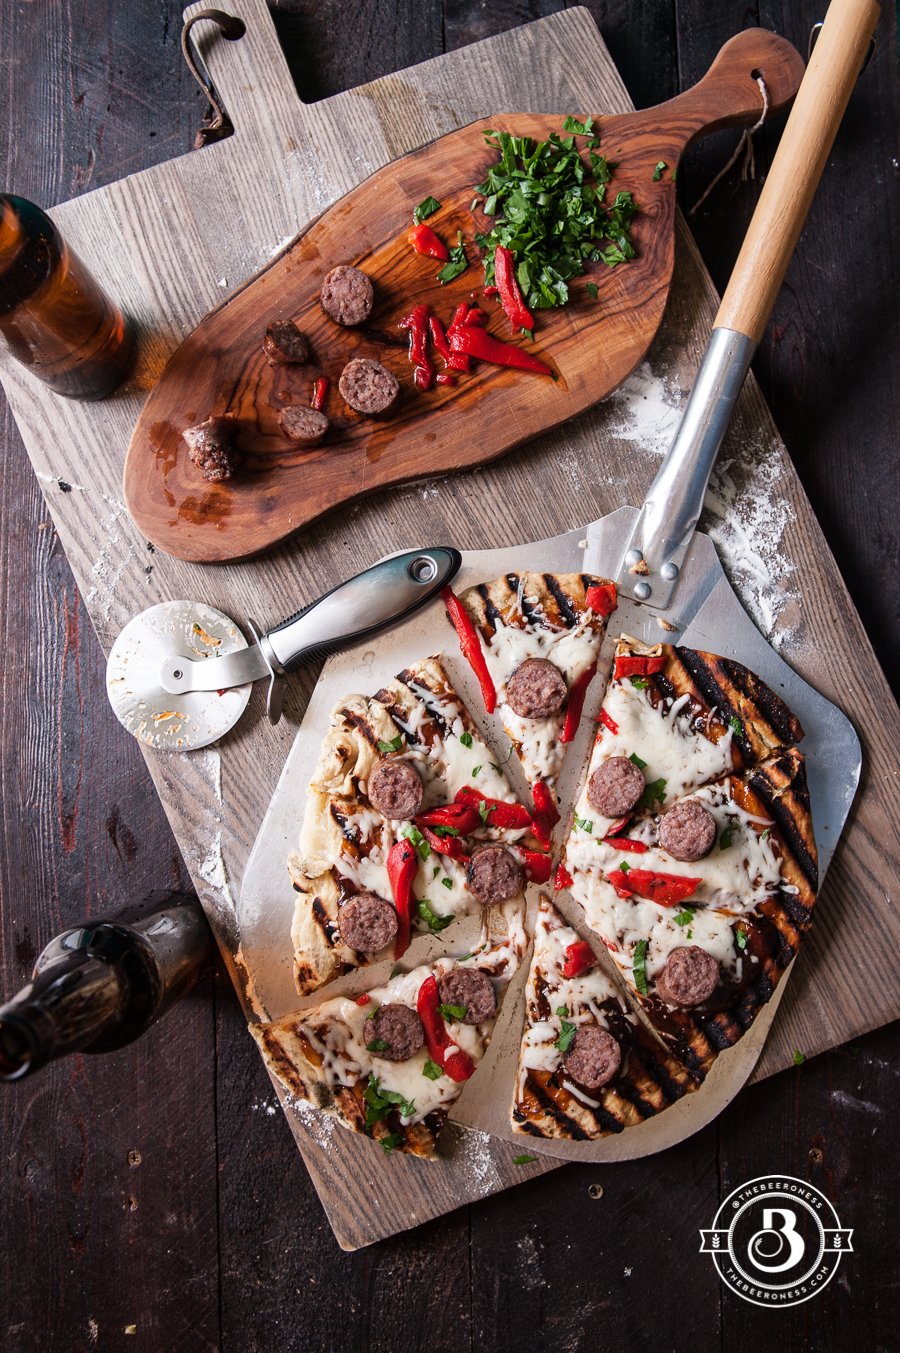
BBQ Beer Brat Tailgate Pizza & How To Prep A Grilled Pizza For Tailgating
Ingredients
For the Pizza Dough:
- 3 cups 360g bread flour
- 1 packet 2 ¼ tsp, or 21g rapid rise yeast
- 2 tsp 8g sugar
- 1 cup 226g wheat beer
- 3 tbs 42g whole milk
- 1 tbs 14g olive oil, plus 2 tbs (28g), divided
- 1/2 2g tsp salt
Toppings:
- 2 to 3 large beer brats raw
- 24 ounces beer wheat, pale ale, or brown ale
- Stout & Sriracha BBQ Sauce link above
- 2 cups shredded mozzarella cheese
- 1 roasted red bell pepper chopped (from a jar is OK)
- 2 tbs chopped fresh parsley or cilantro
- Oil for the grill
Instructions
Directions:
- In the bowl of a stand mixer fitted with a dough hook, add the bread flour, yeast, and sugar, stir until well combined. In a microwave safe bowl, add the beer. Heat until 120F. Add the beer to the flour and stir until incorporated. Add the milk, salt and 1 tablespoon oil, stir with the dough hook until smooth and elastic, about 8 minutes. Allow to rise in a warm room until doubles in size, about one hour. You can bake the dough at this point, but it’s best to punch down the dough, cover and allow it to rise again in the fridge from 12-18 hours.
- Make the beer brats. In a pan with a lid add the brats and the beer, cover and simmer until the brats are cooked through, remove from pan.
- Preheat the grill to medium high. Grill the brats until grill marks appear on all sides, about 3 minutes. Remove and slice.
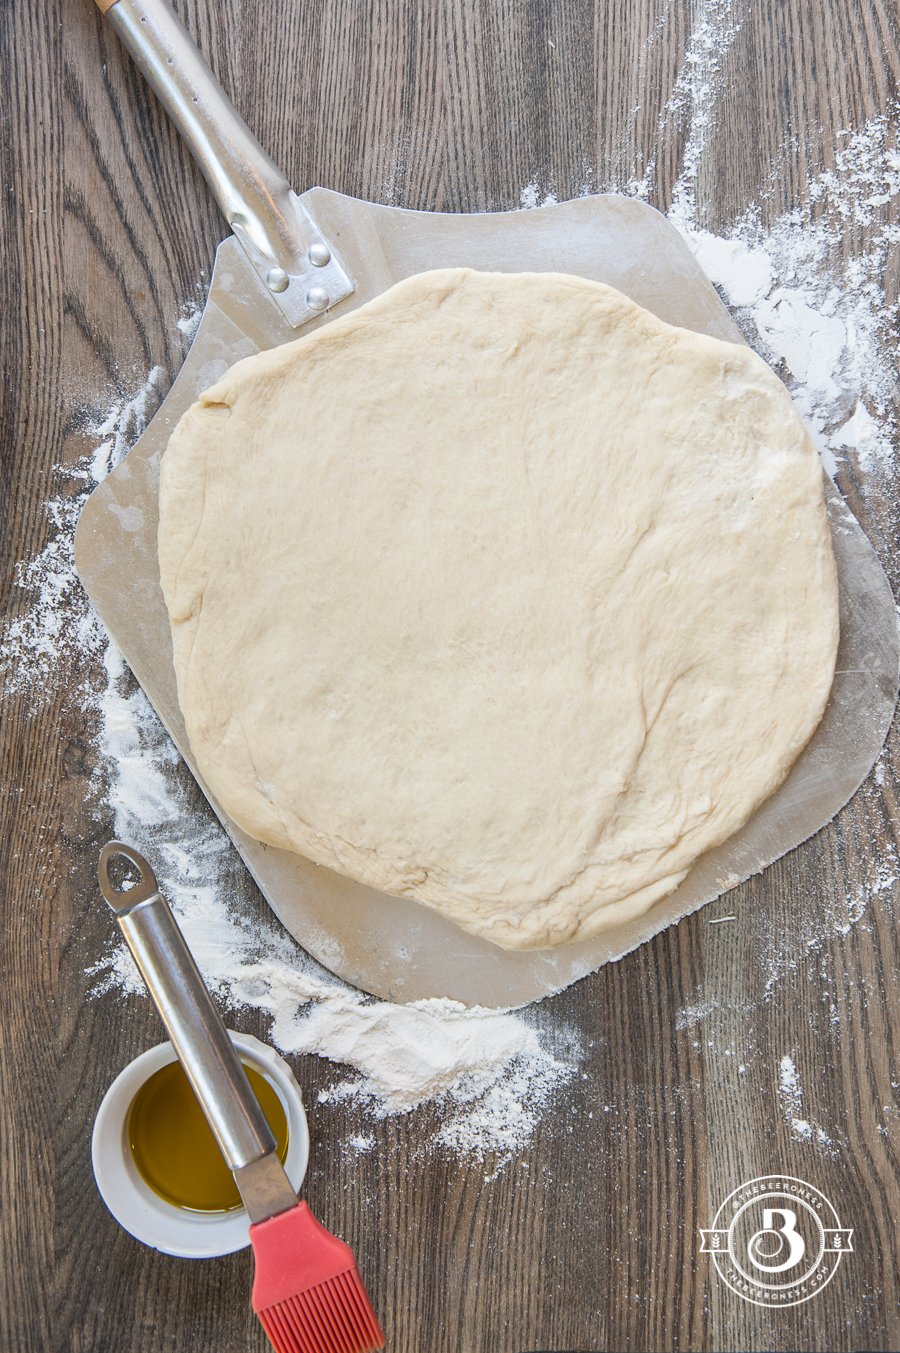
- Brush the grates with oil to prevent sticking . Place the dough on the grill (a pizza peel coated in flour or cornmeal will help) until grill marks start to appear. Flip the dough and very lightly grill on the underside, just until the dough holds shape. Remove from the grill, place on a work surface with the lightly grilled side down. Spread an even layer of BBQ sauce over the crust, top evenly with cheese, add sliced brats and red pepper.
- Return to the grill, close the lid and cook until the cheese has melted, 3-5 minutes. Remove from grill, sprinkle with parsley (or cilantro), slice and serve.
Notes
• Make the dough the night before, let it do a second rise in the fridge. You’ll have to have a space to roll it out when you get to the venue, so bring a large cutting board if needed. It’ll be best if you let it come to room temp before trying to roll out. 10 minutes in a car with the heater on should be fine.
• Boil the brats ahead of time, pack them in the cooler, grill and slice them on site.
• Have all your ingredients prepped and stored in small containers, ready to go when you need them, it’ll help make the process much easier.