
I was once invited to leave The Viper Room when the guy I’d been chatting with escalated past douche bag right up into unignorably obnoxious territory and I was swept up in his wake.
I not so subtly parted ways with him to cross the street towards The Roxy when he escalated further,"You’re leaving?! I pulled out my best stuff for you!" I had no idea that he’d been trying to get somewhere with his meaningless rambling.
Oh, you mean the uber-impressive story about having lunch with Alan Thicke last week? Or telling me that your ex-girlfriend was a sexsomniac?
Or bragging about stealing wifi from your neighbor? Because it was all gold, so clearly I have no reason to leave with this depth of conversational wealth that’s being offered to me.
Sometimes, people just try too hard when what they really want is to impress. We can do the equivalent of Over-Sharing-Drunk-Viper-Room-Guy with food. We can try too hard, do too many things, and make a mess of it all.
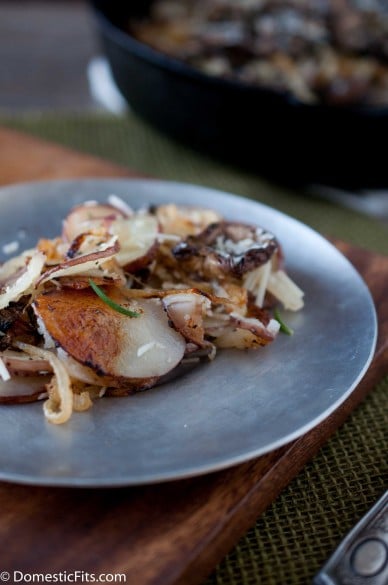
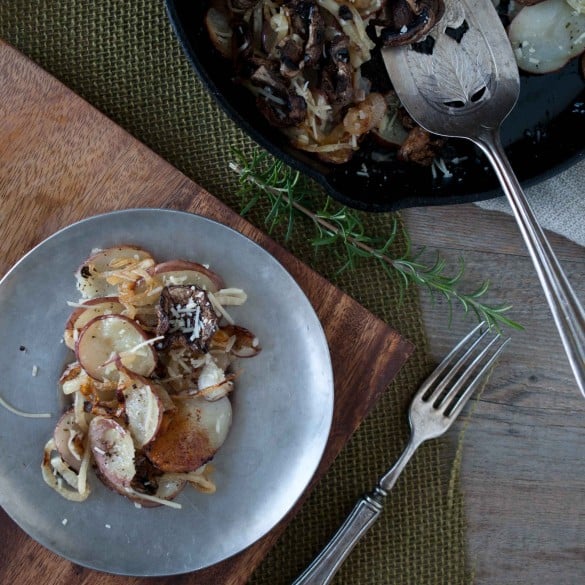
Keep it simple this summer, some grilled produce, good ingredients, real butter and great beer.
And save the stories of your ex-girlfriend for your guy friends and only after they’re too drunk to object.
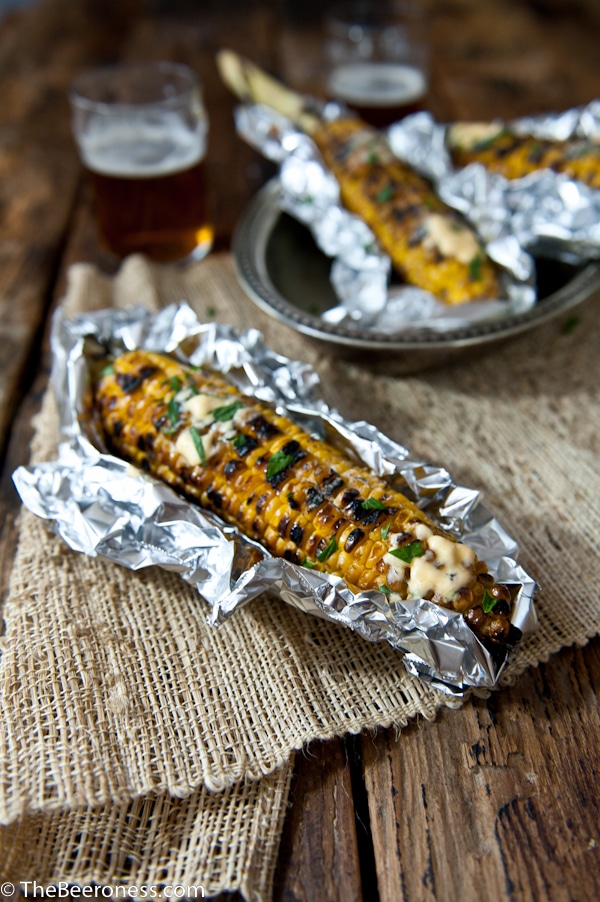
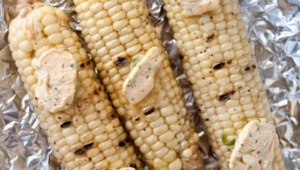
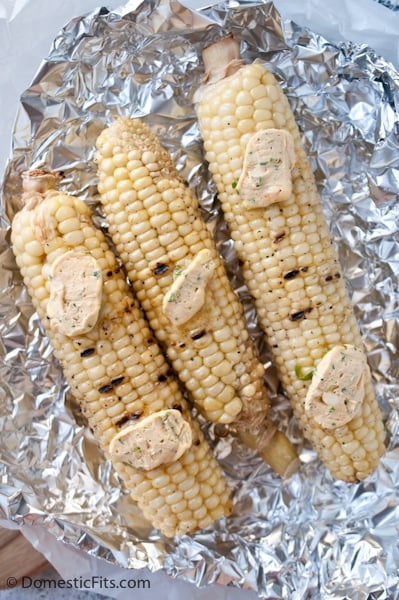
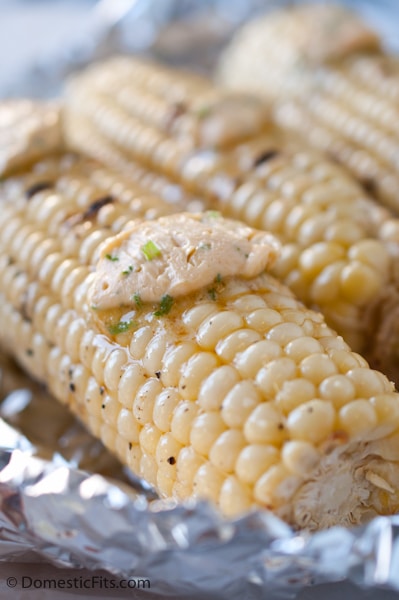
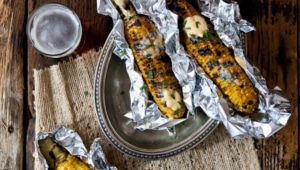
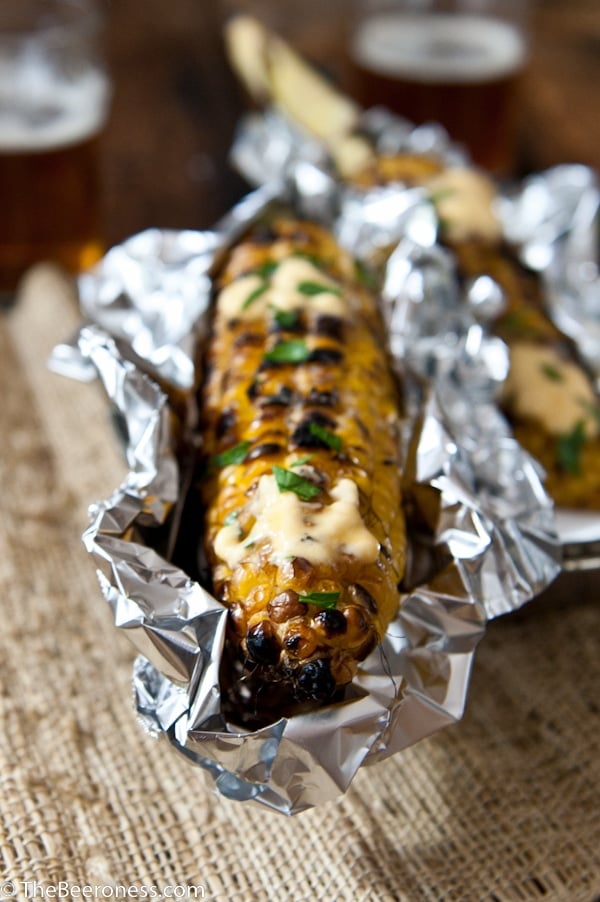
Sriracha Beer Butter Grilled Corn
Ingredients
- ½ cup unsalted butter chopped into cubes
- 3 tbs IPA beer
- 1 tsp sriracha
- ½ tsp garlic powder
- ¼ tsp kosher salt
- 6 ears fresh corn shucked
- 2 tbs olive oil
- salt and pepper
- ¼ cup chopped cilantro
Instructions
- In a stand mixer fitted with a paddle attachment beat the butter until light and fluffy.
- Add the beer, sriracha, garlic and salt. Beat until well combined.
- Add the butter to a piece of plastic wrap, roll tightly into a log. Refrigerate until set, about 1 hour.
- Preheat the grill.
- Brush the corn with olive oil, sprinkle with salt and pepper.
- Grill on all sides until lightly charred and tender, 8-10 minutes.
- Add the corn to pieces of aluminum foil, top with several slices of butter, sprinkle with cilantro.