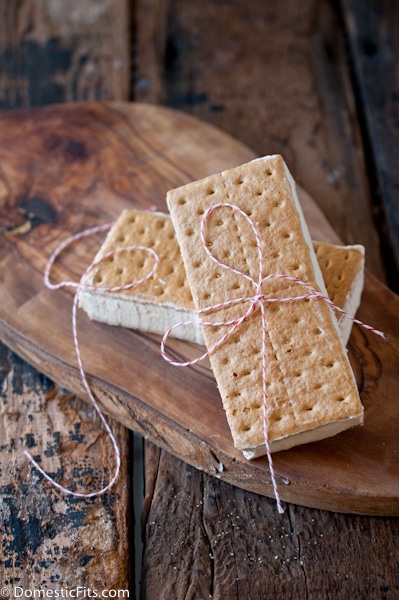
Three Ingredients, No Ice Cream Maker, Crazy Delicious Ice Cream Sandwiches was the first name for this recipe, although that did seem a bit long for a recipe that’s so short.
If you know me at all, you’ll know that I’m not a girl that goes for the Quick & Easy recipes, but sometimes I hear of a recipe that just seems too tempting not to try. I stole this recipe for an 80 year old woman I know. She made a version of these (that involved Cool-Whip) for a bingo game she was hosting, and told me all about how easy they were, and how everyone loved them. Easy, you say? None left, you say? I must try these easy and delicious treats, although I will be skipping that blue and white plastic tub.
She was right: easy, delicious and none left. The moral of the story is always listen to your elders.
And eat ice cream.
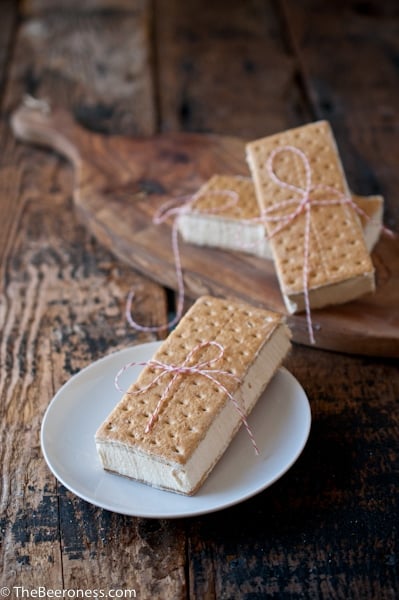
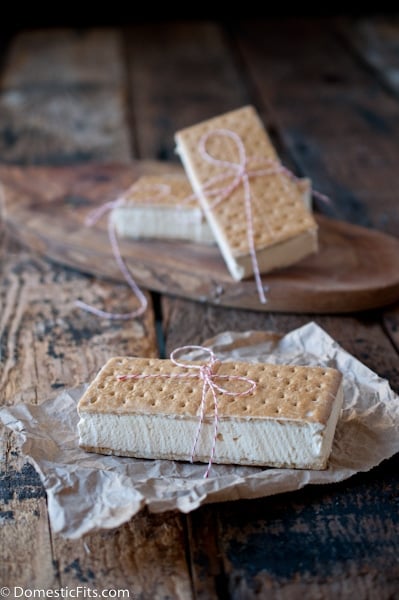
Easy Homemade Caramel Ice Cream Sandwiches
Ingredients
2 cups heavy cream, chilled
2/3 cup prepared caramel sauce, room temperature
12 standard sized graham crackers
Instructions
In the bowl of a stand mixer add the cream, whip on high until soft peaks start to form, slowly add the caramel sauce, mixing until well combined.
Spread the caramel whipped cream in a thick layer between two graham crackers, scraping off excess with a butter knife.
Place ice cream sandwiches on a large plate or baking sheet. Freeze until set, about 1 hour.
I started this blog with the idea that I’d blog my dinner, which turned into cooking for the blog which turned into freelance work and somewhere around starting an LLC and registering trademarks I realized that I rarely or never blogged my dinner.
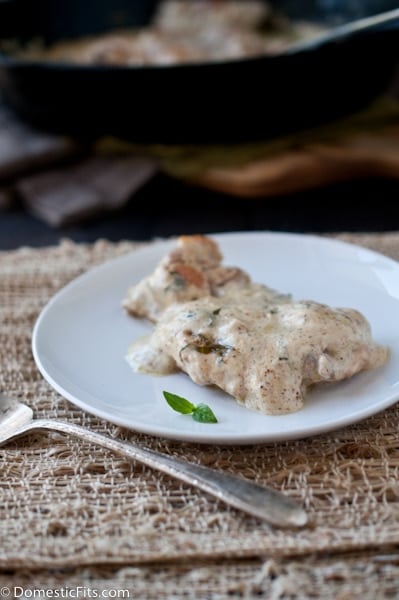
I did an interview recently and the interviewer asked for links to my "go to week night meal," and I was more than embarrassed to say that I’d never really blogged it. This is just one version of my 15 minute chicken that seems to make it into regular rotation.
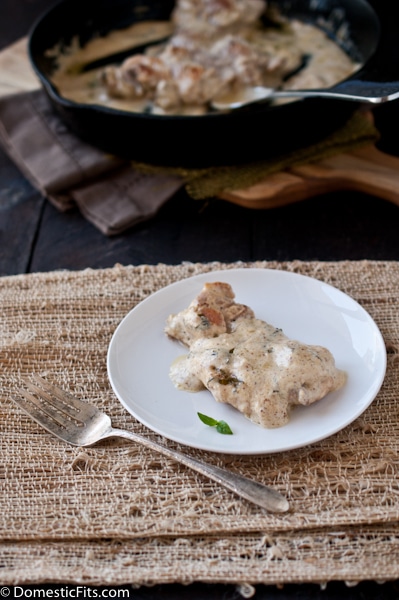
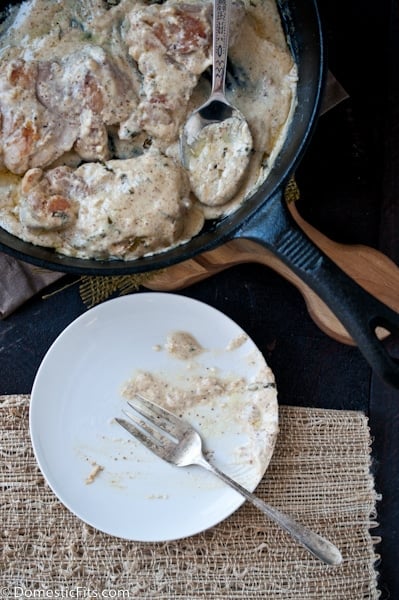
I always use boneless skinless chicken thighs, the flavor is worlds above the chicken breast and it is almost impossible to dry out. I love to cook them in a cast iron skillet because of the awesome crust it gives the chicken. The sour cream version was a big hit, so I’m sure it will make it into my busy weeknight menu again.
Skillet Sour Cream Chicken
Total Time: 15 minutes
Yield: 4 servings
Ingredients
4 boneless skinless chicken thighs
salt and pepper
1 tbs olive oil
2 tbs minced basil (about 3 large leaves)
2 tbs Dijon mustard
½ cup sour cream
1 tbs lemon juice (about ½ medium sized lemo)
1 tsp honey
1 tbs vinegar (apple cider or rice wine)
rice, pasta, potatoes or quinoa for serving
Instructions
sprinkle the chicken thighs on all sides with salt and pepper.
Heat olive oil in a cast iron skillet until hot and almost smoking.
Add the chicken thighs and sear on both sides until browned.
Whisk together the remaining ingredients, pour over chicken. Lower heat to medium-low, cover loosely and allow to gently simmer until chicken is cooked through, about 8 minutes.
Before I became a member of Club Mom, I had no idea how much time I would spend obsessing over school lunches and after school snacks. Along with how hard it is to cut tiny fingernails and how accustom to contact with bodily fluids you become, these are things not mentioned in those baby books. Heads up kids, there is a LOT they don’t mention in the baby books.
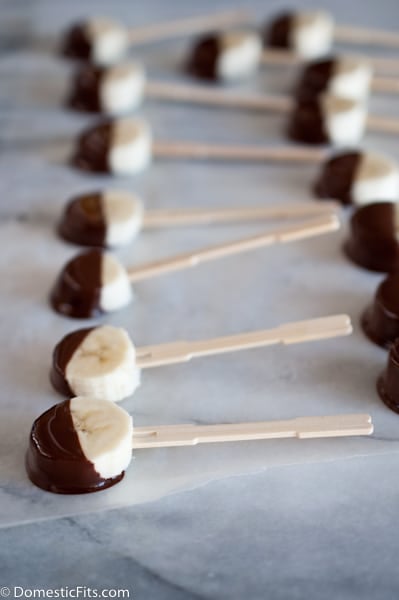
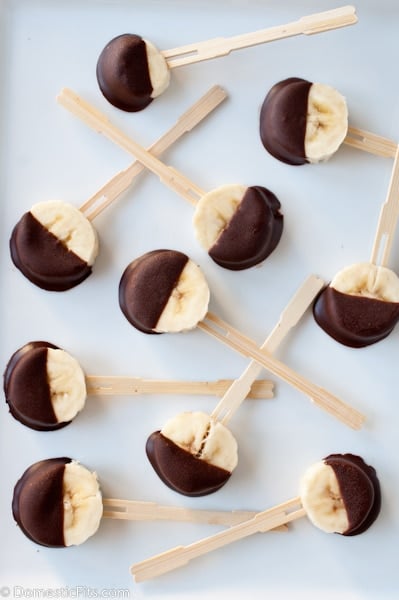
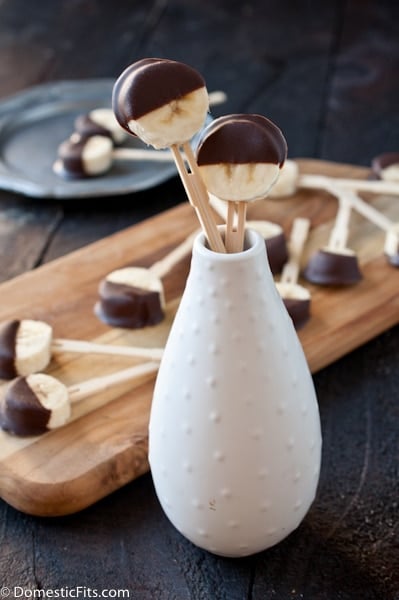
My little lady is a constant mover, more interested in sports than food at this point. She’s tiny and needs bites that are both nutrient and calorie dense to keep meat on her tiny bones. I started to make these because they’re portable, fruit filled, and just enough chocolate to get her interested.
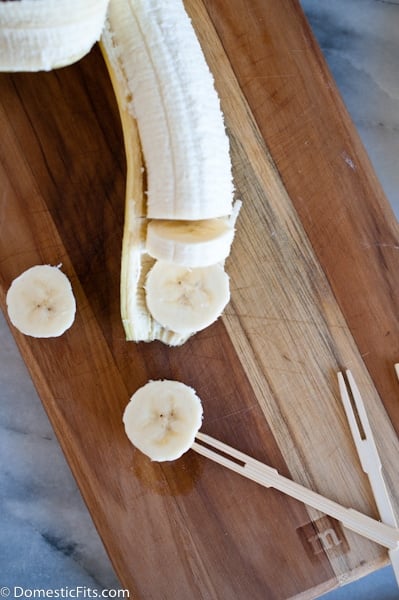
You can also make them with cinnamon chips, yogurt chips or peanut butter chips. It all works out about the same. Just slice the banana into 1/2 inch slices, add a toothpick, melt the chips in a microwave safe bowl, dip, add to a baking sheet covered with parchment paper and freeze. Once they’re frozen you can add them all to a large zip lock bag.
Couldn’t be easier.
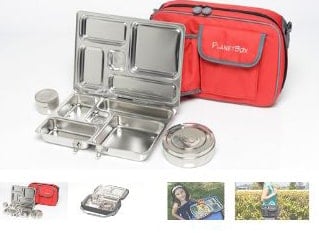
And while I’m at it, California Strawberries is doing a fun Build a Better Lunch Box campaign and giving away these adorable lunch boxes. Cute, right? Enter the giveaway here.
After School Snack: Chocolate Banana Pops
Ingredients
1 large banana, ripe but firm
1/3 cup chocolate chips (or peanut butter chips, or yogurt chips)
12 toothpicks
Instructions
Slice the banana into 1/2 to 3/4 inch thick slices.
Skewer with a toothpick.
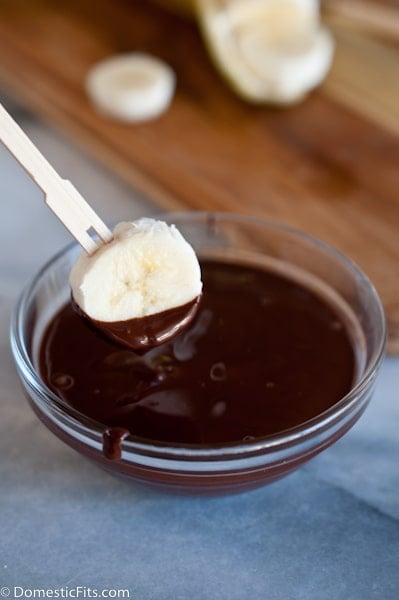
Add the chips to a microwave safe bowl.
Microwave on high for 20 seconds, stir and repeat until melted.
One at a time, dip the banana bites into the melted chips, place on a baking sheet that has been covered with parchment paper.
Apparently, I like to torture myself. Sometimes it’s in small ways, like keeping my size zero jeans from my modeling days that I will never fit into again. Ever. Ever.
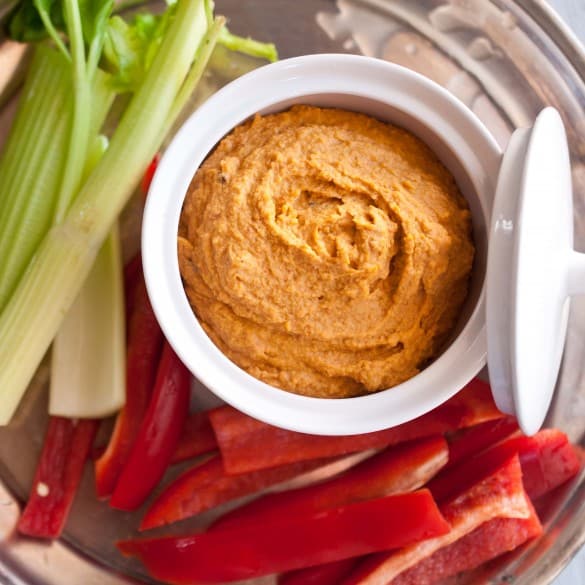
I don’t buy many things in cans. I DO buy Chipotle peppers, and those come in cans. I’ve had to become inventive with them, as I try to use the food in my fridge rather than let it go to waste. And although the can these gorgeous smoked Jalapenos come in is rather small, a little goes a long way and I end up with a lot left over.
Seeing as how I am asking you to open a can to make this here sandwich, I also wanted to leave you with a few other things you can do with the rest of that can, once you devour that spicy, smokey grilled cheese.
I rarely do "Internet Round-Ups," But Chipotle peppers and my desire to use the whole can has left me no choice, but has give me quite a few recipes that I can’t wait to try. Check them out:
Now you are fully equipped to use an entire can of Chipotle In Adobo.
Shiitake Mushroom & Chipotle Grilled Cheese
1 tbs olive oil
6-8 large shiitake mushrooms, sliced
2 chipotle peppers in adobo sauce, chopped (use gloves)
2 tbs cream cheese, softened
1 cup shredded cheddar cheese
2 tbs chopped cilantro
4 slices of bread
2 tbs butter, softened
In a pan over medium high heat, add the oil and allow to get hot but not smoking. Add the sliced mushrooms and sautee until dark and cooked through, remove from heat.
In a bowl, add the softened cream cheese and the chipotle peppers, stir until well combined. Add the cheddar cheese, mushrooms and cilantro and stir until combined.
Butter one side of each slice of bread. Return the pan used to cook the mushrooms to medium high heat, add one slice of bread, butter side down to the pan. Carefully slather half of the chiptole cheese mixture onto the bread and top with another slice, butter side up. Repeat for the additional slices of bread. Cook on each side until browned, about 4 minutes per side.
Remove from pan, slice and serve with a cold beer.
As a kid there were a few phrases that take an ordinary day and give it a bit of a sparkle. Like hearing the name of YOUR school being read over the radio as a closure for a Snow Day. Or hearing: "Let’s go get ice cream!" or, one of my favorites: "Breakfast For Dinner!!"
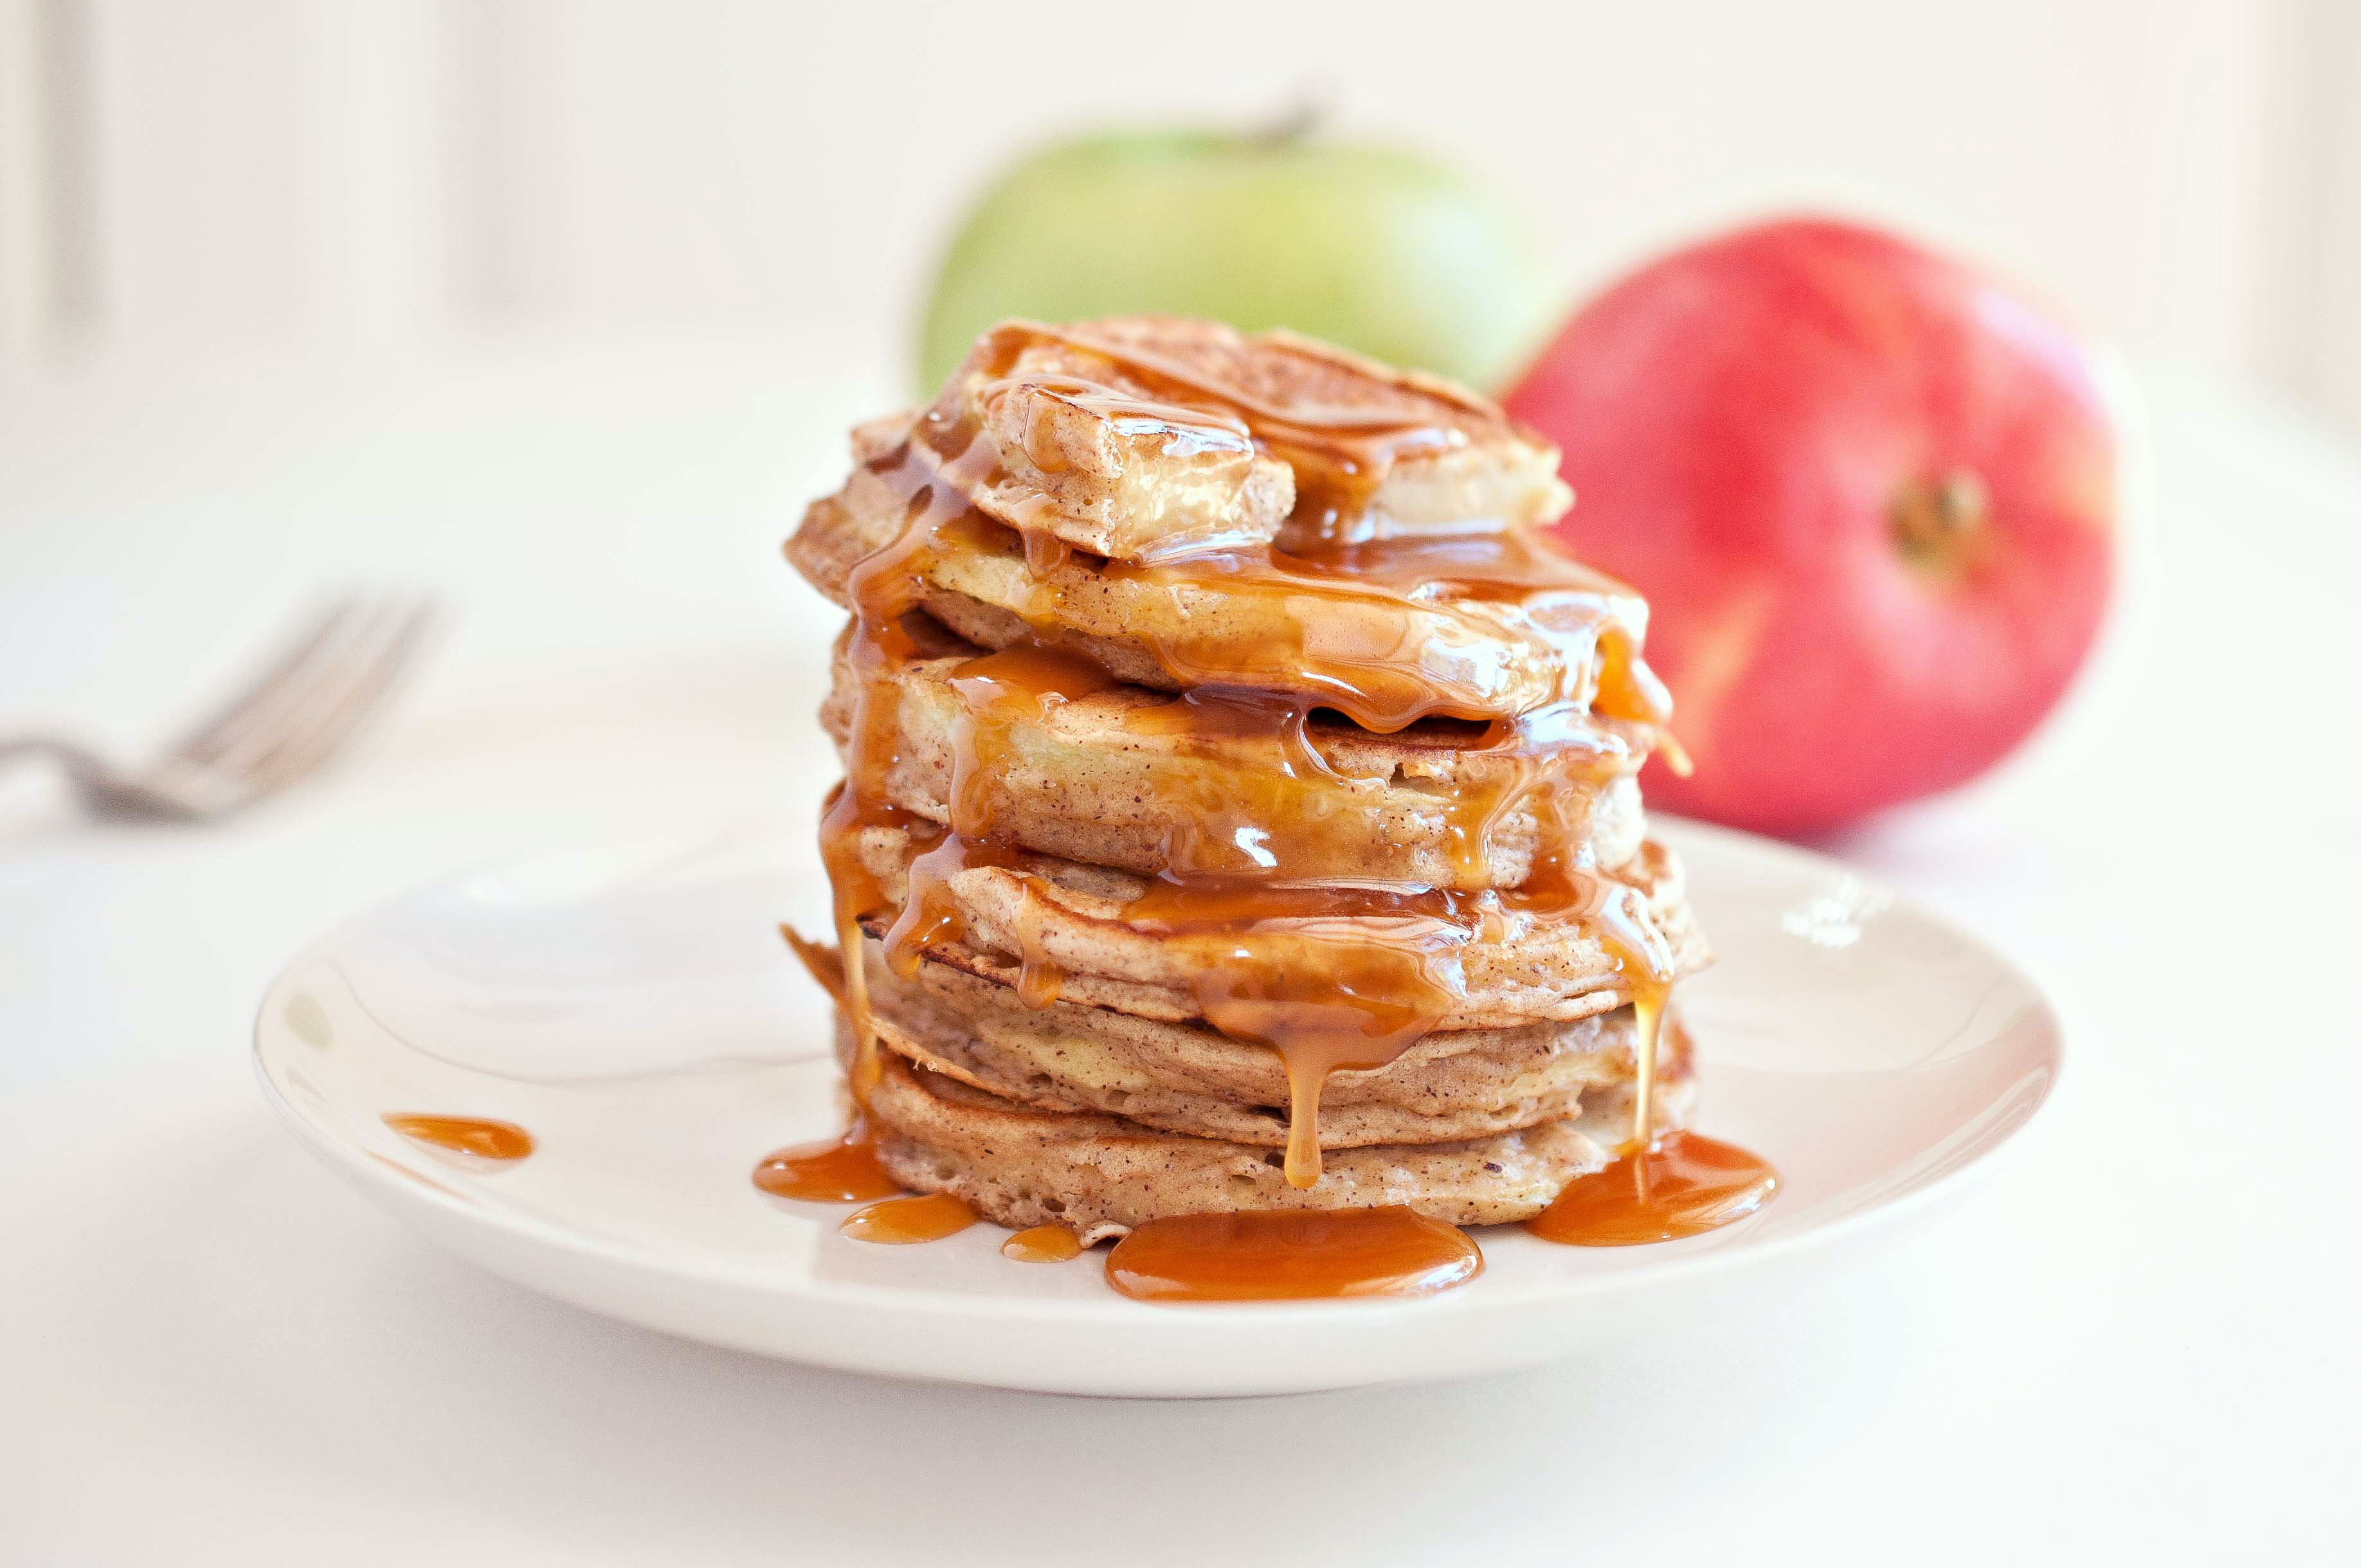
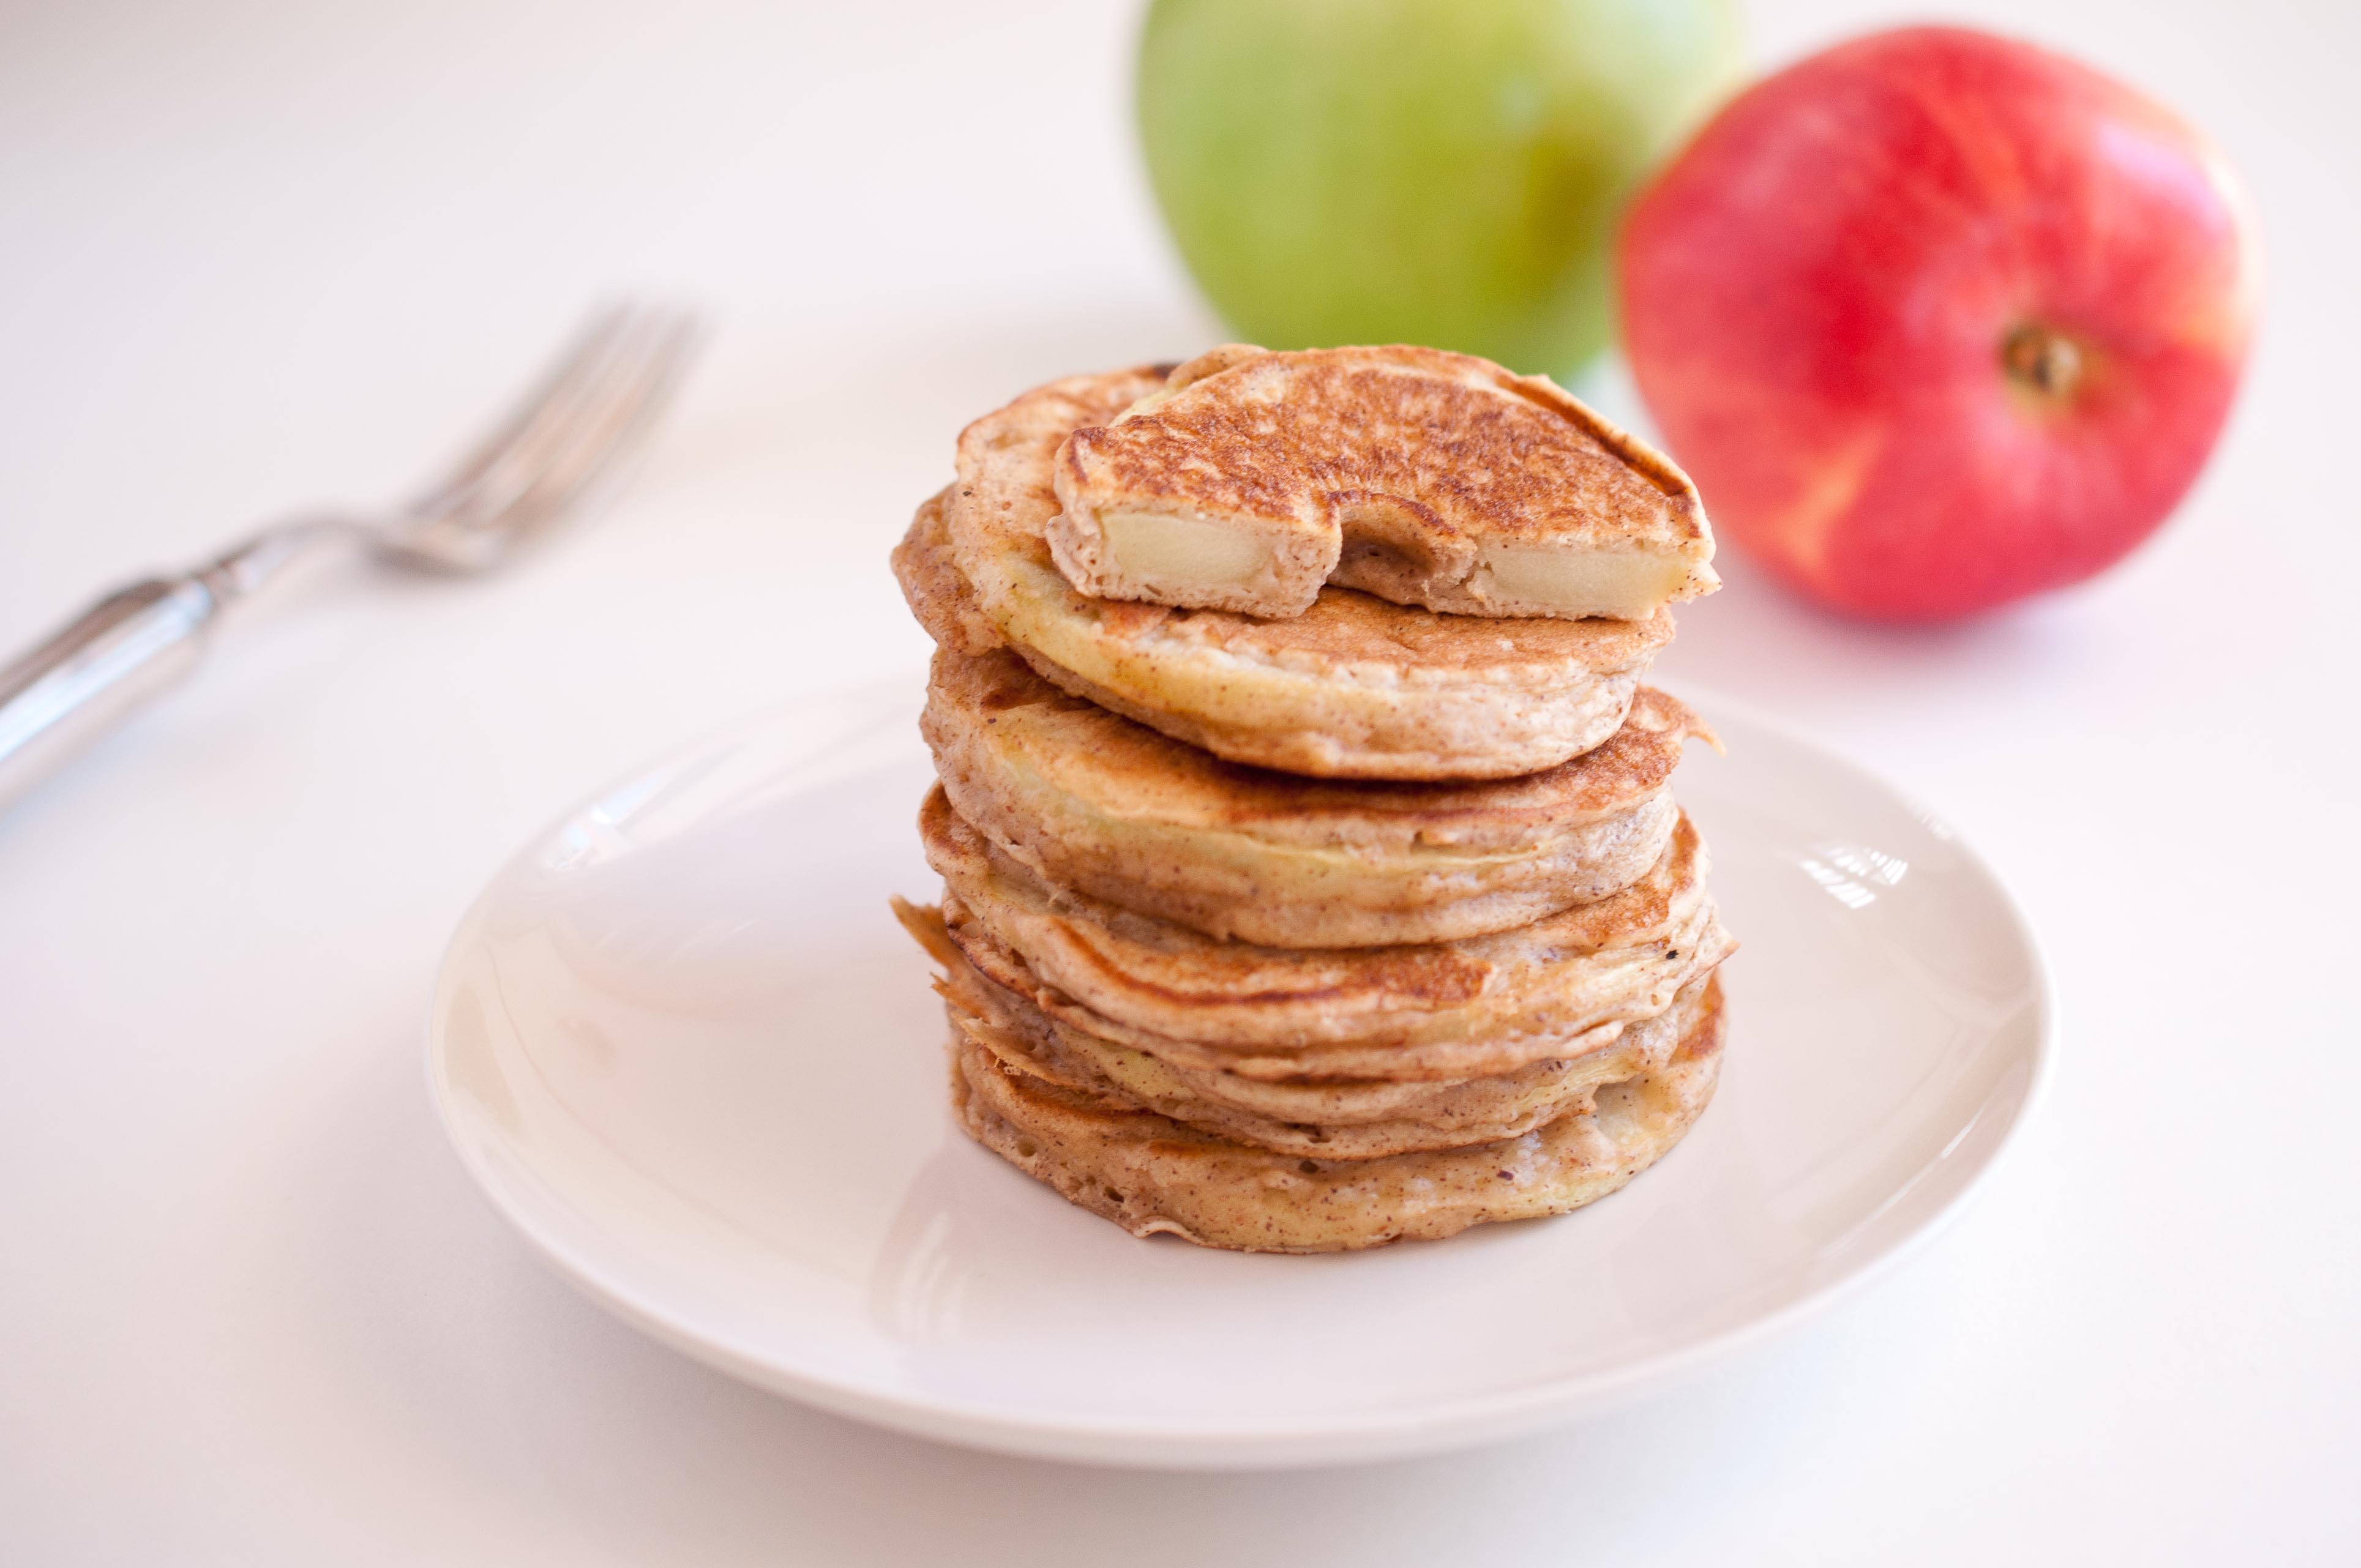
And now that I am a mom, I want to have breakfast for dinner too. It’s fun. But then I have the responsibility of an entire humans future health on my hands. That’s a lot of pressure. The way I reconcile these two things is by taking an ordinary pancake and filling it with a slice of fruit. Breakfast for dinner and a serving of wholesome fruit.
These babies only have 60 calories each. And you don’t even need massive amounts of syrup, the apple in the middle has the flavor and moisture to compensate.
Apple Ring Pancakes
2 large apples (I used Fuji Apples)
1 cup of flour
1/4 cup brown sugar
1 tsp baking powder
1/4 tsp nutmeg
1 tsp cinnamon
1/4 tsp salt
1/4 cup reduced fat (or fat free) sour cream
1 egg
1/2 tsp vanilla extract
3/4 cup sparklink water or club soda
(yields about 20 apple ring pancakes)
Preheat a griddle to 375, or use a large skillet. Coat with butter flavored cooking spray prior to cooking pancakes.
Peel and core the apples (I use this apple corer all the time). Cut the apples into 1/4 to 1/2 inch slices. Thicker slices will give you a crispier apple once cooked and a thinner slice will give you a softer apple once cooked.
In a large bowl, combine the flour, brown sugar, baking powder, nutmeg, cinnamon and salt until well mixed. In a separate bowl, add the sour cream, egg and vanilla, mix until well combined. Make a well in the dry ingredients, add the wet ingredients and stir until just barely combined. Add the sparkling water and stir. One at a time, dip the apple slices into the batter and place on the hot griddle. Allow the pancakes to cook until the edges start to look dry and then flip over, cooking on the other side until golden brown, about 3 minutes per side. Repeat for all apple slices.
You don’t need syrup for these little guys but I couldn’t resist using the last of that Coconut Caramel Sauce that I made the other day. So good.
Forcing someone to say "I Love You" is about as meaningful as buying your own Grammy on eBay and pretending you actually won. The entitlement and expectation take all of the romance out of it. In just the same way that the show The Biggest Loser has had more successful marriages than The Bachelor series has, some things just cant be forced.
My husband and I did away with giving into the societal expectation years ago, much preferring to go out to dinner on nights that don’t include 2 hour waits and $65 pre fixe menus. He’s romantic in the little ways, negating my need for Valentines day pageantry. He will "borrow"my car in order to take it to get washed and the oil changed. He’ll get up with Tater on a Saturday and let me sleep in. When I’ve had a hard day he’ll do the dishes, giving me time to play blocks with Tater instead of spend what little time I have after work in the kitchen.
Now that I have a daughter, the focus of Valentines day is more fun and childish, more of the cartoon that it has become, and I like it that way. I buy Tater a bag of Valentines Day toys, and write her a card about how much I love her. I look forward to helping with her elementary school Valentines Days, the decorated shoe box receptacles, the paper cards, the drama of who wrote "XOXO" and who just signed their names. The sorting out of conversation hearts according to what is ok to give the boys and what is not. Because, everyone who has been a 3rd grader knows that slipping candy with messages on them into paper envelops is a big deal. And when you are required to give one to everyone in the class, even the boys you can’t stand and the boys you just pretend like you can’t stand, everyone know that you NEVER give a "Kiss Me" heart to a boy! Seriously, tragedy would in sue. Because you will also be reading every single heart that is the envelopes you got from the boys with the secret hopes that the boy who sits behind you didn’t just give you the "Nice Day" heart but intentionally slipped the "Be Mine" candy into the envelope with your name on it. In 3rd grade, risking possible social, school yard torture via teasing to let the little girl who sits in front of you know you like her is so romantic.
When you grow up, and have kids and a house and a job, romance is different. It’s the consideration that tends to wain as we grow comfortable with each other. Romance is that person who has woken up next to you for years actually seeing you. As special and important and desireable. It’s someone feeling lucky to be the one who wakes up in your bed, and eat the food you make and parent along side you.
Romance isn’t feeling required to bring home red flowers on the second week February, it’s running to the store late at night for flour because we’re out your wife is behind on blog posts.
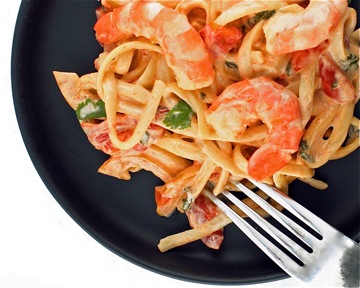
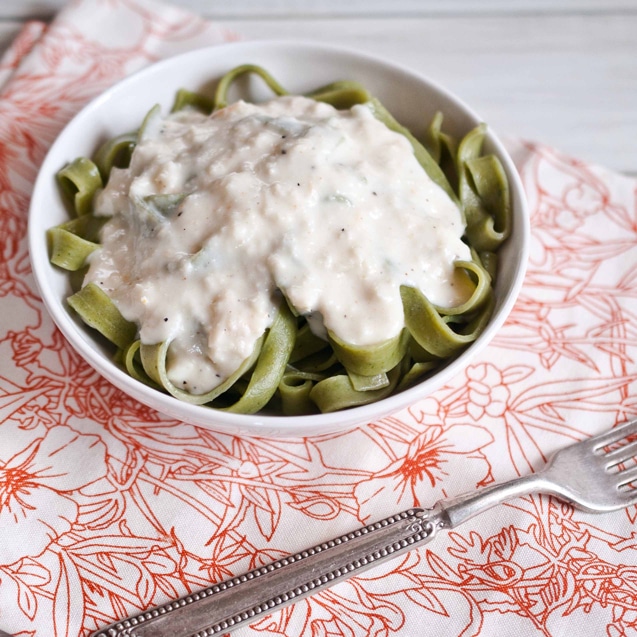
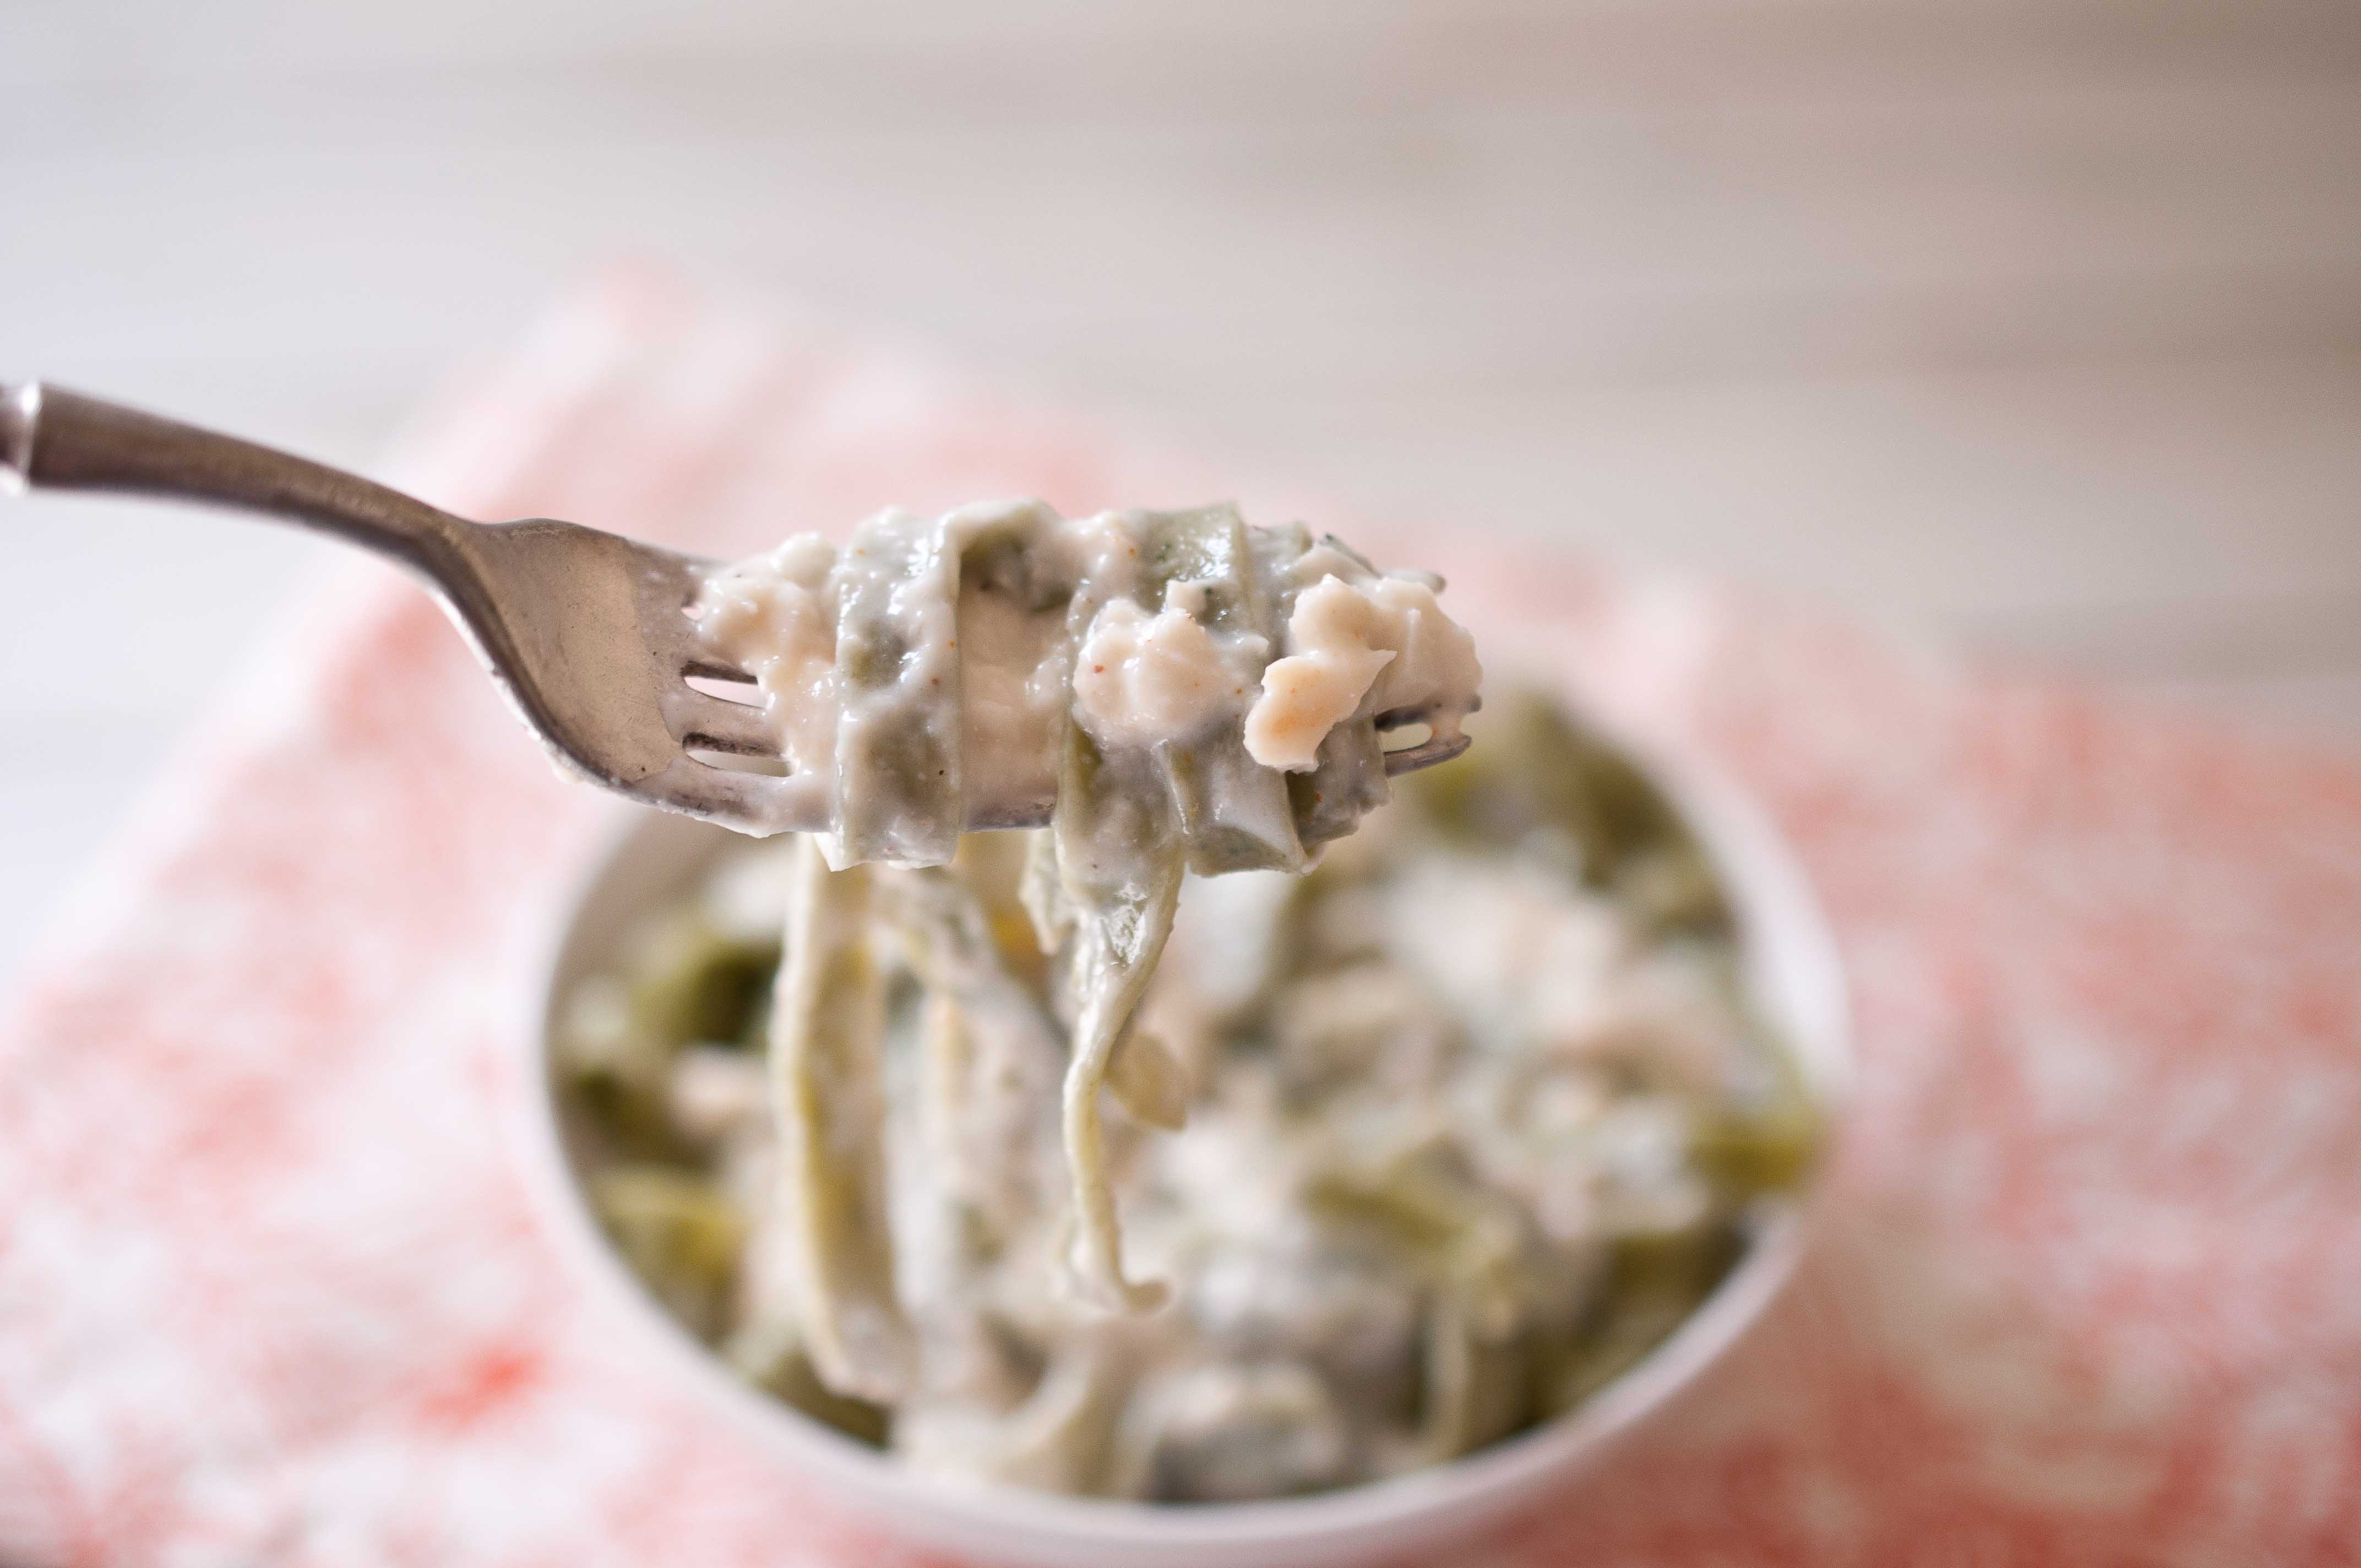
Even though Valentines day is in the middle of the week this year, and like me, you may have about 20 minutes between the time you get home from work and the time your family is expecting to be fed, this dish takes about that much time. But it feels special. Crab Alfredo in 15 minutes.
Crab Alfredo
3 tbs butter
3 large cloves of garlic, minced
1 tbs, plus 2 tsp flour
1/2 cup whole milk
1/2 cup heavy cream
1/2 cup parmesan cheese
1/2 tsp lemon juice
Pinch Cayenne pepper
6 oz crab meat, drained well
salt and pepper to taste
Pasta for serving
(makes two large or four small servings)
Cook pasta according to package directions.
In a skillet over medium/high heat, melt the butter. Add the garlic and stir, allowing to cook for about 30 seconds. Add the flour and whisk until well combined with the butter, don’t allow to brown. Add the milk and cream and stir to combine. Add the lemon juice, cayenne and cheese, cooking until the cheese has melted. Add the crab meat, stir until the crab is warmed up and remove from heat. Salt and pepper to taste. If sauce is too thick, add milk about 1 tbs at a time to thin.
Sometimes you make a mistake and it ends up being a really great thing. I wish I had a wise true life story about a mistake gone right, but I don’t. Not at the moment.
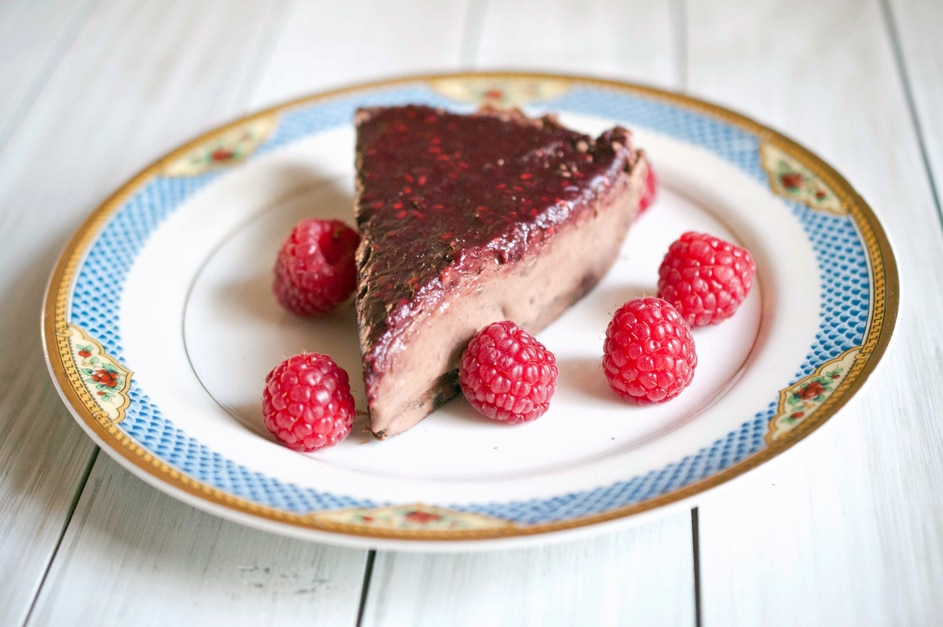
But this pie is a mistake gone right. I was trying to make chocolate whipped cream, but I wanted something more intense than cocoa powder. So I tried to melt some chocolate in heavey cream, and then chill it.
When I came back the next day, and it was one solid mass. The I tried to whip it (Into shape!) and it turned into this creamy non-whipped cream type of dense mousse. So I made a crust for it and a chocolate raspberry topping and it’s now a pie. Or it was a pie until I ate it.
It’s not a propper mousse, its a working-mom-still-wants-to-cook-from-scratch type of mousse.
I like it.
Super easy, fancy, still made from scratch, and impressive. Win, Win, Win.
Easy Chocolate Raspberry Mousse Pie
Filling:
2 cups heavy cream
2 3oz bars of semi-sweet chocolate
Crust:
2 cups chocolate wafer cookies (or chocolate teddy grahams or chocolate graham crackers)
1 stick unsalted butter, melted
1/4 cup white sugar
2 tbs brown sugar
Topping:
2 cups fresh or frozen raspberries
2oz 60% dark chocolate
1/3 cup sugar
In a large pot, add the cream and the chocolate. Stir over medium-low heat until all of the chocolate has melted and it resembles chocolate milk. Add to the bowl of a stand mixer and place the bowl in the refrigerator. Cover and chill until set, at least 6 hours. Filling can be made up to 2 days ahead of time.
Pre-heat oven to 350.
Put the chocolate wafer cookies, or chocolate graham crackers (NOT chocolate covered) into a food processor and process until crumbled. Add the sugars and the butter and process until it looks like wet sand. Add a bit more butter if it’s too dry. Press into a 9 inch pie pan. Press hard, using a measuring cup, a flat bottom coffee cup or anything you can to make sure and pack it into the pan really well. This will keep it from crumbling when you cut it into slices.
Bake for 10 minutes at 350 or until firm. Allow to cool.
Place the bowl of chilled chocolate cream on to the stand mixer and beat on high for 3-5 minutes or until fluffy. At this point, you can taste to see if you want it sweeter. I tend to favor less sweet desserts, and if you like yours supper sweet, add 1/4 cup sugar and beat until its incorporated into the mousse.
Add the chocolate mousse to the pie crust and spread out evenly, place in the fridge to chill.
In a pot over medium-high heat, add the topping ingredients. Stir until the raspberries and chocolate has melted, the raspberries have broken down, and the mixture has thickened. This will take longer if you are using frozen raspberries because the water content is higher. About 8-12 minutes. Pour the mixture over the mousse and chill until set, about 30 minutes.


