Let’s pretend for a second that you’ve never had biscuits and gravy.
Like you’ve never sat in good company at a crappy diner in a small town eating sub par biscuits and gravy washing it down with shitty coffee like it’s the best breakfast you’ve ever had. Like you’ve never had someones grandma make them for you so early in the morning you could hardly keep your eyes open. Like you’ve never delayed the start of day two of a road trip just so that you could have a plate of southern comfort food from that place your friend once told you about.
But we can’t do that. Because there is something about that combination of simple ingredients, done just right, that stays with us forever. The way the perfect song pouring out your car windows as you drive down a softly worn country road on a summer afternoon makes you feel like everything’s right in the world.
The food that stays with us, that comforts us, reminds us of home, is almost always simple food. It’s these dishes that are worth making, and remaking, over and over, making small adjustments that no one but us really notices, because dishes like this stay with us.
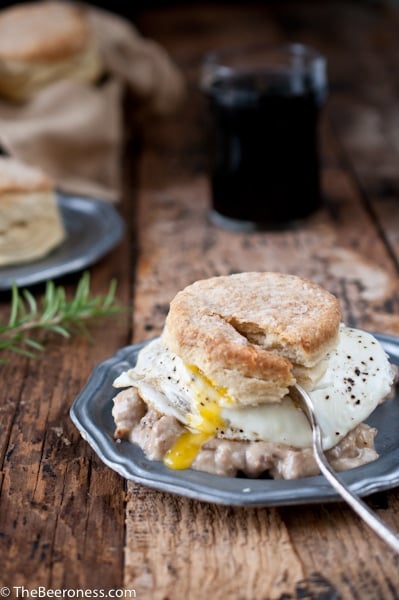
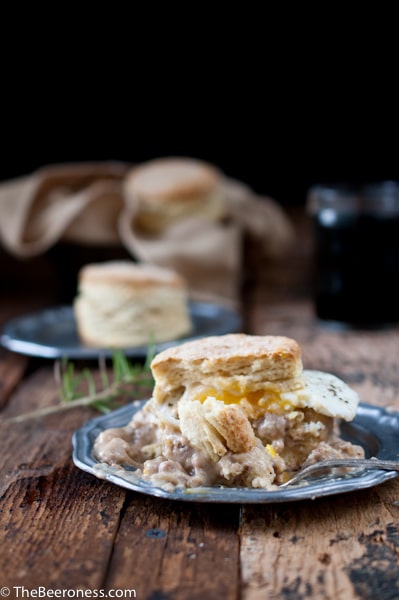
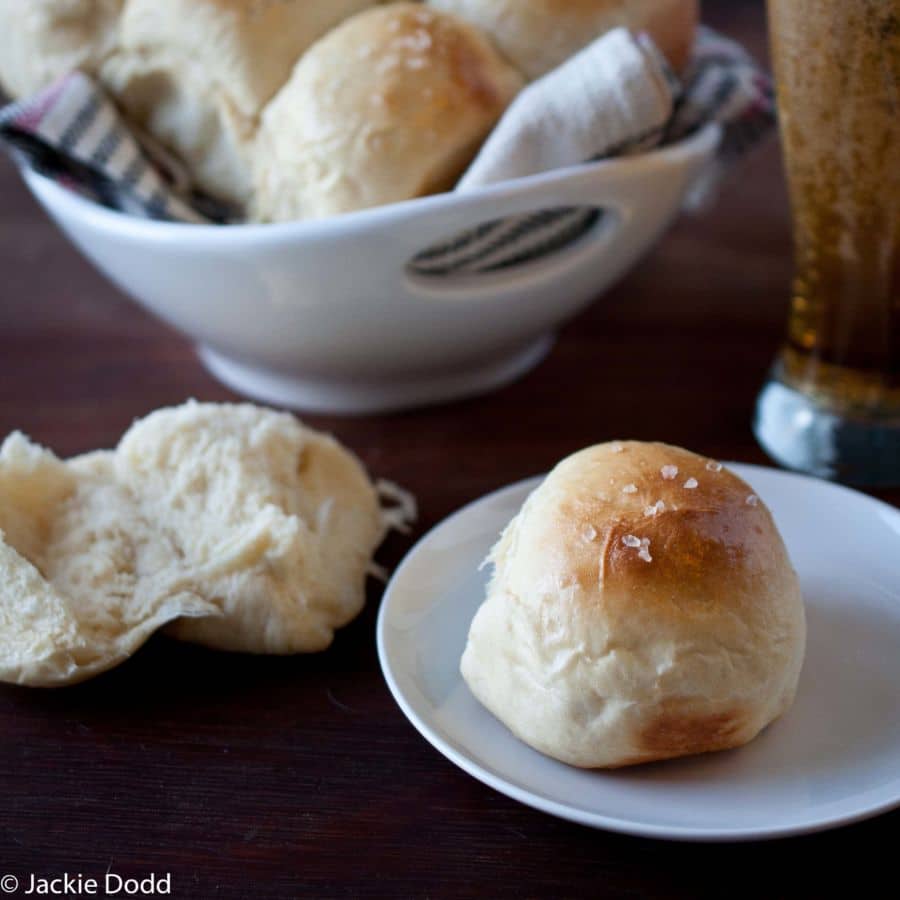
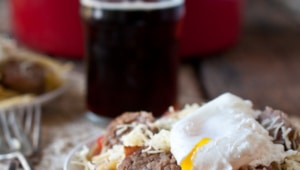
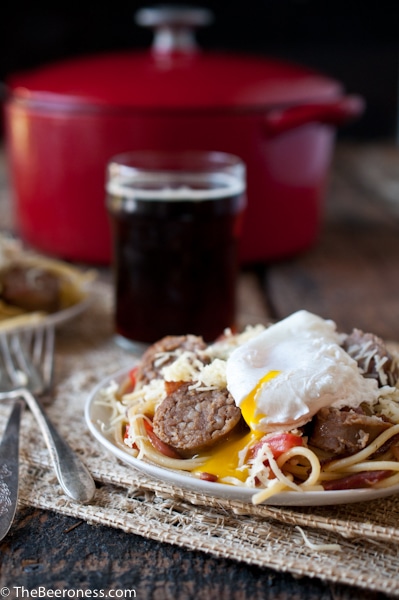
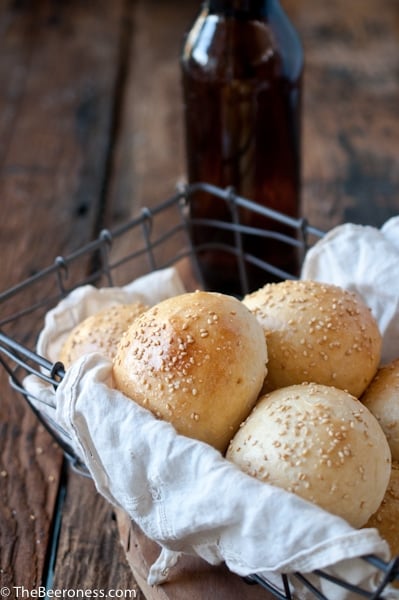
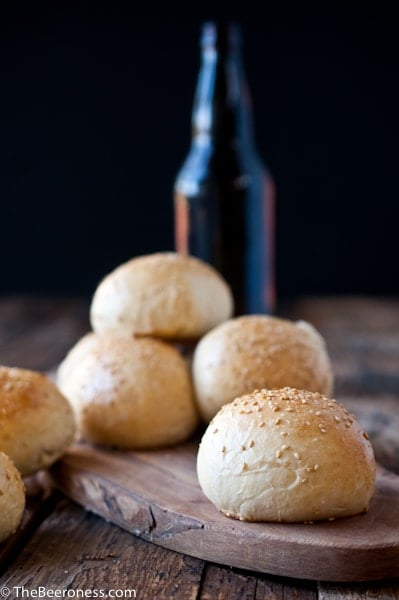
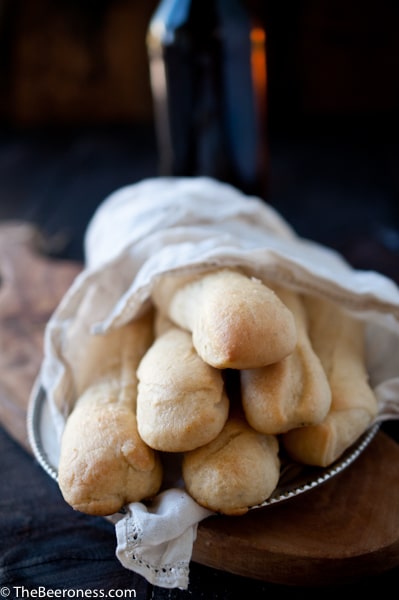
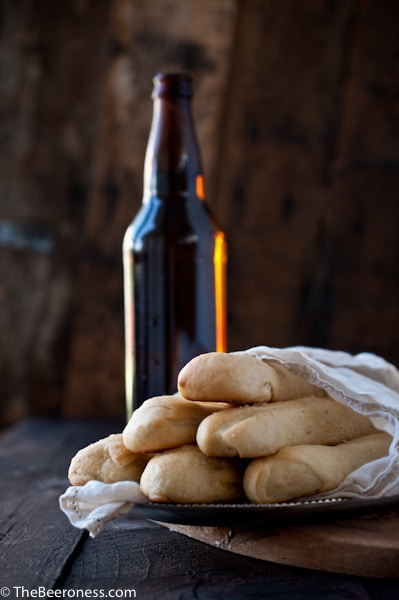
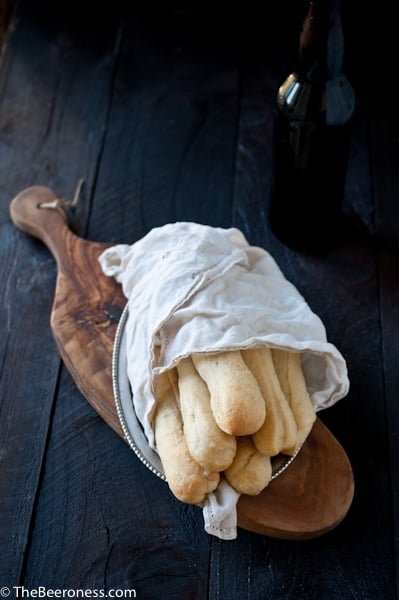
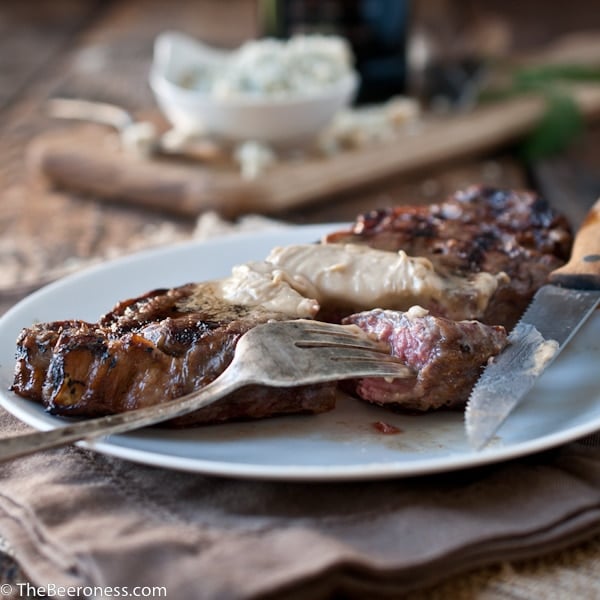
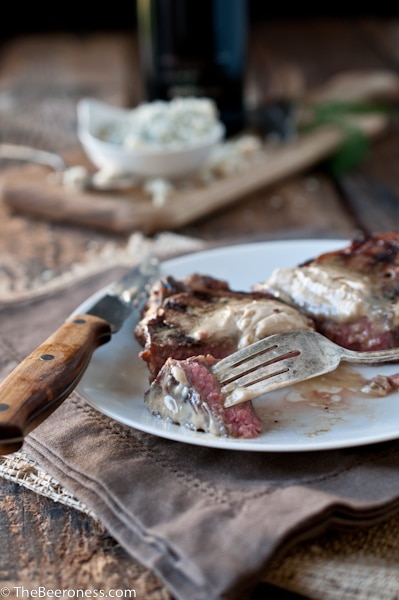
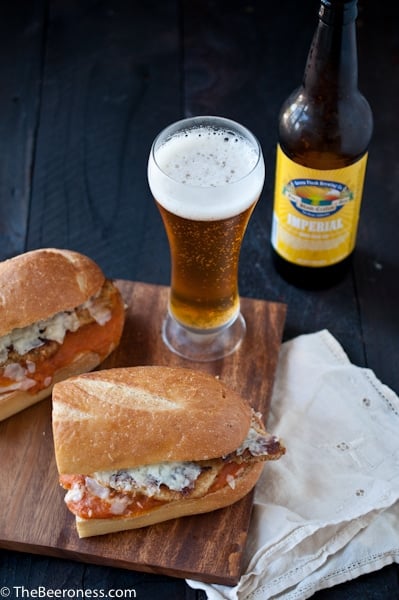
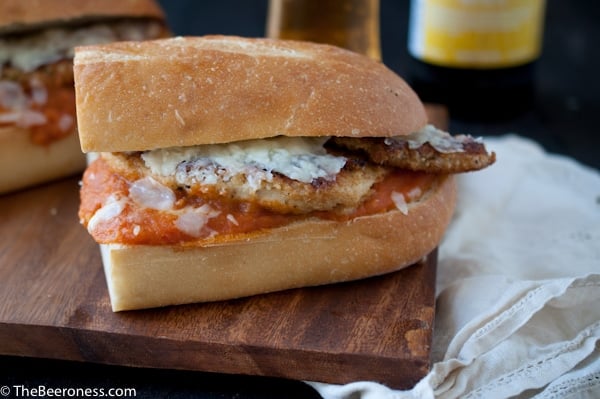
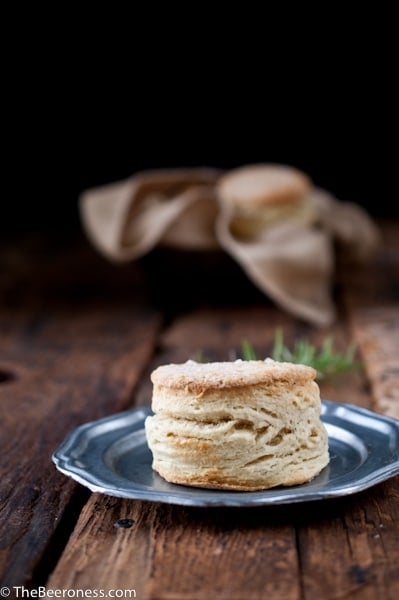
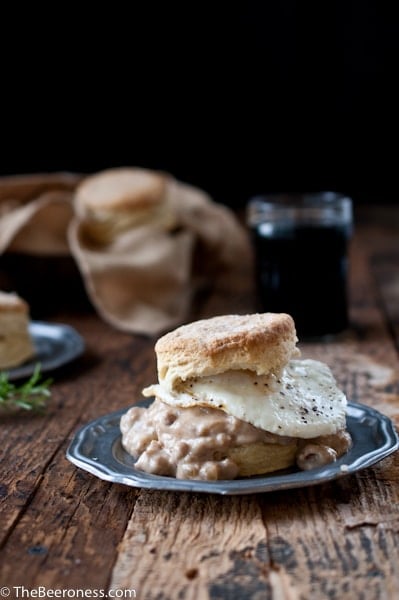
Rosemary Beer Biscuits with Stout Sausage Gravy
Ingredients
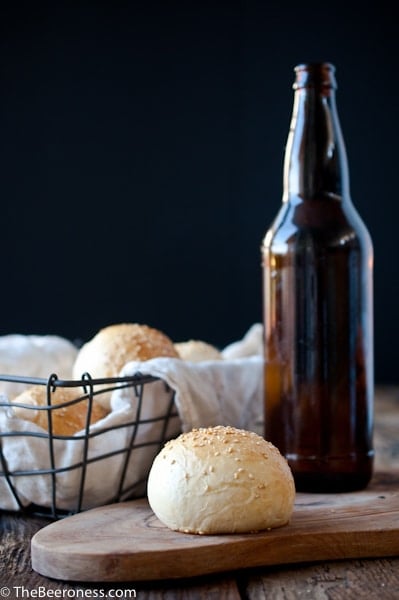
For the biscuits:
- 3 1/2 cup all-purpose flour
- 2 tsp baking powder
- 1 1/2 tsp baking soda
- 1 tsp salt
- 1 tsp sugar
- 1 tsp chopped fresh rosemary
- 8 tbs unsalted cold butter cut into cubes
- 1/2 cup buttermilk
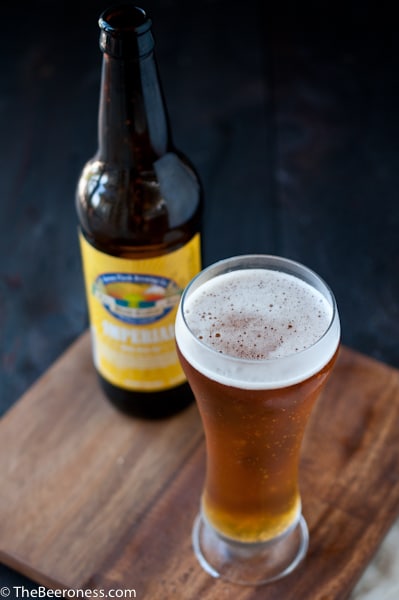
- 2/3 cup Belgian ale or wheat beer
- 2 tbs melted butter
- ¼ tsp course sea salt
For the gravy:
- 1 lb pork sausage raw, without casing
- ¼ cup finely chopped white onion
- 1 tbs butter
- 6 tbs flour
- 3 cups whole milk
- 1 cup stout
- ¼ tsp salt
- ½ tsp pepper
- 1 tsp Worcestershire sauce
- ¼ tsp cayenne pepper
Optional
- 4 large eggs fried
Instructions
- Preheat oven to 400.
- In a processor add flour, baking powder, baking soda, salt, sugar, and rosemary.
- Pulse to combine. Add the cold butter, process until well combined. Add to a large bowl.
- Add the buttermilk and beer. Mix with a fork until just combined.
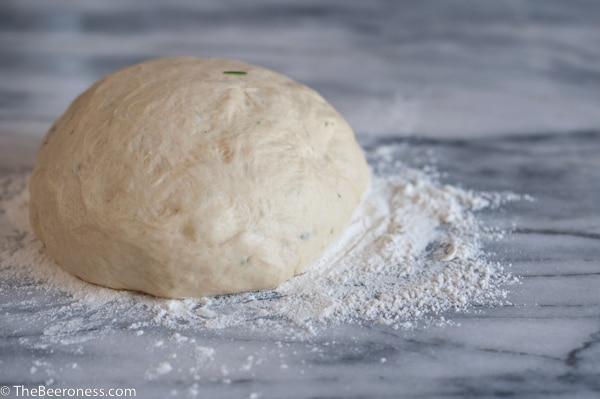
- Add to a well-floured flat surface, pat into a rectangle. Using a cold rolling pin (preferably marble) gently roll into a large rectangle, about 1 inch in thickness, using as few strokes as possible.
- Fold the dough into thirds as you would a letter about to go into an envelope. Roll lightly, once in each direction to about 1 inch thickness, fold in thirds again. Gently roll into about 1 1/2 inch thickness (this will give you the flakey layers).
- Using a biscuit cutter cut out 6 to 8 biscuits. Place in a baking pan that has been sprayed with cooking spray.
- Brush biscuits with melted butter, sprinkle salt.
- Bake at 400 for 12 to 15 minutes or until the tops are golden brown.
- To make the gravy add the sausage to a pan over medium high heat. Cook, breaking up with a wooden spoon, until browned. Add the onions and butter, stirring and cooking until onions are browned, about 5 minutes. Sprinkle with flour. Whisk until flour is well combined. Cook until flour has browned. Add the milk, stout, Worcestershire, salt, pepper and cayenne pepper. Cook until thickened, about 8 minutes.
- Top the biscuits with gravy and fried eggs, if desired.
A HUGE Thank You to my Facebook Fans who suggested I work on a Beer Biscuits and Gravy recipe. You guys are always an inspiration.