My book tour kicks off in a few days and one of my first stops is at Bear Republic, one of my favorite California breweries. On October 10th, from 6:30 to 8:30 I’ll be at the pub in Healdsburg hanging out, signing books, hoping to meet some of you and gleefully consuming some Bourbon Smokey Bear Stout. Join me, if you’re in the area, sit down and have a beer with me.
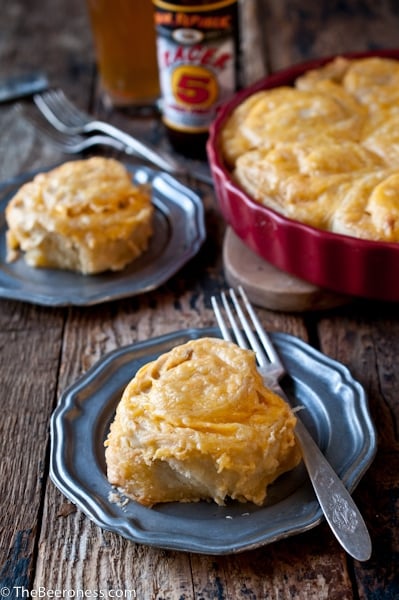
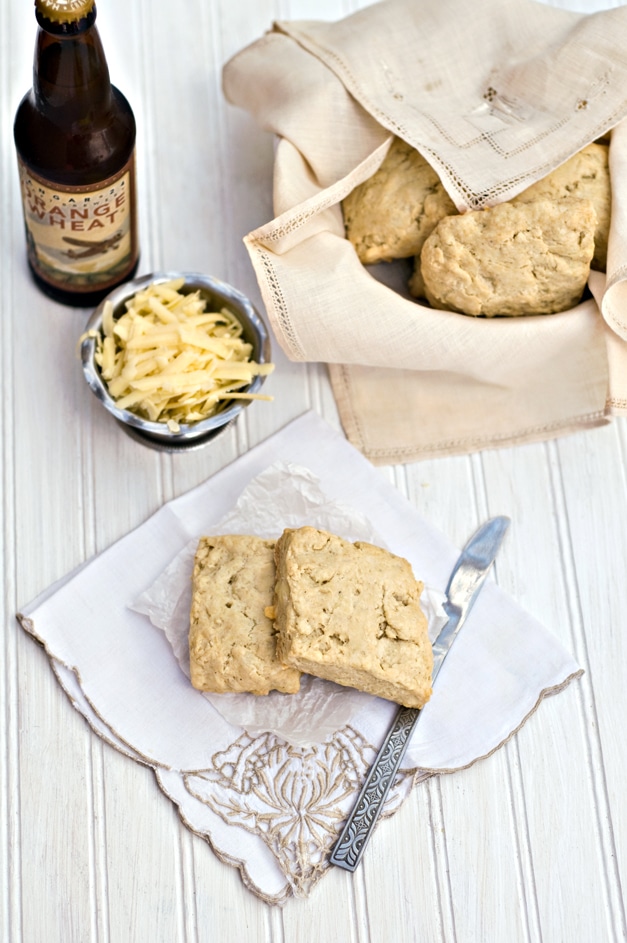
It was the beauty of Racer 5 IPA that introduced me to Bear Republic, quickly becoming a go-to favorite of mine, one I always have on hand at parties. It’s a crowd pleaser with just the right amount of hops to give you what you want but not overwhelm, it gives a perfect balance.
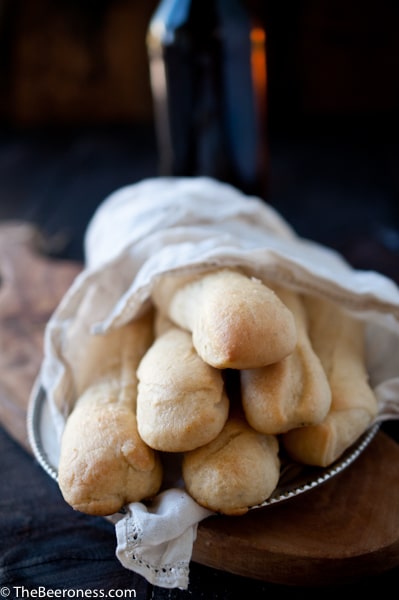
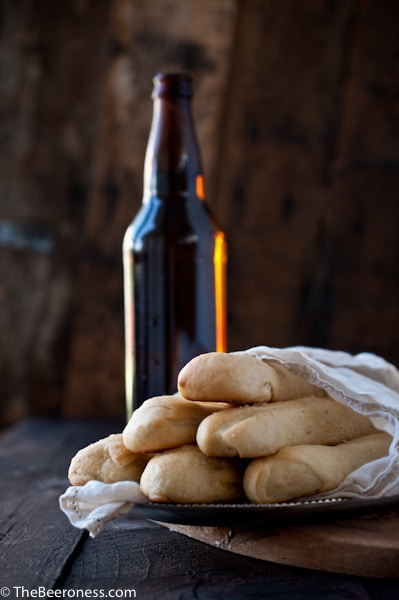
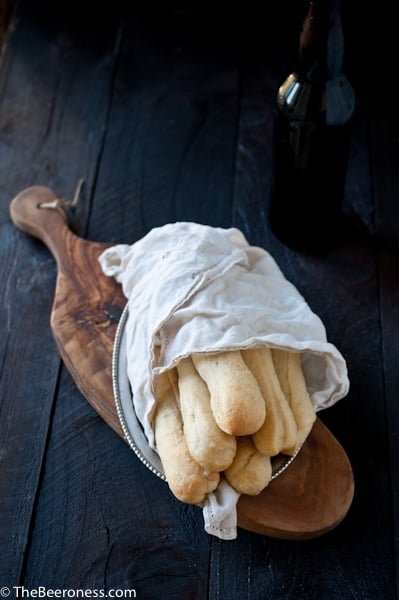
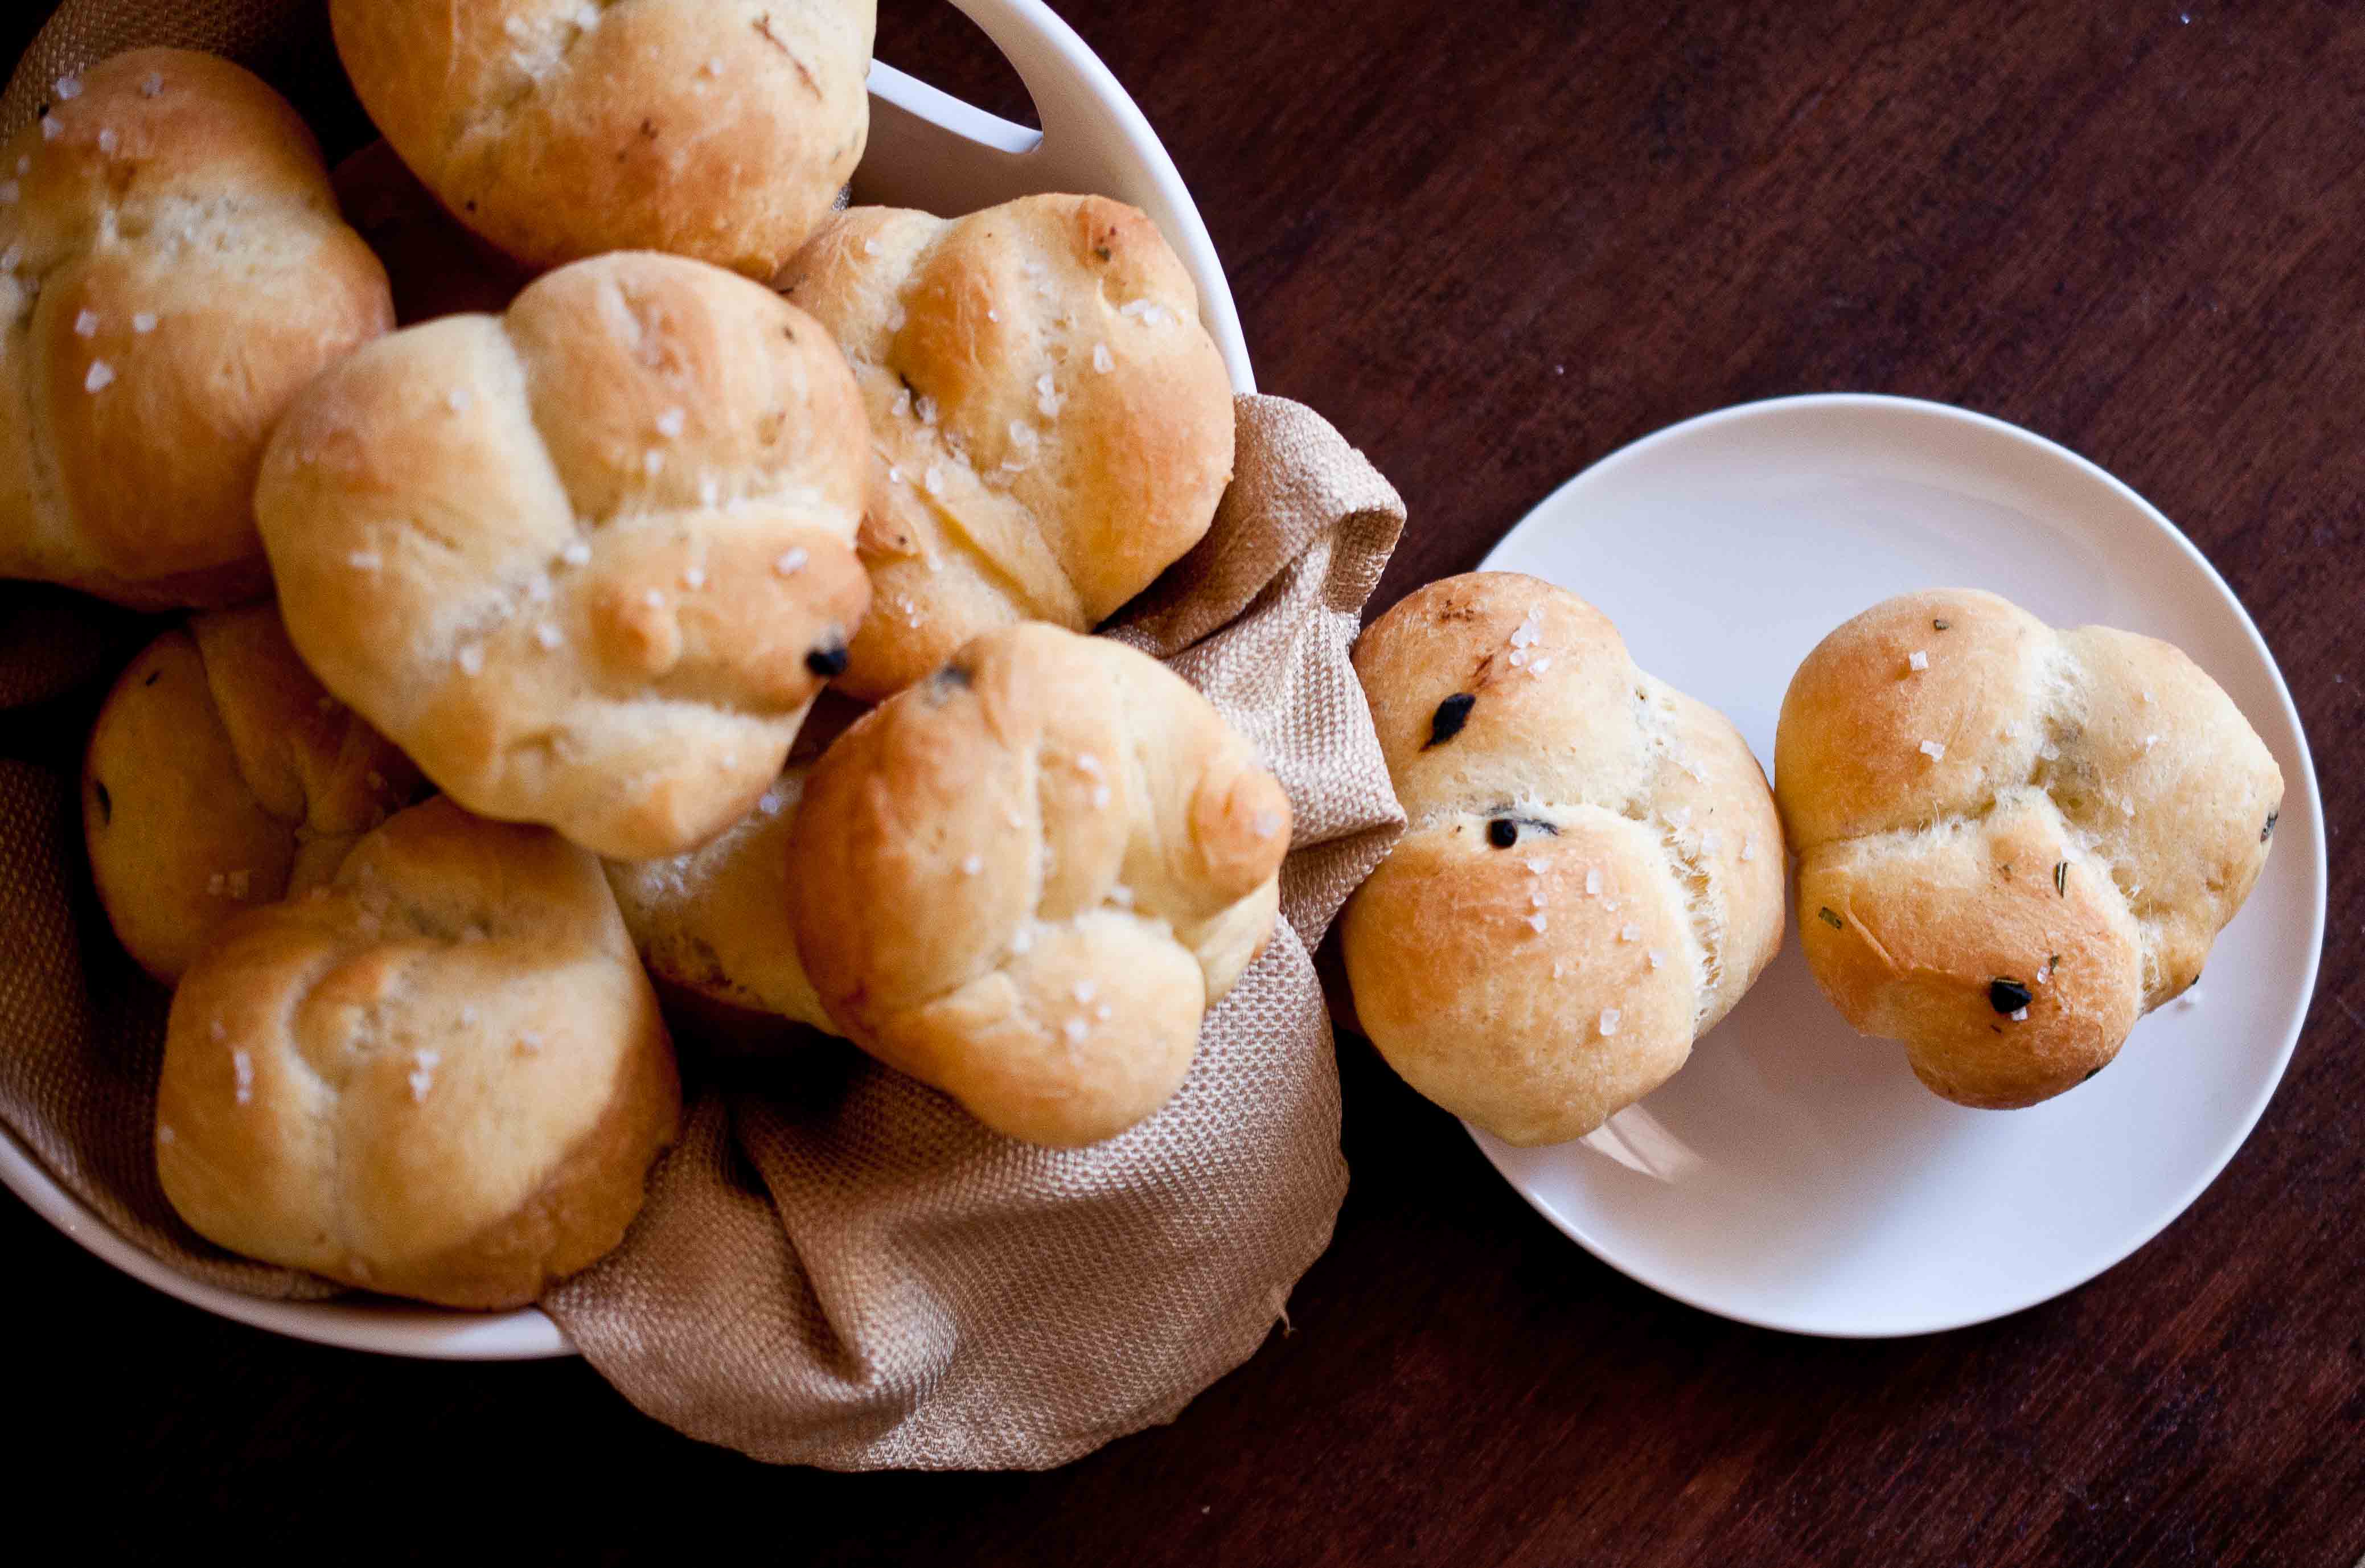
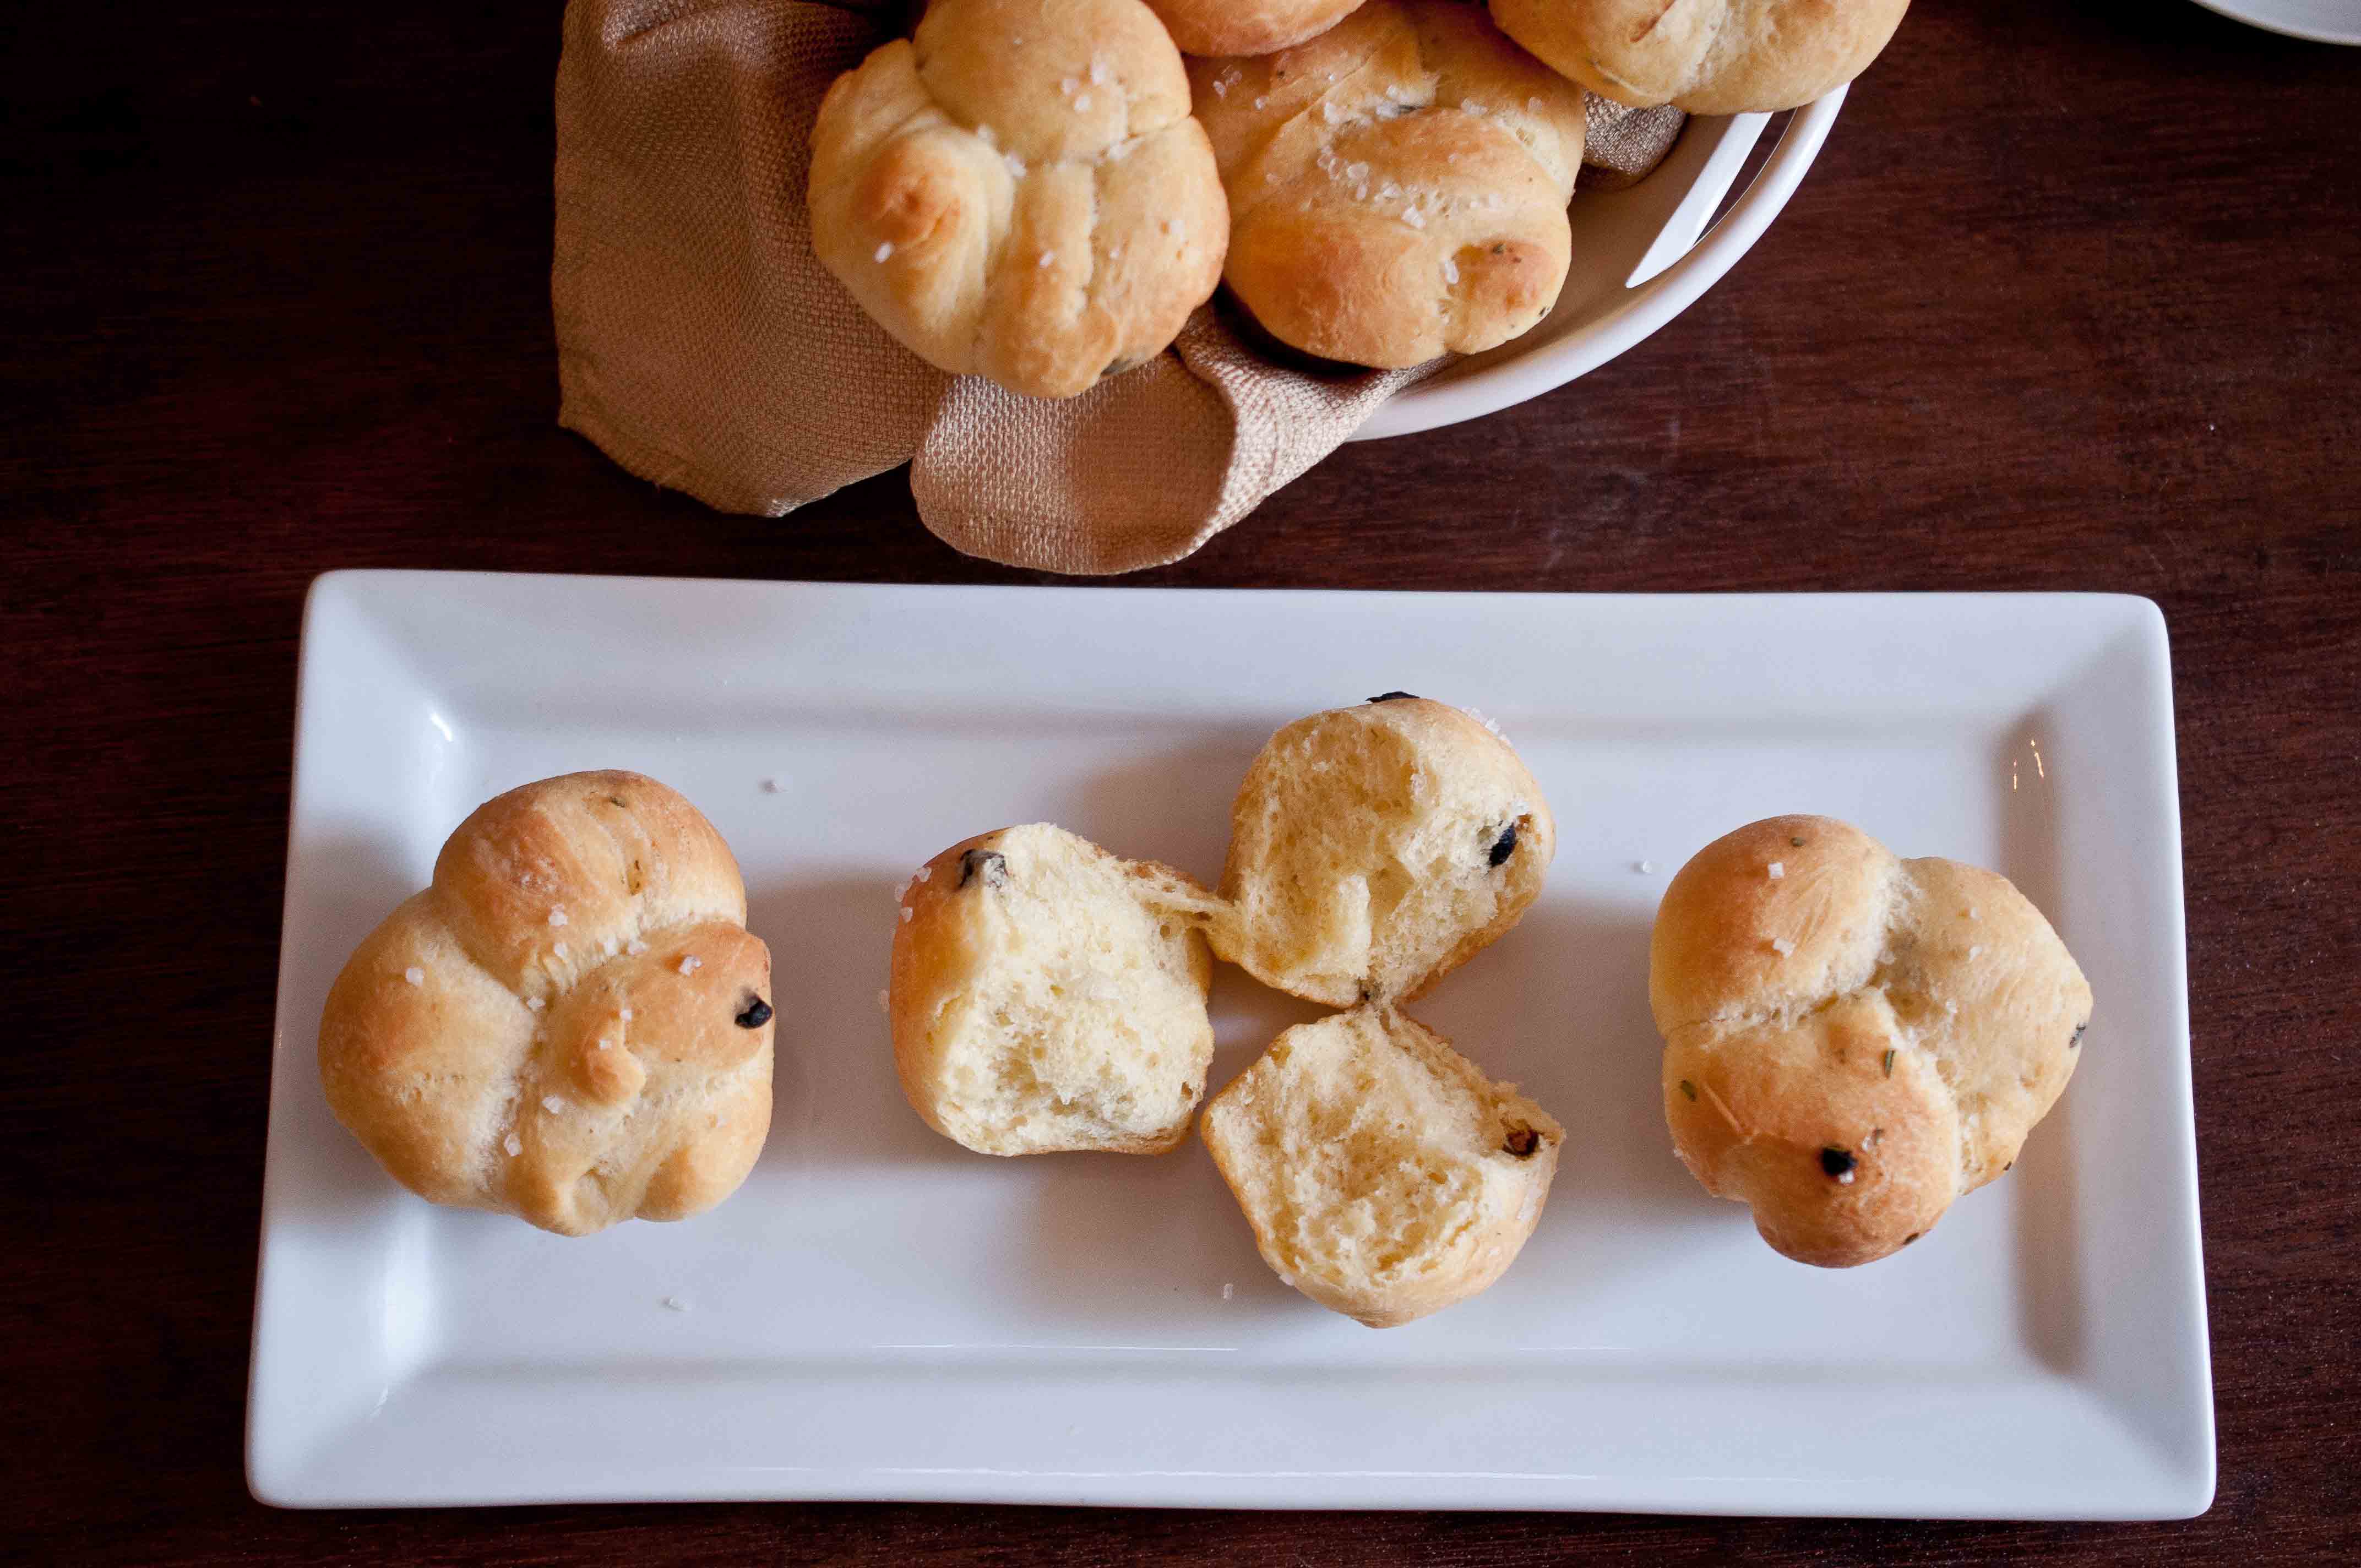
Because of that perfectly balanced hop kick, it’s a great beer-cheese-beer. Even more perfect to stuff that beer cheese inside a tender garlic filled roll for an awesomely beer flavored garlic cheese roll that can be a meal all in itself. But really, it’s just about being responsible when drinking, you need to eat something to soak up all that fantastic Racer 5 you be able to put down.
Join me October 10th, 2013 6:30-8:30, at Bear Republic!

Garlic Beer Cheese Rolls
Ingredients
For the Dough
- 3 cups all purpose flour
- 1 envelope rapid rise yeast 2 ¼ tsp
- 1 tbs white sugar
- 1 tsp garlic powder
- 1 cup IPA beer
- 1 tsp salt
- ¼ cup olive oil
For the Filling:
- 4 ounces cream cheese
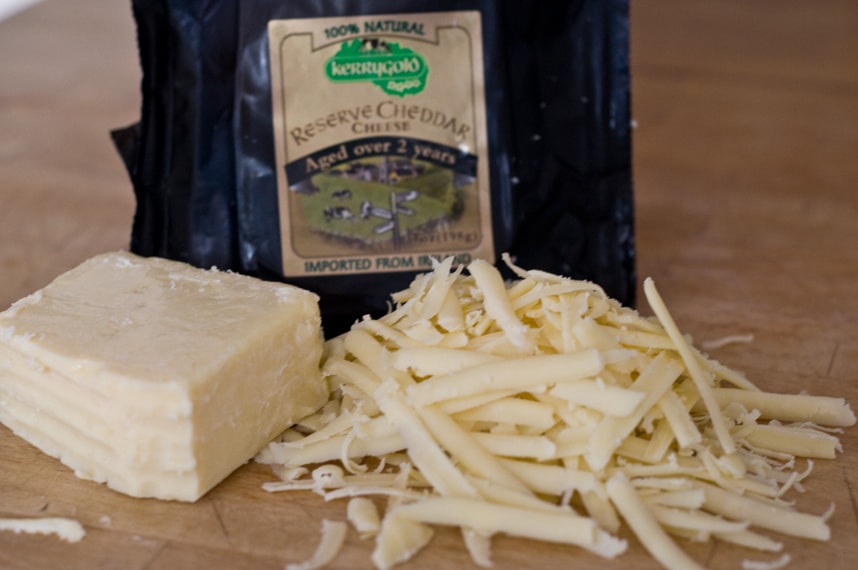
- 6 wt oz cheddar cheese shredded (about 2 cups)
- ½ cup IPA
- 3 cloves garlic grated with a microplane
- ½ tsp salt
For the Topping:
- 3 wt oz cheddar shredded (about 1 cup)
Instructions
- In the bowl of a stand mixer fitted with a dough hook attachment, add the flour, yeast, sugar and garlic powder. Mix until combined.
- In a microwave safe bowl add the beer. Microwave on high for 20 seconds, test temperature with a cooking thermometer and repeat until temperature reaches between 120 and 125 degrees Fahrenheit.
- Add the beer to the stand mixer and mix on medium speed. Once most of the dough has been moistened, add the oil and sprinkle with the salt while the mixer is still running.
- Turn speed to high and beat until dough is smooth and elastic, about 8 minutes.
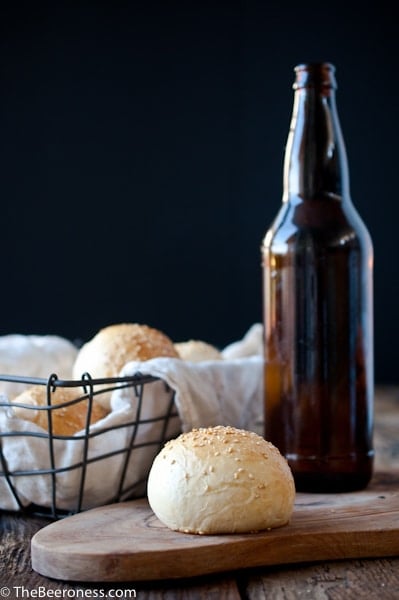
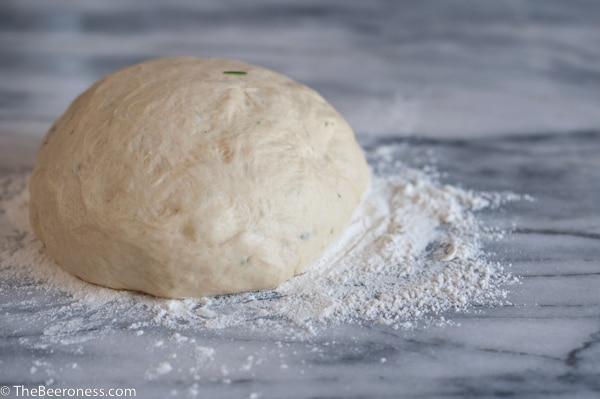
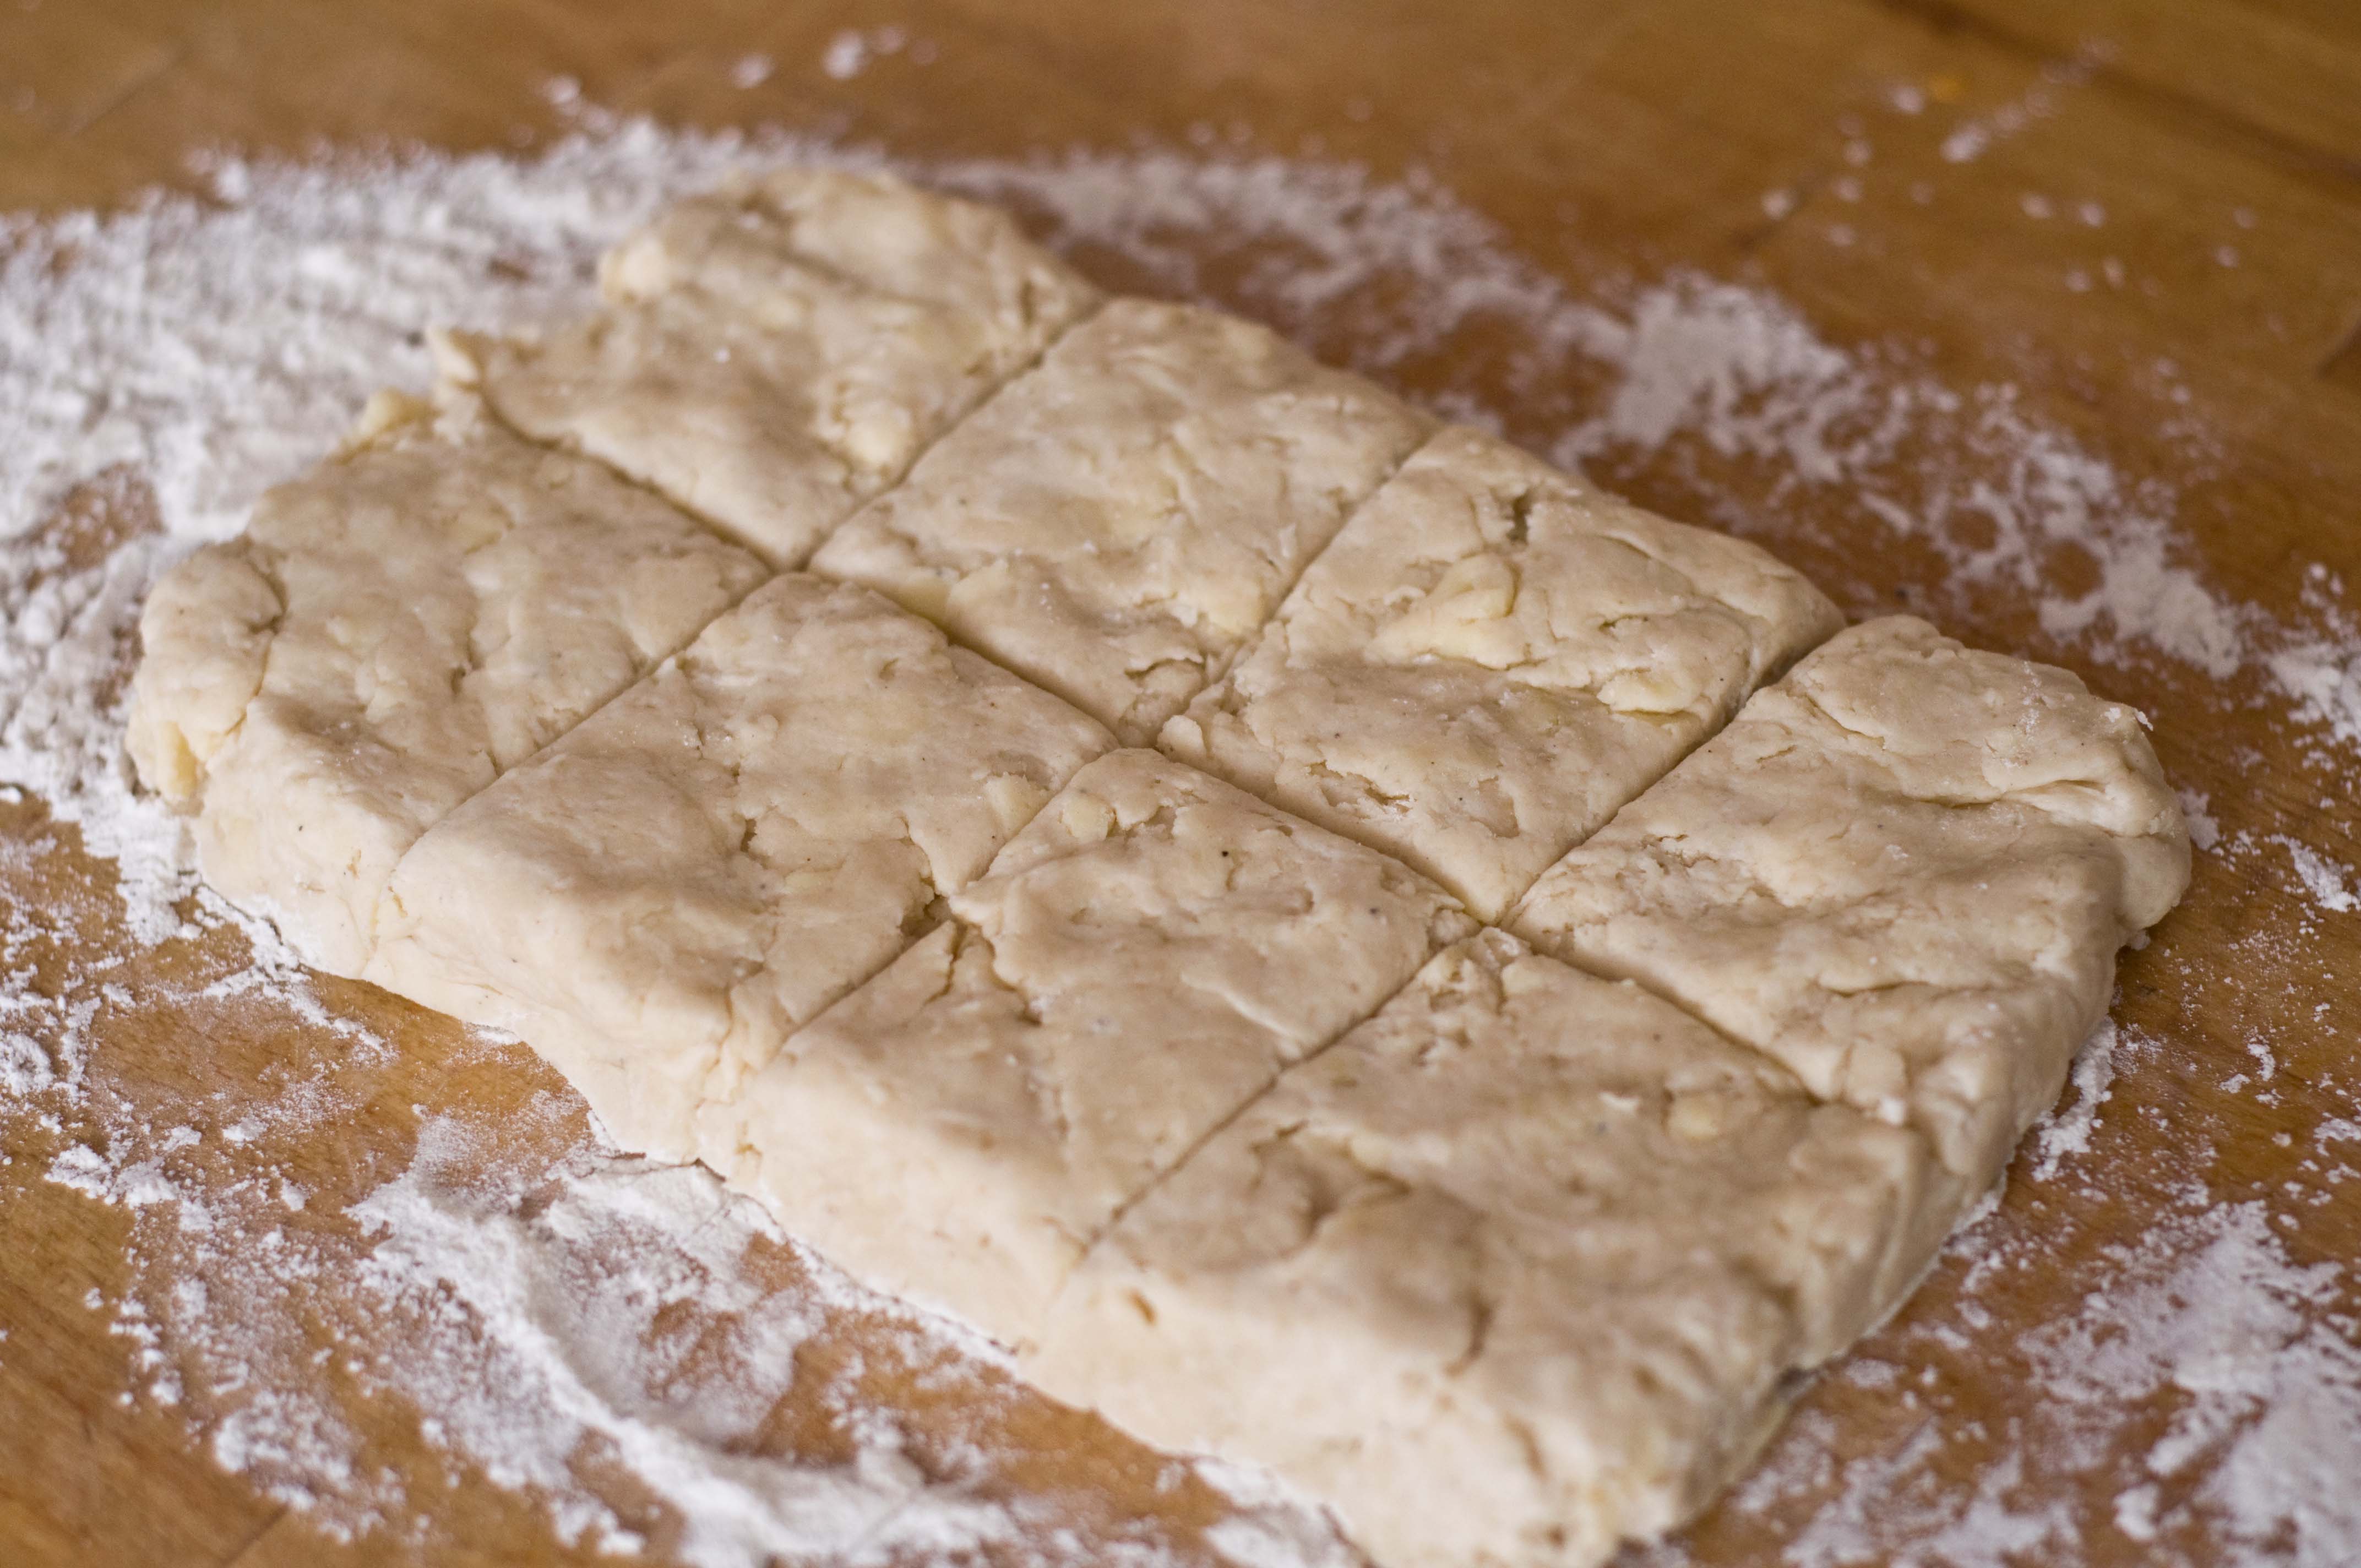
- Transfer dough to a lightly oiled bowl, tightly wrap with plastic wrap. Allow to sit in a warm room until doubled in size, about 45 to 60 minutes. Remove from bowl and add to a lightly floured surface. Knead several times, roll out into a rectangle about 10 inches by 18 inches.
- Add all of the filling ingredients to a food processor, process until smooth and well combined, about 5 minutes.
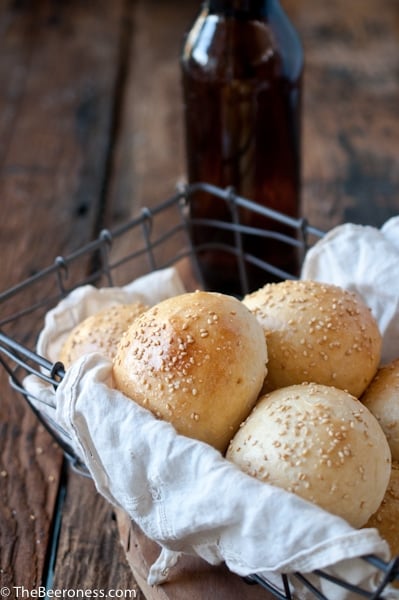
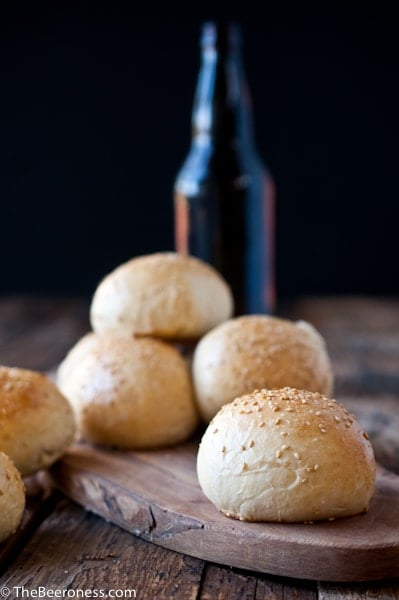
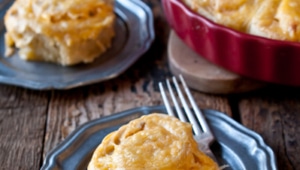
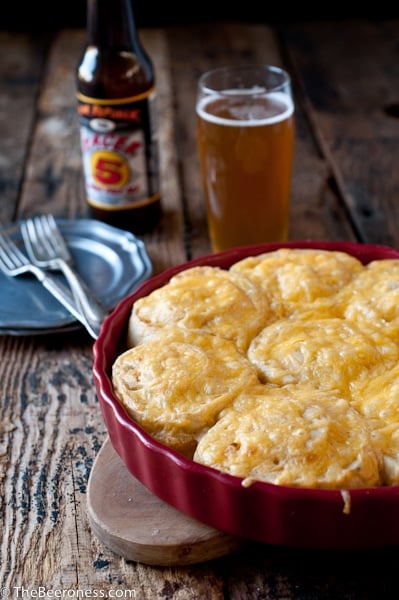
- Spread the filling evenly across the dough. Starting at the long edge roll the dough into a log. Cut the dough into 8 rolls, each about 2 inches wide. Place cut side down into a baking dish. Cover and allow to rise until doubled in size, about 30 minutes.
- Sprinkle with remaining cheddar cheese.
- Bake uncovered at 350 for 20-25 minutes or until the cheese is bubbly and starting to brown. Serve warm.
I use this Microplane![]() to turn a clove of garlic into paste in a second. (Affiliate link)
to turn a clove of garlic into paste in a second. (Affiliate link)