While flavor may be a great go-to reason to cook with beer, don’t overlook the more practical applications of beer cooking. One of the cornerstones of Practical Beer Cooking is the inherent meat tenderizing properties of beer, making it the perfect brining liquid. While infusing the meat with flavor and uping the juiciness factor, beer also lends it’s powers to giving you extra tender meat. While land dwelling meat is often the target of brining, most scallops need a good long soak in a hoppy brine.
Scallops are a deceptive beast. For the most part, these sweet and mild little sea treats look simple to prepare. But a few minor issues could be robbing you of that restaurant quality greatness. The first, and most damaging issue is that the majority of grocery store scallops will come soaked in a phosphate solution that, while whitening and preserving, infuses the scallop with a soapy taste. This phosphate solution also permeates the meat, leaking out during cooking and preventing you from getting a good sear. So, really, you need to flush the beast to get a great meal out of it. The phosphate soaked scallops are generally referred to as "wet" scallops and those that are not soaked in anything are referred to as "dry" scallops. While dry scallops are still available, they are harder to come by, more expensive, and much more rare the farther you get from the water. If your scallop is white and sitting in a pool of milky liquid, it’s a wet guy. If it isn’t labeled "dry packed" you can bet your dinner that your new found culinary delight has been hanging out in phosphates for a while.
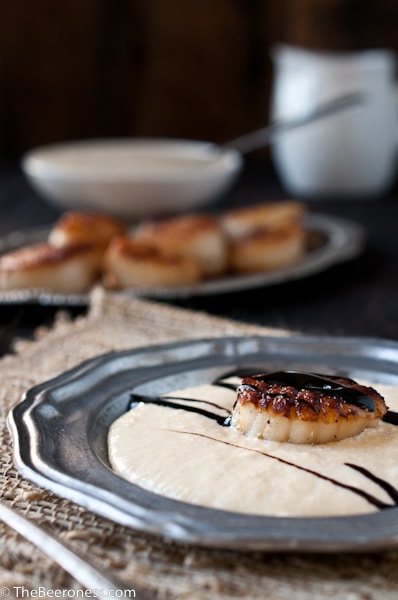
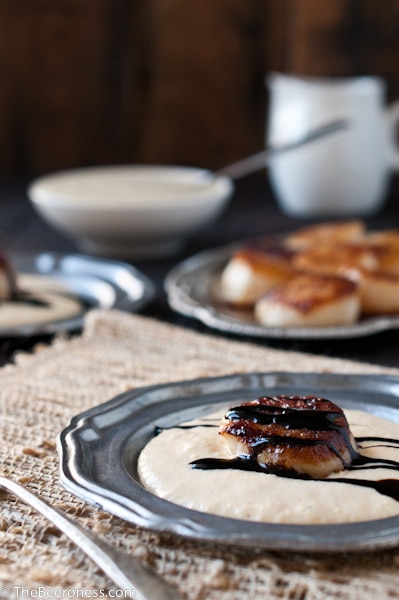
The cure to this is really simple, and relying on those meat tenderizing properties of beer will give you a great wash to get your scallop back to a dry pack quality. Allowing the scallops to brine will work the phosphates out, giving you the ability to sear those beautiful scallops without that nasty milky liquid seeping out in the pan, ruining that beautiful sear you want. Make sure to allow them to dry really well before searing to get that great golden crust that always drives us crazy.
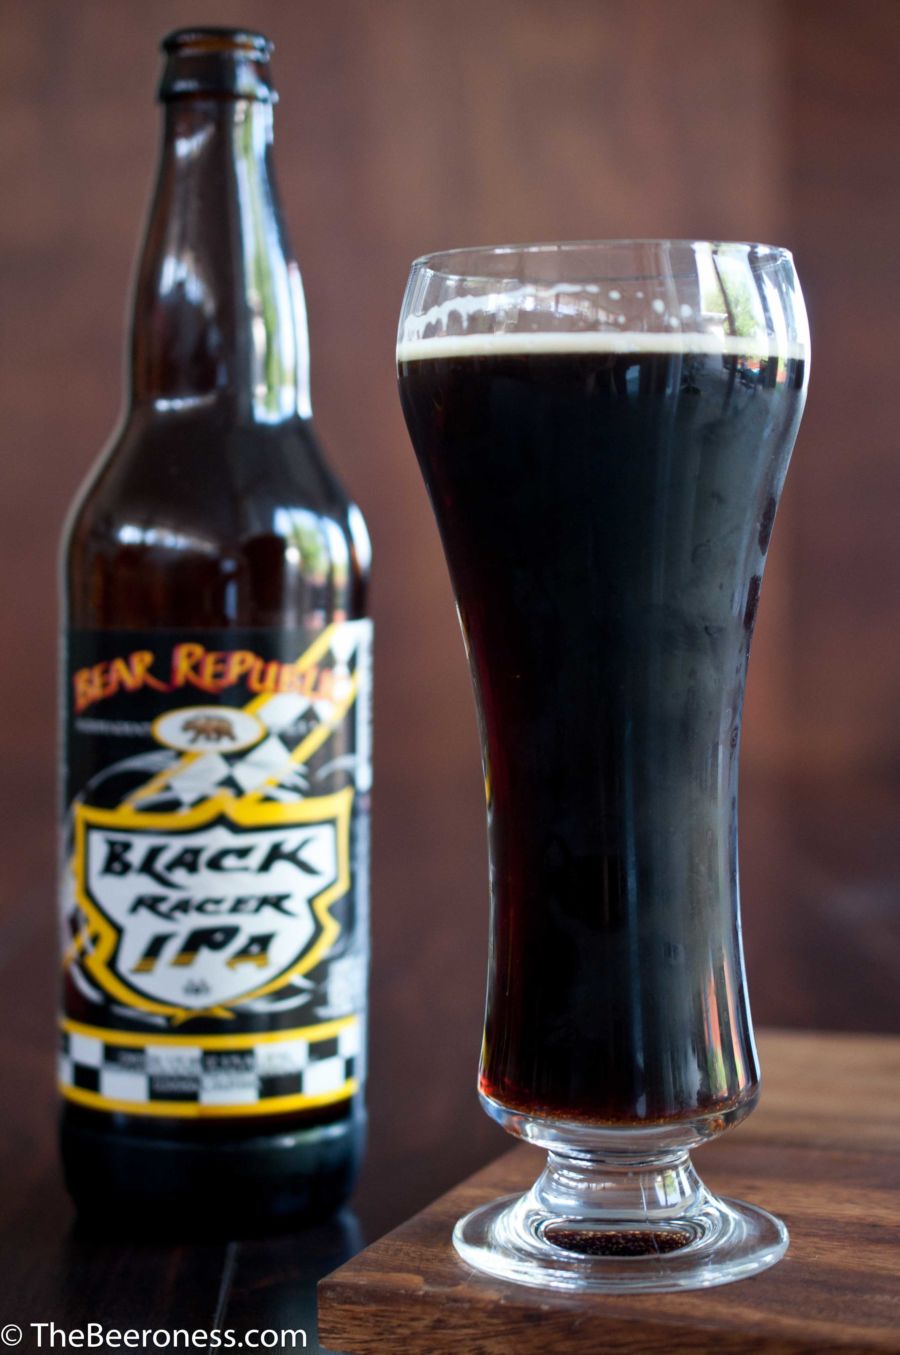
For this recipe I used a smokey stout for the sauce (the Sauce of Dreams, that I sort of want to take a bath in), the slight notes of smoke are really beautiful and add a bit of a Texas Barbecue flavor to these nicely seared scallops. I used Still Life by Beachwood Brewing, a really nice stout, with beautifully layered flavors. Look for a stout or a porter (both dark beers that are interchangeable when cooking) that have notes of smoke or espresso.
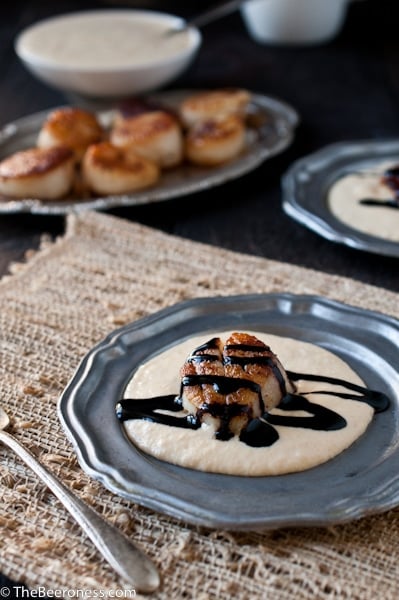
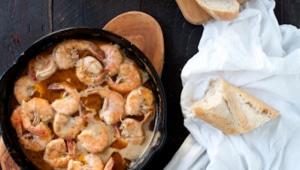
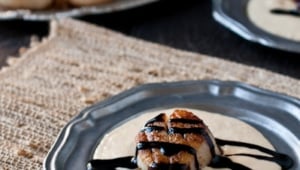
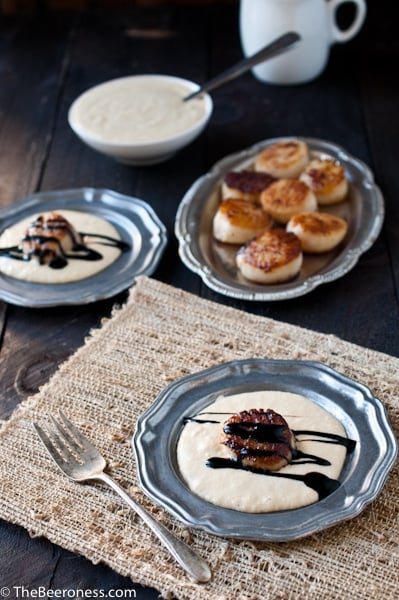
Beer Brined Scallops over Smokey Corn Puree and Stout Molasses Sauce
Ingredients
For the Scallops:
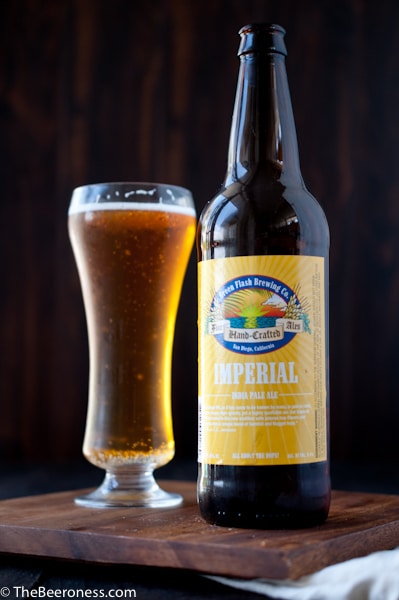
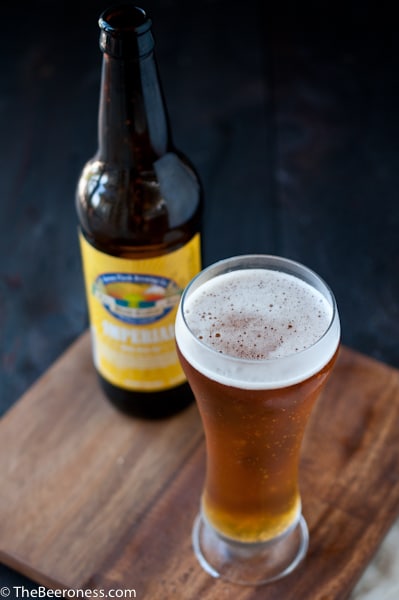
- 12 ounces pale ale
- 2 tbs salt
- 1 cup water
- ¼ cup lemon juice
- 12 jumbo scallops
- 2 tbs unsalted butter
- 2 tbs olive oil
For the Corn Puree
- 4 ears of corn
- 5 tbs butter
- ¼ tsp salt
- ½ tsp black pepper
- 1/4 tsp smoked paprika
- 1 cup cream or half and half
For the Sauce
- 1 cup stout
- 1 tbs molasses don't use Blackstrap
- 3 tbs balsamic
- 1 tbs soy
Instructions
- In a large bowl stir together the pale ale, salt, water and lemon juice.
- Add the scallops, cover and refrigerate for 1 hour.
- While the scallops brine, make the puree. Cut the kernels off the corn cob, set aside.
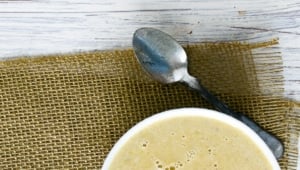
- In a saucepan over medium high heat, melt the butter. Add the kernels, salt, pepper, smoked paprika and cream. Allow to simmer until corn has softened, about 8 minutes. Add to a blender or food process and process until smooth, about 5 minutes. Pass through a fine mesh strainer or chinois (this will remove any fibers and give you a really creamy puree).
- Make the sauce: Add the stout, molasses, balsamic and soy to a sauce pan over high heat. Bring to a boil, reduce heat to maintain a strong simmer, cooking until reduced and slightly thickened, about 10 minutes (should easily coat a spoon). Sauce can be made three days ahead of time and stored in the fridge, but with thicken as it cools. Heat slightly to thin.
- Remove the scallops from fridge and place on top of a stack of 4-5 paper towels. Add another layer of paper towels and allow to drain and dry for 15 minutes. Sprinkle with pepper on both sides.
- Add the butter and olive oil to a pan over high heat. Allow the butter to melt and get very hot, nearly smoking.
- Add the scallops, flat side down, and allow to cook until a dark golden brown crust forms on the bottom, about 2 minutes. Flip and cook until seared on the opposite side. Remove from pan when a slight hint of translucent pink still remains at the center, don’t over cook.