Every time that Mr. Fits, Tater and I are all home, lucky enough to wake up with no place to go, I make breakfast. I love this ritual, and I hope that it continues well into my old, old age (I do plan on living past 100, cooking the entire way, aided by a Rascal Scooter if necessary). Most of these breakfast involve bacon. For the past few months I have been saving the rendered bacon fat by pouring it through a mesh strainer into a small container and storing it in the fridge, waiting for brilliance to strike. I found the homemade tortilla recipe of the fabulous Rick Bayless (who is on my "Culinary Crush" list) and the bacon finally had a grand purpose. If you are kosher, vegetarian or watching your saturated fat intake, or just crazy enough not to like bacon, you can use vegetable shortening, Smart Balance Light (it’s actually vegan), butter or oil. Although the flavor won’t be the same if you use another fat and you will have to watch the ratios since these fats all behave differently. But if you can, save bacon drippings and try the bacon flavored tortillas, so incredible.
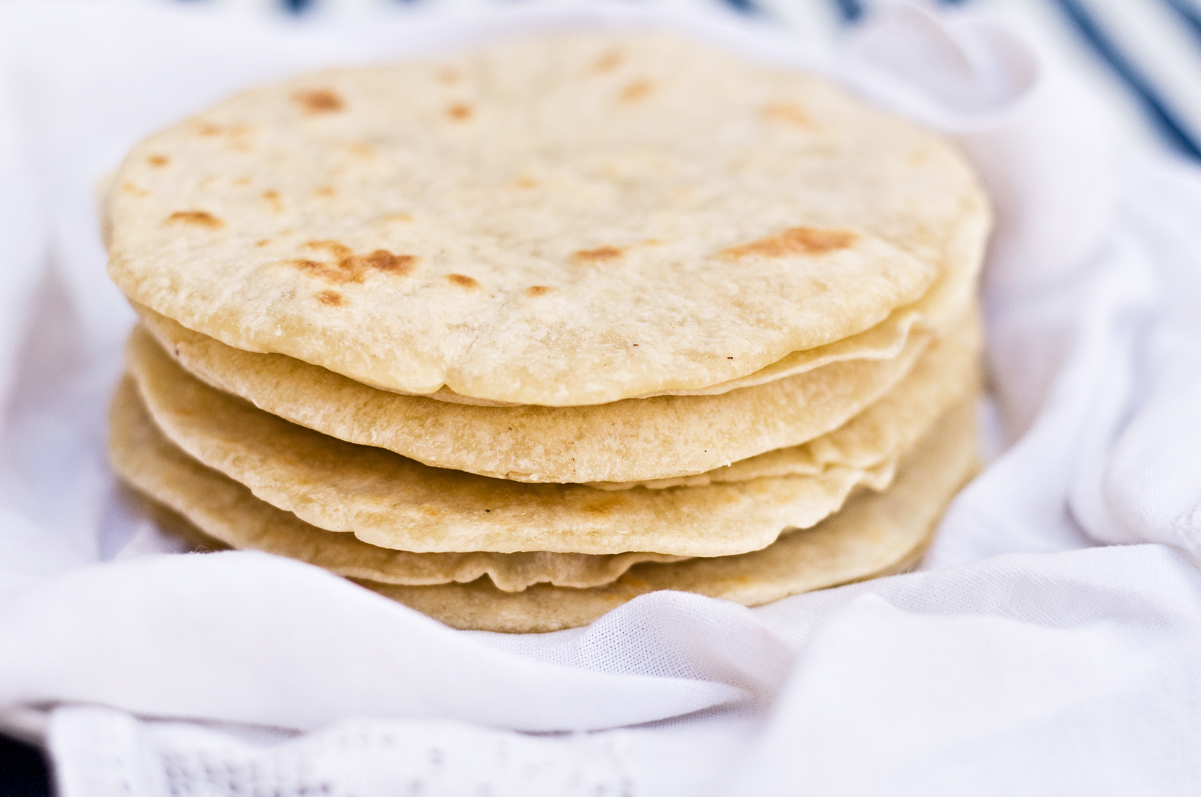
Bacon Fat Flour Tortillas
Makes 12 tortillas
INGREDIENTS
2 3/4 cups all-purpose flour, plus a little extra for rolling the tortillas
5 tablespoons of fat (bacon fat, vegetable shortening, etc)
3/4 teaspoon salt
about 3/4 cup very warm tap water
DIRECTIONS
As I mentioned previously, save your bacon grease by pouring it through a fine mesh strainer into a container with a tight lid (just pour the next round on the top of the previous) and keeping it in the fridge. This stuff is liquid gold, don’t pour it down the drain.
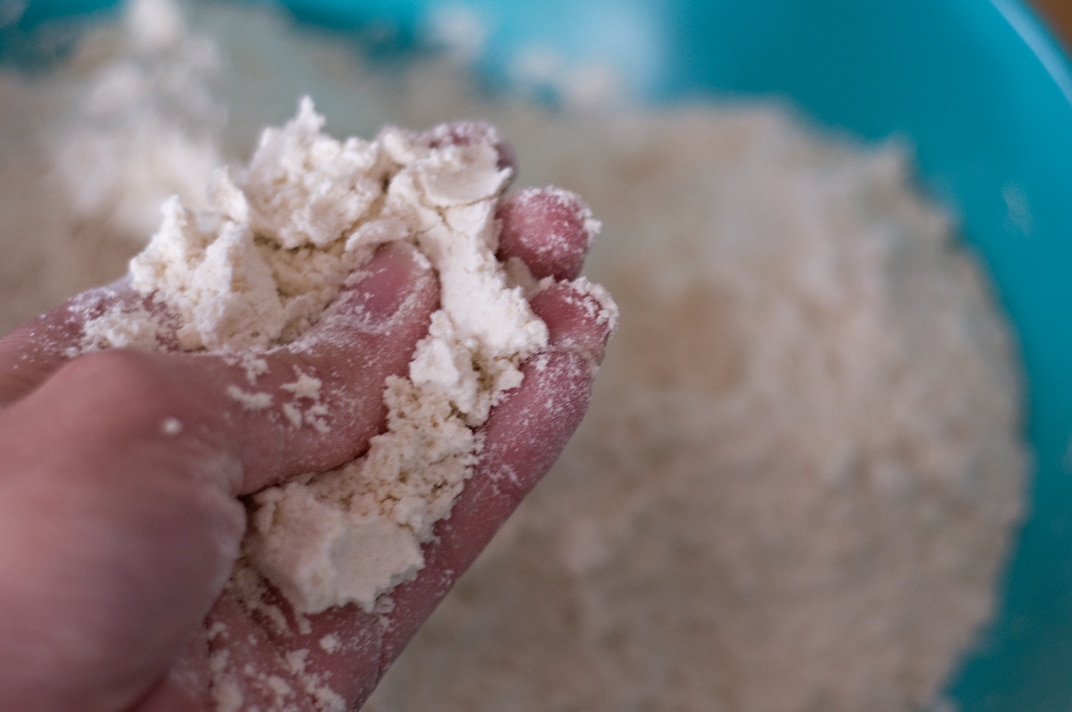
1. Combine the flour and fat (I used 5 tbs bacon fat) in a large mixing bowl, working in the fat with your fingers, until completely incorporated.
2. Dissolve the salt in the water, pour about 2/3 cup of it over the dry ingredients and immediately work it in with a fork.
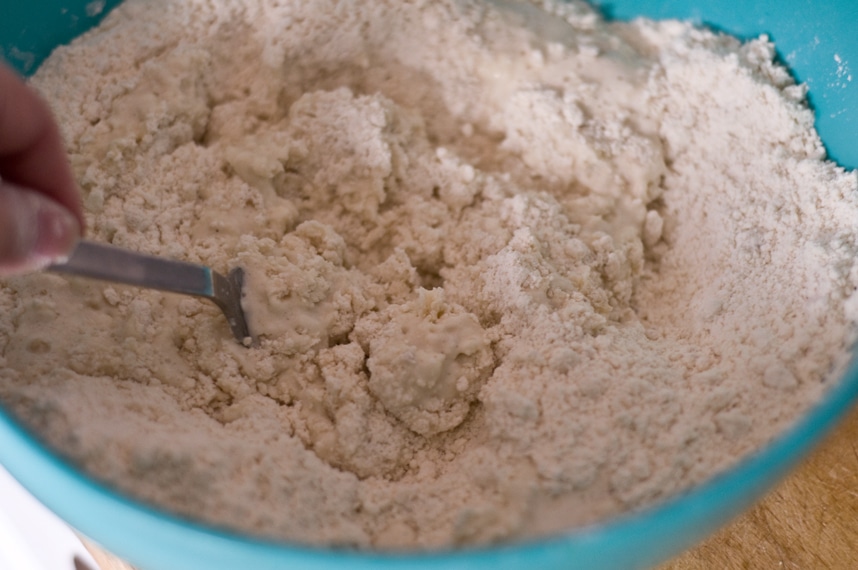
The dough will be in large clumps rather than a homogeneous mass.

If all the dry ingredients haven’t been dampened, add the rest of the liquid (plus a little more, if necessary).
3. Scoop the dough onto your floured work surface
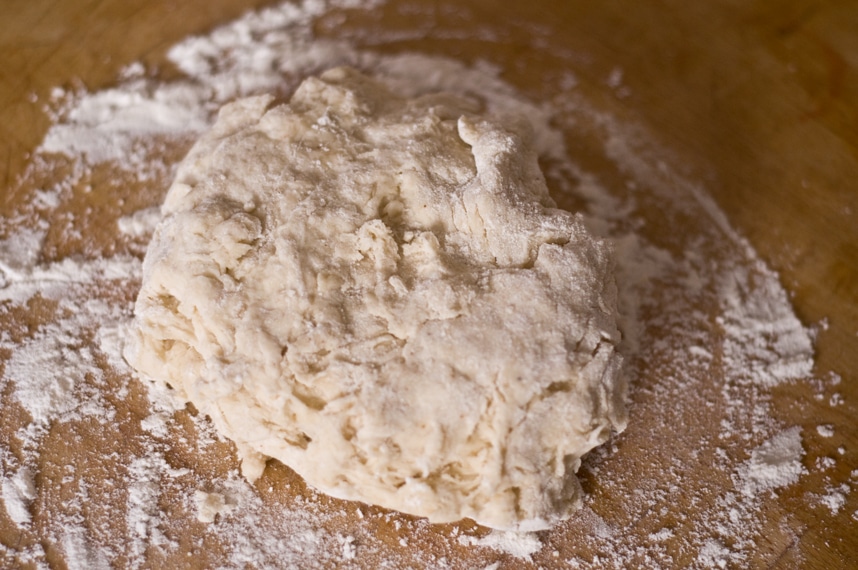
and knead until smooth.

It should be medium-stiff consistency — definitely not firm, but not quite as soft as most bread dough either. Cover with a towel and allow to rest for 30 minutes to an hour.
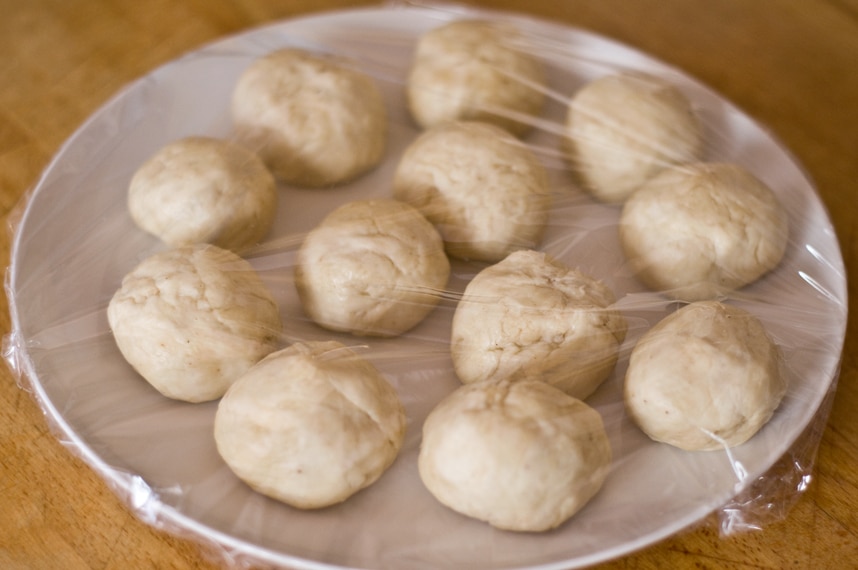
4. Rest the dough. Divide the dough into 12 portions and roll each into a ball. Set them on a plate, cover with plastic wrap and let rest at least 30 minutes (to make the dough less springy, easier to roll).
5. You can either press your tortillas using a tortilla press lined with parchment paper to prevent sticking, which I used

or you can roll them with a rolling pin using this method:
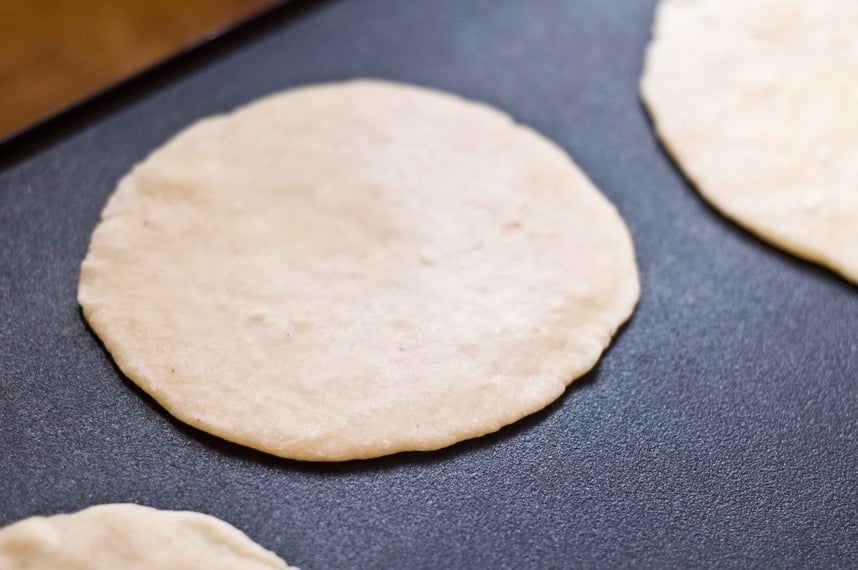
On a lightly floured surface, roll out a portion of the dough into an even 7-inch circle: Flatten a ball of dough, flour it, then roll forward and back across it; rotate a sixth of a turn and roll forward and back again; continue rotating and rolling until you reach a 7-inch circle, lightly flouring the tortilla and work surface from time to time.
Make sure the tortillas are very thin, almost thinner than you think they should be.
6. Heat an ungreased griddle or heavy skillet over medium to medium-high heat. Lay the tortilla on the hot griddle (you should hear a faint sizzle and see an almost immediate bubbling across the surface).
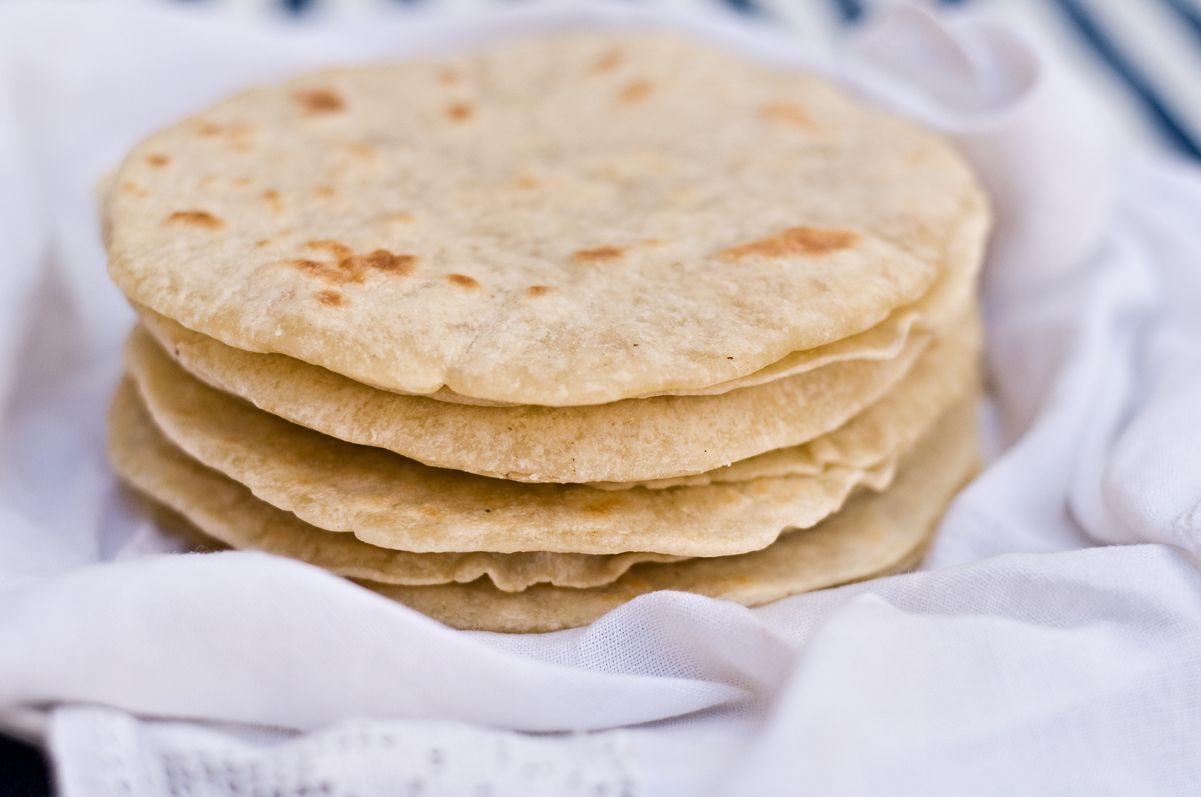
After 30 to 45 seconds, when there are browned splotches underneath, flip it over. You will know it is time to flip when the edges look dry and lighter in color. Bake 30 to 45 seconds more, until the other side is browned; don’t overbake the tortilla or it will become crisp. Remove and wrap in a cloth napkin placed in a tortilla warmer. Roll or press and then griddle-bake the remaining tortillas in the same manner and stacking them one on top of the other.

