When I was a kid "Pasta Salad" was just a requisite side dish at family gatherings that was hastily bought at the grocery store and remained in it’s plastic tub beside other more appetizing offerings while slowly making it’s way to room temperature. I never really understood how macaroni noodles, eggs and mustard where always such an important part of every barbecue I went to. And while these little gatherings were being planned, there was always a mention of it, "Who is going to bring the pasta salad?" Pasta salads have so much variety and take so little time, you don’t ever have to resort to grocery store tub again.
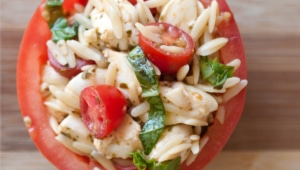
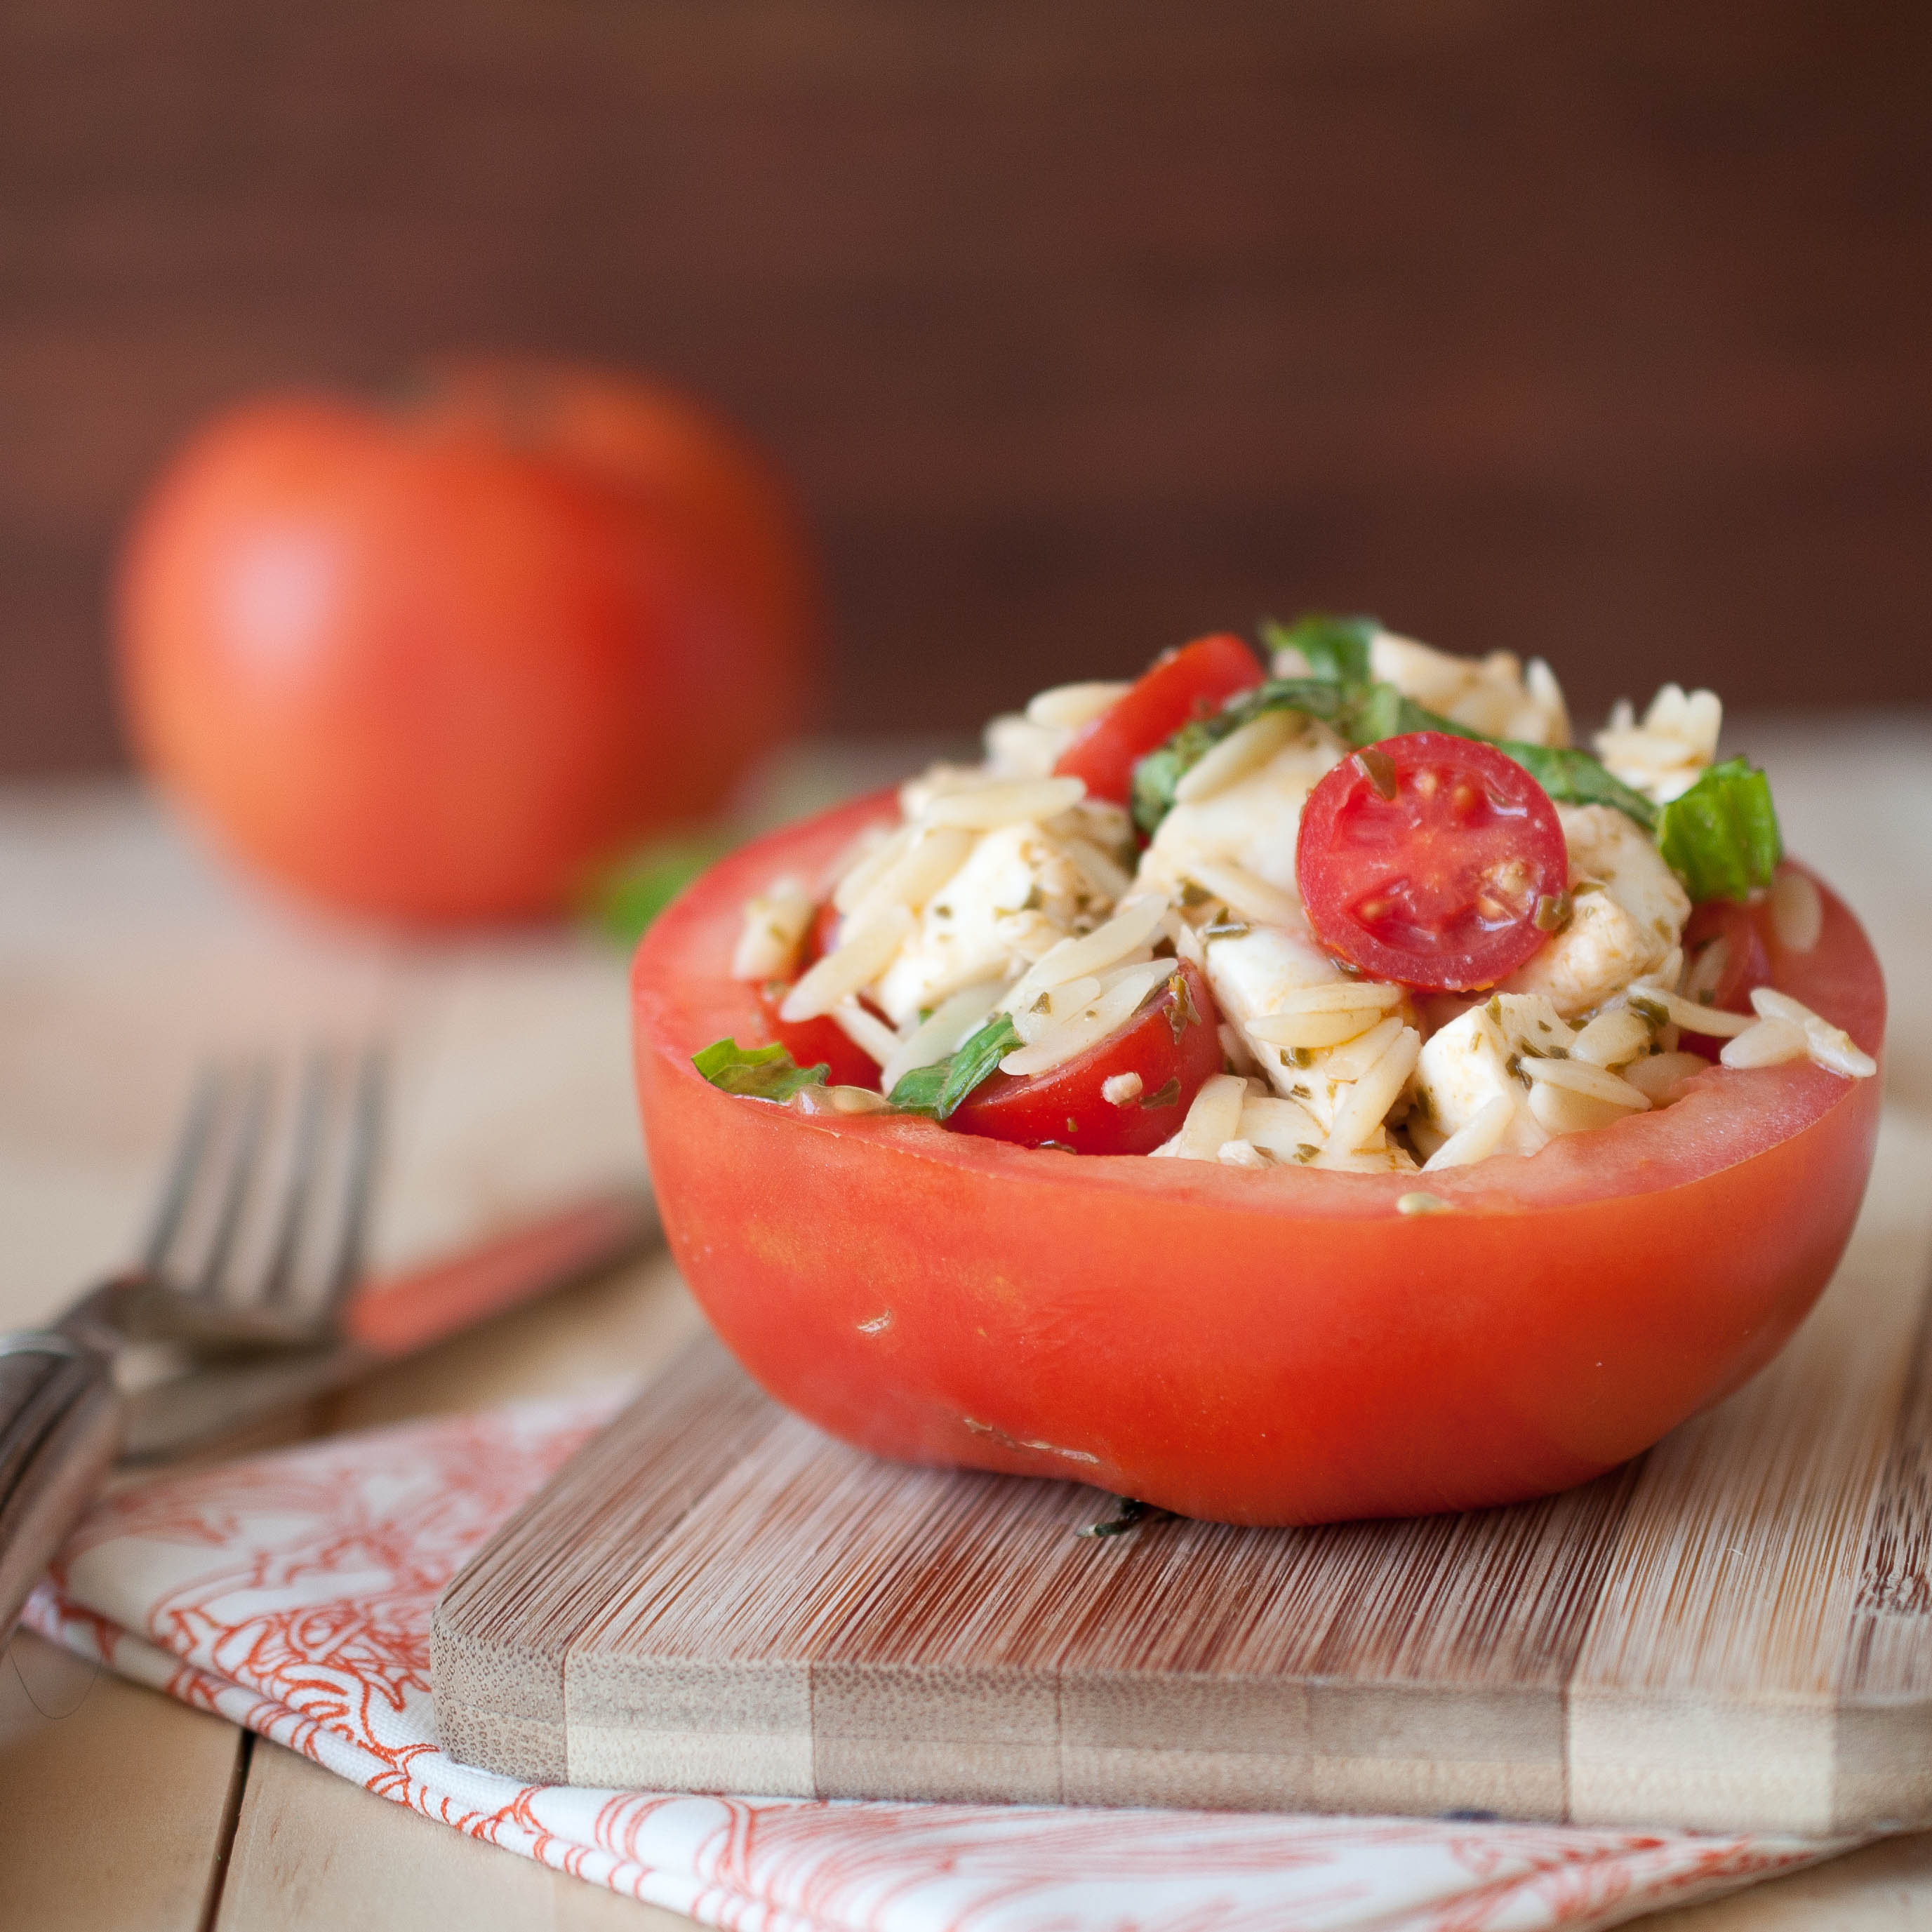
Instead of that I offer you this. Orzo pasta and a fairly traditional Caprese salad, mixed together and served in a hallowed out tomato (feel free to bypass the individual serving size vegetable dish for larger gatherings.)
2 cups small mozzareall balls (ciliegine sized) cut in half or quarters
5 basil leaves, chopped
3 tbs pesto sauce
1 tsp balsamic
Salt & Pepper
4 beefsteak tomatoes
Cook Orzo according to package directions until al dente, put in a bowl with the grape tomatoes, mozzarella balls, basil leaves, pesto and balsamic. Toss to combine, salt and pepper to taste.
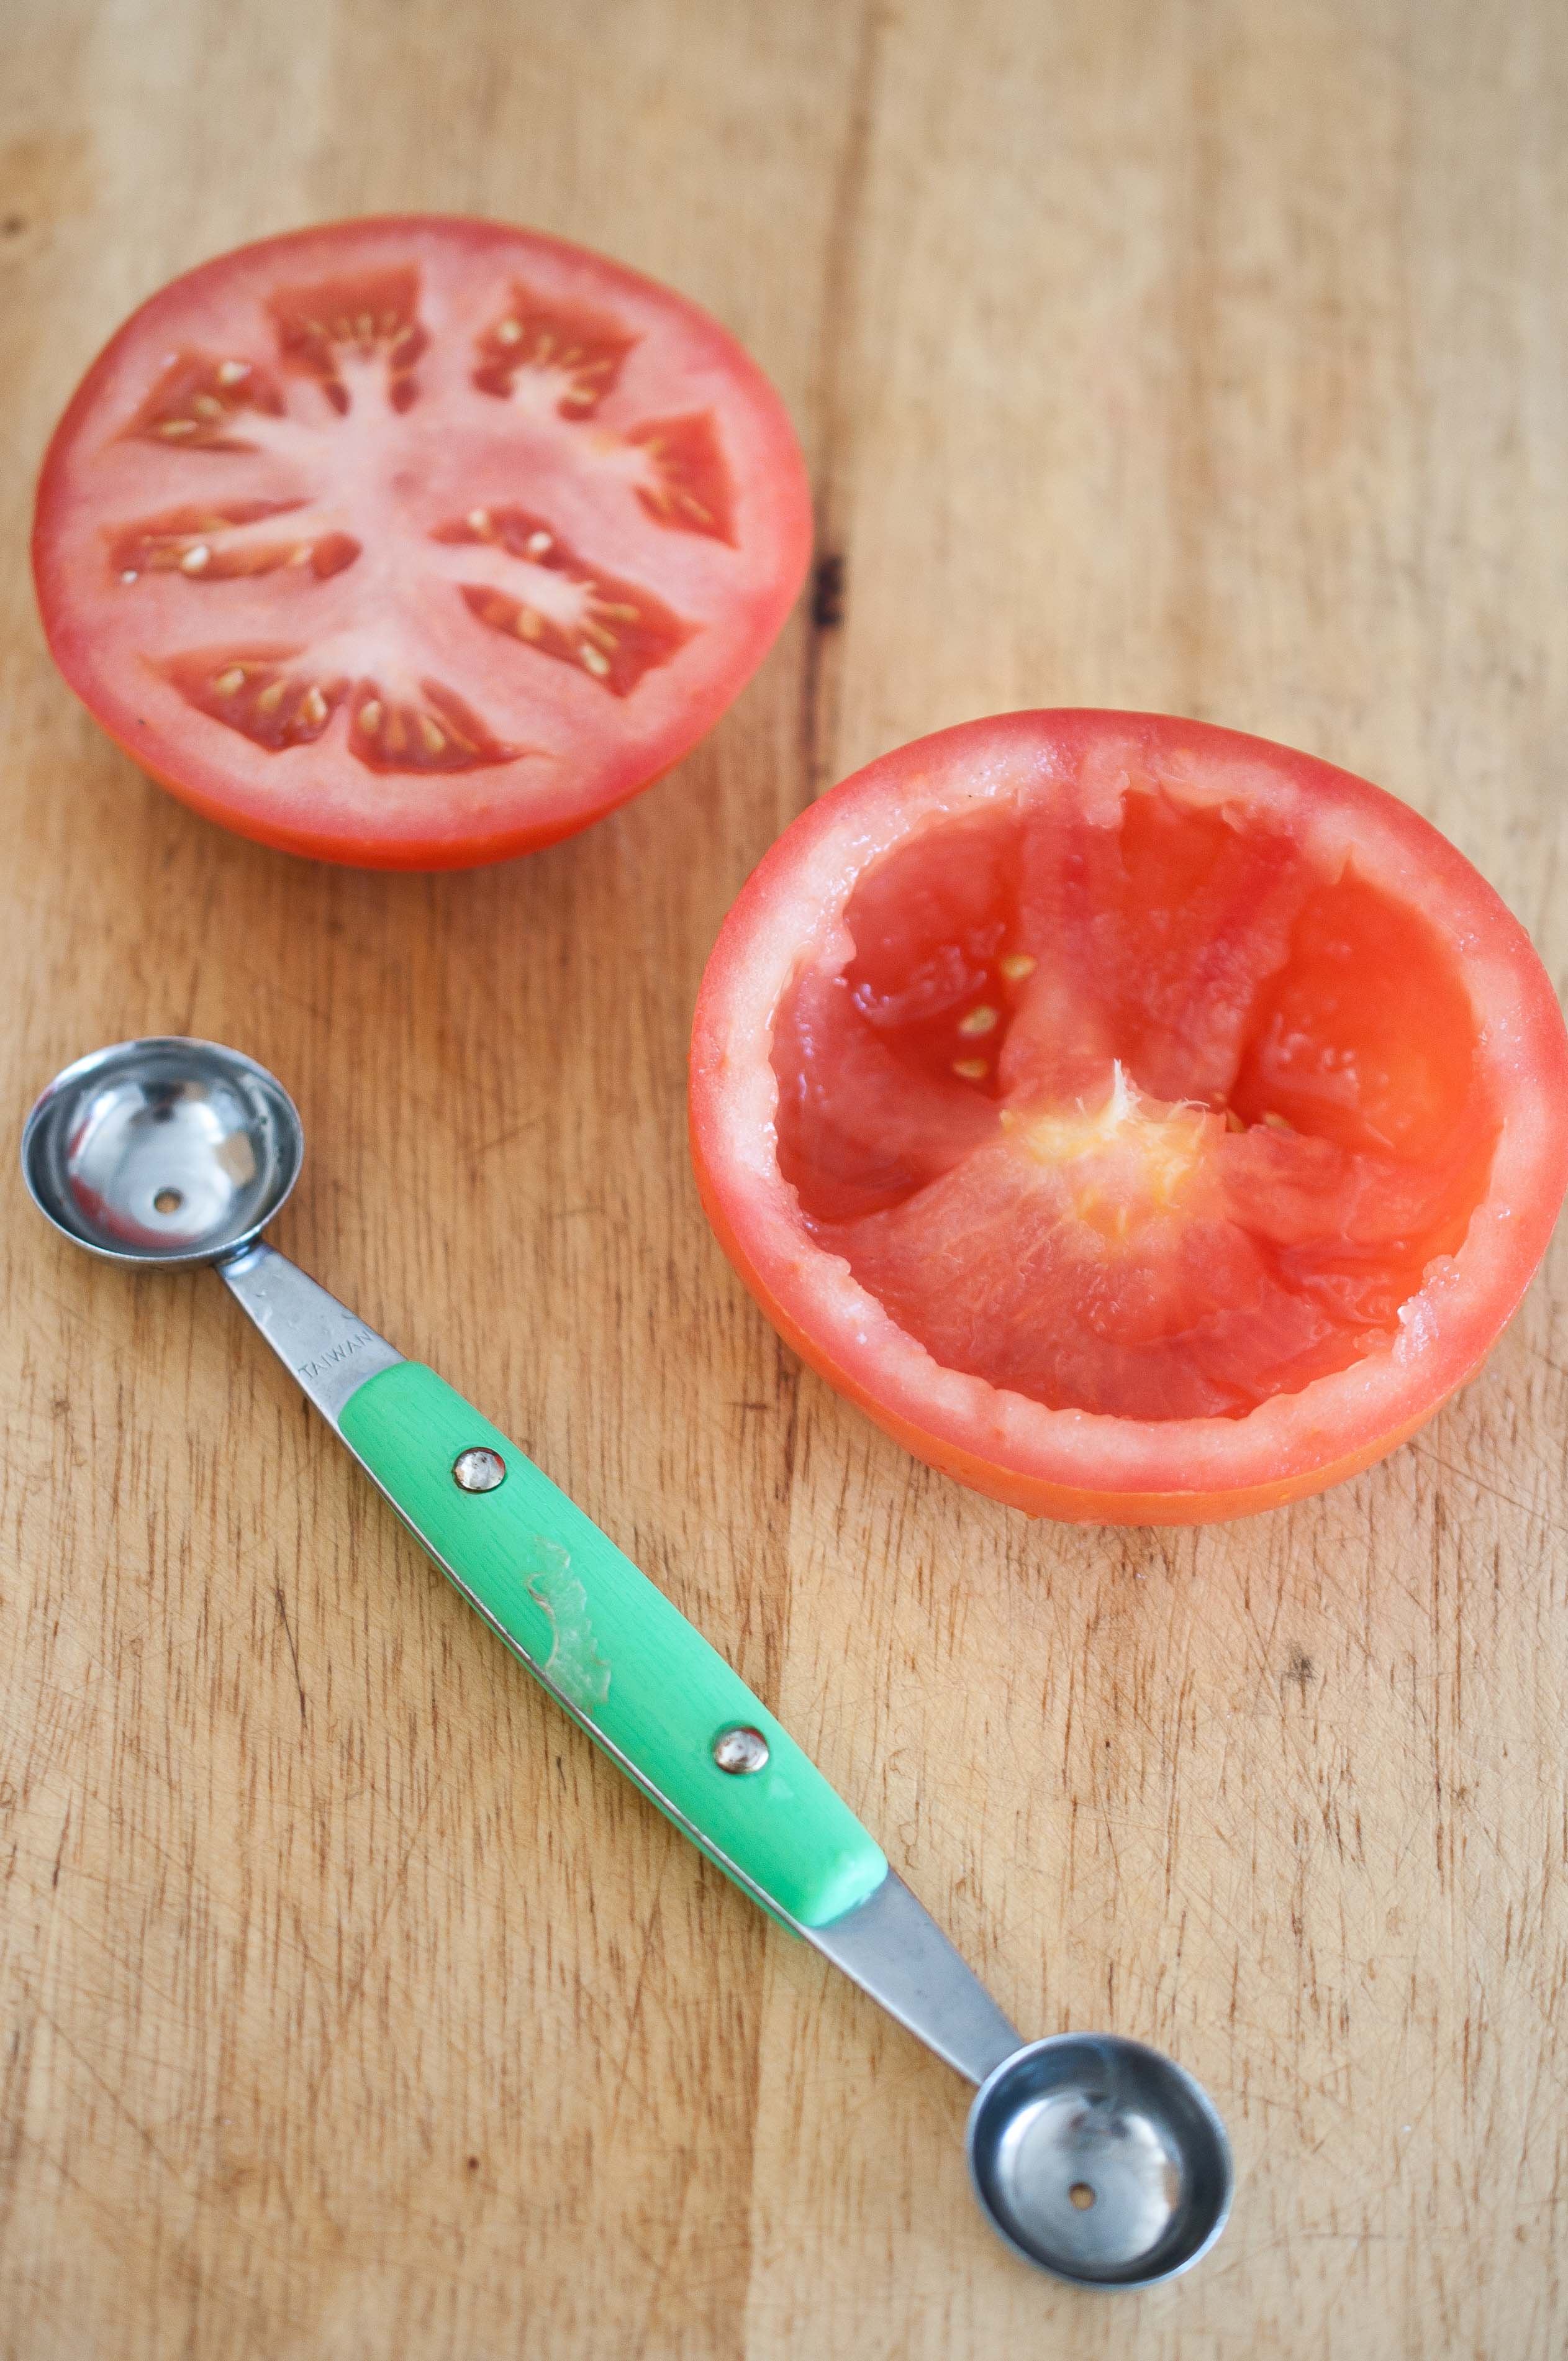
To serve in tomato cups, cut the beefsteak tomatoes in half widthwise and use a melon baller to scoop out the insides.
The first time I made marinara was a complete accident.
Just a few months after I nearly accidentally graduated college, I got a job working with teenage gang members in South Central Los Angeles. You are free to laugh at the idea of a very white girl, who grew up on a farm in Eastern Washington, working in South Central. With gang kids.
I sat on one side of a light oak dining table in a small Group Home, a transitional respite for kids who had been released from jail but who were still on probation, to talk with Dominick. He was from a rough area of Compton, and had found his way to the seat across from me via a GTA charge and a hot temper. But to me, he was a baby faced 14-year-old who secretly liked Whitney Houston. This was our first meeting, and part of my job was to compile a list of his "Triggers." Anything that made him angry enough to lash out, to do something that could land his ass back in jail. We both had the same goal: get him back home. Most kids, in my short 4 months of experience all had a very similar trigger. This usually centered around someone "talking shit" about them, their mom, or their crew. Maybe a handful of other miscellaneous and understandable offenses.
When I asked Dominick what triggered him, what drove him to a rage that welled up in him a feeling of violence that once caused him to send a chair on a journey through a class room window, his face fell flat.
"What?" I was so curious, "What makes you that mad?"
He took a deep breath and lowered his voice, "When those mother fuckin' girls make human pyramids."
I laughed so hard I felt bad about it. His young face broke open into a sweet smile, "Jackie, I’m not gonna lie.." He started to giggle, "Pisses me the fuck off, I have no idea why. I want to push those chicks right over."
Fair enough. My job was to teach him how to deal with his anger, no matter what triggered it.
He wanted to learn how to cook, and he wanted to make Spaghetti. He thought that cooking might help him channel his anger. We didn’t have any sauce, but his group home staff had just come into ownership of 10 pounds of tomatoes, so we made do.
Because of Dominick, and his human pyramid hating ways, I will always love a good, homemade, can free, marinara.
Rub the head of garlic until about half of the papery white skin comes off. Cut a small amount of the tip off the head of the garlic, just enough to expose all of the cloves. Place on a small piece of aluminum foil and drizzle with about 1 tbs of olive oil. Fold the foil tightly around the garlic, place on a baking sheet. Cut the tomatoes into quarters and place them on the baking sheet along with the garlic packet.
Roast the tomatoes and the garlic at 400 for 20-30 minutes or until the tomatoes are soft and the skin starts to peel back from the flesh. Remove from oven and allow to cool.
The skin of the tomatoes should be very easy to remove at this point, peel the skin off the tomatoes and discard. Place a fine mesh sieve or strainer over a bowl. Scoop the seeds into the strainer and place the remaining part of the peeled and seeded tomato into a bowl, repeat until all of the tomatoes have been seeded. Allow the seeds to continue to drain while you make the rest of the sauce.
In a pot over medium high heat, add 2 tbs olive oil. Add the onions and carrots, sauté until carrots are soft and onions are translucent. Add the beer, seeded and peeled tomatoes and whatever juice has accumulated in the bowl beneath the tomato seeds. Discard the seeds. Remove the head of garlic from the foil packet and squeeze the soft head until the cloves comes out and into the sauce. Add the salt, pepper and basil.
Reduce heat to maintain a low simmer, allow to cook and reduce until thickened, about 30 minutes, stirring occasionally.
If you want a smoother sauce, add to a food processor and process until smooth.
Use this with my Homemade Beer Ricotta to make a beer infused Lasagna or stuffed Rigatoni.
Being wrapped in a world filled with food people, the lovers, academics and fanatics, I’ve often lost my footing. Forgotten the simple pleasures of small, honest meals for the sake of a journey towards the creation of an epic recipe. While surrounding myself with people who strive to reinvent the world of food as we know, I’ve been so entranced that I’ve stepped away from the core of who I am and the food I fell in love with.
I am not a moderist cook.
I am not a chef.
I may never create an epic recipe.
I am OK with that.
It was through a process, not of self discovery but of self remembrance, that stumbled upon a memory that I had almost lost within my catalogue of food experiences. Under the thousand dollar dinners, PR events, celebrity chefs, and world renowned restaurants was a small Italian city, and a home cooked meal.
Years ago, on what turned out to be a 16 hour layover, I was stuck in Pescara Italy. A girl about my age, just past 21, took pity on a broke and confused American in her tiny local airport and asked if she could show her town to me. It began with a home cooked meal, from her own mothers hands on a rickety folding table in her living room, the only place in the small apartment that would accommodate us all. Homemade bread, a small green salad, smashed peas and a roasted chicken.
For dessert was a lemon tart. Simple, beautiful and tangy, made by the hands of a woman who didn’t speak a word of English, but who took time to cook for me even though we would never have the ability to have a conversation, and I could never properly thank her. This is the food that I fell in love with, and I am reminding myself to stay true to that.
I’ve done my best to make the beer infused version of the tart that was made for me in Pescara, and chose a beer that is nearly as fascinating to me. Cooney Island Lager has flavors that remind me a great meal made in spring, orange, citrus, bread and apples.
If you can’t find this beer, look for a low hop beer with notes of citrus, tropical fruits and bread.
1cupfresh squeezed lemon juiceabout 6 large lemons
½cupbeer
2tbscorn starch
1stick unsalted buttercut into cubes
For the Strawberries
3cupsstrawberries
½cupbeer
1/2cuppowdered sugar
For the Whipped Cream
1cupheavy cream
2tbsbeer
1/2cuppowdered sugar
Instructions
In a food processor, combine the flour, sugar, and salt. Pulse to combine. Add the cubes of butter and process until combined, about 1-2 minutes. Your dough should resemble course meal.
Start with 3 tbs of water, pulse until combined. If the crust doesn’t hold together add more water, a bit at a time, until it does.
Dump the dough into a 4 inch deep, 9 inch wide tart pan with a remove-able bottom (you can also use a pie pan). Starting with the sides, form the crust inside the pan, trying your best to make it all as even as possible. Cover with plastic wrap and chill for a least 3 hours.
Preheat oven to 375.
Place a sheet of parchment paper inside your tart and fill with pie weights. If you don’t have any, dried beans work great.
Bake for 20-25 minutes or until your tart is a light golden brown. Remove from oven, allow to cool slightly. remove pie weights.
Add the lemon zest, lemon juice, beer, sugar, corn starch, whole eggs and yolks to a bowl and whisk until well combined. Add the lemon mixture to a pan over medium/low heat along with the butter. Whisk until thickened, about 10 minutes. Allow to cool to room temperature.
Add the curd to the crust and chill until set, about 4 hours.
Just prior to serving add the berries to a shallow bowl of pie pan and cover with 1/2 cup beer. Allow to stand at room temperature for 15-20 minutes. Drain and return to bowl with the sugar, stir to combine.
Add all of the whipped cream ingredients to a stand mixer and mix on high until soft peaks form, about 4 minutes.
Top tart with berries and whipped cream just prior to serving.
Every foodie mom wants to raise an eater. A kid with a profound appreciation for food who can tell you the difference between a Béarnaise and a Hollandaise.
I love that my two year old’s favorite food is bacon, that she’ll pick the carcass of roast chicken clean if I let her, that she prefers to snack on roasted Nori sheets over Oreos if given the option, but it’s not my biggest focus. I want her to respect food, but I want her to respect people more.
I’m grateful that I have the ability to buy organic whole produce, spend the extra five bucks for the organic free range eggs, that I always make cakes, frosting, ricotta cheese, bread and pasta from scratch, and I’m thrilled that I get to be that type of mom. But I wasn’t that type of kid.
I was the kid who’s family lived pay check to paycheck, who once sorted through boxes of canned food sent over from the local Mission when the funds ran really low, who waited in the 12 passenger van while mom ran into the bakery to buy twenty-cent day old bread so our family of ten could make it through the month. And I never had a friend who made me feel bad about it.
When my seven sisters and I would have friends over on a friday night, and mom would make Bisquick pancakes for dinner, it was seen as charming, not as a cheap way to feed the fifteen mouths that were now at the table.
That’s what I want for Tater. To be able to sit at anyones table and see the food as what it is, a gesture of care and affection. I don’t want her to ask for aged Reggiano to add to the Rice-A-Roni that her friends mom served. I don’t want to raise a kid who wants to add a honey balsamic reduction to ice berg salad mix she is given by the next door neighbor.
I want her to eat what she is served, and feel grateful that someone took the time to offer her food from their home.
I want to raise a kid who would eat boxed macaroni and cheese if that what she is served, and clean her plate, without ever pointing out that her mom makes it from scratch.
And if she is at summer camp and a group of weary, under paid cooks serve her chicken nuggets and tater tots that only made a brief stop in the kitchen after a long ride on a Sysco truck, I hope she is able to see warm food that people took time away from their families to make for her.
And if someday her mother in law serves her a burnt lasagna that is still frozen in the middle, with Kool-Aid out of plastic tumblers, I hope she say thank you. And I hope she means it.
Food is more than just an experience of taste and the pleasures that it brings, it’s about a respect for those who serve it. Everyone has different abilities, concerns and limitations but we all bring food to those we love with the same motivation, and no amount of foodie intolerance should ever diminish that.
I have the privilege of spending time and money on the food that I want to serve, but the love I bring to my table is no different than the busy, over worked mother or 5 who serves spaghetti from a jar and a box twice a week.
I want her to be gracious and appreciative, no matter what is put in front of her, thanking her hosts, because others did that for me.
That’s what food is about.
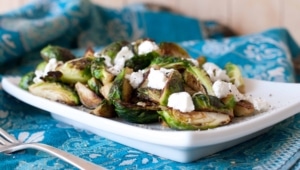
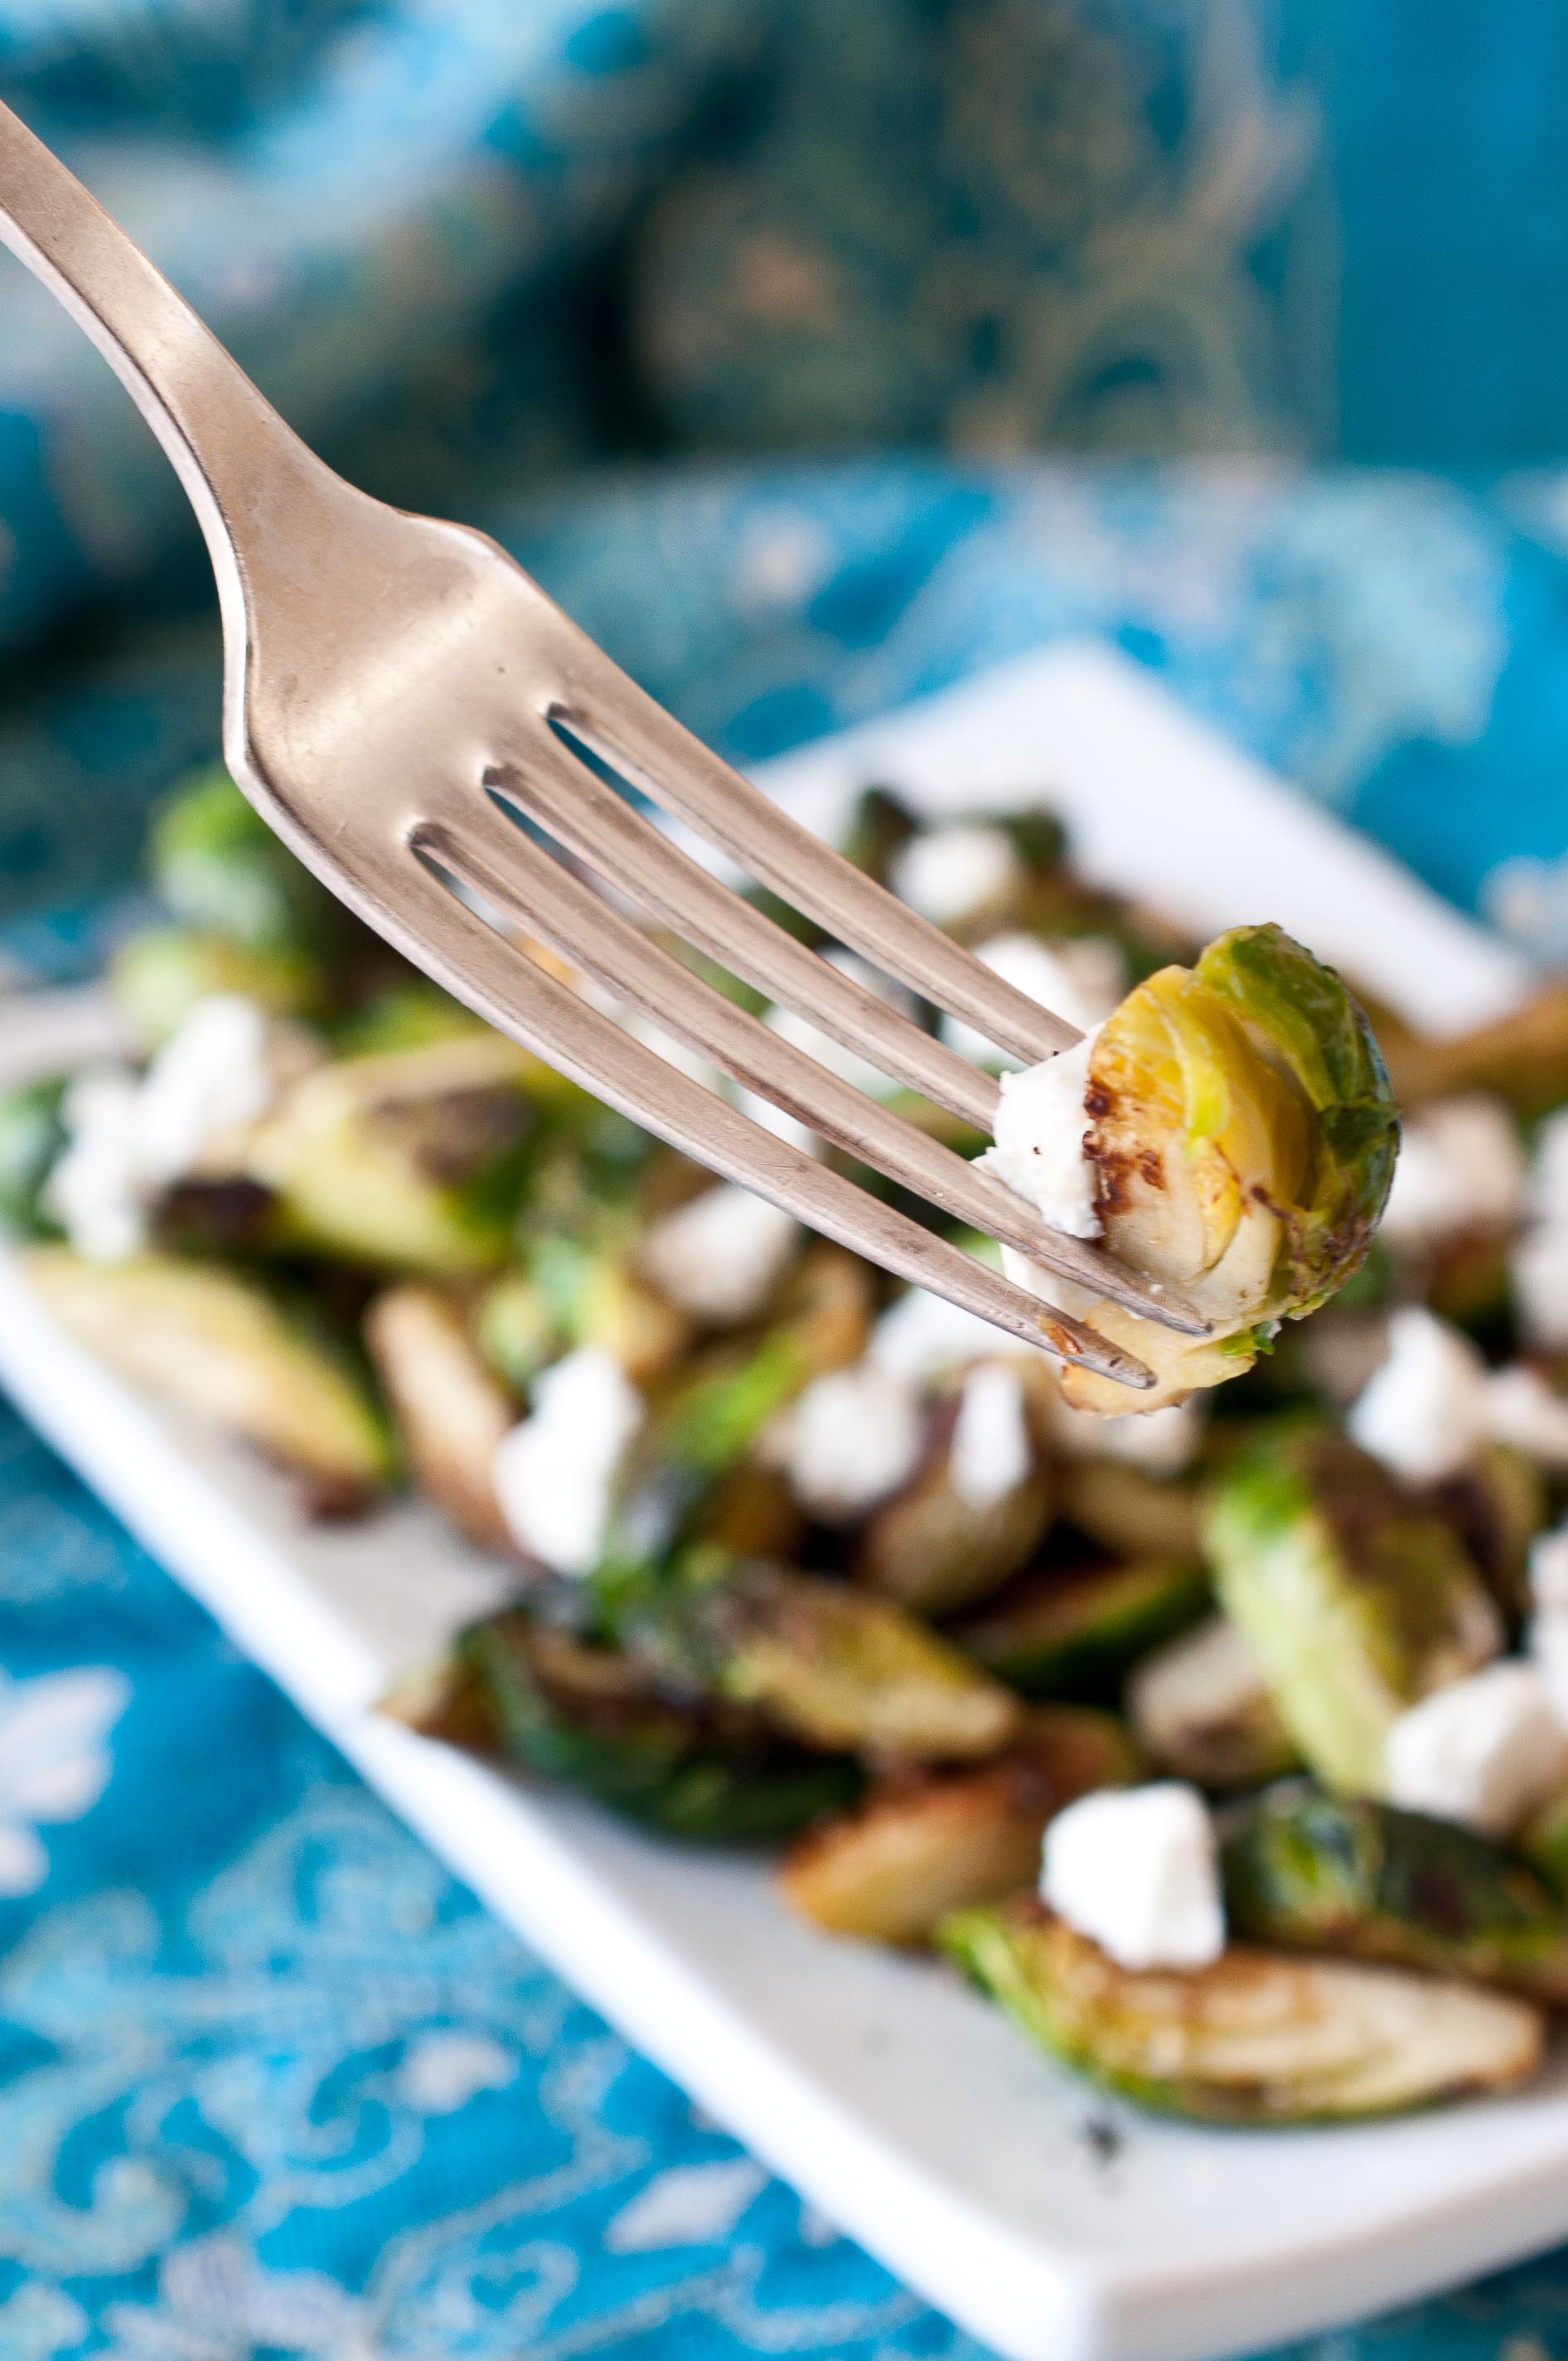
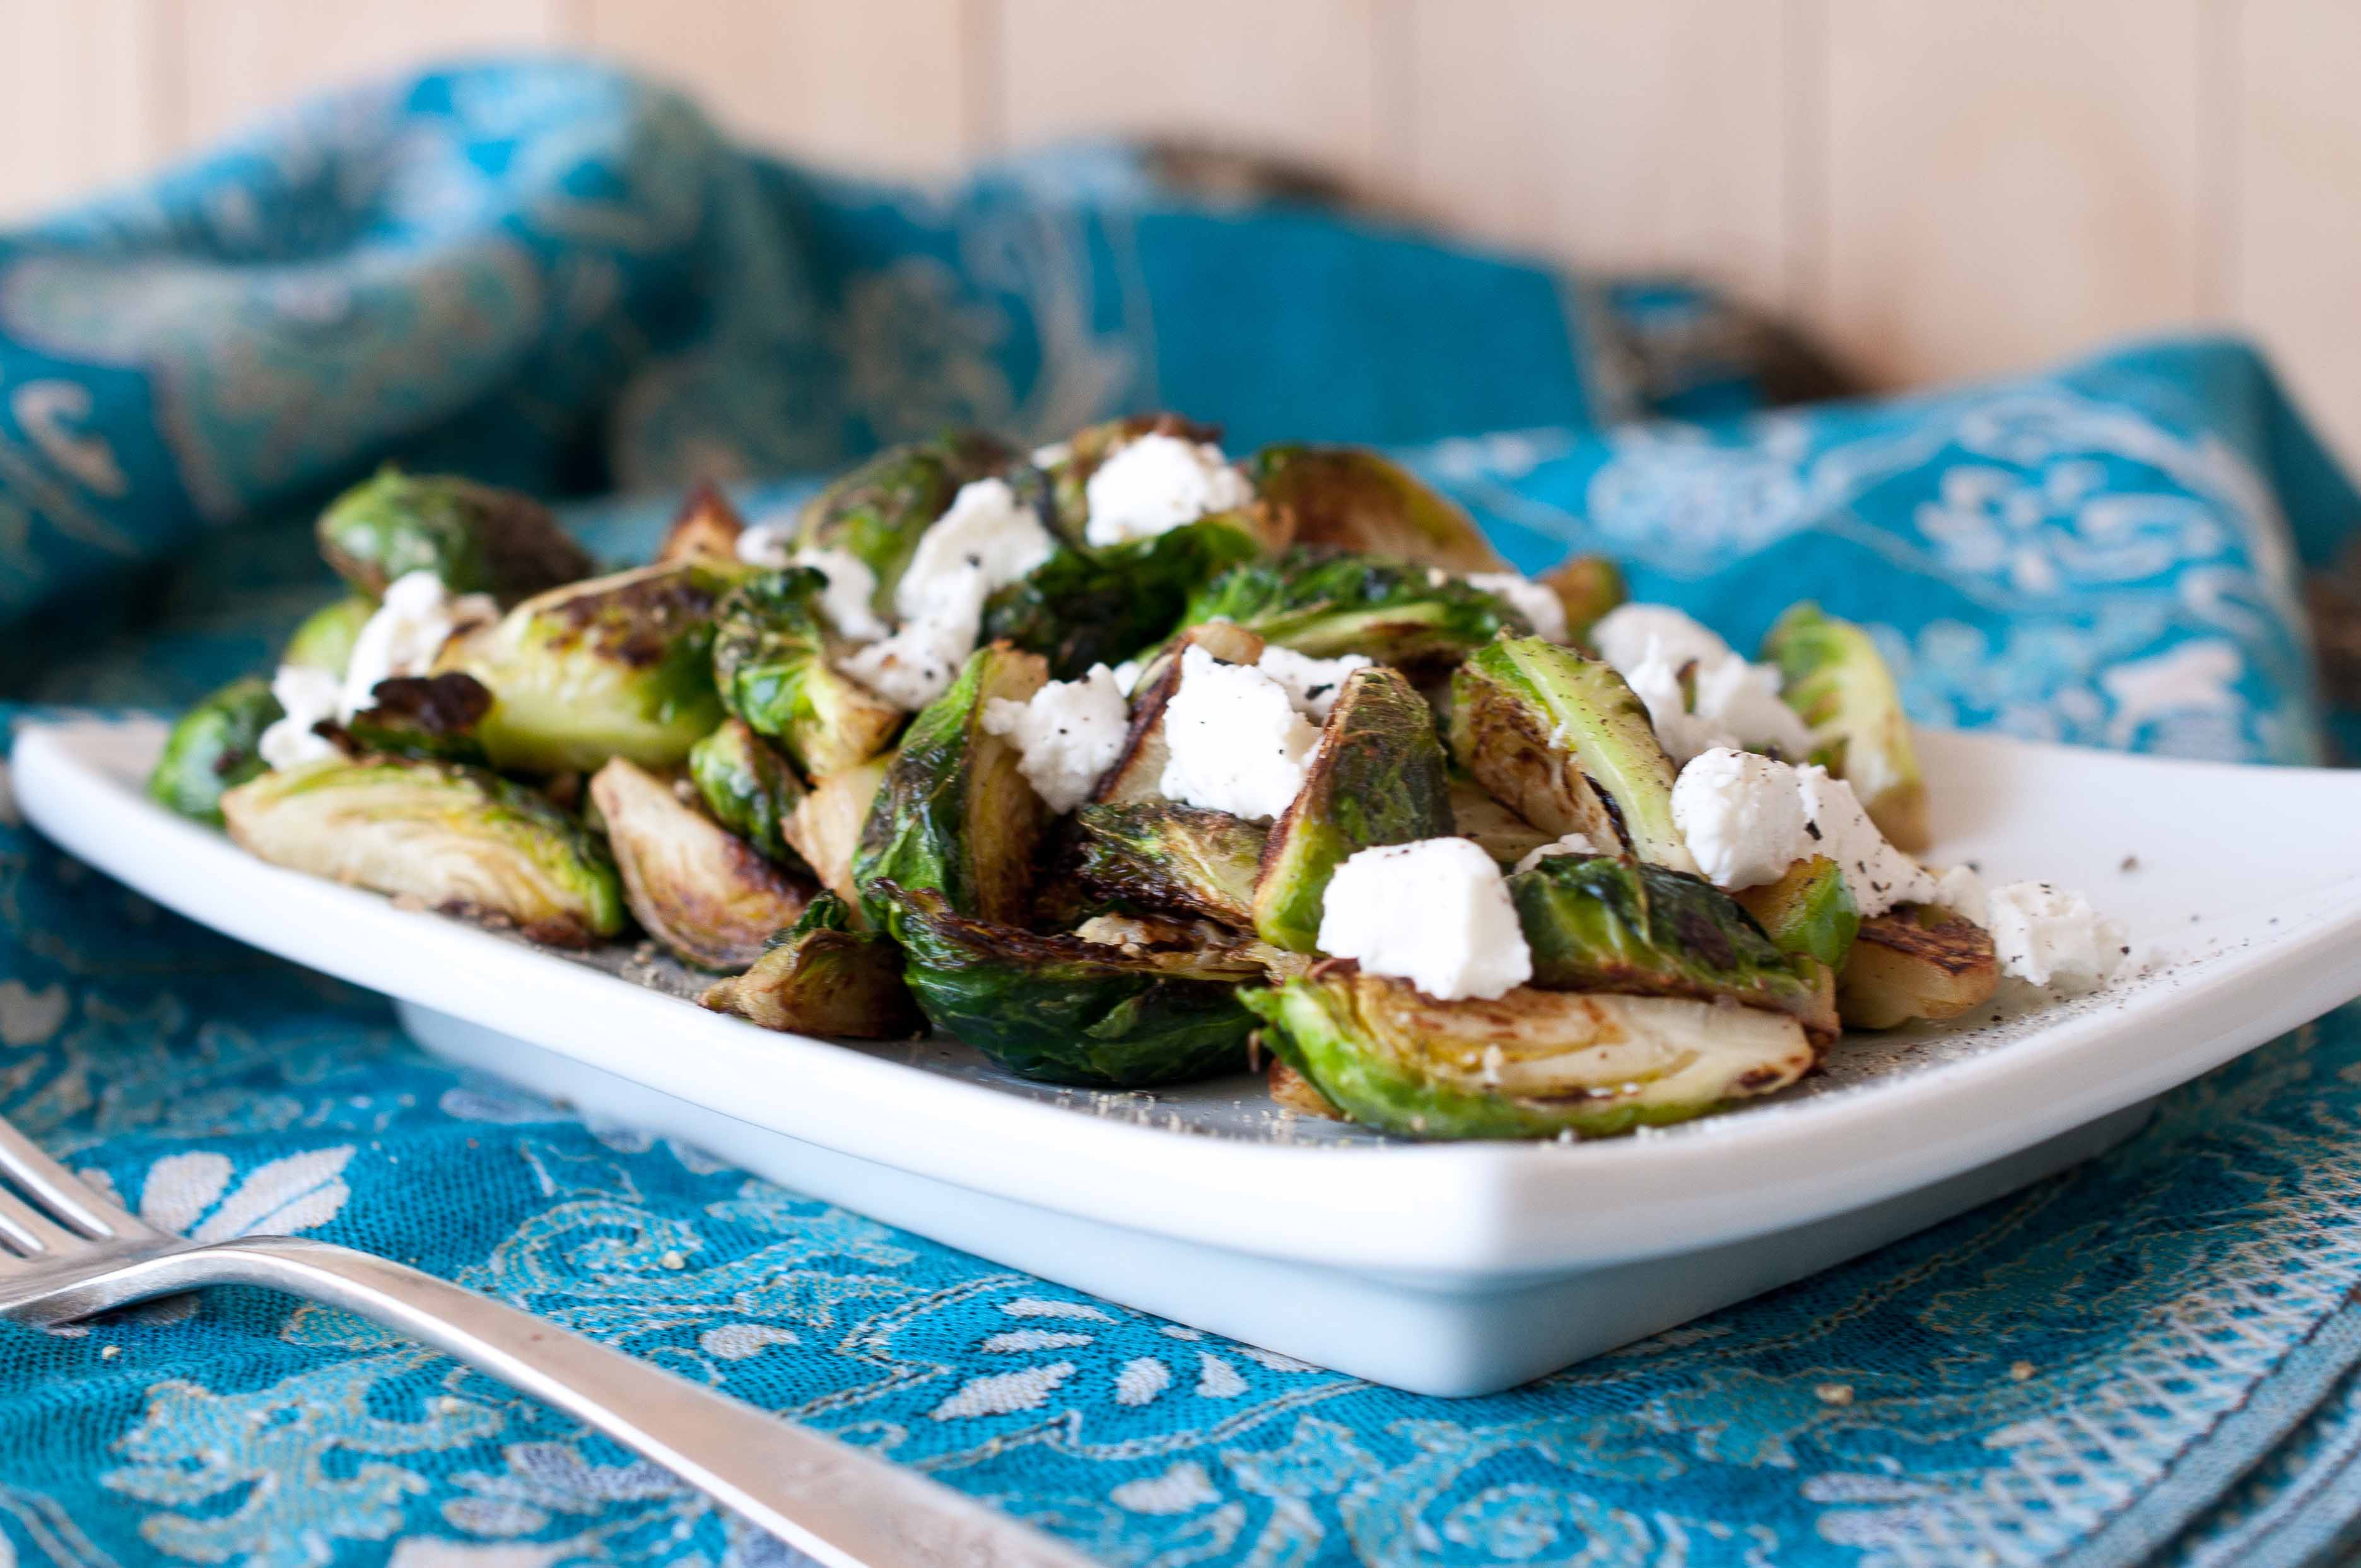
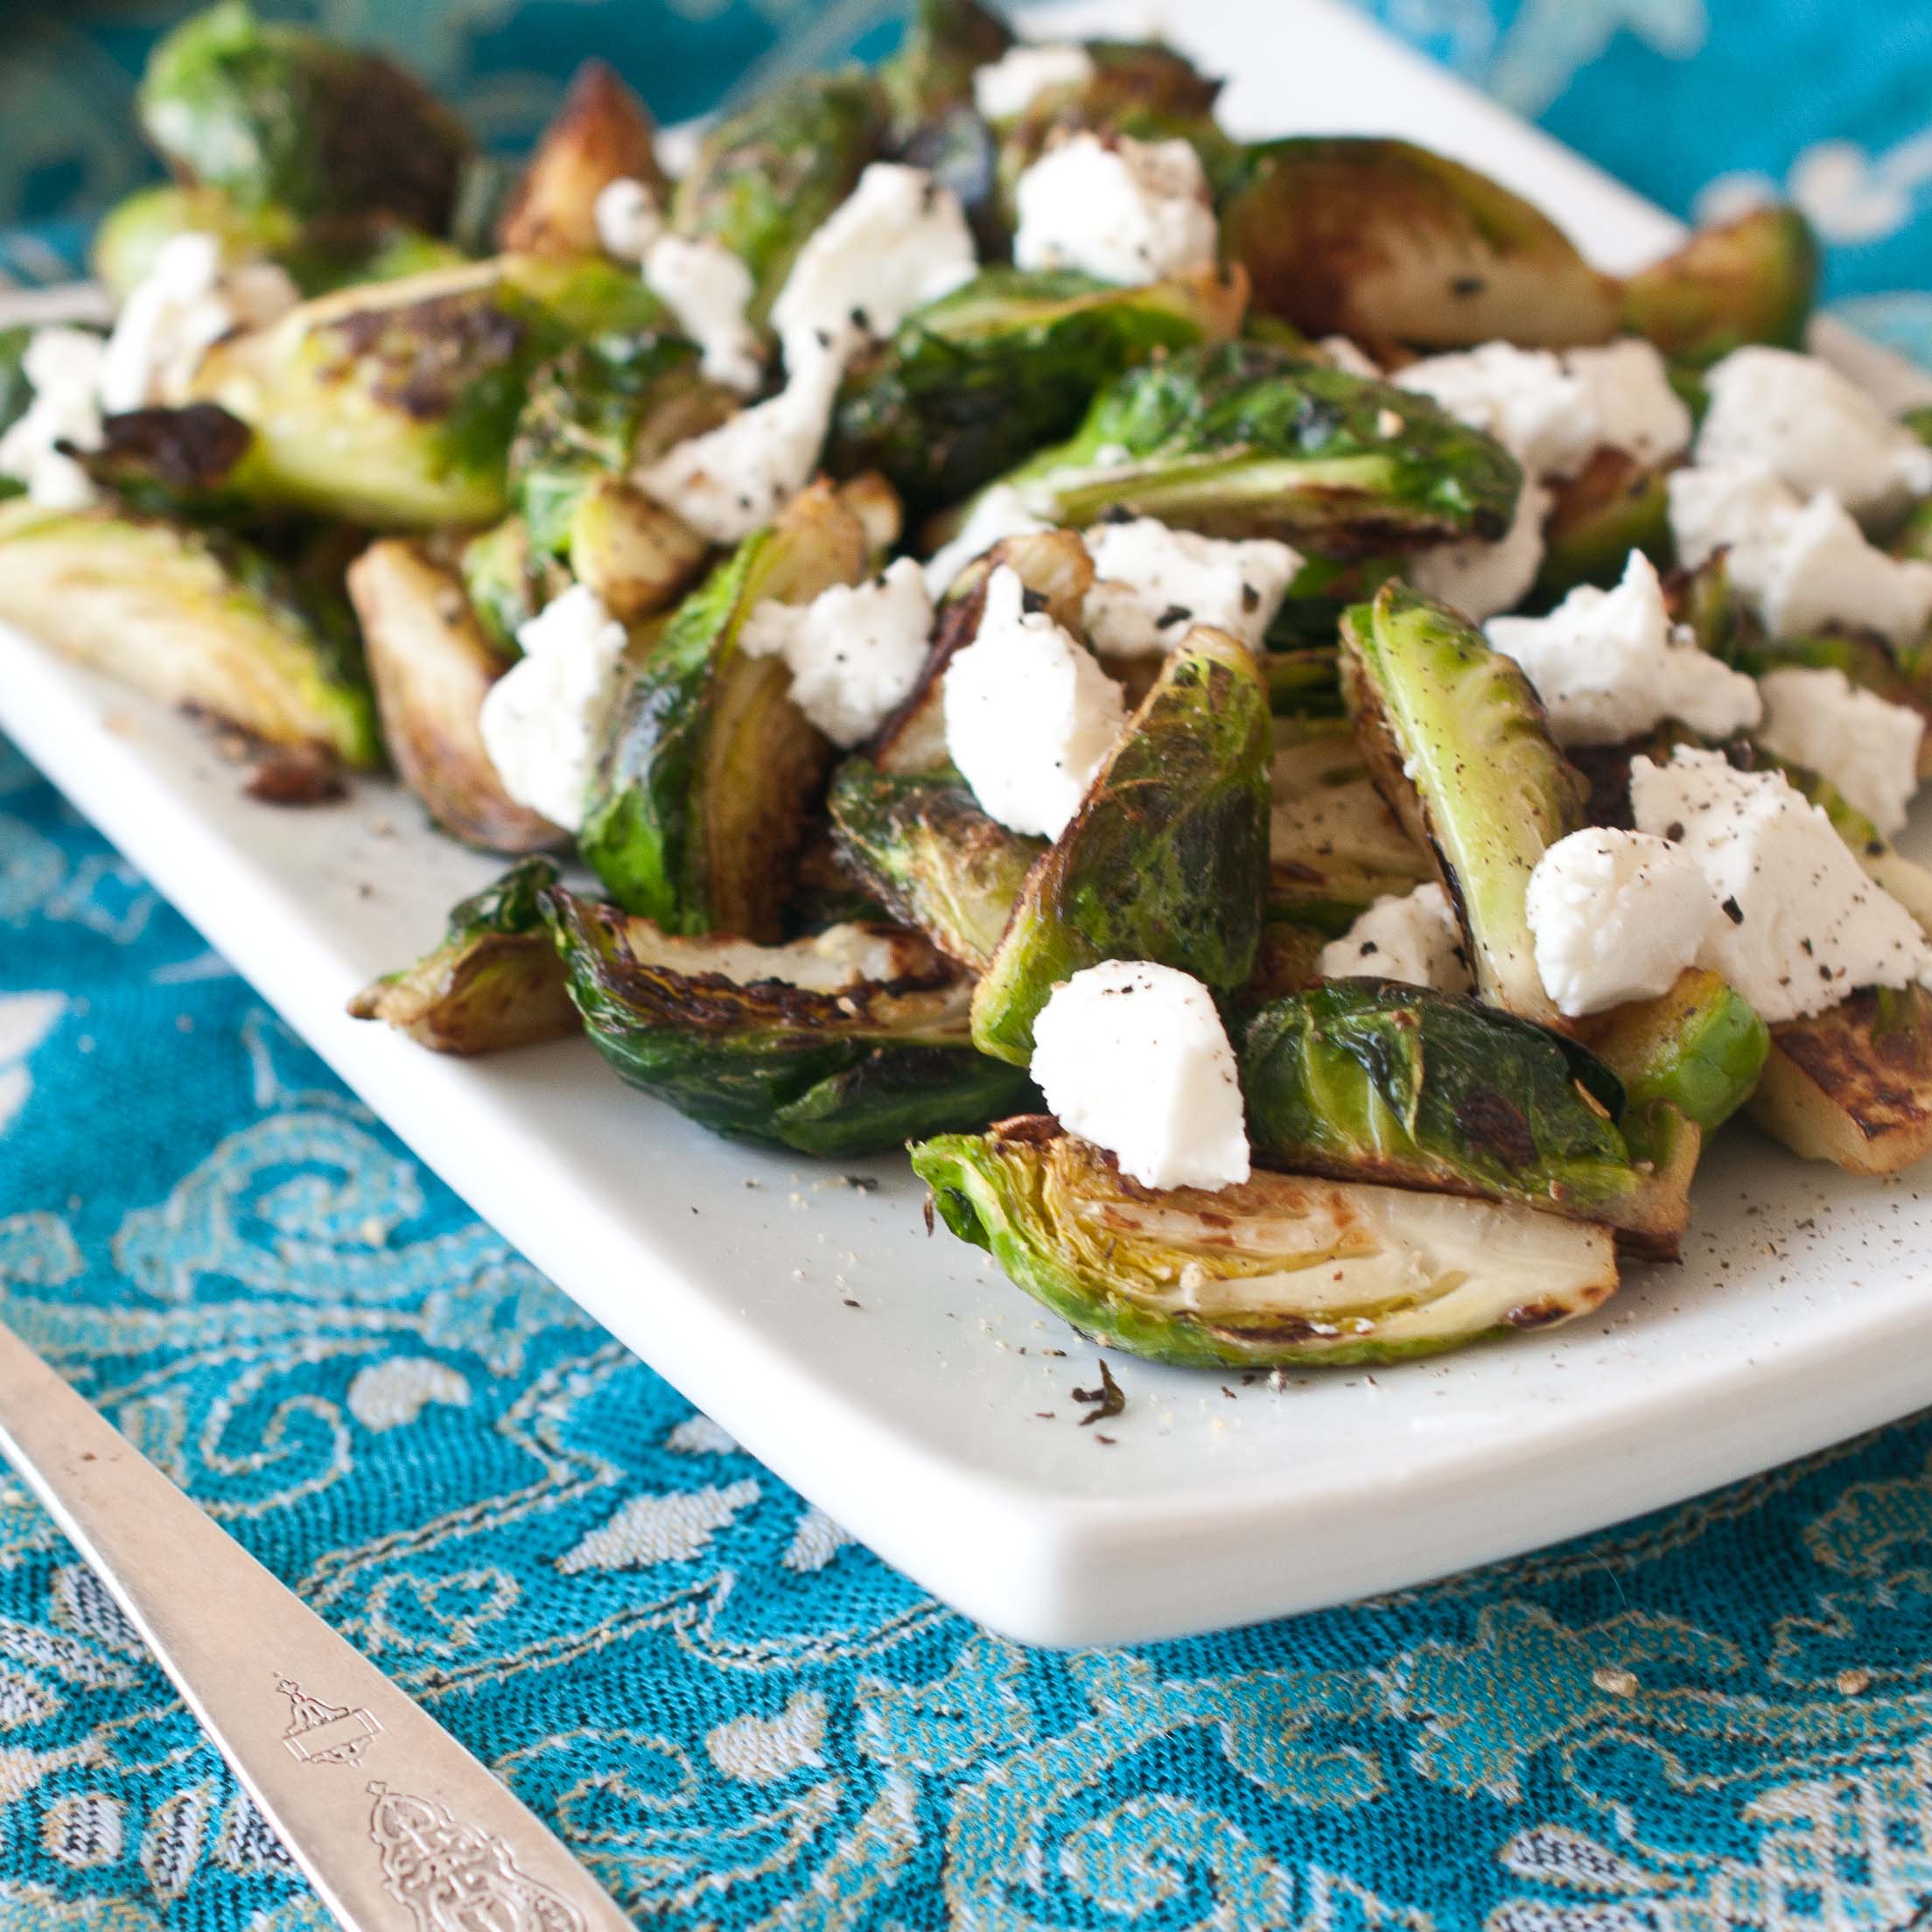
Sauteed Brussels Sprouts With Goat Cheese
3 tbs olive oil
3 cups Brussels sprouts, cut into quarters
1/2 tsp course salt
1/2 tsp fresh cracked pepper
small pinch of cayenne pepper
2 oz goat cheese, crumbled
(makes 4 side dish portions)
In a large sauté pan, heat the olive oil over medium high heat until hot and shimmery. Add the Brussels sprouts, tossing frequently until browned and fork tender. Turn off heat, add the salt pepper and cayenne, toss to coat. Add to a plate and top with goat cheese.
I stole this idea from my friend Tori. She is the genius behind The Shiksa In The Kitchen. And if you watch the morning news, anywhere in America, there is a chance she cooked up something special on your TV. She is a big hit in New York and San Francisco especially, but can you blame them? She’s gorgeous, smart and nicer than you could ever expect.
Even when the inevitable day comes when she gets her own cooking or travel show, she will be the girl who sits in the airport terminals between flights and answers your cooking question via twitter, because she’s that nice.
We met over crayons and wide ruled paper in Mrs. Newets 4th grade class room. We lost touch when I moved to Eastern Washington, because we are both older than the internet, but met up again through blogging. Which is one of the reasons I love blogging. And why I love when my friends in the computer, become real life humans who call me on the phone and invite me to have lunch with Mario Batali.
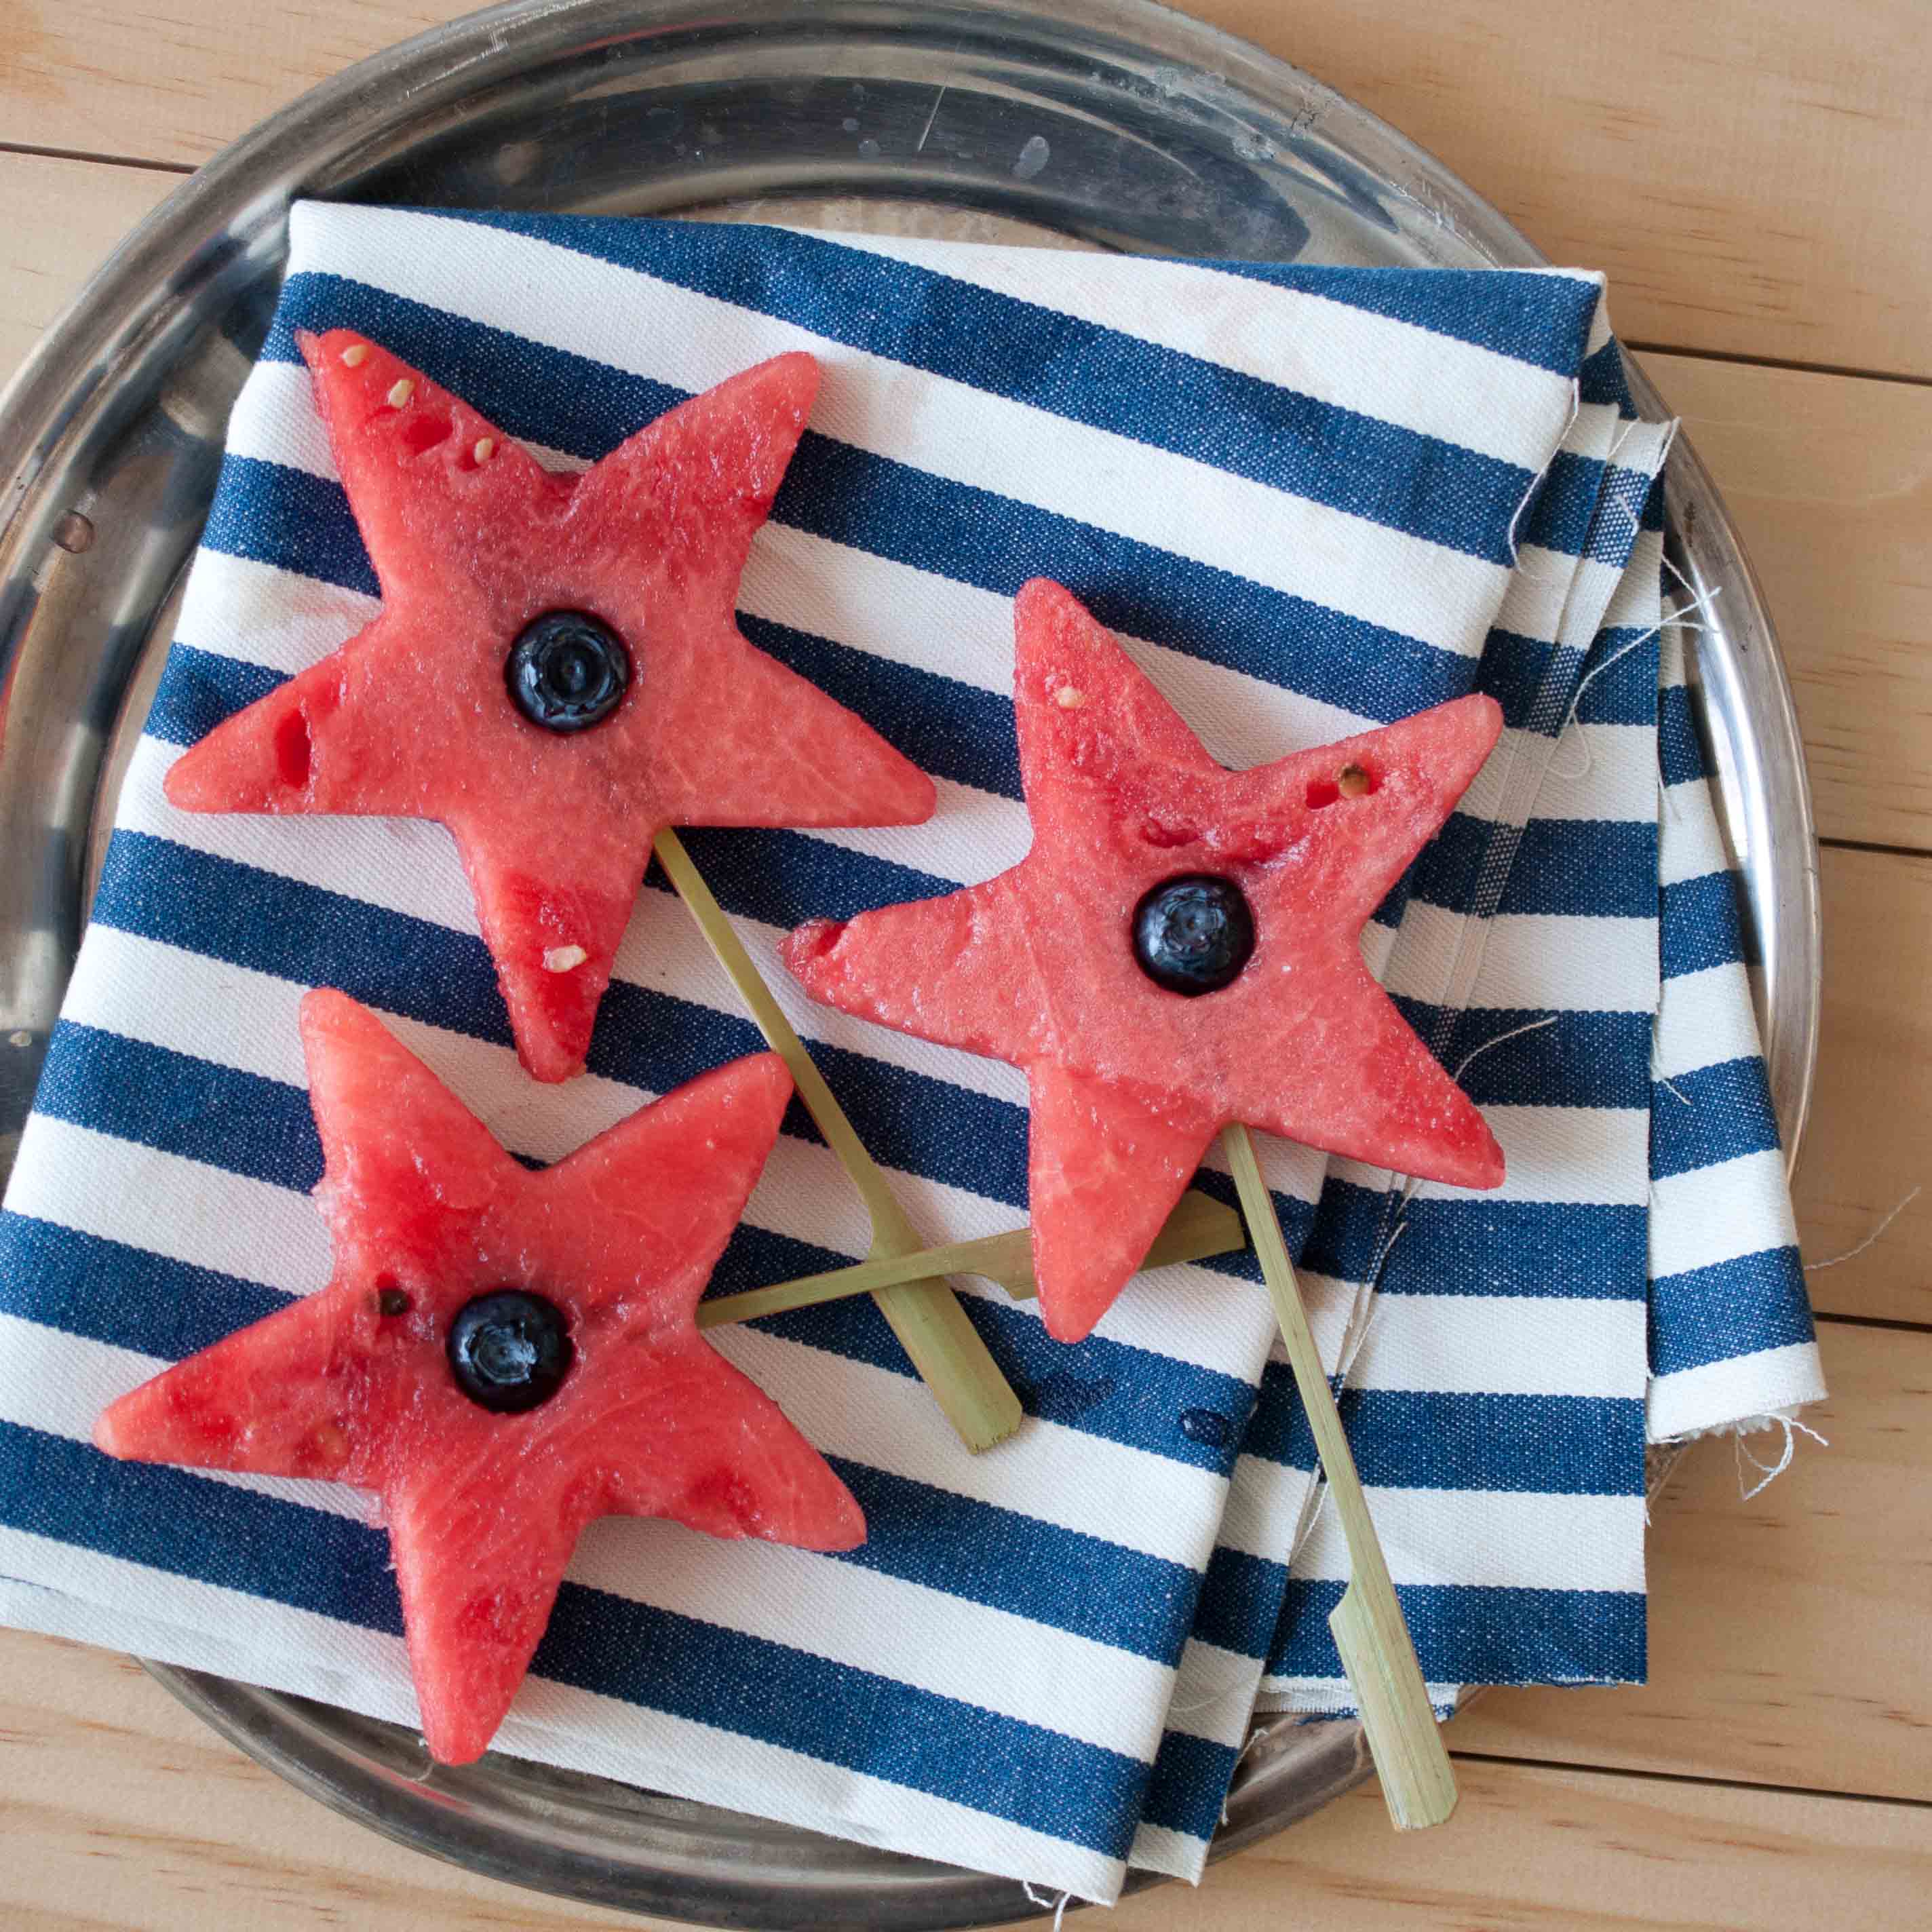
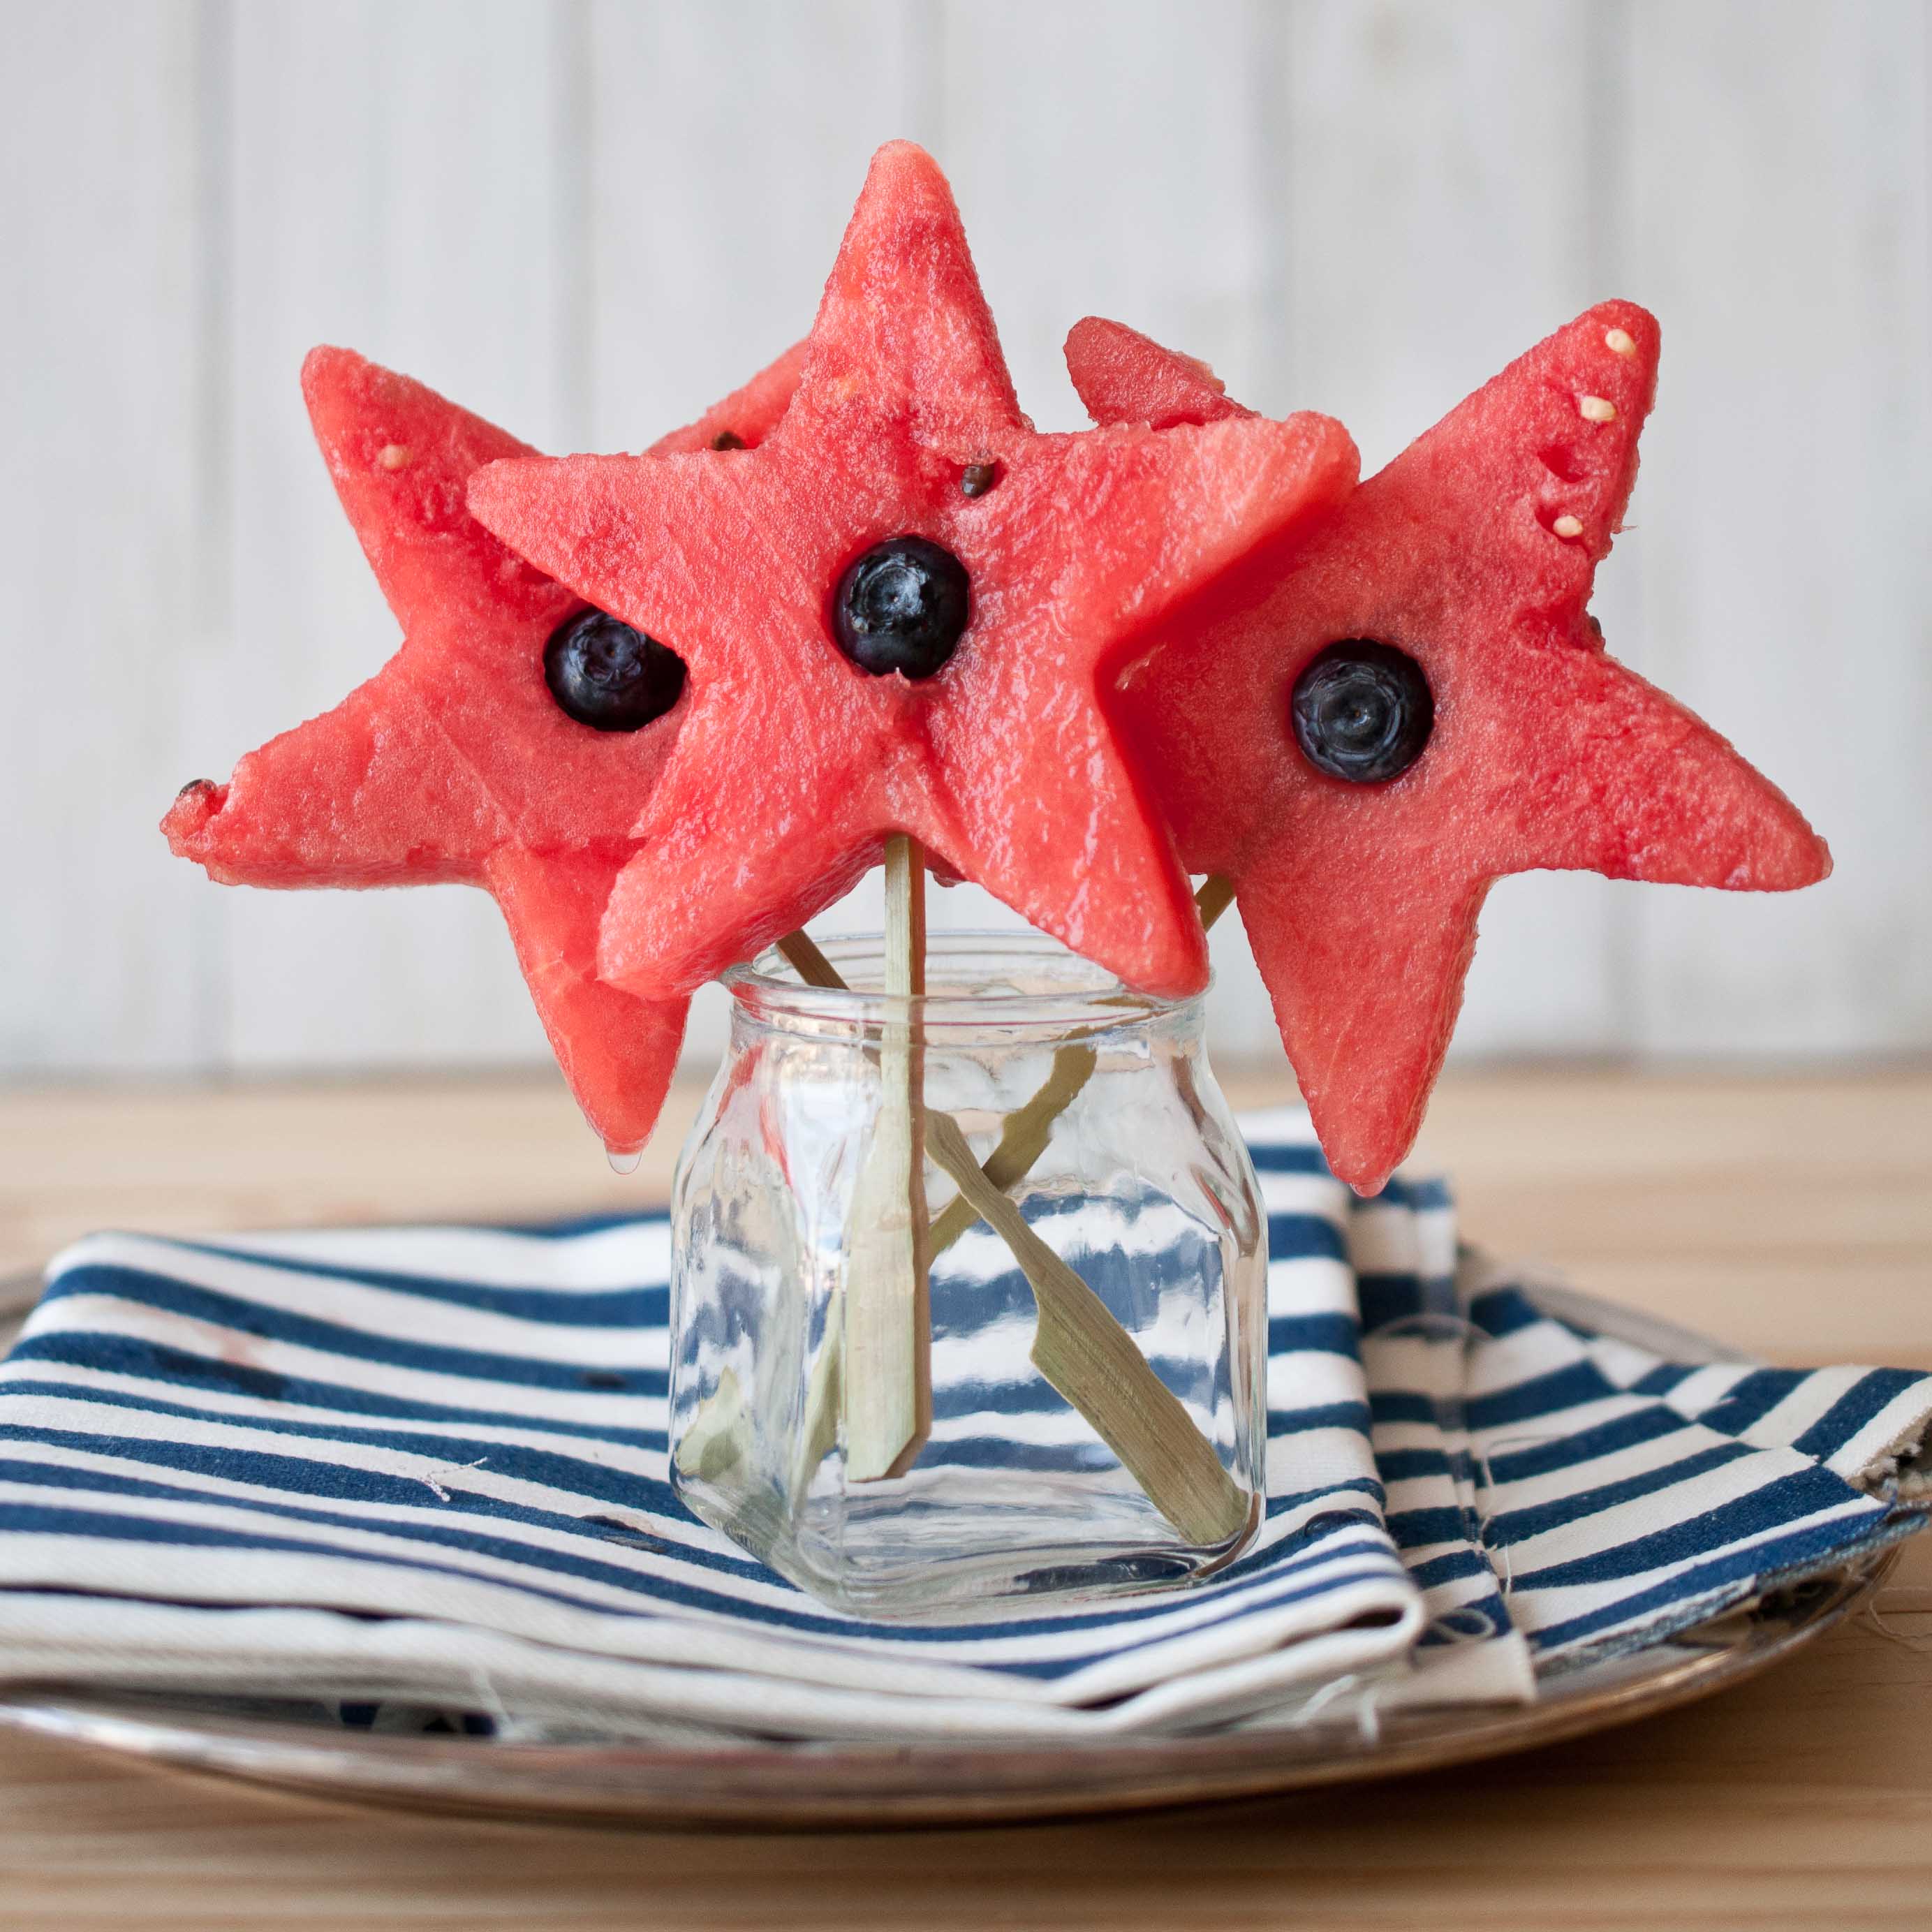
I’m going to show you how to make these watermelons into stars for that I Heart America holiday that is rapidly approaching, but you’ll have to go over to her blog to find out how to put booze in them
Make sure you do, because whats more American than produce and booze? Good Bless the USA.
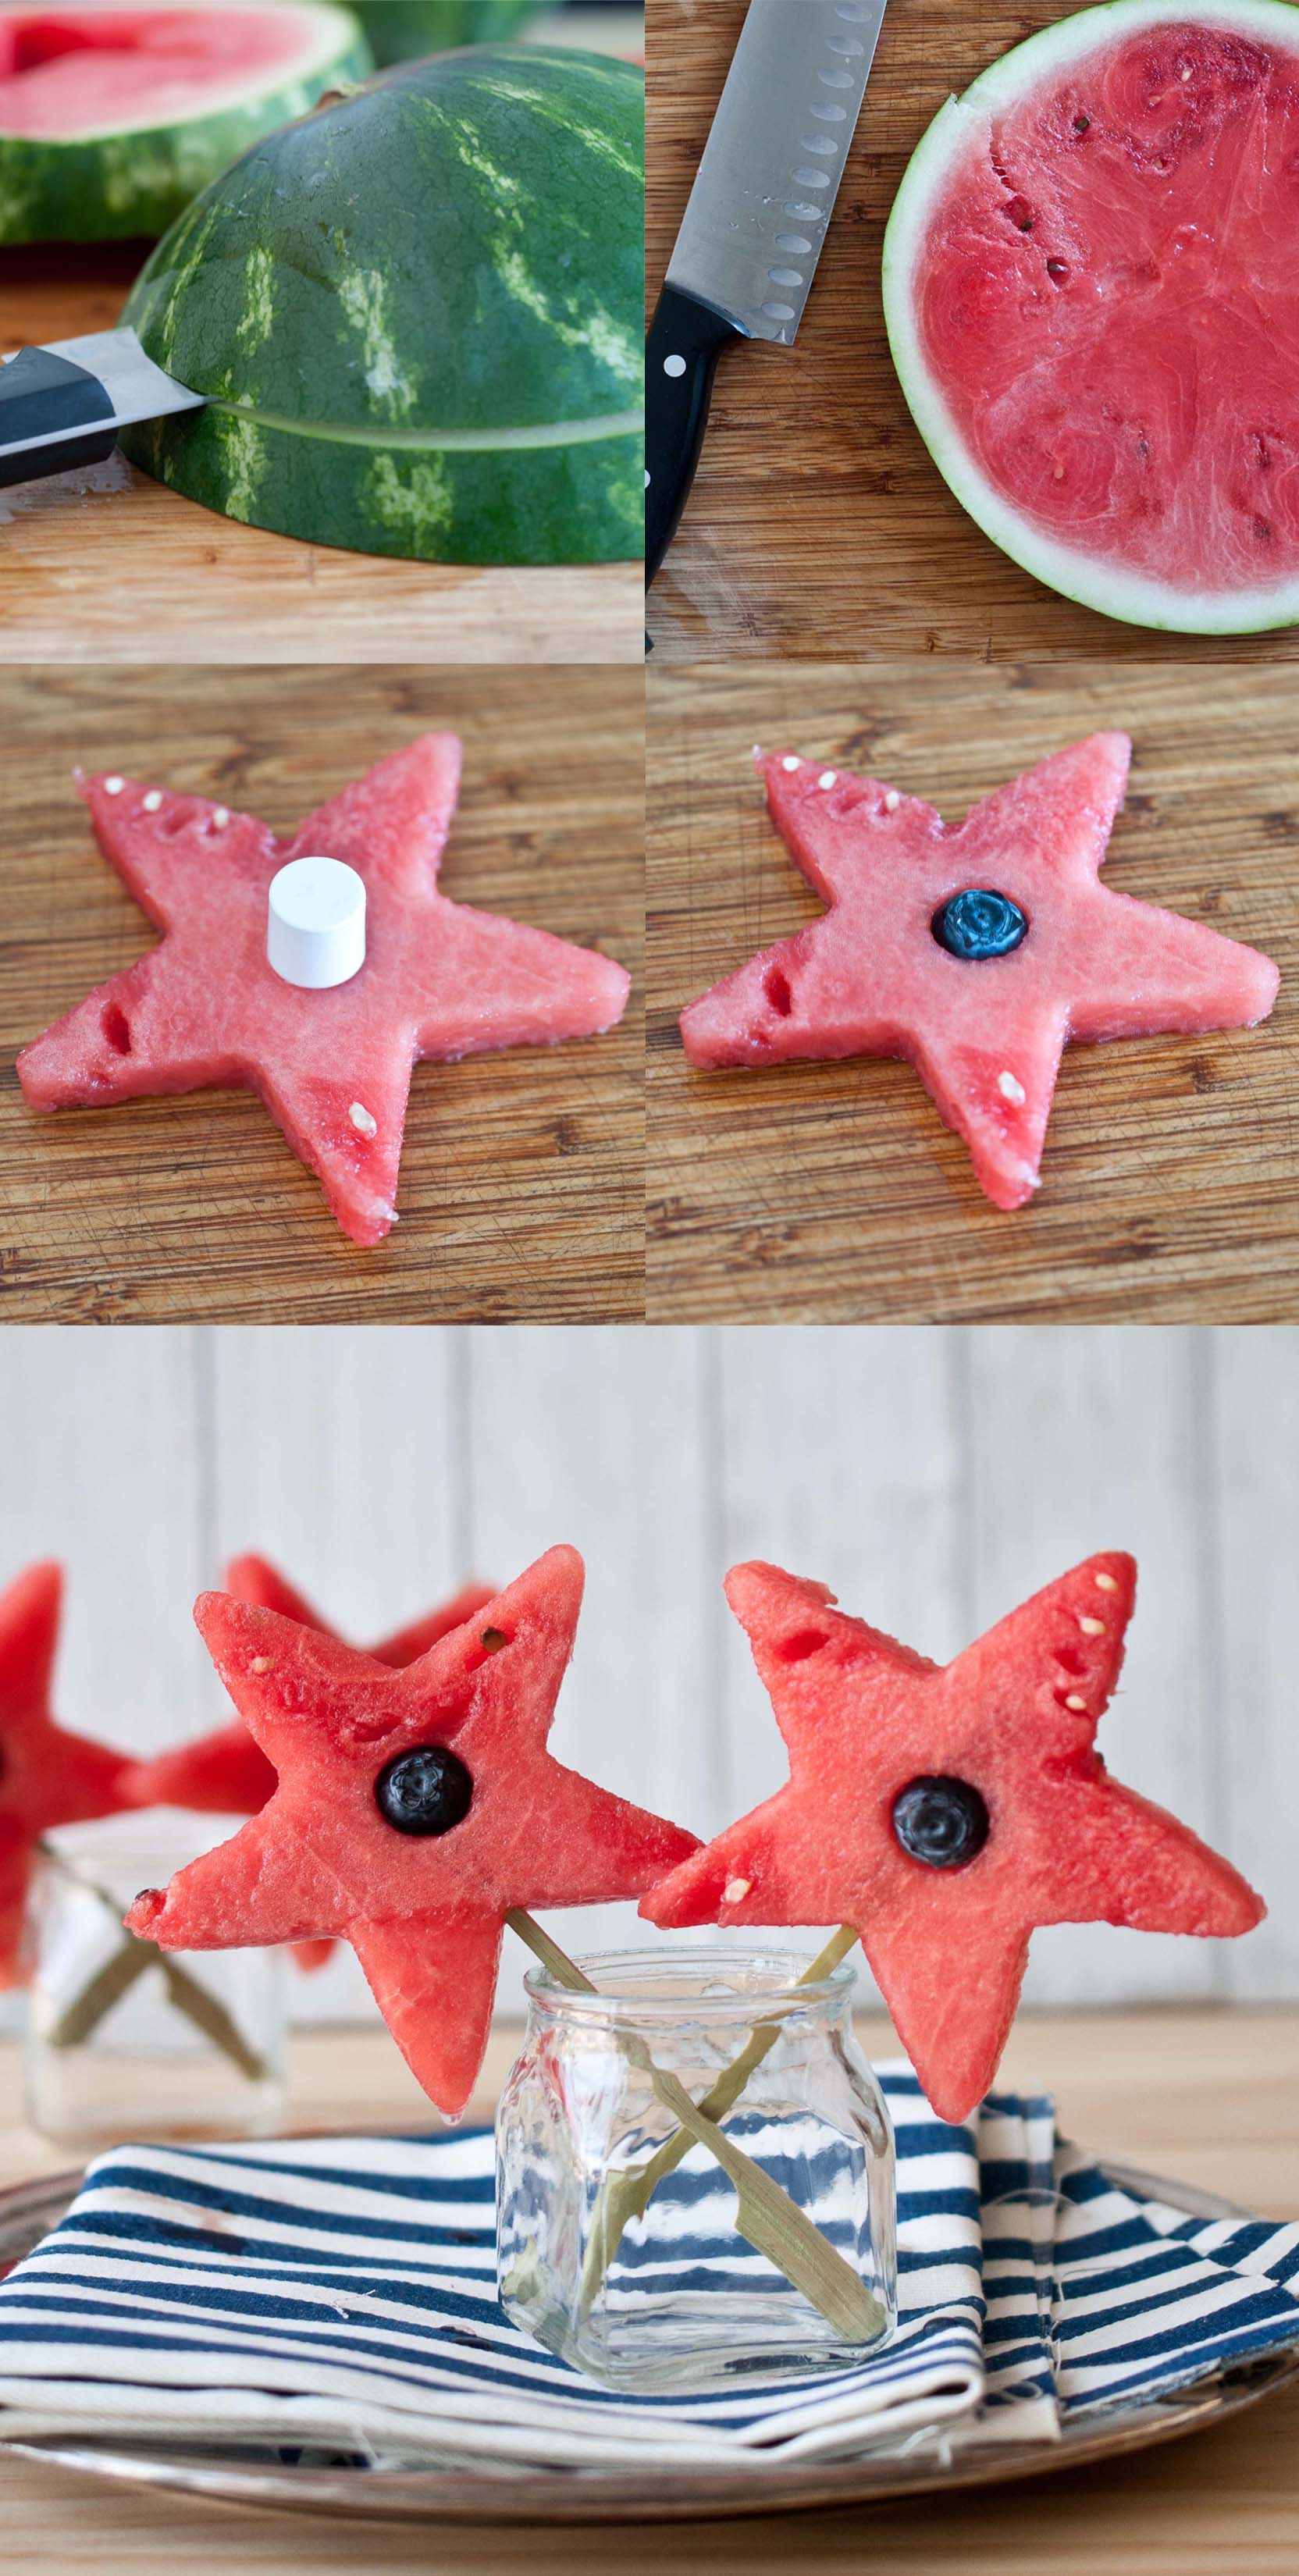
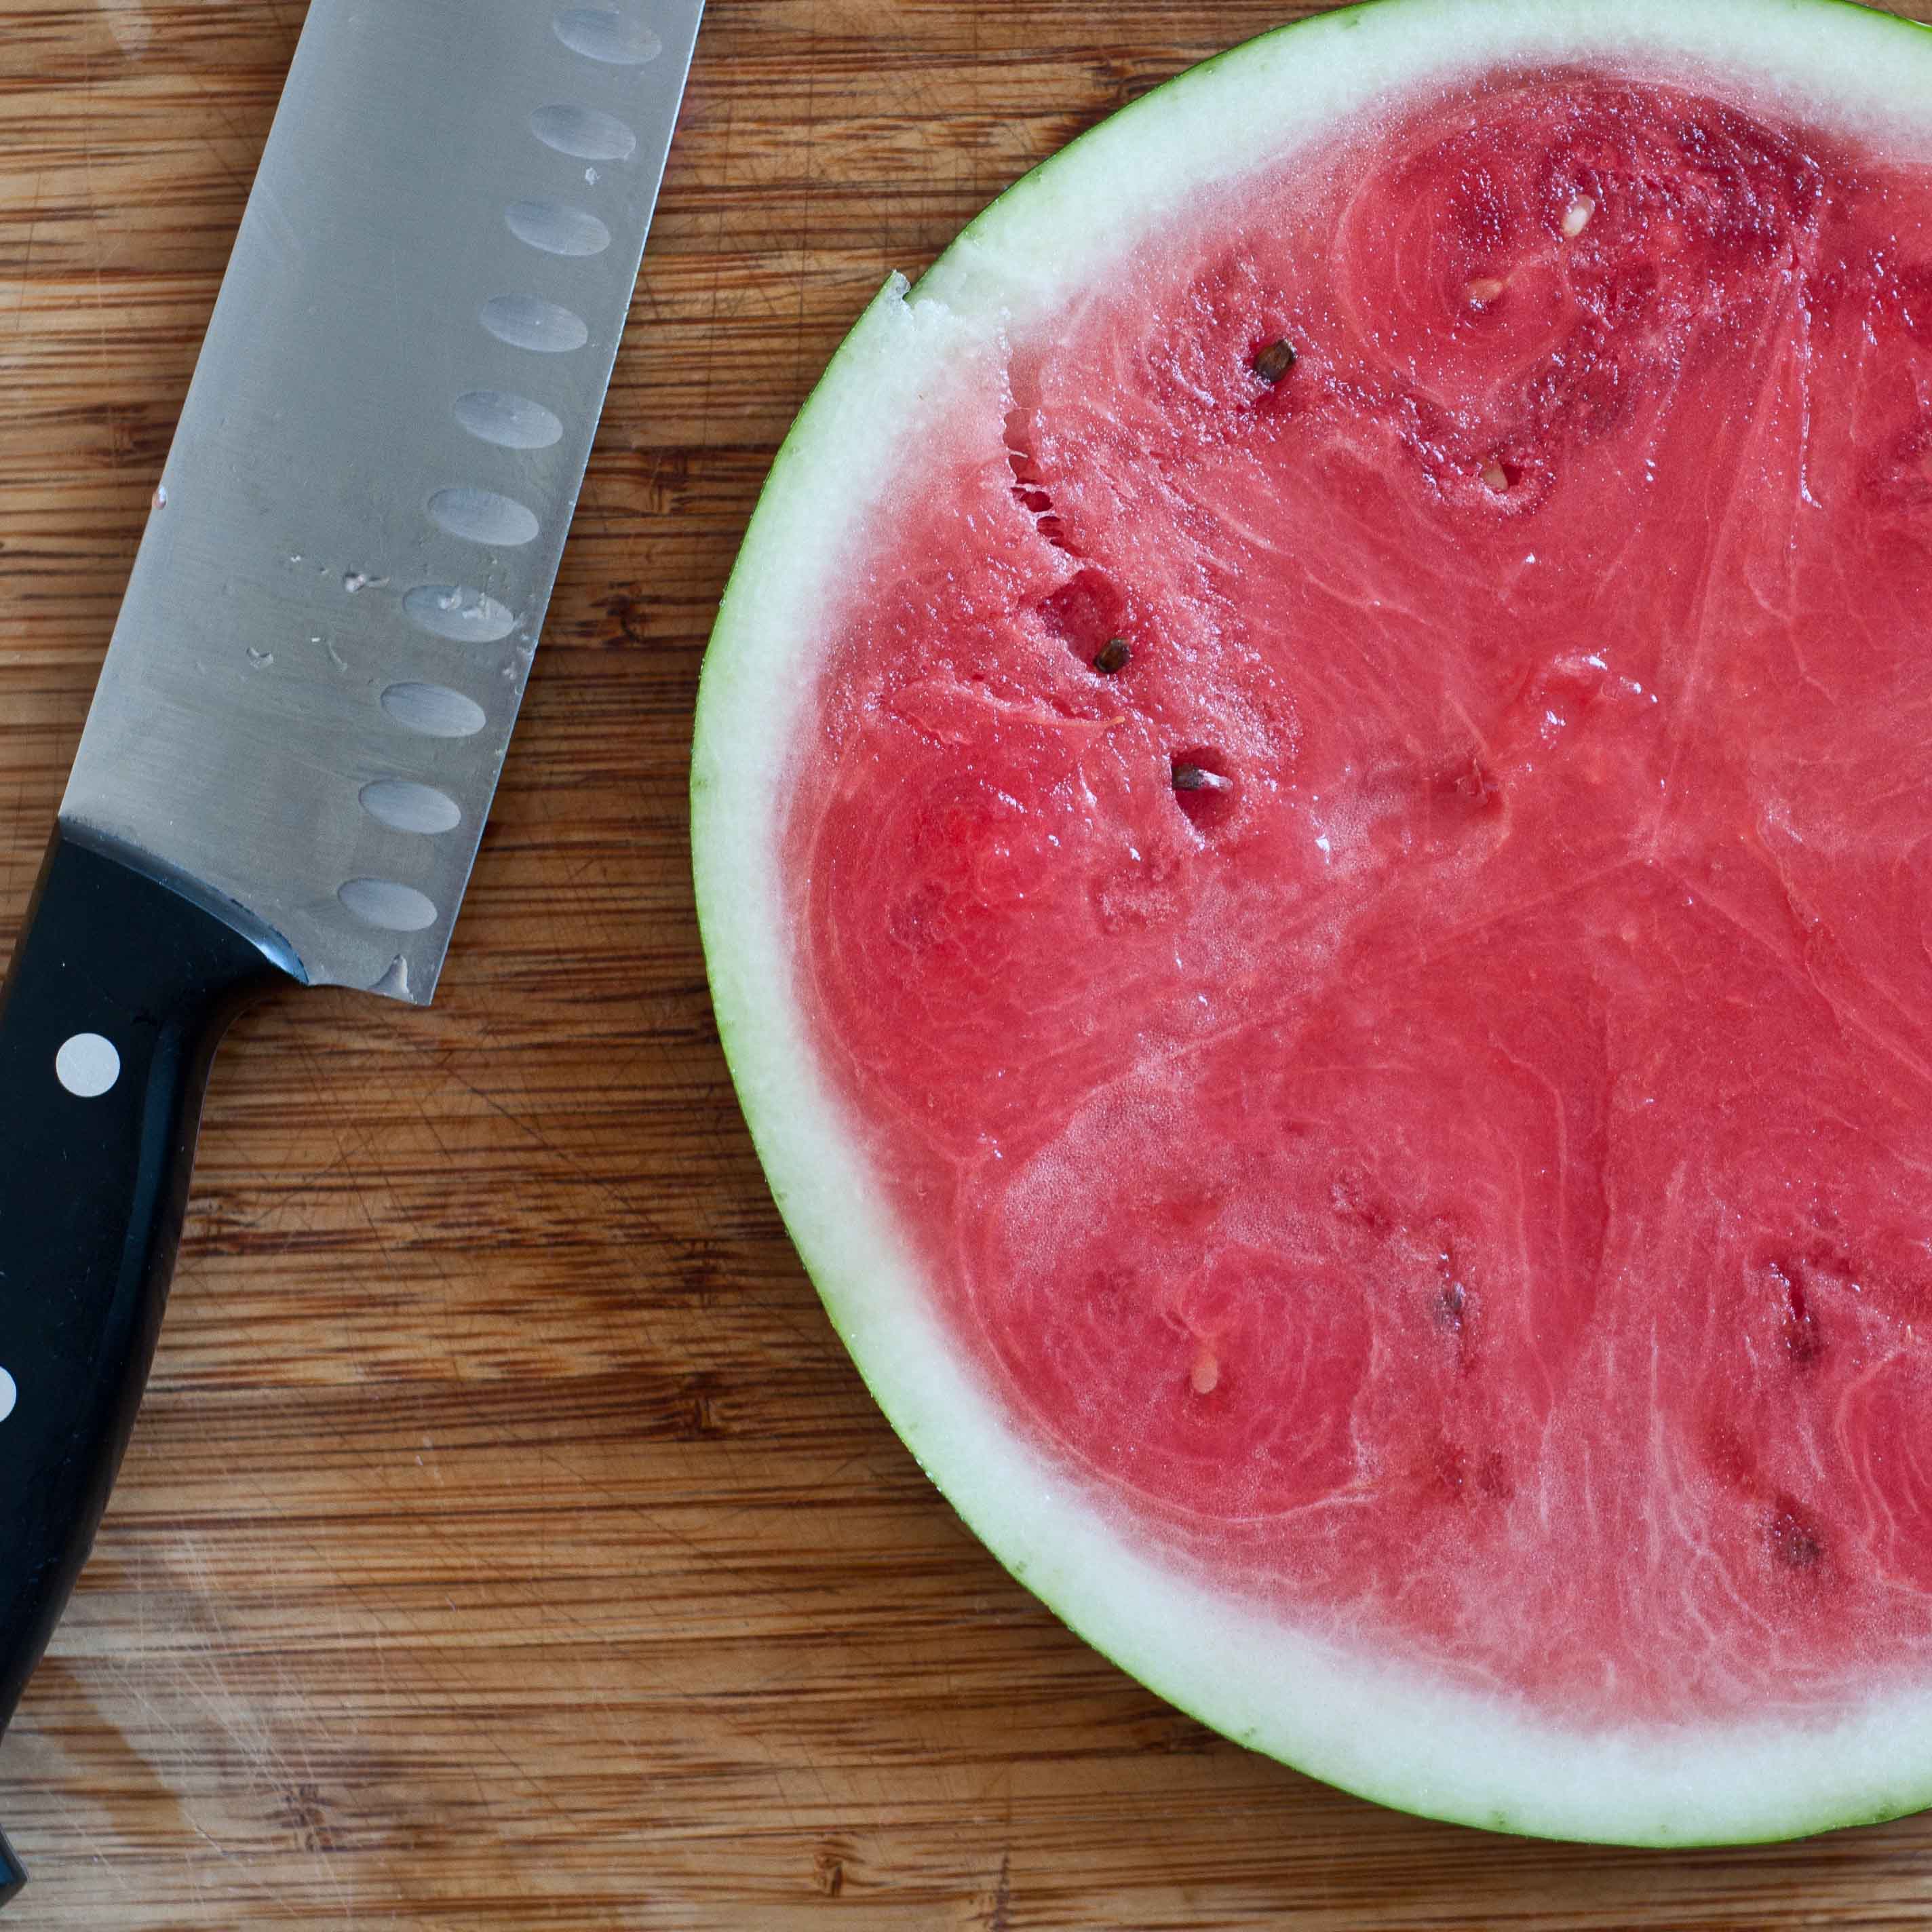
Lay the rings on a flat surface and cut out as many stars as you can with a Star shaped cookie cutter. You should be able to get two or three stars out of each ring. If the stars are too fat, cut them in half width wise to make two thinner stars. Be sure to reserve the watermelon "scraps."
Step Three:
I know this is a little skeevey, but bear with me, use the cap to a Chapstick tube to cut out a hole in the center of your star. It’s odd that I’m asking you to go find a tube of Chapstick to add to your kitchen equipment, but if you are anything like me, you have handfuls of those things in every drawer and purse in your house.
Just push the cap all the way through the center of the star. The hole is the perfect size for a large blueberry.
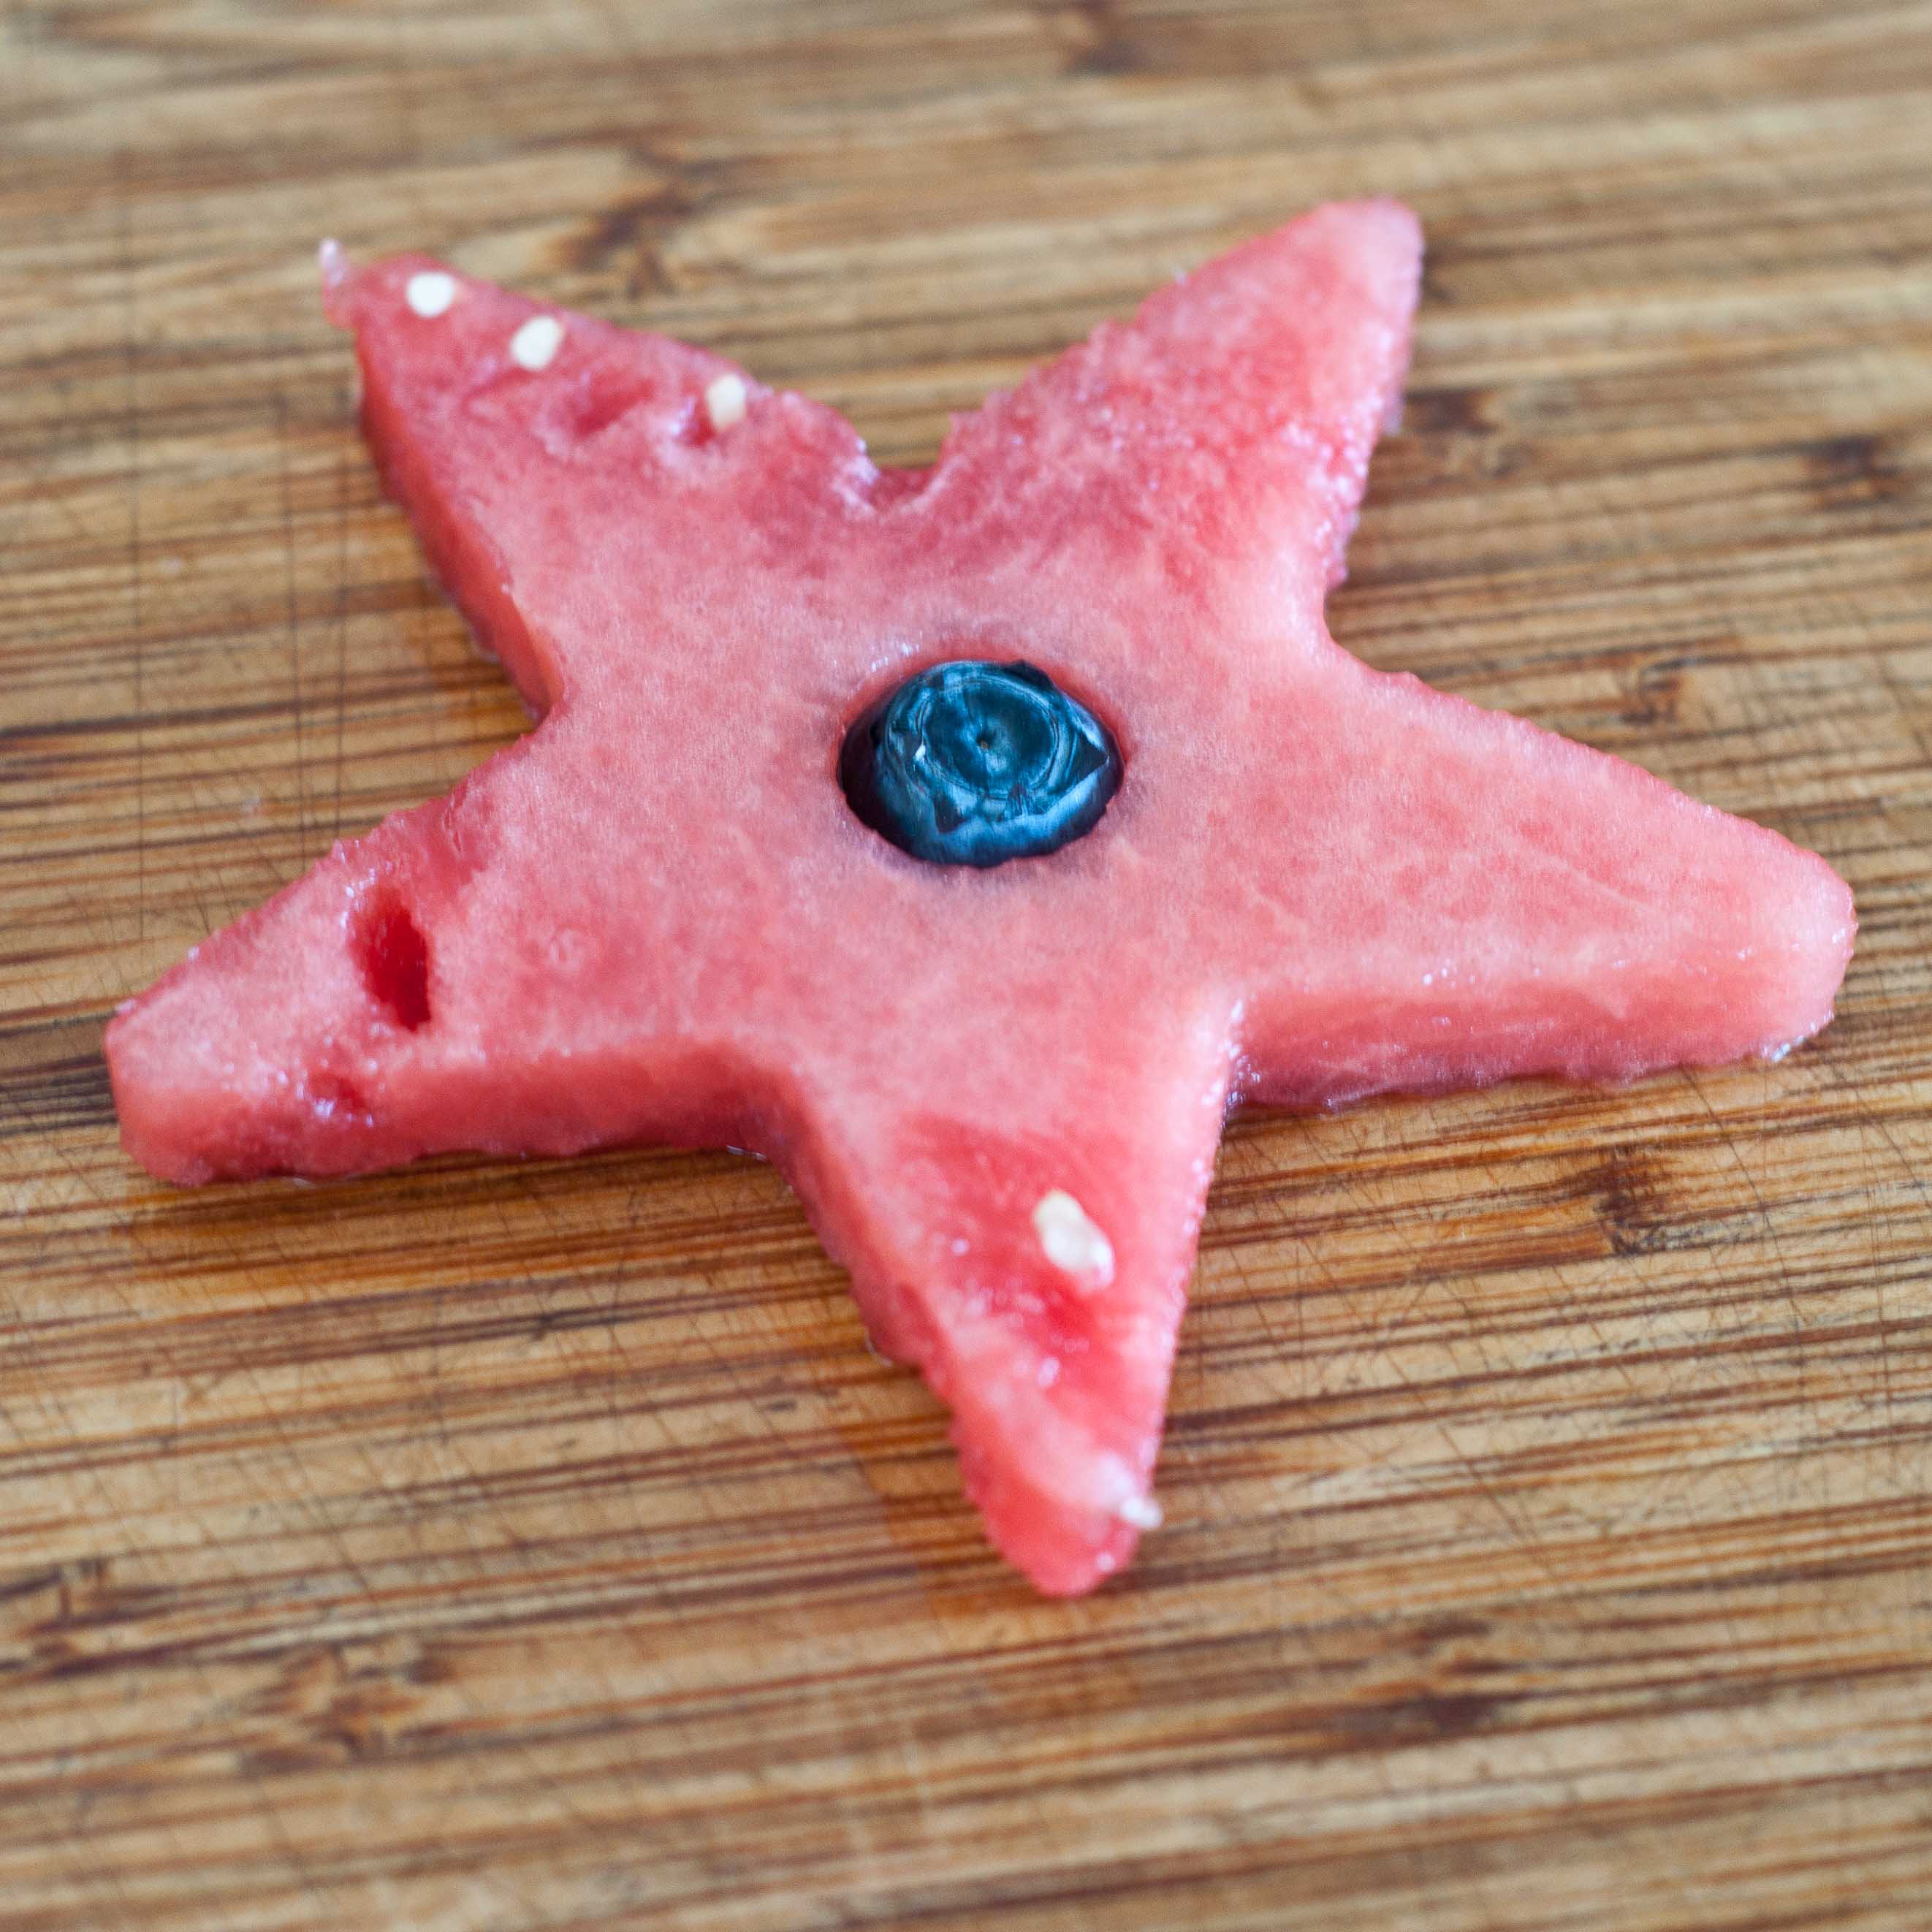
Step Four:
Place a blueberry in the hole in the center of the star.
Step Five:
Press a six inch skewer into the watermelon and through the blueberry.
Step Six:
Go to Tori’s site and she will tell you how to turn these suckers into boozy treats!
What to do with all those leftover Watermelon scarps:
There are foods that I relent to making from scratch, taking hours to carve a meal out of whole ingredients. Hours spend on homemade pasta, breads, pie dough and sauces. The extra time is more than worth it for real food, feed to those I love from the earth, to my hands to the table.
And then there are things that take so little time and effort, I am amazed that it took me so long to start making them from scratch.
Like whipped cream, tortillas and ricotta.
The active time on this recipe is so little, and the reward is so great, I will never buy it again. No special equipment or difficult to find ingredients. No extensive aging times or unusual techniques. Just a few simple ingredients and a stove.
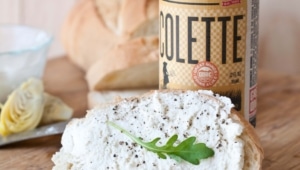
Spread it on bread and top with fresh vegetables.
Make homemade ricotta ice cream.
Stuffed cannellonis.
Ricotta Cheesecake.
You might need to make a double batch.
This is recipe that needs a wheat beer. The citrusy breadyness comes through in really great way. I used Colete By Great Divide. The flavors were perfect for this ricotta and lent themselves well to either sweet or savory recipes using the cheese.
I was grateful that I bought a six pack, this is a beer that will make it’s way in my normal drinking and cooking rotation.
Homemade Beer Ricotta
3 cups whole milk (do not use Ultra-Pasterized, it won’t work)
1 cup heavy cream
1/2 tsp salt
1/3 cup Saison beer, Plus 2 tbs divided
3 tbs Apple Cider Vinegar (you can also use lemon juice, or a combination of the two)
Makes about 1 1/4 cups
In a pot over medium high heat (do not use an aluminum pan) add the milk, cream, 1/2 tsp salt and 1/3 cup beer.
Clip a cooking thermometer onto the side of the pan.
Bring the liquid to 190 degrees, stirring occasionally to prevent the bottom from scorching. Keep a close eye on it, the liquid reaches and passes 190 very quickly and you don’t want it rising above 200.
Remove from heat, add the 2 tbs beer and then the vinegar (or lemon juice) and stir gently once or twice. It should curdle immediately. Allow to sit undisturbed for about 5 minutes.
Line a large strainer with 1 or 2 layers of cheese cloth, place the strainer in the sink over a large bowl.
Pour the ricotta into the strainer and allow to drain for 15 to 30 minutes and up to an hour.
After 15 minutes you will have a smooth creamy spreadable cheese. As you continue to allow it to drain, it will become more and more firm. It will also continue to firm once it is chilled, remove it from the strainer before it reaches the firmness level you want as it will continue to firm up in the fridge.
Place in an air tight container and store in the fridge.
For years I’ve been insisting that I hate coconut. Ever since those crappy Almond Joys and Mounds bars started taking up valuable real estate in my orange plastic pumpkin during childhood Halloweens, I convinced myself that coconut was to blame. Assaulting me with it’s odd texture that wasn’t quite crunch and wasn’t quite chewy and it definitely was not caramel.
And with the loathsome of all Trick or Treat offerings, the Neapolitan Sundaes as a side kicks in my Trow Away pile of post Halloween candy sorting, my distain was cemented. I hated coconut.
Even when I discover Malibu Rum in college, and I would only buy coconut scented sunscreen because the smell made me blissfuly happy, I still wouldn’t release my grudge.
And even, after years of growing up with the idea that International Cuisine was Costco Lasagna and Taco Bell, I figured out that I adored Chicken Panang so much I wanted to bathe in it, still my aversion persisted.
And when I waitressed in dozens of mid-level family style restaurants, with shrimp shooters and extreme fajitas avoiding conversation about my Flare, and I was introduced to the white trash joy of Coconut Shrimp, it changed nothing.
I hate it, I’m serious.
It wasn’t until I read a post from my friend Julia that It all clicked. I don’t hate it. I hate crappy candy. Huge difference.
I went directly to my nearest store and bought some Bob’s Red Mill Coconut and set out to bake.
I made these for some friends who came over for a poker night, one of whom said, "No thanks, I don’t like coconut."
After I begged and pleaded for him to just take one tiny taste, he ate five cookies. Afterwards, he said to me: "I totally thought I hated coconut until I ate these cookies."
I have no idea what you mean.
Other than the fact that these cookies rule. And so does coconut.
My husband and I at Poker Night, not exactly winning,but having a great time.
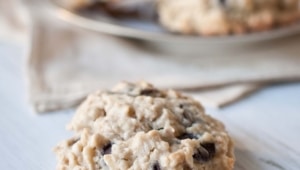
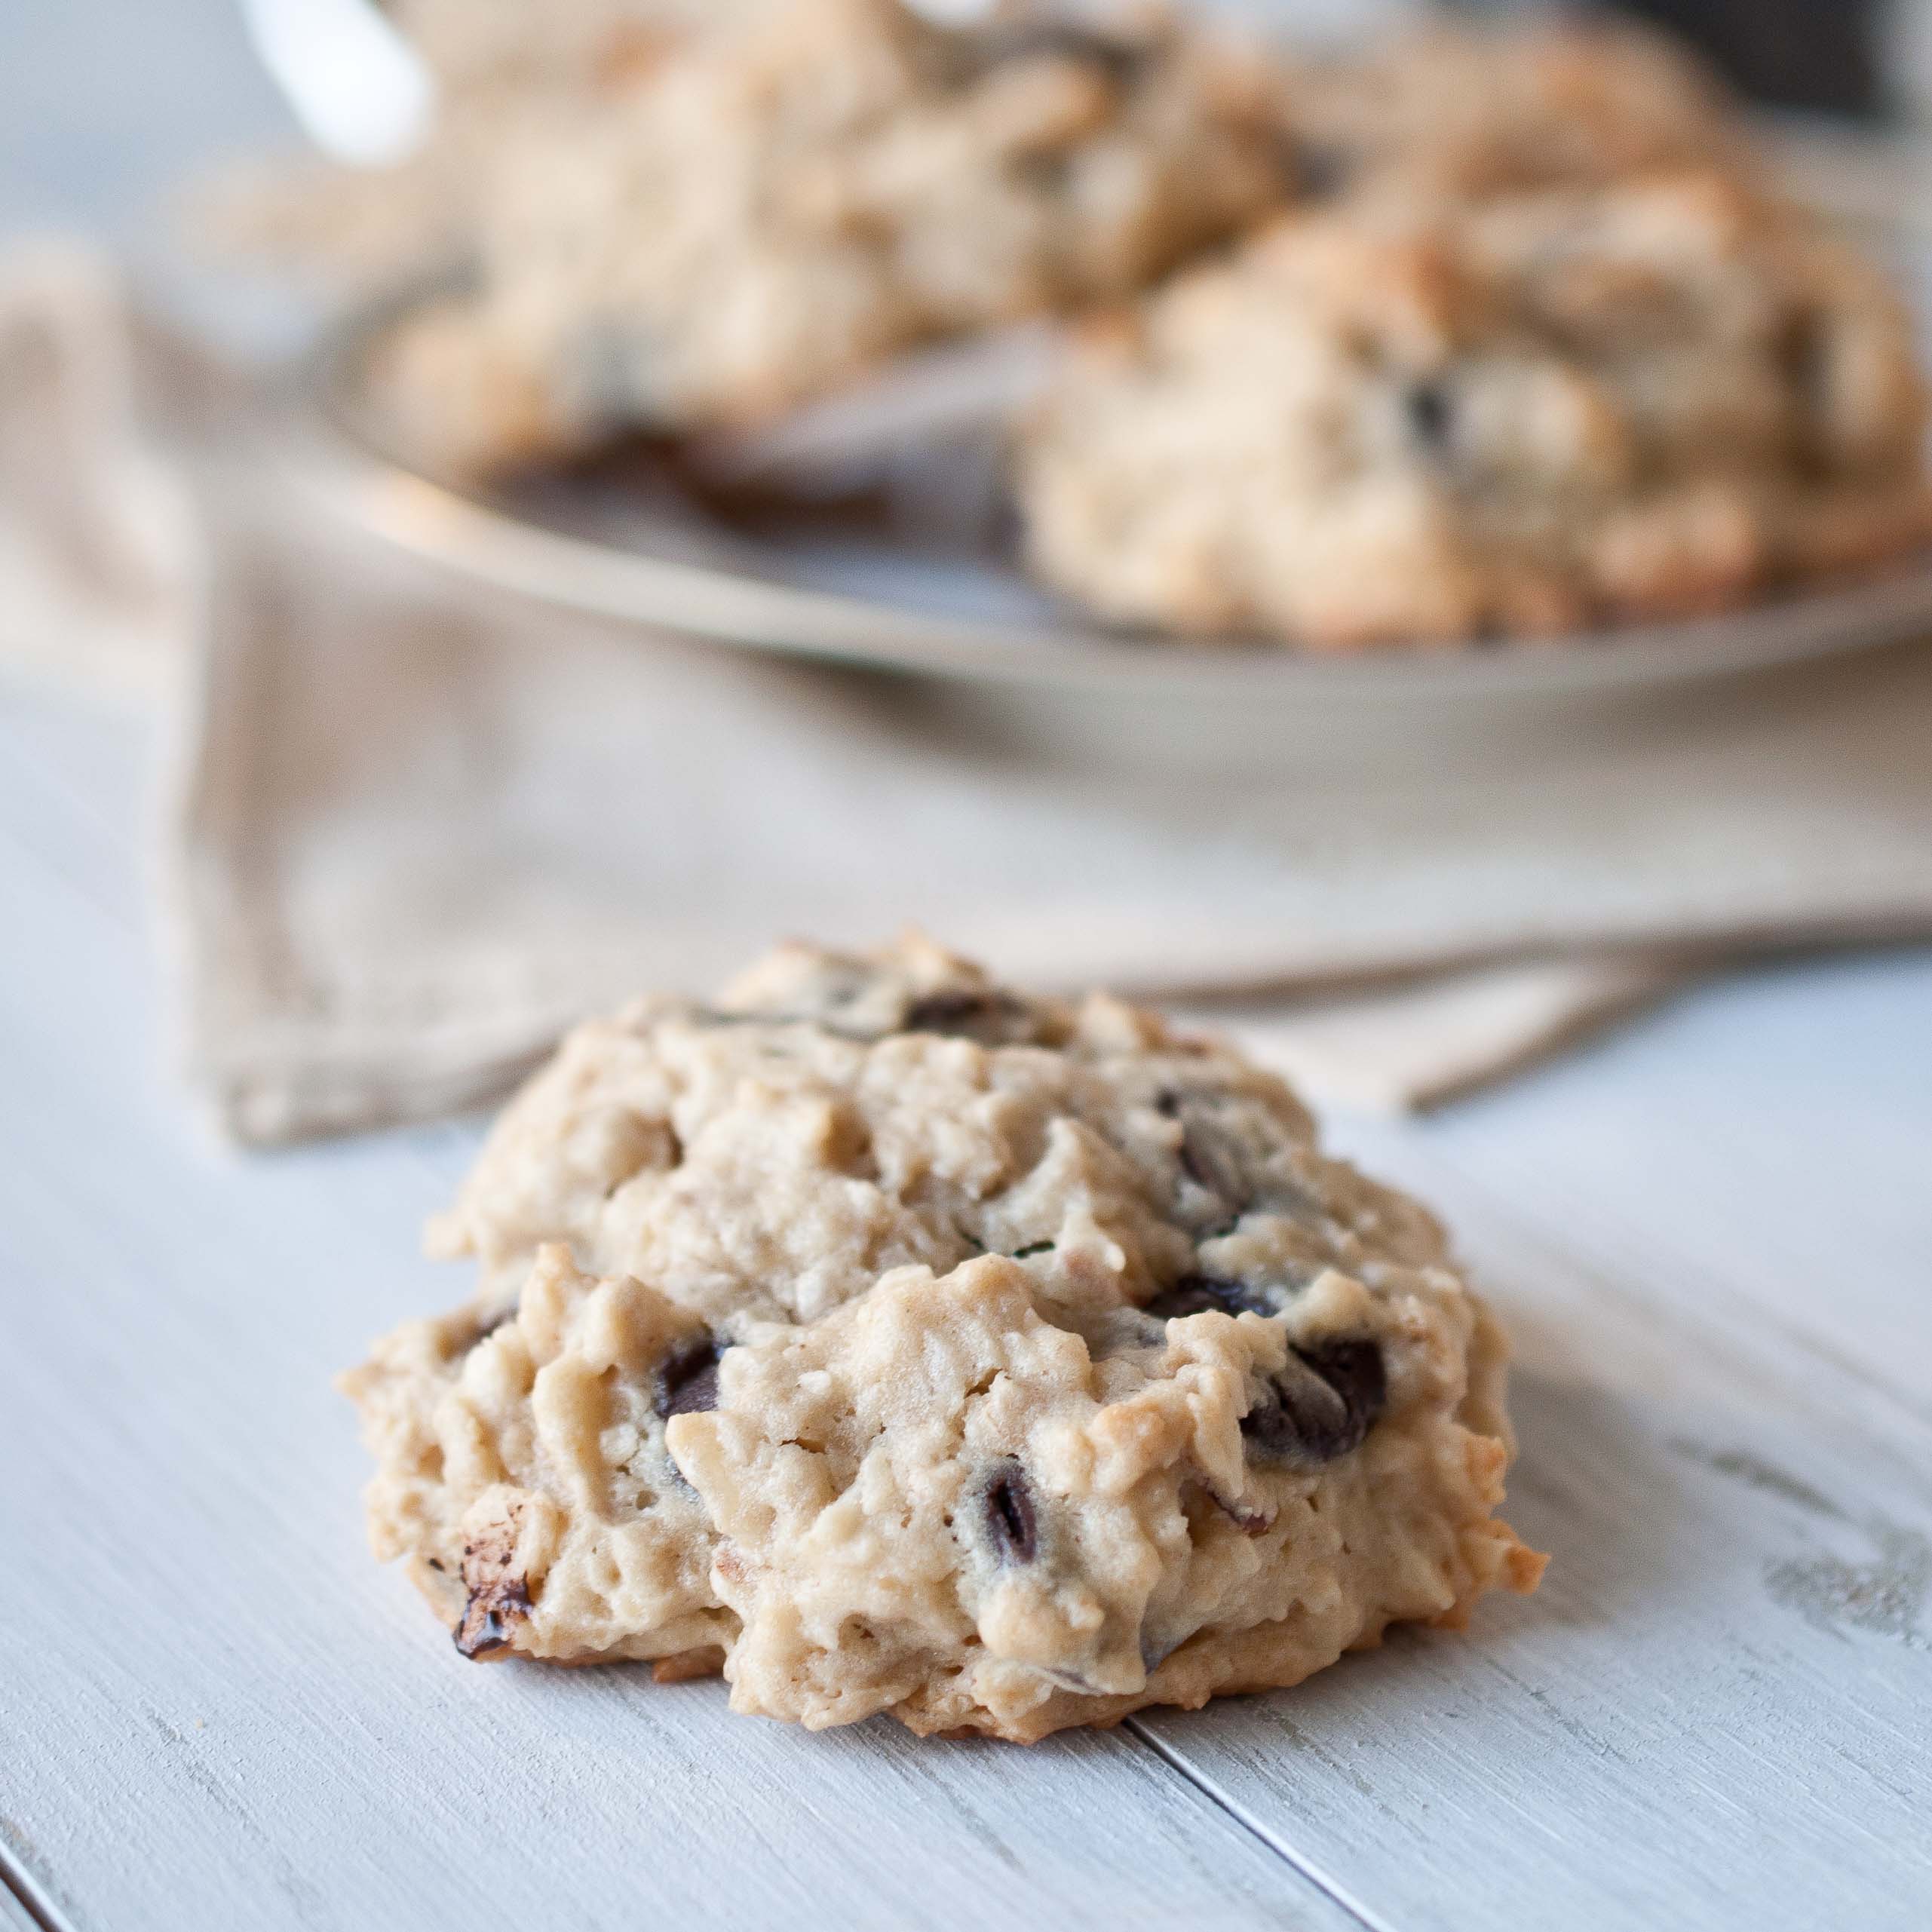
Coconut Chocolate Chop Oatmeal Cookies
1 stick of butter
3/4 cup brown sugar
1/2 cup white sugar
1 egg
1 tsp vanilla
1/2 cup coconut milk fat (scraped off the top of a full fat can of coconut milk)
In the bowl of a stand mixer, cream the butter and both sugars. Add the egg and vanilla and beat on high until well combined. Add the coconut milk and beat until well combined.
In a separate bowl, add the remaining ingredients (other than the almonds and chocolate chips) and stir until well combined.
Add the dry ingredients into the stand mixer and mix on low until just barely combined. Add the chocolate chips and the almonds and mix again until barely combined.
Cover a baking sheet with parchment paper.
Using a cookie scoop or an ice cream scoop, scoop out balls approximately the six of a golf ball and place evenly on the baking sheet.
Refrigerate for 2 hours, up to 24.
Preheat oven to 350.
Bake for 20-22 minutes or until lightly golden brown. You don’t want to over cook these, so start to check on them at about 12 minutes in case your oven cooks way faster than mine. Especially if you skip the refrigeration step, room temperature cookies will be done a lot sooner. Once you pull them out of the oven, slide the parchment paper onto the counter and allow to cool.
You seem to have no interest in healthy beer recipes. You want your beer recipes to be a flagrant indulgence of full-flavored stimulation. You want chocolate and bacon and sugar and whatever else I can manage to squeeze into your meal.
I like that about you.
No "semi-homemade" or "skinny" versions will do for your beer baking, you want it to be bold and extravagant, diet repercussions be damned. You also have no problem with my recipes that take hours, making Bacon Beer Jam with delighted voracity.
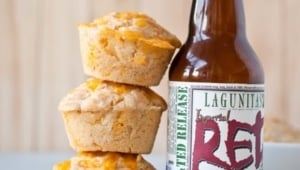
So it is by pure accident that I offer to you a recipe that only takes 5 minutes to throw together and less than 20 to bake, allowing you to get a fully flavored beer muffin on your table in less than a half an hour.
Although I know you would have been more than willing to spend much longer. I appreciate your tenacity.
For these Beer Bread Muffins, I used Lagunitas Red, a special release that’s just so fun to drink.
3/4cupshredded cheddar cheeseplus additional for topping, if desired
2tbschopped green onions
1/4cupmelted butterplus 2 additional tbs, divided
3/4cupbeer
Instructions
Preheat oven to 350. Spray muffin tins with cooking spray.
In a bowl combine the flour, sugar, baking powder, salt, cheese and onions, stir until well combined. Pour in 1/4 a cup of melted butter plus the 6 oz of beer, stir until just combined.
Pour batter into muffin tins until each well is about 1/2 full. Pour remaining 2 tbs of butter onto the tops of the muffins, dividing evenly between each muffin. Top with additional cheese, if desired.
Bake at 350 for 18-20 minutes or until the muffins have puffed and a toothpick in the center comes out clean. Serve immediately, these are best right out of the oven.
Cookbook is a bit of a misnomer with SprinkleBakes. It’s more like an education. Like your best friend who happens to be an incomprehensibly talented pastry chef standing in your kitchen teaching you everything she knows about baking. Of course there are recipes, they range from redefining the idea of a basic cake to fabulously well crafted mousses, but it’s more than that. As with most cookbooks these days, you get more than just a compilation of recipes, it’s a catalouge of all the tips and tricks you didn’t even know were missing from your repertoire. SprinkleBakes is filled with instruction that not only inspires you to create your own works of art, it gives you the tools you need to do so. From simple to extravagant, everything you learn is accessible, no matter what your skill level.
This is the perfect addition to the kitchen of anyone who wants to learn more about the art of baking, no matter how long or short your’ve been at it.
I was so impressed by the tips and tutorials in this book, they seemed endless, like every time I flip though it I am bound to learn something new. This is a book that I will be referencing for years.
Here is a fun trick that I feel in love with right away. She teaches you how to turn just about anything in your house into a chocolate mold using just brown sugar. This is a great tip for anyone who throws kids parties and doesn’t want to invest in a chocolate mold that you’ll use once.
Brown Sugar Chocolate Mold
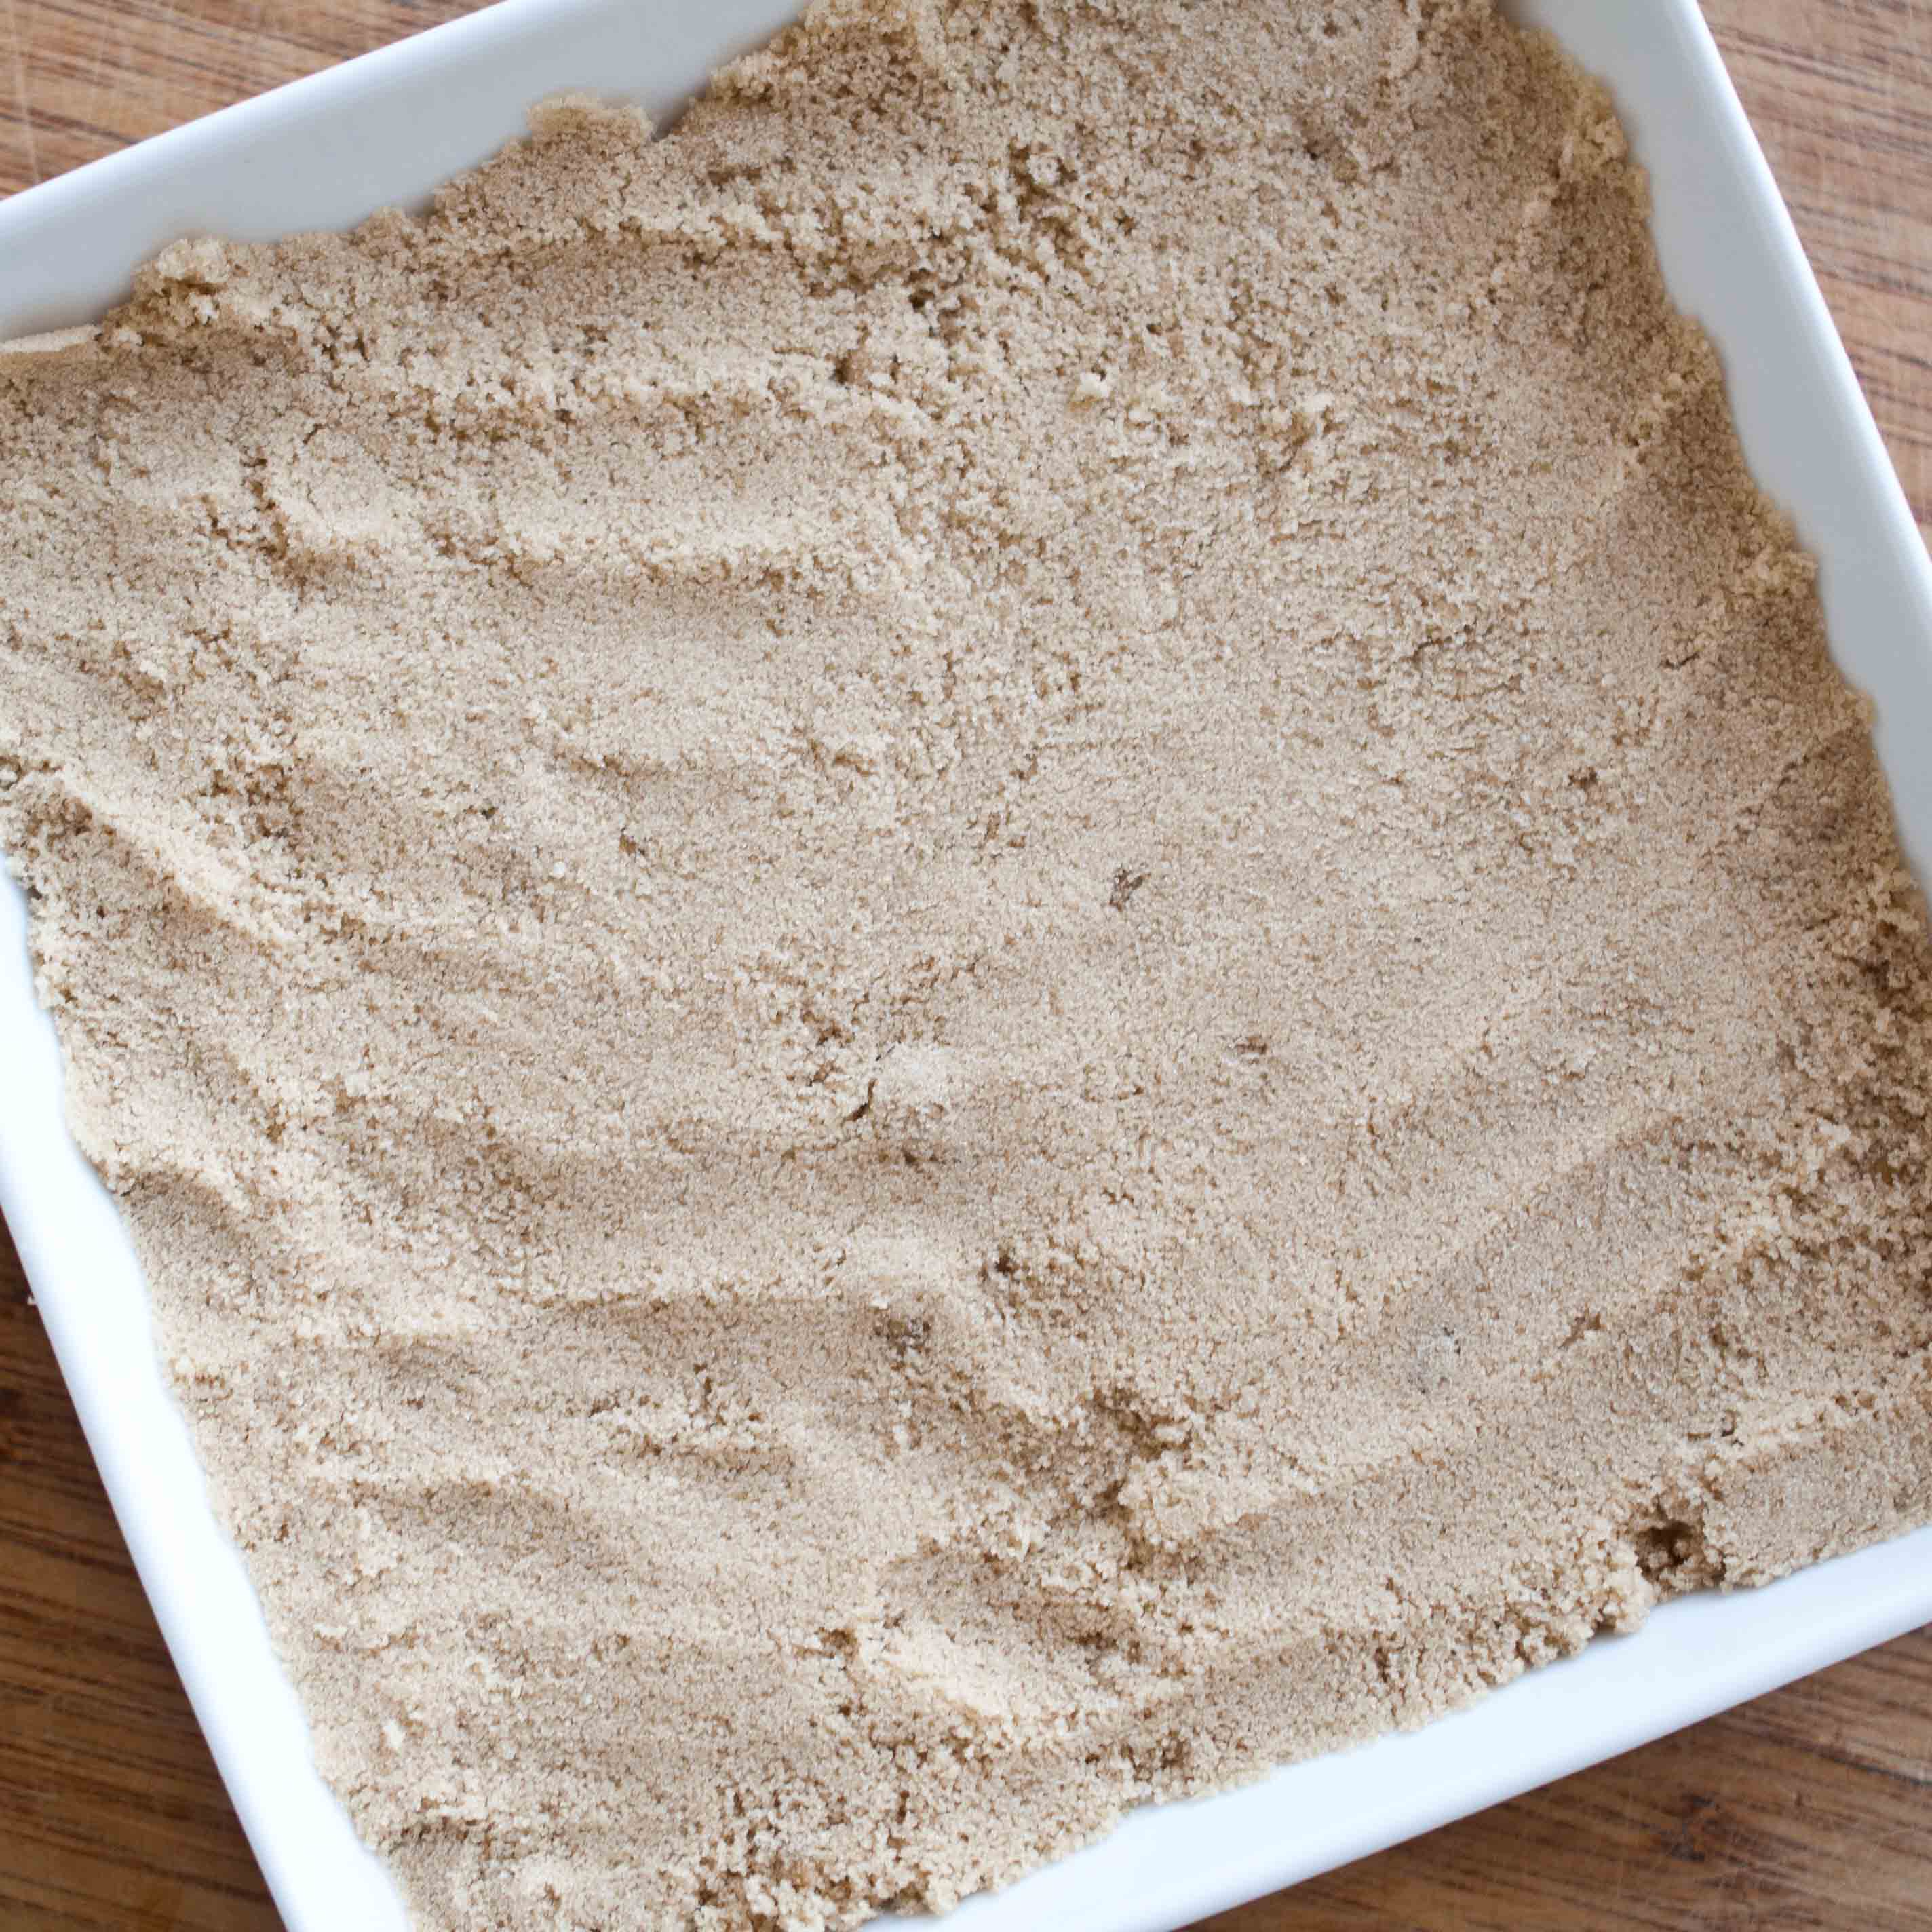
Step One:
Fill a small bowl with soft brown sugar and pack lightly.
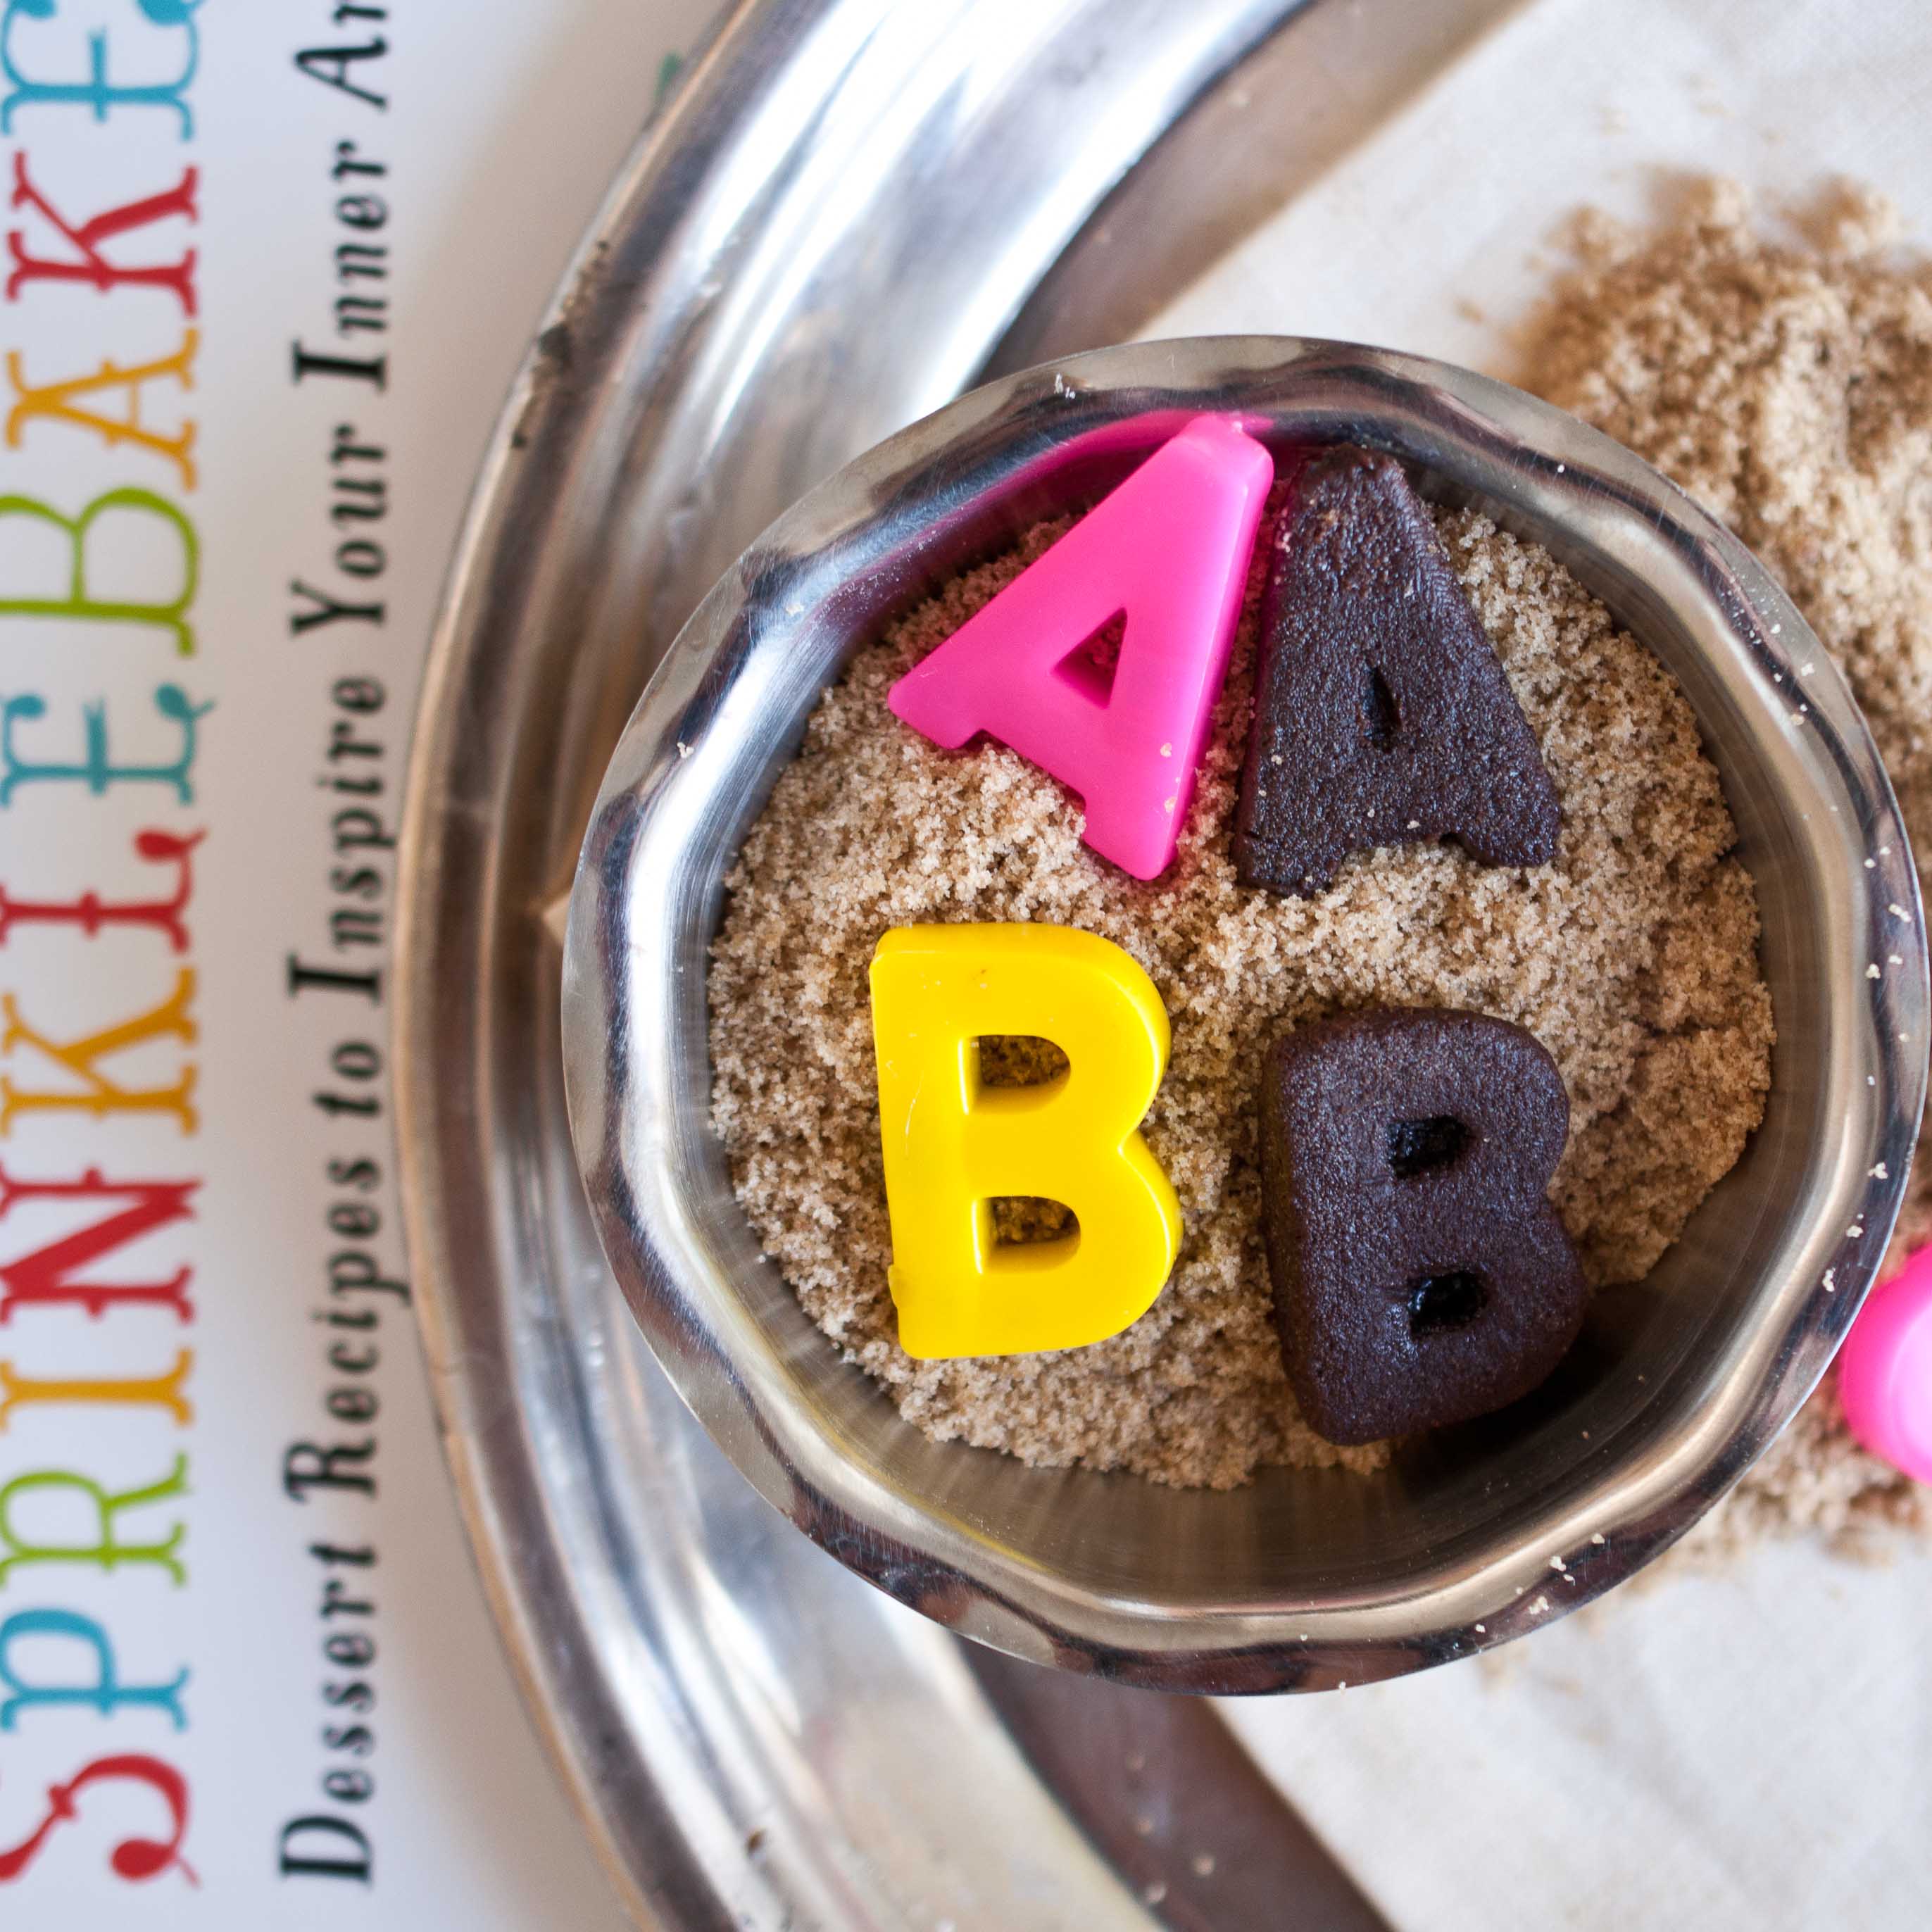
Step Two:
Place your object into the brown sugar and press down, compacting the sugar around the object. Objects that work best are fairly flat, with minimal detail. Heather uses a shell in her book and it turns out great. I used my daughters Alphabet magnets. If it doesn’t look right, remove the object, fluff the brown sugar and start again.
Step Three
Add chocolate chips (or candy melts) to a microwave safe bowl and microwave for thirty seconds, stir and repeat until chocolate is melted. Remove the objects from the brown sugar
Pour the chocolate gently into just the depression made by the object.
Step Four:
Place in the refrigerator until set, about 10 minutes. Remove from the brown sugar and dust off as much sugar as you can. Run a very slow, very cold stream of water from your kitchen faucet. Gently run the chocolates under water until the excess sugar has been removed.
Things to keep in mind:
These will not be shiny and smooth like those you get from a silicon mold, they will have a bit of a pocked texture. This might be what you want if you are going for a weathered look.
All you have to do is leave a comment in the comment section to enter! This makes a great gift for anyone you know who loves to bake, no matter what the skill level.
You aren’t always aware of the nexus of a true obsession. It may only be in hind sight that the catalyst is revealed upon agonizing inspection of your past. For me, however, the spark was breathtaking, an obvious birth of a fixation that lead to this blog. That trigger was Bison Honey Basil Ale. A beer that begged to be turned into Beer Creme Brulee, my first post.
If you enjoy this little blog that I have, and are as fascinated as I am with turning beer into chewable treats, you don’t have me to thank, you owe the lovely folks at Bison Brewery a debt of gratitude. As do I, or course.
For this post, I used Bison Chocolate Stout, an excellent example of the genre.
In a large sauce pan over medium high heat, add 1 cup beer (reserve the remaining beer). Allow beer to boil and reduce until thick and syrupy and only about 1 tsp remains, about 20 minutes. Set aside. (Note: if you want a lower level of beer taste, skip this step and substitute the "extract" you have just made with 1 tsp of vanilla extract in the later step that calls for the beer extract)
Line a loaf pan with parchment paper, making sure the paper goes up and over the sides of the pan, set aside.
In a large sauce pan over high heat add both sugars, butter, cream, corn syrup and remaining 1/2 cup beer. Stir until butter has melted and then stop stirring while the candy boils (you can occasionally swirl the pan), clip a candy thermometer to the side of the pot, taking care that the tip doesn't touch the bottom. Allow to boil untouched until the liquid reaches 244 degrees. The caramel will reach 200 degrees rather quickly,but will take 15-20 minutes to reach 244. The last few degrees climb quickly so stay close to your pot.
Once the caramel has reached 244, remove from heat. Add the reduced beer "extract" that you have set aside and stir until the bubbling has subsided. Pour it into prepared loaf pan, allow to sit at room temperature for 10 minutes, then refrigerate until set, about 2 hours. Cut into squares.
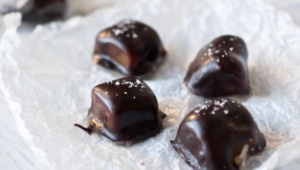
In the top of a double boiler add the chocolate and the stout, stir over low heat until melted and creamy, about 5 minutes. Don't over heat or your chocolate will seize.
One at a time, place the squares into the chocolate with a fork. Roll around until covered, remove and add to a piece of wax paper, sprinkle with sea salt if desired. Once the squares been covered in chocolate transfer the to the refrigerator, repeat with remaining caramel. Chill until set, about 10 minutes.
“In war, there are no unwounded soldiers.” – Jose Narosky
(Photo source unknown)
Thank you for all of the people who had fought, those who have died, the ones who will always nurse wounds and the mothers and fathers who had to stand back and watch it happen.
Thank you for the gift of peaceful days, Sundays with our families and the ignorance that allows us to enjoying without a full realization of the true sacrifice that was made.
To those who have died and those who were left behind, Thank You will never cover it.
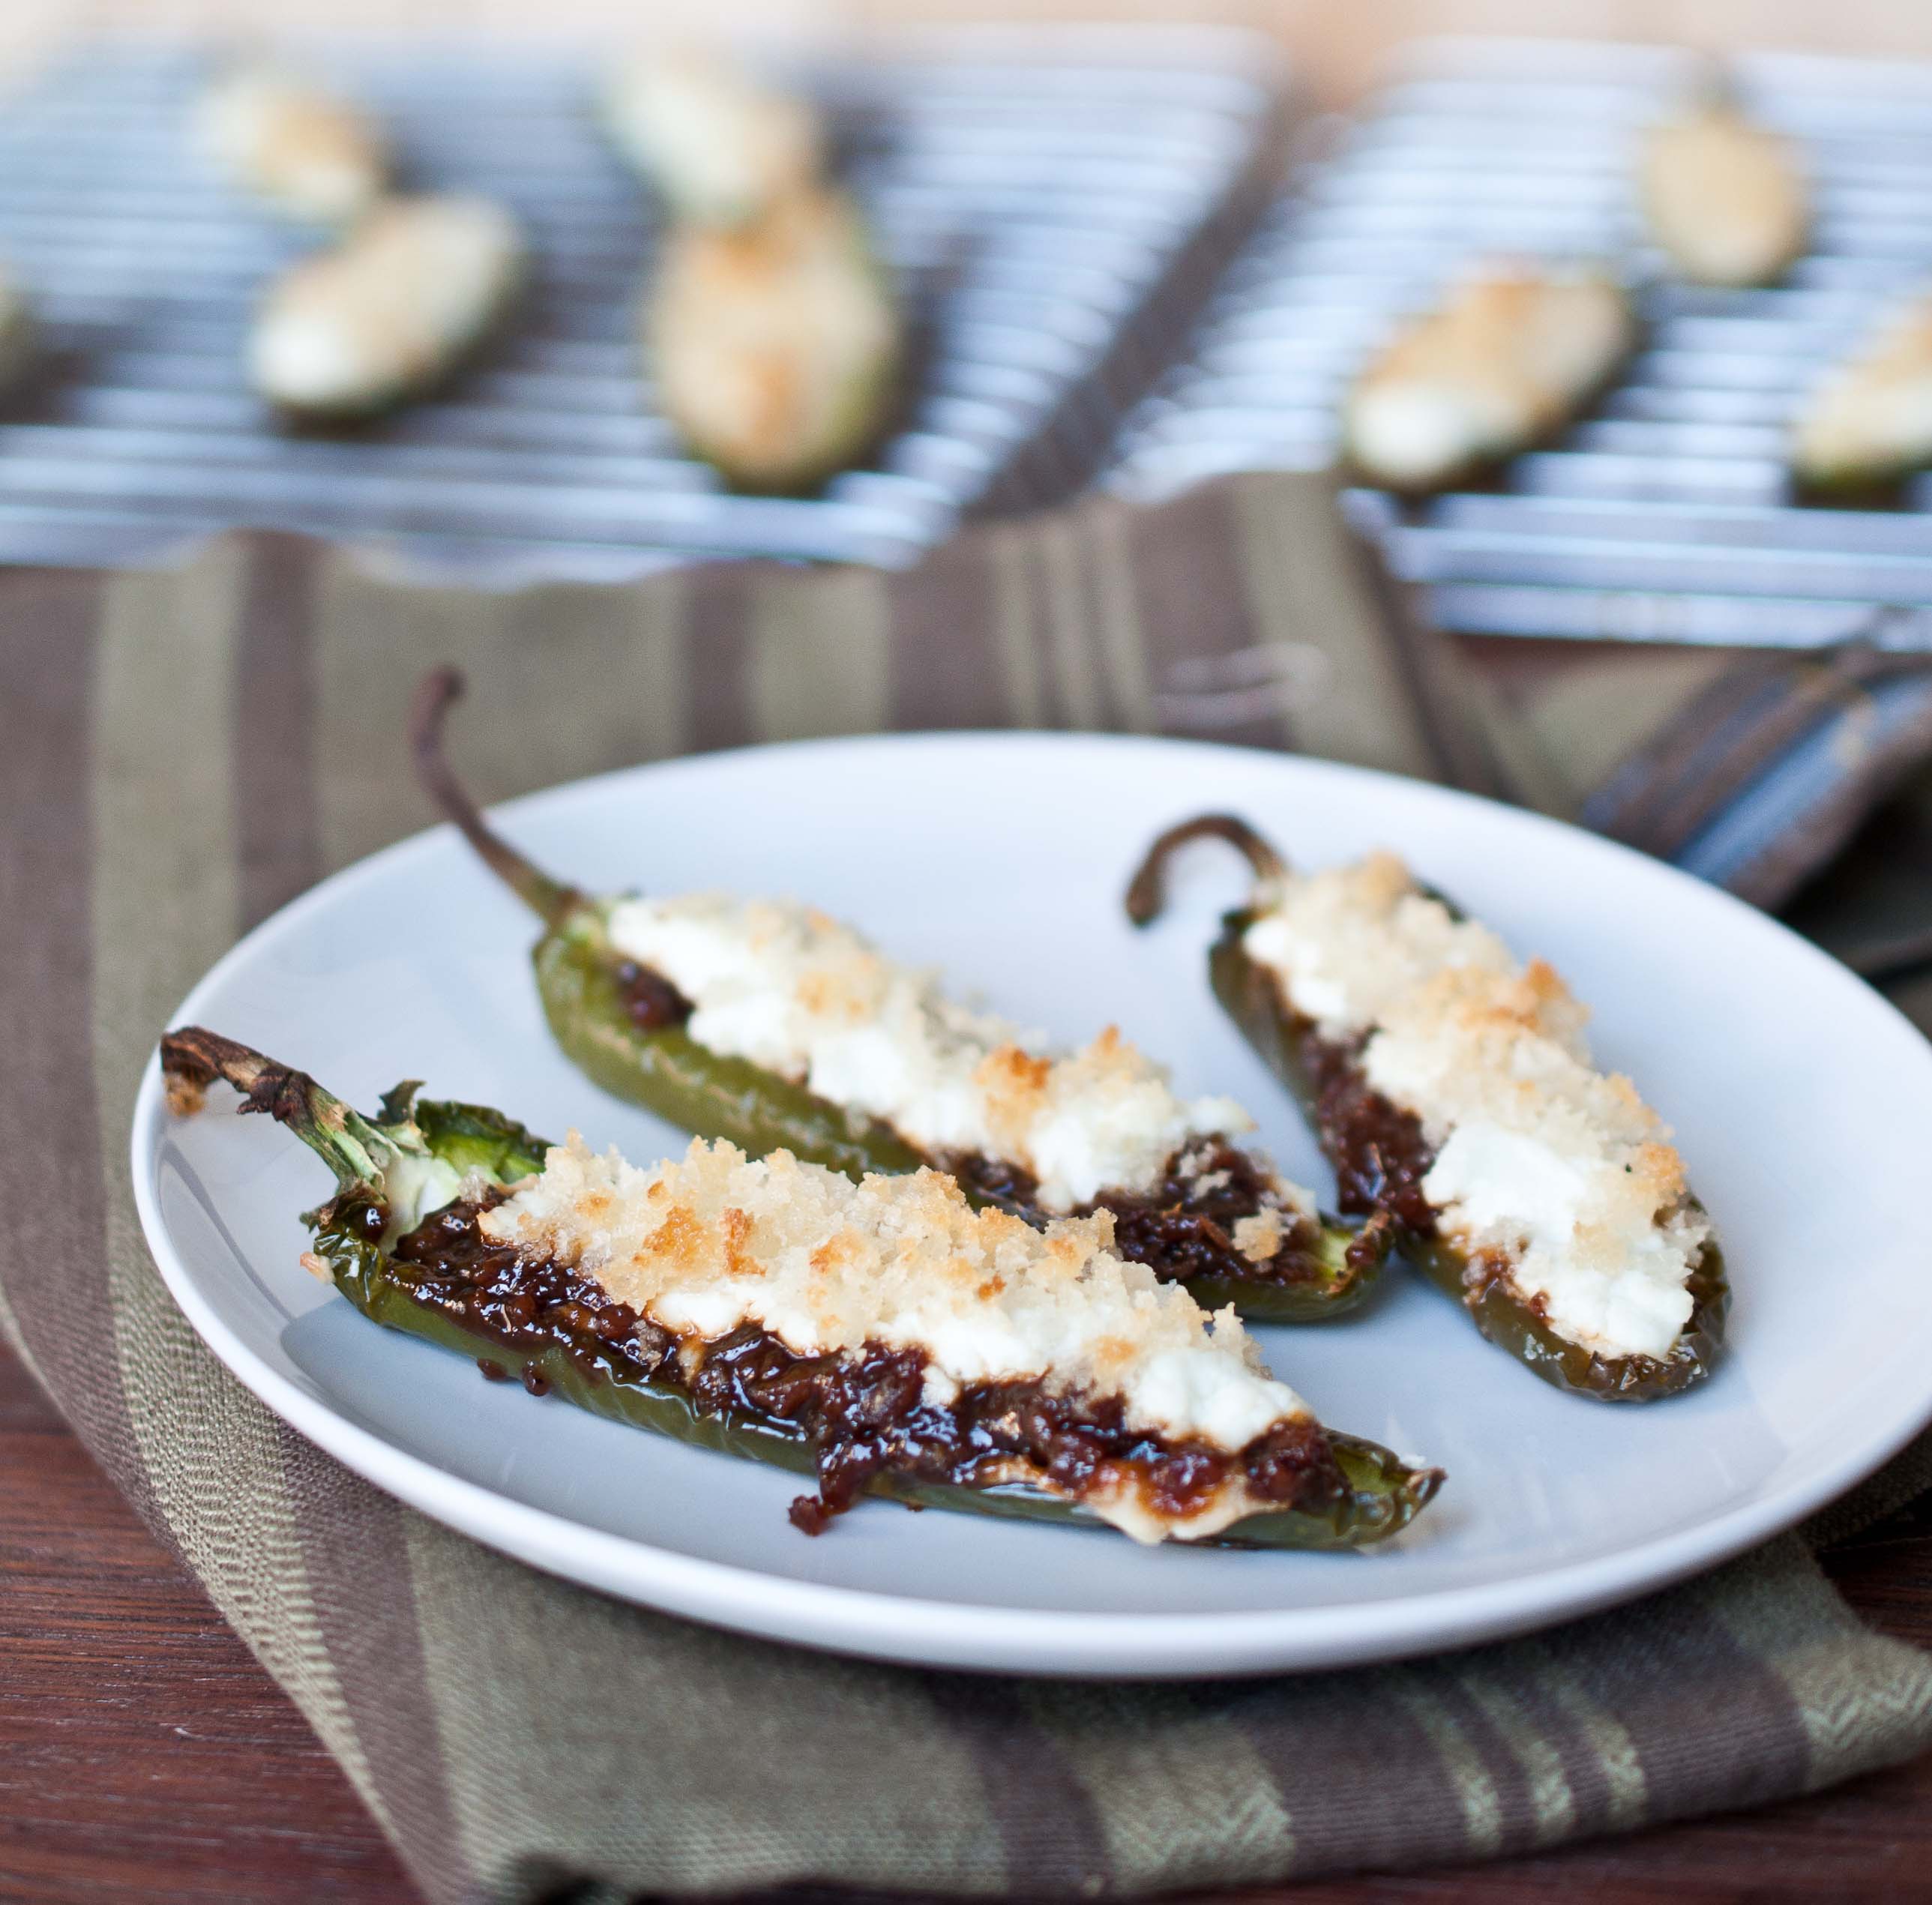
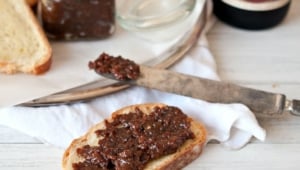
Beer and bacon in a spreadable form, this may be the best thing to ever come out of my kitchen. It is a simple food, a few ingredients that over time become large with flavor and possibilities. A conversation piece, something your guest won’t forget, or a handmade gift for those carnivorous beer lovers in your life. Although the cooking time is long, your active time is relatively short.
This is the perfect way to spend a lazy sunday afternoon: The smell of bacon welling up around you in a sun soaked kitchen with Delta Spirit rising from the speakers and the rest of the demanding world no longer existing. Just you, music and the transformation of ingredients happening on your stove. Cooking, creating, lingering in my kitchen gives a very grounded feeling to my over extend life. A reminder that I need to slow down and enjoy, just be. A recipe that ask little of me other that the time it takes to simply simmer is a reminder of that, just be.
In a large pot or dutch oven, cook the bacon, working in batches if neccessary. Remove the bacon from the pan and allow to cool and then roughly chop. Drain off the bacon grease from the pot, leaving only about 1 tbs bacon drippings in the bottom of the pot. Return the pot to heat and cook the onions until soft and translucent, about 3 minutes. Add the garlic and stir for about 30 seconds. Add 1 cup beer and both vinegars, scraping to deglaze the bottom of the pot. Add the brown sugar and the bacon, reduce heat to maintain a simmer. Place the lid on the pot at an angle, allowing to vent the steam. Cook until reduced to a thick and syrupy consistency, stirring occasionally, about 45 minutes. Transfer to a food processor along with remaining 1/4 cup beer and pulse until most of the large pieces have been chopped.
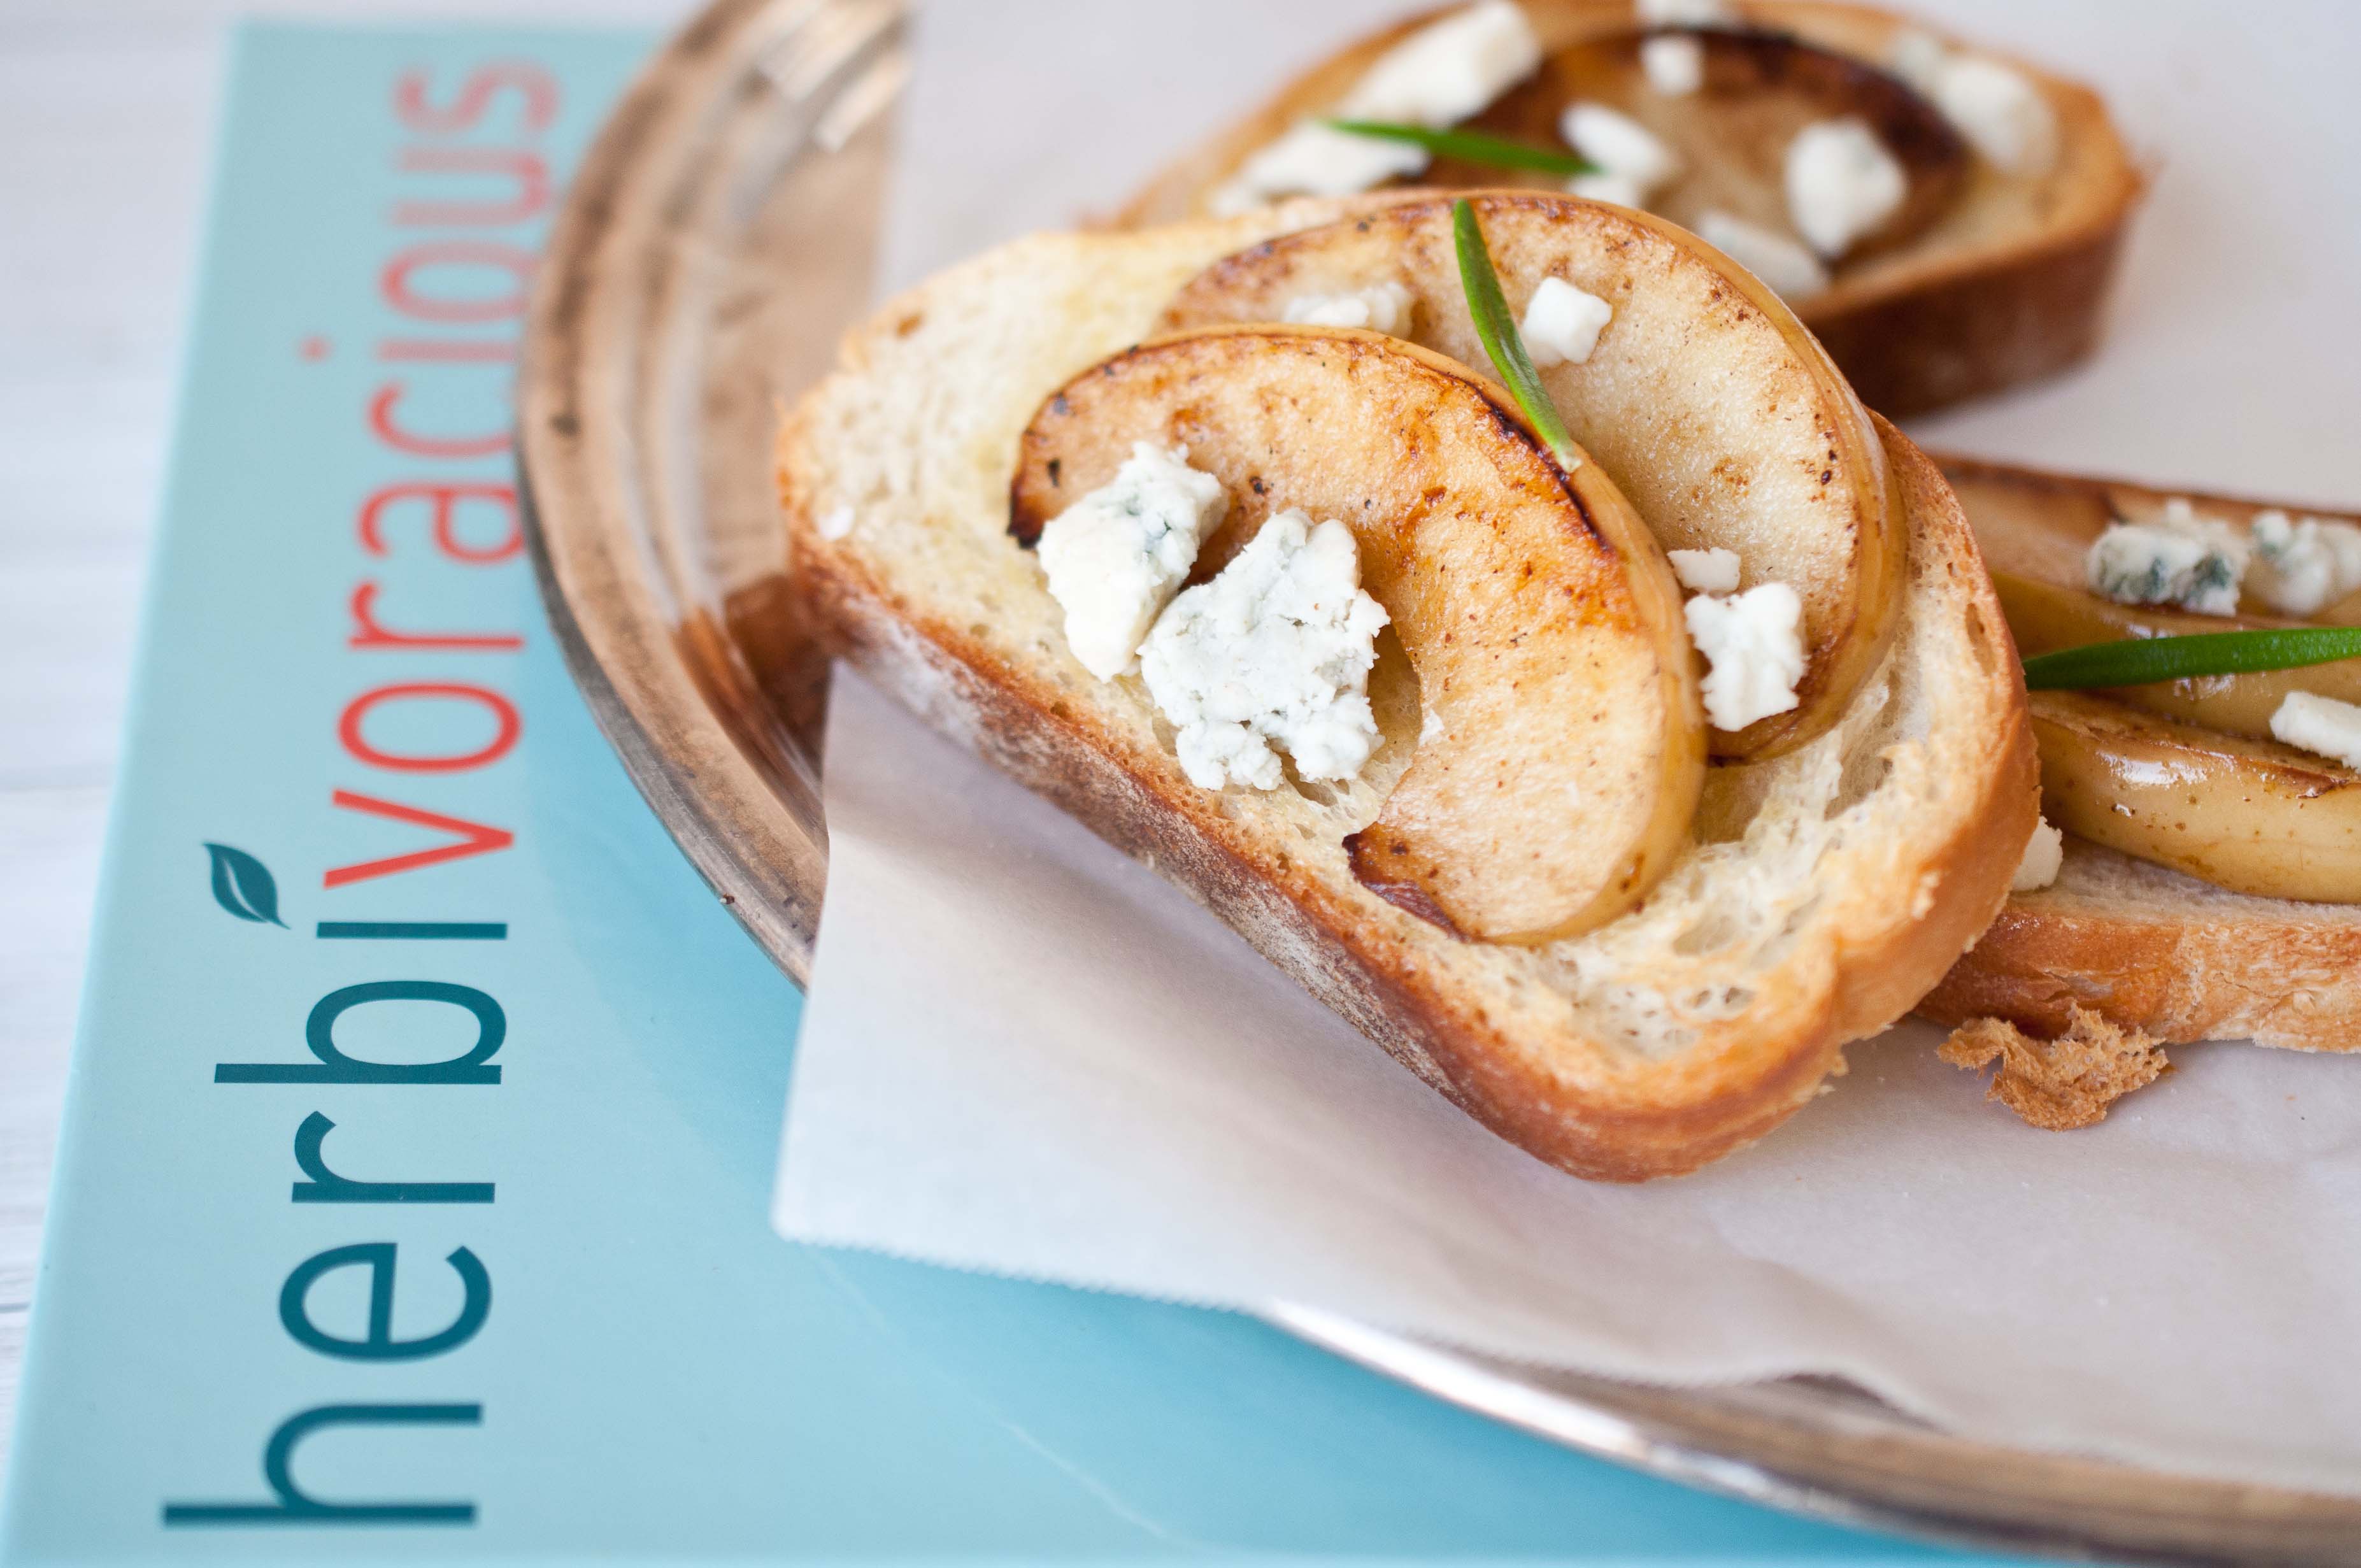
At a book release party for Michael Natikin’s Herbivoracious I fill my plate past capacity with the gorgeous spread laid out at a Culver City restaurant, his cookbook’s recipes incarnate. It isn’t until I’m halfway though the incredible tasty bites that I realize that it’s vegetarian. Of course it is, its Herbivoracious. This is how I like my vegetarian food, as a celebration of produce rather than and explanation for missing meat. This is what Michael has managed to do, turn out an entire book of recipes so full and beautiful that the addition of animal protein would be an imposition. Recipes that range from perfectly simple to complex and inspirational. This isn’t a book for vegetarians, or for accepting meat eaters, it’s a book for everyone who loves food.
Cookbooks, in a real life paper and page form, are even more important to me that ever. As I pull out my Grandmothers copy of The Joy of Cooking, with her notes scrawled in the margins with a soft pencil I can feel a connection with her that would have been lost if eReaders had been invented 50 years ago. I feel her in the pages, and she is still able to teach me what I was never able to learn when she was alive. I want this for my daughter, for my future Grandkids, another piece of me to be found in an old box, when they are ready to receive it. Cookbooks should be the last thing to be digitized, you won’t pass down a kindle, make notes in the blank spaces with a number 2 pencil.
But the main reason to buy cookbooks is simple: recipe testing. Cookbook recipes are tested, over and over, to insure that the unchangeable print is perfect. Bloggers make a recipe once, giving online recipes a much higher rate of flaws, my own included. You are our testers and your feedback gives us insight in how we write the recipes and if we later make changes to what we have already posted. With bloggers cranking out up to 10 recipes a week, you can hardly blame us. But cookbook authors take much more time and care, agonizing over measurements, yields, terms and times, getting hundreds of hours of opinions and feedback because once it prints, that’s it. No updating posts, or responding to comments, the recipe has to be perfect.
That is why you should buy cookbooks.
Even if you aren’t a vegetarian, ESPECIALLY if you aren’t a vegetarian, Michael Natikns book is a must own celebration of produce. Buy it, make notes in the margins, and pass it down to endless generation of food loving humans.
2 small apples such as Pink Lady, cut into 16 wedges
Tiny pinch of cayenne pepper (Don’t be afraid of this, it put this dish over the top!)
Freshly ground black pepper
¼ cup blue cheese (such as Blue de Causses or Gorgonzola dolce), at room temperature
Flaky sea salt (such as Maldon) or large crystal sea salt (such as red Hawaiian salt)
(I added a drizzle of raw honey)
1.Preheat oven or toaster oven to 400 degrees.
2. Set aside 32 nice looking tarragon leaves. In a mortar and pestle or mini food processor, roughly puree the remaining tarragon with the olive oil.
3. Brush the baguette slices with the tarragon oil, reserving the crushed tarragon. Toast in the oven (on a baking sheet) or toaster oven until golden brown and crispy, about 5 minutes.
4. Melt the butter in a large skillet over medium heat. Cook the apples on in a single layer, working in batches if needed, until both sides are golden brown and somewhat tender, about 5 minutes. Season with a pinch of cayenne pepper and several grinds of black pepper.
5. To serve, arrange two slices of cooked apple on each crostini. Top with ½ teaspoon of the blue cheese, a speck of the crushed tarragon, two whole tarragon leaves, and a few grains of sea salt.(Drizzle with raw honey, if desired)
As summer heats up, so does my longing to add beer to everything I consume. I linger on the idea of changing classic recipes into beer recipes far longer than my busy day should allow. How would I add beer to a Tarte Tatin? What about an Blueberry pie? Or Eggs benedict? What beer would I use? Although I get lost in recipe development several times a day, it tends to make a long commute on a Los Angeles freeway that much more bareable.
Due to recent move, I’ve been a bit handicapped by my lack of access to a familiar kitchen and all of my culinary tools. I’m slowly working my way back to feeling normal, that slight feeling of alien unfamiliarity when I get home has begun to subside and my subconcious is starting to accept that the new place that I sleep, is now my home.
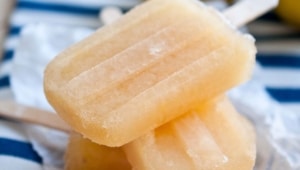
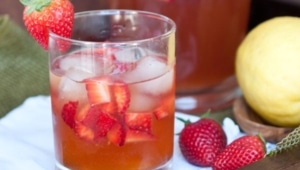
Beer popsicles are a fun addition in any adult party. You can play with flavor combinations (strawberry basil, orange jalapeno, blueberry lime) or just use plain 'ole untouched beer. If you have little ones around, make sure to keep these labeled well and separated from the kiddie ones. If you are worried about a tiny human being handed the wrong flavor, use colored popsicle sticks for the kids and plain boring wood ones for the grown ups. You can buy popsicle sticks, colored and plain at most craft stores or on Amazon. This is the popsicle mold I used, but just about any hollow vessel will work.
I used Pike Brewing Naughty Nellie for these. With flavors of hops, grapefruit and citrus, it gave a sour punch that I really loved. This is a recipe that can take a hoppier beer because there is no cooking involved. Experiment with your favorite pale ale, you have a summer full of back yard barbecues to get it just right.
Summer is almost here. Barbecues, lazy afternoons on the porch swing, long days at the beach, music and card games on the patio until dawn. I realize that a fridge full of craft beer doesn’t always please the masses, but I do want to impart those flavors that are so beautiful anyone can enjoy them, into nearly everything that comes out of my kitchen.
Don’t Feed The Trolls: How to Survive Online Bullies
In the age of living online, the greatest gift are the people you meet. The biggest drawback? The people you meet. Once a skeptic of online friendships, I’ve felt the connections made across the globe from one screen to another. A richness lent to my world through knowing people who live in such far off places, we never could have connected, seen our similarities, shared our thoughts and support, had it not been for two lap tops with internet connections. I’ve also seen the dark side of the vail that the computer brings, an entire society of online bullies waiting with snark and nastiness to prey on anyone with a voice.
The blog comments I’ve seen from online bullies rage wildly from strange with a twist of insanity, to angry and hateful. The following is a list of comments I’ve seen posted to online blogs, to people who get paid little or nothing for the recipes that they post:
"I hope your baby dies. I hate you"
"Ugh, I can’t stand this girl. Will you just shut up already?!"
"This recipe sucks, it’s probably why your husband left you."
"I bet you just adopted that baby so you could get more blog hits."
"This is the most disgusting recipe I’ve ever made in my life. I substituted [lists 3 major substitutions] and it was horrible! Think before you blog, you stupid B—-!"
"It’s no wonder her husband died if she cooks like this! She pretty much killed him herself, is she trying to kill my husband too?"
I know. Horrifying. People fail to realize that another human, possibly a stay at home Mom looking for a connection to the outside world, a widow, an introvert with crippling agoraphobia, or just and average joe, will read that and be incredibly hurt. We all remember the worst comment that was ever posted to our blogs, the sting from a complete stranger who’s hate has invaded our world. I’ve recently seen two celebrities melt down on Twitter, responding to the nasty comments, defending themselves, lashing out, retweeting insults, indulging those Trolls who seek to disperse hate.
Celebrity, blogger, or just an average mom with a twitter following, here are some rules to help us all cope:
Five Rules to Survive Online Bullies
1. Don’t Feed the Trolls. Don’t respond, engage or even post comments made out of sheer hate and anger. If a comment is just made to hurt, there is no reason to post it and you have no moral or civic obligation to do so. Delete the comment and shake the thought of it from your head.
2. Find Power In Silence. To stay silent and to be silenced are not the same thing. There is powder in silence, feel it. There is no response to a bully or a nasty comment that makes you look cool or superior, you are only wallowing in the mud by responding.
3. Feel Pity. Child Actor turned writer, Mara Wilson said on her blog recently: "Very few intelligent, successful, attractive, confident, happy people spend their time bashing people they have never met. Just be glad you are not that person." A comment a stranger makes about you says a lot more about them then it will ever say about you.
4. Strangers Will Defend You. More often than not, when I see a nasty comment posted on a blog, I watch others rush to the aid of the blogger. People who don’t know that blogger or the commenter, but who do know right from wrong, and are quick to rush to your defense.
5. Feel Important. No one throws rocks at Tiny Tim. If you are a blogger or a celebrity, the negative comments you receive will rise in direct proportion to how important people think you are. If they didn’t think of you as successful, they wouldn’t even bother. Negative comments are a direct result of doing something right, try to think of it that way.
I try to follow these rules on both this blog, as well as my other blog, The Beeroness, which has garnered a much higher level of praise as well as exponentially higher level of nastiness. With the good comes the bad, finding your own inner filter will help you enjoy more of the experience.
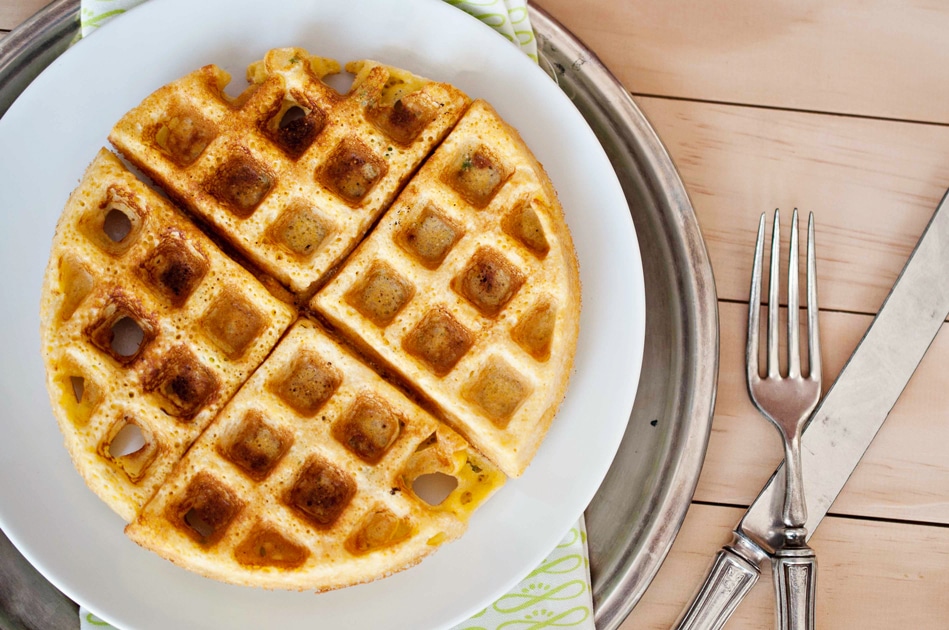
In a completely unrelated note, these Jalapeno Corn Waffles are perfect for brunch, or to serve with Fried Chicken. And you’ll want to drink the Sriracha Maple syrup on it’s own.
Jalapeno Corn Waffles with Sriracha Maple Syrup
Waffles:
1 cup fine yellow corn meal
1/2 cup flour
1 tsp baking powder
1/2 cup corn kernels
1 large jalapeno, chopped, stem and seeds removed
1/2 tsp salt
1/4 cup cheddar cheese
1 tbs brown sugar
1/2 cup melted butter
1 cup whole milk
1 tbs canola oil
1 egg
For the Syrup:
1/4 cup real maple syrup
1 tsp sriracha chili sauce
(Makes 4-6)
Preheat your waffle iron.
In a bowl, combine the corn meal, flour, baking powder, corn, jalapeno, salt, cheese, and brown sugar, mix. In a separate bowl, add the melted butter, milk, oil and the egg, beat until well combined. Make a well in the dry ingredients, add the wet ingredients and mix until just barely combined. Spray waffle iron with cooking spray if recommended, cook in waffle iron according to manufactures specifications.
Mix the maple syrup and sriracha and serve with the waffles.
Microwave mug cakes first cake into my consciousness about 10 years ago through the pre-facebook existence of the email forward. I found them to be completely smarmy, the culinary equivalent of a Jerry Springer episode. My first though was, "Oh, yeah like I need QUICKER ways to get fatter." Email deleted.
But then I found myself in my new place, without the gas turned on yet, but with a new microwave and the urge to celebrate.
I caved.
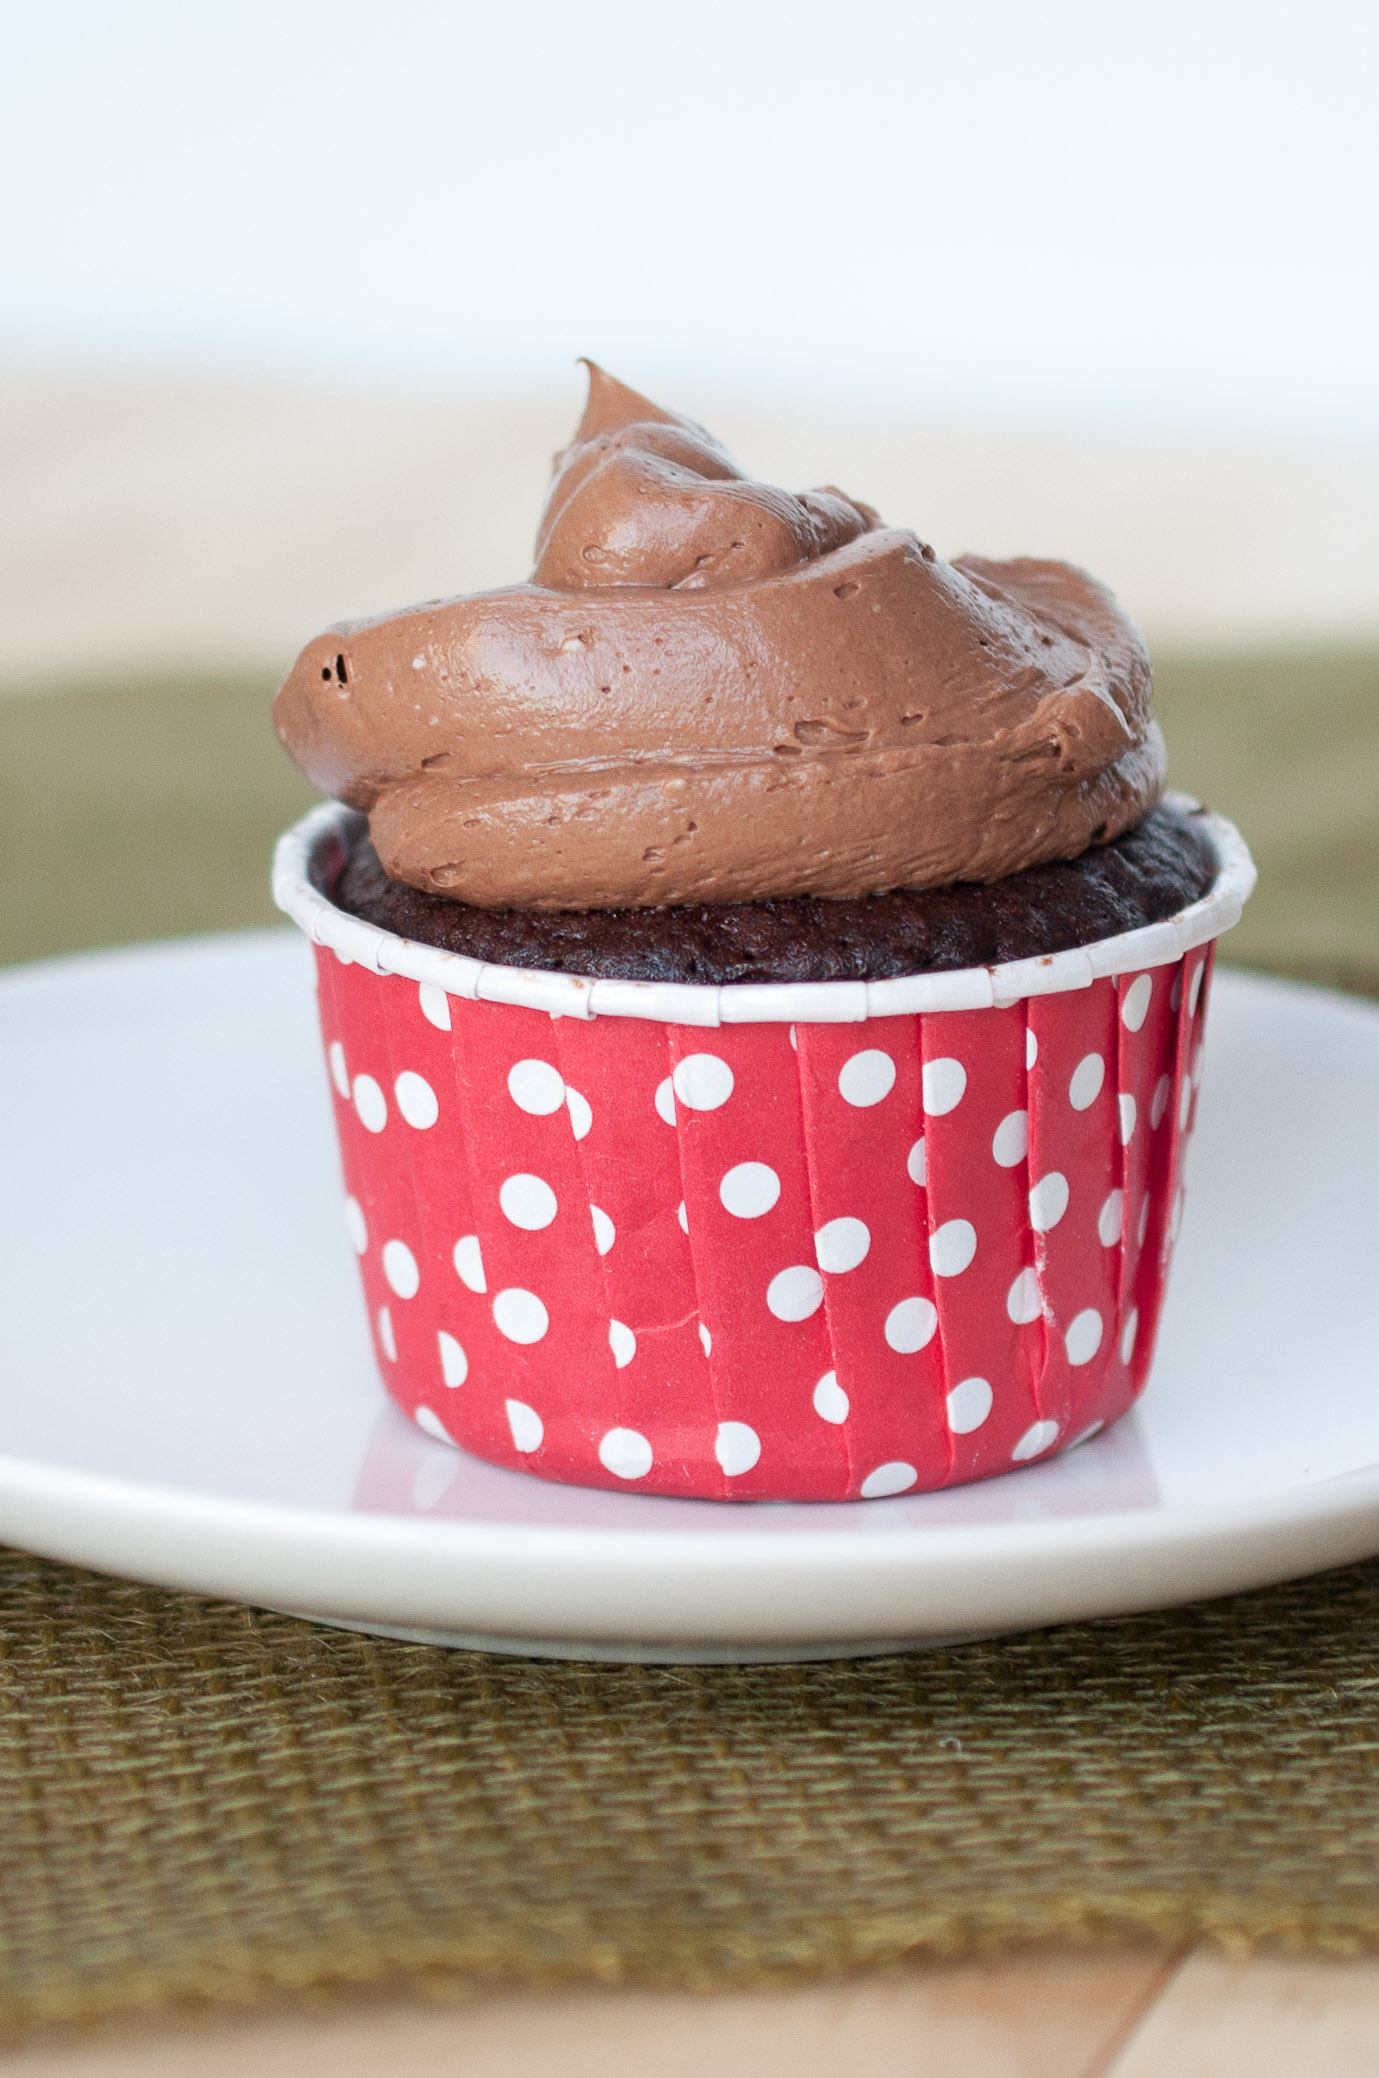
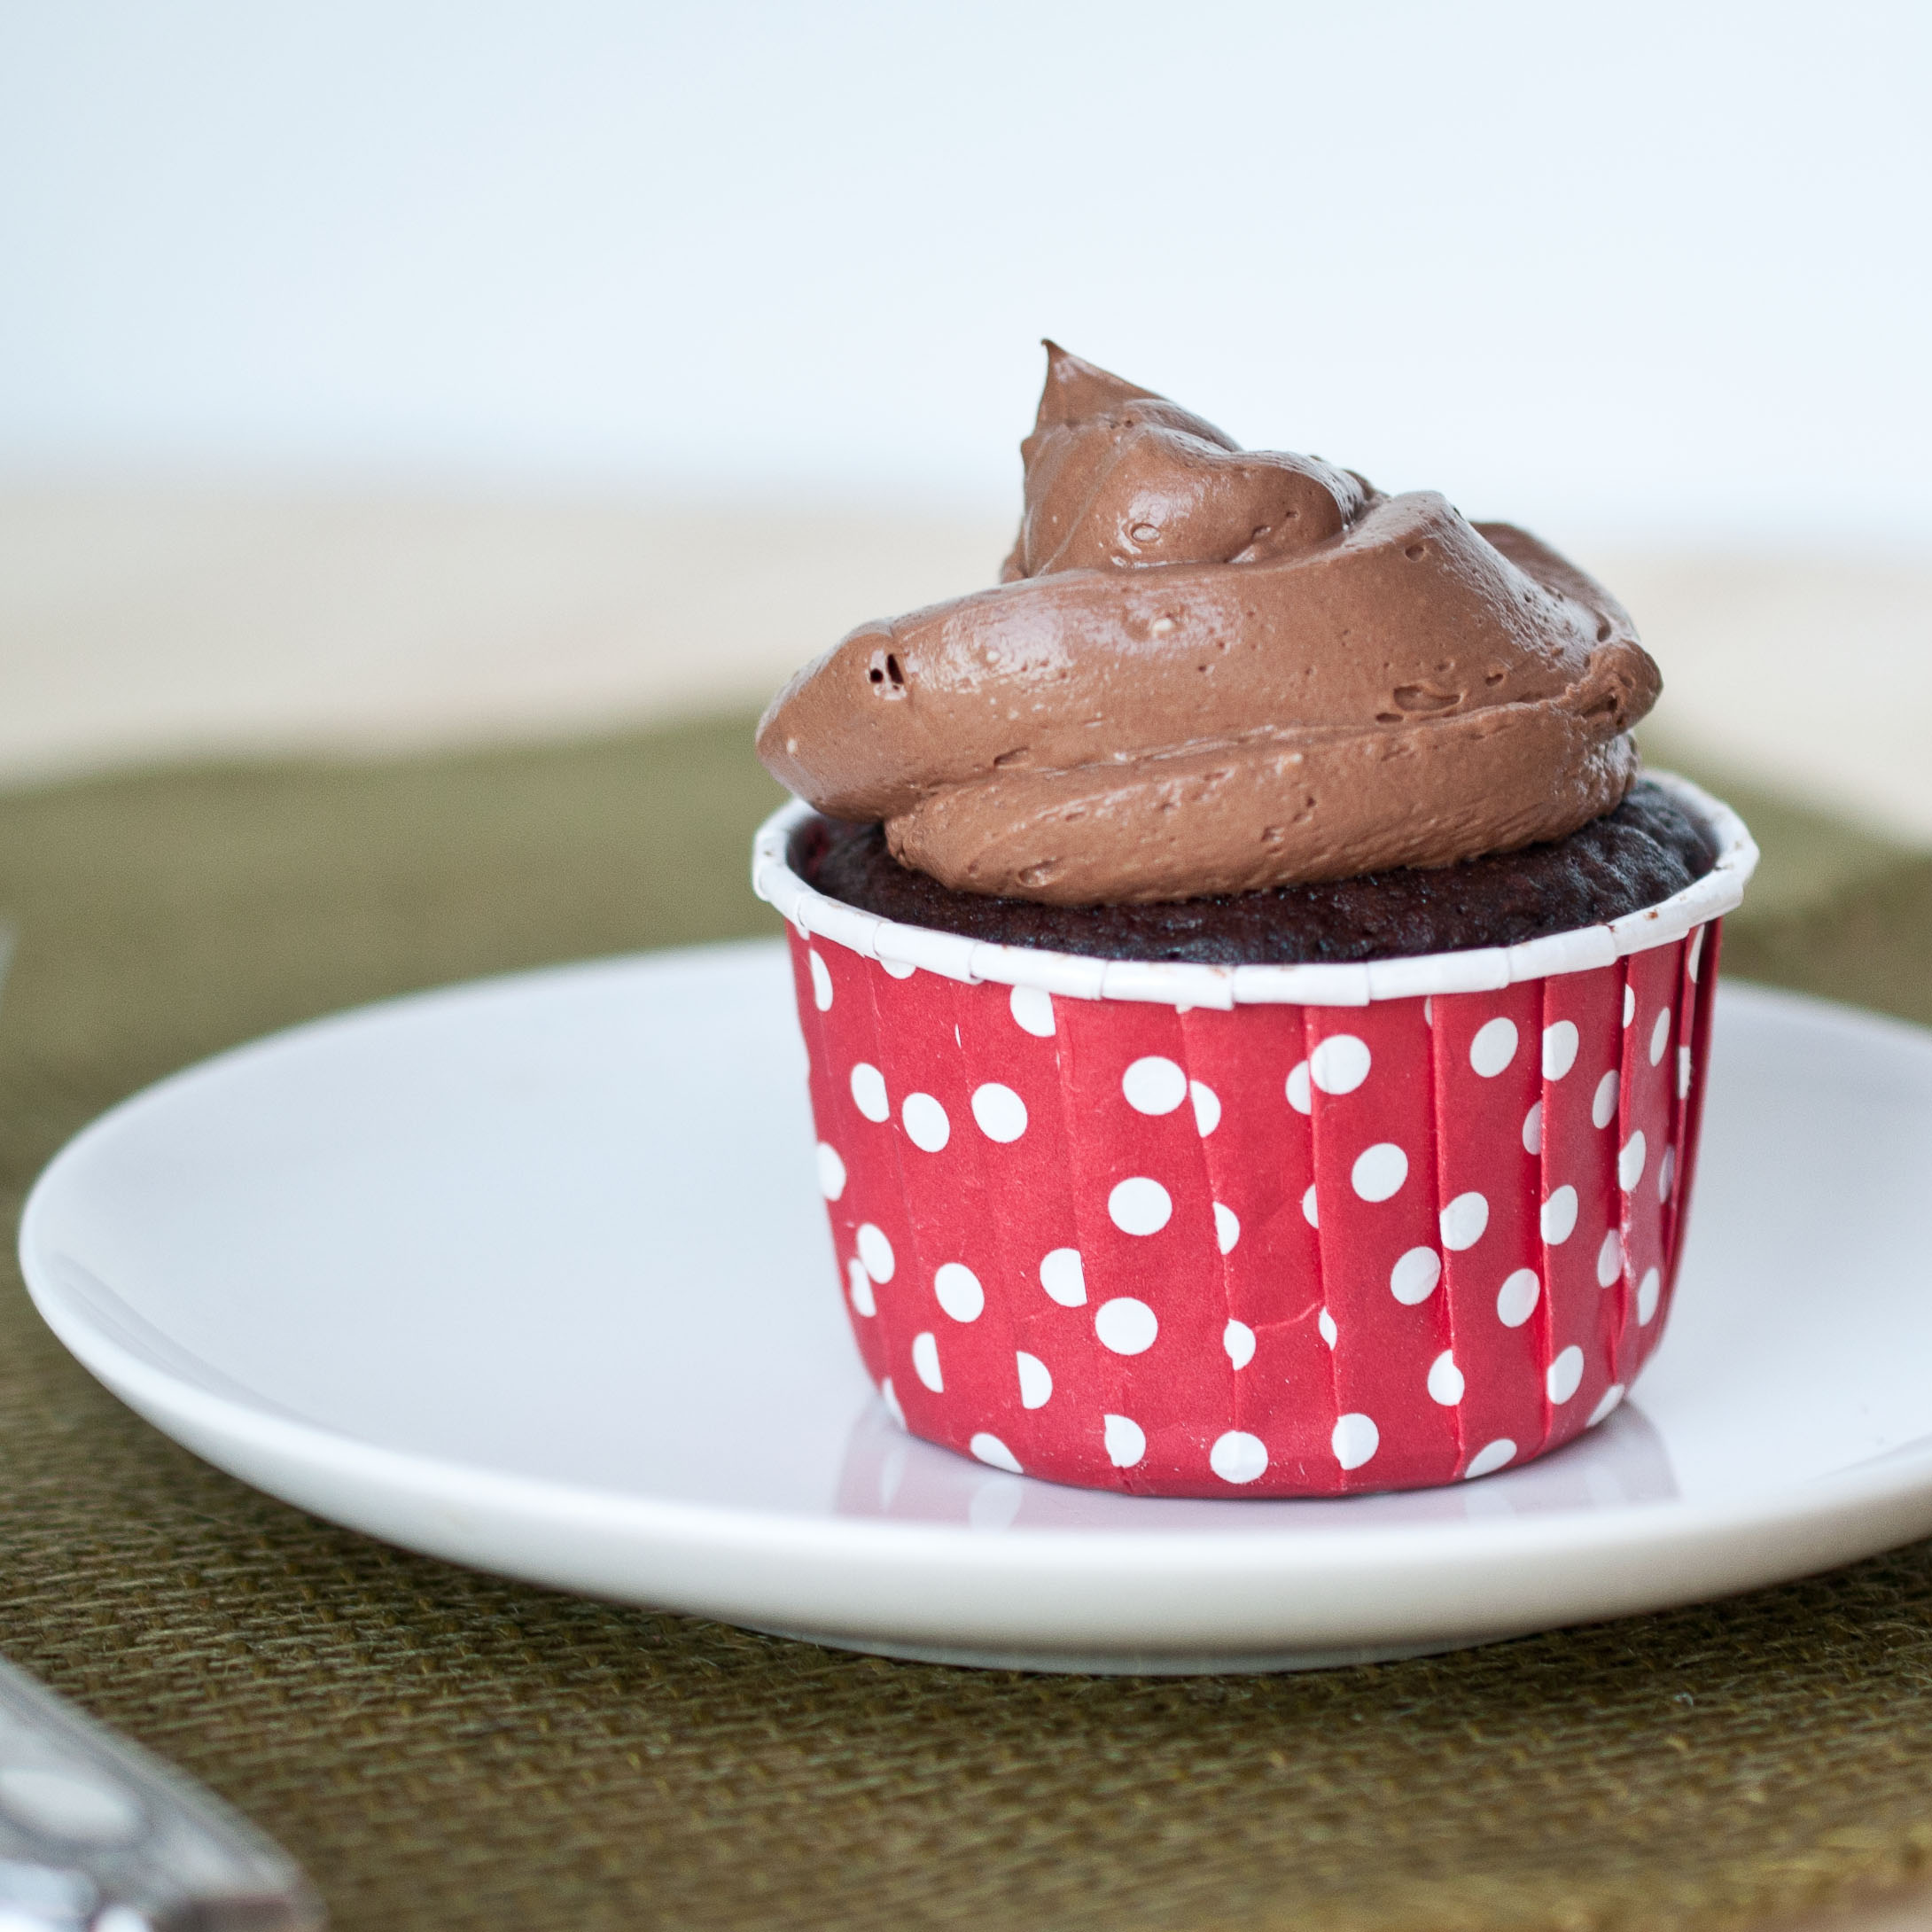
I made my little family microwave cupcakes to celebrate the move and the fact that I was finally back in a kitchen. Just remember that if you find yourself with unexpected guests and only about 5 minutes to whip up a dessert, this is a viable option.
The secret to making these Smarmy Mug Cakes in cupcake form, is the baking cups. I love the crap out of these things. I always use them to make cupcakes because they are much cuter than the regular cupcake papers, and they don’t need muffin tins, just place them on a baking sheet and fill to half capacity. These were left over from Taters, Lets Have A Ball party and bought them from Sweet Lulu, but you can also buy plain white ones on Amazon. The trick is to only fill them half way.
Smarmy Mug Cake, Cupcake Edition
1/4 cup dark chocolate chips
2 tbs butter
1 egg
1 tbs oil
1 tbs milk
1/4 cup sugar
pinch of salt
2 tbs cocoa powder (unsweetened)
2 tbs flour
1/8 tsp baking powder
Frosting:
1/2 cup (4oz) cream cheese
1/4 milk
1/3 cup powdered sugar (plus more if you want it sweeter)
2 tbs cocoa powder
(if you don’t like cream cheese frosting, heat 3 tbs milk or cream in the microwave until steamy, then pour over 1/3 cup chocolate chips, stir until melted. Pour the chocolate sauce over the cupcake. It will be messy, but delicious)
(Makes 3)
In a microwave safe bowl, add the chocolate chips and the butter. Microwave for 20 seconds, stir and repeat until melted.
In a separate bowl, add the egg, oil, milk, sugar and salt and beat with a fork until well combined. Add the melted chocolate and stir again. Sprinkle the cocoa powder, flour and baking powder over the egg mixture and stir again with the fork until well combined.
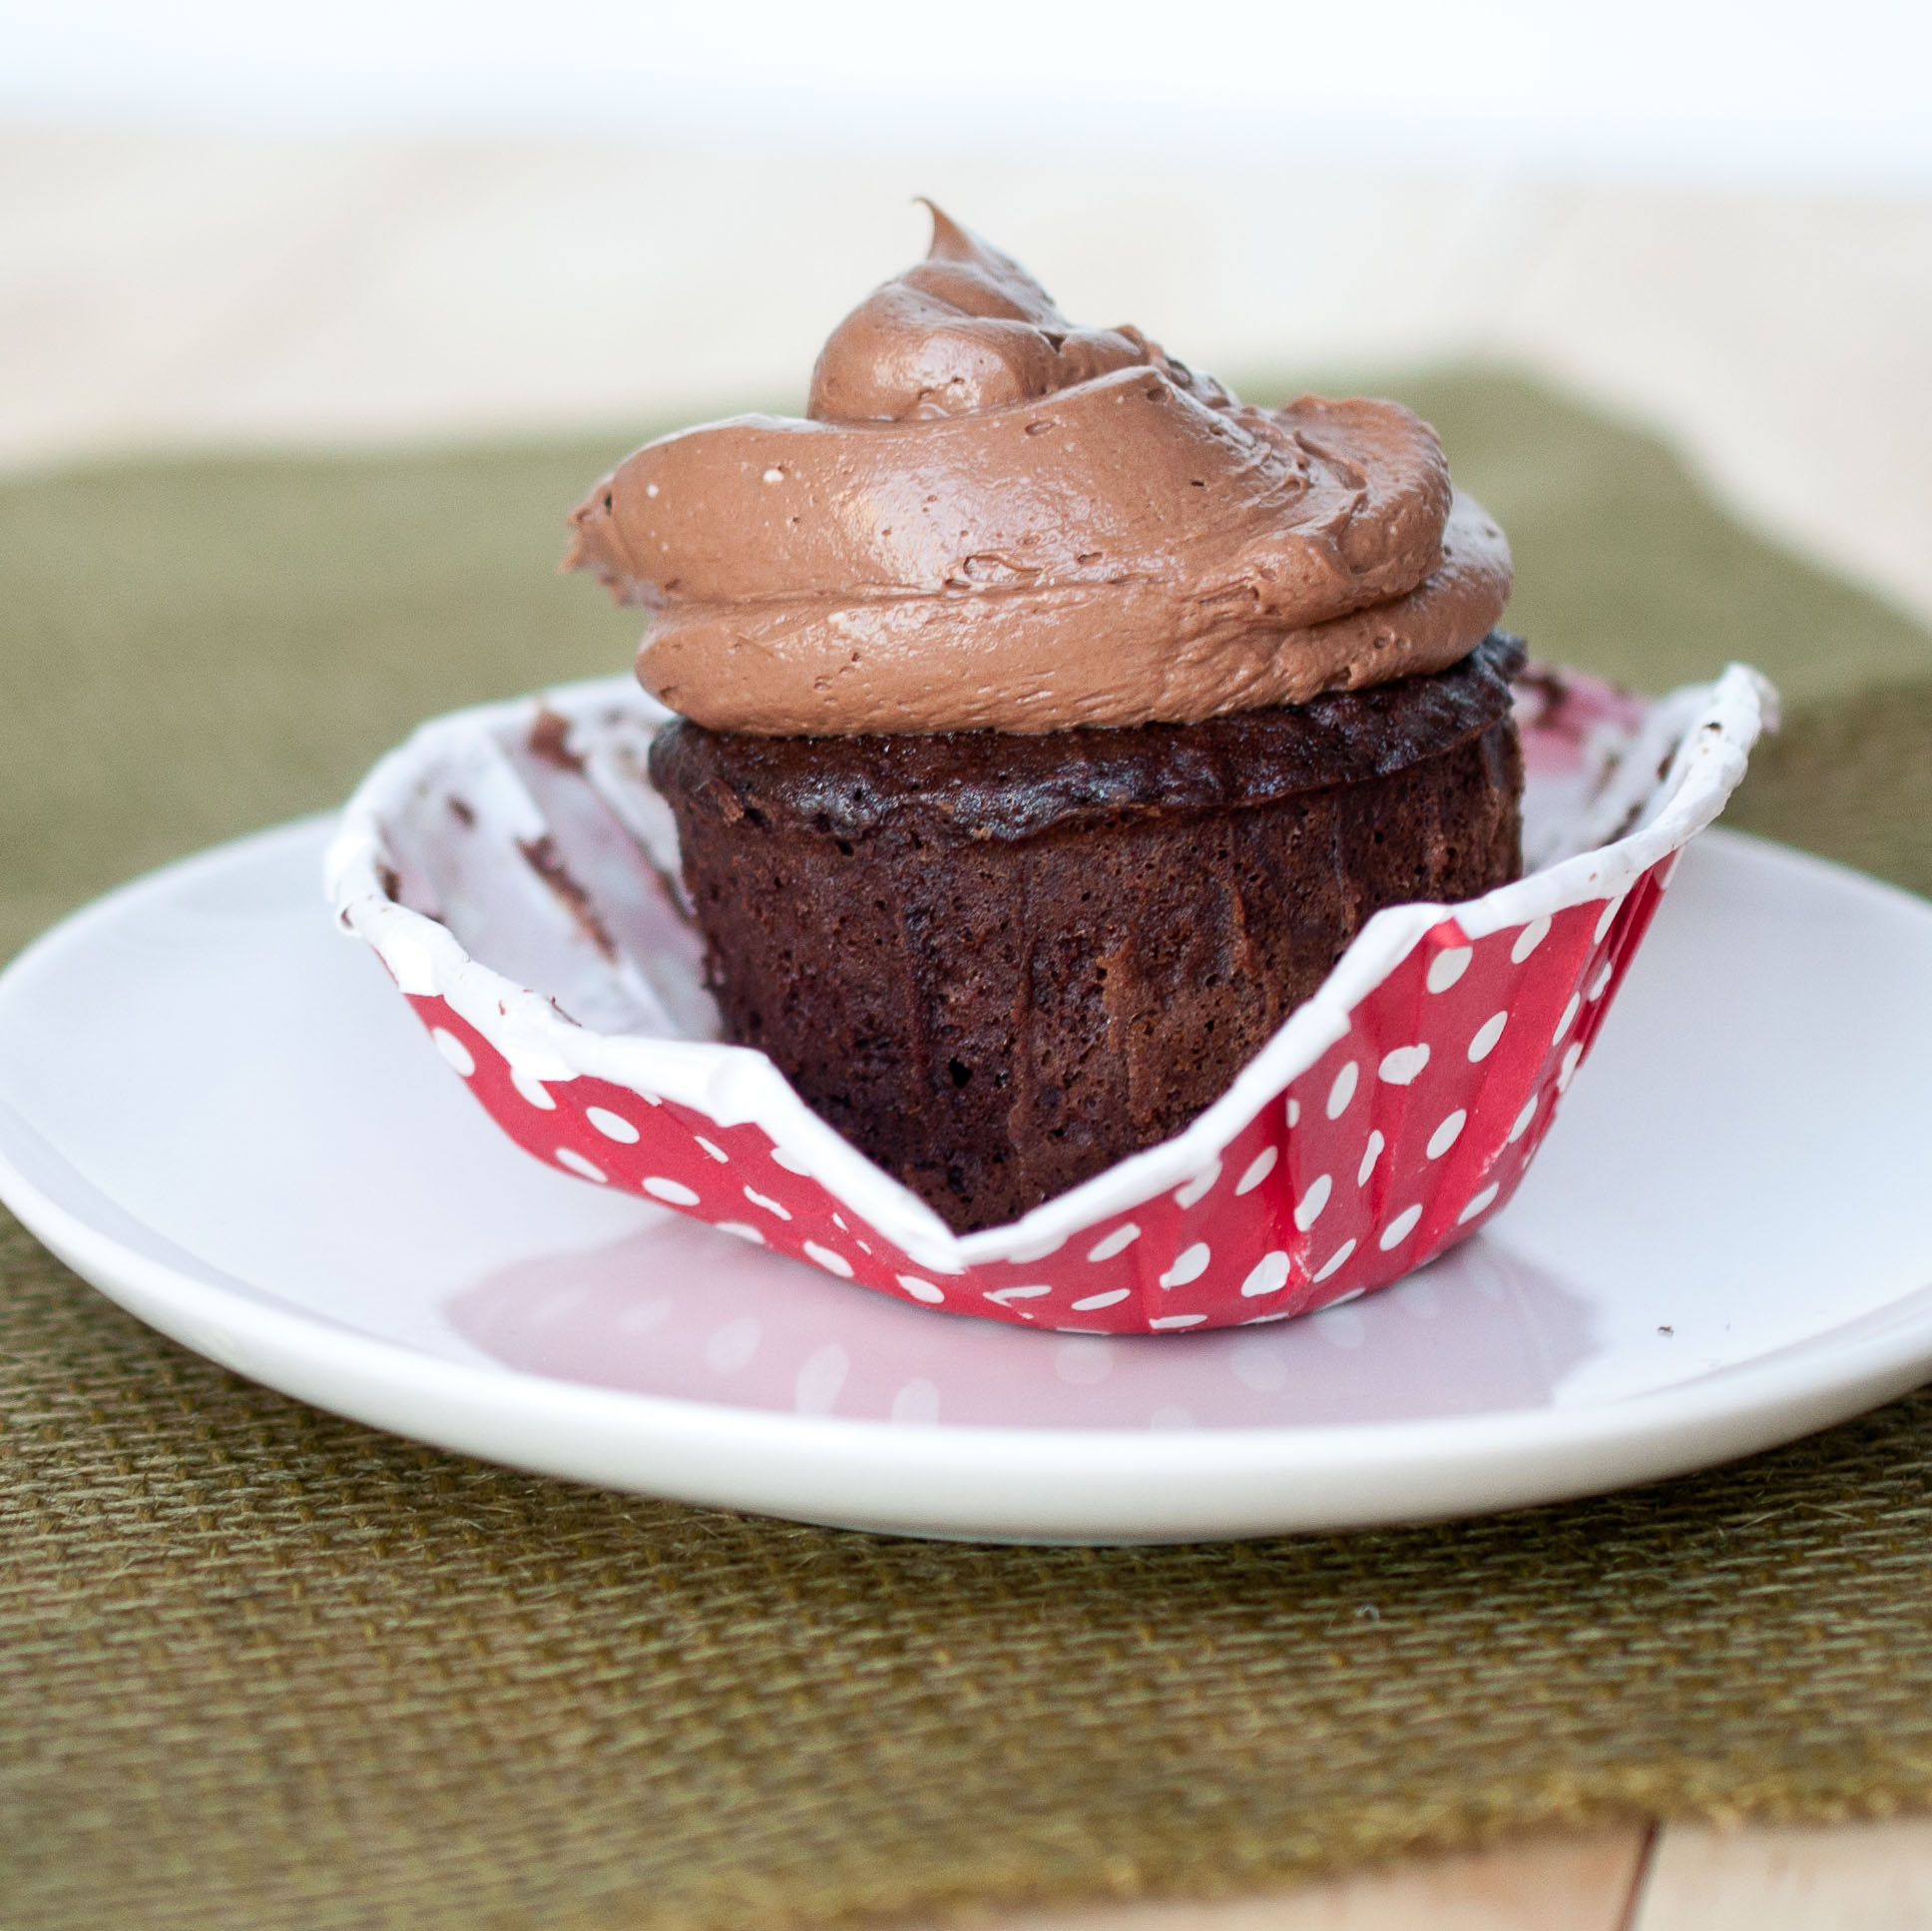
Distribute equally between three baking cups (standard cupcake papers will not work). I also added 4 chocolate chips to the very center of each cupcake to make a bit of a molten center. Microwave on high for 1 to 1.5 minutes. The "cooking" time will depend largely on the power of your microwave. Mine took 1 minute 15 seconds.
You want to let the cupcake cool a bit because right out of the microwave they are screaming hot. While they cool, make the frosting. Add the milk and the cream cheese to a bowl and beat on high until smooth and creamy. Then add the powdered sugar and the cocoa powder and beat until combined. Add the frosting to a zip lock bag and cut about 1/2 inch off the bottom corner. Pipe the frosting into the cupcake. Serve with a fork.
I’m back. Sort of. When I say that I’m move into my new place, all that means is that my stuff is physically there.
In boxes. Lots and lots of boxes. But the gas isn’t on yet, so I can’t cook, and showers have been very cold.
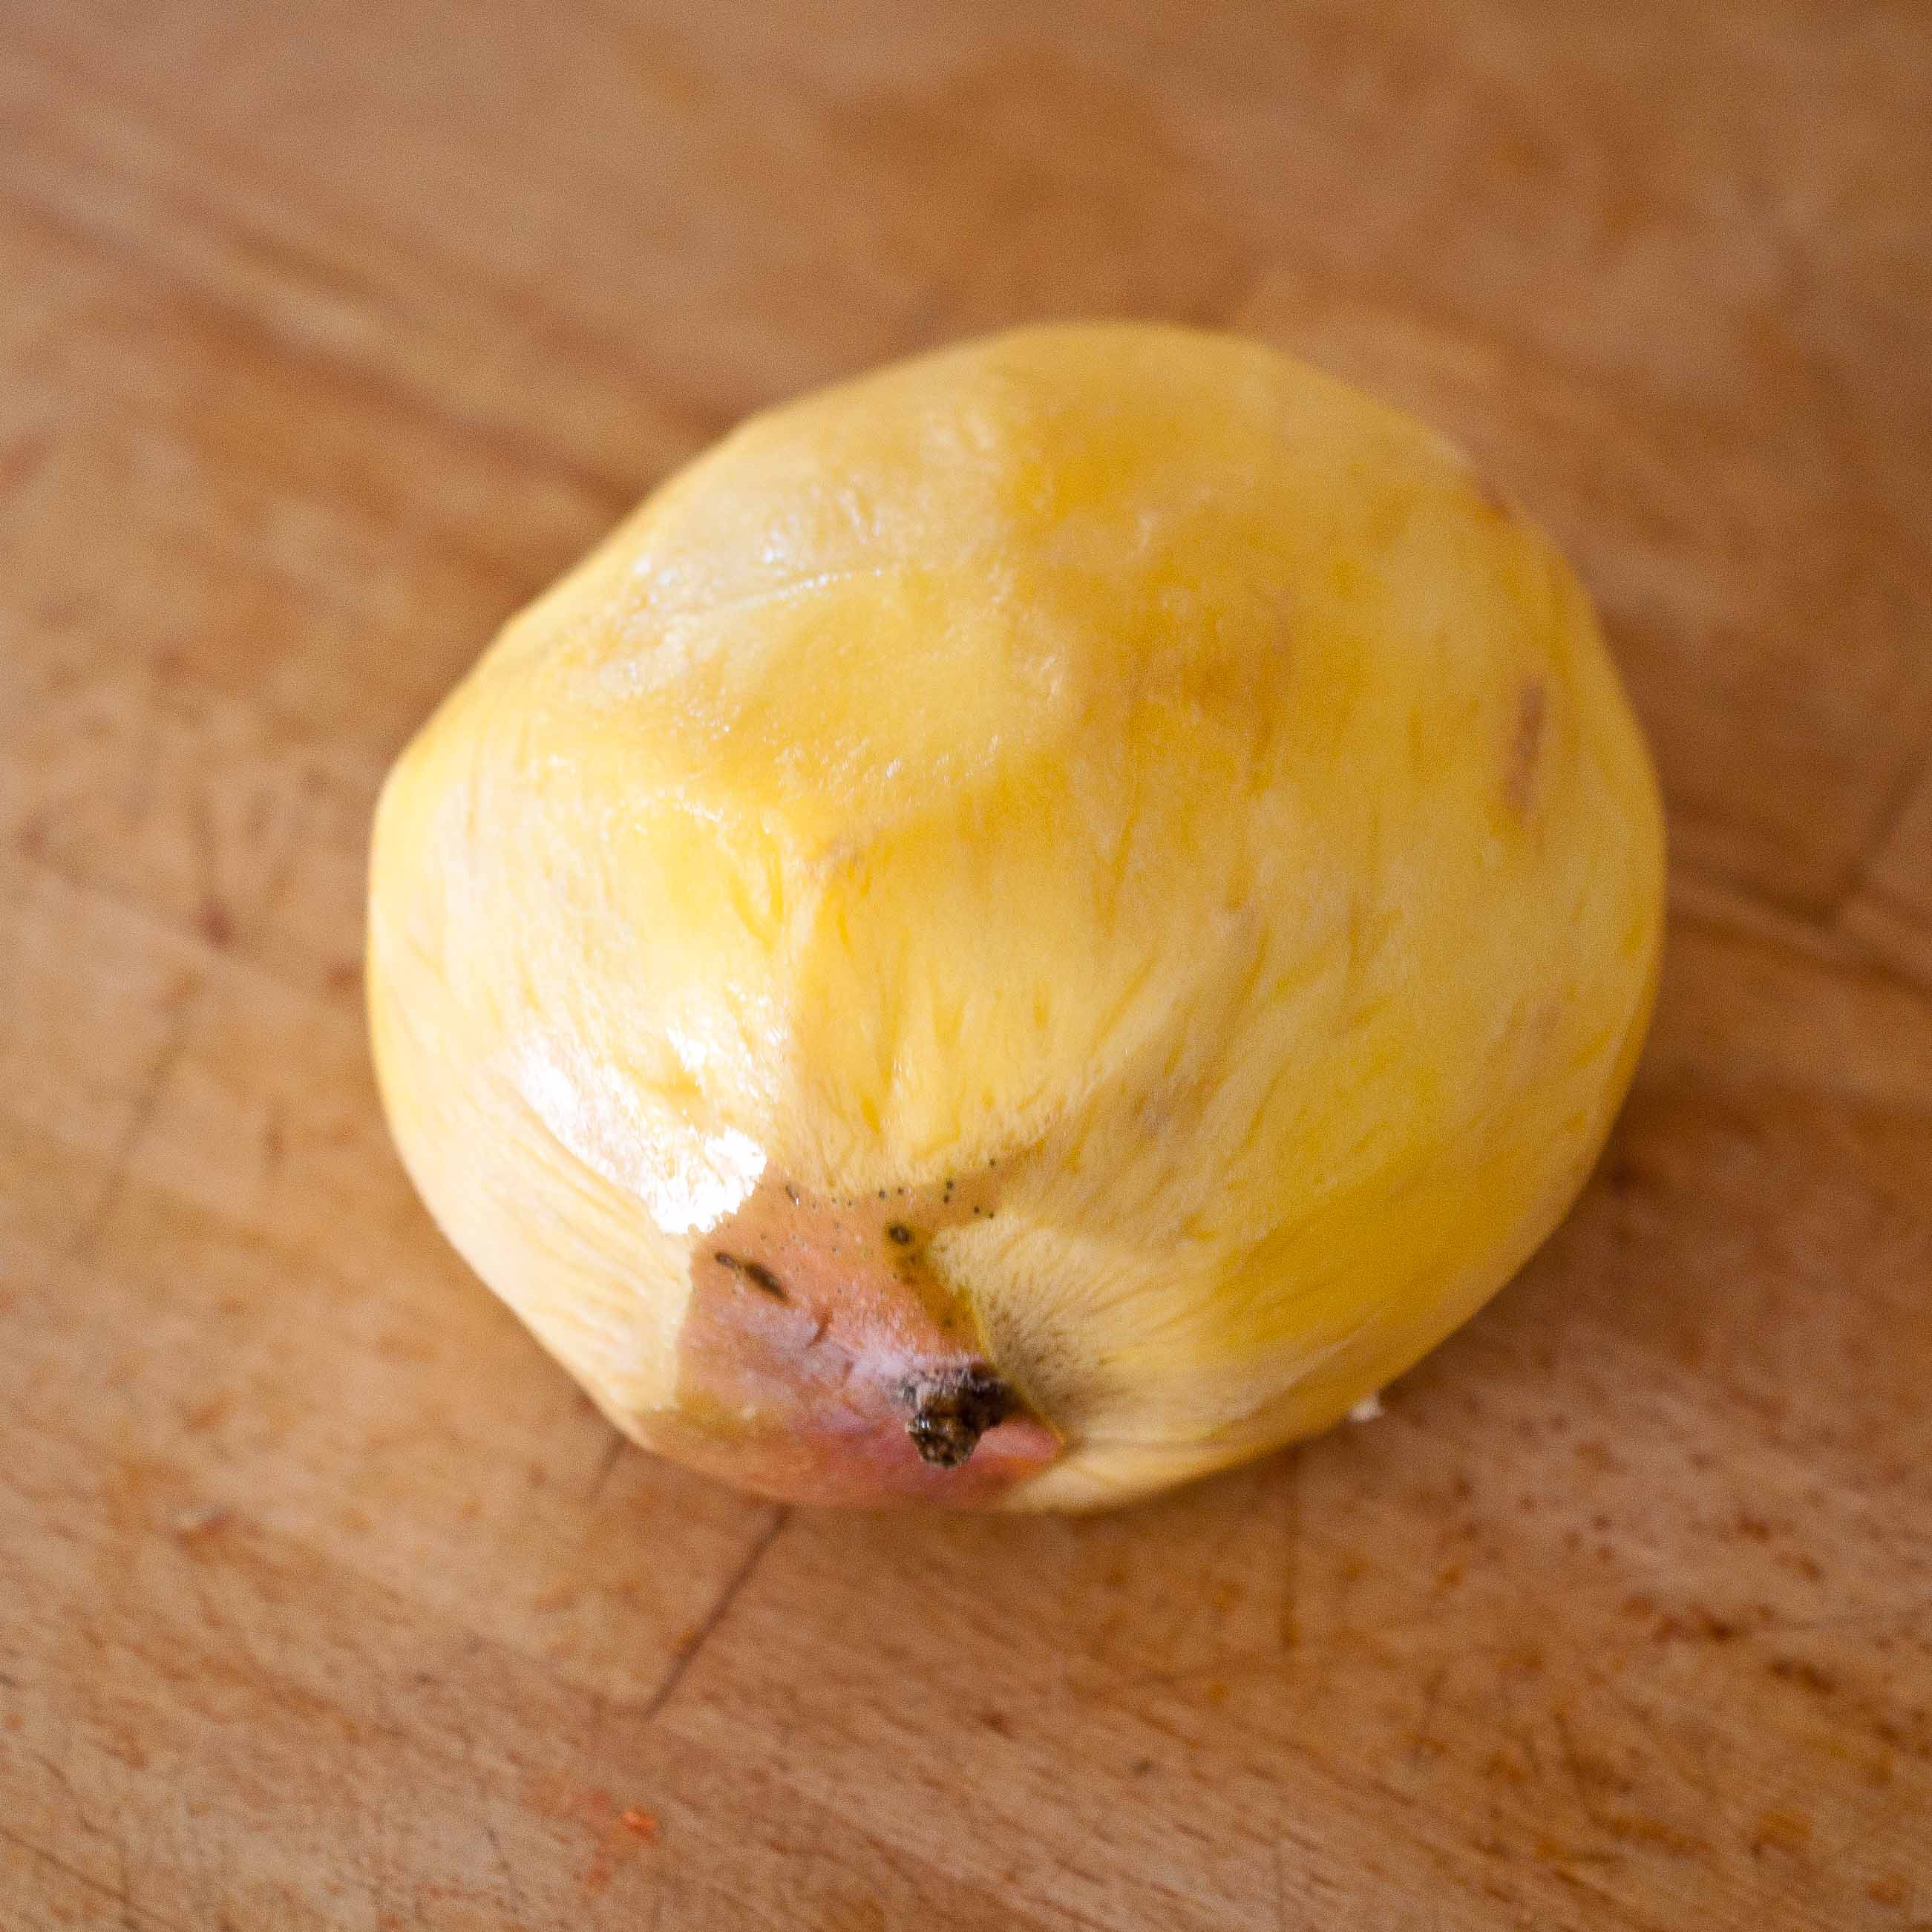
Like this mango.
So the theme for this week is about food you can cook without a stove.
Which can be tricky. But when you are so sick of take out and pizza and all you want to do is cook a meal for your family and the stove is gas which hasn’t been turned on yet and the new place doesn’t have a microwave and your old place had a built in one that had to stay and you can’t figure out which of the billion boxes holds the cord to the electric griddle, you have to make do.
So this is what I made for breakfast for my first morning in the new house:
Scrambled eggs in the waffle maker. Totally works.
Bacon cooked on an electric crepes maker.
Toast.
It may have been my most creative use of heating elements, but it wasn’t the most delicious breakfast ever to be made by my hands.
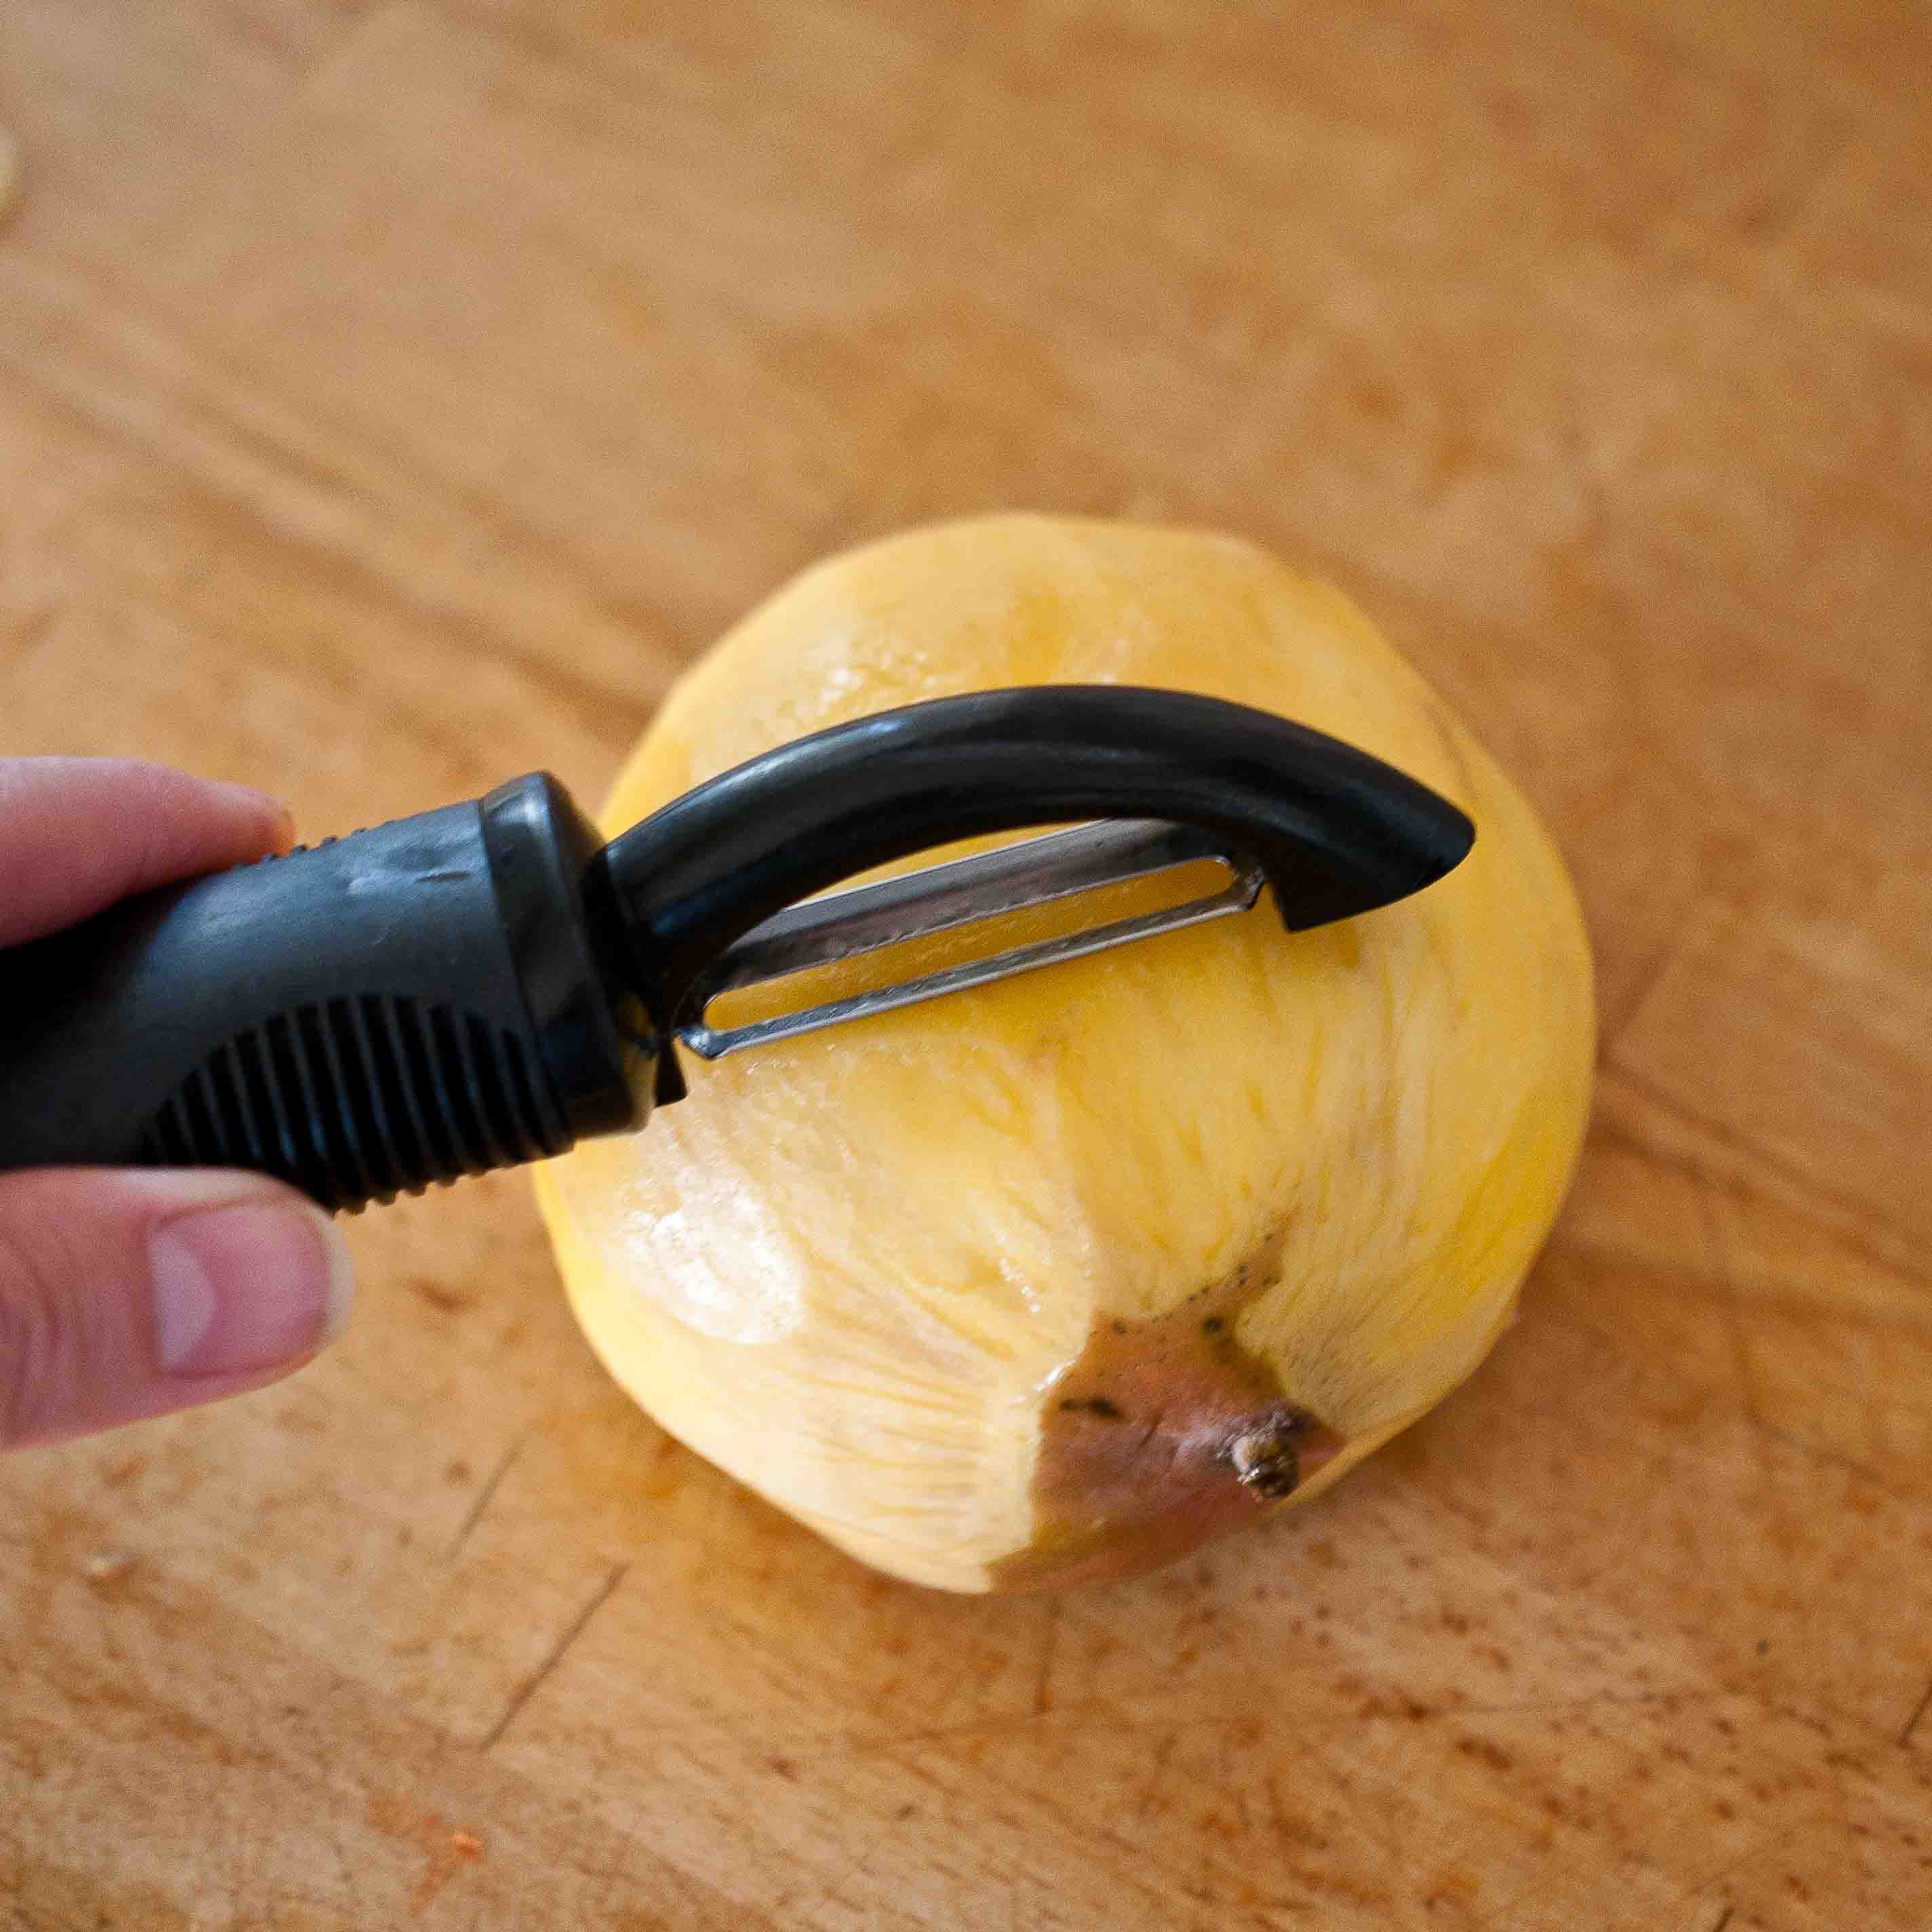
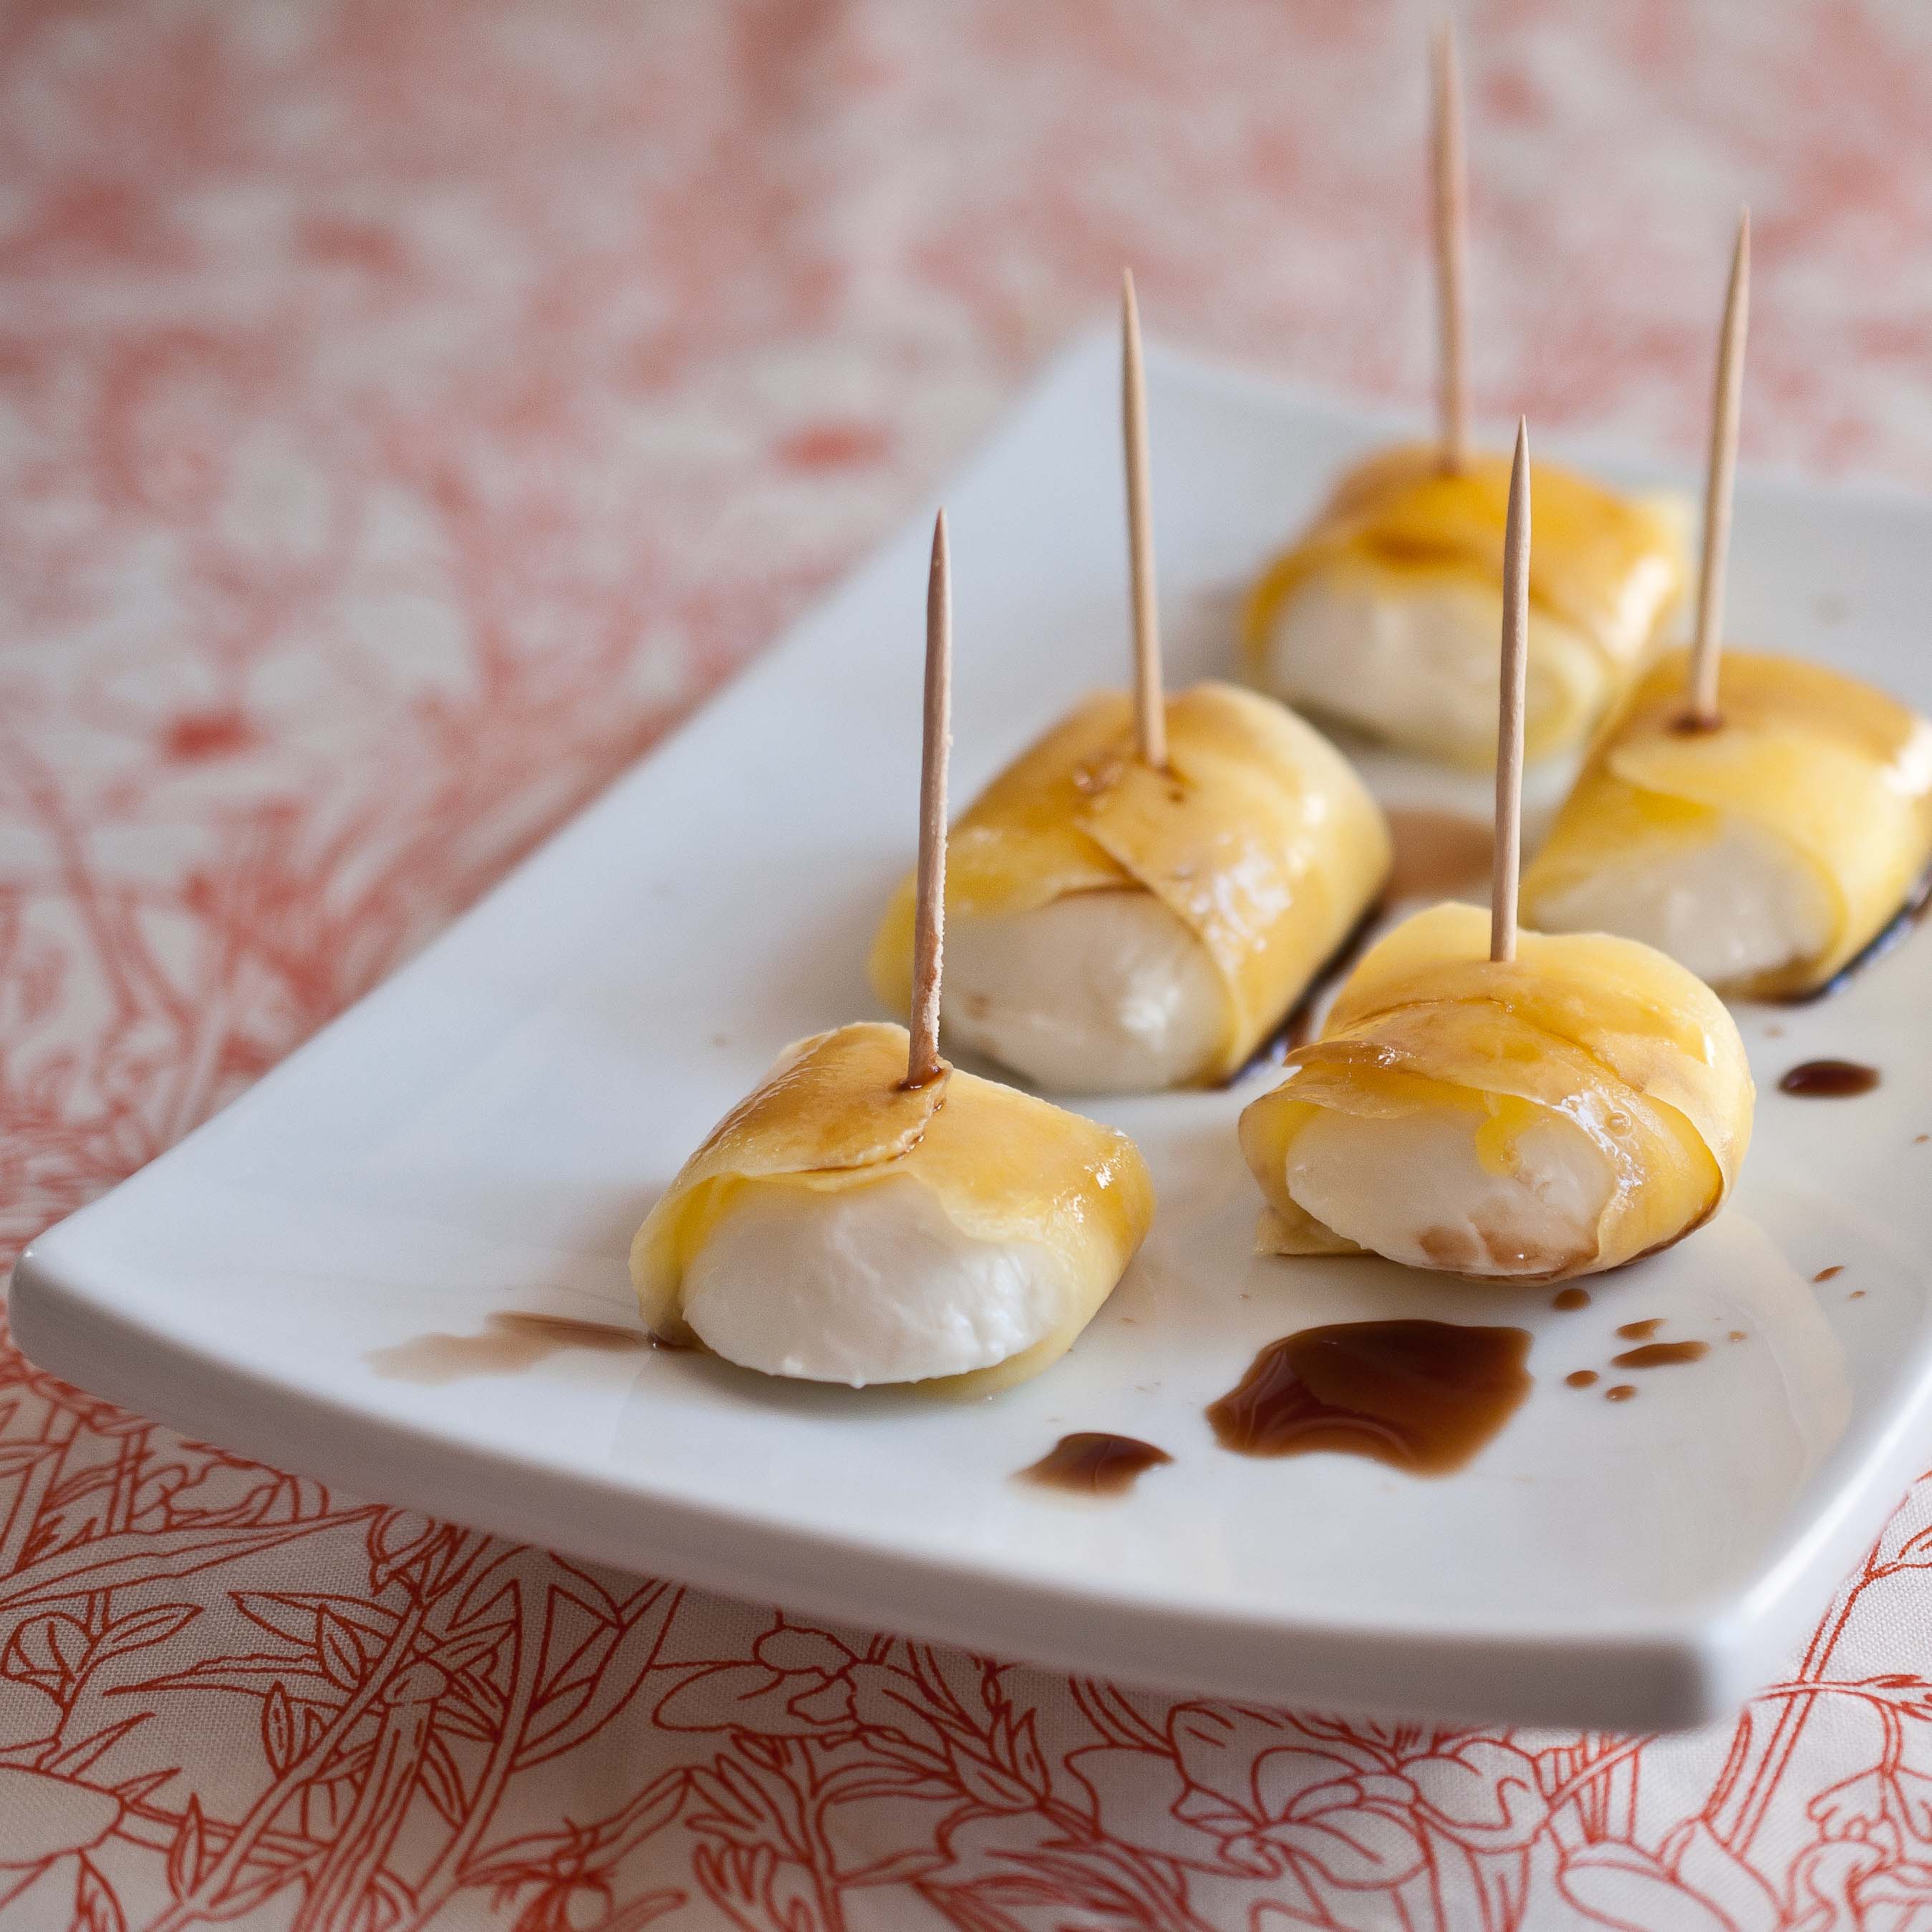
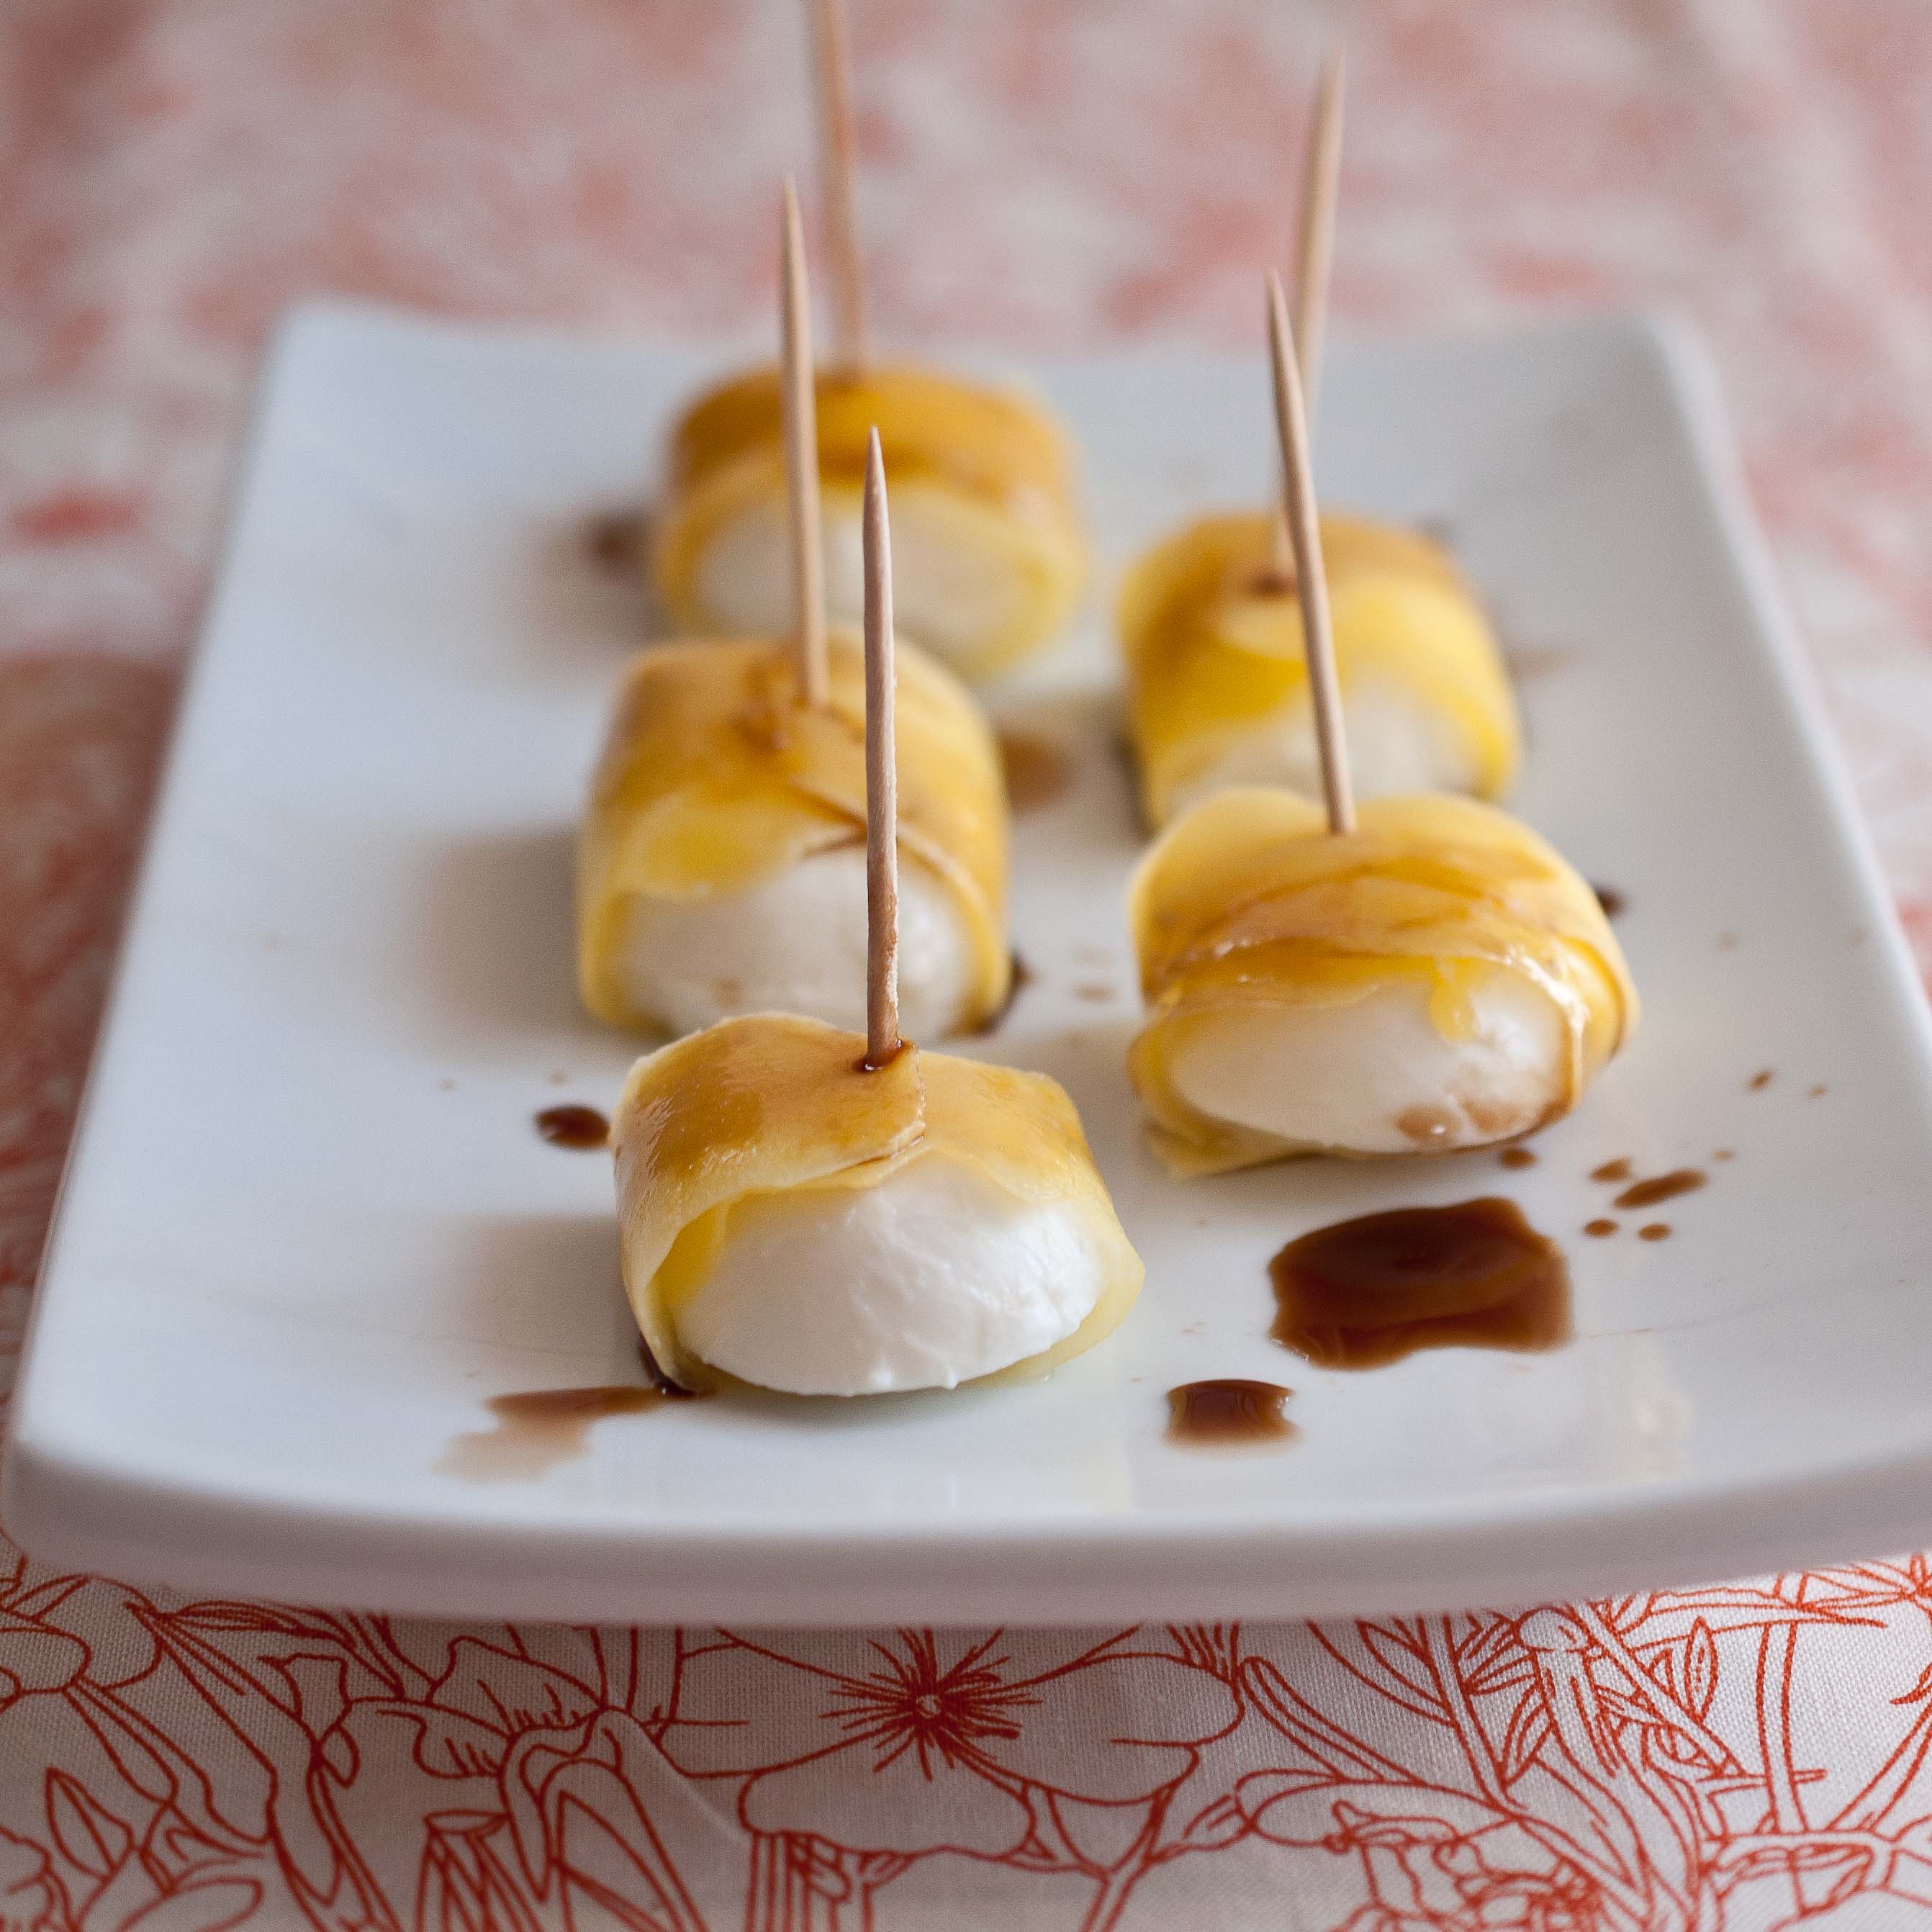
In keeping with the motto of my life: Figure out what is great about the situation that you are in and enjoy the crap out of it, I decided to give you a tasty treat that requires no cooking. It only has three ingredients and the only tricky part is shaving the mango with the vegetable peeler. But even if you need two of three strips of mango to go around the mozzarella ball, who cares. Its easy and tasty and looks fancy. Don’t sweat it.
I hope to bring you pictures of my new place soon, right now the mess isn’t nearly charming enough to be photogrpahed. Except Taters room, it’s her perfect little sanctuary in the midst of the chaos, even the pictures are hung and every box has been unpacked. Other than that, the rest can wait.
Mango Wrapped Mozzarella
1 large mango
12 Bocconcini or Ciliegine sized mozzarella balls
2 tbs balsamic vinegar
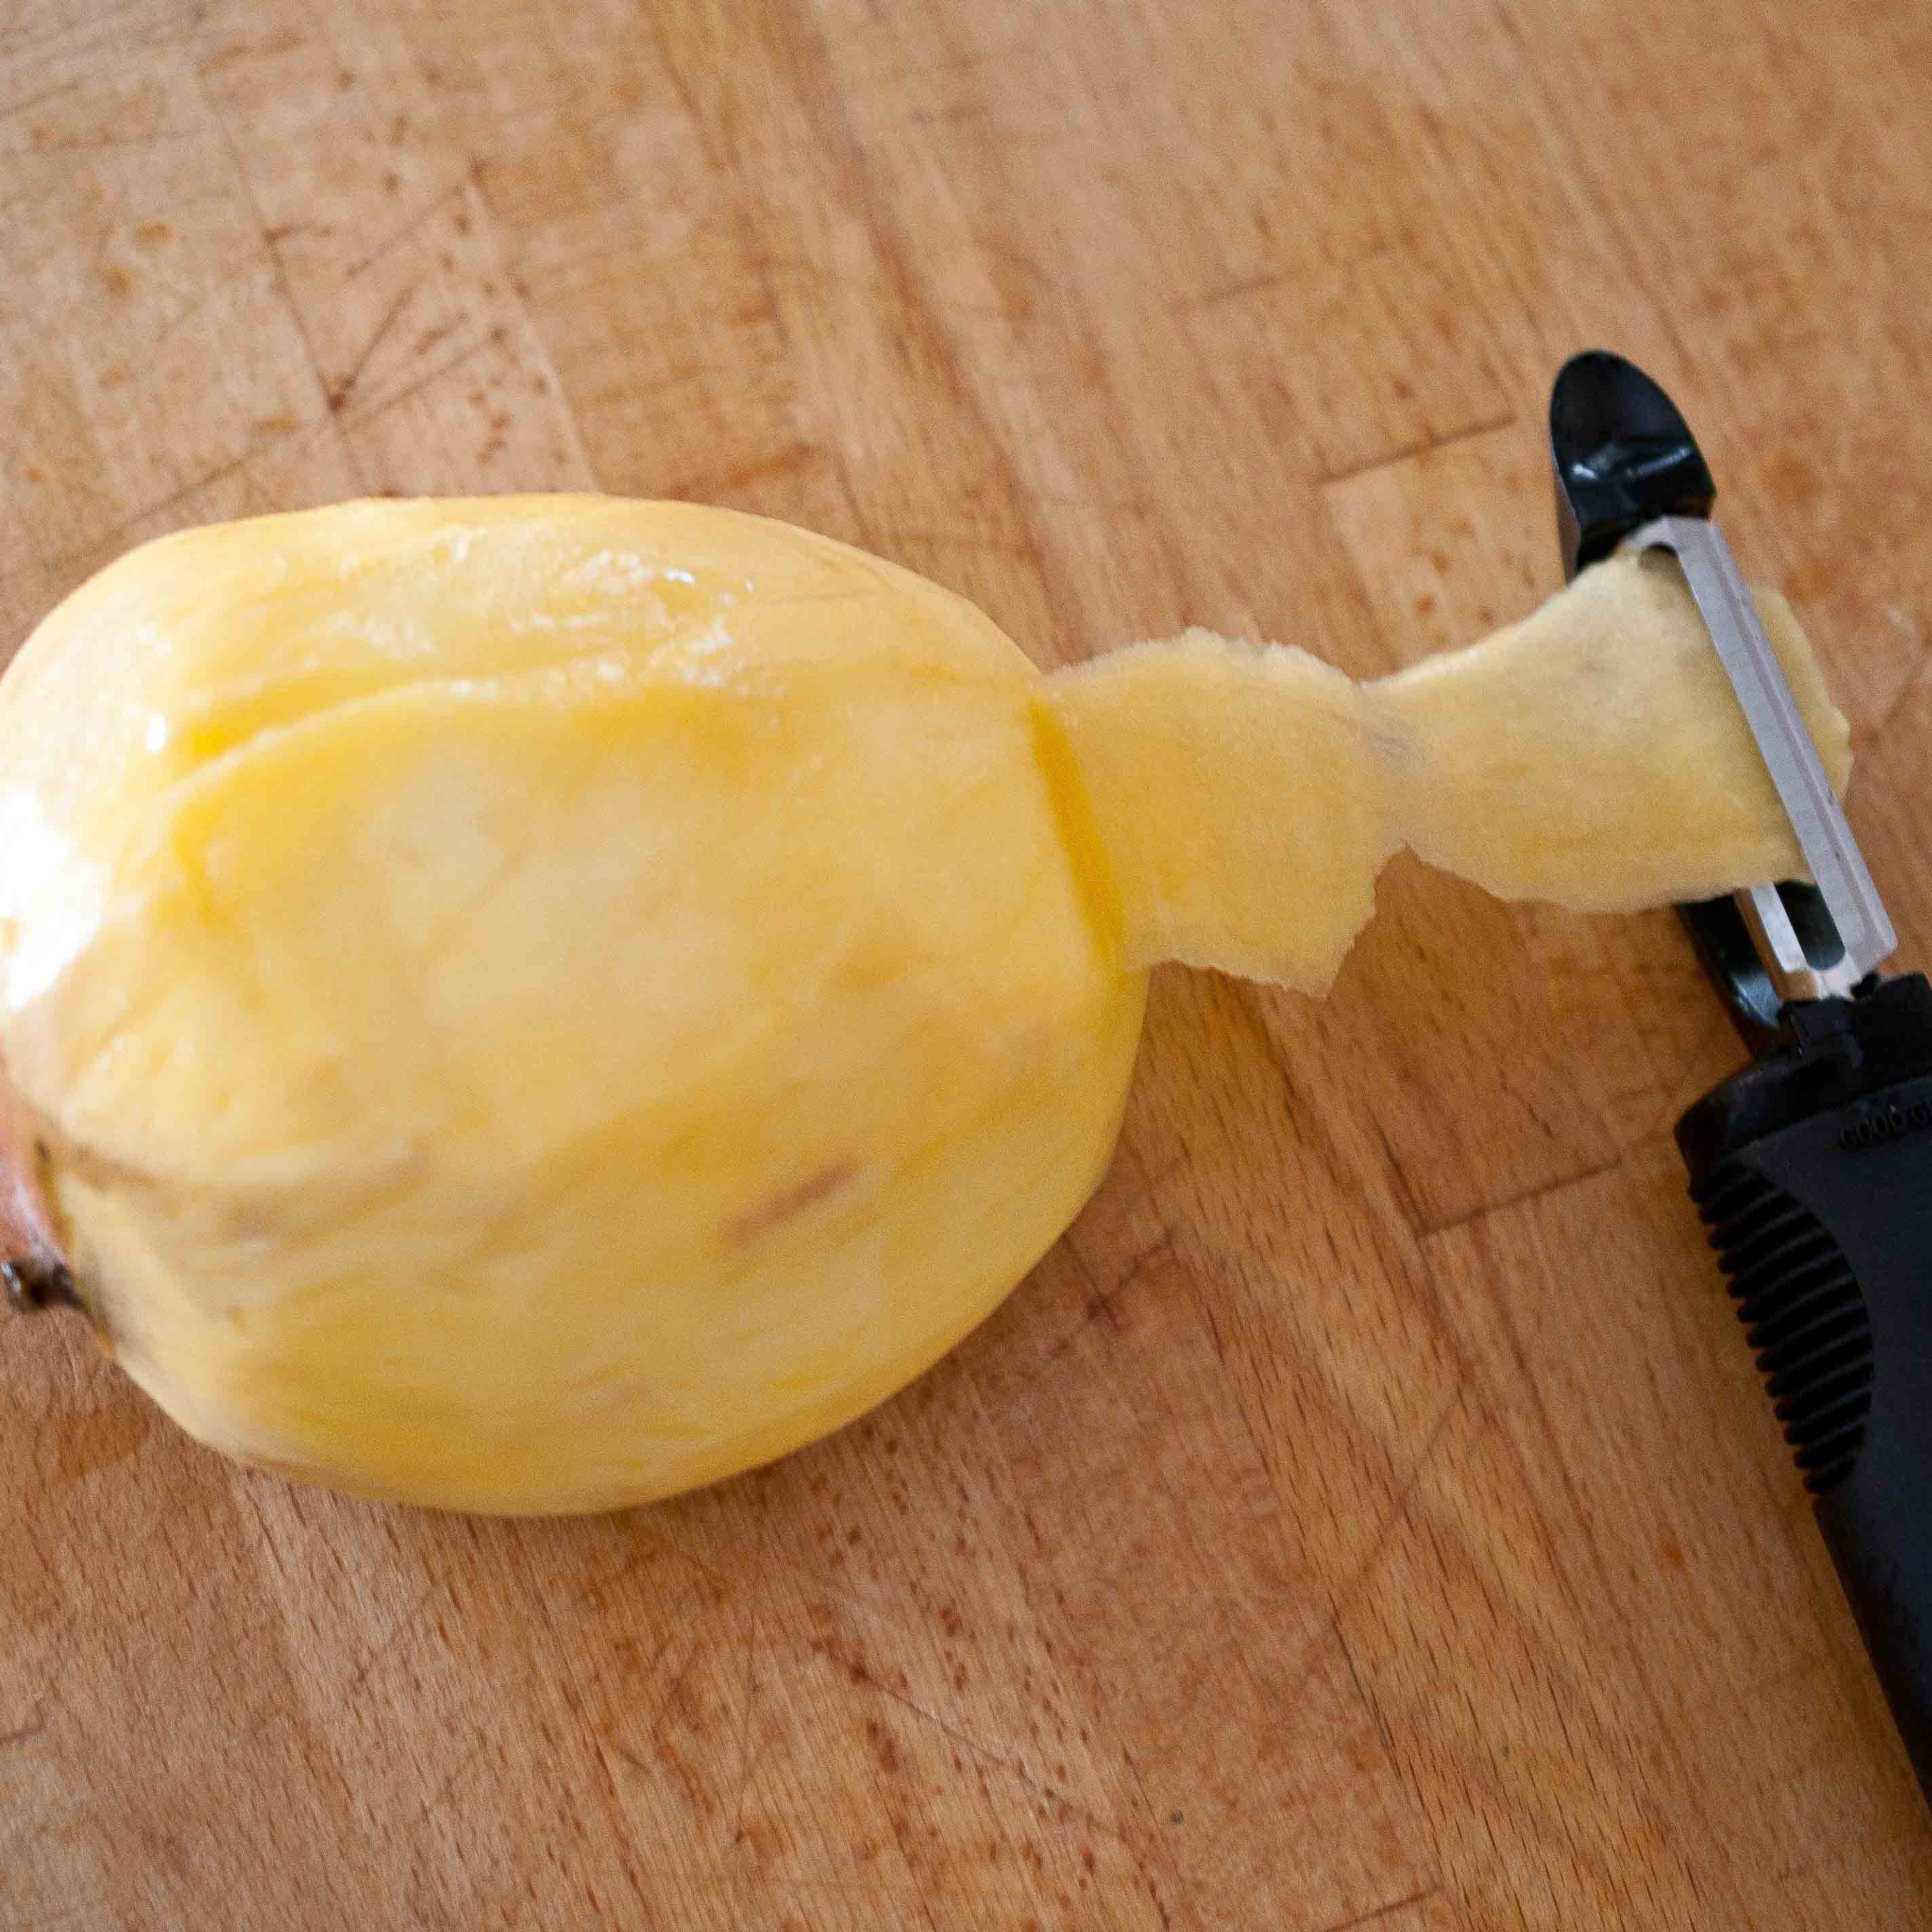
Peel the mango with a vegetable peeler. once the peel has been removed, shave thin slices of the mango with the vegetable peeler until you have enough to cover the mozzarella balls.
Wrap the mozzarella balls with the mango slices and secure with a toothpick. Drizzle with balsamic vinegar.