
Sides

Bacon, Blue Cheese & Duck Fat Roasted Potato Salad

I’m torn. On one hand, I’ve never been the sort of person to trash a company in public, but on the other hand I want others to be aware of companies that form borderline abusive relationships with clients whose livelihoods they hold in their digital hands.

I will tell you this:

I am so glad to have broken free of blog.com and I am appalled by they way they treat their customers. I didn’t want to leave, but I didn’t have a choice if I wanted to protect my content and my ability to continue to do what I love. I would strongly recommend NOT using them as a host, and instead using wordpress.com or even better, using wordpress.org as a self hosted site. If none of that made sense to you, Julie at Burnt Carrots has a great How To Start A Blog post that can clear some of that up. If you need more evidence, other than my desperate pleas, that blog.com is horrific you can ask this guy or this girl.

I feel better. And I will be eternally grateful to my friend Andrew of Eating Rules who helped me switch both of my blogs to self hosted wordpress sites. He has a company called Blog Tutor who does that sort of thing. A tech guy who is also a food blogger, who else would I have used?

On a lighter note, I booked my first TV gig!

I was contacted through my other blog, The Beeroness to do a live Cooking With Beer demo on TV in Los Angeles on August 31t! I’ll update you will more information once that date gets closer.

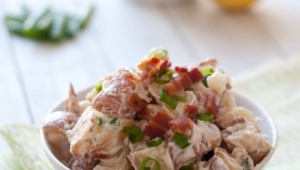
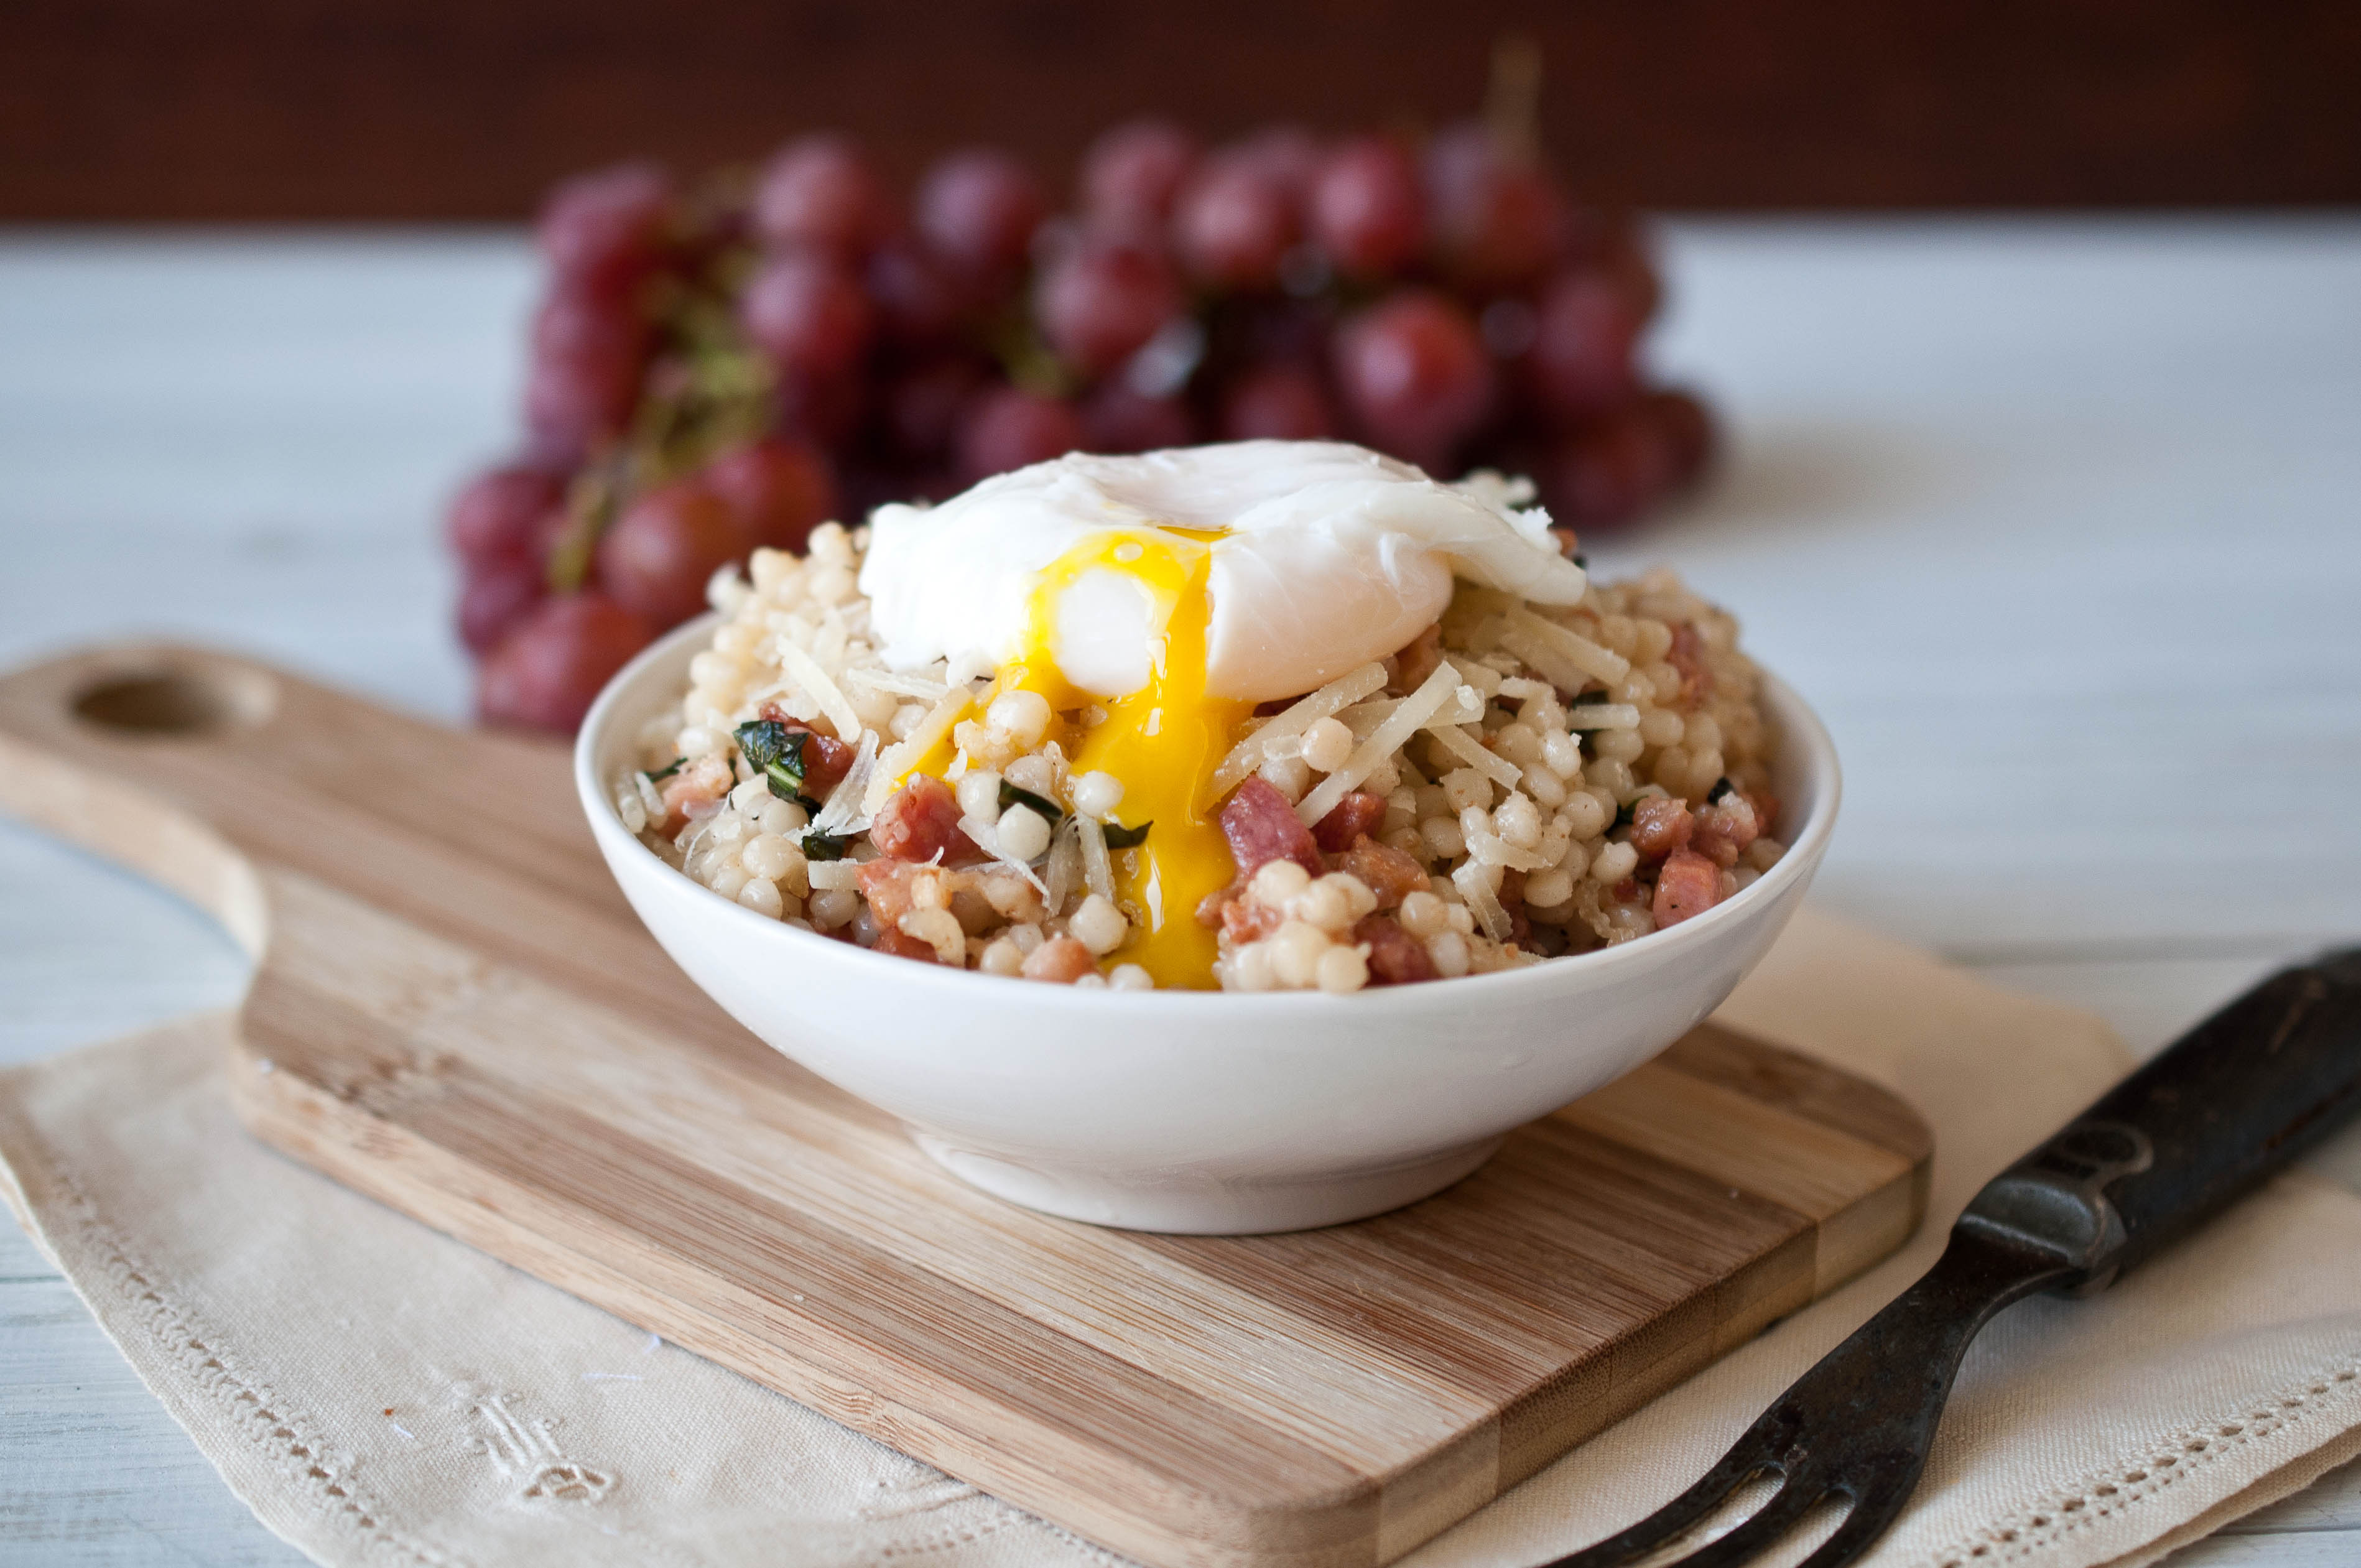
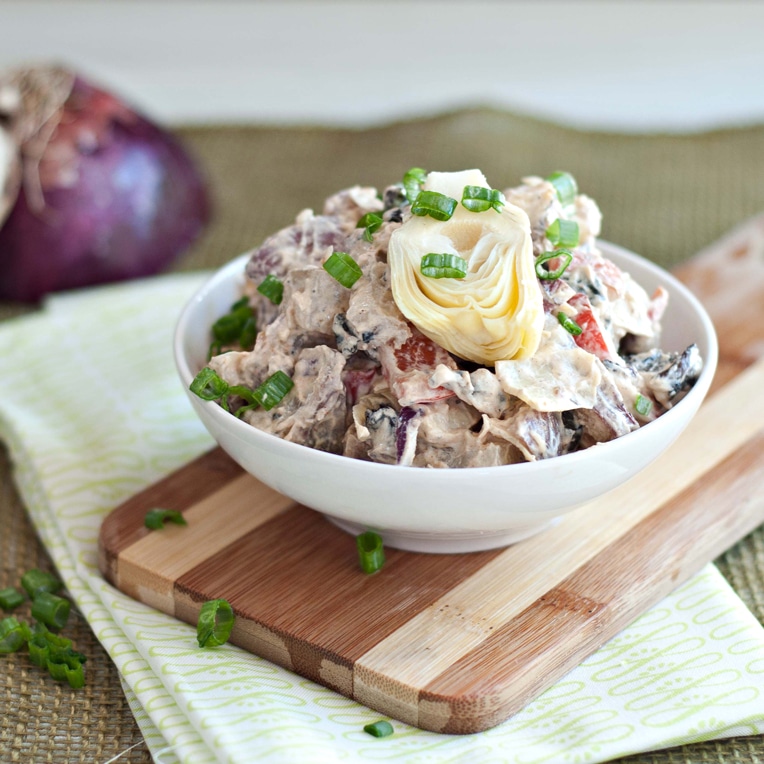
I’m so glad you all let me get that off my chest and now we can truly appreciate the magic of roasted potato salad.

It is very possible that I am one of the only people in this world that has issues with boiled potatoes. Most of the time I seem to over boil them into a near mushy state with my lack of long term attention abilities. And the water washes away a lot of that great starch that we love so much about potates. Roasting helps me to fix both of those issues, it’s more forgiving with the time and it expands the flavors instead of removing them.

And I added duck fat. I bough it at Sur La Table and a little goes a long way.

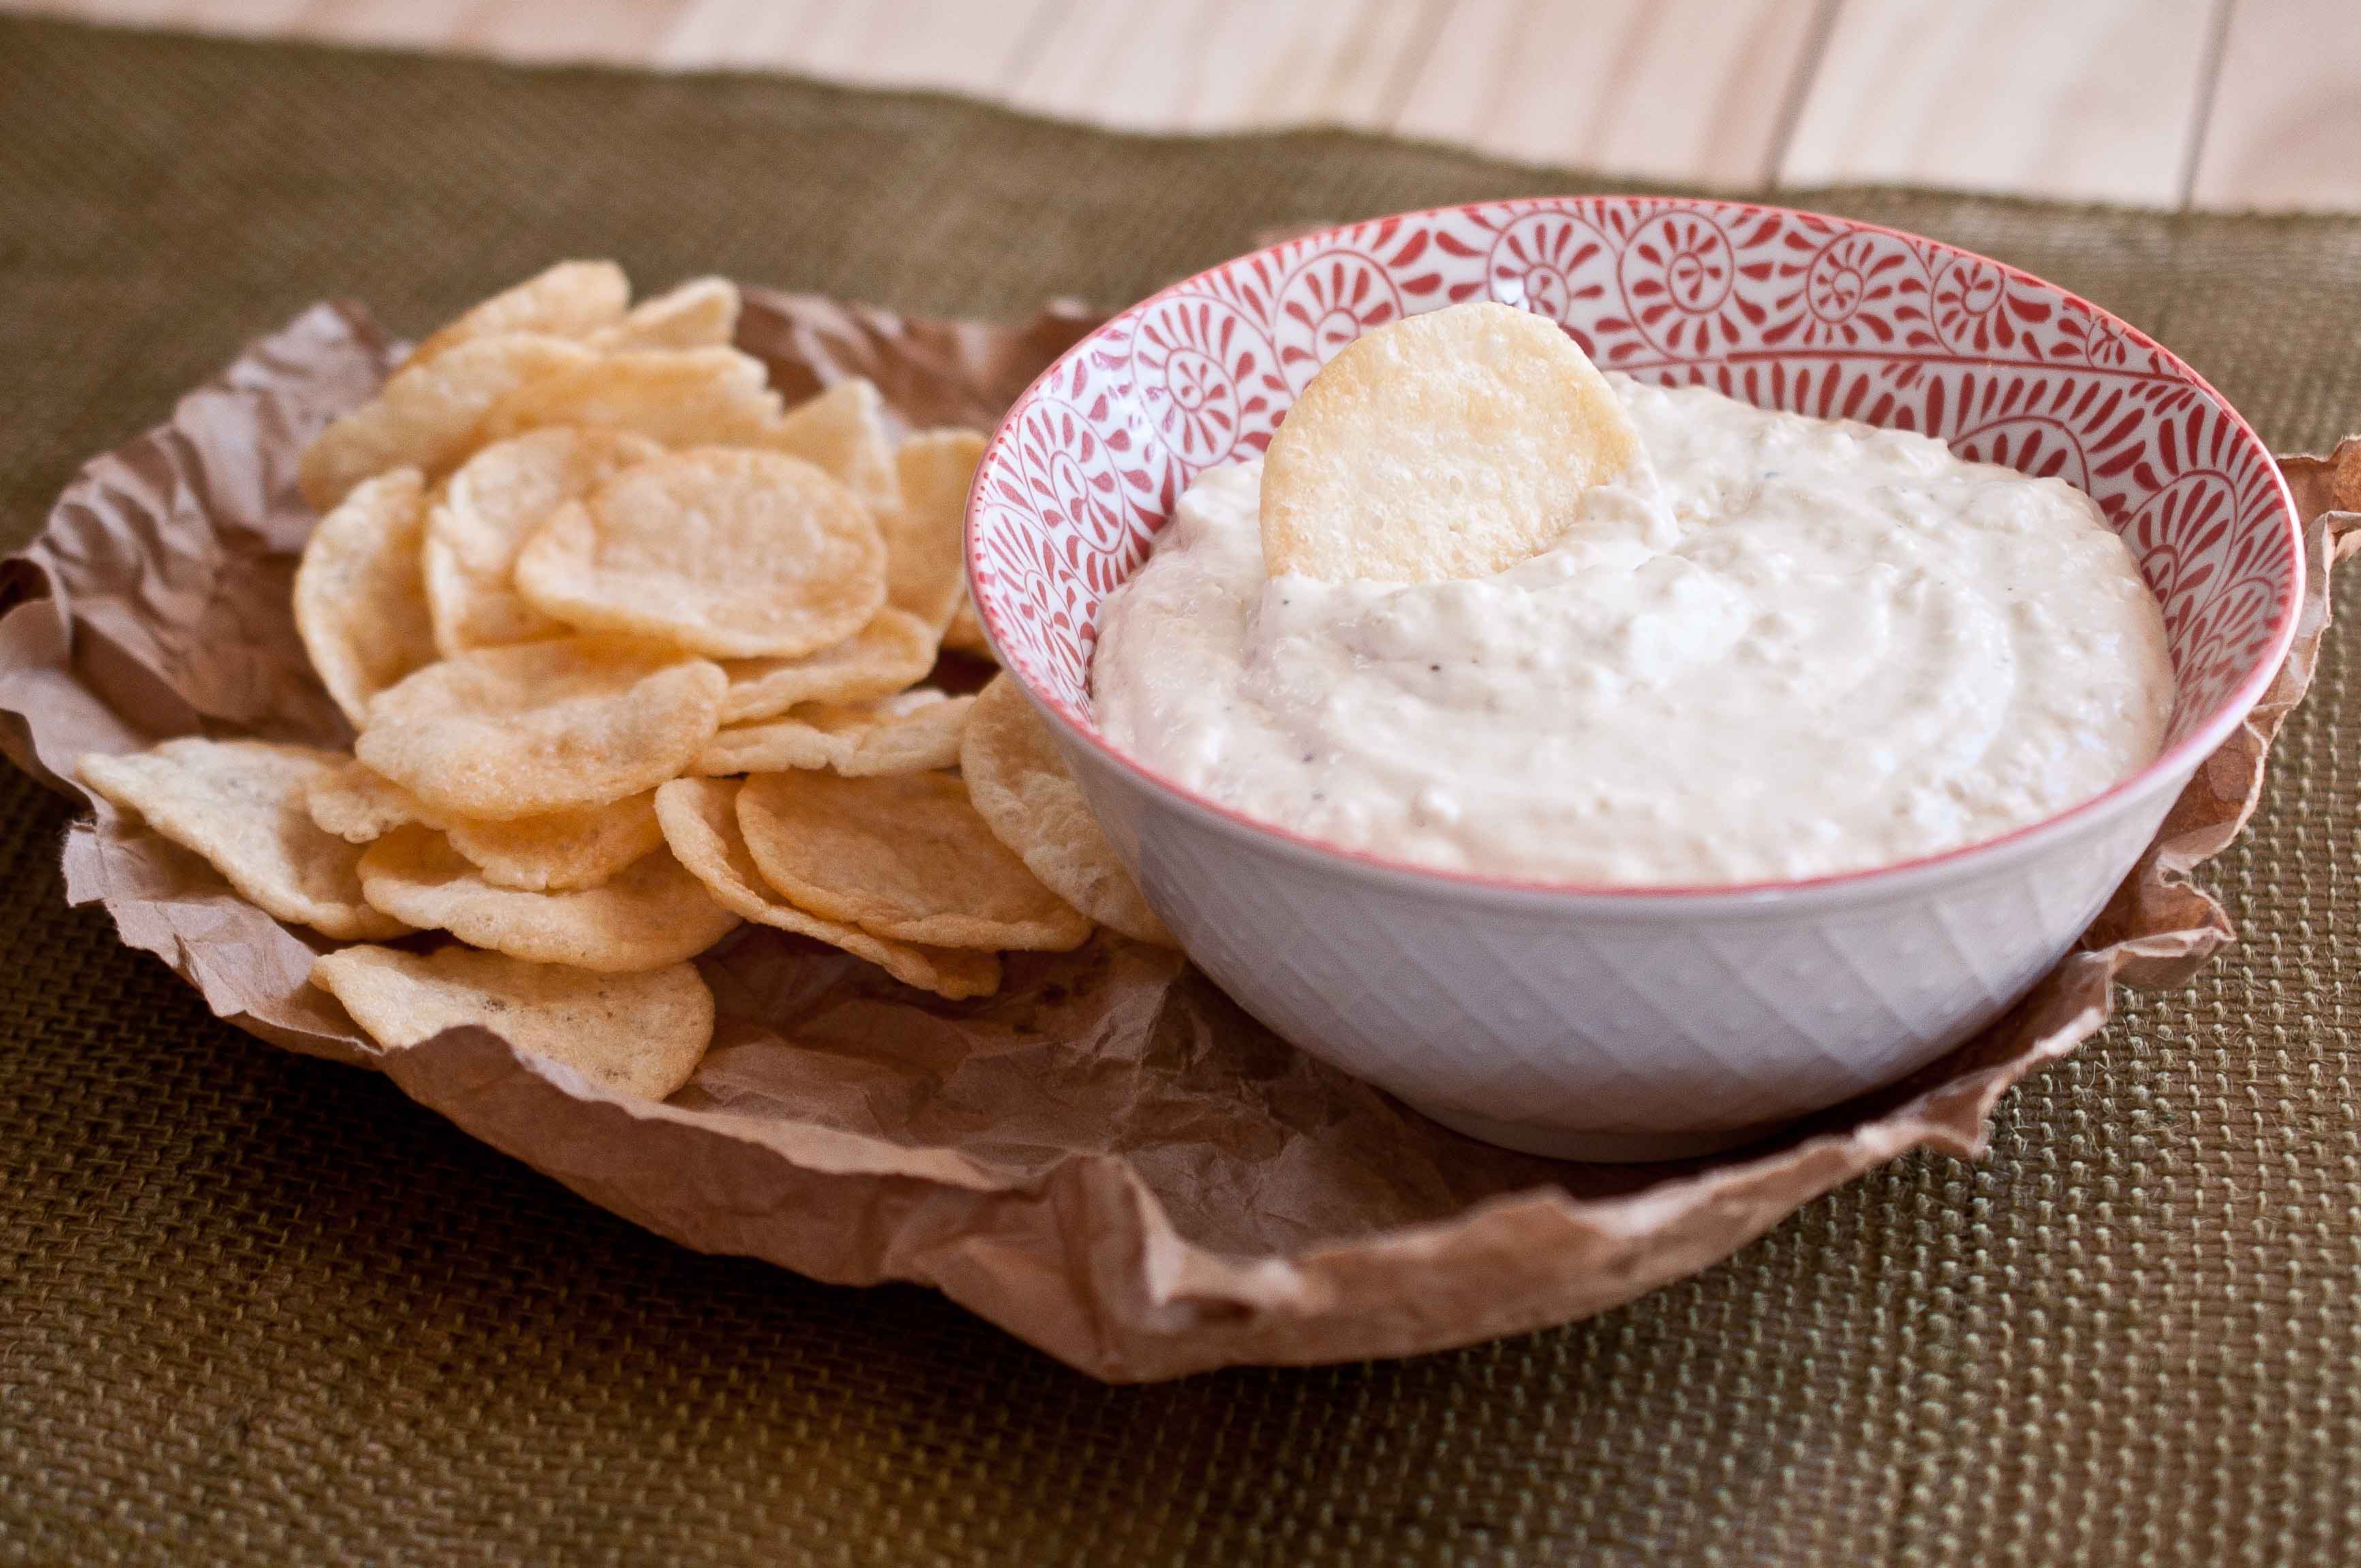
I made this twice in one week, it’s really great. By far the best potato salad I have ever made.


Bacon, Blue Cheese & Duck Fat Roasted Potato Salad

Ingredients

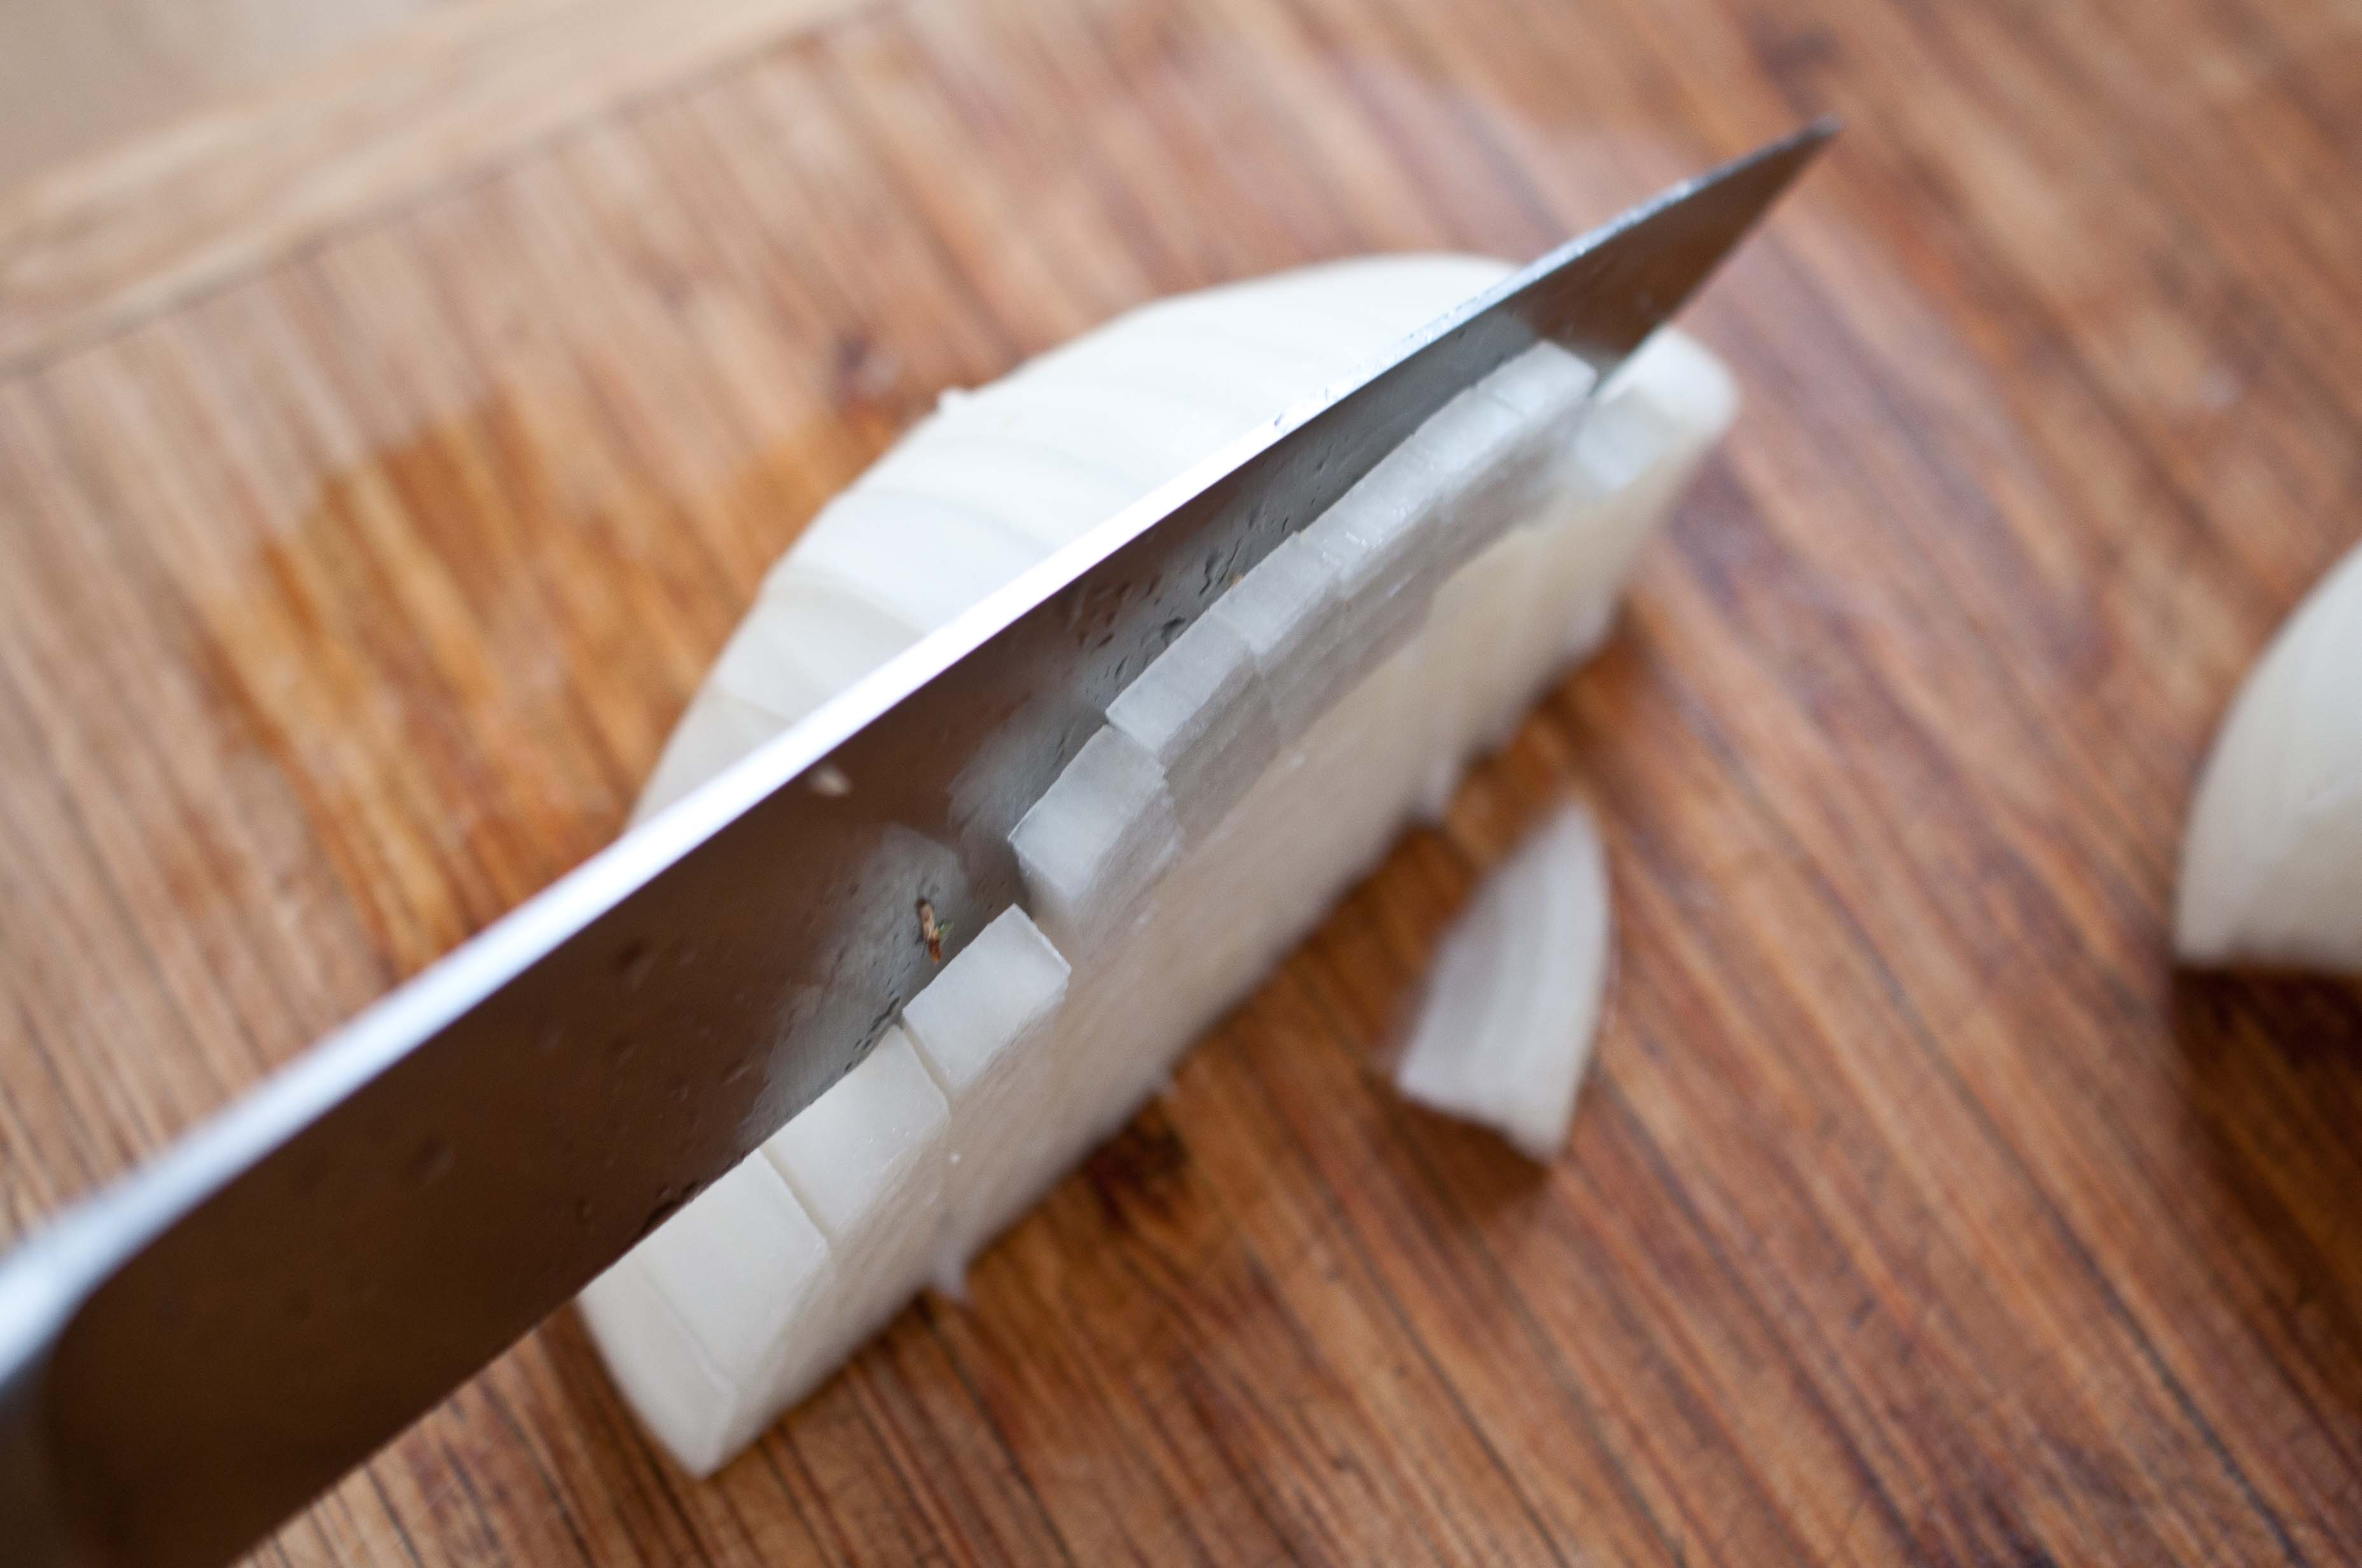
  • 2 lbs red potatoes, diced
  • 3 tbs duck fat, warmed
  • 1/2 tsp salt
  • 1/2 cup pepper
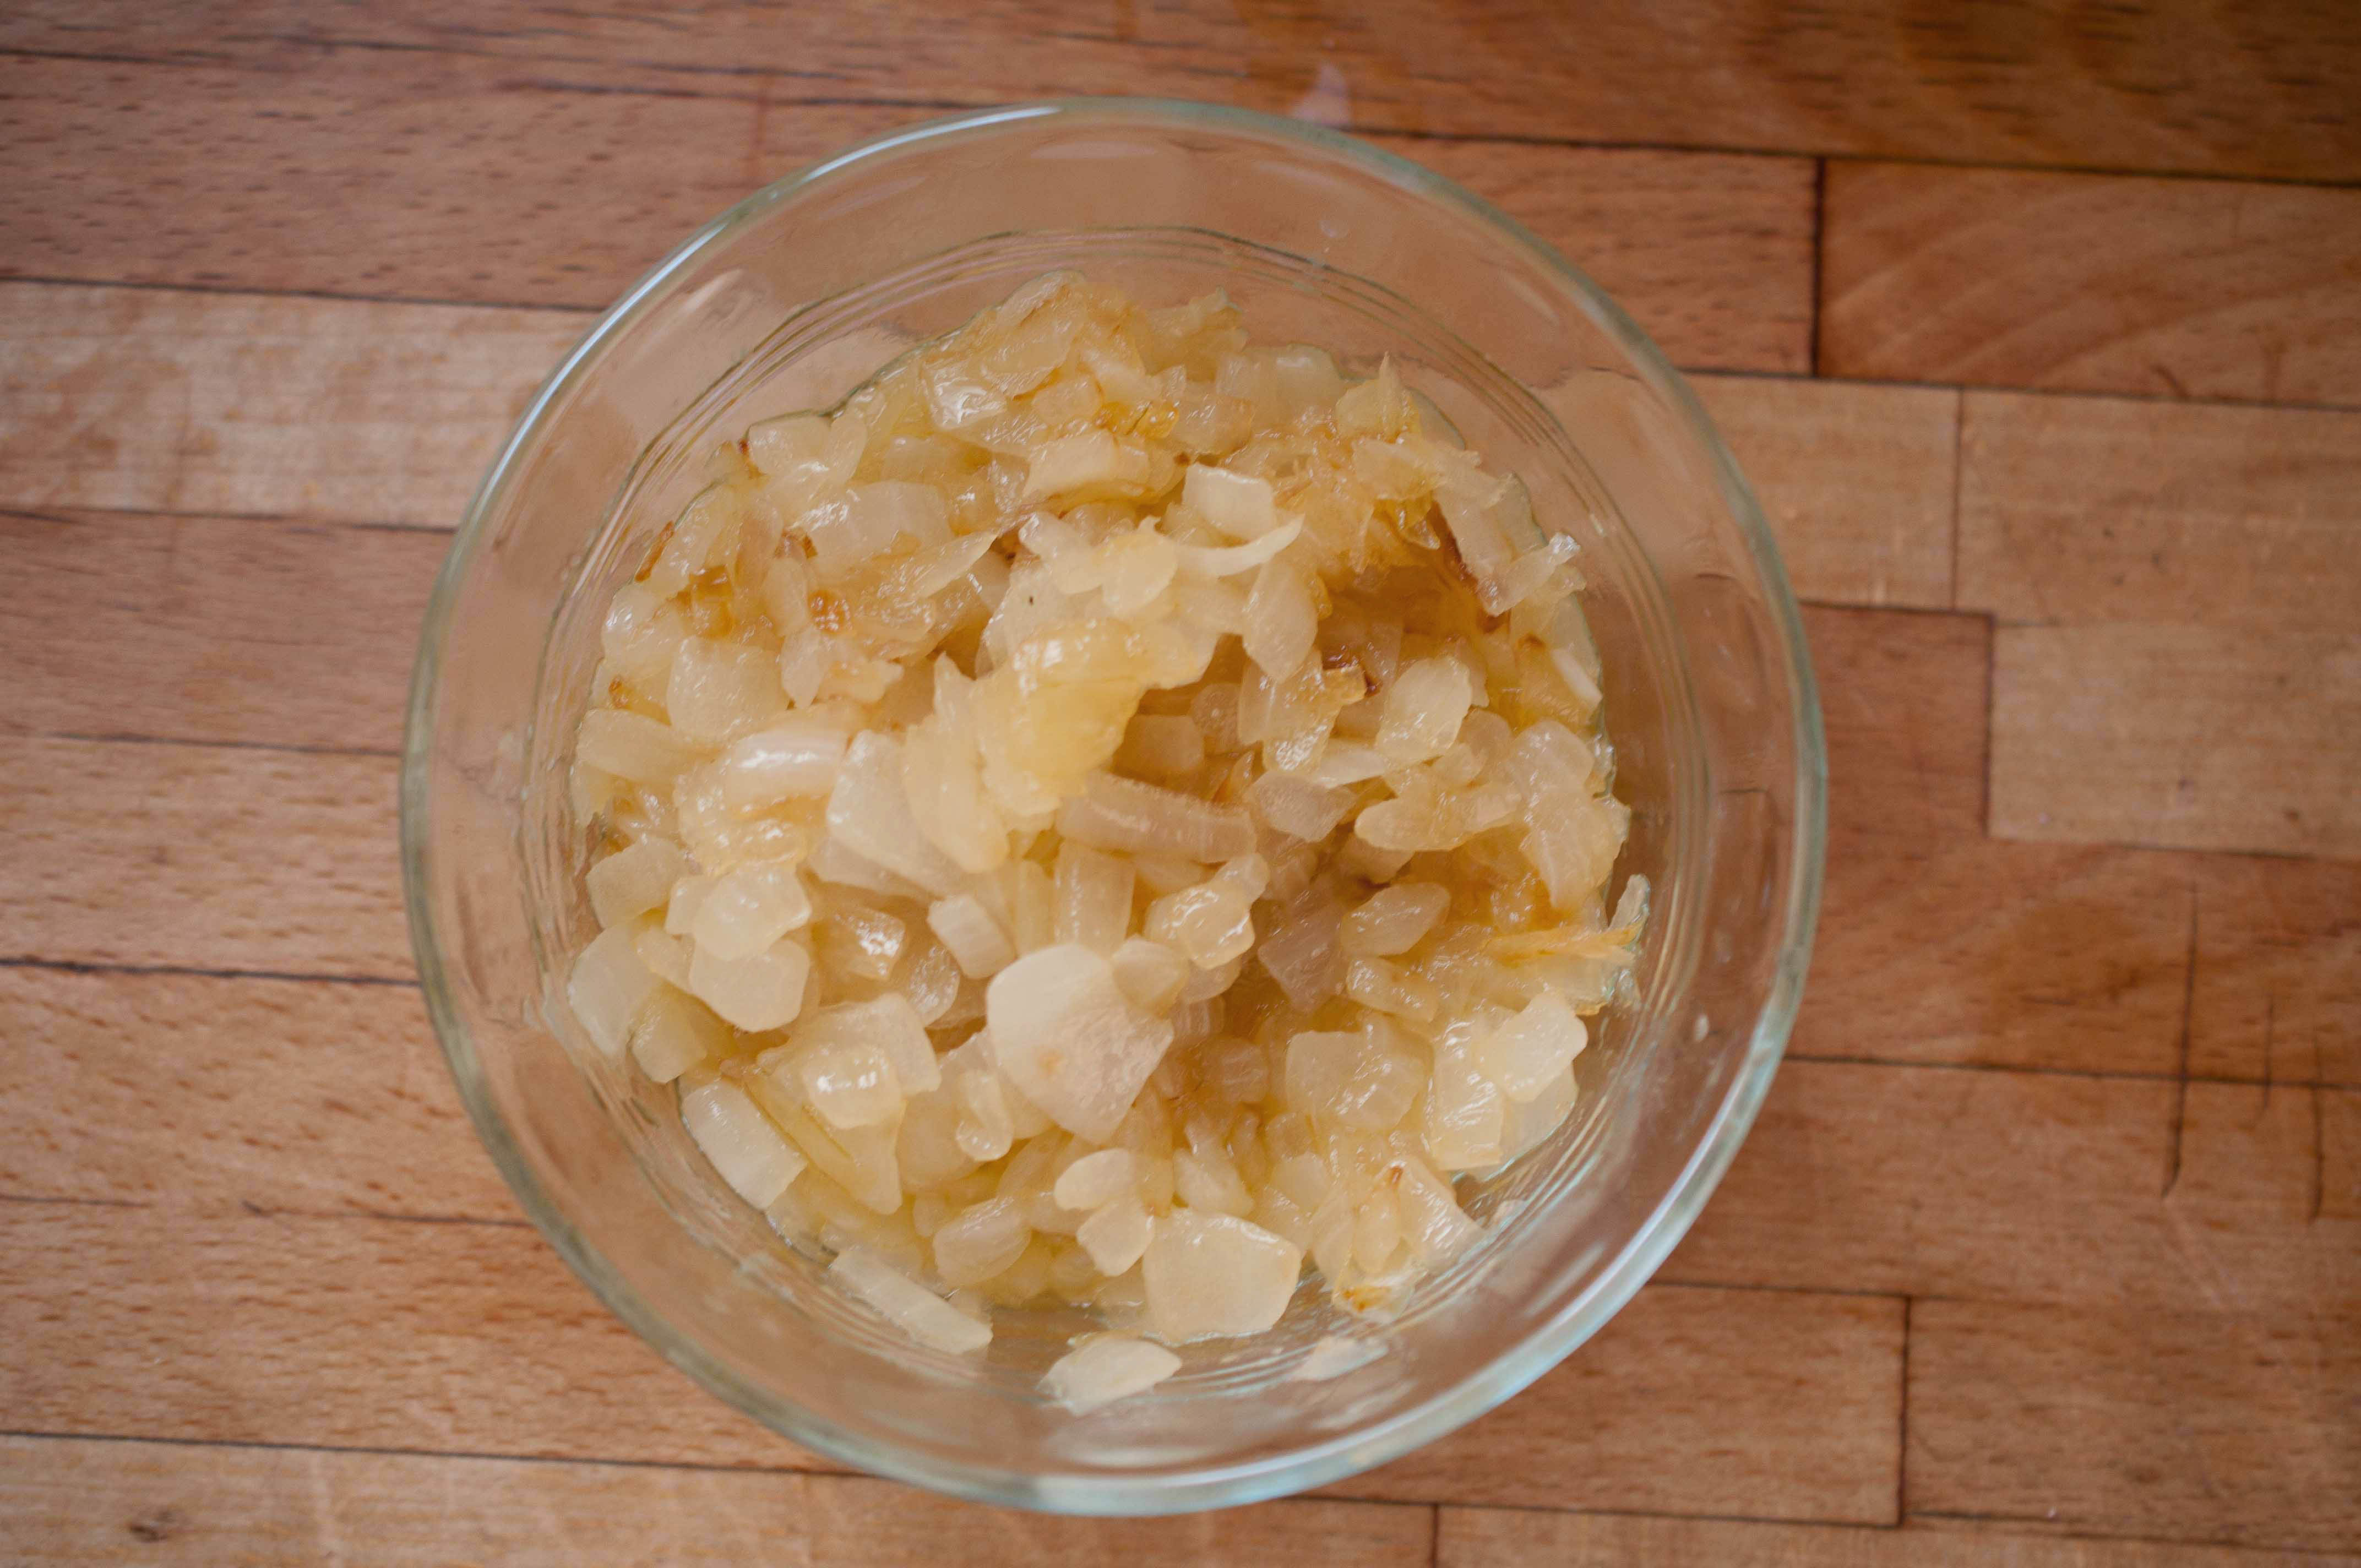
  • 1/3 cup green onions
  • 6 strips of bacon, cooked and chopped
  • 2/3 cup blue cheese dressing (some dressings contain gluten, check package if needed)
  • 1/2 cup sour cream

Instructions

  1. Preheat oven to 425.
  2. Place the potatoes on a baking sheet, toss with duck fat. Roast in the oven at 425 for 10 minutes, toss/stir potatoes and roast for an additional 8-10 minutes or until potatoes are fork tender, remove from the oven.
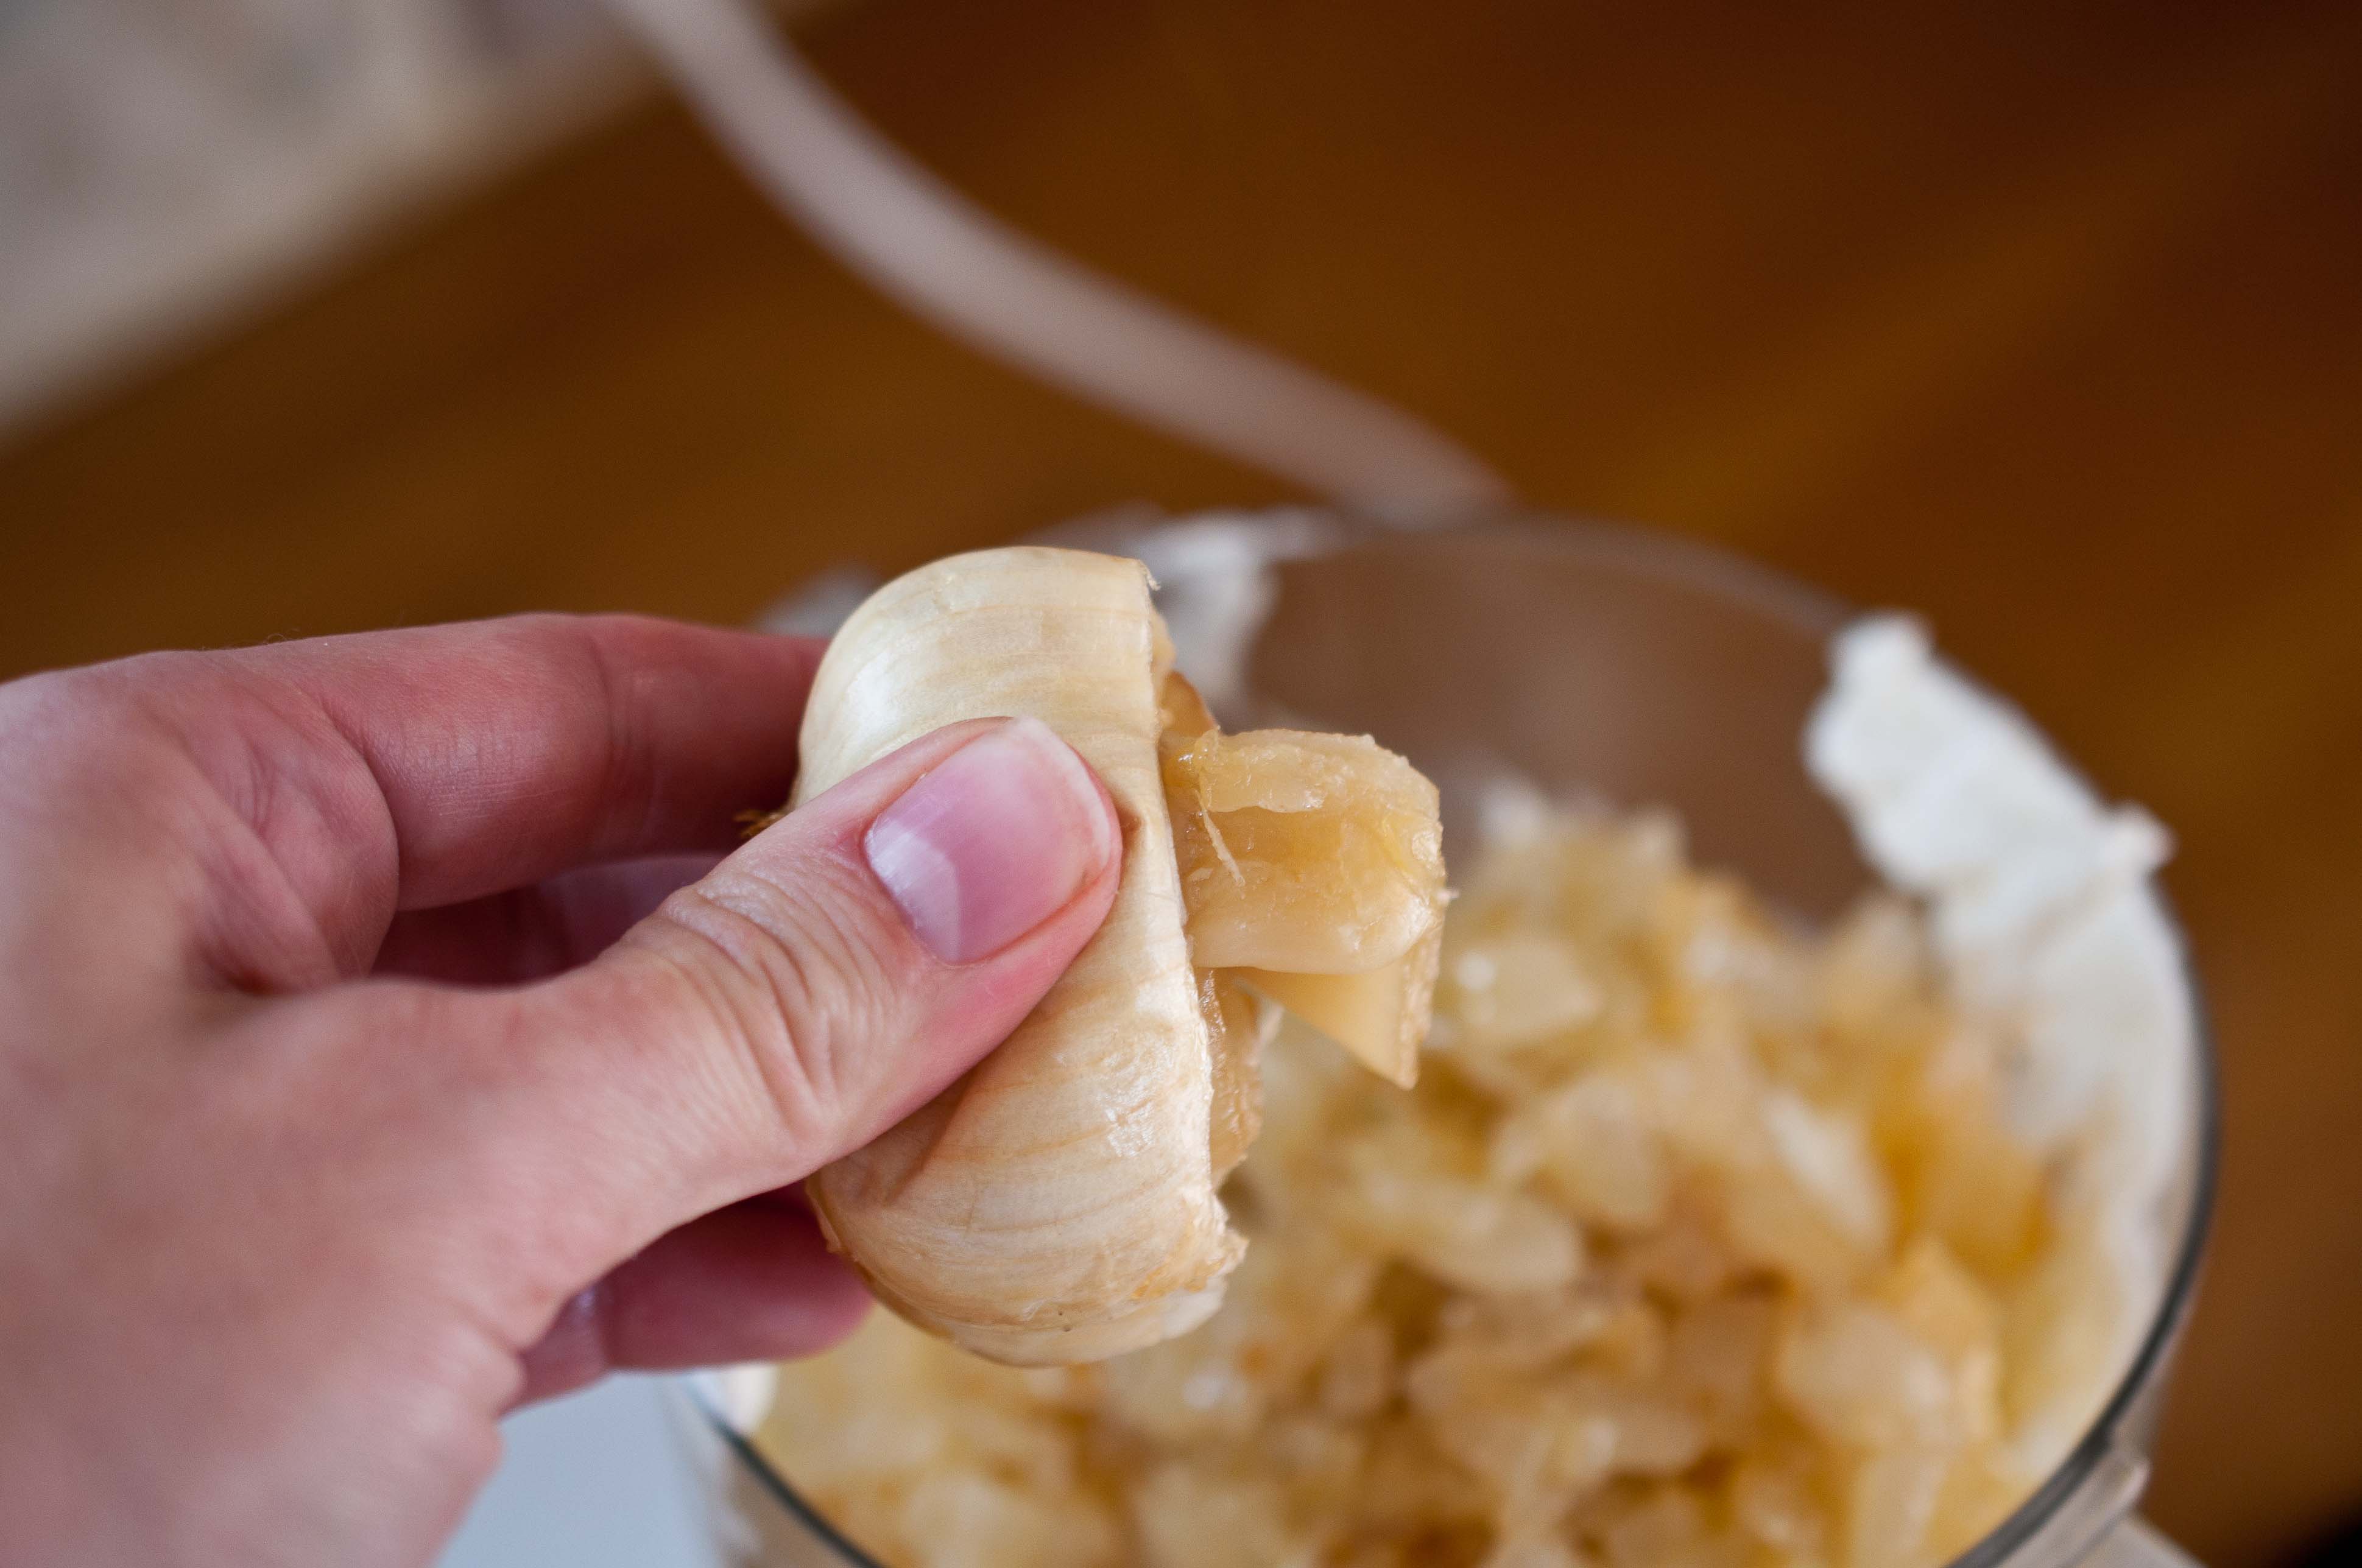
  3. In a bowl add the remaining ingredients, add the potatoes and toss to coat. Serve warm.

Chinese Shrimp Salad

I went to a Dodger game this weekend.

Not just Went. I was asked to attend a VIP tour of Dodger Stadium for a Food Bloggers event that included hanging on the field, a tour of all of the exclusive restaurants, a buffet of all of the incredible hot dog creations the stadium chefs can dream up (macaroni and Fritos dog?!) and even a chat with Andre Ethier. Who told me he doesn’t drink beer (I’ll forgive him, kid can play some ball). And to top it all off, we got to sit in box seats right on the field.

If you follow me on instagram (@JackieJDodd), these pictures will look rather familiar.


Moments like these remind me to take a second to just sit and be grateful. Even when I feel like I am nowhere near the goals I have set for myself I always take time to appreciate what I have. The opportunities, people and experiences that give so much more to my life than I even deserve. I just finished Marcus Samuelson’s Yes, Chef and was incredibly inspire by his work ethic: "Always chase one shot of good luck with two shots of hard work" Great advice, Marcus. I’ll take it. Sitting side stage at America’s Favorite Past Time felt like a shot of good luck, so this week I’ll chase it with an even harder push towards my goals.

And after eating my body weight in hot dogs and chocolate cake at the Stadium, I needed a salad to balance it all.

And I know that I don’t have to tell you that Chinese Chicken Salad is much more about the dressing than it is about the chicken (which I replaced with shrimp).

This dressing, THIS dressing is so easy and so good you will never even be tempted to buy it pre made ever again.

And I also decided that I am also going to chase one negative though about myself with two positive ones. I like that formula, after all he is a Top Chef Master.

Chinese Shrimp Salad

3 cups green cabbage, chopped

3 cups red cabbage, chopped

1 cup jicama, peeled and diced

2 cups yellow peaches, chopped (about 2 large)

1 large avocado, chopped

1/3 cup green onion, chopped

1/3 cup cilantro, chopped

3/4 cup cooked bay shrimp

5 wonton wrappers, cut into 1/4 inch strips and lightly fried

For The Dressing:

3 tbs rice wine vinegar

2 tbs brown sugar

3 tbs ponzu sauce

1 tsp sriracha

1 1/2 tsp grated ginger

2 tsp sesame oil

(you can also make a double recipe and save half in an air tight container in the fridge, should last about 1 month)

Add all of the salad ingredients (except the fried wontons) in a bowl, toss to combine. Top with wontons.

Add all of the dressing ingredients to a bowl, stir to combine. Drizzle over the salad. Serve cold.

{Pin This Post!}

Follow me on twitter

Follow me on Pinterest

Like Domestic Fits on Facebook


Crab Stuffed Baked Avocado

There is something about the raw exposure that blogging brings that forces you to face and deal with emotional handicaps that you didn’t even know that you have.

It may be the contrast between complete strangers showering you with compliments and adorations, and other complete strangers raining down harsh criticism. When in reality, neither is wholly accurate. You are, to one degree or another, somewhere in the middle.

And as harsh and those nasty comments can be, the overly positive ones have always been more difficult for me to deal with. Those readers who send compliment saturated emails about how much they love my recipes, or how great my life must be, are with no doubt a highlight of blogging. But I am always left with the fear that the pedestal will crumble and I will be exposed as the ordinary person that I truly am.

Self worth is supposed to be an isolated container, unaffected by the thoughts of others. But I’m not sure anyone has really figure out how to do that, and if he does, I’m not sure I want to meet that guy.

The truth is, sometimes we need a mirror of honesty to see how great we are, and place that value in our container of worth. And to really start to believe it.

Take a second to think back on your life and write down all the best compliments that you have ever received.

And then take the rest of your life to truly believe them.

Crab Stuffed Baked Avocado

4 oz cream cheese, softened

6 oz crab meat (drain well if using canned meat)

1/4 cup tomatoes, chopped

1 tbs scallions

1/4 tsp salt

1/4 tsp pepper

pinch cayenne pepper

3 large ripe avocados,cut in half, pits removed

1/2 cup parmesan cheese

Preheat oven to 400.

In a bowl, combine all the ingredients except the avocados and the parmesan, mix until well combined.

Fit the hole in the avocado with crab mixture, top with generous amounts of cheese. Place avocados in the wells of a muffin tin, bake at 400 until the cheese has melted about 8-10 minutes.

{Pin This Post}

Follow me on twitter

Follow me on Pinterest

Like Domestic Fits on Facebook


Orzo Caprese In Tomato Cups

When I was a kid "Pasta Salad" was just a requisite side dish at family gatherings that was hastily bought at the grocery store and remained in it’s plastic tub beside other more appetizing offerings while slowly making it’s way to room temperature. I never really understood how macaroni noodles, eggs and mustard where always such an important part of every barbecue I went to. And while these little gatherings were being planned, there was always a mention of it, "Who is going to bring the pasta salad?"  Pasta salads have so much variety and take so little time, you don’t ever have to resort to grocery store tub again.

Instead of that I offer you this. Orzo pasta and a fairly traditional Caprese salad, mixed together and served in a hallowed out tomato (feel free to bypass the individual serving size vegetable dish for larger gatherings.)

Pin This Post!

Orzo Caprese Salad in Tomato Cups

1 cup dry Orzo pasta

2 cups (10 oz) grape tomatoes, halved

2 cups small mozzareall balls (ciliegine sized) cut in half or quarters

5 basil leaves, chopped

3 tbs pesto sauce

1 tsp balsamic

Salt & Pepper

4 beefsteak tomatoes

Cook Orzo according to package directions until al dente, put in a bowl with the grape tomatoes, mozzarella balls, basil leaves, pesto and balsamic. Toss to combine, salt and pepper to taste.

To serve in tomato cups, cut the beefsteak tomatoes in half widthwise and use a melon baller to scoop out the insides.

Fill with Orzo Caprese Salad and serve.

Follow me on twitter

Follow me on Pinterest

Like Domestic Fits on Facebook


Carbonara Couscous

There is something so comforting about being busy. A hectic lifestyle reminds me that I’m needed, that I have a function. I was interviewing a brewery owner yesterday for a piece I’m writing for Honest Cooking and he put it into perspective for me. "When I’m old, I don’t think I’ll wish I slept more." Having things to do, people to talk to and jobs to get done is a good place to be. As hard as I try and fight that 5:30am alarm clock, or force myself to shut my eyes when I finally get back in bed, I know I’ll miss it someday.

For now, I’m trying to enjoy the pace my life has taken. The people, places and opportunities that are taking my life down a new and exciting path. And I’m just trying to do it all justice. Approaching it with an open heart and a grateful spirit that will allow me to fully appreciate this time in my life without focusing on what seems to be my near constant caffeine  deficiency and lack of "free" time. It all goes back to the motto of my life: figure out what is great about the situation you are in and enjoy the crap out of it. 

And I have to say, I really enjoyed the crap out of this couscous.

Carbonara Couscous

 1 cup dry Israeli (pearl) couscous

1 tbs buter

5 ounces pancetta

5 basil leaves

½ cup parmesan

1 tsp pepper

2 eggs (plus 2 additional if desired for side dish size portions)

Makes 2 entrée portions or 4 side dish portions

Cook couscous according to package direction. In a separate pan, melt the butter over medium-high heat. Add the pancetta and cook until browned, do not drain, add to the couscous. Chop basil leaves, add to the couscous along with parmesan and pepper, stir to combine.

Poach eggs in simmering water.

Distribute couscous equally among dishes, top with poached egg, serve warm.

Pin This Post!

Follow me on twitter

Follow me on Pinterest

Like Domestic Fits on Facebook


Boozy (or not) Watermelon Stars

I have a confession to make. 

I stole this idea from my friend Tori. She is the genius behind The Shiksa In The Kitchen. And if you watch the morning news, anywhere in America, there is a chance she cooked up something special on your TV. She is a big hit in New York and San Francisco especially, but can you blame them? She’s gorgeous, smart and nicer than you could ever expect. 

Even when the inevitable day comes when she gets her own cooking or travel show, she will be the girl who sits in the airport terminals between flights and answers your cooking question via twitter, because she’s that nice. 

We met over crayons and wide ruled paper in Mrs. Newets 4th grade class room. We lost touch when I moved to Eastern Washington, because we are both older than the internet, but met up again through blogging. Which is one of the reasons I love blogging. And why I love when my friends in the computer, become real life humans who call me on the phone and invite me to have lunch with Mario Batali. 

I’m going to show you how to make these watermelons into stars for that I Heart America holiday that is rapidly approaching, but you’ll have to go over to her blog to find out how to put booze in them

Make sure you do, because whats more American than produce and booze? Good Bless the USA. 

Go check out: Tori’s Watermelon Mojito Pops!

Watermelon Stars

Materials:

1 medium sized watermelon

14-18 large blueberries

6 inch wooden skewers

Cap to a Chapstick tube


Step One:

Slice the watermelon into 1 inch rings. 

Step Two:

Lay the rings on a flat surface and cut out as many stars as you can with a Star shaped cookie cutter. You should be able to get two or three stars out of each ring. If the stars are too fat, cut them in half width wise to make two thinner stars. Be sure to reserve the watermelon "scraps."

Step Three:

I know this is a little skeevey, but bear with me, use the cap to a Chapstick tube to cut out a hole in the center of your star. It’s odd that I’m asking you to go find a tube of Chapstick to add to your kitchen equipment, but if you are anything like me, you have handfuls of those things in every drawer and purse in your house. 

Just push the cap all the way through the center of the star. The hole is the perfect size for a large blueberry. 

Step Four:

Place a blueberry in the hole in the center of the star. 

Step Five:

Press a six inch skewer into the watermelon and through the blueberry. 


watermelon stars5

Step Six:

Go to Tori’s site and she will tell you how to turn these suckers into boozy treats!

What to do with all those leftover Watermelon scarps:

Grilled Watermelon and Cotija Salad

Watermelon Ceviche 

Watermelon Jalapeno Margarita 

Watermelon Feta Mint Salad 


Pin this post!


Follow me on twitter

Follow me on Pinterest

Like Domestic Fits on Facebook


Jalapeno Corn Waffles With Sriracha Maple Syrup & How To Survive Online Bullies

Don’t Feed The Trolls: How to Survive Online Bullies

In the age of living online, the greatest gift are the people you meet. The biggest drawback? The people you meet. Once a skeptic of online friendships, I’ve felt the connections made across the globe from one screen to another. A richness lent to my world through knowing people who live in such far off places, we never could have connected, seen our similarities, shared our thoughts and support, had it not been for two lap tops with internet connections. I’ve also seen the dark side of the vail that the computer brings, an entire society of online bullies waiting with snark and nastiness to prey on anyone with a voice. 

The blog comments I’ve seen from online bullies rage wildly from strange with a twist of insanity, to angry and hateful. The following is a list of comments I’ve seen posted to online blogs, to people who get paid little or nothing for the recipes that they post:

"I hope your baby dies. I hate you"

"Ugh, I can’t stand this girl. Will you just shut up already?!"

"This recipe sucks, it’s probably why your husband left you."

"I bet you just adopted that baby so you could get more blog hits."

"This is the most disgusting recipe I’ve ever made in my life. I substituted [lists 3 major substitutions] and it was horrible! Think before you blog, you stupid B—-!"

"It’s no wonder her husband died if she cooks like this! She pretty much killed him herself, is she trying to kill my husband too?"

I know. Horrifying. People fail to realize that another human, possibly a stay at home Mom looking for a connection to the outside world, a widow, an introvert with crippling agoraphobia, or just and average joe, will read that and be incredibly hurt. We all remember the worst comment that was ever posted to our blogs, the sting from a complete stranger who’s hate has invaded our world. I’ve recently seen two celebrities melt down on Twitter, responding to the nasty comments, defending themselves, lashing out, retweeting insults, indulging those Trolls who seek to disperse hate. 

Celebrity, blogger, or just an average mom with a twitter following, here are some rules to help us all cope:

Five Rules to Survive Online Bullies

1. Don’t Feed the Trolls. Don’t respond, engage or even post comments made out of sheer hate and anger. If a comment is just made to hurt, there is no reason to post it and you have no moral or civic obligation to do so. Delete the comment and shake the thought of it from your head. 

2. Find Power In Silence. To stay silent and to be silenced are not the same thing. There is powder in silence, feel it. There is no response to a bully or a nasty comment that makes you look cool or superior, you are only wallowing in the mud by responding. 

3. Feel Pity. Child Actor turned writer, Mara Wilson said on her blog recently:  "Very few intelligent, successful, attractive, confident, happy people spend their time bashing people they have never met. Just be glad you are not that person." A comment a stranger makes about you says a lot more about them then it will ever say about you. 

4. Strangers Will Defend You. More often than not, when I see a nasty comment posted on a blog, I watch others rush to the aid of the blogger. People who don’t know that blogger or the commenter, but who do know right from wrong, and are quick to rush to your defense. 

5. Feel Important. No one throws rocks at Tiny Tim. If you are a blogger or a celebrity, the negative comments you receive will rise in direct proportion to how important people think you are. If they didn’t think of you as successful, they wouldn’t even bother. Negative comments are a direct result of doing something right, try to think of it that way. 

I try to follow these rules on both this blog, as well as my other blog, The Beeroness, which has garnered a much higher level of praise as well as exponentially higher level of nastiness. With the good comes the bad, finding your own inner filter will help you enjoy more of the experience. 

In a completely unrelated note, these Jalapeno Corn Waffles are perfect for brunch, or to serve with Fried Chicken. And you’ll want to drink the Sriracha Maple syrup on it’s own. 

Jalapeno Corn Waffles with Sriracha Maple Syrup

Waffles:

1 cup fine yellow corn meal

1/2 cup flour

1 tsp baking powder

1/2 cup corn kernels 

1 large jalapeno, chopped, stem and seeds removed

1/2 tsp salt

1/4 cup cheddar cheese

1 tbs brown sugar

1/2 cup melted butter

1 cup whole milk

1 tbs canola oil

1 egg

For the Syrup:

1/4 cup real maple syrup

1 tsp sriracha chili sauce

(Makes 4-6)

Preheat your waffle iron. 

In a bowl, combine the corn meal, flour, baking powder, corn, jalapeno, salt, cheese, and brown sugar, mix. In a separate bowl, add the melted butter, milk, oil and the egg, beat until well combined. Make a well in the dry ingredients, add the wet ingredients and mix until just barely combined. Spray waffle iron with cooking spray if recommended, cook in waffle iron according to manufactures specifications. 

Mix the maple syrup and sriracha and serve with the waffles. 


Follow me on twitter

Follow me on Pinterest

Like Domestic Fits on Facebook


Roasted Potato Salad

I’m in the middle of a move. It’s hard to leave a place, a home, that has become a part of me. Plaster walls and a stone patio that has served as a backdrop to a phase of my life that I’m not ready to close the chapter on. A small house, my first house, that saw Tater grow in my belly, watch as I nervously brought her home for the hospital, rooms that served as the setting of her first steps that she took so early in the first months of her life. A place that helped my husband and I mend in a difficult time in our marriage. A kitchen that has given light and heat to the food in all of my photos. I leave with a heavy heart, but with a hope for the future and what the next chapter has for me, for my family.

So, forgive me if the posts roll out a little slower over next few weeks. And if I’m not as quick to respond to you, to everyone, who talks to me over the network of social media that has given so much breath to my life in the past few years.

This is a simple potato salad. I roasted the vegetables instead of boiling them, roasting gives such beautiful flavor with so little effort.

Roasted Potato Salad

1/2 red onion, chopped

4 cups red potatoes, chopped

1 red bell pepper, chopped

2 tbs olive oil

1 tsp sea salt

6 oz artichoke hearts, chopped

1/2 cup sour cream

1/4 cup blue cheese salad dressing

1/2 tsp smoked paprika

1 tsp deli mustard

1/4 cup green onions, chopped

salt and pepper to taste

Preheat oven to 425.

On a baking sheet, place the red onions, potatoes and pell pepper. Drizzle with olive oil and sprinkle with salt, toss to coat. Roast at 425 for 25-35 minutes or until the potatoes are fork tender, tossing every 10-15 minutes while roasting. Allow to cool.

In a bowl, add the remaining ingredients, along with the roasted vegetables and toss to coat. You can serve this either warm or cold, depending on your preference.

Pin This Post!


Follow me on twitter

Follow me on Pinterest

Like Domestic Fits on Facebook


Chipotle Béarnaise

Check out the interview I did over at Cravings of A Lunatic! Kim reveals my secret, I have ANOTHER blog. 

We had this little talk last week about Chipotle, and how much I adore it. I gave you a list of really great things you can make once you open an entire can. 

And you all give me a bit of a sideways glance and said, "Or, you could just freeze it."

Turns out, you all are much more brilliant than I will ever be. And that lead me to wonder what other things I let go to waste when, had I asked you all, I would have know that I could just freeze it and use it when I need it. So here is a list, you probably can tell that I love lists. Quick, organized, and to the point. LISTS! Here is another one for you:

Things You Didn’t Even Know You Can Freeze

(and by YOU, I really mean ME)

1. Fresh herbs. Seriously, who have even thought? Oh, that’s right, you. Not me, I never would have thought to chop a few chives, make sure the rest was dry, put it in a ziplock bag and then freeze it for later use. Brilliant. 

2. Citrus. Why didn’t I think about this durring my love affair with blood orange season?  You need to break the citrus down, but you can freeze the juice in ice cube trays and then freeze the cubes in zip lock bags. You can also freeze the zest in zip lock bags. I would love to have a bag of juice when I make more of these.
3. Tomato Paste. This will come in handy. I only need about a tbs at a time, and freezing the rest will help me avoid the "do I toss the rest now, or put it in the fridge and then toss it when it inevitably goes bad?" Mental debate that goes on in my head. 
4. Strawberries! I knew that one. or more accuratly: I’ve seen them frozen at the grocery store, and I know how quickly fresh ones go bad so WHY have I never just put those berries on the verge of going bad into freezer bags and store them in the freezer?? I will now. 
5. Rice & Grains. Make one huge batch of rice or quinoa at the beginning of the month and then portion them out into small containers or zip lock bags for use through out the month. Such a time saver. 
So please, if there are any "You Can Freeze That??!" Foods that you want to add to my list, just let me know. 
This sauce went on nearly everything I ate for about 3 days. Including, steamed artichokes, grilled chicken, mexican quinoa salad and tacos. There would have been more had I not run out. 

Chipotle Blender Béarnaise 

2 tbs chopped cilantro

¼ cup chopped shallots

¼ cup champagne vinegar

¼ cup white wine

3 egg yolks

1 stick unsalted butter, melted

1 chipotle pepper in adobo sauce, canned

2 tsp adobo sauce from can

Add the cilantro, shallots, vinegar, and wine to a pan over medium heat. Allow to simmer and reduce until about 2 tbs of liquid remain, about ten minutes. Remove from heat and allow to cool.

In a food processor add the reduction, egg yolks, chipotle and adobo sauce, process until well combined. Melt the butter until very hot and just starting to bubble. Remove the stopper from the top of the food processor lid. Turn on the food processor, allowing to process for a few seconds before beginning to slowly pour the melted butter into the food processor while it is still running. Allow to process until well combined and frothy, about 3 minutes.

Serve over every possible savory substance in your kitchen, chicken, steak, vegetables, shrimp, a spoon. 

Skinny Potato Skins: 62 Calories

I’m not going to sit here and pretend that these are as good as the real thing. Those potato skins loaded up with bacon, sour cream and cheese that are somewhere around 62 calories per bite. But these make a great lunch durring my "I am GOING to lose those final 3 pounds" week. And they reheat really well, so you can make a batch on Sunday, and reheat them through out the week for lunch. With a side of this salad.

I’ve run the numbers and have come up with 62 calories each potato half, but that completely depends on the size of your potato and the amount of flesh you scoop out of it.  

My Husband added fat free sour cream and shredded cheese. If you add a tbs of fat free sour cream and a tsp of shredded part skim mozzarella cheese, it will about double the calories in the potato. But, if you like it more and that will make you eat less, it may be worth it. 

Also, this dish is:

Gluten Free

Vegan

Kosher for Passover

Skinny jeans friendly 

Skinny Potato Skins

4 large red potatoes

1 large red bell pepper, thinly sliced, stem removed

1 large yellow bell pepper, thinly sliced, stem removed 

2 cups sliced crimini mushrooms

2 cloves of garlic, chopped

olive oil cooking spray

2 tbs Smart Balance Light, melted

1 1/2 tbs or Fajita Seasonings

(Or: 1 tsp salt, 1/2 tsp cumin, 1/2 tsp smoked paprika, 1 tsp garlic powder, 1/2 tsp chili powder)

1/2 cup Pico De Gallo (or you fav salsa)

Preheat oven to 400. 

Pierce the potatoes a few times with a fork and microwave on high for 5-7 minutes or until cooked through. Remove and allow to cool until enough to handle. Cut in half and scoop out most of the insides, leaving about 1/4 inch of the walls in tact. You can save the potato middles for mashed potatoes or potato cakes.

Place thinly sliced bell peppers, mushrooms, and garlic on a baking sheet. Spray lightly with olive oil cooking spray and sprinkle with fajita seasoning (or the homemade blend) and toss to coat. 

Roast the vegetables in the oven for 15 minutes or until soft and the mushrooms have browned, tossing every 5-8 minutes with a heat safe spatula. 

Place the skins on a baking sheet and brush the insides with melted smart balance light, sprinkle with salt. Bake at 400 for 10 minutes, allow to cool slightly. 

Fill each potato skin with fajita veggies and top with Pico De Gallo. 

Pin This Post!

Follow me on twitter

Follow me on Pinterest

Like Domestic Fits on Facebook

Passover Risotto: Quinoa & Roasted Mushrooms

I’m over at a Passover Potluck today with Tori at The Shiksa In the Kitchen! Check it out, if you are Jewish or a Shiksa (non-jewish girl) I think you are gonna love it. Tori and I have acctualy known each other since the 4th grade and reconnect as adults through blogging.

She is one of the most genuine people I have ever known, sweet, smart and generous with her talents and knowledge.

Tori recently interviewed a man I know, Michael, who is an 81 year old Holocaust survivor who was sent to Auschwitz concentration camp when he was 13. His story is incredible and Tori even got is World Famous Tiramisu recipe! The interview is inspiring, you should read it (Click here).

The recipe I created today for the Potluck is one of my favorite dishes, risotto, that I have re-made using the rules of Kosher cooking, which Tori was sweet enough to walk me through! I love Risotto, which is traditionally made with rice, but during passover, it isn’t considered Kosher. You all know my love for quinoa, so this was a fabulous stand in when rice is not an option! Roasting the mushrooms was so quick, and developed a rich flavor quickly.

Check it out over at The Shiksa!

Roasted Mushroom Quinoa Risotto For Passover

Chipotle Hummus & Bone Marrow Donation

The night after I joined the Bone Marrow Donor registry I had a dream that I was a Bone Marrow match for a little boy who was dying of Leukemia. But in my dream, I had joined the registry one month after he died of the disease. I had the lifesaving cure just walking around in my body and I had no idea until it was too late.  

Horrible, I know. But It happens, I’m sure. This morning, when I woke up, I got an email for the registry, and whenever that happens I have a flicker of hope that I am one of those people who has the opportunity to donate. I want to. I want to use the marrow I grow so easily in my bones to save the life of someones else’s Tater, because I would want you to do that for me, if she is ever in need. Of course, if I ever am a match, I’m sure the news won’t come via email so as you have probably suspected the email was just an update about the progress being made by the Be The Match foundation

Now that I have this platform, I want to use it to reach out. To help save the life of someones baby. What if it is you. What if you are the one who holds the key to a cure inside your bones.

Are you in the Bone Marrow Donor database?

Here was how simple it was for me to get on the list:

Go to a donation center, give blood, sign a form.

It can be even easier for you. You can click here, fill out a form online and order your cheek swap kit through the mail. It’s so easy. 

It took about twenty minutes. Although it did cost me about $50 at the time, I can now put my mind at ease that I am doing what I can. $50 is a lot, more to some people than to others, but it was worth it for me know that I wasn’t the reason that someone was dying.  That I wasn’t caring the lifesaving cure inside of me while someone was dying, over a mater of $50. 

Click here to find out how you can get on the list of Bone Marrow Donors. 

Here are some simple facts about Bone Marrow Donation and how and why to get on the list:

Q: If I join the Be The Match Registry, how likely is it that I will donate to someone? 
A: On average, one in every 540 members of Be The Match Registry in the United States will go on to donate bone marrow or peripheral blood stem cells to a patient. We cannot predict the likelihood that an individual member will donate because there is so much diversity in the population. However, if you are between the ages of 18 and 44, you are 10 times more likely to be called as a marrow donor than other members of the Be The Match Registry. That’s because research shows cells from younger donors lead to more successful transplants.

Every person who joins the registry gives patients hope, and new patient searches begin every day. You may never be identified as a match for someone, or you might be one of a number of potential matches. But you may also be the only one on the registry who can save a particular patient’s life.

Q: How do I become a bone marrow donor? 
A: The first step to become a bone marrow donor is to join the Be The Match Registry. Doctors around the world search our registry to find a match for their patients. If a doctor selects you as a match for a patient, you may be asked to donate bone marrow or cells from circulating blood (called PBSC donation).

Q. Does bone marrow donations involve surgery?

A: The majority of donations do not involve surgery. Today, the patient’s doctor most often requests a peripheral blood stem cell (PBSC) donation, which is non-surgical.

Q. Is Donating painful or involve a long recovery?

A: There can be uncomfortable but short-lived side effects of donating PBSC. Due to taking a drug called filgrastim for five days leading up to donation, PBSC donors may have headaches, joint or muscle aches, or fatigue. PBSC donors are typically back to their normal routine in one to two days.

Q. Is donating  dangerous or weaken the donor?

A: There are rarely any long-term side effects. Be The Match® carefully prescreens all donors to ensure they are healthy and the procedure is safe for them. We also provide support and information every step of the way.

Q. Once you have been chosen as a match do donors have to pay to donate?

A: Donors never pay to donate. We reimburse travel costs and may reimburse other costs on a case-by-case basis.

Q: Does race or ethnicity affect matching?
A: Racial and ethnic heritage are very important factors. Patients are most likely to match someone of their own race or ethnicity. Today, there simply aren’t enough registry members of diverse racial and ethnic heritage. Adding more diverse members increases the likelihood that all patients will find a life-saving match.

Members of these backgrounds are especially needed:

  • Black or African American
  • American Indian or Alaska Native
  • Asian, including South Asian
  • Native Hawaiian or other Pacific Islander
  • Hispanic or Latino
  • Multiple race
This in no way relates to Chipotle Hummus. Except that maybe those lazy summer days, hanging out with friends, enjoying a spicy dip, are gifts that you maybe able to give another person, if you are a match. And if you get on the registry, and get to donate marrow and save someones life: I will be really jealous. 

Chipotle Hummus

15 ounces garbanzo beans

1/4 cup tahini

3 chipotle chilies in adobo sauce

1 tsp garlic powder

1/2 tsp cumin

2 tbs olive oil

1/4 cup lemon juice

1-3 tbs water

salt and pepper to taste

Crudites for serving

In a food processor, add the garbonzo beans, tahini, chilies, garlic, cumin, olive oil, lemon juice and process until smooth. Add the water until you reach the consistency that you prefer, more water will equal a creamier hummus. Salt and pepper to taste.

I find that this dip tastes best with the cool crunch of fresh vegetables such as cucumber slices, sliced peppers and carrot sticks.

Follow me on twitter

Follow me on Pinterest

Like Domestic Fits on Facebook


Prosciutto Wrapped Olives Stuffed with Goat Cheese

Last week, I mentioned how bloggers rarely make the same recipe more than once. We are in constant pursuit of the Next Big Thing. That exciting recipe that will be pinned, and shared and trafficked like crazy. Our poor spouses wondering why we rarely make their favorites anymore.

Over the weekend I had some readers ask me which recipes I DO make all the time, so here is a list for you.

Ten recipes I make on a regular basis:

1. I made these breakfast muffins last night, as a quick on-the-go breakfast for this week. Less than 200 calories and keep me full until lunch. 

2. In one form or another, I make this salad several times a week. It’s my go-to lunch. 

3. This is the pie crust I always make. 

4. I always make this vegetable gratin for holidays, it was one of my first posts so forgive the photos.  

5. When I make layer cakes, this vanilla pastry cream is what I usually use as a filling.

6. This Chocolate Strawberry Shortcake is an easy dessert that I tend to make again and again. And once you make the whipped cream from scratch, you’ll never buy store bought again.

7. I roast a chicken at least once a month. You should too. It is cheap (about $5 and feeds 4), easy and you can make delicious broth from the scraps.

8. Eggs Benedict is a fav of my husbands and I make it at least once a month. This Italian Eggs Benedict with Pesto Hollandaise is a one of my favorites.

9. I’ve also started to make my own tortillas. Not just because they are so much better, but they are also a way to use up that bacon fat I store in the fridge and they only cost a couple of cents to make yourself.  

10. And for number ten, I’m including this recipe below. It was so easy, quick and with only 3 ingredients I can’t imagine never making it again. Oh, and super addictive if you love goat cheese and prosciutto as much as I do.


Prosciutto Wrapped Olives Stuffed with Goat Cheese

Ingredients:

24 large (or colossal)  Black Olives

6 thin slices of prosciutto

2 oz goat cheese

Directions:

Cut each slice of prosciutto in half, length wise, and then again width wise forming a “T” cut. This will leave 4 sections of prosciutto, about 4 inches by 1 inch for each slice of prosciutto.

Stuff all of the olives with goat cheese.

Wrap each olive with a small slice of prosciutto and secure with a toothpick.


Follow me on twitter

Follow me on Pinterest

Like Domestic Fits on Facebook


Homemade Roasted Garlic and Caramelized Onion Dip Plus How To: Roast Garlic & How To: Caramelize Onions

One big food blogger secret is that we rarely make recipes more than once. It’s true. And sad. It’s this constant race to provide new, fun, exciting, creative content for you that leaves us little time to revisit those recipes that we love. Of course, there are always those few recipes that we will make all the time, for the rest of our lives even if it means missing an opportunity to create a new post. This is one of those recipes for me. All I want to do now is make it all over again and add bacon and parmesean cheese. 

So addictive, creamy and delicious. 

It’s a simple recipe with only a few ingredients. It isn’t hard to make but it does take time to develop the flavors, time that is well worth it. I’m moving myself and my family away from process’s foods as much as I can, a little at a time and this is my way of having that onion dip that everyone’s mom used to make with the instant soup mix packet, but with loads more flavor and no mysterious chemicals. 

Also, I’m going to show you the right way to cut an onion. 

And how to roast garlic. 

Two skills that I hope stick with you for the rest of your life. My kitchen would be a much different place without onions and roasted garlic. 

Roasted Garlic and Caramelized Onion Dip

1 whole white onion (I used a Walla Walla Sweet onion)

1/4 cup olive oil, plus 1 tbs, divided

1 large head of garlic

8 oz cream cheese (softened)

1/4 cup sour cream

salt and pepper to taste

How to cut an onion:

Cut the onion in quarters. 

With the tip of the knife close to the center, make vertical cuts all the across the onion, about 1/4 inch apart.

Then cut the onion in the other direction, cutting across the cuts you just made. 

In a large pot or dutch oven, heat 1/4 cup olive oil. The key to caramelizing onions, and not BROWNING them, is: low and slow. Heat the olive oil over medium heat until shimmery, then reduce the heat to low and add the onions and a pinch of salt. Stir occasionally until the onions are soft and have turned an amber color. You want them to have that amber color or the sugars in the onion haven’t been caramelized yet and the flavors are not developed. This will take between 30 and 40 minutes, but you only have to stir occasionally so it isn’t a lot of work.

 How to roast garlic:

This is very easy and gives you the most incredible tasting stuff. If you haven’t roasted a head of garlic yet, you should. 

Preheat the oven to 400.

Cut the top off of the head of garlic. 

Place on a sheet of aluminum foil and drizzle with 1 tbs olive oil. 

Fold the foil up over the garlic into a tight packet. Place in a baking dish (I use a muffin tin) and place in the oven. 

Bake at 400 for 30 minutes, or until garlic is soft and starting to turn an amber color.

Once you have brought out those incredible flavors in your garlic and your onions, break out the food processor. 

Add the softened cream cheese, sour cream, onions and squeeze the garlic head until the soft cloves pop out and add them to the food processor as well. 

Process until smooth and creamy. Add salt and pepper to taste. 

So simple, so good. 

Next time, I’m gonna try it with bacon and Parmesan cheese. I’ll let you know how it goes. 

Printable: Roasted Garlic and Caramelized Onion Dip

Follow me on twitter

Follow me on Pinterest

Like Domestic Fits on Facebook to receive updates about new posts in your feed!


Homemade Ricotta and Prosciutto Wrapped Mangos on Toast

I’ve been re-reading Plate to Pixel this week. An attempt to push myself forward off this photography plateau I’ve been stuck on. I struggle, at times, with the balancing act that is being a mom, working full time, and maintain a blog. When my photos suck, and I know it, I see them as the crack that will bring down the wall and a panic begins to rise within me.

I know that when it comes to the blog trifecta: "Recipes-Photos-writing" I have a long way to go in all areas. The pursuit of goals isn’t about being perfect, or even about raw talent, as much as it is about struggle. Continue to fight, learn, seek objective feedback, challenge yourself, and don’t give up. 

The best thing about this recipe, is how easy it was to make homemade ricotta. Cheese making has been on my To Do list for a while and ricotta was a great intro, so easy and fast. 


Durring my research, I used three posts as guides and made two batches, all of which I consumes over the weekend. 

I used posts from these three blogs:

Fat Girl Trapped in a Skinny Body

Smitten Kitchen

The Italian Dish 

I used the milk I had on hand, and this is what I came up with:

Homemade Ricotta and Prosciutto Wrapped Mango on Toast

2 cups of whole milk

1 cup of cream

1/2 tsp salt

3 tbs lemon juice

8-10 large slices of sour dough bread

1 large mango

4-6 slices of prosciutto, sliced in half down the center to make 8-12 long skinny strips

salt and pepper to taste

To Make the Ricotta:

Put the milk, cream and salt into a sauce pan. Attach a thermometer (either candy or deep-fry is fine) to the side of the pot, making sure that the tip of the thermometer does not touch the bottom of the pan but is still submerged in the milk.  Heat over medium/high heat until it reaches 190 degrees, about 6-8 minutes. You will know it has reached this temperature because it will foam up really fiercely. 

Remove from heat and add the lemon juice, stir only once. you want it to distribute, but you don’t want to disrupt the curds that will be forming. Leave it alone for about 5 minutes. Don’t touch it. 

Place a mesh strainer over a large bowl, line the strainer with 3-4 layers of cheese cloth. 

It will still be pretty thin, this surprised me. I was expecting something that looked like cottage cheese, and it looked more like thick milk. Thats fine. Pour it into the strainer that you have lined with cheese cloth. 

Allow it to drain for about 20 minutes to 2 hours. The longer you allow it to drain, the thicker and stiffer it will be. Remember that once you chill it, it will continue to thicken, so place it to chill when it is a bit softer than you want the final product to be. 

I liked Julia’s tip about tying the cheese cloth to the kitchen faucet in order to speed the draining process up a bit. Worked like a charm. 

Scrape the cheese into a a container with an air tight lid. Chill for at least 20 minutes prior to use. 

Ricotta should keep in the fridge for about 5 days. 

To make the toast:

Using a biscuit cutter, cut 3 to 4 inch circles out of the bread. Place under the broiler until golden brown, about 2-3 minutes per side. 

Peel and slice the mango, wrap with prosciutto. 

Spread each toast circle with ricotta, top with a prosciutto wrapped mango, sprinkle with salt and pepper. 

I also made these with apples slices, and that was equally as amazing. 

Baked Sweet Potato Chips With Cinnamon Caramel Dipping Sauce

I made these little chips the other day.

The where so cute, slightly chewy and a little crunchy.

And they are even healthy. Only about 7 calorie each. But, no one eats ONE, that’s insane. So, think of it like 70 calories if you have 10, or 140 if you have 20. And it makes you think that you are eating something that’s bad for you, which makes it taste better. 

But of course, I got to thinkings. About how much I like to dip things.

And how in love I am with sauces. Even though this Cinnamon Caramel Dipping sauce makes it SO much less healthy, its super yummy. And it’s a good example of that balance thing I’m always running my mouth about. 

Baked Sweet Potato Chips With Cinnamon Caramel Dipping Sauce

2 large sweet potatos

Olive oil flavored cooking spray

1/4 tsp sugar

Caramel Sauce:

1/2 cup sugar

2 tbs honey

4 tbs unsalted butter, cut into cubes

1/2 cup heavy cream

1/4 tsp cinnamon

1/2 tsp vanilla

Preheat oven to 375

Slice the potatoes as thin as you can possibly make them. Using a mandolin slicer is the best way to do this, as it insures that your potato slices will cook evenly. If you don’t have a slicer, use this as an opportunity to practice those knife skills! Remember that thick slices will yield much different results. 

Cover a baking sheet with aluminum foil, shiny side up. Spray with olive oil spray. Arrange the potatoes in a single layer on the baking sheet, making sure they don’t touch each other. Spray lightly with olive oil spray and sprinkle lightly with sugar. Flip the slices over and repeat. Bake at 375 for ten minutes. flip over and continue to bake until the potatoes are browned, about 8-10 minutes. Keep a close eye on your chips, they go from done to burned very quickly. 

Make the sauce:

In a pot over high heat, add the sugar and the honey. Stir until the sugar is disolved, do not stir again while the caramel is cooking, but swirl the pan every 30 seconds to redistribute the caramel sauce. Allow to cook until the sugar is an amber color and about 220-225 degrees. Remove from heat and stir in the butter. Add the cream, vanilla and cinnamon and stir until combined and the sauce stops bubbling. Allow to cool a bit before serving. 

Printable: Sweet Potato Chips With Cinnamon Caramel Dipping Sauce

Make sure to Like Domestic Fits on Facebook to receive updates about new posts in your feed. 

Homemade Buffalo Wing Sauce

There are food and activity parings that strongly associate in our minds, food that will always be linked to a specific occasion. Crab cakes remind me of weddings, Ritz Crackers and Cheddar Cheese squares are paired with trips to the river, Chicken Salad Sandwiches are for bridal/baby showers and Buffalo sauce is for sports watchin'. Can you even hear that word and not want to put on a team jersey?

read more

The Best Little Quinoa Salad Ever

By now, you  have probably heard a thing or two about this scandal with Paula Deen. If you haven’t, here is a recap:

Paula Dean was diagnosed with Type 2 Diabetes.

Three years ago.

The number 1 treatment for Type 2 Diabetes is diet and exercise.

She continues to cook large volumes of high fat, high sugar food on TV, in her restaurants and cook books.

She now wants to endorse a Type 2 diabetes drug and "comes clean" about her diagnoses.

The public freaks out.

Although we all have opinions about, well, just about everything and everyone we have ever met, I’m not concerned about Paul Deen. I don’t know her, and it’s none of my business.

But I am concerned about you. And me. And what I feel like is my responsibility to you. I have quite a few "special occasion" food recipes on this blog, made with high fat, high calorie, high sugar ingredients. And I hope that doesn’t give you the wrong idea.

I hope you all read my post about how I don’t eat like that all the time and how I stay in shape.

Learning from someone else’s mistakes is better than making one yourself, the same dramatic positive changes without the mess to clean up. Use her as inspiration, not as fodder for gossip. She is unhealthy and needs to make changes in her life, but that’s her business.  How can we take this all in, look at ourself and see how to make our own changes rather than making her the villain? How can we help the people we love who are living unhealthy lives? How can we all be in this together and use it as a way to live better and eat better?

How can we have those uncomfortable conversations with people we love who are killing themselves with food? You know who just popped into your head when you read that. Why haven’t you talk to that person?

Use Paul’s story as an icebreaker in your own life. As inspiration to change. 

Whether she decides to change or not, who cares? 

I’m glad this came out, but can we stop pointing fingers and starting living better?

Here is my salad, my way of staying in shape. I eat it about 5 days a week in various forms and this one is my favorite.

Chocked full of protein, iron, amino acids, general good stuff. It also keeps me full until dinner.

Best Quinoa Salad Ever

 2 cups arugula (or spring greens), chopped

1/2 cup cooked quinoa (Here is how you cook Quinoa the RIGHT way don’t cook it like rice or it will be mushy)

2 tbs pine nuts

1/2 an avocado, chopped

1 oz goat cheese

1/4 cup Pomegranate seeds

2 tsp Balsamic vinegar

Toss it all in a bowl, makes about 2 servings.

Printable: Best Quinoa Salad

Take a second to Like Domestic Fits on Facebook to receive updates about new posts in your feed.