About the time I started to get really into cooking was right about the time I was talked into doing some runway modeling. At 5 foot 7 and 120 pounds, I was know as the "short chubby model," which was equal parts laughably ridiculous and self-esteem crushing. I only did a few runway shows before I realized that this was not a world I wanted to be a part of.
During those brief months of trying to fit into an unrealistic idea of what I was supposed to look like, the only thing of value that I walked away with was a few tricks to cooking healthy. I was never willing or able to starve myself to attain the coveted double zero dress size, I always wanted food that was full of flavor, even if I was cutting back on calories. Even now, several years and about a dozen pounds later, I need to eat. Healthy or un-healthy, my food has to taste good.
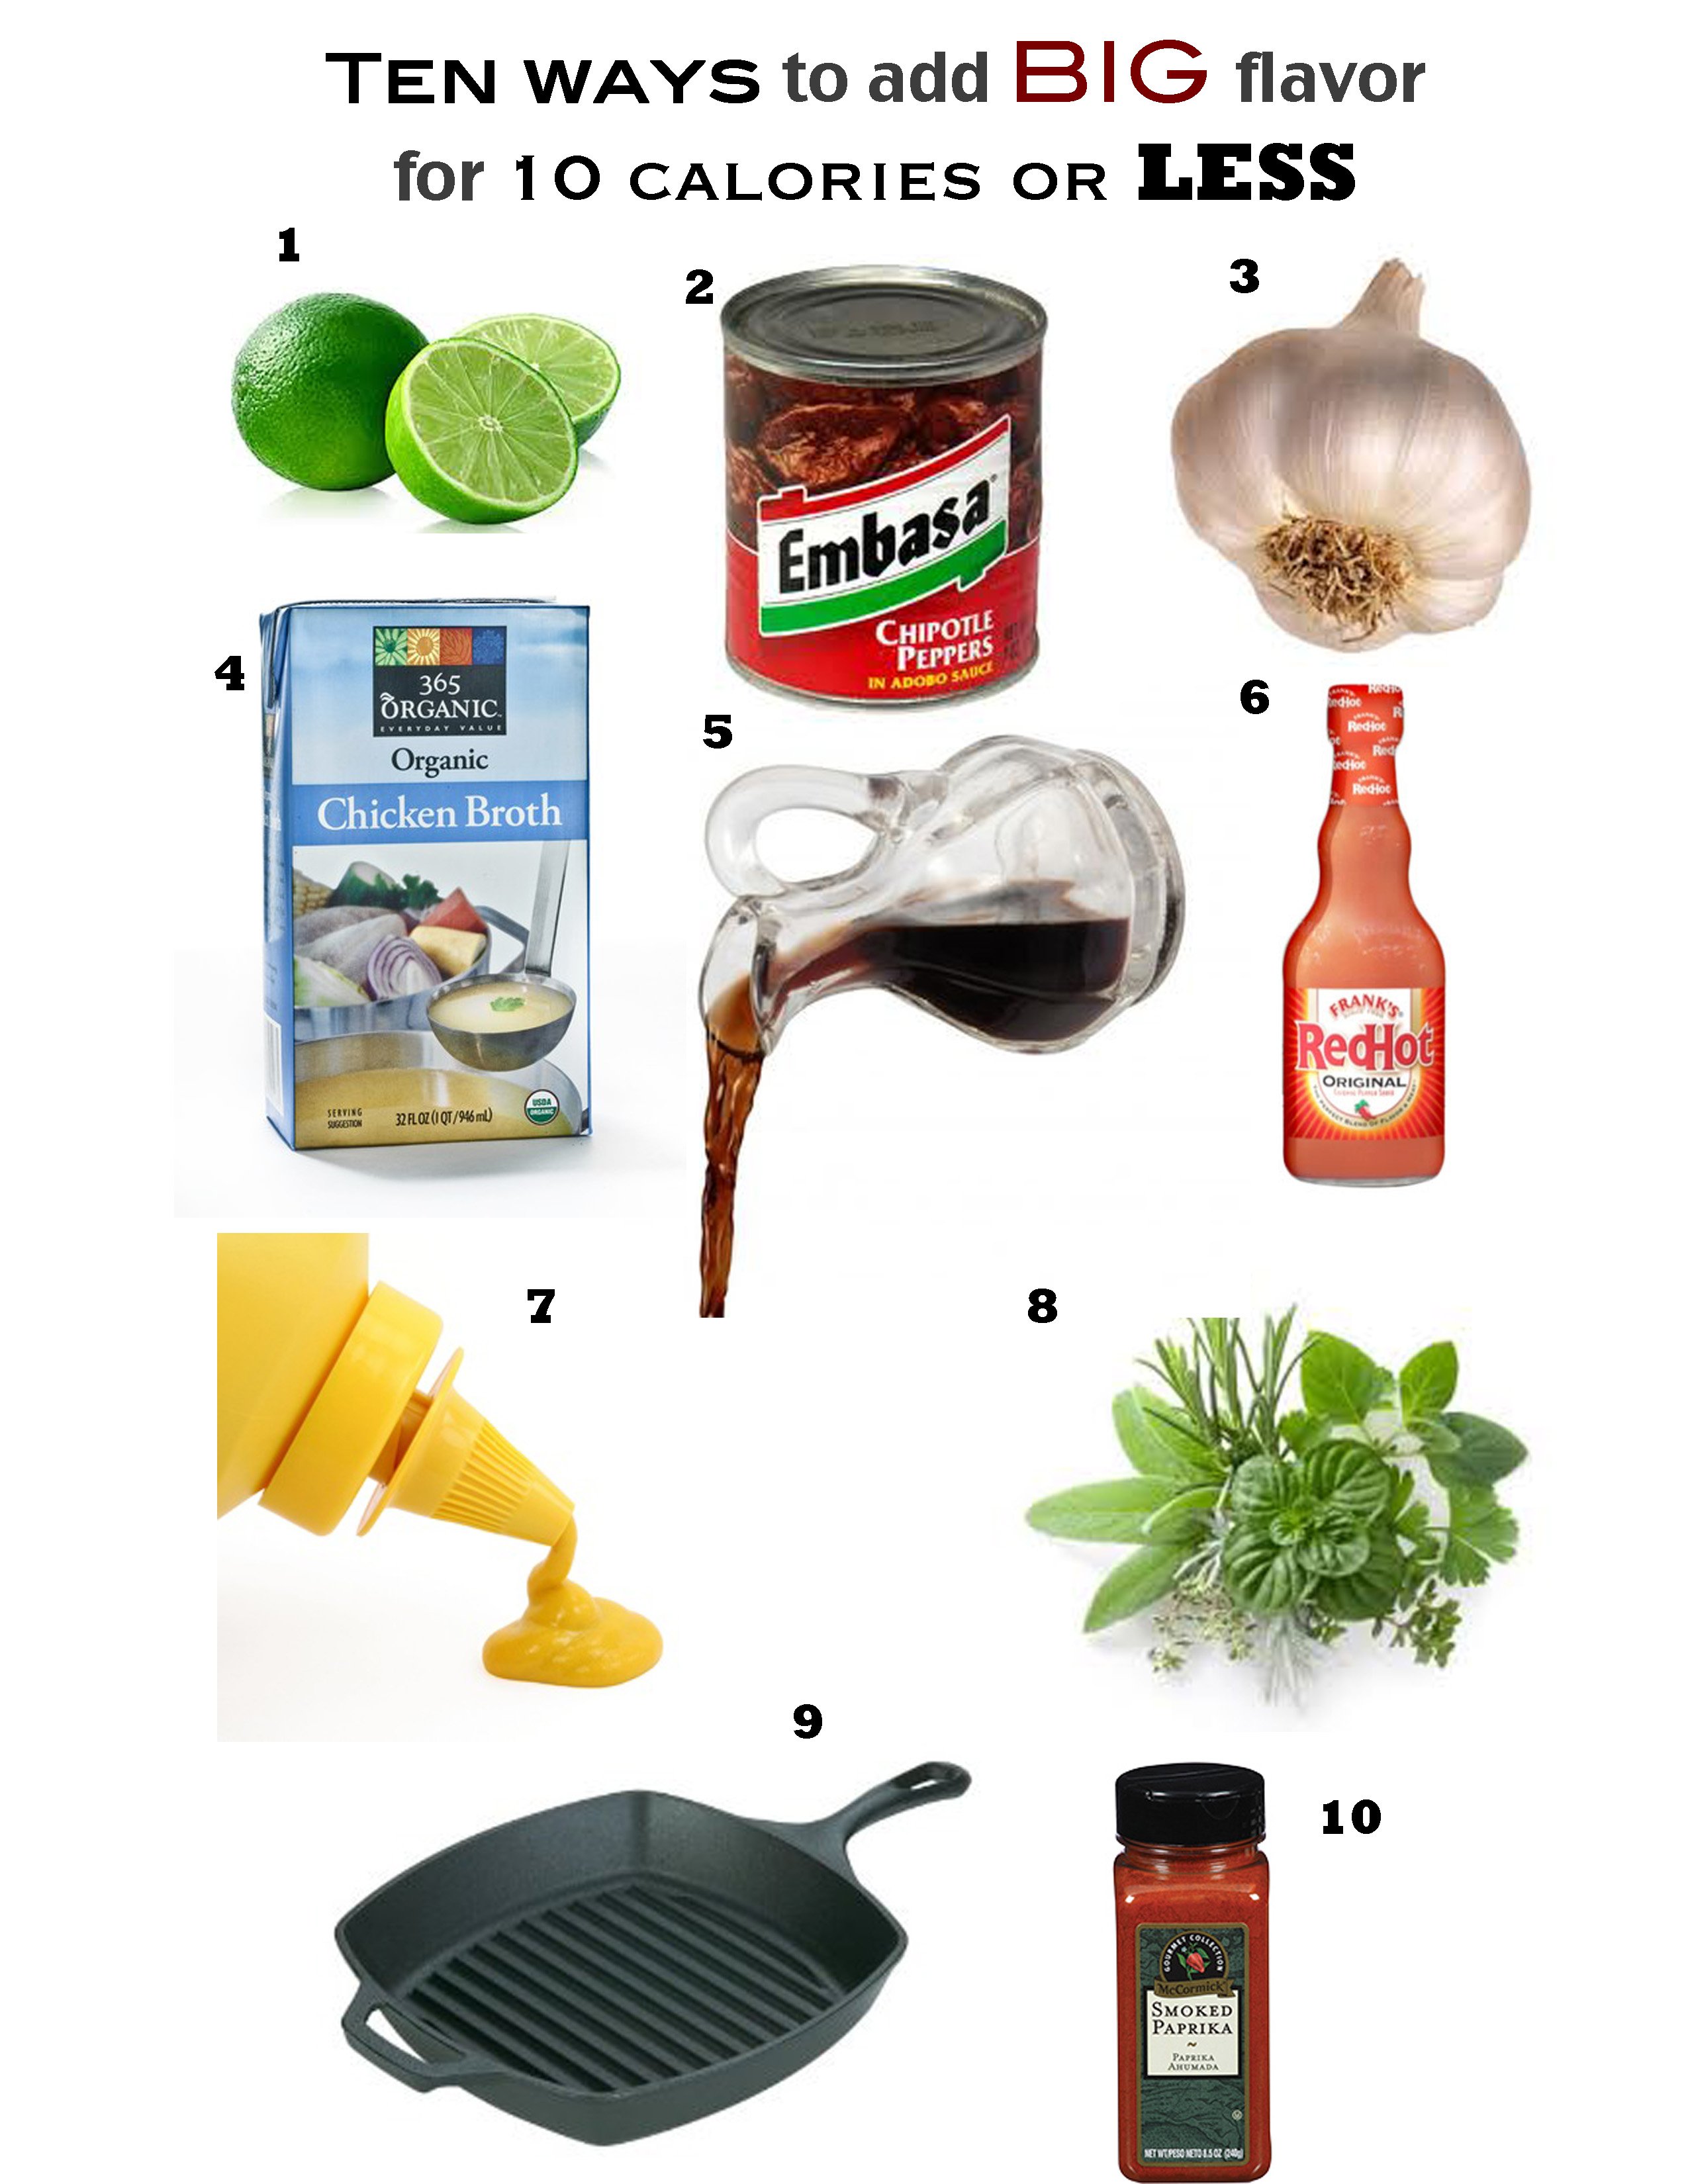
Lucky for us, there are a lot of ways to add big flavor that don’t add calories. Even if you aren’t trying to walk a cat walk, (and I would not recommend it, to be honest, it sucks), we all have times when eating healthy is more important to us. But flavor should always be on the top of the list.
Lime juice–10 calories. Perfect to balance out a spicy dish.
Chipotle– 2 calories per serving. Huge smokey, spicy flavor for just two calories!
Garlic– 2 calories. Roasted, minced or dried, it adds a warm bold flavor to any savory dish.
Chicken broth– 2 calories. Use this instead of water to make quinoa or brown rice for bigger flavor
Balsamic vinegar– 10 calories. Great on salads for a fraction of the calories of creamy dressing.
Hot sauce– 1-10 calories. Nothing will kick up the flavor of boring white meats like Franks Red Hot!
Mustard– 3 calories. A little goes a long way to give a bold flavor to chicken or pork.
Fresh herbs– 1 calorie. Gives you a bright, fresh flavor that makes dishes more satisfying, plus added health benefits!
Grill pan– 0 calories or less. This is my go-to! Removes fat from meat and gives you a nice grilled char! I use one similar to this grill pan (affiliate link).
Smoked paprika– 1 calorie. I use this all the time. It’s warm and satisfying, my favorite spice to add to anything savory! Use it with garlic powder, onion powder, chili powder, salt and pepper for an easy, healthy, homemade spice rub!
A lot of high calorie food and beer that can leave me feeling like I want to take a nap in some kale. I tend to pendulum swing between wanting really bad for me food and really good for me food but I want it all to taste good.
So I’ve developed a fixation with produce. And how to manipulate it into tasting like that other side of the coin that leads me down a path far away from my skinny jeans.
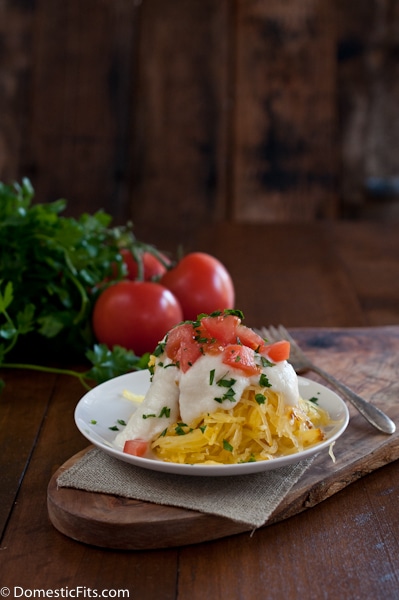
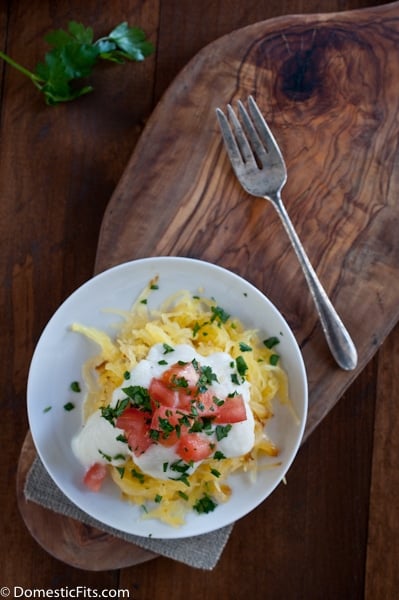
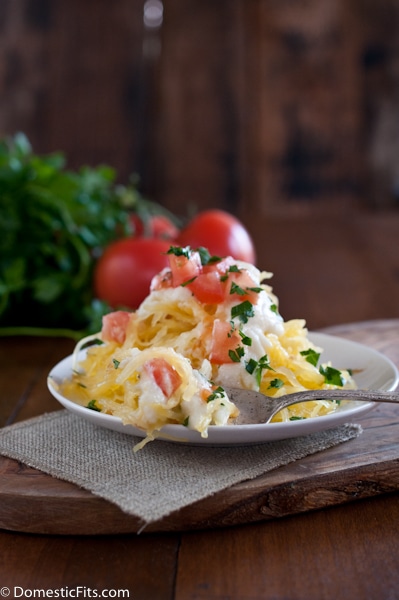
So here you have my version of a pasta dish, made up mostly of vegetables, and a hefty serving weighs in at only 125 calories.
In fact, if you ate the entire batch it would only be 500 calories.
And you would be very full.
Spaghetti Squash Alfredo: 125 Calories
Ingredients
1 large spaghetti squash
1 head cauliflower (1.5 lbs), chopped
½ cup skim milk (2% and whole milk work too)
½ cup chicken broth
½ tsp garlic powder
½ tsp onion power
pinch cayenne
1 tbs lemon juice
2 tbs Greek yogurt
¼ cup parmesan
1 large tomato, chopped
¼ cup parsley, chopped
Instructions
Cut the spaghetti squash in half, scoop out and discard the seeds and strings in the middle of the squash.
Place, cut side down, on a baking sheet that has been lined with aluminum foil.
Roast at 375 for 30-40 minutes or until a fork easily slides into the skin.
Remove from oven, allow to cool enough to handle. Using a fork, gently scrape and lift the spaghetti like strands of the squash, transfer to four serving plates.
While the squash is cooking, make the sauce.
Cook the cauliflower in lightly salted boiling water until fork tender, about 10 minutes. Drain and transfer to a blender. Add the milk, broth, garlic powder, onion powder, cayenne, lemon juice and Greek yogurt. blend until smooth. Return the mixture to the pot over medium heat. Stir in the cheese, cook until warmed. Thin with additional broth if desired. Salt and pepper to taste.
Pour sauce over squash, top with chopped tomatoes and parsley.
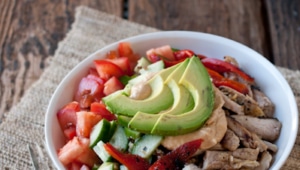
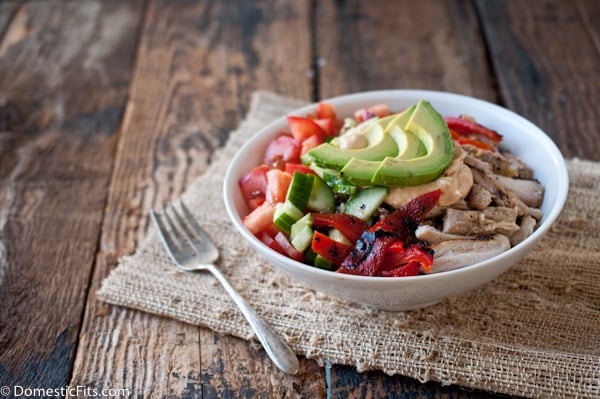
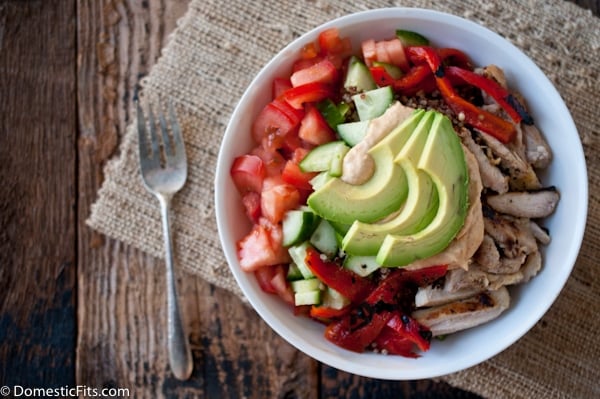
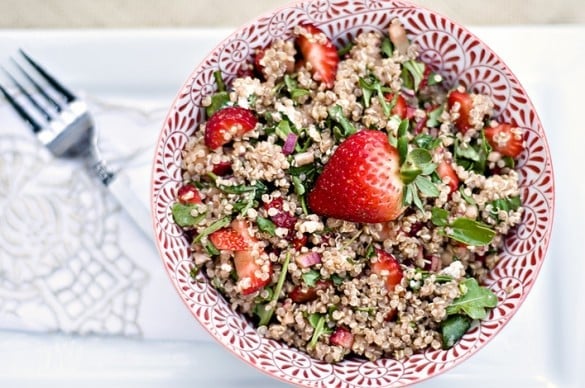
California Quinoa Bowl is healthy, naturally gluten free, dairy free, and complete delicious in just 15 minutes.
There are a few things we like here in California when it comes to naming dishes after our state. First, it should be healthy, we like to at least pretend that we lean towards the health conscious way of life. Second, the inclusion of avocados is almost a necessity (you can leave off those sprouts, by the way) we are quite proud of those gorgeous avocados around here. Lastly, at least three different types of produce is a must, HALF of all the fruits and vegetables that are grown in the United States are grown in California (don’t look so surprised, we are more than just palm trees and reality shows).
As a girl who was born in California and spent most of her life here, I tend to eat this way quite a bit (when not making an egregiously Non-california type dishes such as the Beer Doughnuts). I love quinoa (I always cook it this way as not to render it mushy) I load my plate with produce, and I always use chicken thighs, so much better than those chicken breasts people seem to be so fond of. But then again, maybe it’s living in LA too long I just might be sick breasts all together.
California Quinoa Bowl
Prep Time: 15 minutes
Yield: 4 servings
Ingredients
4 boneless skinless chicken thigh fillets
1 tsp salt
1 tsp pepper
1 tsp onion powder
1 tbs olive oil
2 cups cooked quinoa
1 red pepper, roasted and sliced
1 English cucumber, peeled and diced (or 2 persian cucumbers not peeled but diced)
4 Roma tomatoes, diced
1 cup hummus (I used a spicy hummus)
1 avocado, sliced
Instructions
Sprinkle the chicken thighs on all sides with salt, pepper and onion powder.
Heat olive oil in a cast iron skillet until hot but not smoking.
Cook chicken on both sides until browned and chicken is cooked through, about 3-5 minutes per side. Remove from pan, allow to cool sligthly and slice.
Evenly distribute the quinoa between 4 bowls, top with sliced chicken, red pepper, cucumber, tomatoes and chicken.
Top each bowl with 1/4 cup hummus and a few slices of avocado.
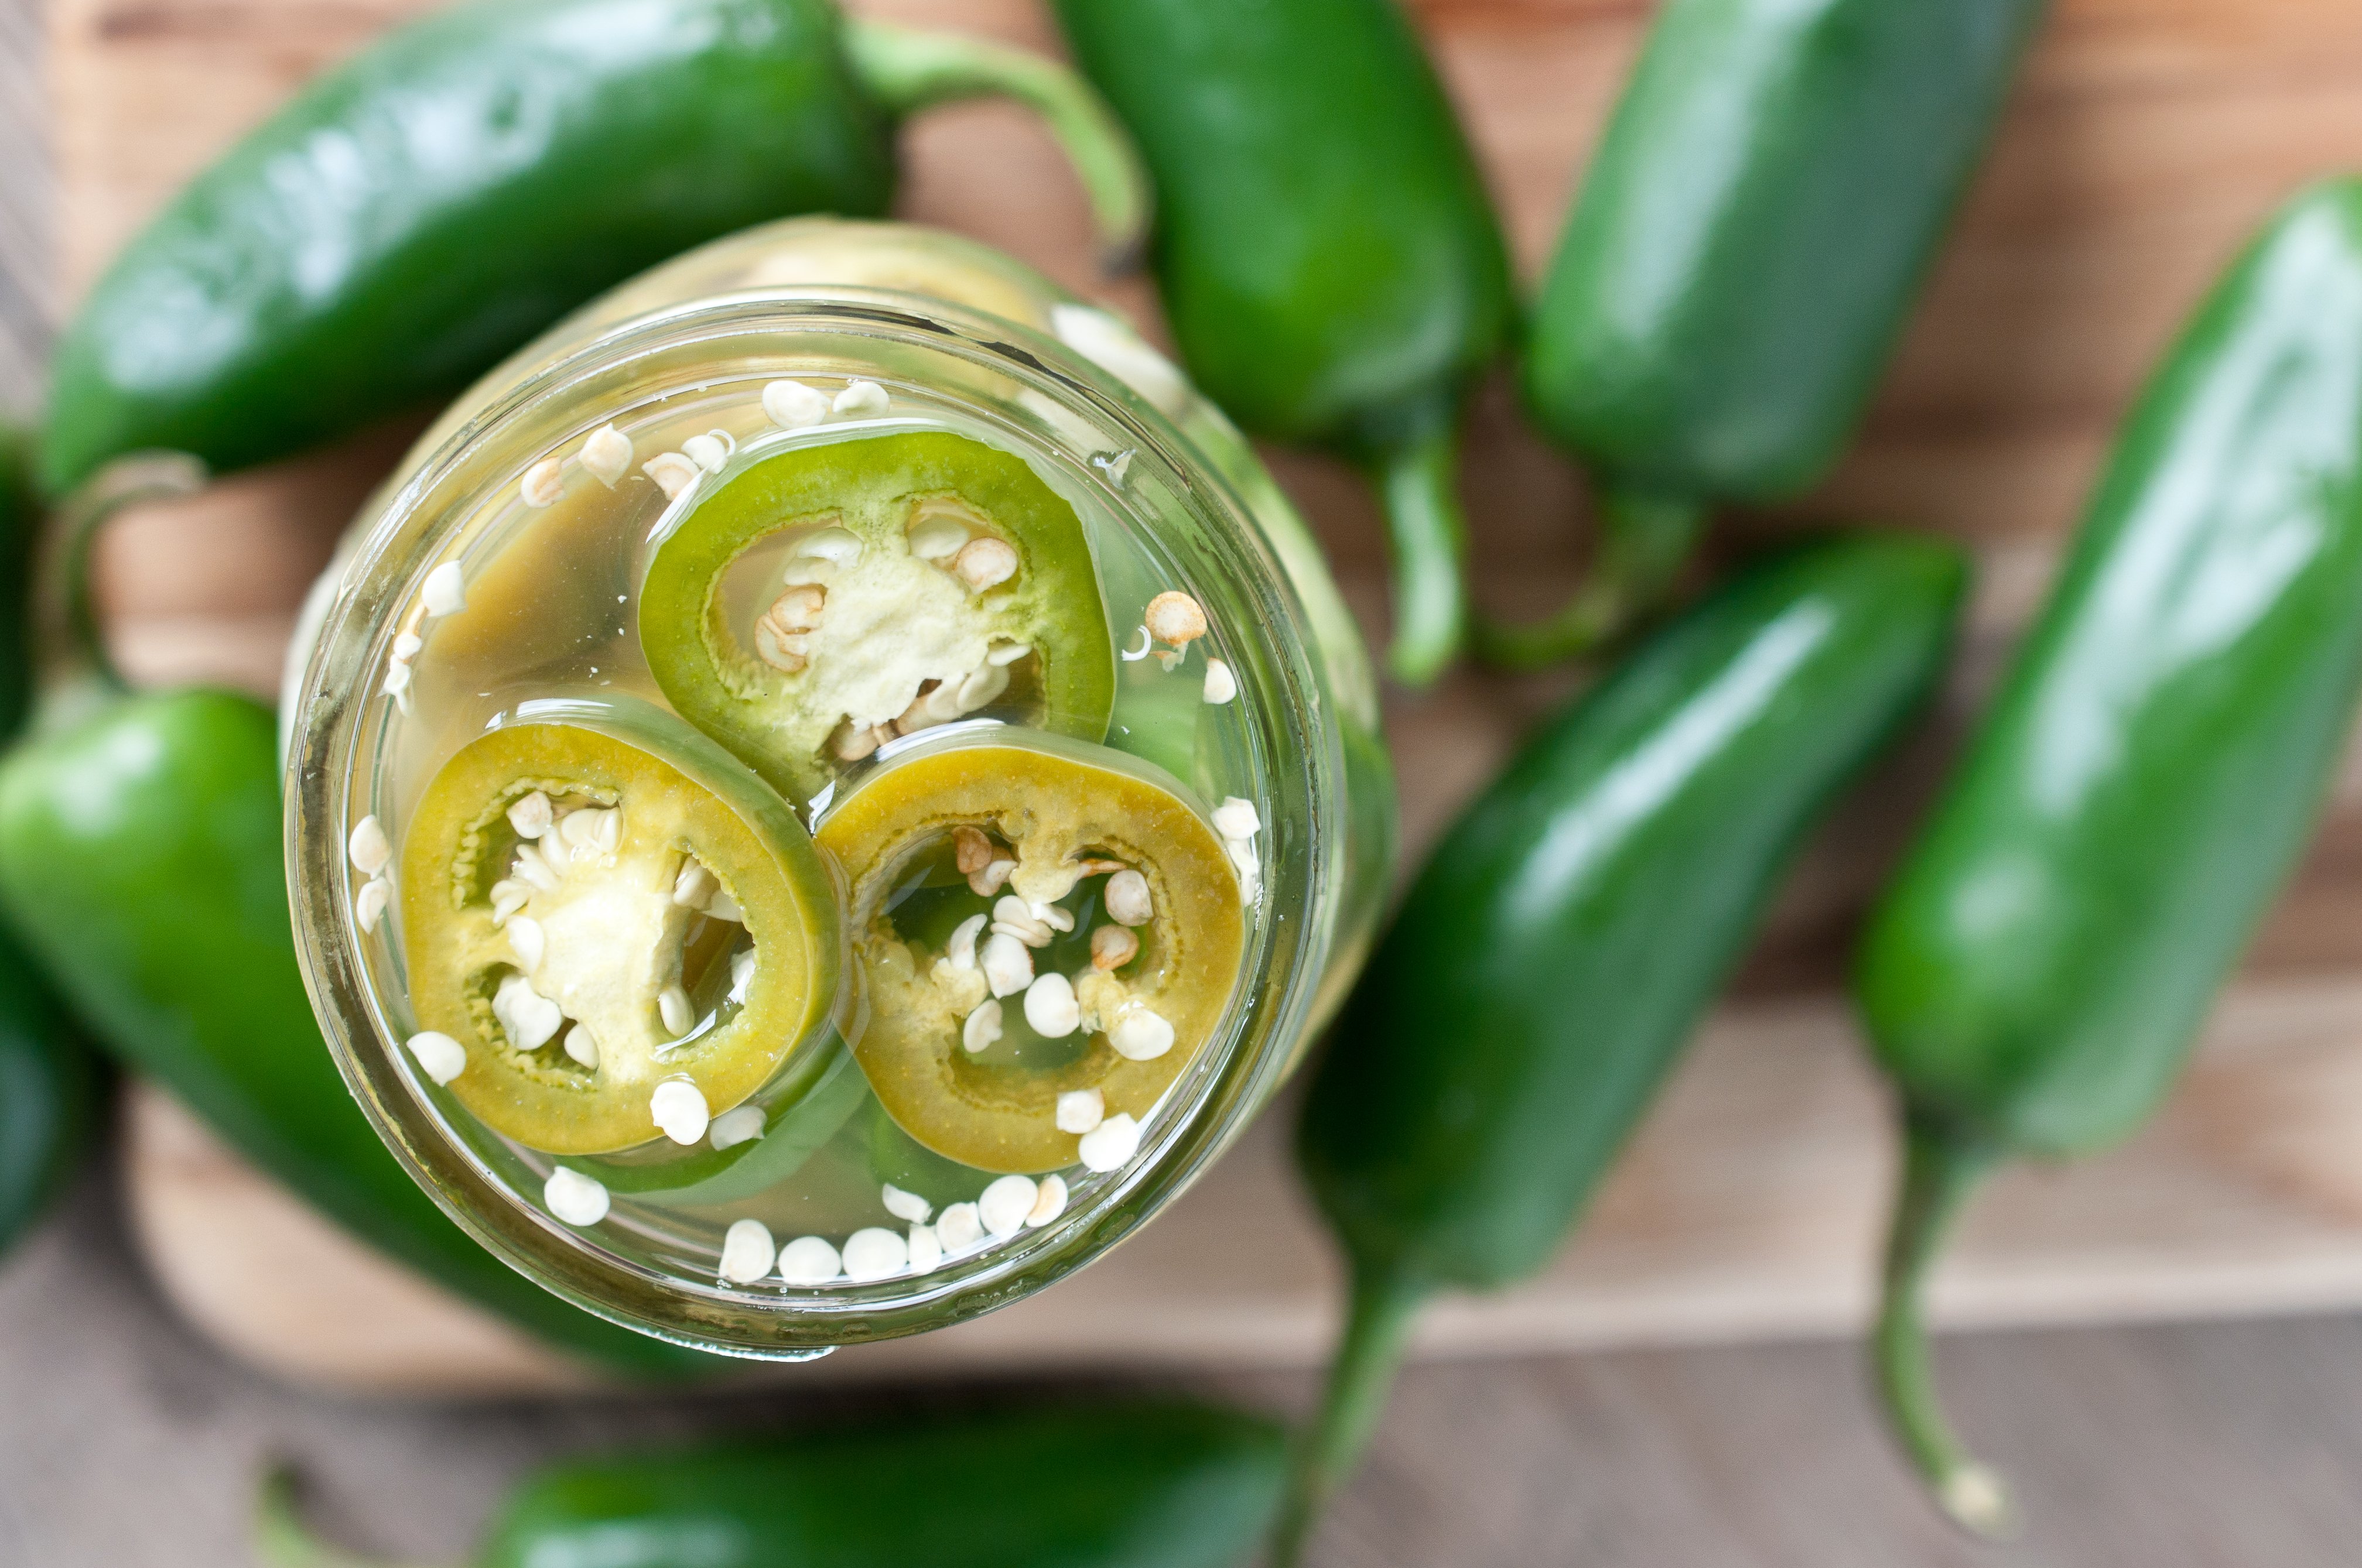
Jalapenos are abundant right now, but that’ll change very soon, when fall starts to chill the fields. I love the brightness of fresh jalapenos, but pickled jalapenos are a staple. Once I figured out how incredibly easy and cheap it is to make my own, I’ve never gone back. I even learned how to water bath can just so that I could make these in giant batches!
The tricky thing about jalapenos is that the heat level varies wildly, and there is no way to tell how hot an individual pepper is. But the good news is that most of the heat in the jalapeno is in the seeds and the membrane in the middle of the pepper, removing all or some will give you control over the final burn.
Once you have yourself a giant batch of beautifully pickled peppers, there is an enormous amount of uses from quesadillas to burgers, I just can’t get enough.
Pickled Jalapenos
Ingredients
15 large jalapenos
¾ cup water
¾ cup vinegar
3 tbs white sugar
2 tbs kosher salt
3 cloves garlic, thinly sliced
Instructions
Slice the jalapenos into ¼ inch rings. Remove all or none of the seeds, depending on desired heat level (the more seeds left in the peppers, the higher the heat level).
In a pot over medium high heat, add the water, vinegar, sugar, salt and garlic. Cook, stirring frequently, until the sugar and salt have dissolved, remove from heat. Allow to cool to room temperature before adding the jalapenos. Place peppers and pickling liquid in an airtight container, such as a canning jar, refrigerate for 4 days and up to three weeks.
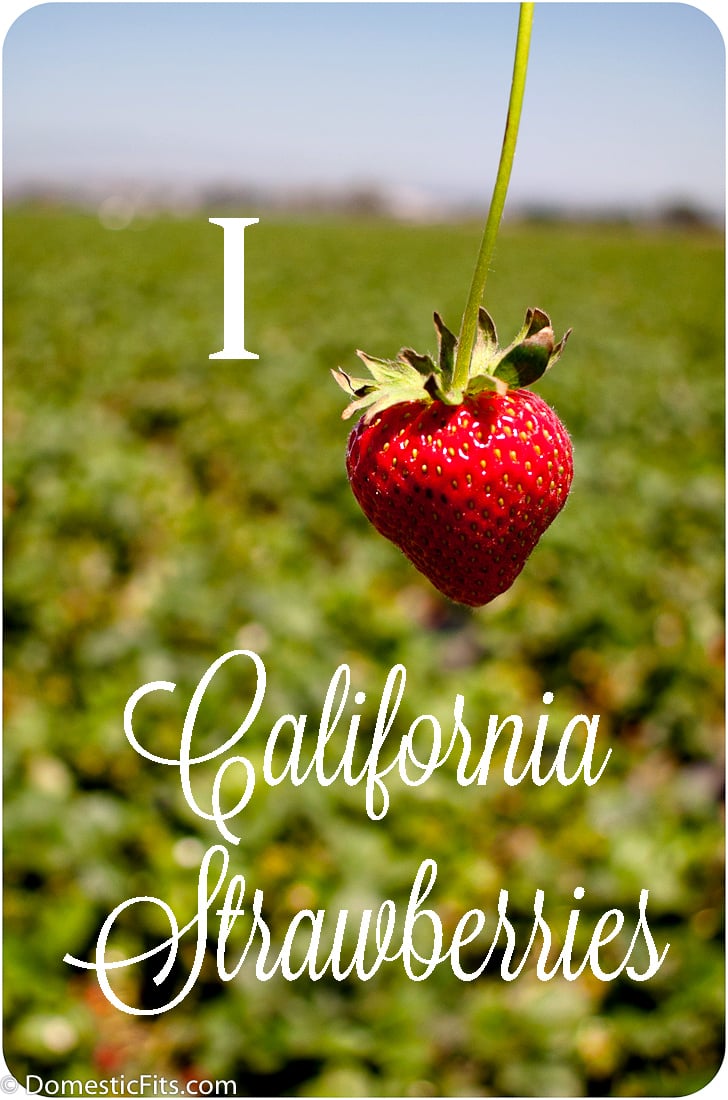
This post is sponsored by California Strawberries. All thoughts, opinions, and ideas are my own.
Lunch box meals are an enormously difficult challenge. You need to have the ability to create a meal that will dazzle a tiny human (no small feat), have the staying power to last in a little box that’s been tossed around in a kids backpack and probably sit at room temperature for a while, be quick to throw together the night before, and packed with nutrition. It’s not surprising that I find it easer to plan my Thanksgiving menu than a weeks worth of unique lunch box ideas.
Strawberries are one of my favorite items to include in the lunch box, she loves strawberries as much as she loves candy but they have incredible health benefits that my growing tiny human needs in her little body. Strawberries are a super food, packed with fiber and vitamin C, plus strawberries are one of the most antioxidant dense fruits, packed with cancer fighters.
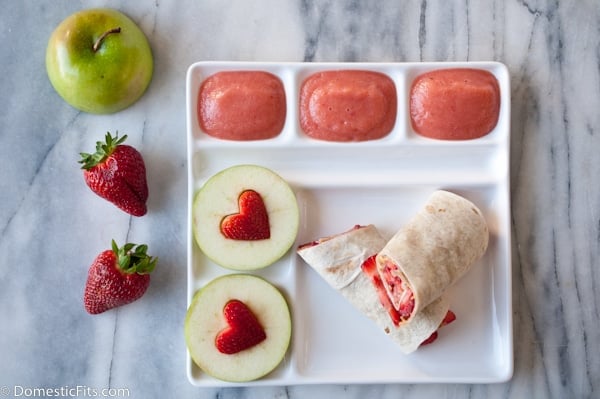
But more than anything, they’re so pretty. I know she’ll reach right for them. The sauce I make is just a combination of apple sauce and strawberries giving it a gorgeous natural pink color that inspired her to name it "Princess Sauce." When trying to move my family away from all artificial food coloring, strawberries are the perfect way to add stunning color in a natural and health filled way.
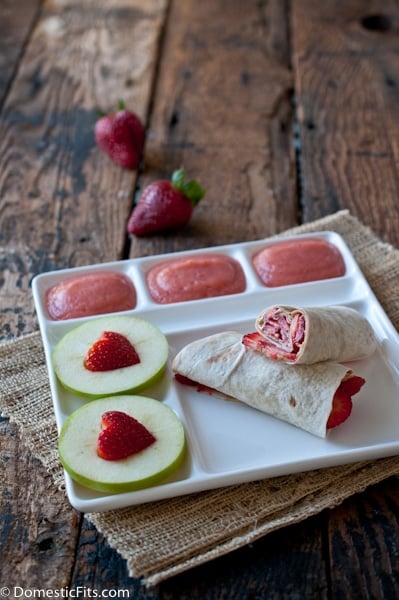
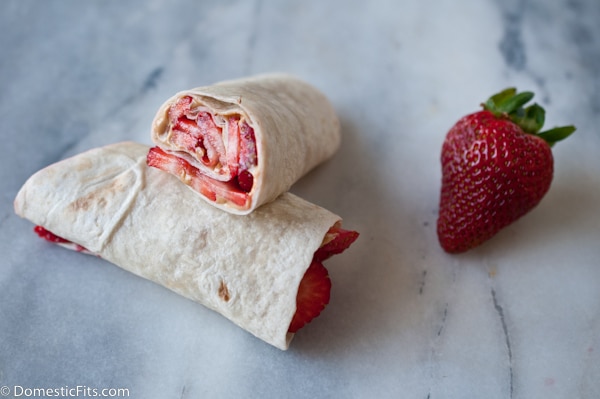
I also really love to make her these Strawberry Peanut butter Burritos. The sliced berries hold up better to a lunch box environment better than jam, there isn’t the risk of soggy bread. She also loves that it’s different than your average sandwich.
This lunch box meal takes less than ten minutes to throw together, and it’s packed with fiber, antioxidants, and general goodness, although she only sees fun finger food. Just the way I want it.
Strawberry Lovers Lunch
Ingredients
Peanut Butter Strawberry Burritos
1 6-inch flour tortilla
3 tbs creamy peanut butter
½ cup fresh sliced strawberries
Apples Heart Strawberries
1 granny smith apple
2-3 large strawberries
Princess Sauce
1/2 cup apple sauce
1/4 cup sliced strawberries
Instructions
For the peanut butter strawberry burritos
Spread the peanut butter liberally across the tortilla
Lay the strawberry slices in an even layer on top of the peanut butter, overlapping slightly.
Roll up into a burrito.
Slice in half, if desired.
For the apples:
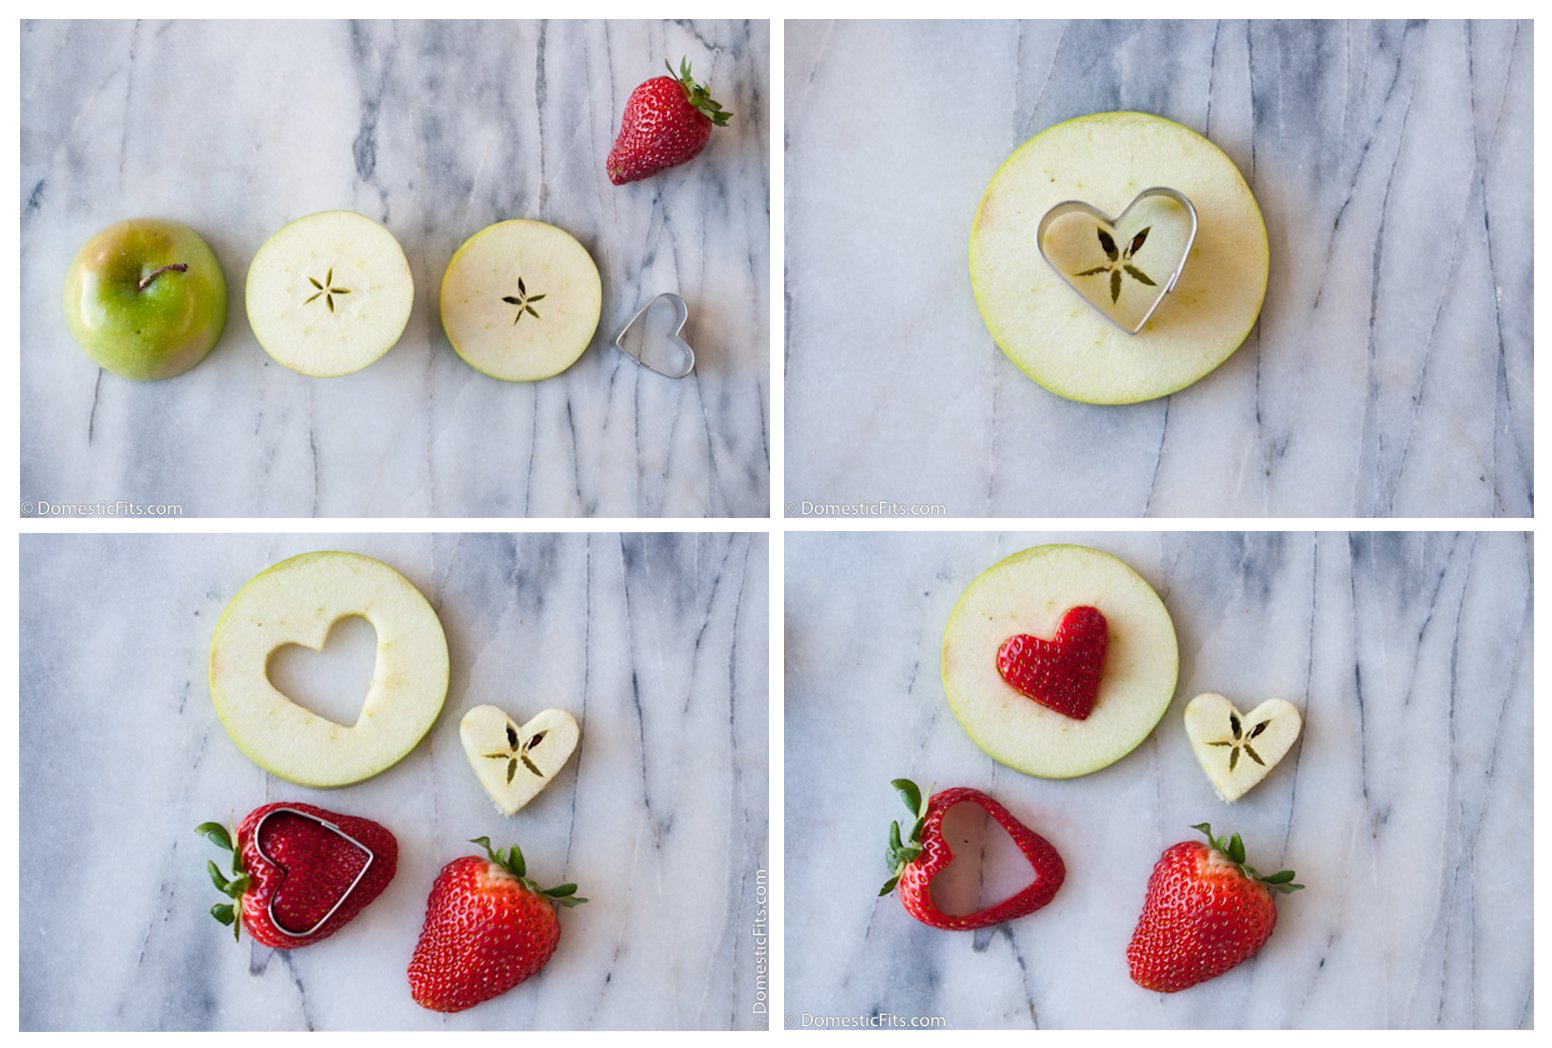
Cut the apple in half across the middle (rather than down the stem) Slice into 4 to 6 (½ inch) rings.
Using a small cookie cutter (I prefer a heart shape) remove the core.
Slice the strawberries down the center, through the leaves.
Using the same cookie cutter used to cut the apples, cut a shape out of each strawberry half. Place the strawberry in the hole in the center of the apple.
For the Princess Sauce:
Add apples sauce and strawberries to a small blender or food processor.
Before I became a member of Club Mom, I had no idea how much time I would spend obsessing over school lunches and after school snacks. Along with how hard it is to cut tiny fingernails and how accustom to contact with bodily fluids you become, these are things not mentioned in those baby books. Heads up kids, there is a LOT they don’t mention in the baby books.
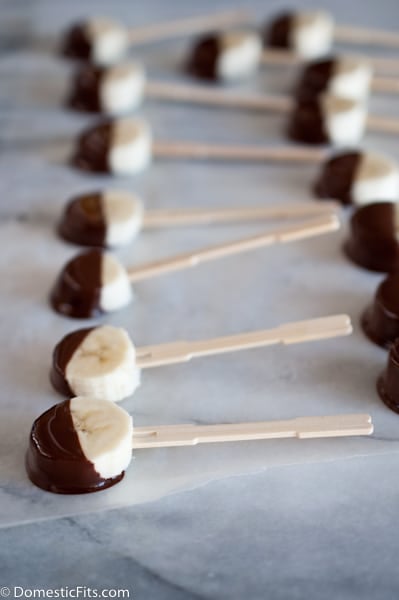
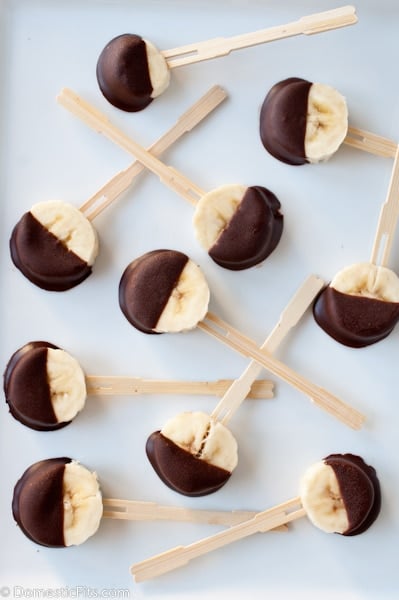
My little lady is a constant mover, more interested in sports than food at this point. She’s tiny and needs bites that are both nutrient and calorie dense to keep meat on her tiny bones. I started to make these because they’re portable, fruit filled, and just enough chocolate to get her interested.
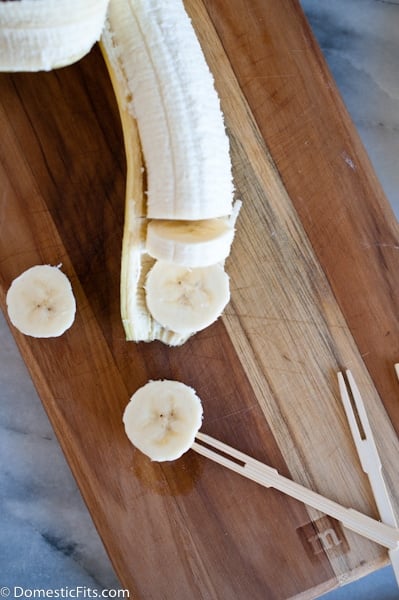
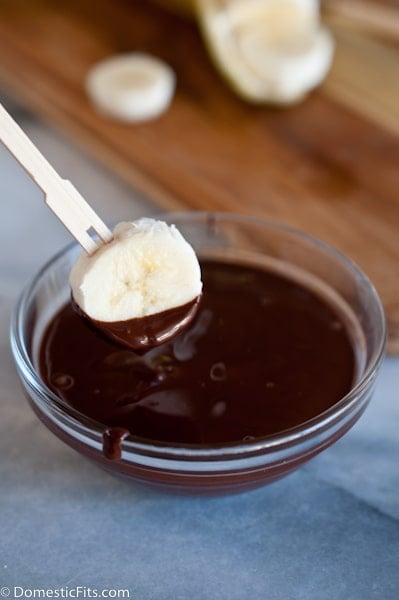
You can also make them with cinnamon chips, yogurt chips or peanut butter chips. It all works out about the same. Just slice the banana into 1/2 inch slices, add a toothpick, melt the chips in a microwave safe bowl, dip, add to a baking sheet covered with parchment paper and freeze. Once they’re frozen you can add them all to a large zip lock bag.
Couldn’t be easier.
And while I’m at it, California Strawberries is doing a fun Build a Better Lunch Box campaign and giving away these adorable lunch boxes. Cute, right? Enter the giveaway here.
After School Snack: Chocolate Banana Pops
Ingredients
1 large banana, ripe but firm
1/3 cup chocolate chips (or peanut butter chips, or yogurt chips)
12 toothpicks
Instructions
Slice the banana into 1/2 to 3/4 inch thick slices.
Skewer with a toothpick.
Add the chips to a microwave safe bowl.
Microwave on high for 20 seconds, stir and repeat until melted.
One at a time, dip the banana bites into the melted chips, place on a baking sheet that has been covered with parchment paper.
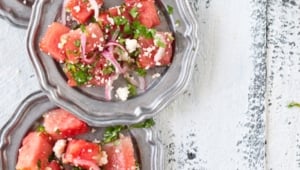
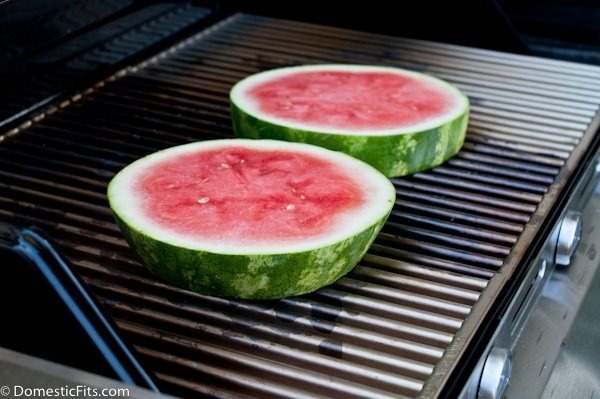
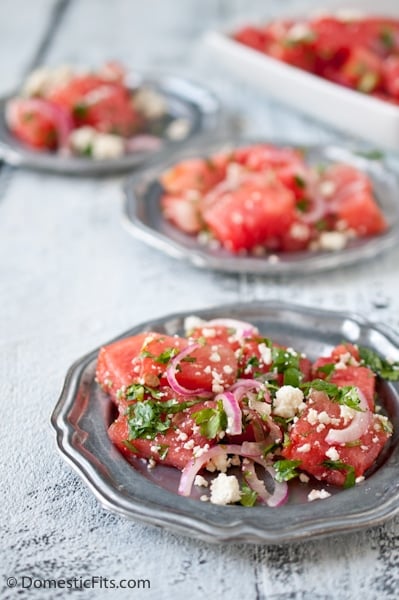
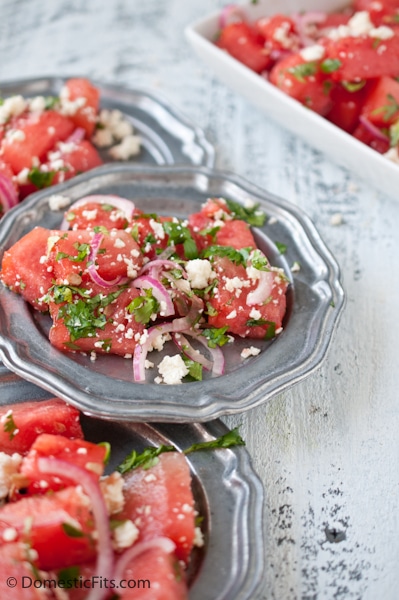
Grilled watermelon salad is the perfect summer side dish. Slice up some watermelon rings, throw them on the grill (literally if you’re brave enough), wait for some gorgeous smokey grill marks to spear and you’re half way there.
If you don’t have a grill, a grill pan will work fine. You can also skip the egregious use of fire all together and just cut the watermelon into bite sized chunks. The saltiness of the Cotija and the briny quick-pickled red onions set of that great sweetness of in-season watermelons.
It’s also a great salad to serve at room temperature, making it the perfect low maintenance side dish to serve on your summer party table. It also has a lovely sweetness that pairs well with a spicy food, I served it with these wings. It does not, however, keep very well. If you plan to make it ahead of time, keep all of the components separate and toss just prior to serving.
If you need a patriotic plan for the rest of the watermelon, check this out.
Grilled Watermelon Salad
Ingredients
¼ cup apple cider vinegar (or rice wine)
1 tbs raw honey
½ red onion, very thinly sliced
2 slices (2 inch thick each) watermelon
½ cup crumbed Cotija cheese (can substitute feta)
¼ cup chopped cilantro
Instructions
In a small bowl whisk together the vinegar and honey. Add the red onions, toss to coat. Cover and refrigerate for 20 minutes.
Place the watermelon slices on a hot grill until grill marks appear, about 3 minutes per side.
Remove the watermelon rind and chop the grilled watermelon into bite sized chunks, place in a large serving bowl.
Pour the red onion and the vinegar over the watermelon. Sprinkle with Cotija cheese and cilantro.
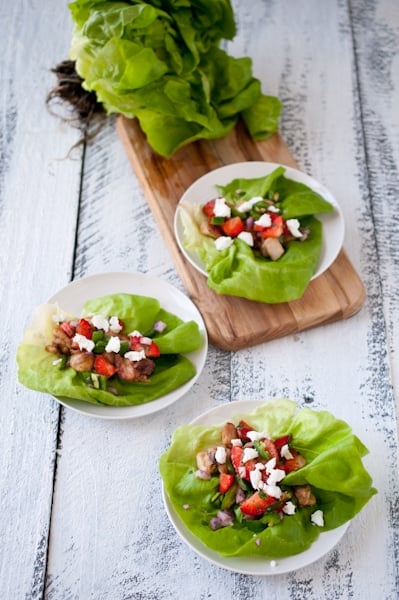
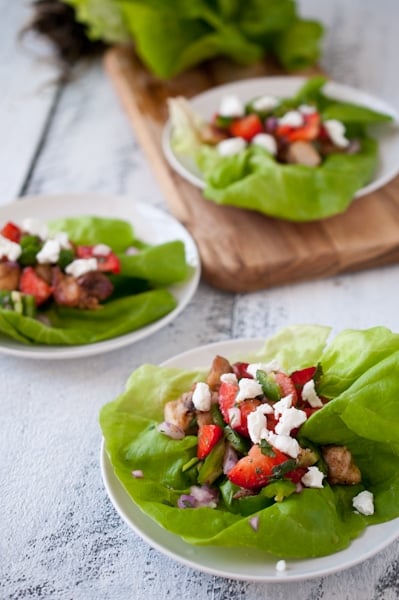
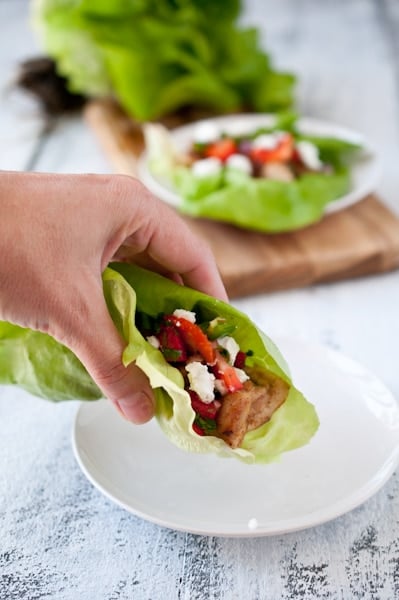
Lettuce wraps are Asian, right? Those PF Change guys make one that people seem to like. I love Asian flavors, but giving you a new take on an Asian dish isn’t at the top of my current skill set. So I went a new route, and put in some of my favorite flavors that also happen to be (mostly) healthy.
Let’s talk about that PF Chang wrap. It’s listed as an appetizer that has 4 “servings,” but if you eat it as an entrée, it’ll feed one. As a entrée it has close to 600 calories, 2600 milligrams sodium (!!!), and 47 grams of carbs (I don’t even get bread!). Just as a comparison, an In-N-Out cheeseburger with ketchup has 400 calories, 1080 milligrams sodium and 41 grams carbs.
I’m not trying to dissuade you from eating them, they look delicious, and if you want to order it, you should do that. More or less, I’m trying to get you excited about these lettuce wrap because it’s just as delicious and the numbers are amazing. It actually qualifies as diet food, even with the goat cheese and chicken thighs. It has only 255 calories for a generous serving, 650 milligrams sodium, and only 6 grams of carbs! Plus 24 grams protein and some fabulous vitamin C from those strawberries. And it only takes 20 minutes!
If you want to make them ahead for lunch (you should!) just store the chicken, strawberry salsa, cheese and lettuce all separate and assemble at lunch time. Because interactive lunch is more fun.
Strawberry, Chicken and Goat Cheese Lettuce Wraps
Prep Time: 12 minutes
Cook Time: 8 minutes
Yield: Serves 4
Ingredients
½ tsp black pepper
3 tbs corn starch
½ tsp chili powder
1 tsp salt
½ tsp brown sugar
½ tsp garlic powder
5 chicken boneless skinless chicken thigh fillets
1 tbs olive oil
1 cup strawberries, chopped
¼ cup red onions, small dice
¼ cup cilantro, chopped
1 jalapenos, chopped (stem and seeds removed)
2 tbs lemon juice
1 head butter lettuce
3 ounces chevre goat cheese
Instructions
In small bowl combine the pepper, cornstarch, chili powder, salt, brown sugar and garlic powder. Chop the chicken thighs, removing any large pieces of fat. Toss the chicken in the spice mixture until well coated.
Heat the olive oil over medium high heat until hot but not smoking. Add the chicken, sauté until cooked through, about 5-8 minutes.
In a small bowl add the strawberries, red onions, cilantro, jalapeno, and lemon juice, toss to combine.
Fill butter lettuce leaves with chicken, strawberry mixture and top with goat cheese.
I’m so excited to tell you that I’ve been asked to be a Brand Ambassador for California Strawberry Commission. Given my complete love of strawberries, this is fantastic for me. To be honest, I’ve been asked to be a brand ambassador before but it was never a good fit, I ended up turing other companies down. I can’t endorse a company that I don’t have complete faith in putting my name on the line for. I’m absolutely proud to represent a product as fantastic as California strawberries and I was thrilled to be asked and accepted without hesitation. I love strawberries and the best ones come from California.
I’m working on some strawberry recipes, I have a great savory recipe that just isn’t ready to post yet. It’s good, but I want it to be great so I’ll be working on it a bit more before I’m ready to send into into digital print.
May is National Strawberry Month, but really, you don’t need an excuse to grab some strawberries now that they are everywhere. But if you do need some ideas, here are some strawberry recipes that I love so much:
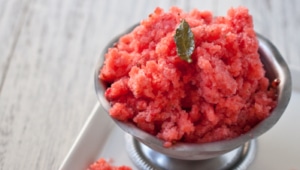
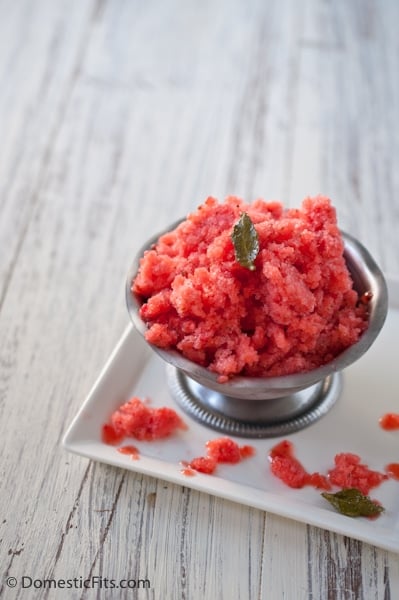
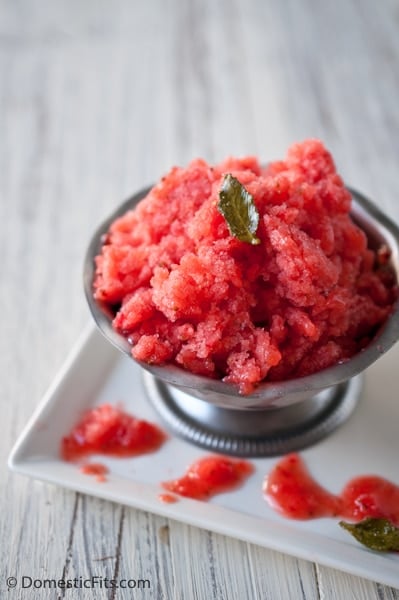
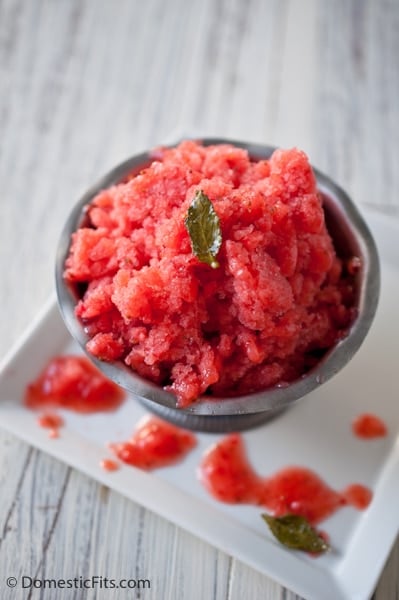
And now, the man of the hour, a recipe for a strawberry granita that requires no special equipment and makes a great final dish for those summer dinner parties on the patio that we are all looking forward to.
Strawberry Granita with Candied Mint Leaves
Ingredients
For the Granita:
1 cup very hot tap water
½ cup sugar
3 cups strawberries, chopped
1 lemon, juiced and zested
For the Candied Mint:
10-15 mint leaves
2 tbs corn syrup
1 Tbs very hot tap water
3 tbs white sugar
Instructions
Put the very hot water in a small bowl or measuring cup. Add the sugar and stir until it dissolves (microwave for 30 seconds if the sugar doesn’t dissolve).
Add the sugar water, strawberries, lemon juice, an lemon zest to a blender or food processor. Process until smooth, about 3 minutes.
Pour into a glass baking dish (7×11 or 9×13 will work well) place in the freezer.
Stir every 30 minutes, combining the frozen edges into the center. Once the granita is mostly frozen, rake the surface with a fork to create flakey mound. Cover and freeze until ready to serve.
To make the candied basil:
Preheat the oven to 175.
Place 2 tbs of corn syrup and 1 tbs hot water in a small bowl, stir until well combined.
Line a baking sheet with parchment paper.
Dip the leaves in the corn syrup water, lay them on the parchment paper. Sprinkle with sugar, turn over, sprinkle with additional sugar (make more leaves than you need, some of them don’t survive the process as well as other, you’ll want extras).
Place in the 175 degree oven for 20 minutes, flip over and cook until dry and sugar has crystalized, about 30 additional minutes.
Notes
Boozy Option: To make this a Strawberry Mojito Granita, add 1/4 cup white rum and 5 mint leaves to the blender with the sugar water, strawberries, lemon zest and lemon juice and just proceed with the rest of the recipe.
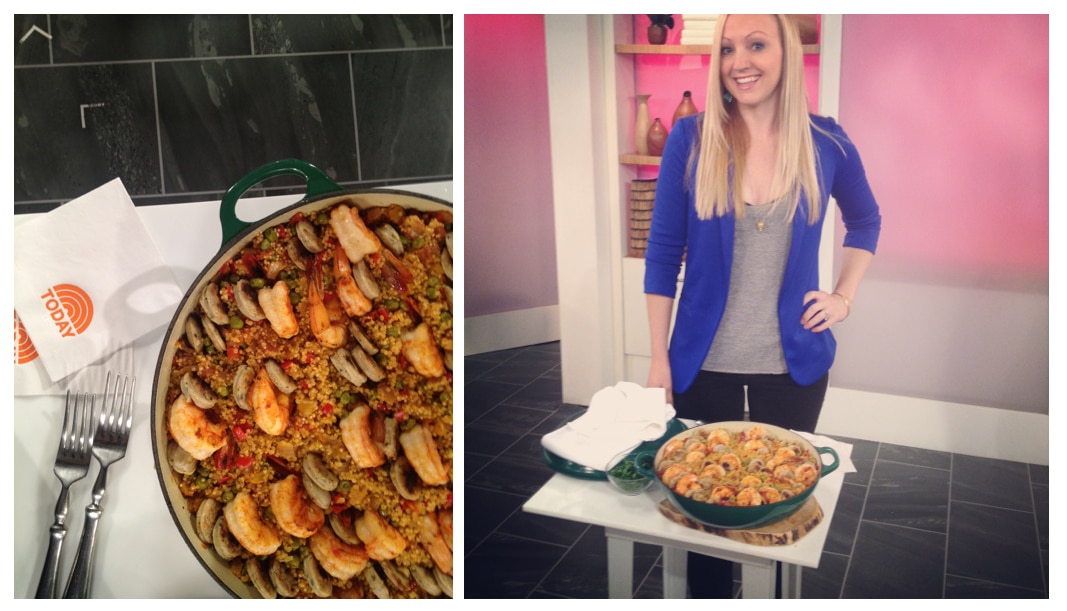
Life’s funny, isn’t it? One minute you’re sitting there enjoying a nice Mother’s Day breakfast that your husband made you, and the next minute you’re talking to The Today Show and agreeing to take a last minute flight to JFK so that you can stand behind a podium for 3 minutes and pretty much say zero words on National Television. Something like that.
The real prize in this competition was the journey. I flew to New York on Tuesday, was able to have dinner with my new friend Ashely, and drinks with my old friend David. You could pretty much preface any request with, "wanna a free trip to New York and have dinner and drinks with some friends?" and I’d pretty much say yes to whatever followed.
Wednesday morning I was taken to NBC Studios at 30 Rockefeller Plaza, through the celebrity filled green room, and into hair and make up. Then up to a tiny studio that they referred to as The Spa, which included no studio audience, just lots of producers, cameras and a beautiful camera friendly kitchen. This was all for Joy Bauers Joy-full Cook Off. She wanted healthy one pot meals that where easy and family friendly. She choose my dish, along with two other amazing dishes to be taste tested on live TV by Kathie Lee and Hoda, who would choose the winner.
The other dishes were amazing, and to be honest, I didn’t really care who won. I’d already collected my prize of flight to New York, hotel room, and dinner and drinks with friends, I was all set. But it turns out, Kathie Lee and Hoda are huge fans of skinny shrimp dishes and choose mine. I won!
Here’s clip of me saying pretty much nothing on the Today Show and winning a basket of NBC related swag:
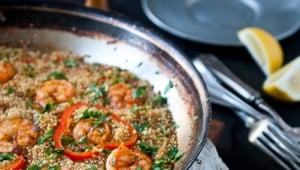
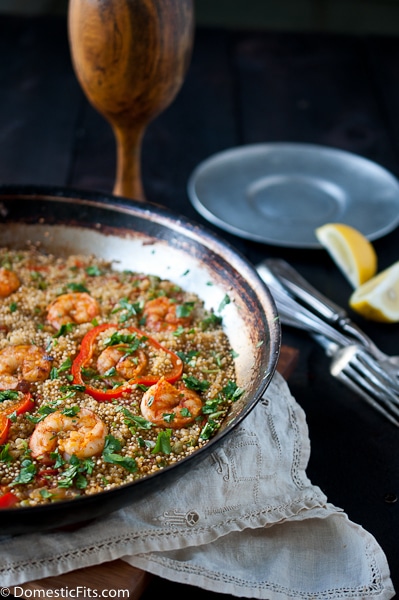
Place shrimp in a small bowl, sprinkle with ¼ tsp sweet paprika, ¼ tsp smoked paprika and ¼ tsp onion powder, toss to coat.
Heat olive oil in a 12-inch skillet (with a lid) over medium high heat, cook shrimp until seared, about 3 minutes per side (don’t over cook). Remove from pan, set aside.
Add chicken sausage, cook until browned, remove from pan, set aside.
Add the onion and bell peppers, cook, stirring frequently, until onions and peppers have softened, about 6-8 minutes.
Add garlic, tomatoes and tomato paste, stir until combined.
Add saffron, salt, pepper, remaining smoked paprika, and onion powder, chicken broth and peas, bring to a simmer. Add quinoa stir and evenly distribute quinoa. Add the lid to the pan at a vent, adjust heat to maintain a simmer. Cook without stirring for 16-18 minutes or until the quinoa is cooked through and the liquid has absorbed.
Place the shrimp and sausage on top, replace lid and cook for 1 minute or until shrimp and sausage is warmed.
I’ve reached a goal of sorts, and I wanted to tell you about it. When I started this blog in 2011, it was as a direct response of having to put my 4 month old in the arms of stranger, turn around, and drive to an office.
I love my job, and I love my babysitter, she has become a part of the family. But at the time, I didn’t know her, she was just the woman who had babysat my friends daughters. If you’ve never had to leave your baby, it might not sound that terrible, but at the time it felt like a part of my heart was being torn out.
Every morning when I left her I cried, and my babysitter understood. She has four grown boys of her own, and started watching babies as a way to stay home with them, "I’d worry about you if this didn’t bother you. It’s OK, everyone cries when they leave their babies," She had told me. Somehow, that made me feel better.
I decided to try and find a way to work part time, in order to stay home with her more and maybe, when I decided to have Baby #2, I would be able to stay home longer. For some reason, a blog was my brilliant idea. It wasn’t until after I had fallen in love with blogging that I discovered that the average blogger only makes $40 a month. Although I am lucky enough to make much more than that off my ad revenue, it isn’t enough to quit my job. Even though the income isn’t what I hope, my complete love and utter obsession with food writing, blogging and recipe develop makes up for that. But I needed other ways to make money. Little by little, small job by small job, I’ve been able to nickel and dime my way to part time.
I’m part time!
I only have to go to an office 3 days a week. It really is amazing. One of the ways I’ve been able to do this is freelance writing. I wrote an article last year for Honest Cooking that I was so proud of, I just have to tell you about it. More than 100 food writers and bloggers pitched for only 10 slots in the new Honest Cooking iPad magazine and I was given one of those spots. I was so grateful, but once I got the green light, I froze. Could I do it? Could I really write something I was proud of, that could stand up to the work of real life food writers? Writing this article I was able to prove to myself that I am able to do this. It was a turning point for me, proof that I really can do this. I can move forward in this world I so badly want to be part of. And next time, maybe I wont have to put my infant in the arms of a stranger.
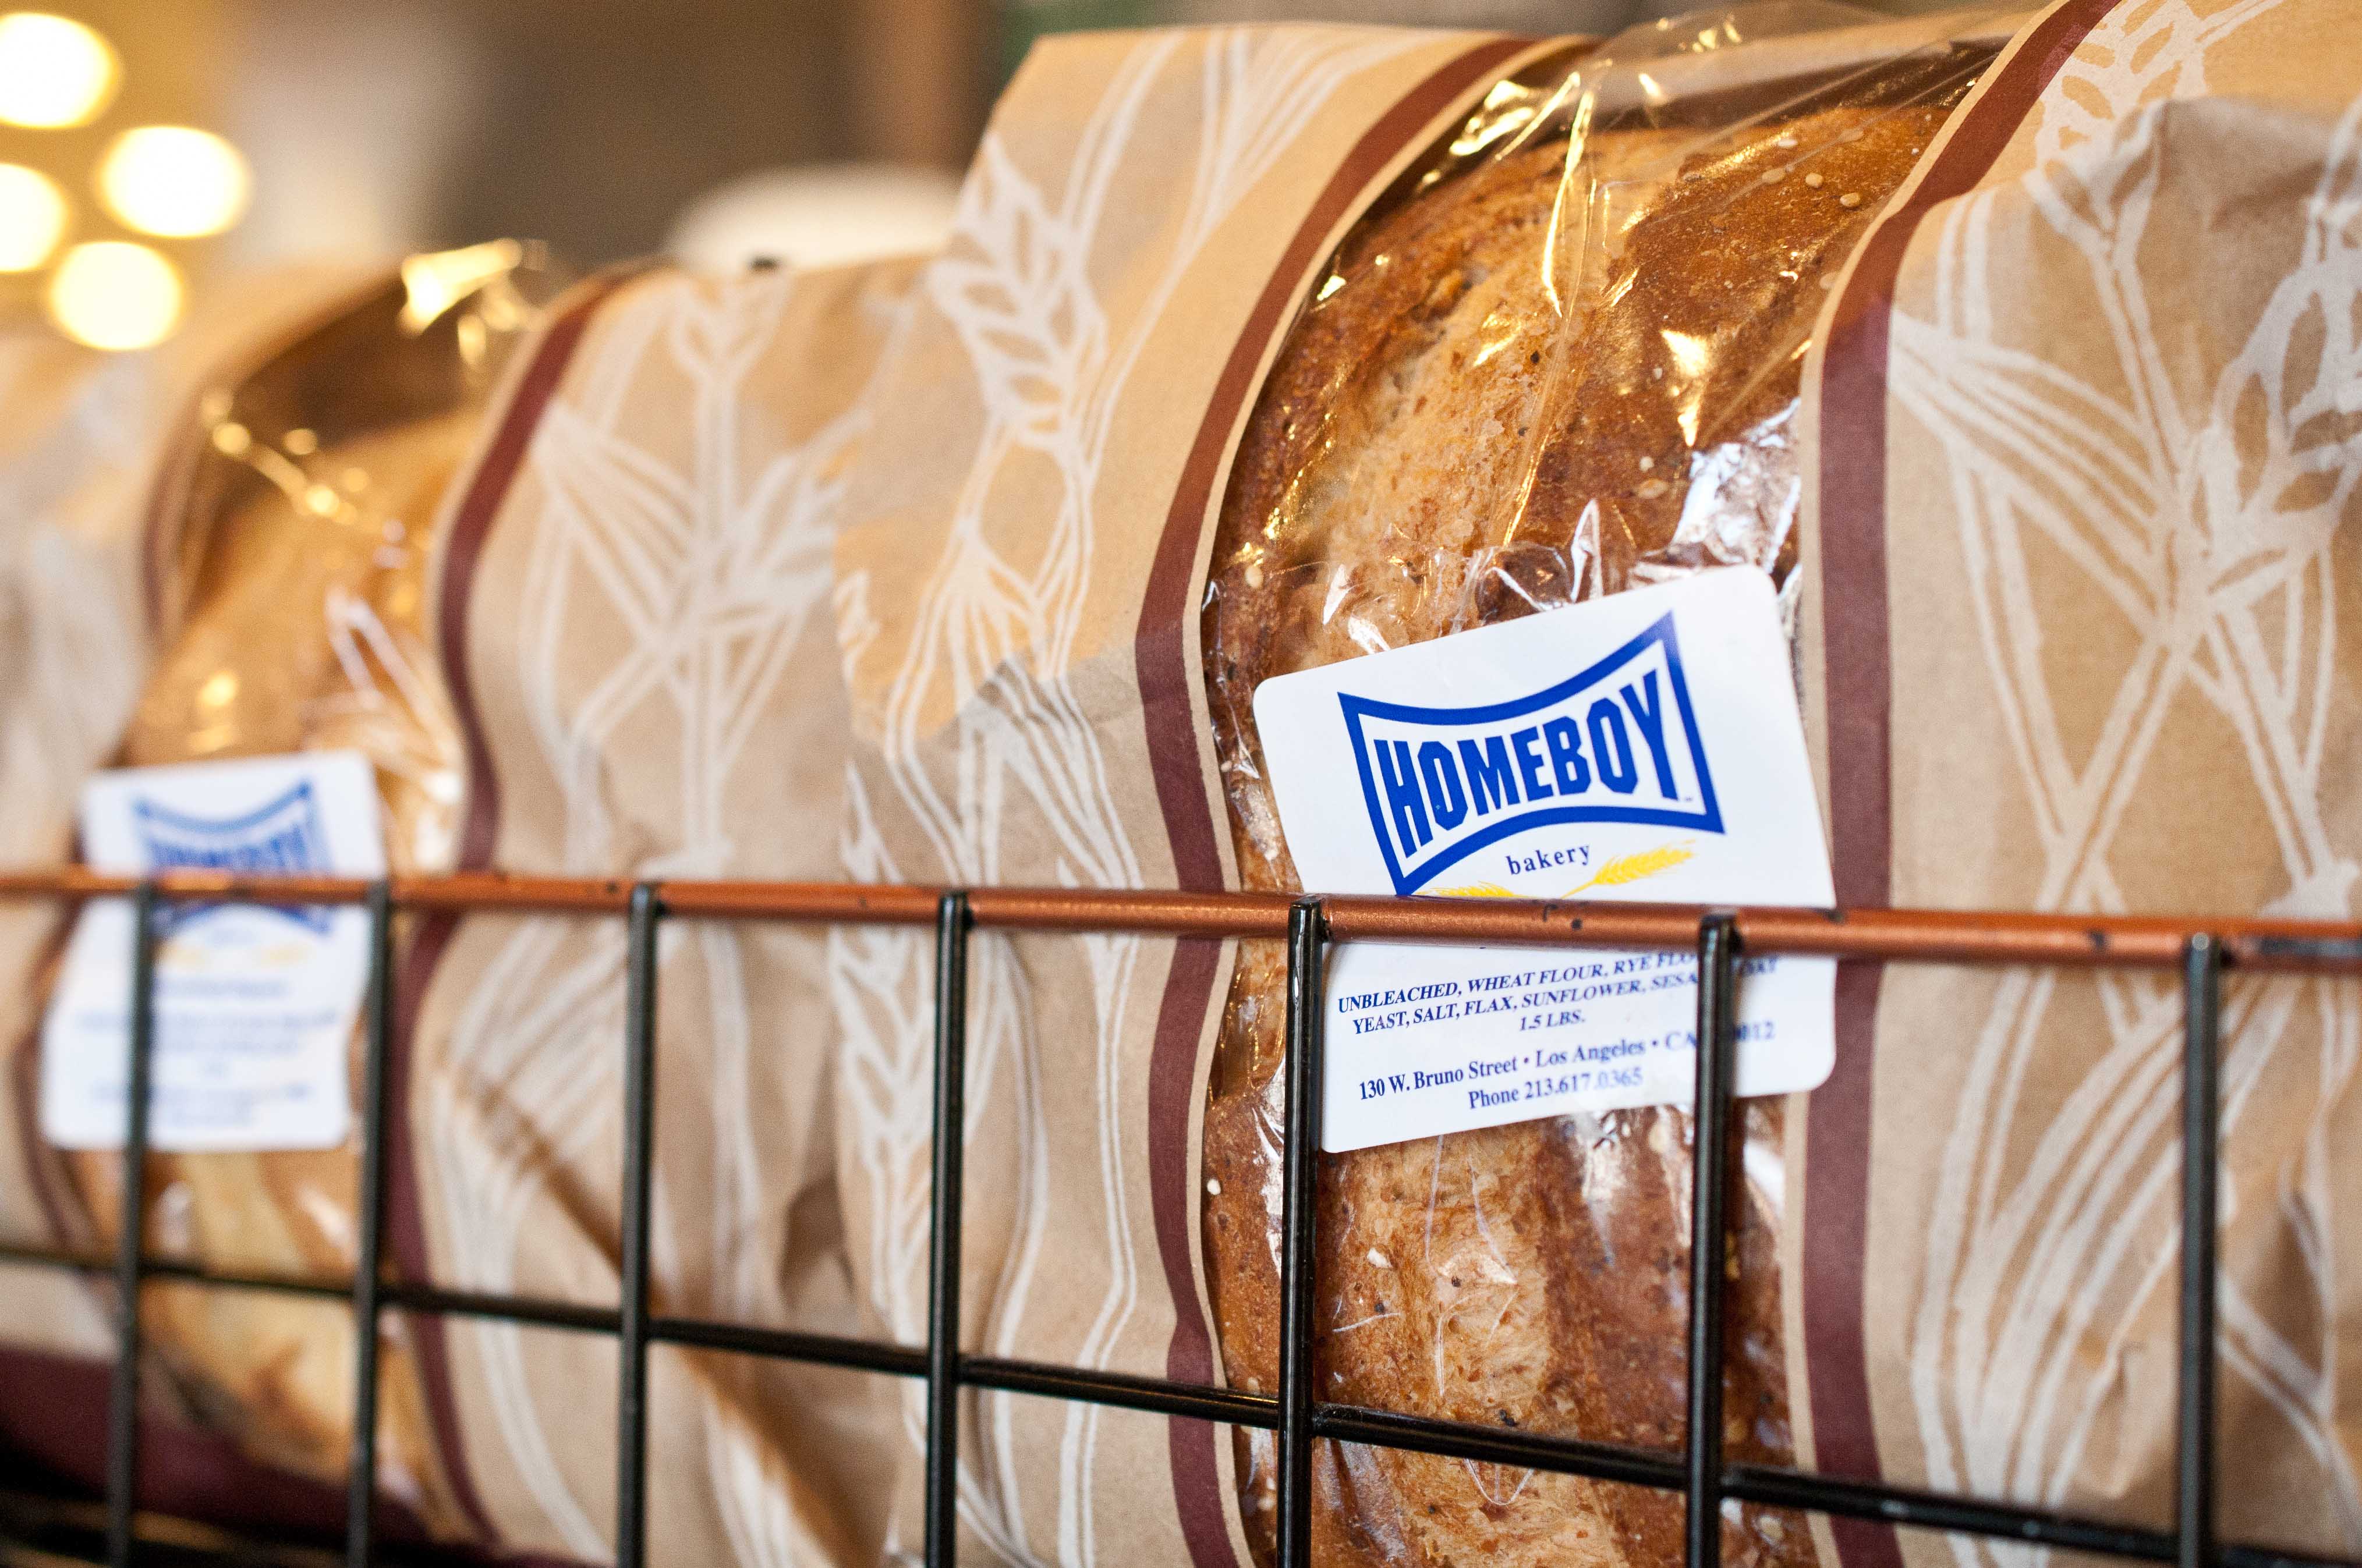
The article I pitched was on a non-profit that I’m a bit starry eyed over. Homeboy industries helps Los Angeles gang members get out of gangs by turning them into chefs and bakers. It’s an incredible organization and for so many people, the only way out of gang life. It is the most successful gang rehabilitation program in the world.
I spent three days interviewing ex-con, ex-gang members, visiting "urban gardens" spread across East Los Angeles, farmers markets and Homeboy Cafes. I left so inspired, by the people, their stories and the fight they fight daily to pull themselves out of the gangs they were often born into and give themselves and their children a good life.
So, please, if you have an iPad, please download the app and read my article. It’s a free app full of great food related articles and inspiring stories.
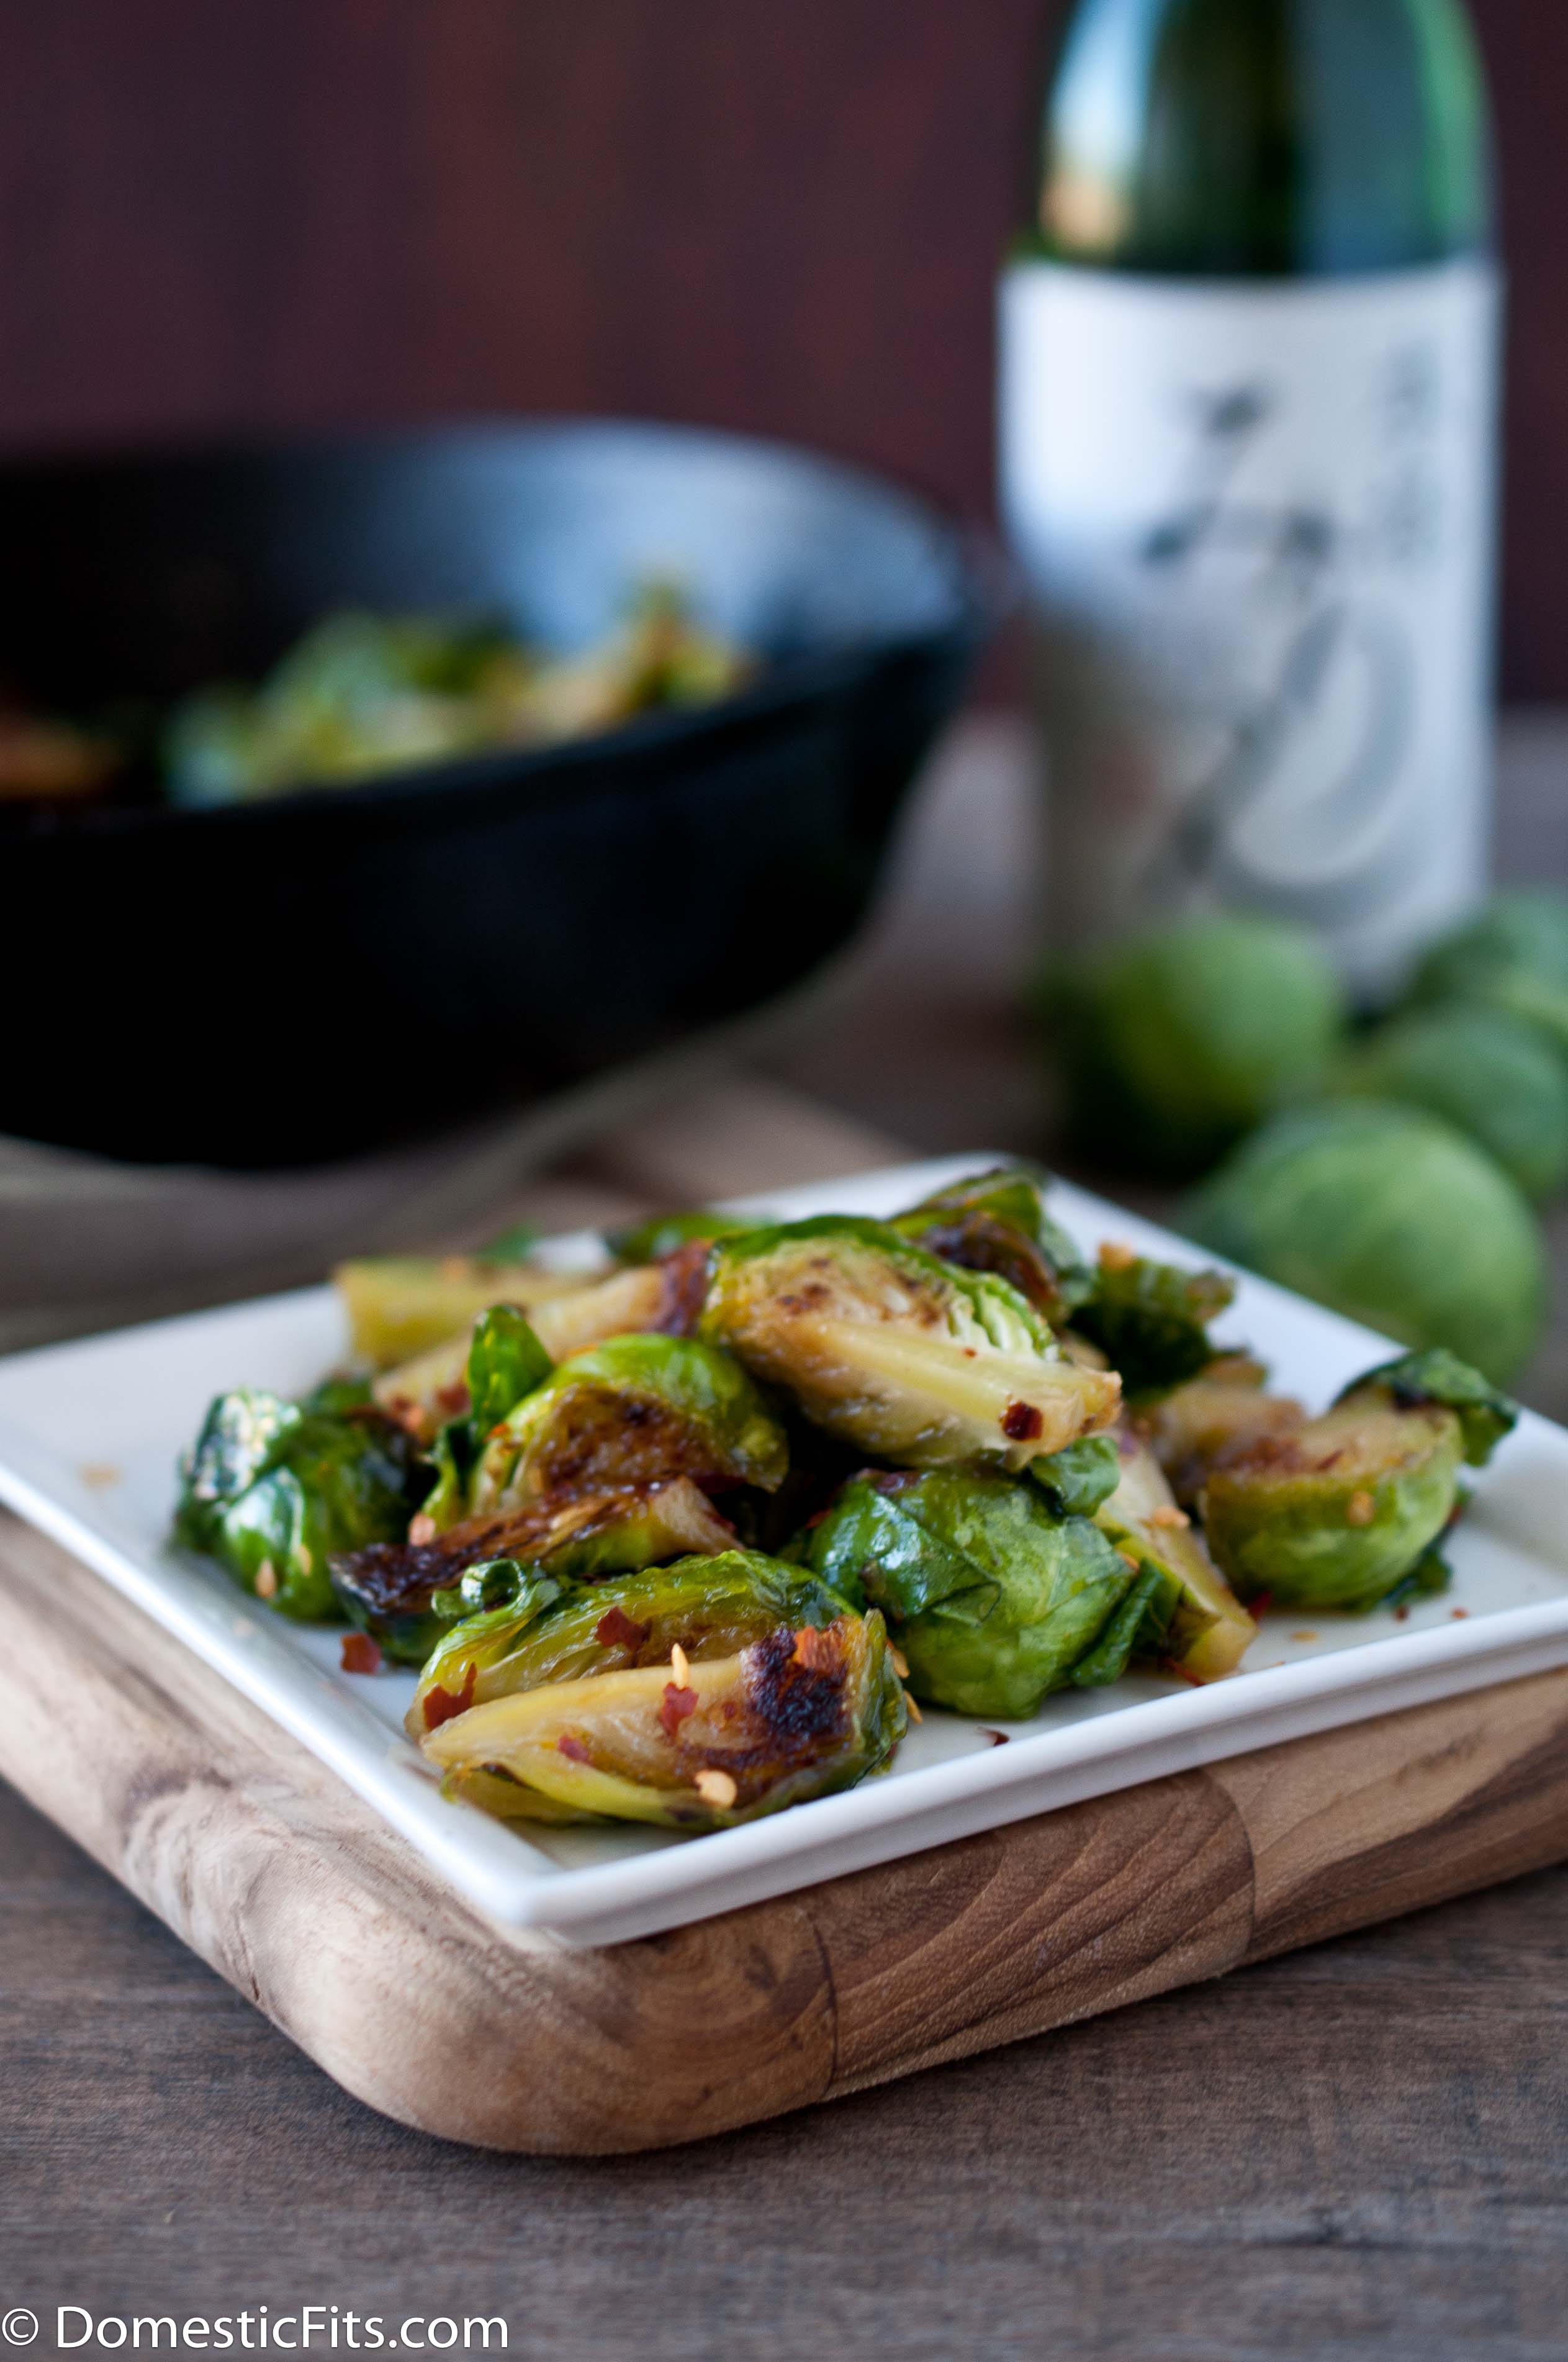
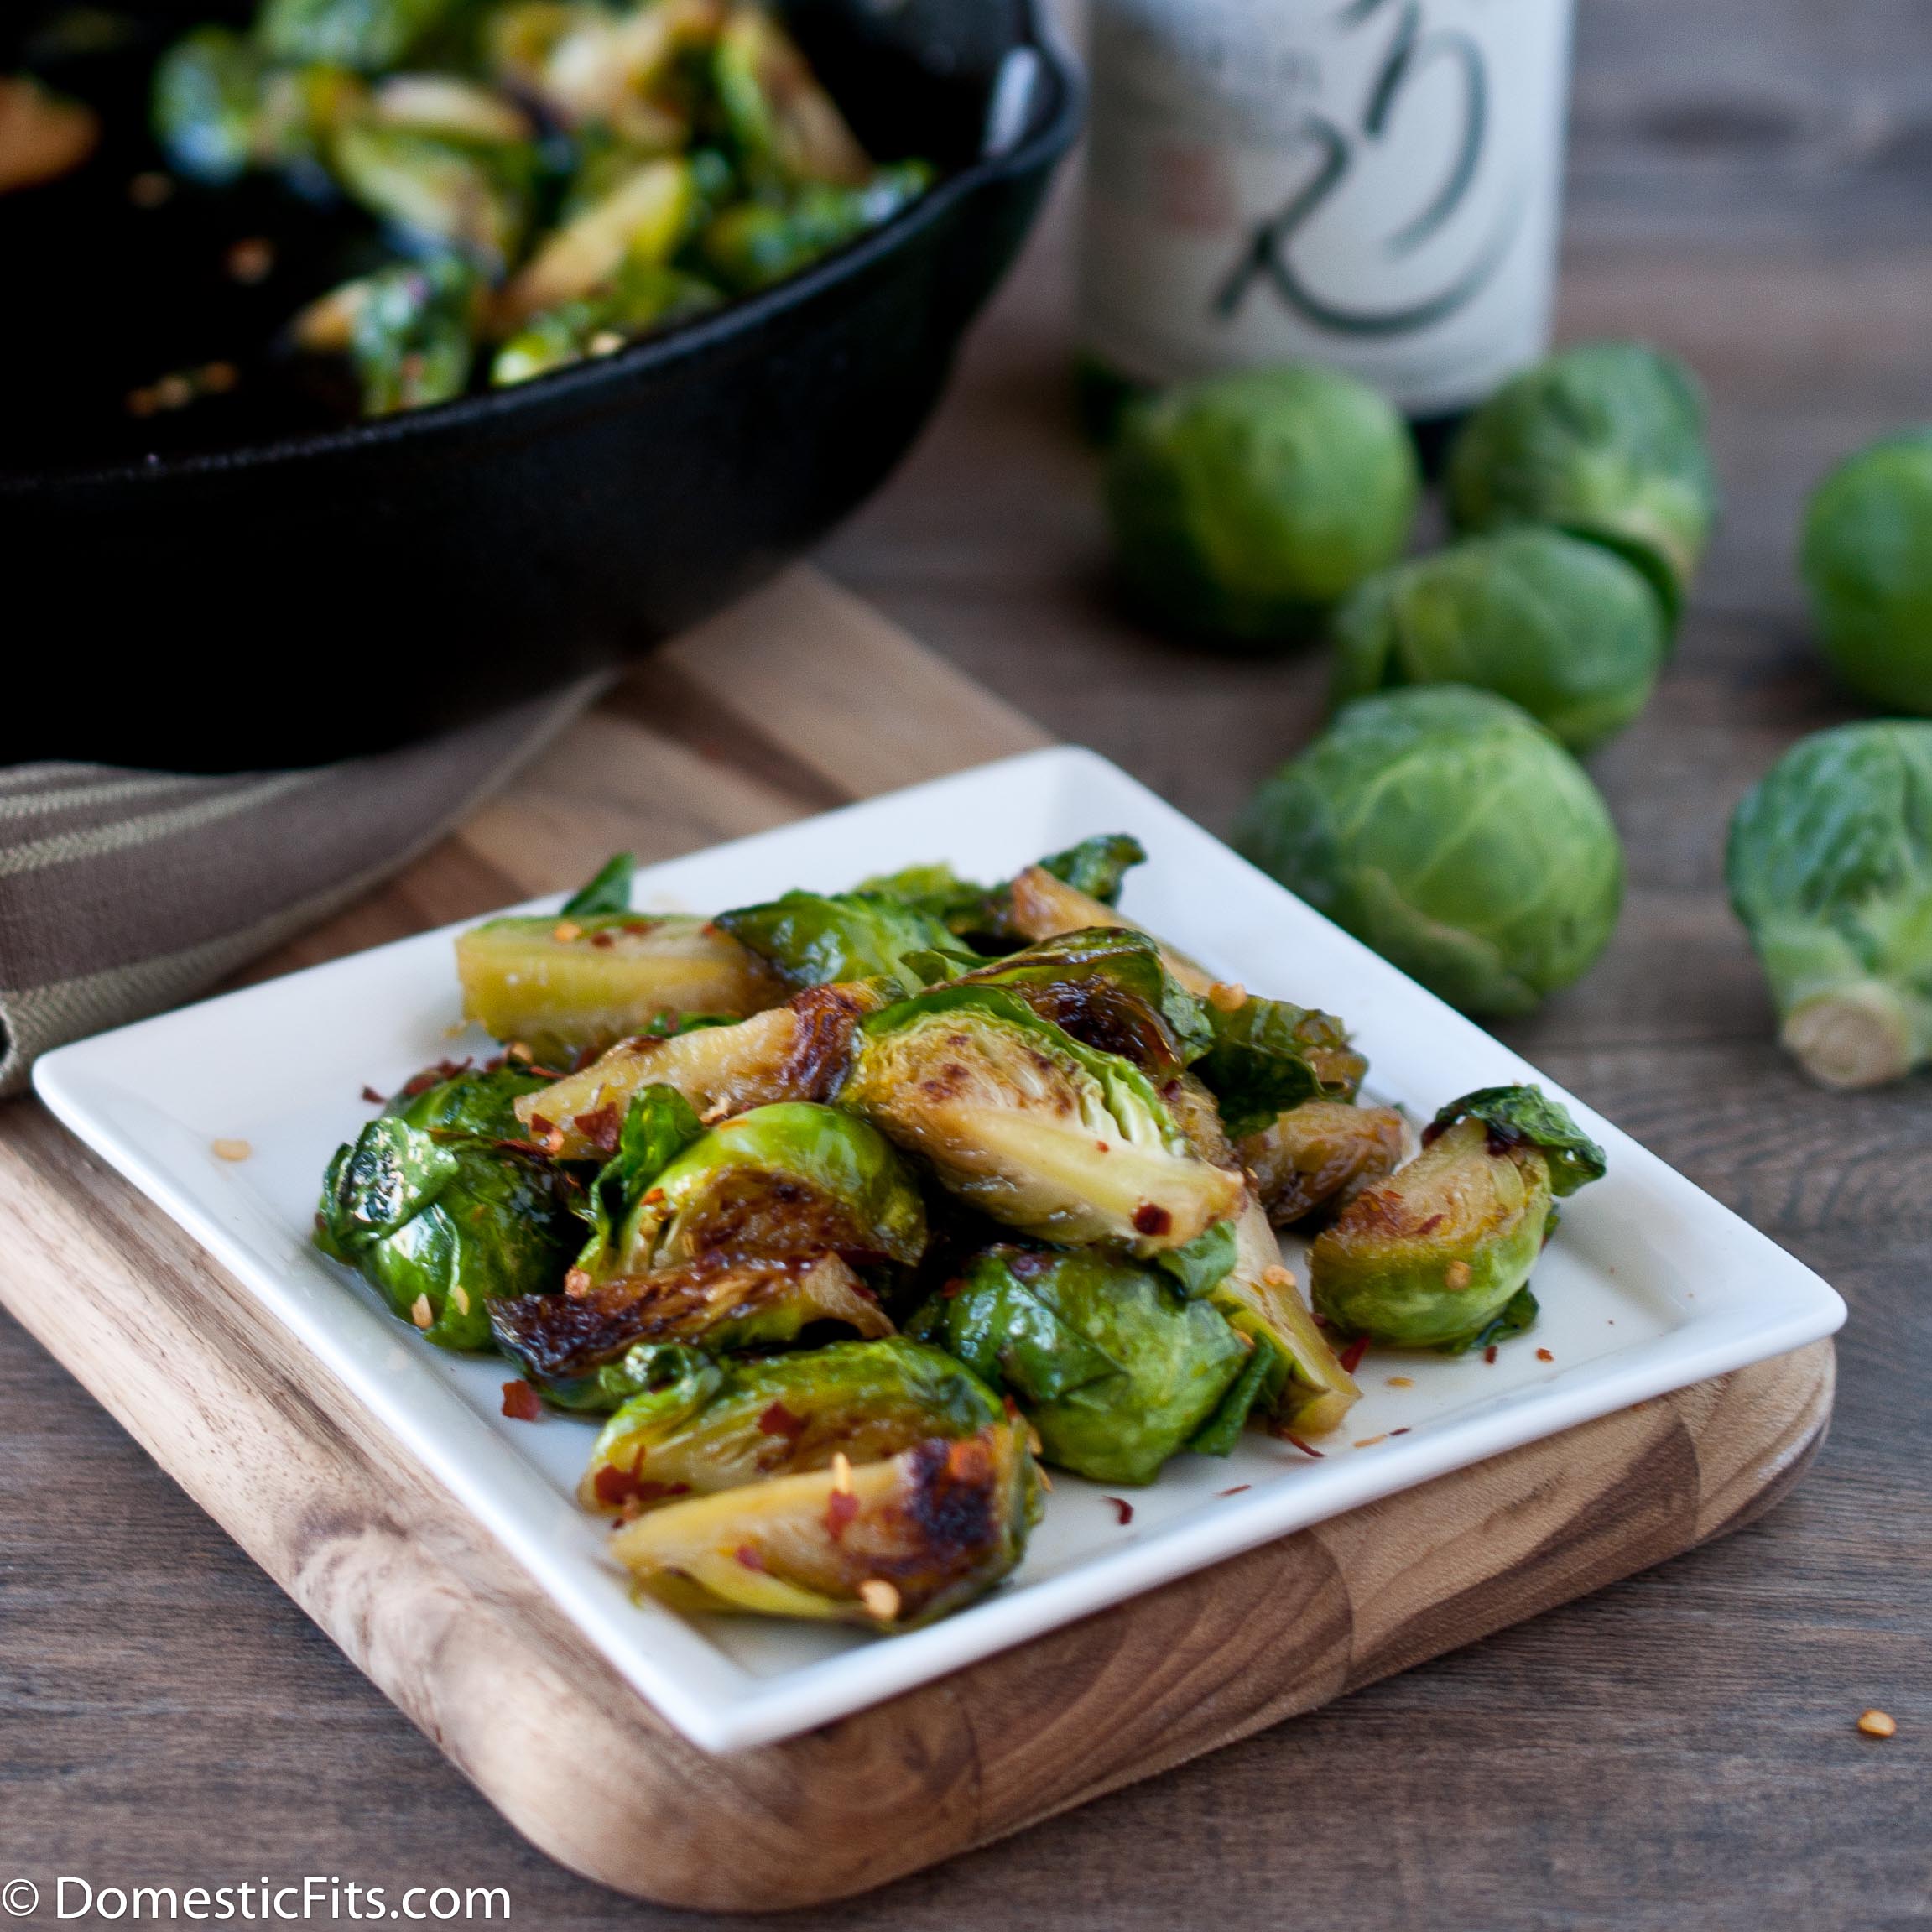
I also have some Brussels sprouts for you! I love these vegetables, but so far, my husband isn’t a fan. I’ve tried so many methods, braising, bacon fan, roasting and yet he remains unimpressed. Until I poured some Mirin into a cast iron skillet. It gets a bit sweet and caramelized, giving a new life to there little green guys.
He loved these, more than even the bacon fat version. I hope you do too.
Mirin Caramelized Brussels Sprouts
Ingredients
2 tbs olive oil
3 cups Brussels sprouts, quartered
1/3 cup mirin
½ tsp red chili flakes
¼ tsp Kosher or sea salt
Instructions
Heat olive oil in a cast iron skillet over medium-high heat, add Brussels sprouts and cook until Brussels sprouts start to brown. Add Mirin and cook, stirring occasionally, until mirin has reduced and thickened and the sprouts are fork tender. Sprinkle with chili flakes and salt, stir to combine.
I heard this theory of negative calories foods about a year ago. And while this idea would be a dream come true, I’m not actually convinced of it’s validity.
The theory is that some food cost your body more energy in calories to consume and digest than the food actually contains.
Take celery for instance. A stock of celery is 5 calories, but between chewing, swallowing and digesting, it takes 15 calories to actually eat a stalk of celery, for a net loss of 10 calories. Now, if celery could just taste better, and not like, well, celery, than we’d be all set. Clearly, this theory doesn’t apply to French fries.
On the list of "Negative Calorie Foods" are:
-Asparagus
-Beet Root
-Broccoli
-Cabbage
-Carrot
-Cauliflower
-Celery
-Chicory
-Hot Chili
-Cucumber
-Watercress
-Garlic
-Green Beans
-Lettuce
-Onion
-Radish
-Spinach
-Turnip
-Zucchini
-Apple
-Blueberries
-Cantaloupe
-Cranberry
-Grapefruit
-Honeydew
-Lemon/Lime
-Mango
-Orange
-Papaya
-Peach
-Pineapple
-Raspberry
-Strawberry
-Tomato
-Tangerine
-Turnip
-Watermelon
While this theory has been widely discredited, there is no arguing with the fact that this is an incredible list of foods. If more than half of your diet was pulled from the above list, and the rest of your diet was "sensible" you would never have to diet again and those skinny jeans would be yours.
I did a bit of a test of my own. I made a batch of this soup and ate it for lunch every day for a week.
I lost 2 lbs. Which is a lot for me, given that I have a BMI of 20.6.
That doesn’t really prove anything. Other than the fact that a low calorie vegan soup is a good route to take when looking to drop those holiday pounds. Believe the theory or not, this is still a fantastic list of healthy foods.
Even if this soup isn’t "Negative Calorie," it still only has 78 calories per serving.
Negative Calorie Roasted Asparagus and Cauliflower Soup
Ingredients
2 lbs chopped cauliflower (about 8 cups)
1 lb fresh asparagus stalks, trimmed
4 cups veggie broth
½ tsp onion powder
½ tsp garlic powder
½ tsp salt
½ tsp pepper
pinch cayenne pepper
yield: 6 cups
Instructions
Preheat oven to 400.
Place asparagus and cauliflower on a baking sheet. Roast at 400 for 15 to 20 minutes or until asparagus is fork tender and the cauliflower has started to brown.
Add broth to a large pot, add asparagus and cauliflower and bring to a simmer. Simmer for 10 minutes or until the vegetables have started to break down. Using an immersion blender, puree until smooth. Add the seasonings, adjust to taste.
Let’s stop vowing to cut things out of our lives at then beginning of each year, and start promising ourselves we’ll add some great things in.
Can’t we all just agree that those “I’m going to lose weight/stop eating sugar/give up carbs/cut out coffee” resolutions are just going to leave us feeling hungry, guilty and eventually shameful when they go enormously ignored about the second week in January?
Maybe you have a bigger capacity for restraint than I do, or a higher guilt threshold, but I gave up those types of personal promises years ago. Although I do still love a good resolution and tend to make them year round.
How about we agree to ADD things to our lives instead of taking away? There is something about making a decision to add something great to our world that just reminds us what an amazing life we have ahead of us. And adding greatness has a way of pushing out some of those not as great things.
Let’s give it a try.
Here are my favorite food resolutions, all about adding more amazingness, not about taking things away.
1.Start a food tradition: Maybe a once a month Sunday Supper with your family, or a quarterly Food Friends Pot Luck, or even just New Recipe Wednesday where you try a new dish. Food traditions are memories that you’ll be glad you made.
3. Join a CSA or other Organic Produce Delivery Program. Before my recent move, I got a box of organic produce delivered to my doorstep every Wednesday from Love Delivery. Mostly local, in season and very fresh fruits and vegetables. This also gets you to eat more good stuff, because it’s there. And you hate to waste it. Supporting local farmers and eating healthier, it’s a total win. There are several in most cities and states, consult Google for ones in your area.
4. Try New Foods. This is for the picky eaters. Pick one new food a month and cook it, and eat it. Or, order that one thing on the menu that you would never normally eat. After a year you’ll have 12 foods that you never otherwise would have tried. And I’m going to bet you a batch of cookies that you will be surprised at how much you like at least one of those new foods.
5. Master A Recipe or Technique. Maybe you’ve always wanted to learn to make a soufflé, or homemade pasta. What better resolution to make than the acquisition of culinary knowledge you can someday pass down to future generations? Just go into assuming that the first time may not be a huge success, and by that I mean don’t plan an entire dinner party around skills you haven’t acquired just to end up in tears when your husband has to have pizza delivered. It will probably go fine, and you will probably post the results on Facebook (yay!), but take it slow and know that to master a technique takes a lot of practice, each time you try it you’ll learn something new.
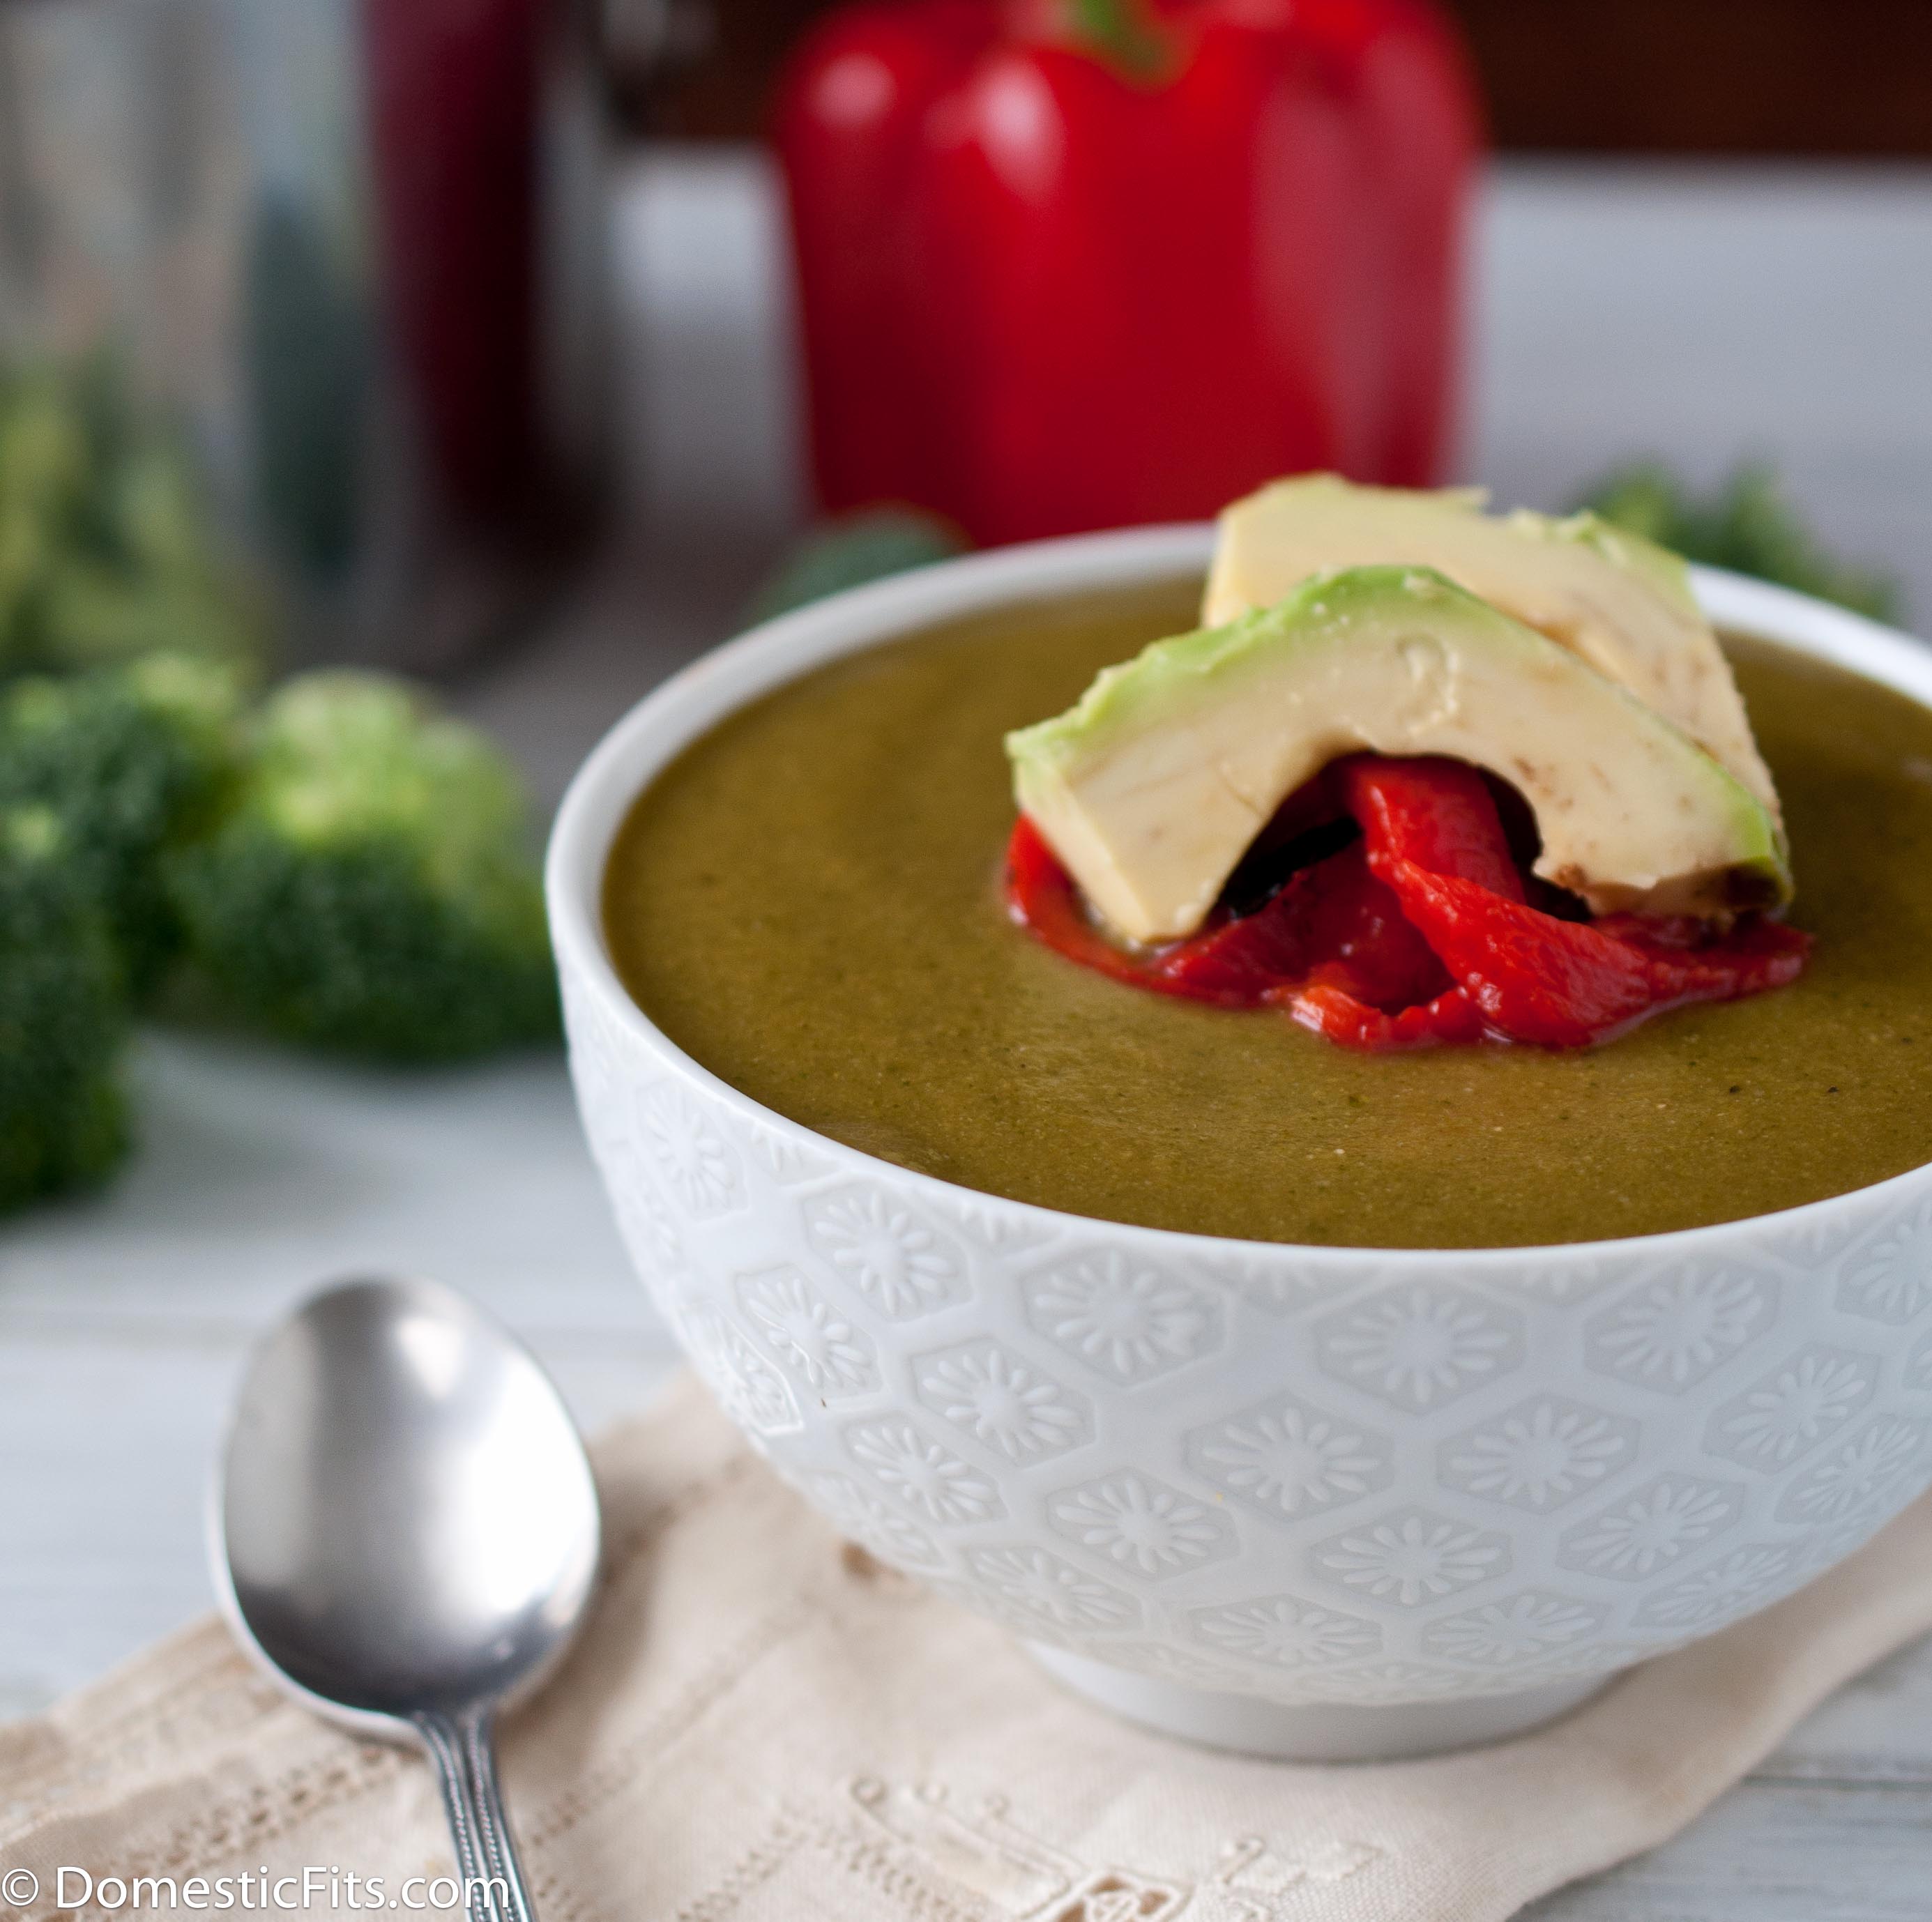
One of my resolutions is to explore vegan cooking more, even though I have no plans to give up meat or dairy. There really isn’t any arguing with the fact that produce is the best thing you can put in your body. The more I focus on the beautiful flavors of fruits and vegetables, without using meat and dairy as a crutch, the better my cooking becomes over all.
Here is a vegan soup, inspired by this Bon Appetite recipe. Without garnishes, it’s about 170 calories a serving.
Here is a How To Roast Red Peppers post by Kitchen Treaty. If you are going to use them right away, you can skip the oil and the jar.
Creamy Vegan Broccoli Avocado Soup
Ingredients
1 tbs olive oil
1 shallot, chopped
2 cloves garlic, minced
4 cups low sodium vegetable stock
1 large red potato, peeled and chopped
6 cups chopped broccoli florets
½ to 2 cups water
½ tsp salt
½ tsp onion powder
½ tsp black pepper
pinch chili powder
1 tbs fresh lemon juice
1 lage avocado, diced
1 red pepper, roasted, cut into strips
Instructions
In a stock pot or Dutch oven heat the oil. Add the shallots and cook until soft, about 3 minutes. Add the garlic and stir. Add the vegetable stock and potatoes, cooking until the potatoes are almost soft, about 10 minutes. Add the broccoli and cook until the broccoli and potatoes are both tender, about 5-8 minutes. Using an emersion blender, puree until smooth. Add water, if desired, to thin to desired consistency. Add spices and lemon juice.
Garnish with avocados and red peppers prior to serving.
If you want to know how I made the garnishes "float" on top of the soup for the picture, check this out.
I’ve always wanted to go to Chile. Since I started traveling, I’ve had a deep love for Spanish speaking countries, I want to visit them all. Although, other than language, they seem to have little in common. Other than maybe a shared love of food and family.
I spent some time in Spain, missing my flight home for an extra day in Madrid.
I took my husband with my to Costa Rica, and I didn’t want to leave. I just kept begging to head further south, even telling him I’d allow as much Van Halen signing as he wanted once we hit Panama (PAAAAAna-ma-ah!). But he wanted his own bed and some clean clothes. Weirdo.
And Chile has been there, long and lean, just sitting there on my list. I want to go and visit this place, so gorgeous, and with it’s incredible food.
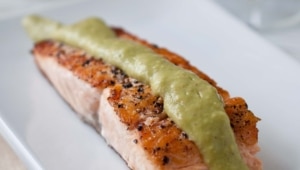
I was invited to a dinner party event put on by Foods From Chile a few weeks ago. It wasn’t a flight south along the Pacific, but I couldn’t pass up the opportunity to be part of an event that took place in five cities across the US. The food was amazing. Salmon, Avocado Soup, Endive Salad, and Blueberry Crisp, cooked up by the lovely Chef Cheryl.
Maybe I’m not going to get on a plane and head south just yet, but I can eat some Chilean salmon, with some Chilean avocado cream sauce, and of course, the Chilean wine. And dream about the day I actually get my passport stamped in Santiago.
Chilean Salmon with Avocado Cream Sauce
Ingredients
For The Salmon
4, 3oz salmon fillets
1 lemon
1 to 2 tsp salt
1 to 2 tsp pepper
3 tbs olive oil
For The Avocado Cream Sauce
1 large avocado (about 2/3 cup)
2 tbs lemon juice
1 tbs chopped shallots
1/3 cup coconut water
pinch cayenne
pinch chili powder
pinch smoked paprika
¼ tsp cumin
2 tsp white wine vinegar
1 tbs olive oil
1 tbs chopped chives
Instructions
Place salmon fillets on a plate, squeeze lemon juice over salmon and allow to sit for five to ten minutes. Sprinkle filets with salt and pepper just prior to cooking.
In a good quality heavy sauce pan, heat the olive oil over high heat until hot but not smoking, swirling the olive oil to evenly distribute.
Add the salmon and allow to cook until golden brown before carefully flipping, about 4 minutes. Cook on the other side until cooked through.
In a food processor add the sauce ingredients and puree until smooth.
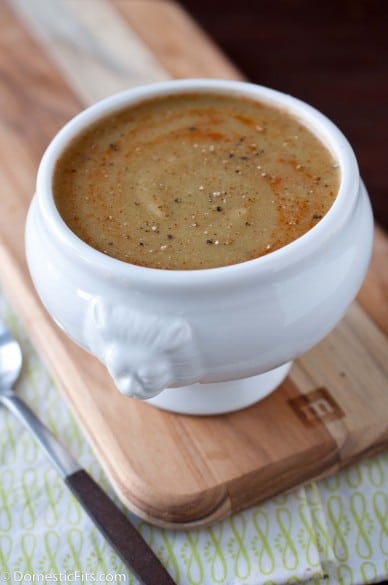
Living in LA during "fall" makes you feel like a bit of crazy person.
I’ll pull on my tall boots and a chunky sweaters that I am rightfully entitled to wear in late October, later realizing that the weather will creep up into the 80’s by mid day. And I’m the crazy lady at Starbucks ordering a pumpkin latte, wearing vintage Frye boots, jeans and a thick wool sweater while I could be wearing a jersey knit sundress like the normal, non-crazy, girl behind me in line.
And still, I persist. I even go home and make soup. Sweating the entire time I eat it. In my sweater, with the air conditioner running.
I spent three years as a vegetarian. The best thing I ever did when it comes to cooking, it opened up a world of produce to me and reminded me of all the foods I would often overlook just because they didn’t contain meat. To this day there are still things I prefer in a vegetarian or vegan form.
When it comes to thai cooking, fish and oyster sauce are frequently called for. Here is an article about how to make those, DIY style in your own kitchen using non-meat products.
1 tbs fish sauce (For vegan, use adaptation listed in above post)
1/4 cup roasted peanuts, crushed
1/4 cup green onions
1 tsp crushed red peppers
Instructions
In a large pot or dutch oven, heat the oil. Add the garlic and stir. Add the egg and cook until softly scrabbled. Add the tofu (or chicken), cook until lightly fried about 3 minutes.
Add the broth, then add the noodles, soy, sriracha, fish sauce, and peanuts. Cook until noodles have softened, about 5 minutes.
Serve topped with peanuts, green onions and red chili flakes.
Raise your hand if you ate way to much this weekend.
I finally found pie pumpkins in my city wide search and participated in hours of pumpkin glutton. Those posts will be up later, but I needed a bit of a pumpkin detox before jumping back in for more. I have no plans to stop my fall pumpkin worship, but I needed a break.
I am also preparing for October Unprocessed. Have you taken the challenge? I signed up. Andrew of Eating Rules has asked if we could all go just one month without eating processed foods. I did it last year and found that it was both easier and more challenging that I had thought. What is processed food? That’s quite the debate, but it gets you thinking. It was, more than anything, a great reminder to read every single label on every single package I buy. Why am I buying a jam with ingredients I don’t recognize when I can just buy the one with only two: Strawberries, sugar.
Why don’t I just buy my bread from the baker down the street, with his 4 ingredients rather than the package from across the country with 17 ingredients?
More produce, less cans, no Doritos. You can do it.
There is no fixed answer to the question, "What is unprocessed?" but the simple answer is: do you have (or could you have) all of those ingredients in your kitchen and could a person reasonably make it themselves.
For instance, I have lots of friends who are home brewers and they make beer themselves. So that makes beer OK to have, it passes the Kitchen Test. If you could reasonably assume you COULD make it, it’s OK.
However, I have no idea how to pronounce half of the ingredients in Oreos, I don’t have those in my kitchen, I could not make that product, with those exact ingredients, so sorry, no Oreos for me. For more in depth answer to the questions, you can read this.
The best thing about this challenge, is that it gets us thinking. About what we eat, who we "vote for" with the dollars we spend, and what we are training our bodies to crave.
And if you can’t go a month with eating just real whole food, then why not? Why is that hard for you?
I encourage you sign up, even if you know you can’t be perfect. Can you do Unprocessed Wednesday Night Dinners? Sign up and give it a try. It will get you thinking about what you’re eating, and what you are feeding your family.
This soup recipe could even be debated (although it is not yet October). While some ingredients easily pass the kitchen test, it reminds you to read the labels on the brands of sour cream and cheese you buy. Some will only have three or four easily recognized ingredients while some brands will have several more. It’s just about being mindful of what you buy.
Skinny Baked Potato Soup 210 Calories
Ingredients
1 tbs olive oil
1/2 cup chopped onion
1 leek, chopped (only white and light green part)
3 cloves garlic, minced
3 cups fat free chicken broth
4 cups cauliflower, chopped
1 large russet potato, peeled and chopped
1 tsp salt
1/2 tsp garlic powder
1/2 tsp pepper
1/4 tsp smoked paprika
1/4 tsp chili powder
1/2 cup milk
Garnishes:
1/2 cup light sour cream
1/4 cup shredded reduced fat cheddar cheese, 1 large tomato, chopped
1/2 cup green onion or chives, chopped
(Makes 4 servings)
Instructions
In a pot over medium high heat, add the leeks and onions, cook until softened, stirring frequently. Add garlic and stir. Add the chicken broth, potatoes, and cauliflower and allow to boil until vegetables are softened, about 15 minutes.
Remove from heat. Using an immersion blender or a food processor, puree until smooth. Stir in the spices and milk, return to heat and allow to simmer until thickened to desired consistency (the longer you simmer, the thicker the soup will become).
Divide among 4 bowls, top each one with 2 tbs sour cream and stir. Top with remaining garnishes and serve.
At the end of the month I have this little cooking on TV gig that I’m incredibly excited about. And as much as I strive to be unique and impervious to social pressure, none of that has been able to penetrate my own vanity. After the initial shock of being asked to cook on CBS, Los Angeles wore off my first very female thoughts went something like this:
"What am I going to wear?"
"The camera adds ten pounds. Awesome."
So here I am, trying to stay as healthy as possible until I can school the Los Angeles metro area on the mid-day news with an introduction to cooking with beer all while still trying to run two food blogs that dazzle you with fun and delicious food. Not as easy for me as I’d like.
I did, however, discovered that if I give up dairy, which I already find skeevey in it’s unmanipulated state, the battle to lose those last few pounds becomes much easier. Butter and goat cheese have been the only real sacrifices, the rest has been easy to ignore or replace.
Don’t forget to come back on Wednesday when I give the best chocolate ice cream I have ever had that happens to be dairy free. It’s insane how creamy it is. You’ll want that recipe.
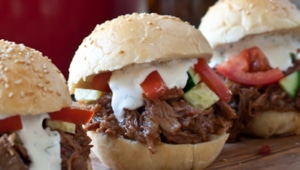
This recipe, which is dairy and gluten-free, gives you this delicious little mini burgers that are only about 90 calories each. And I am now one step closer to cooking on TV and not crying about it.
Chicken Sliders With Zucchini Buns
Ingredients
For The Patties
1 lb ground lean chicken
1 egg
1/4 cup panko (for GF, use crushed potato chips)
1/2 tsp salt
1/2 tsp pepper
1/2 tsp dry oregano
1/2 tsp dry basil
1 cup fat free chicken broth
Condiments & Toppings
1 to 2 large zucchinis, cut into 1/4 inch rings (buns)
Avocado Slices
BBQ Sauce
Pickled Jalapenos
Tomato Slices
Instructions
In a bowl, combine all the the patti ingredients (except the chicken broth) with your hands until well combined.
Spray the inside of a skillet (with a lid) with cooking spray, allow to get hot but not smoking.
Form the chicken mixture into patties about the width of your zucchini slices and about 1/2 inch thick. Cook on one side until browned on the bottom, flip and allow to cook for about 1 minute. Add the chicken broth until about half way up the sides of the chicken patties. Cover with a lid and allow to steam for about 3 to 5 minutes or until chicken patties are cooked through. Because fat is responsible for moist patties, very lean meat becomes dry very easily. This is the method I use to make sure the chicken is cooked through but is not dry.
Remove from pan and allow to drain.
Add the patties to the zucchini slices, top with condiments and serve.
Not just Went. I was asked to attend a VIP tour of Dodger Stadium for a Food Bloggers event that included hanging on the field, a tour of all of the exclusive restaurants, a buffet of all of the incredible hot dog creations the stadium chefs can dream up (macaroni and Fritos dog?!) and even a chat with Andre Ethier. Who told me he doesn’t drink beer (I’ll forgive him, kid can play some ball). And to top it all off, we got to sit in box seats right on the field.
If you follow me on instagram (@JackieJDodd), these pictures will look rather familiar.
Moments like these remind me to take a second to just sit and be grateful. Even when I feel like I am nowhere near the goals I have set for myself I always take time to appreciate what I have. The opportunities, people and experiences that give so much more to my life than I even deserve. I just finished Marcus Samuelson’s Yes, Chef and was incredibly inspire by his work ethic: "Always chase one shot of good luck with two shots of hard work" Great advice, Marcus. I’ll take it. Sitting side stage at America’s Favorite Past Time felt like a shot of good luck, so this week I’ll chase it with an even harder push towards my goals.
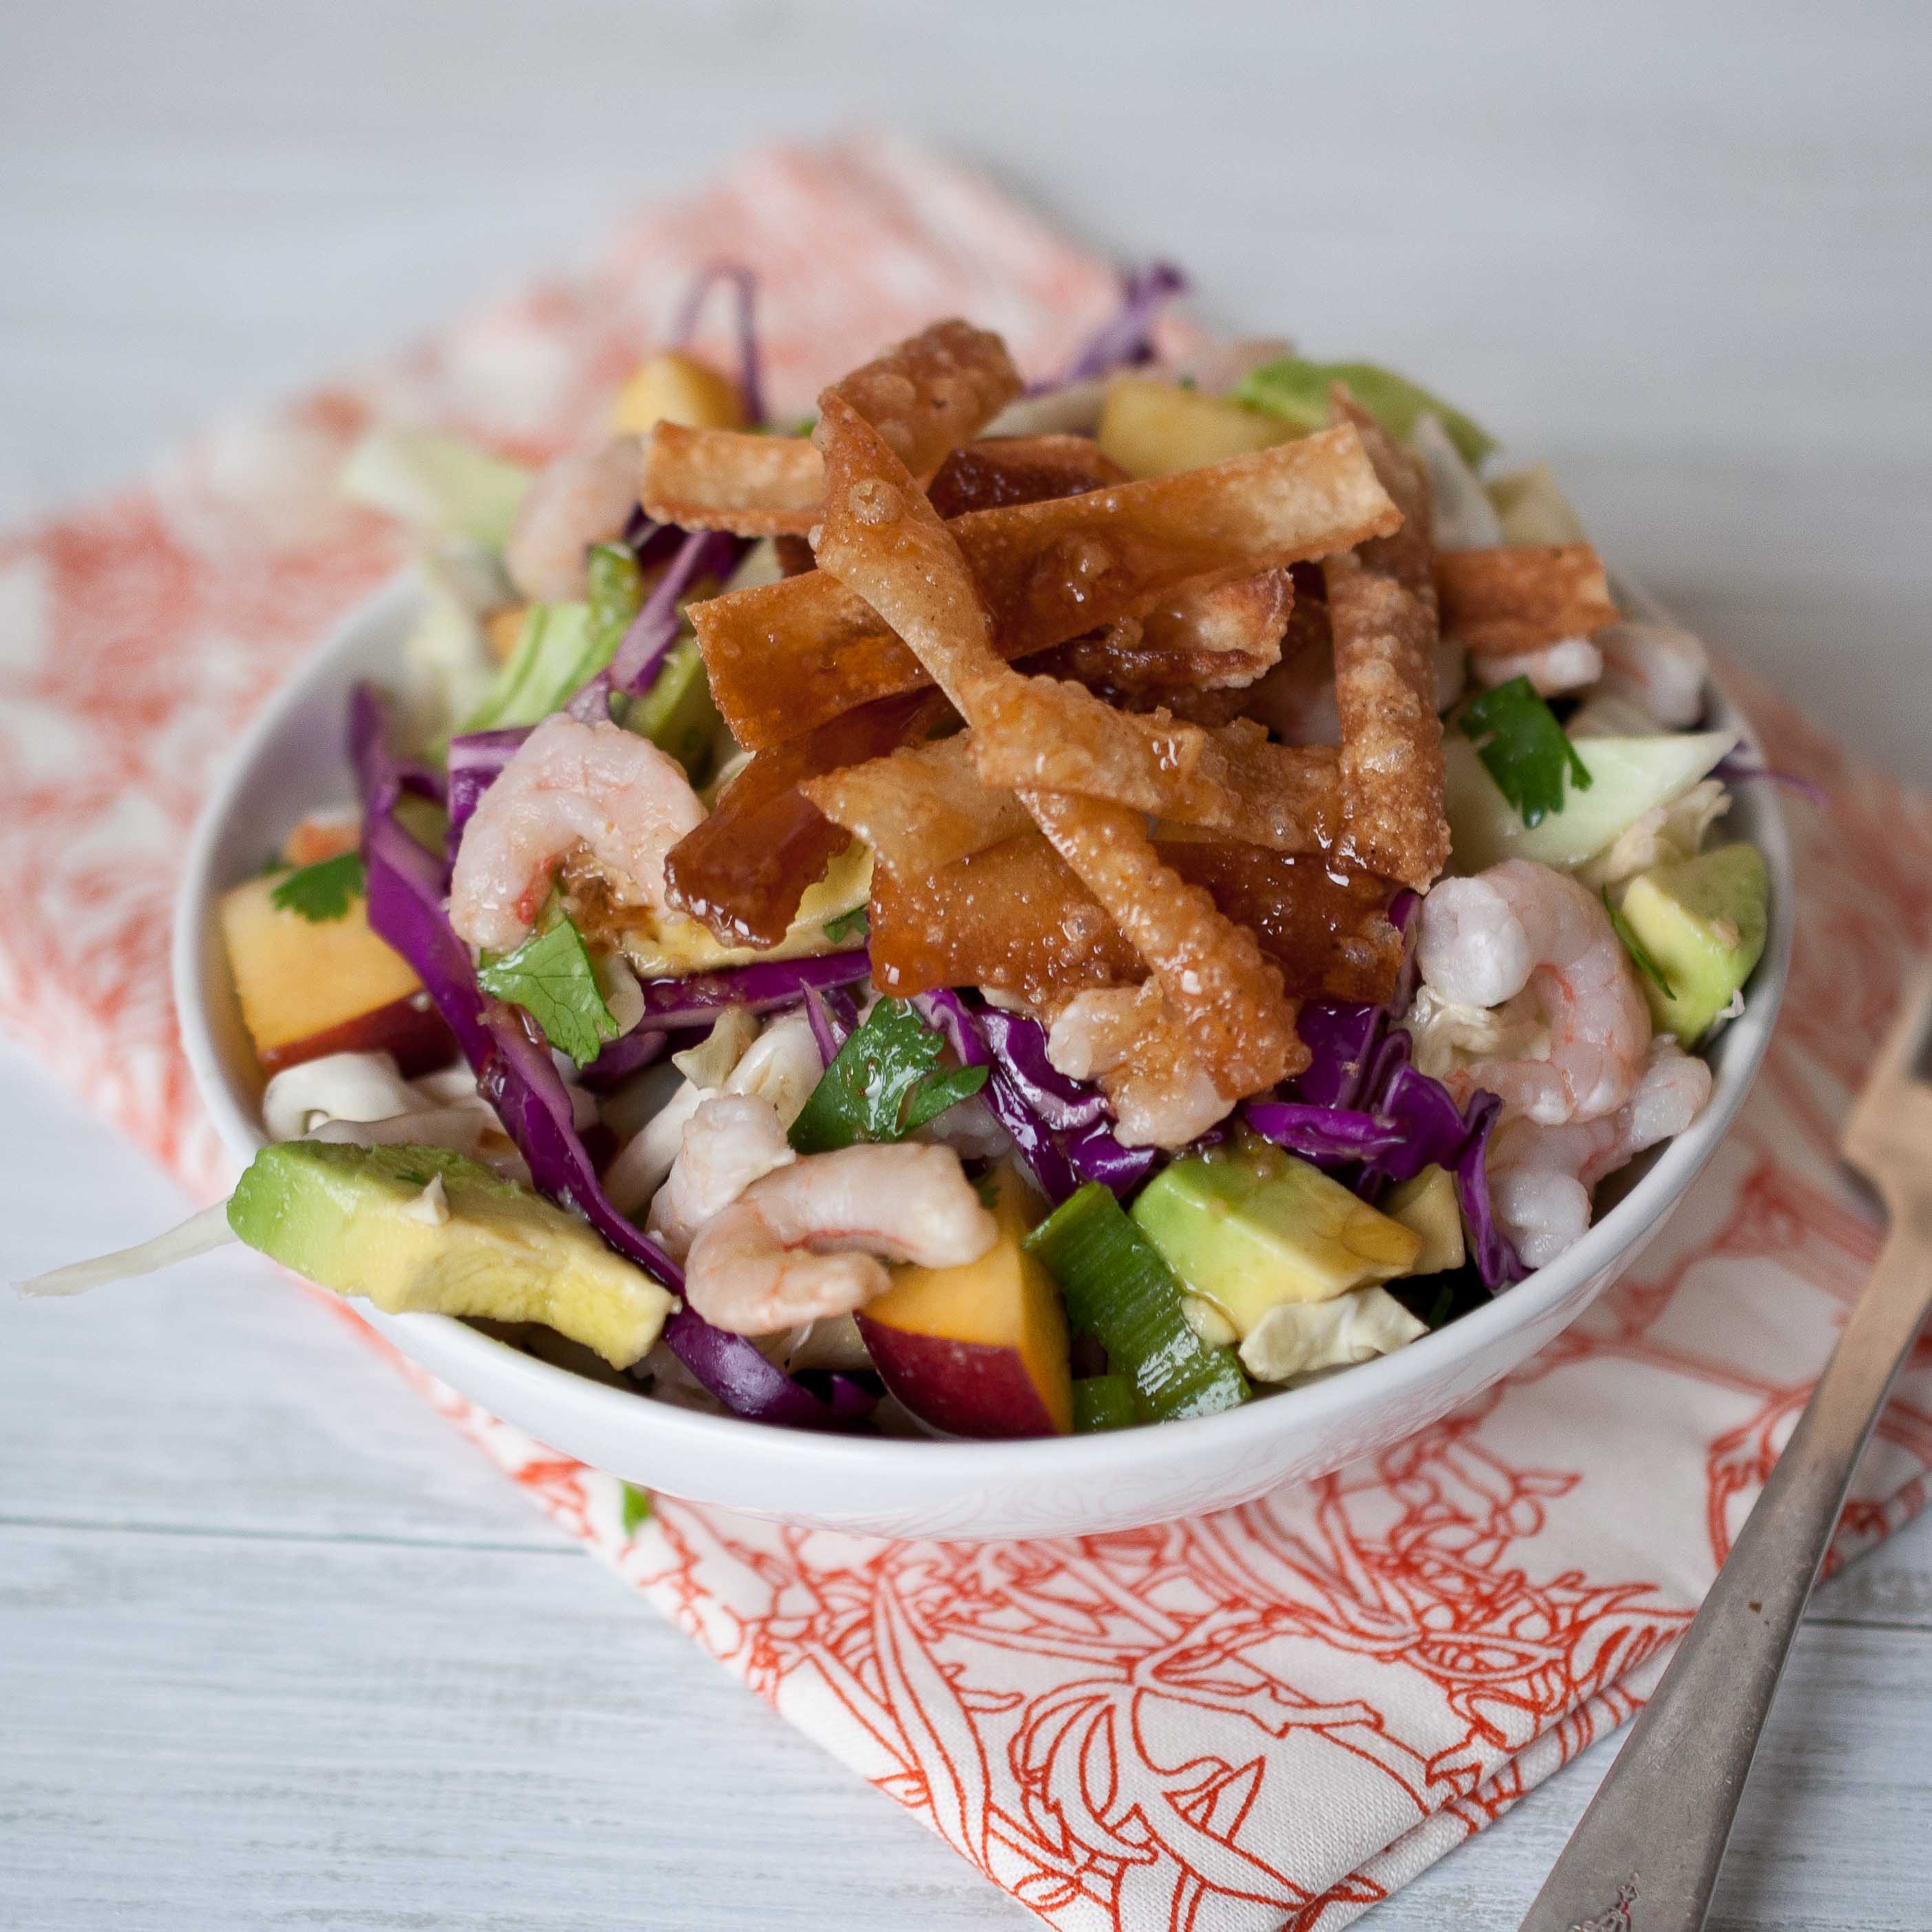
And after eating my body weight in hot dogs and chocolate cake at the Stadium, I needed a salad to balance it all.
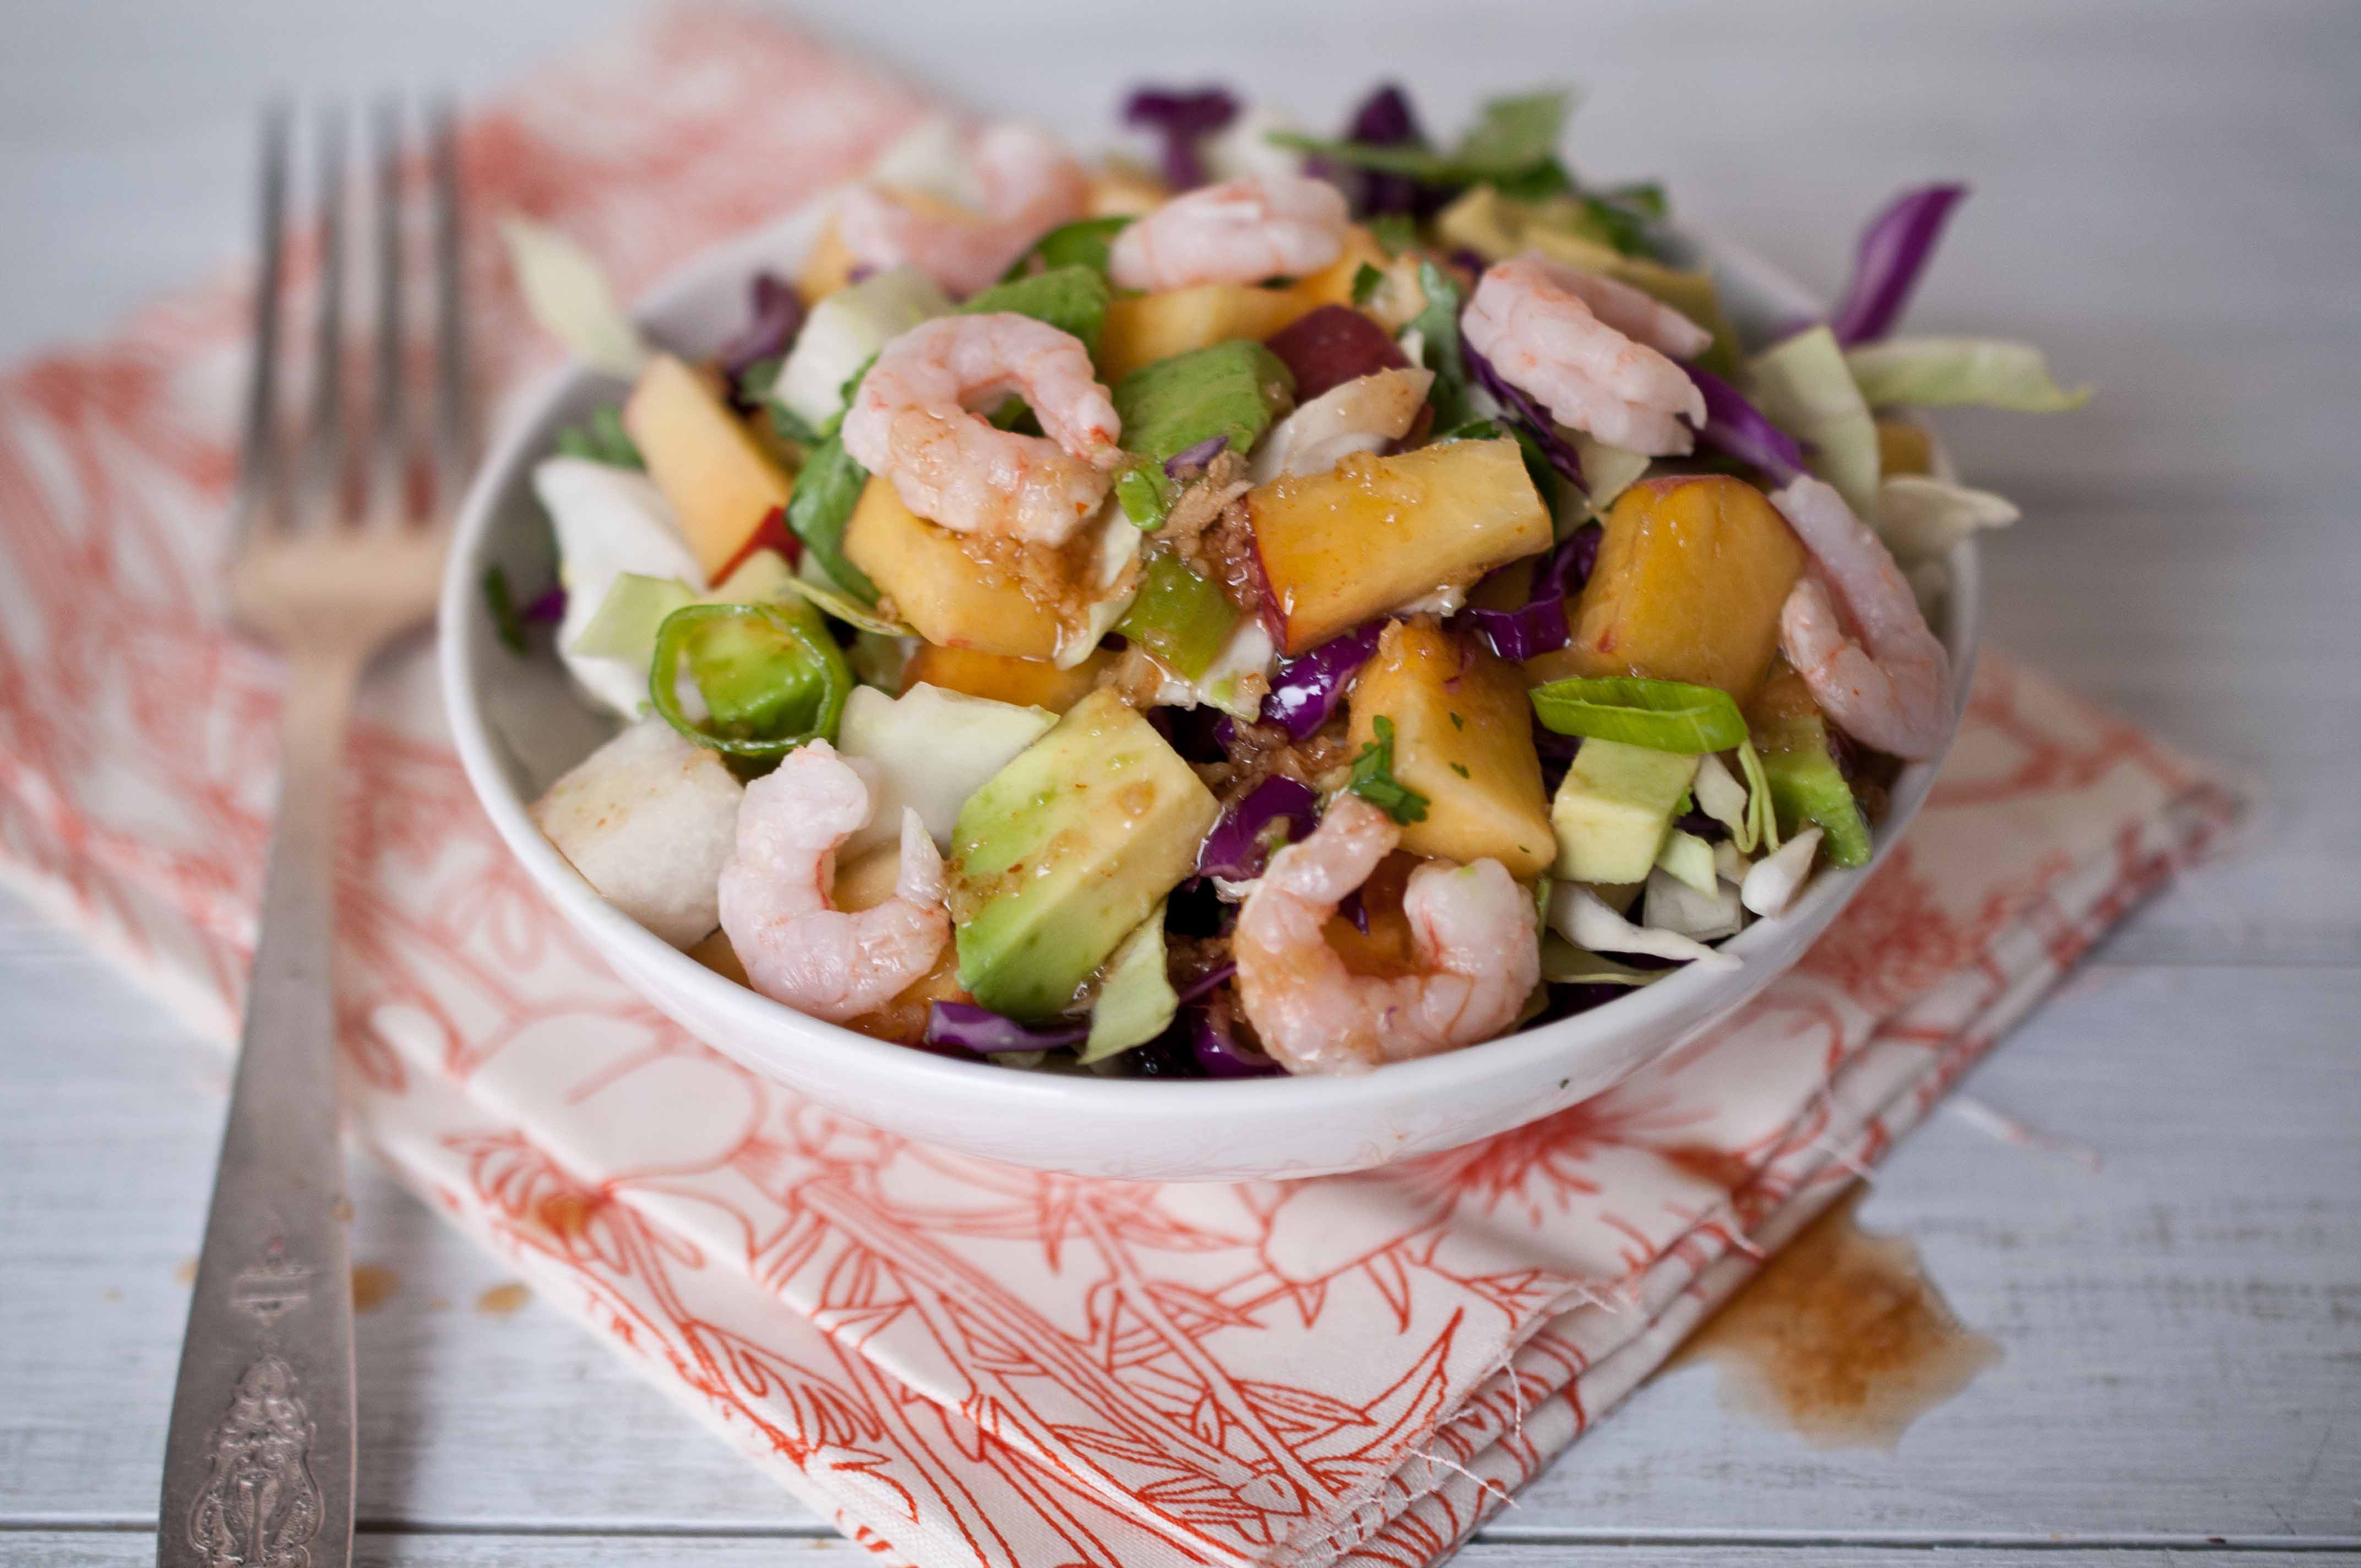
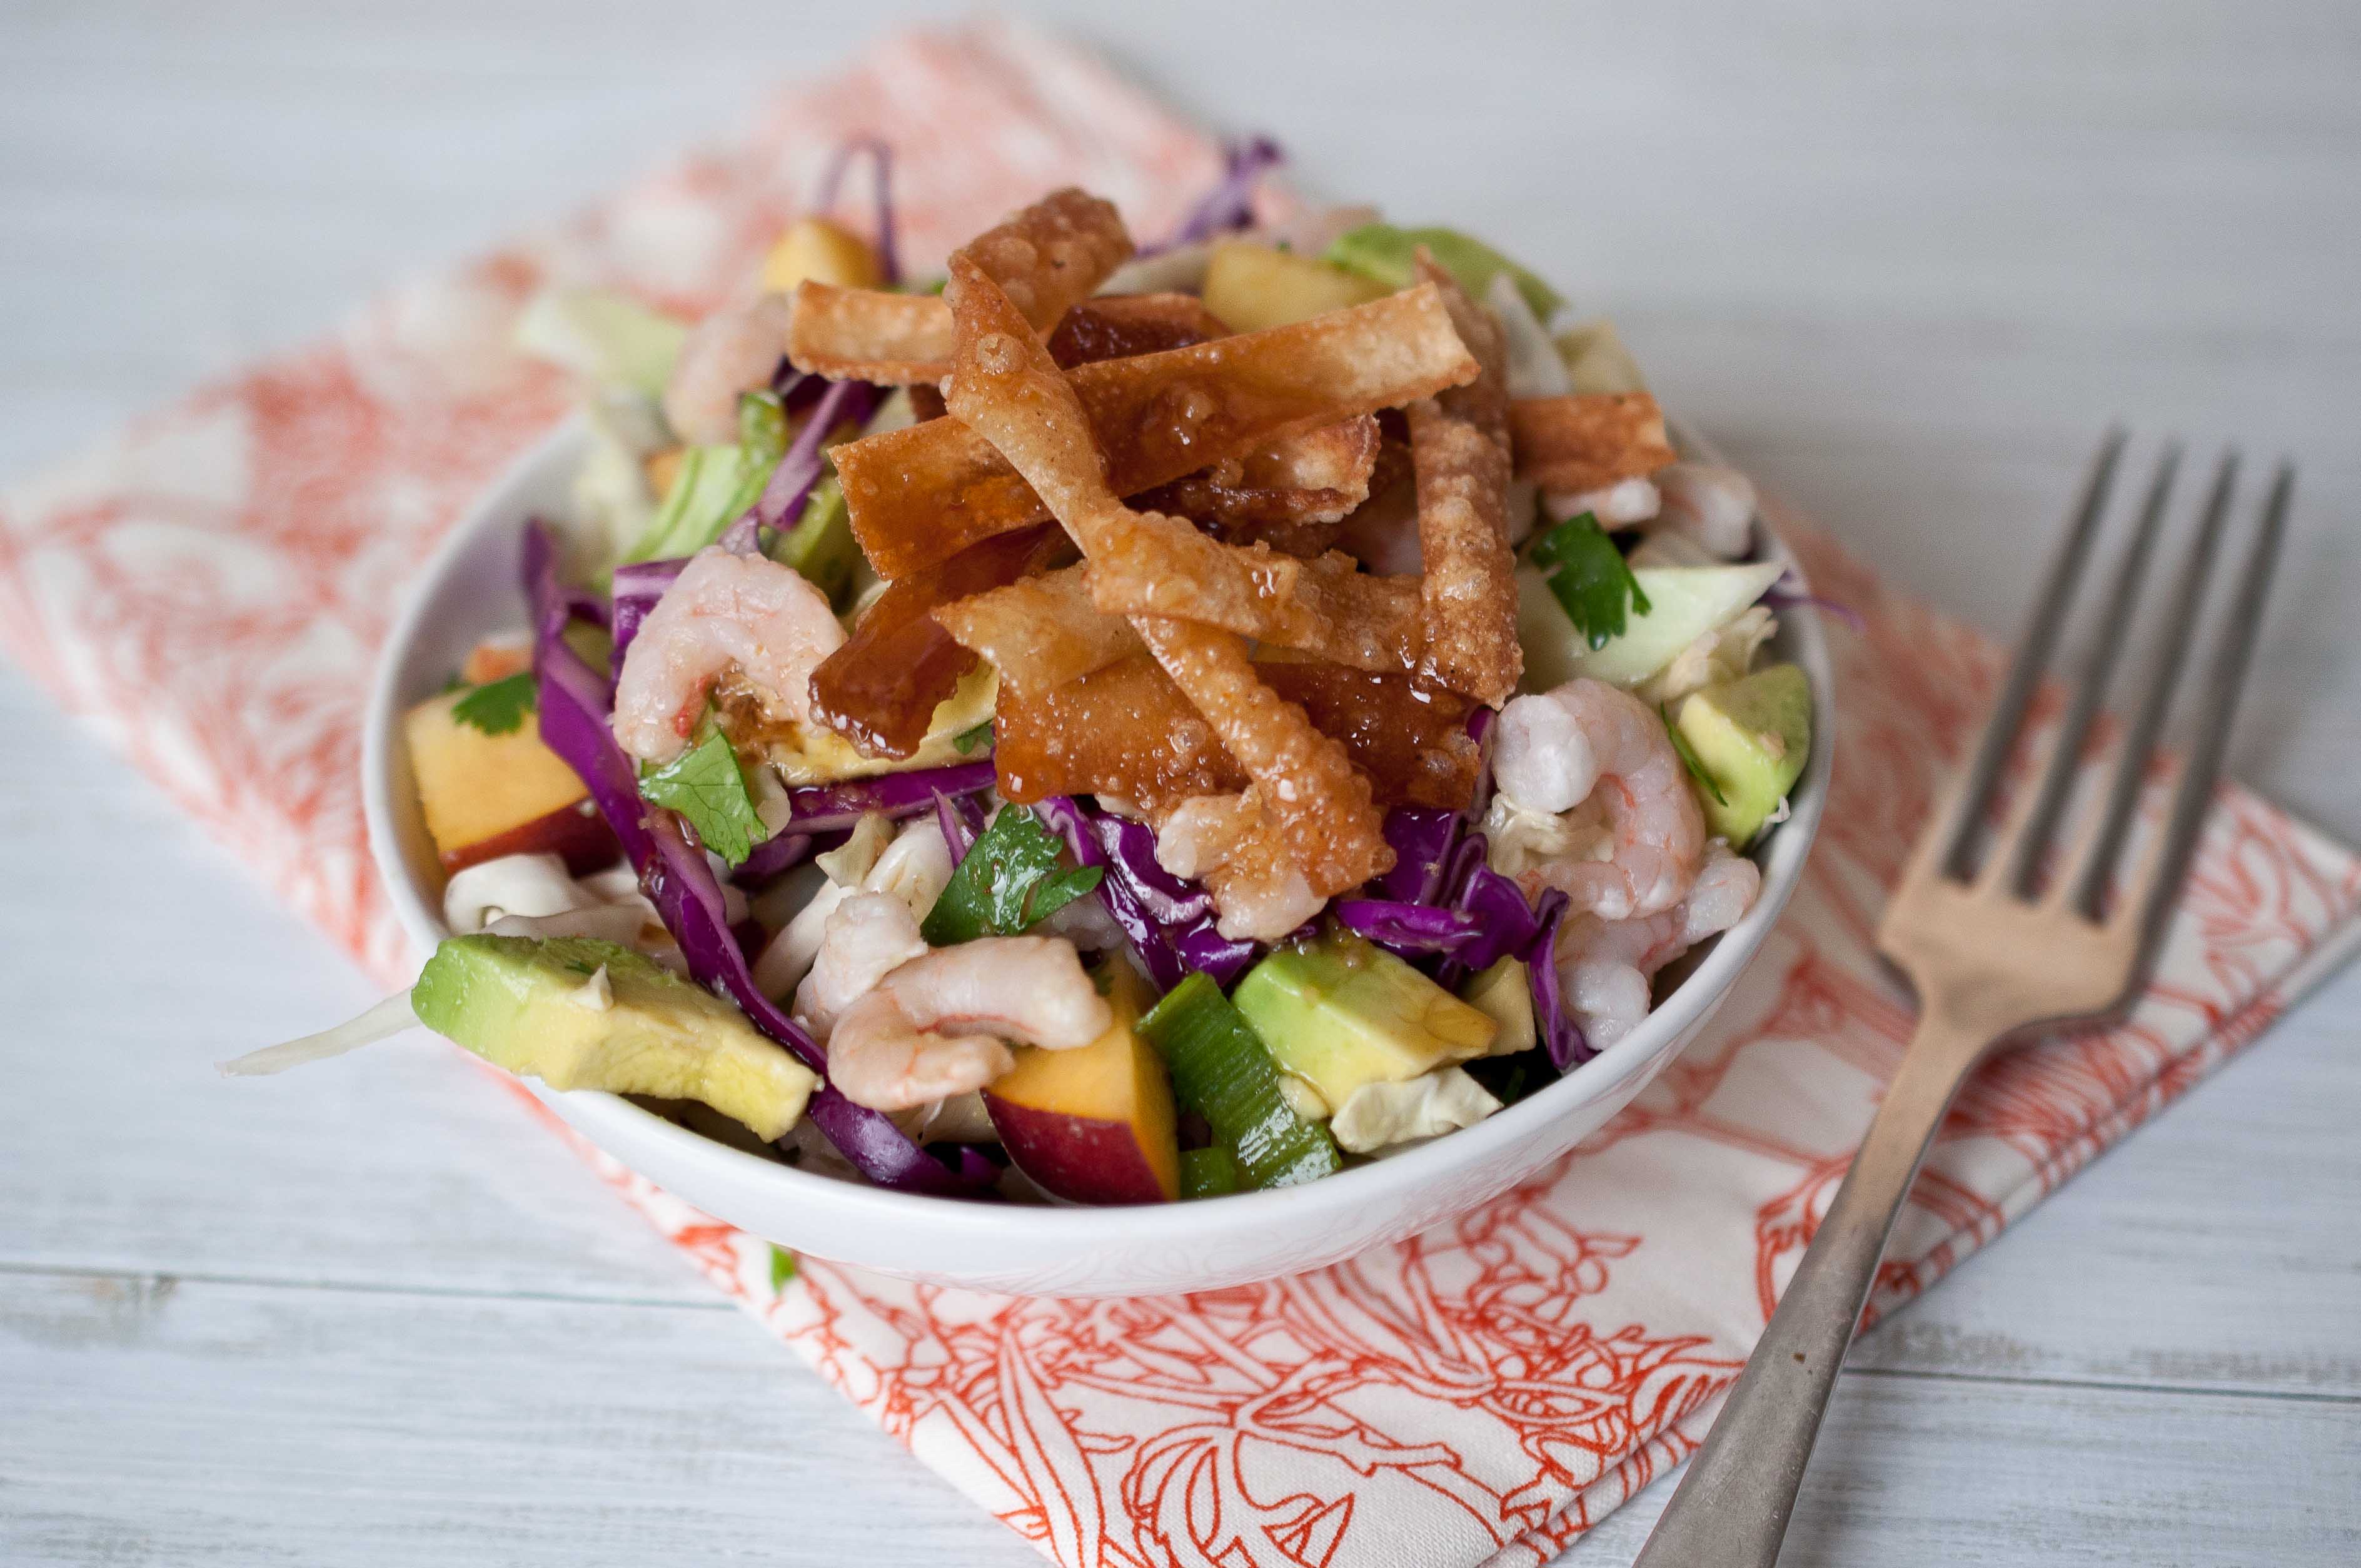
And I know that I don’t have to tell you that Chinese Chicken Salad is much more about the dressing than it is about the chicken (which I replaced with shrimp).
This dressing, THIS dressing is so easy and so good you will never even be tempted to buy it pre made ever again.
And I also decided that I am also going to chase one negative though about myself with two positive ones. I like that formula, after all he is a Top Chef Master.
Chinese Shrimp Salad
3 cups green cabbage, chopped
3 cups red cabbage, chopped
1 cup jicama, peeled and diced
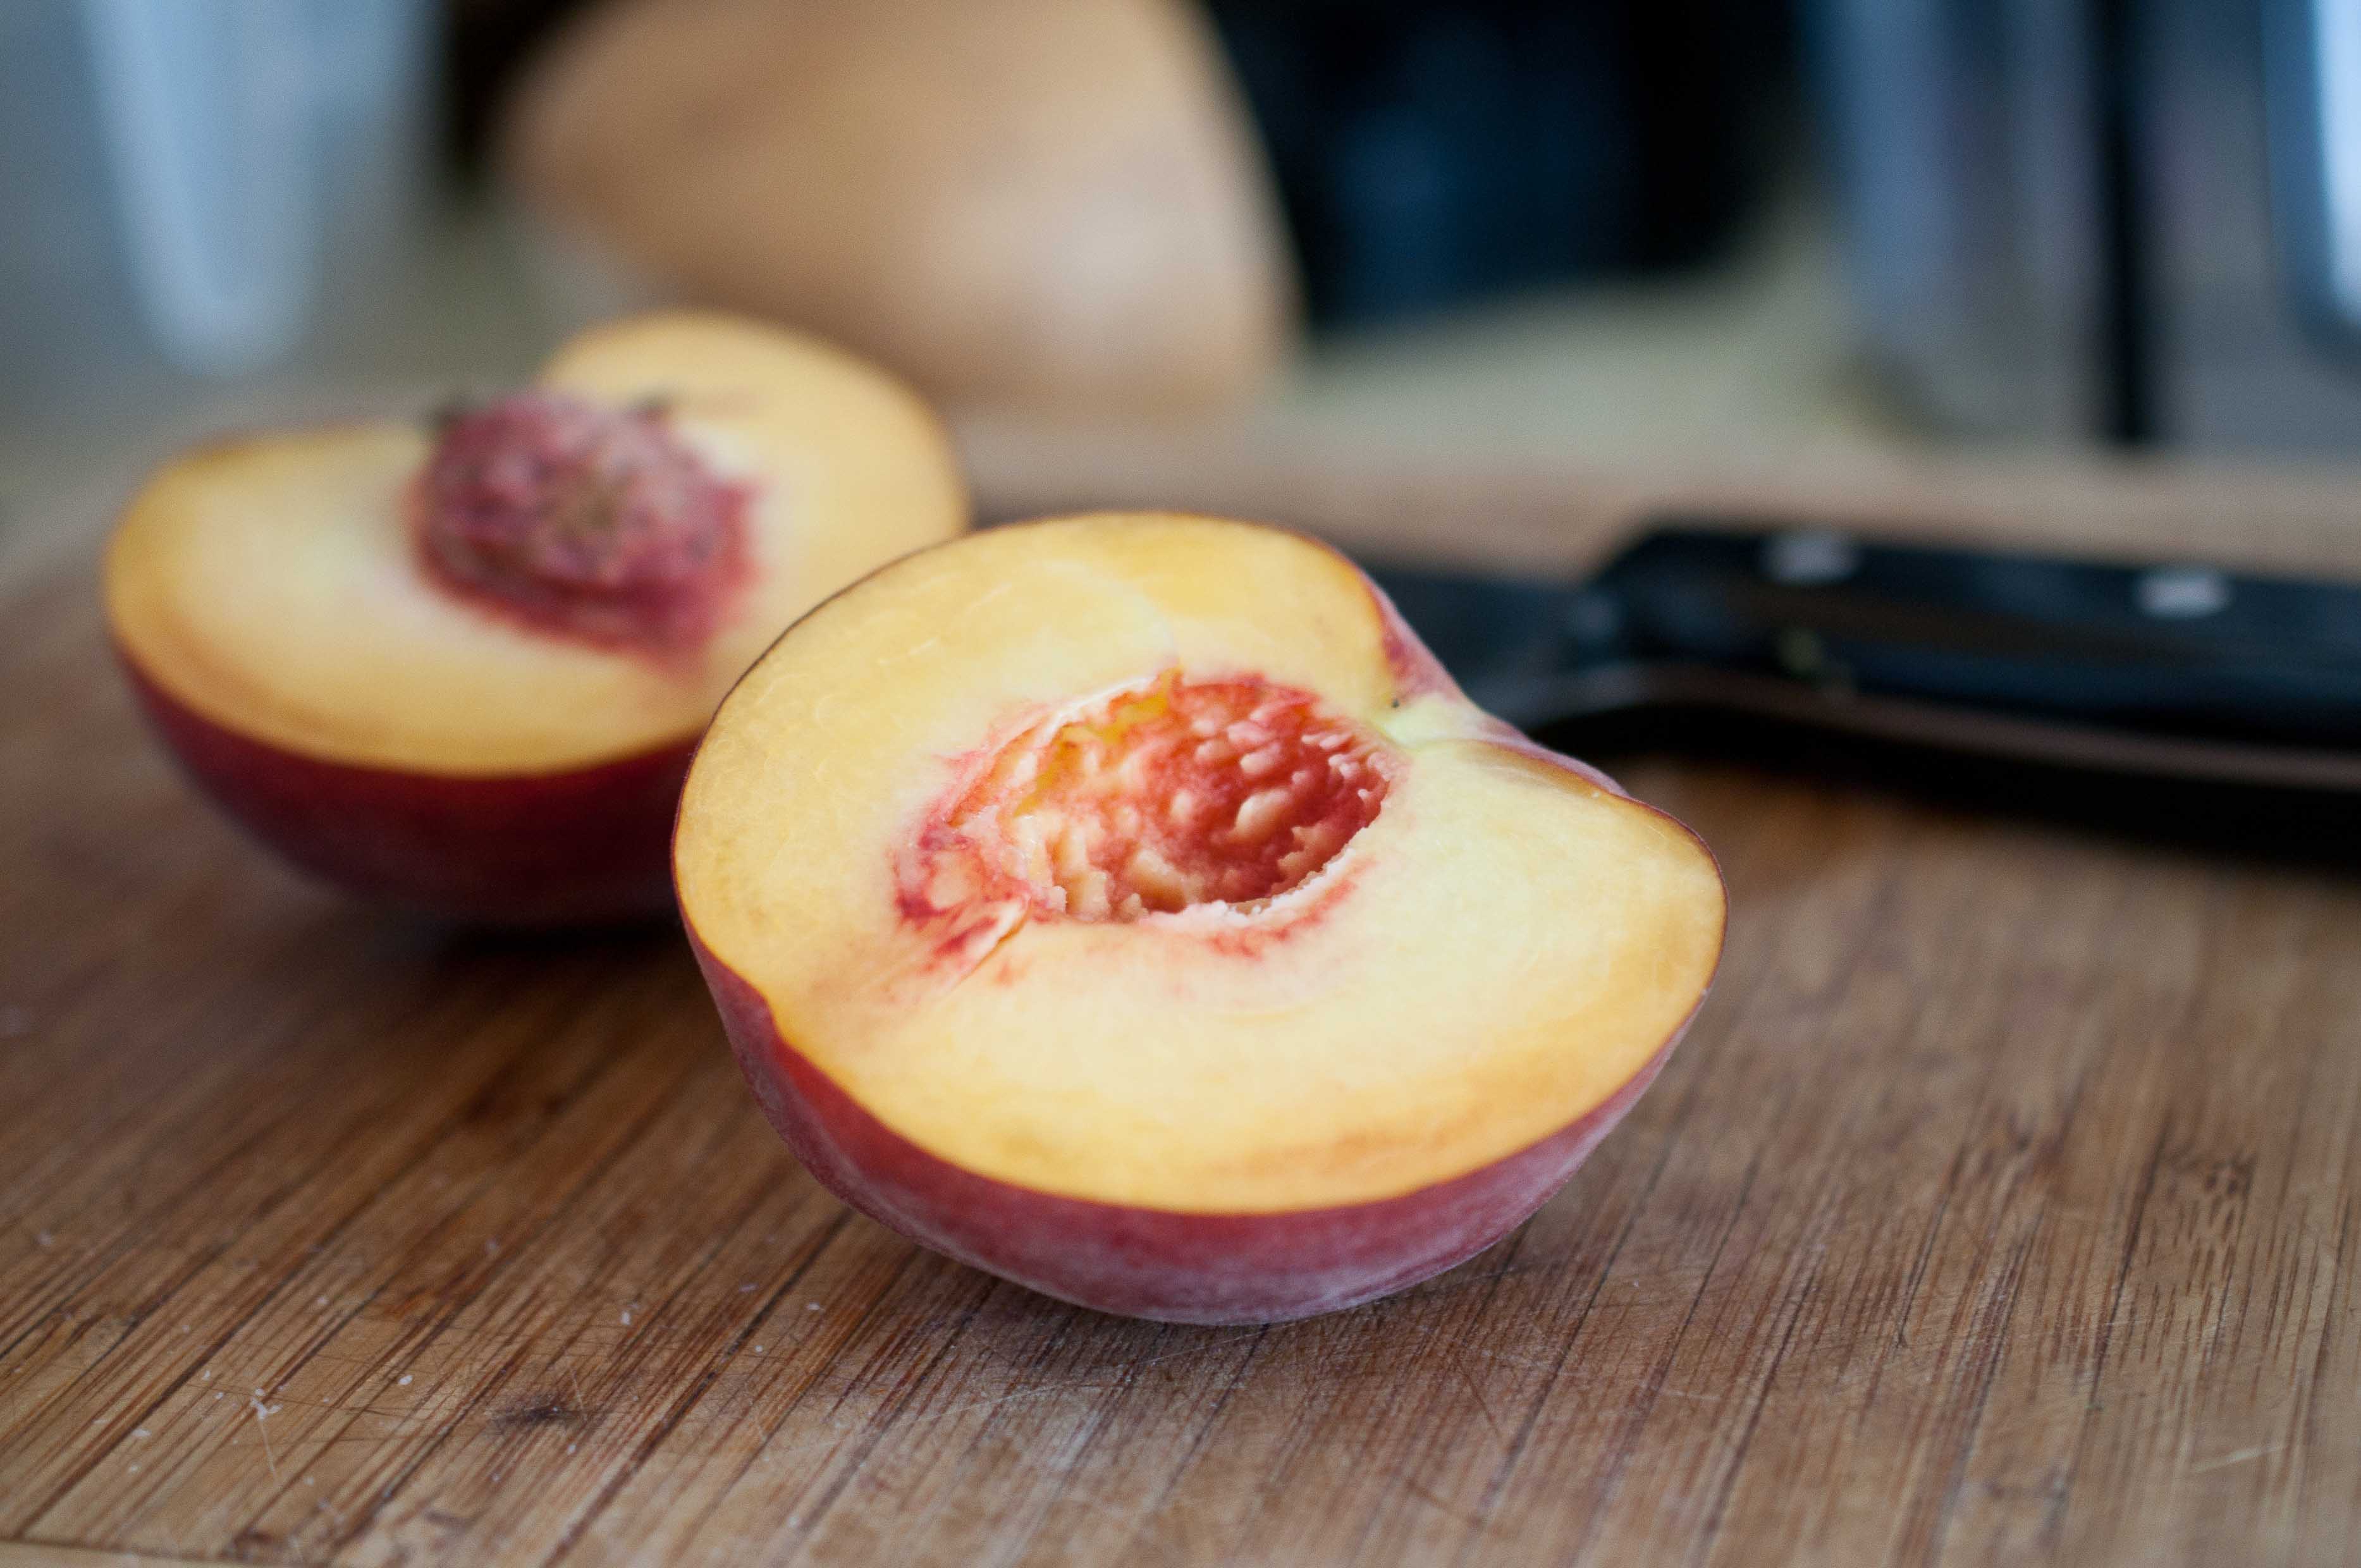
2 cups yellow peaches, chopped (about 2 large)
1 large avocado, chopped
1/3 cup green onion, chopped
1/3 cup cilantro, chopped
3/4 cup cooked bay shrimp
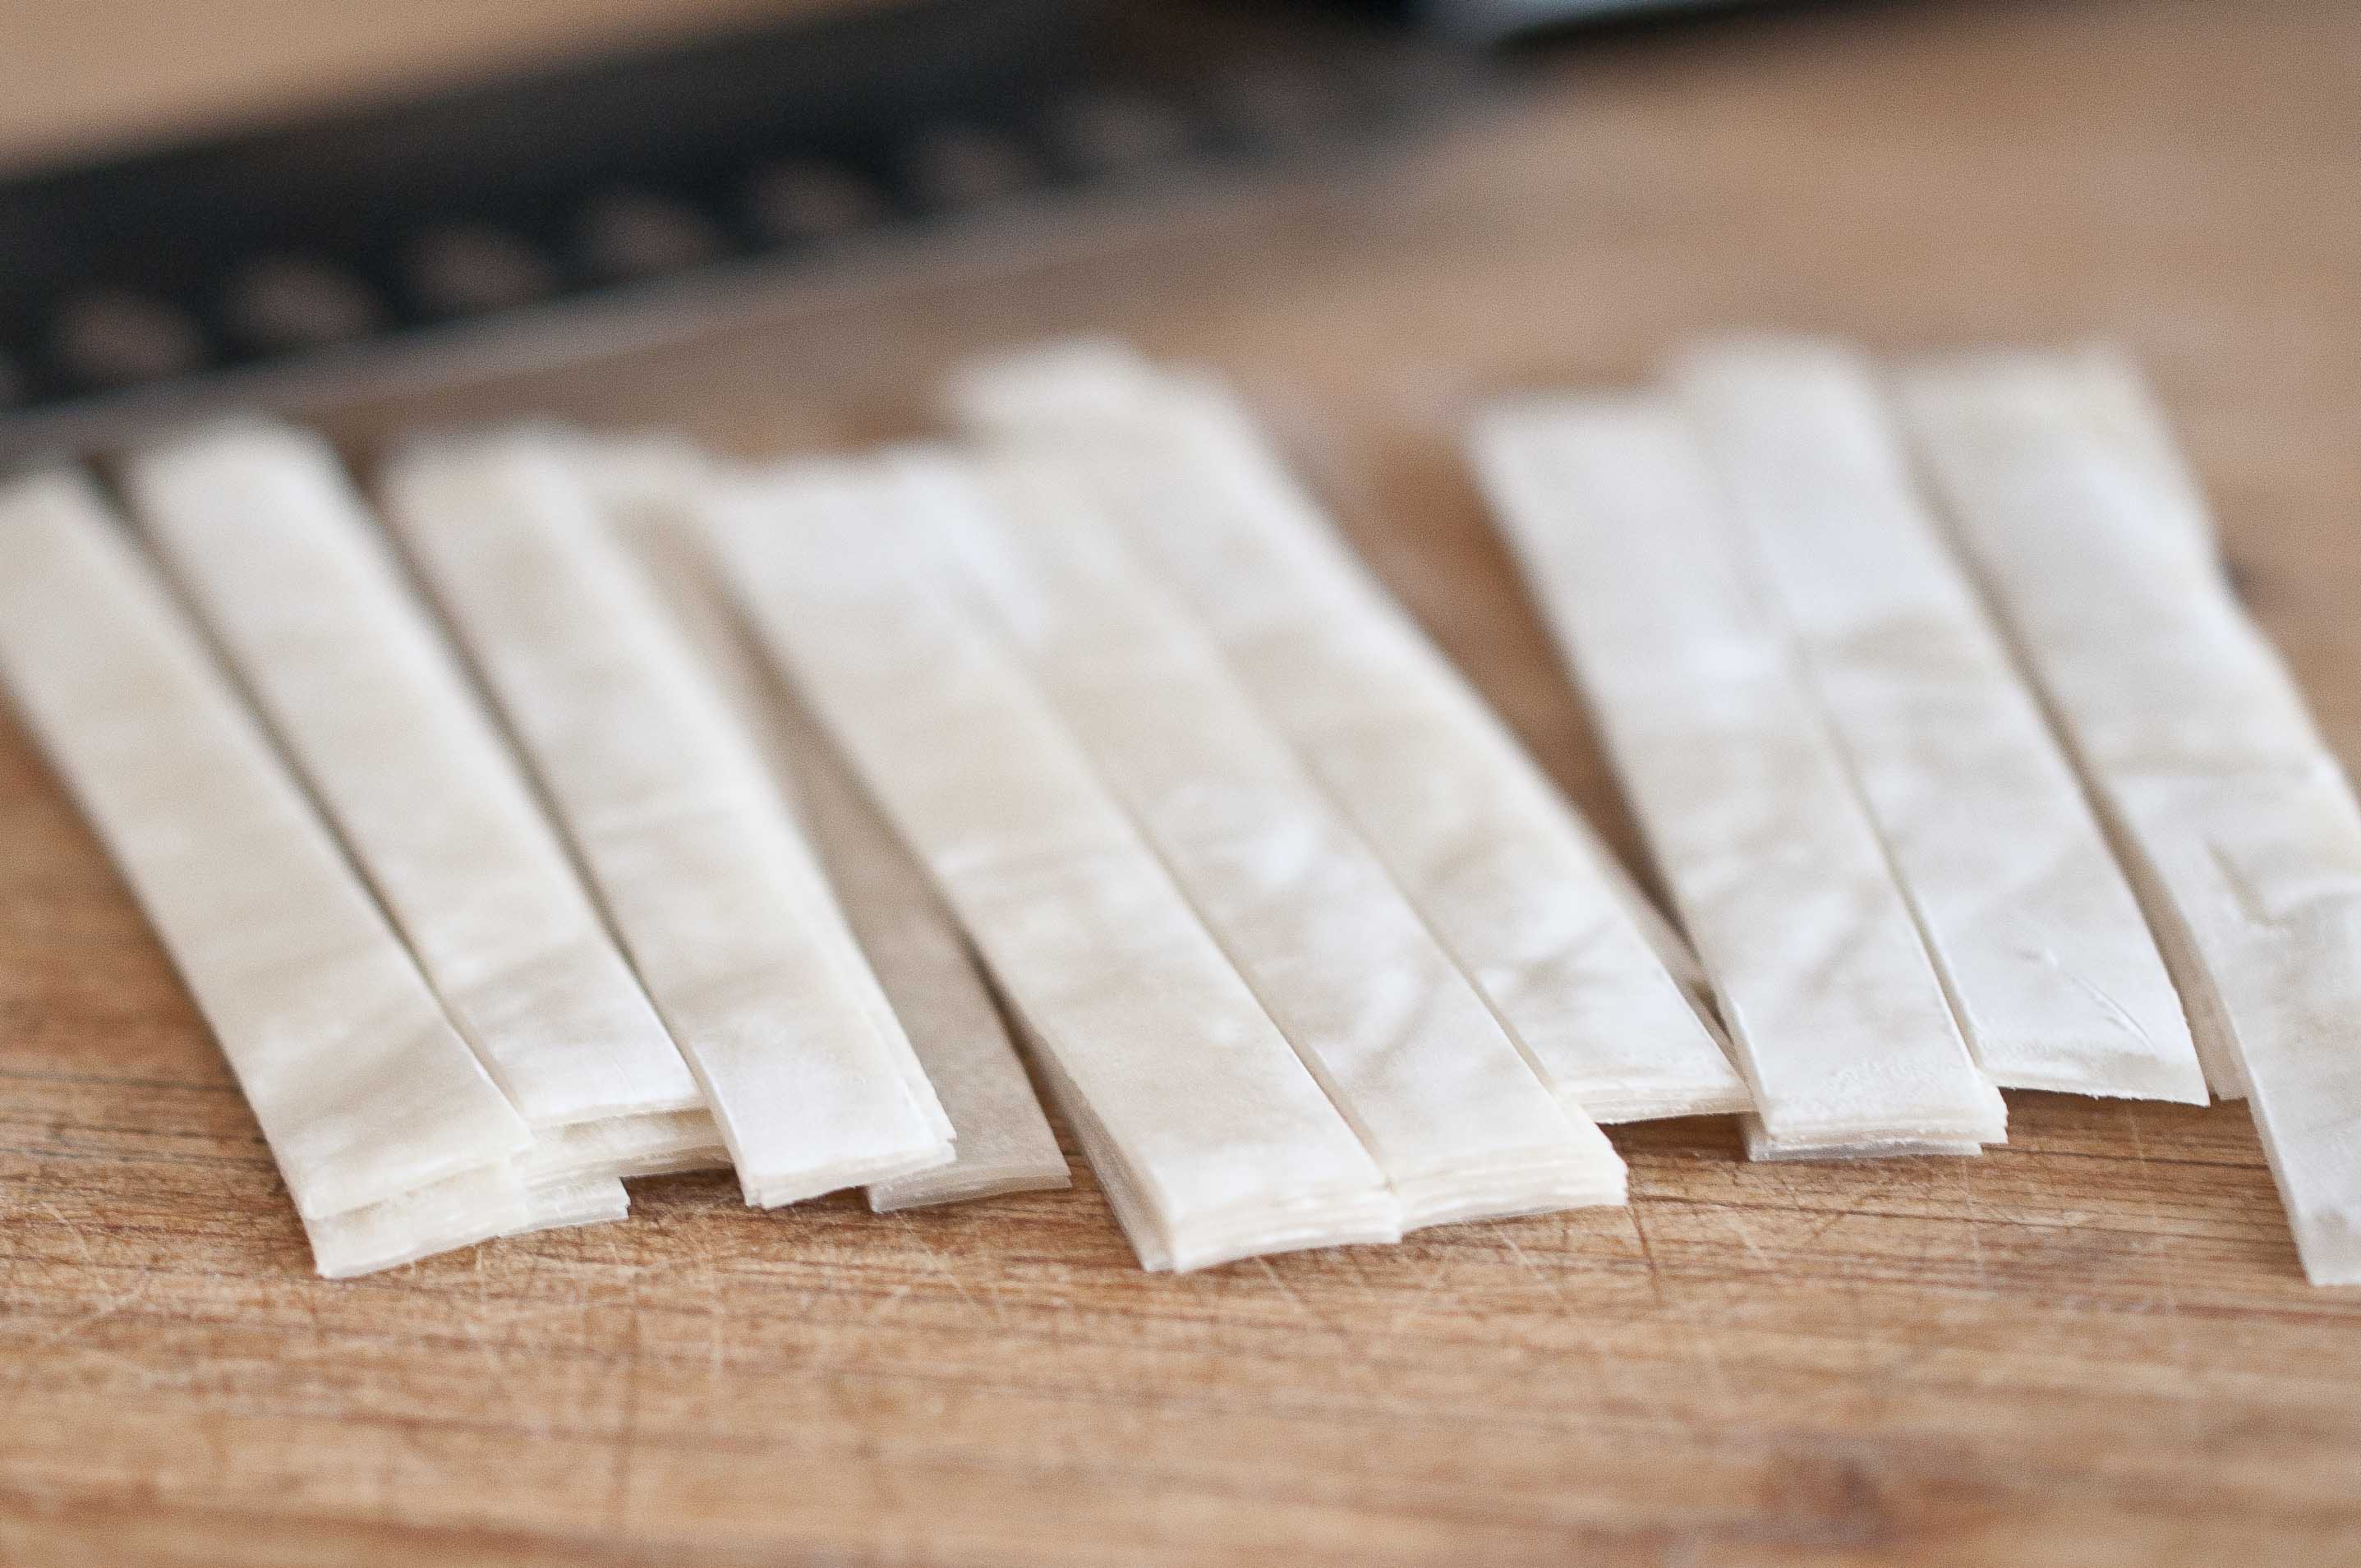
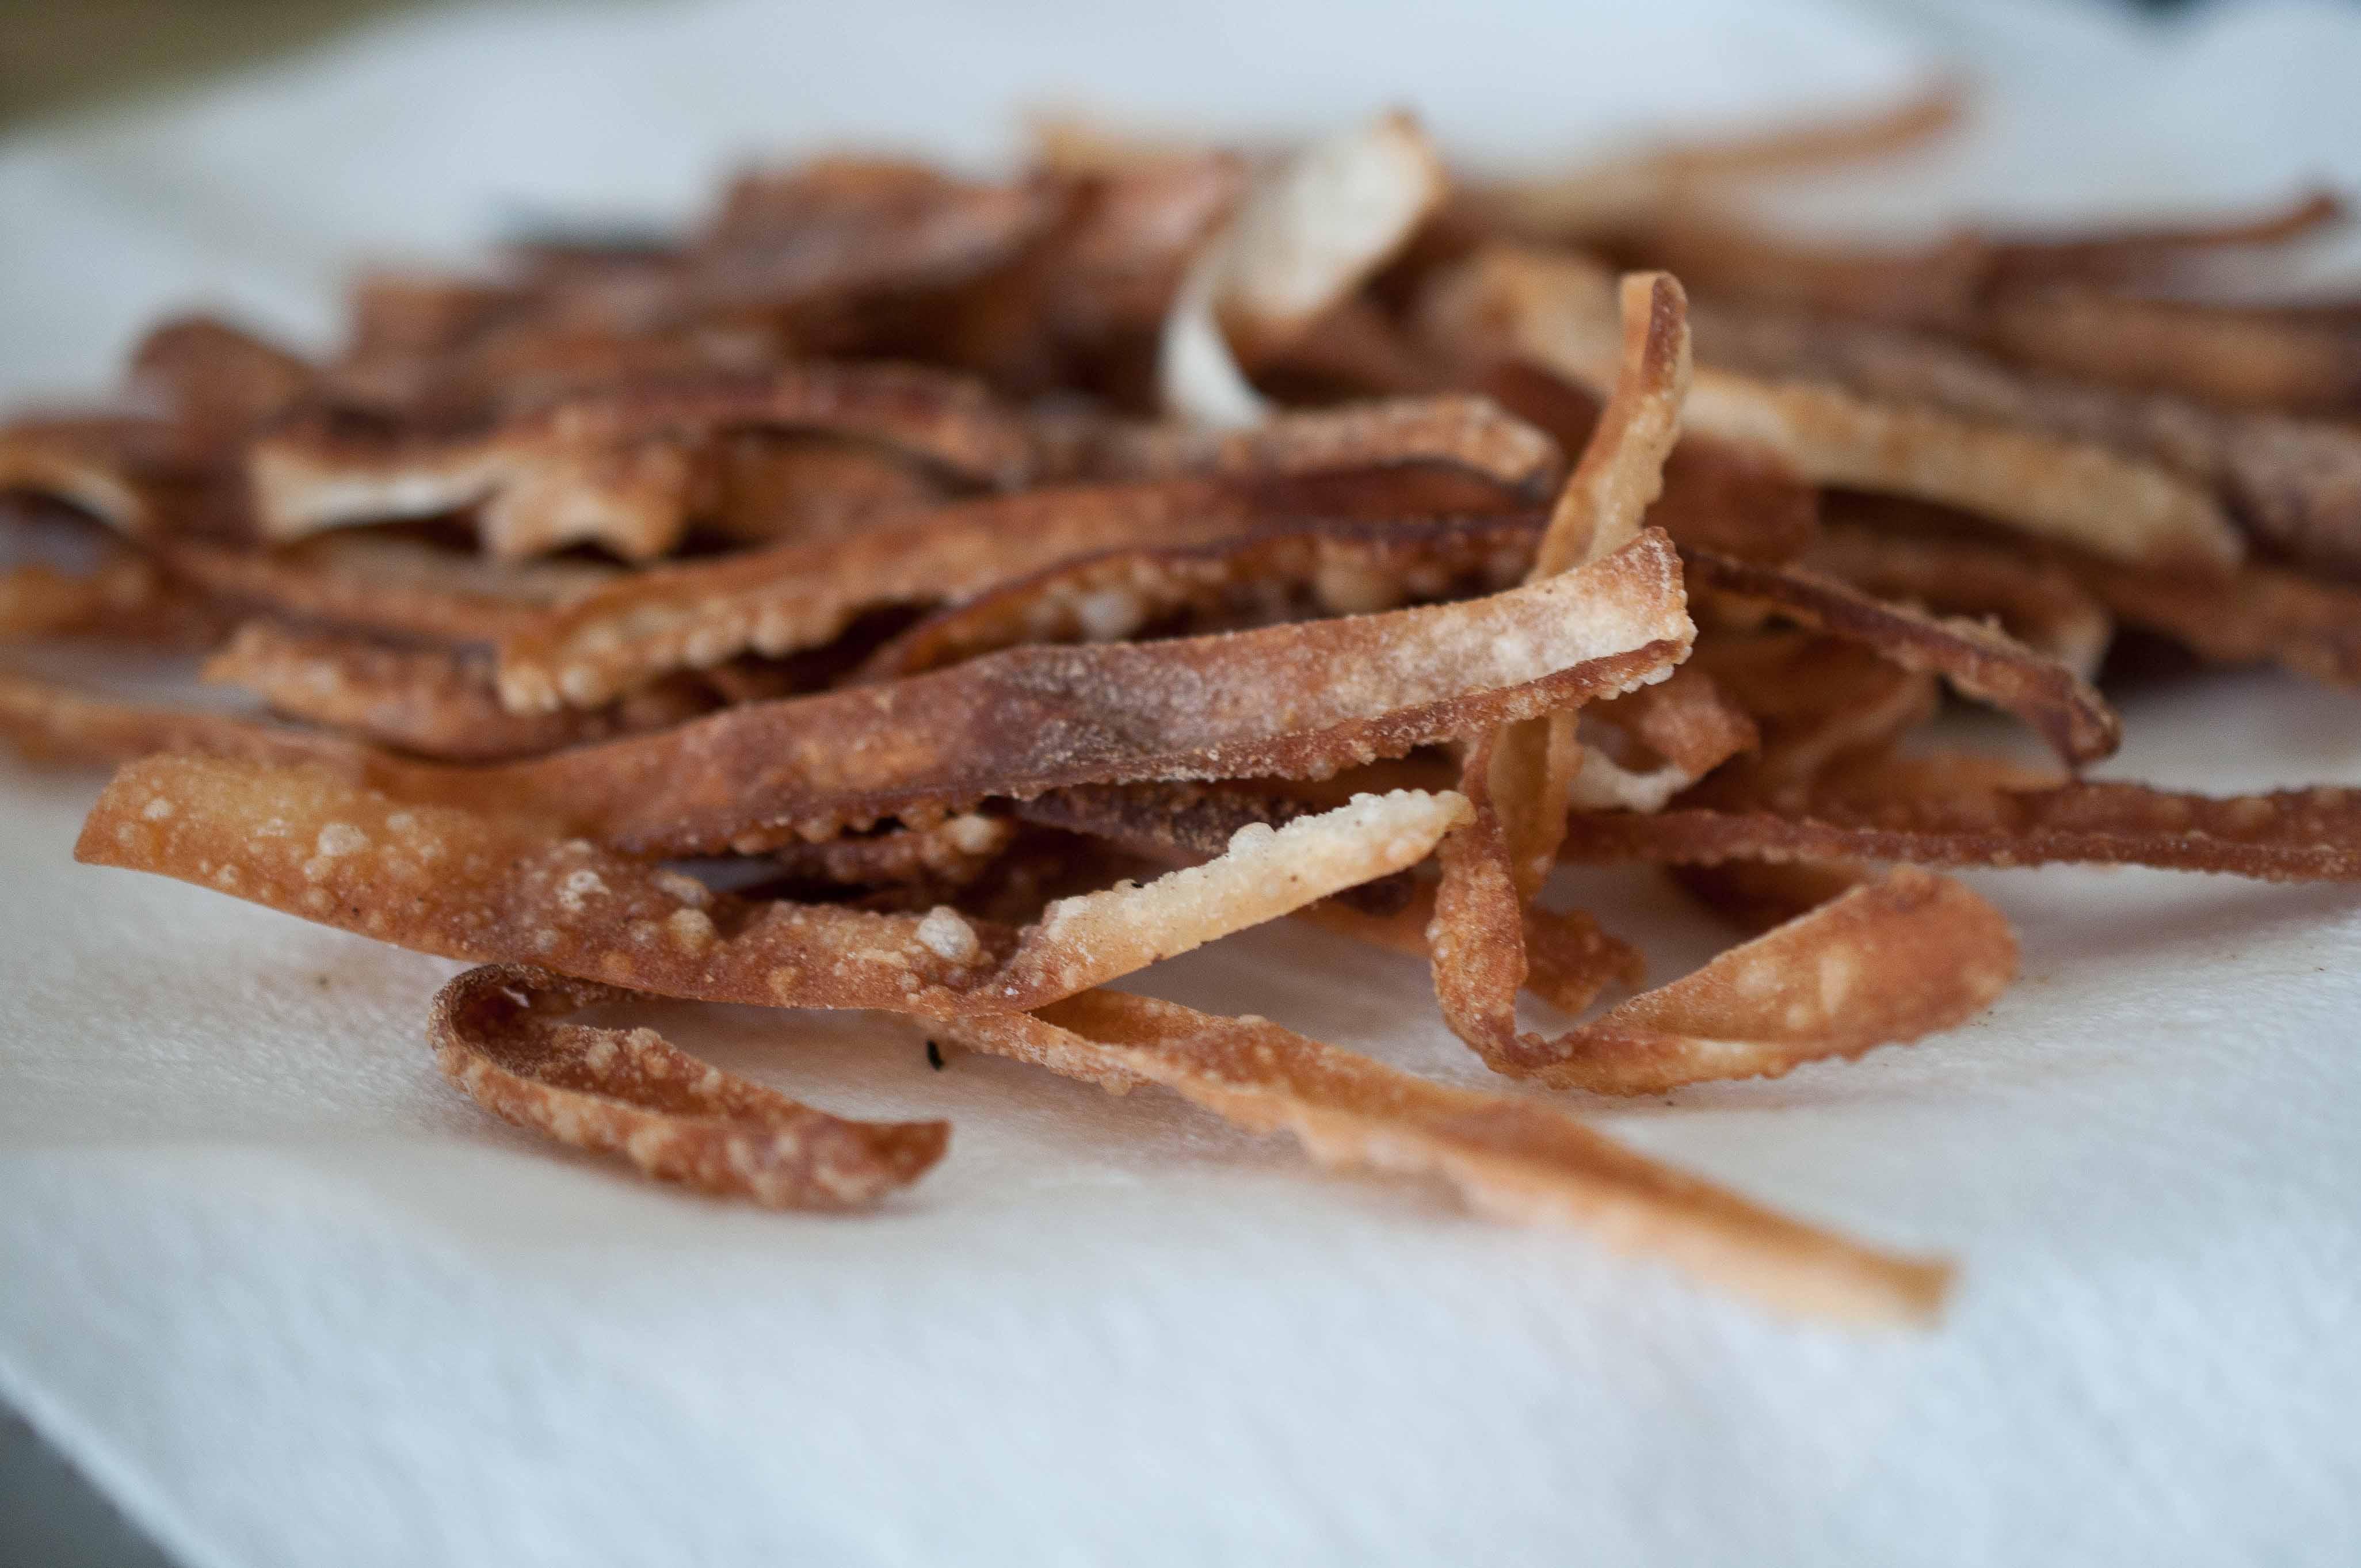
5 wonton wrappers, cut into 1/4 inch strips and lightly fried
For The Dressing:
3 tbs rice wine vinegar
2 tbs brown sugar
3 tbs ponzu sauce
1 tsp sriracha
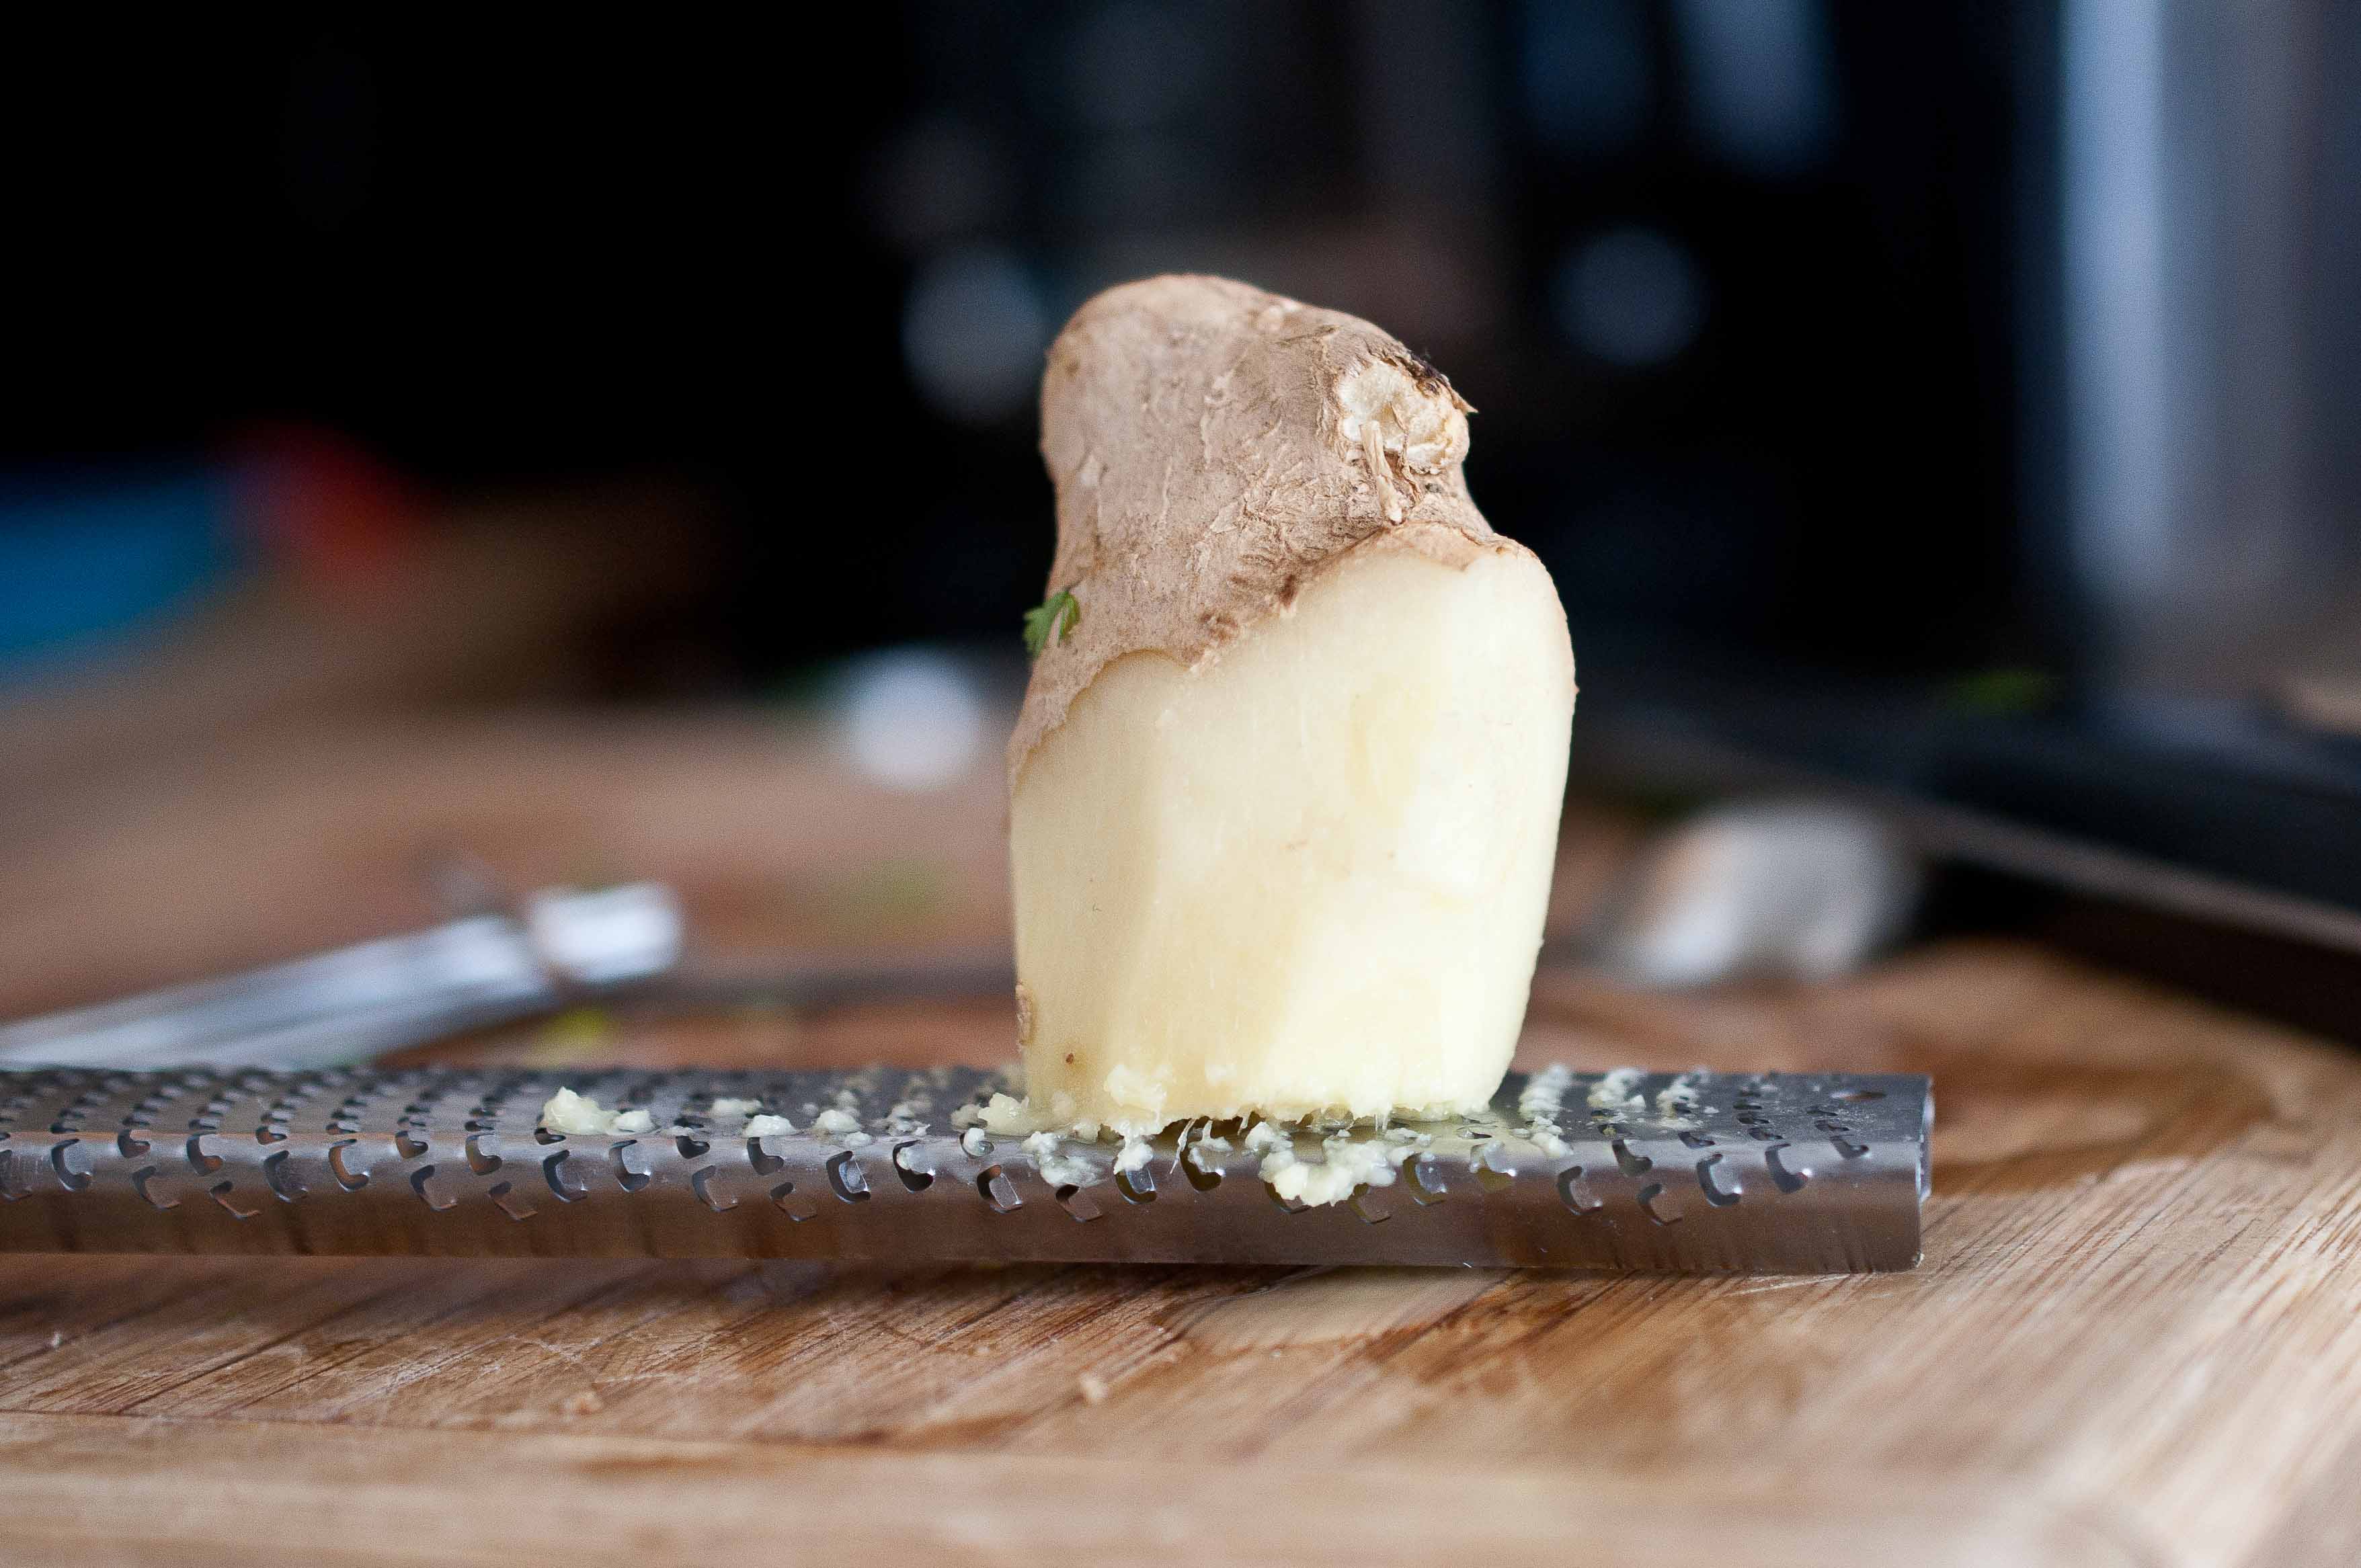
1 1/2 tsp grated ginger
2 tsp sesame oil
(you can also make a double recipe and save half in an air tight container in the fridge, should last about 1 month)
Add all of the salad ingredients (except the fried wontons) in a bowl, toss to combine. Top with wontons.
Add all of the dressing ingredients to a bowl, stir to combine. Drizzle over the salad. Serve cold.


