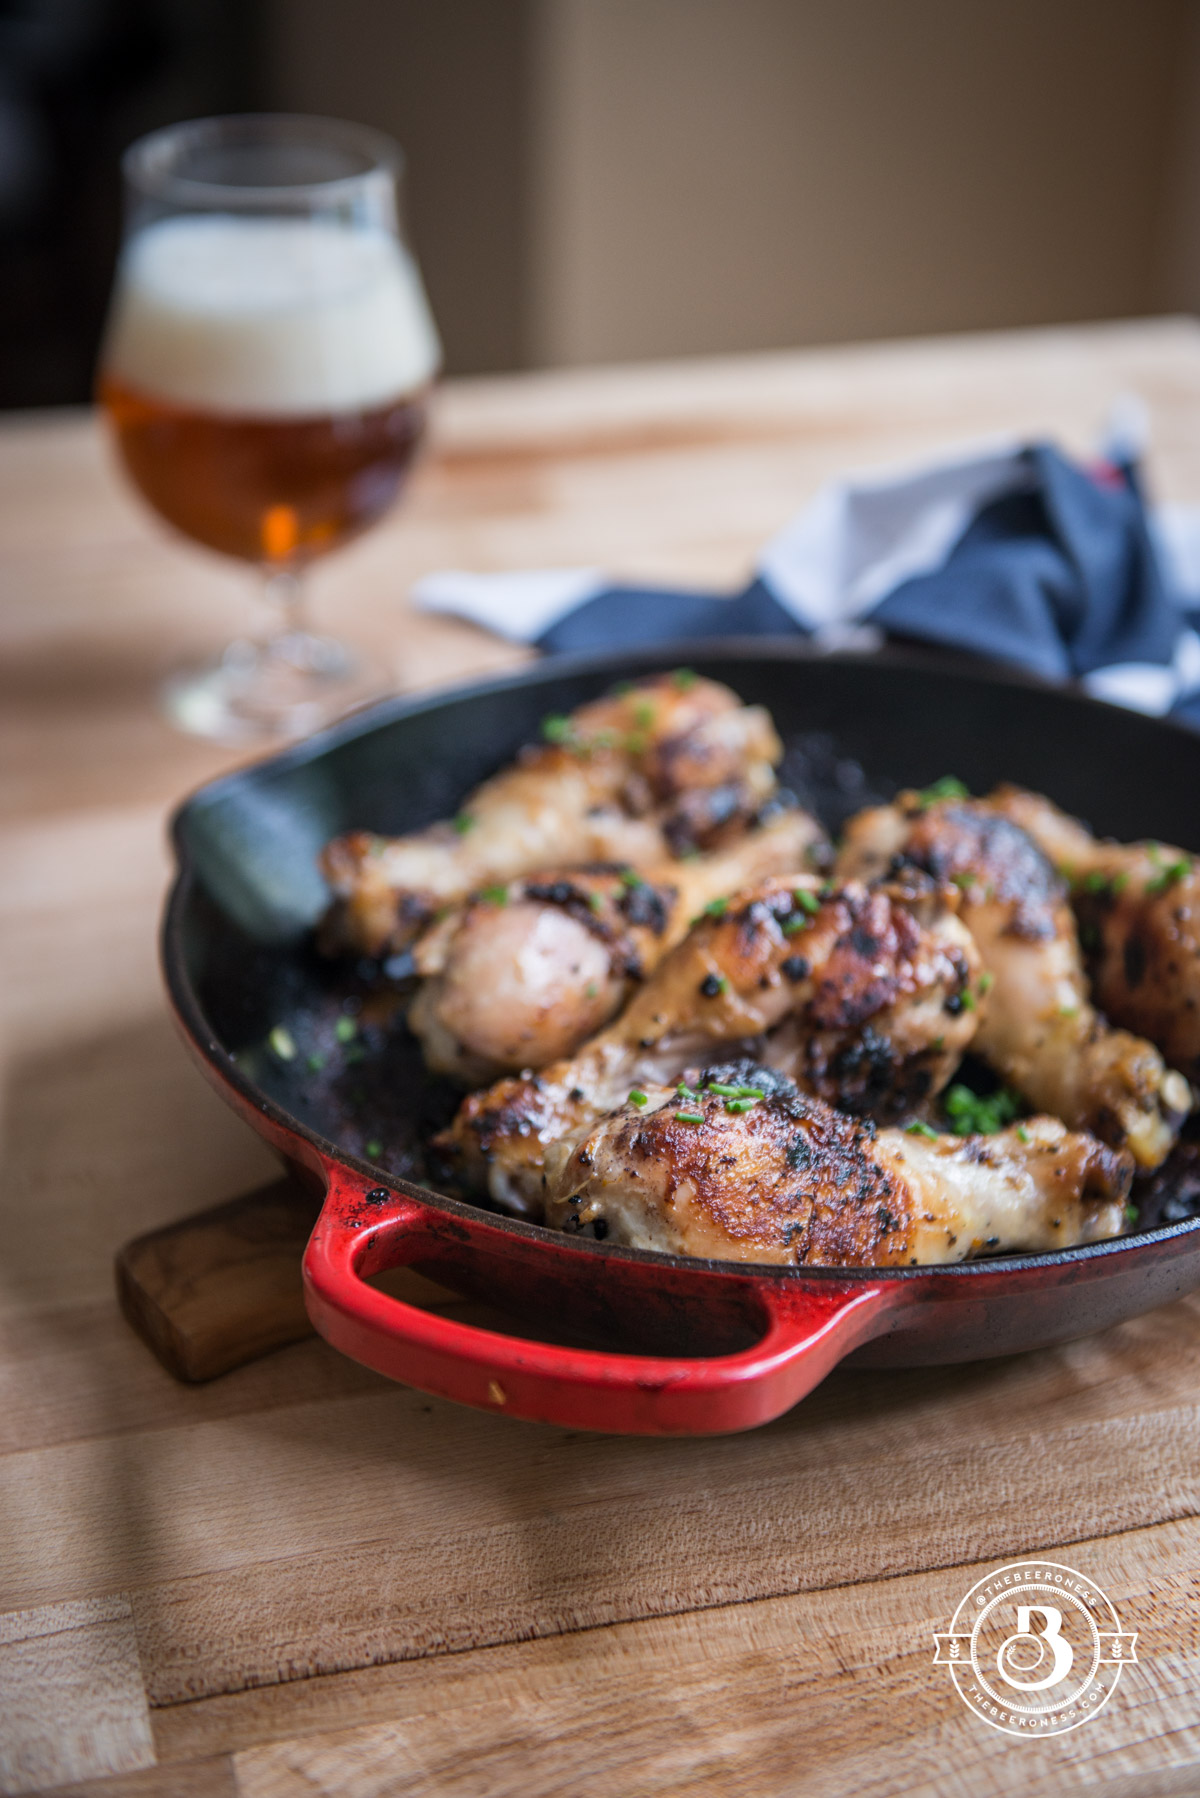
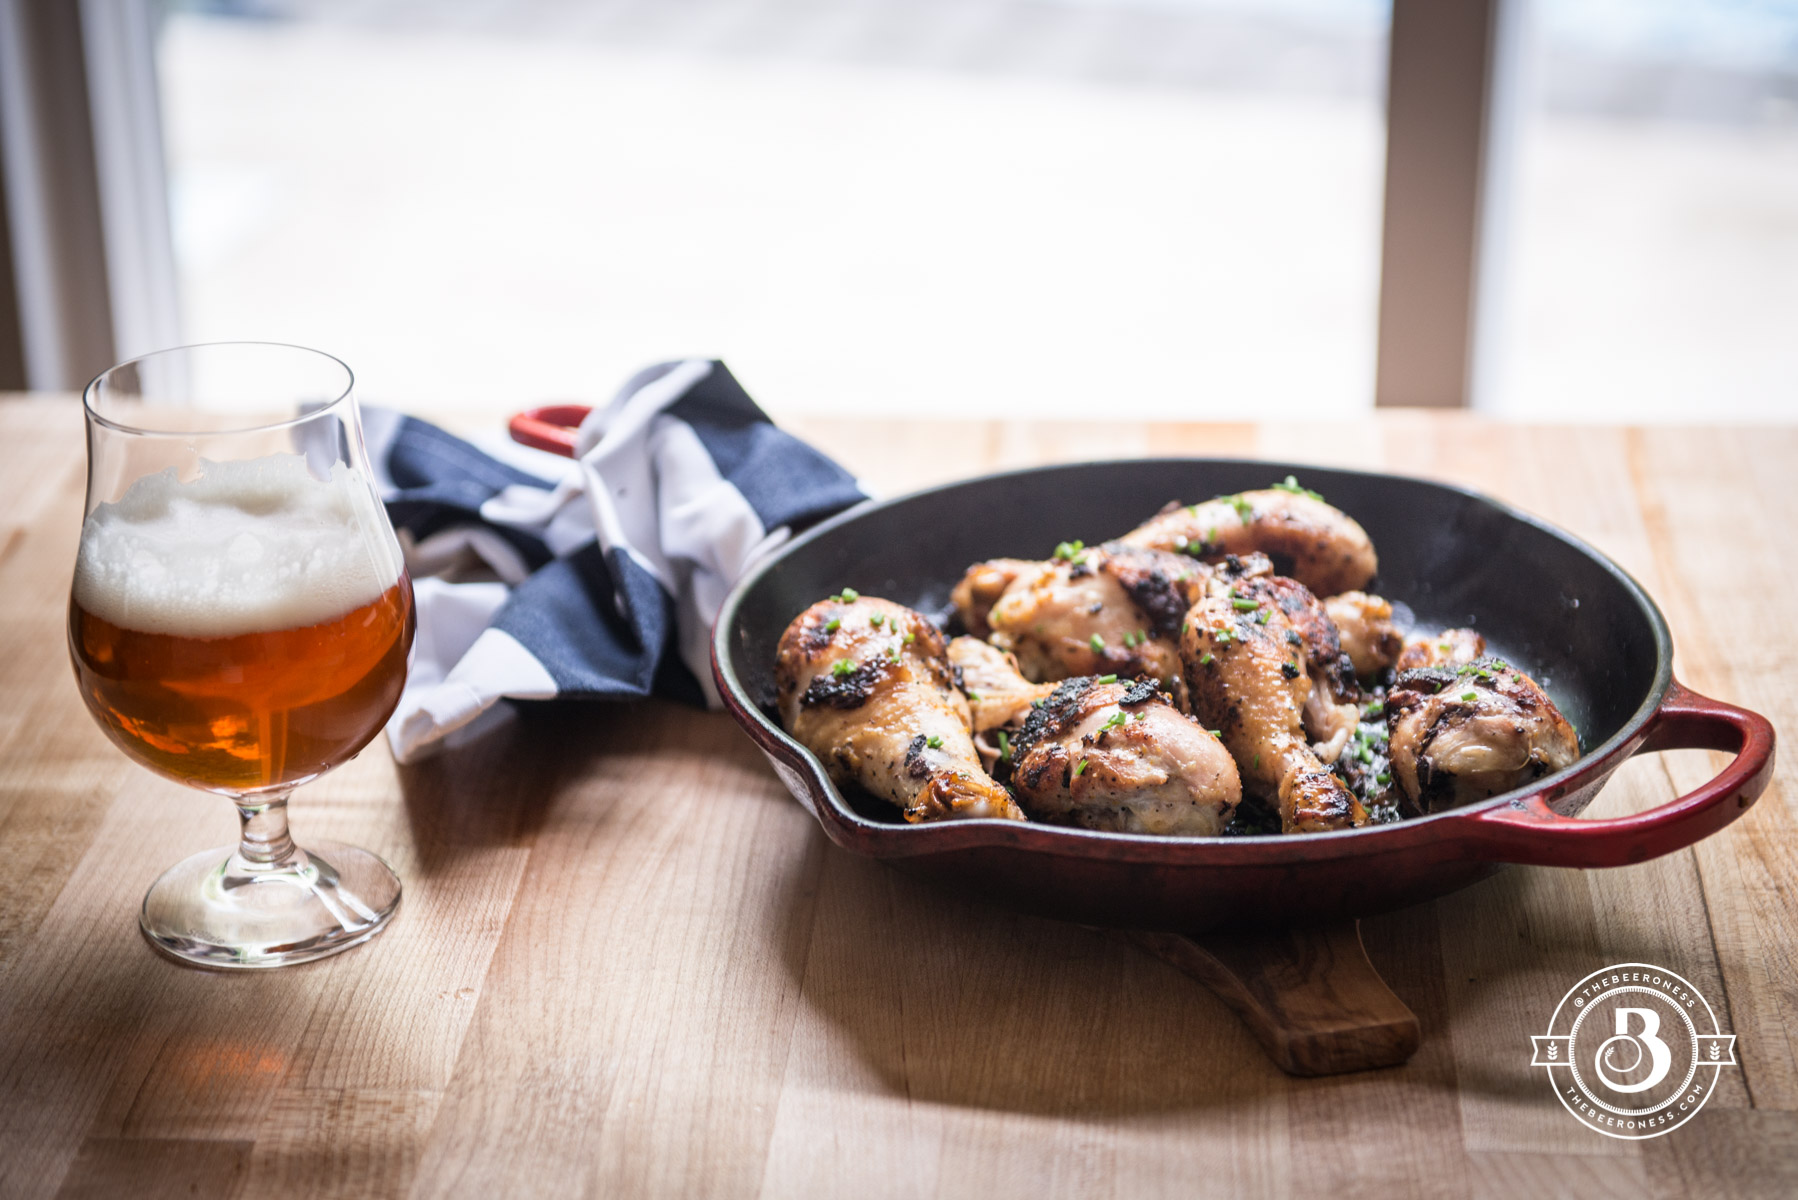
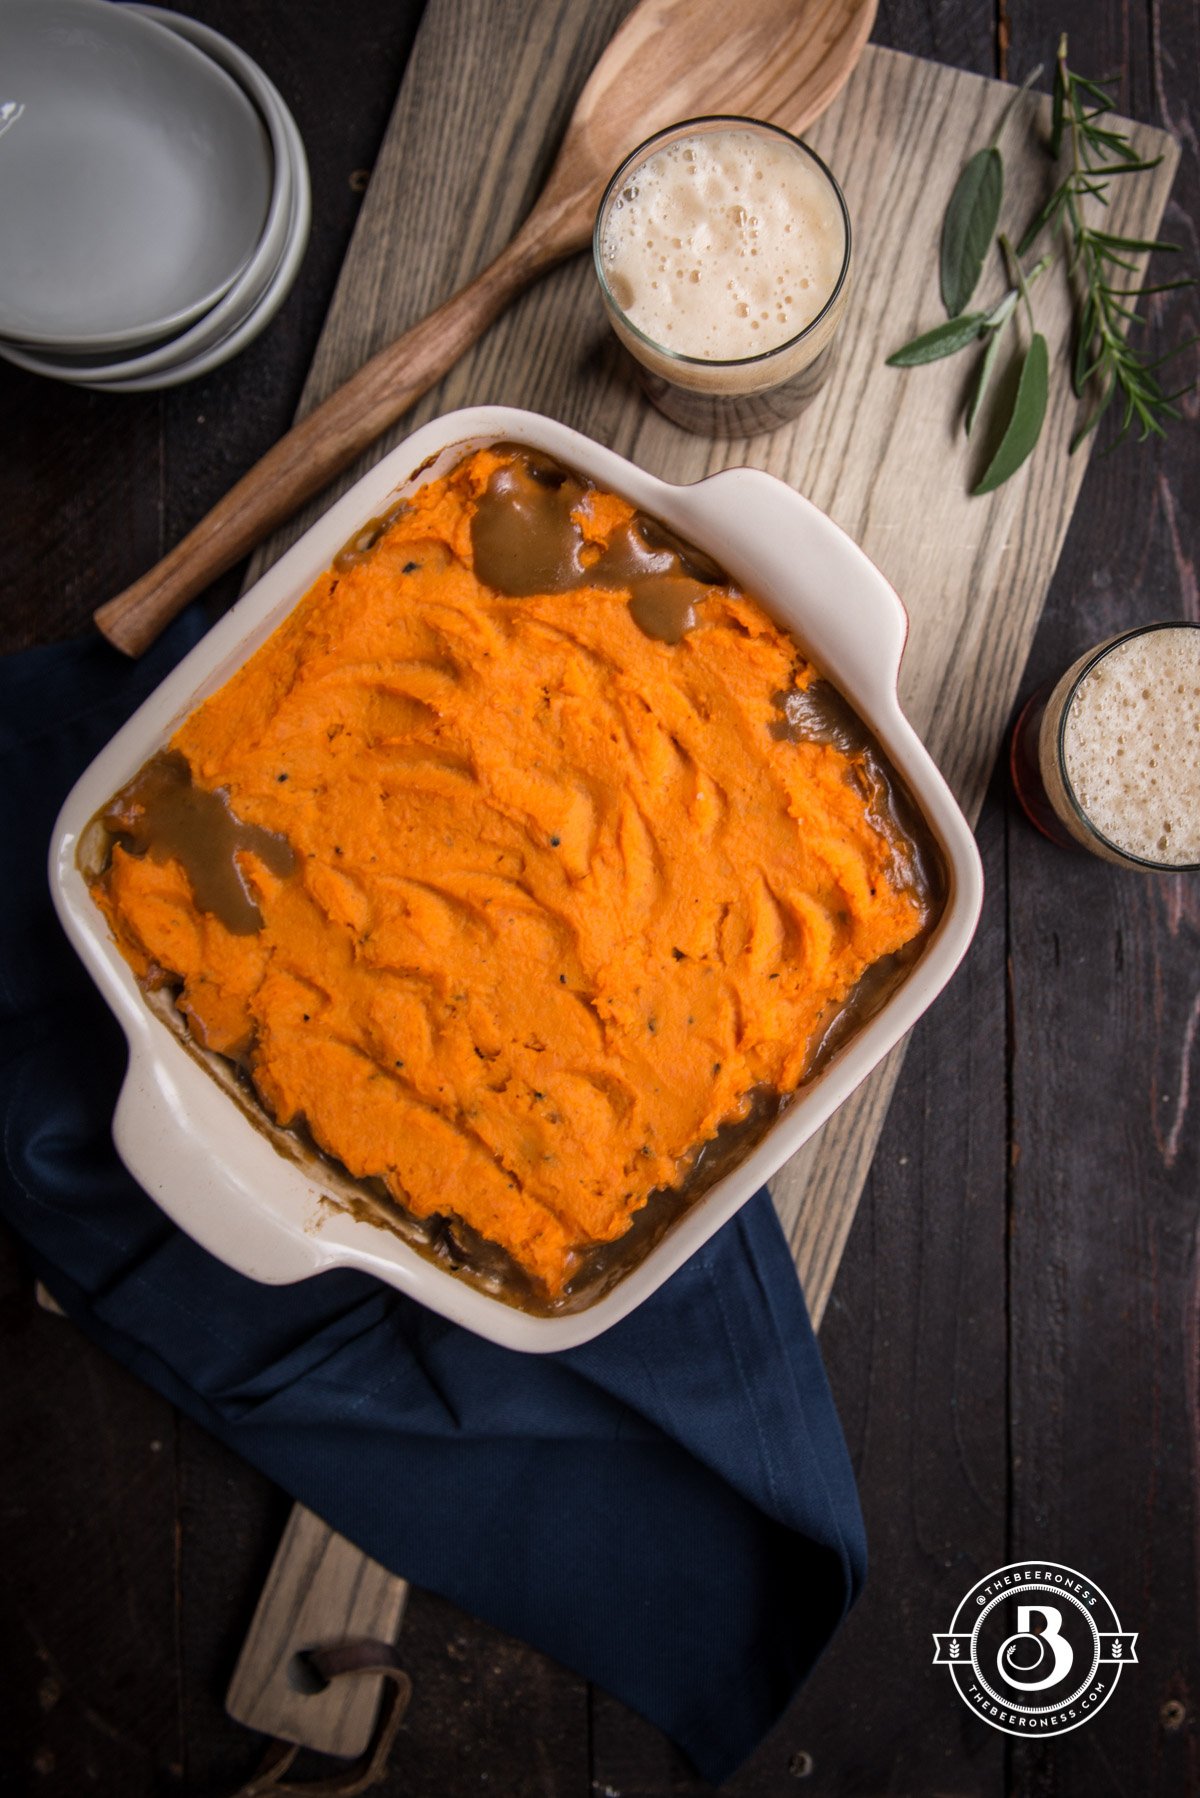
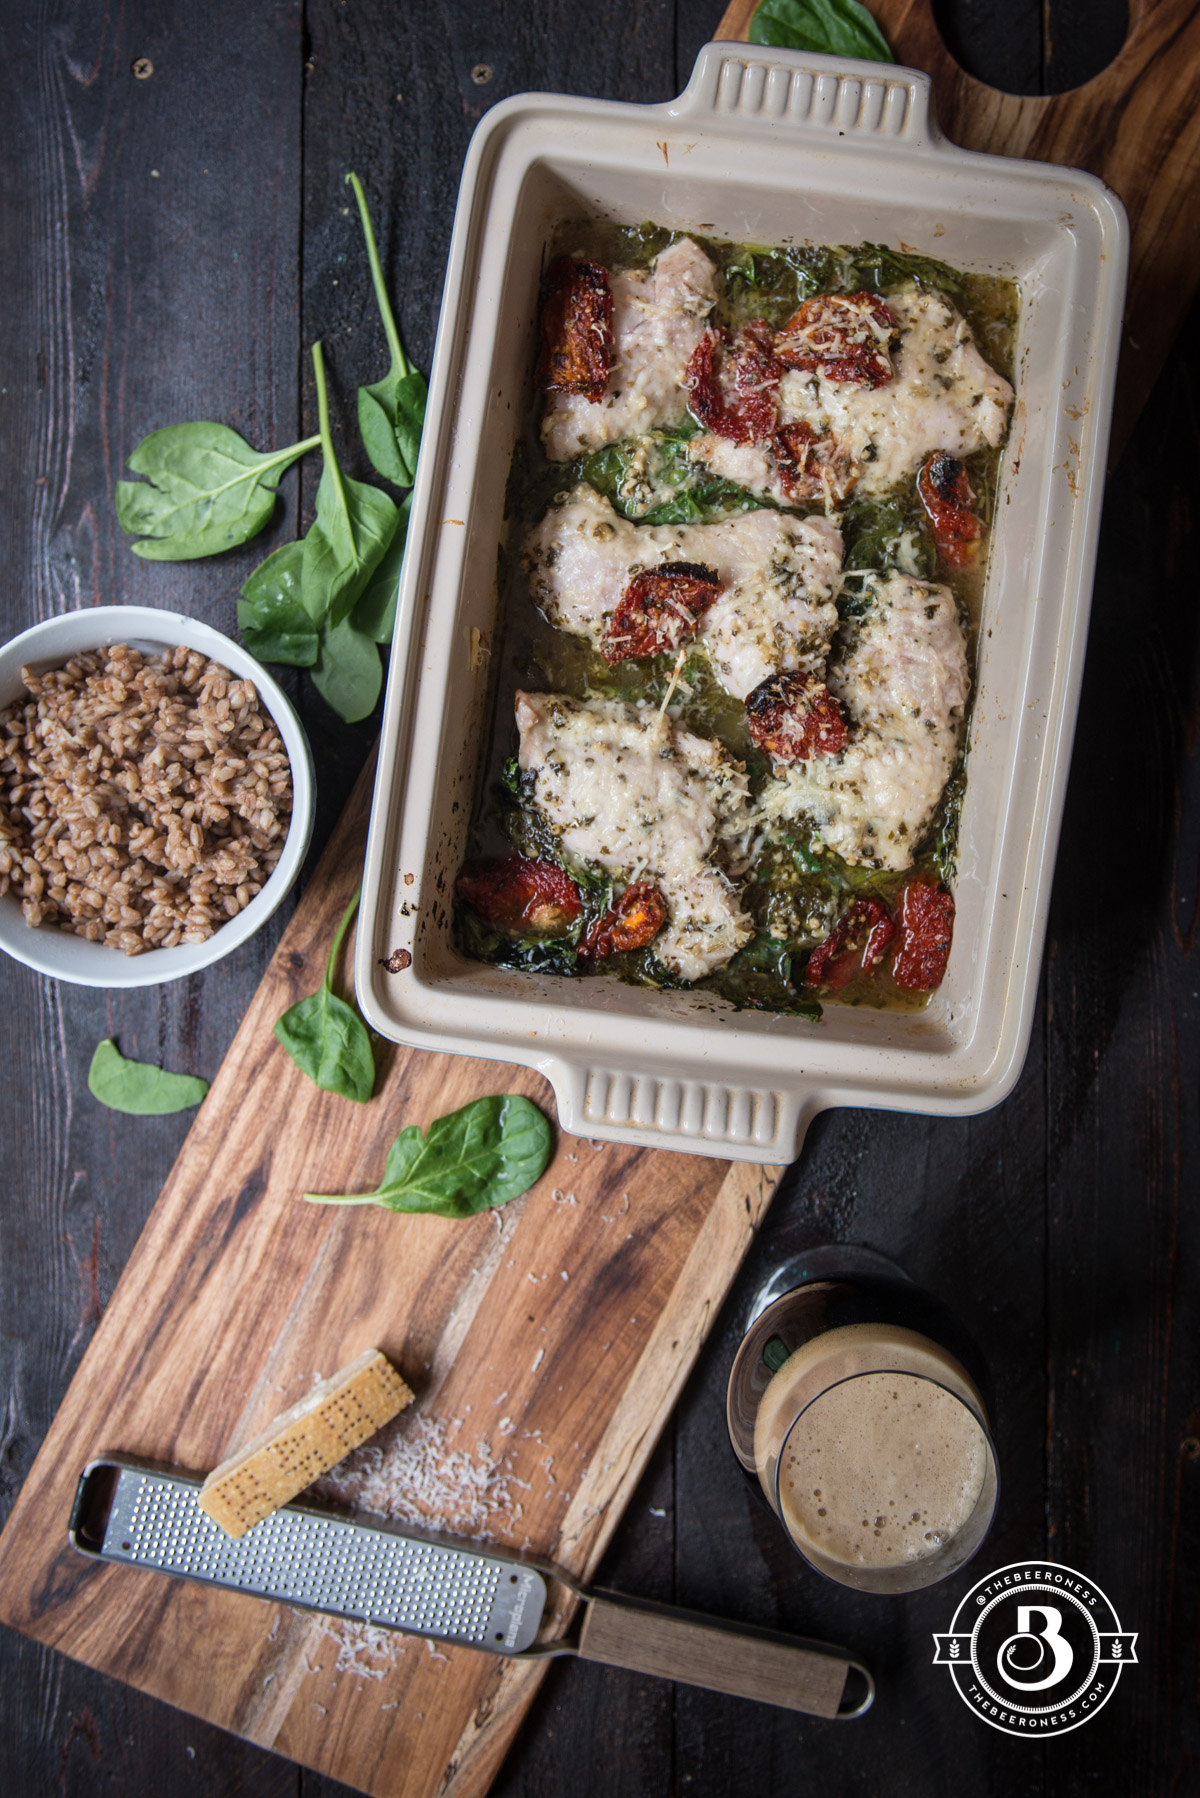
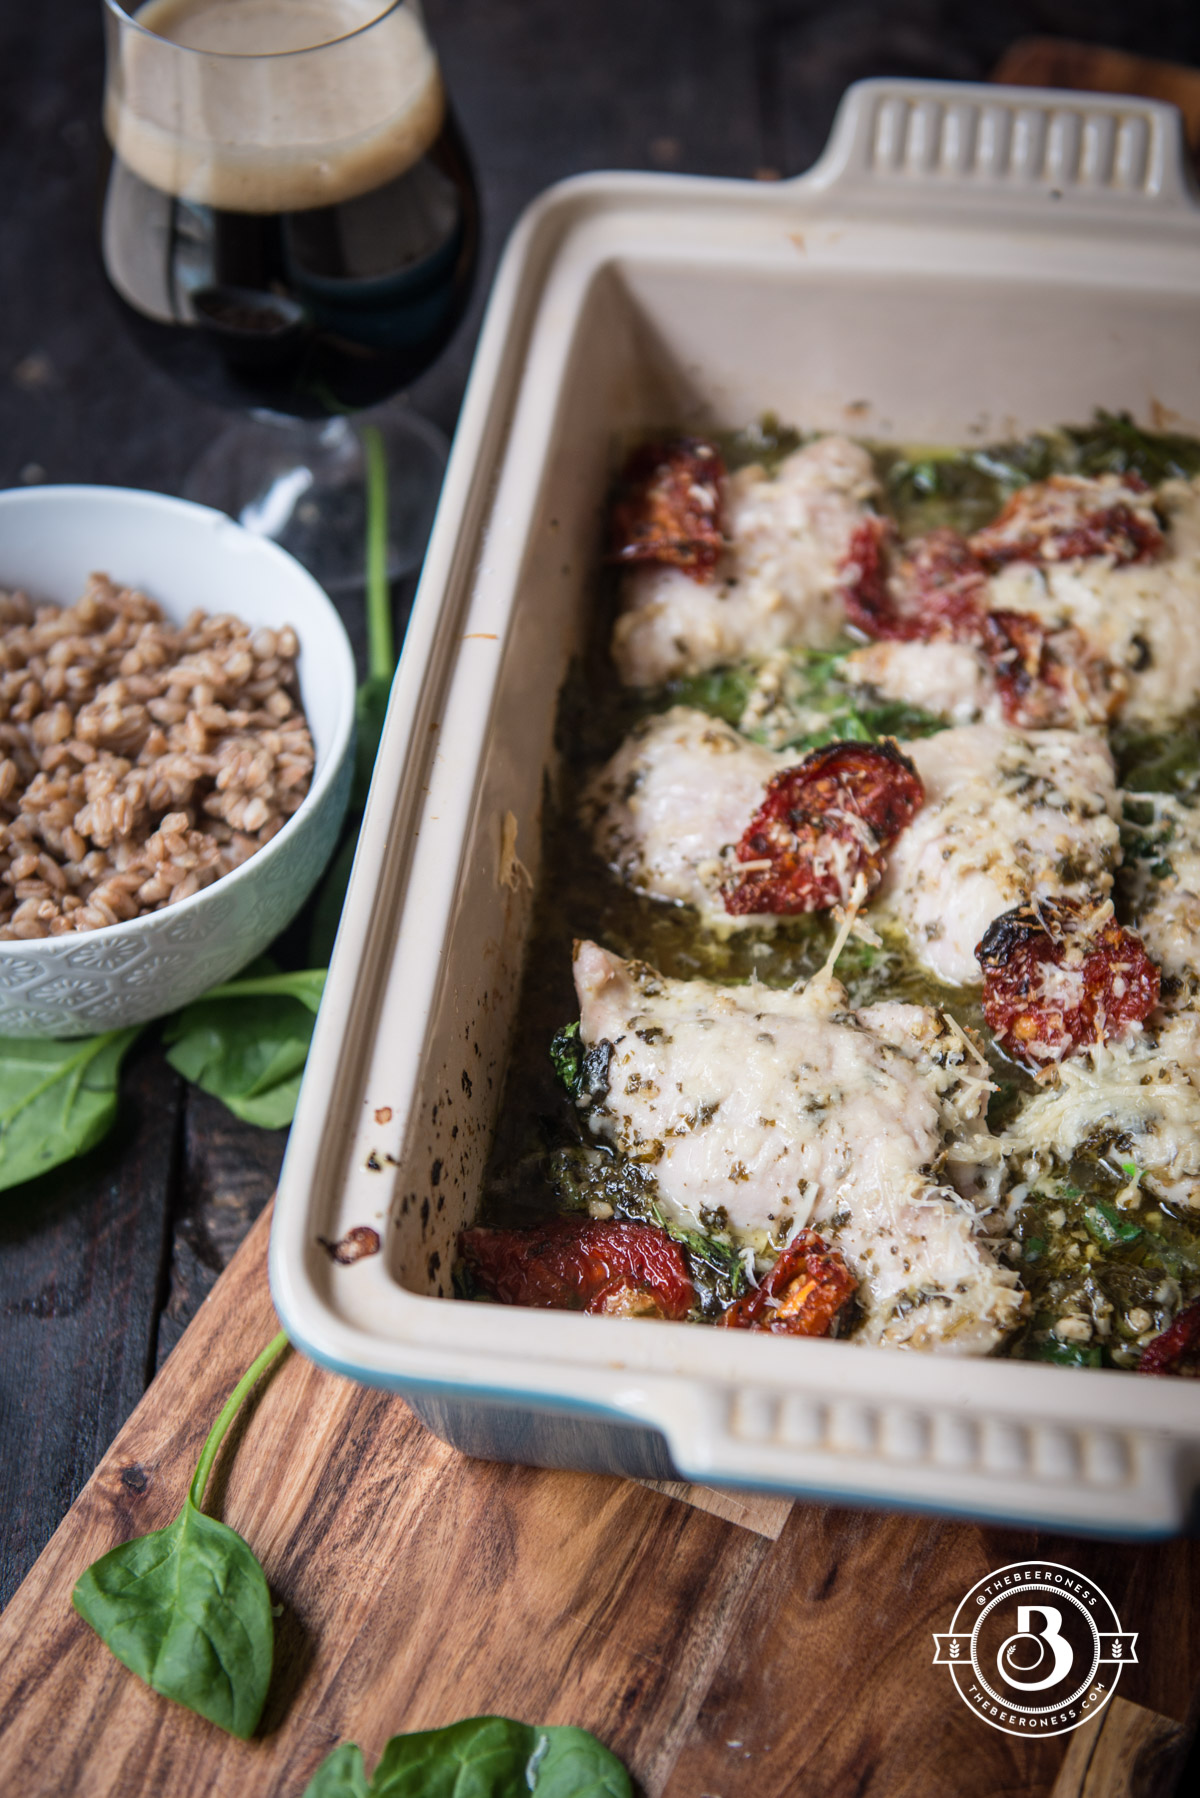
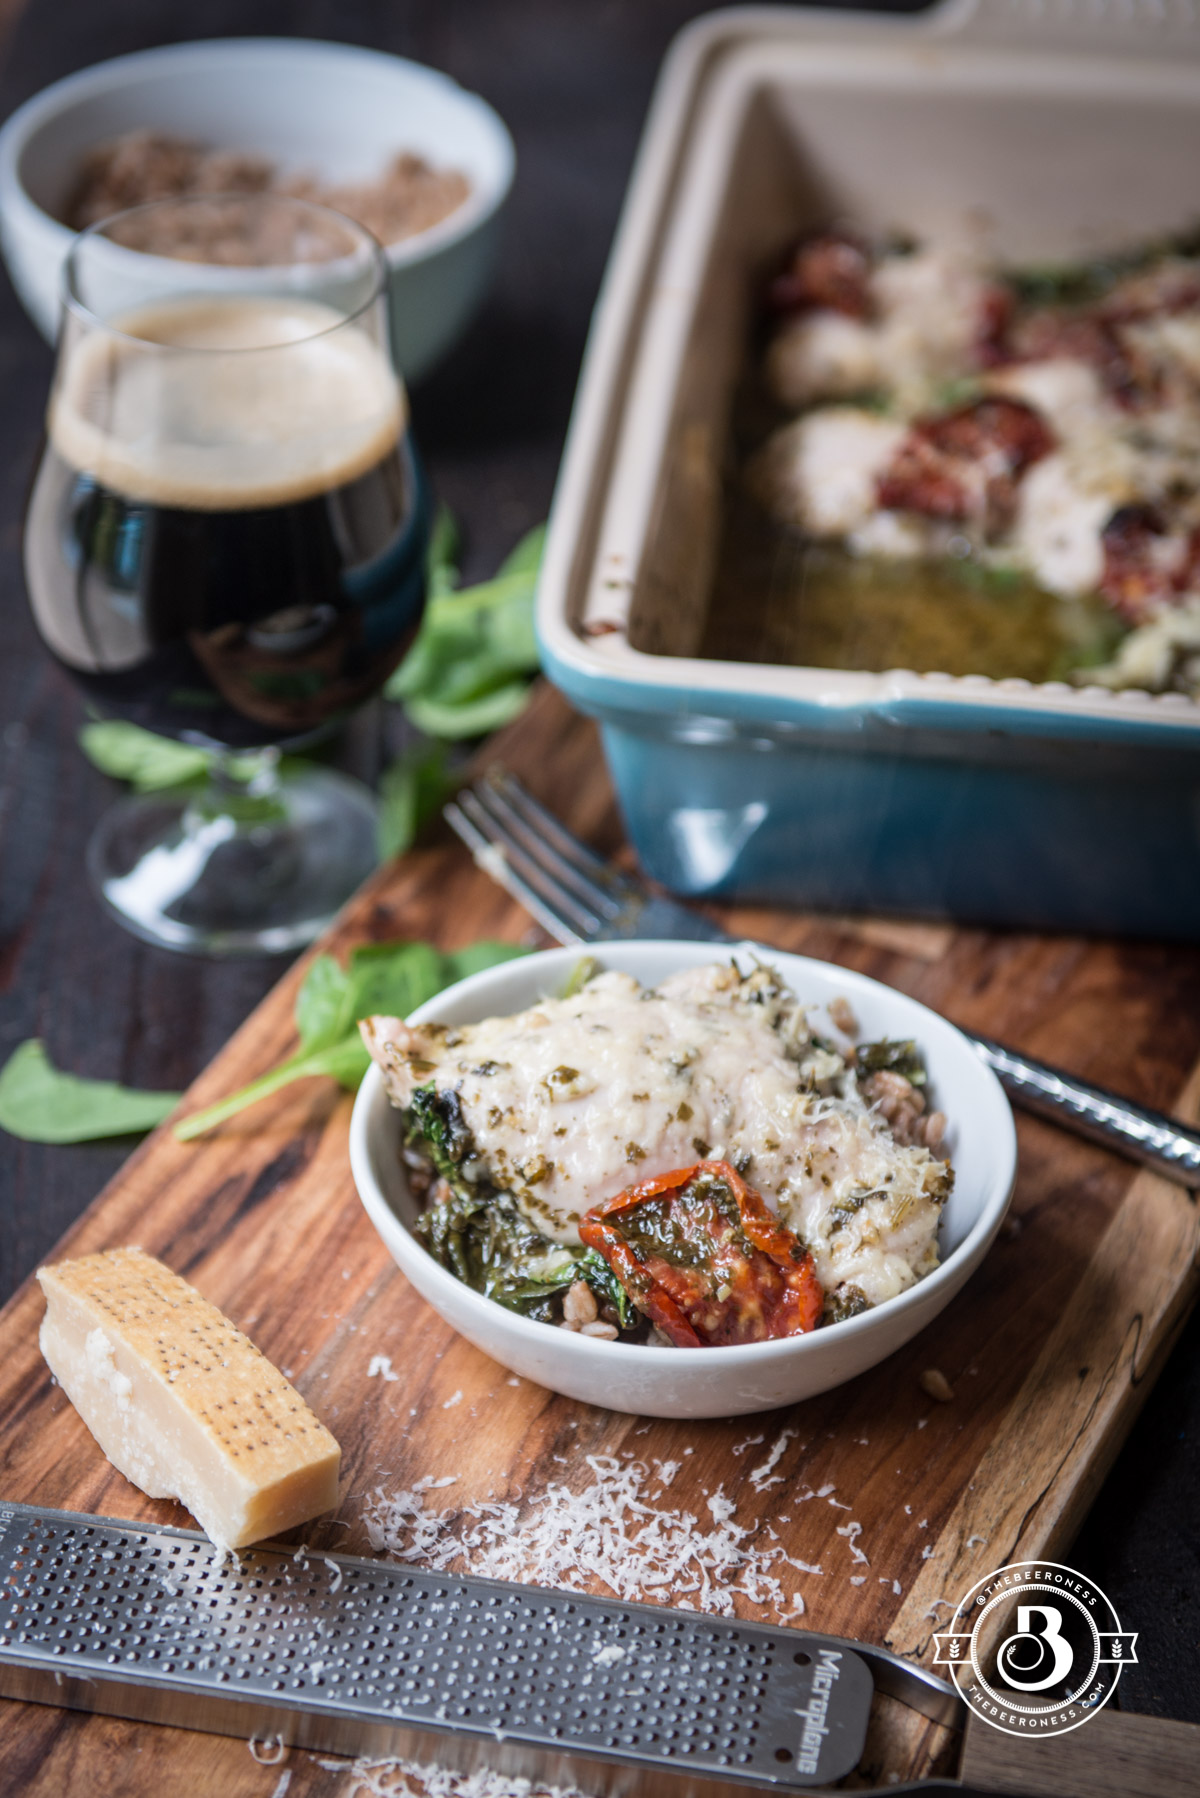
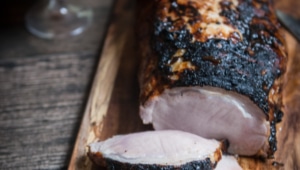
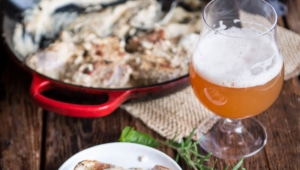
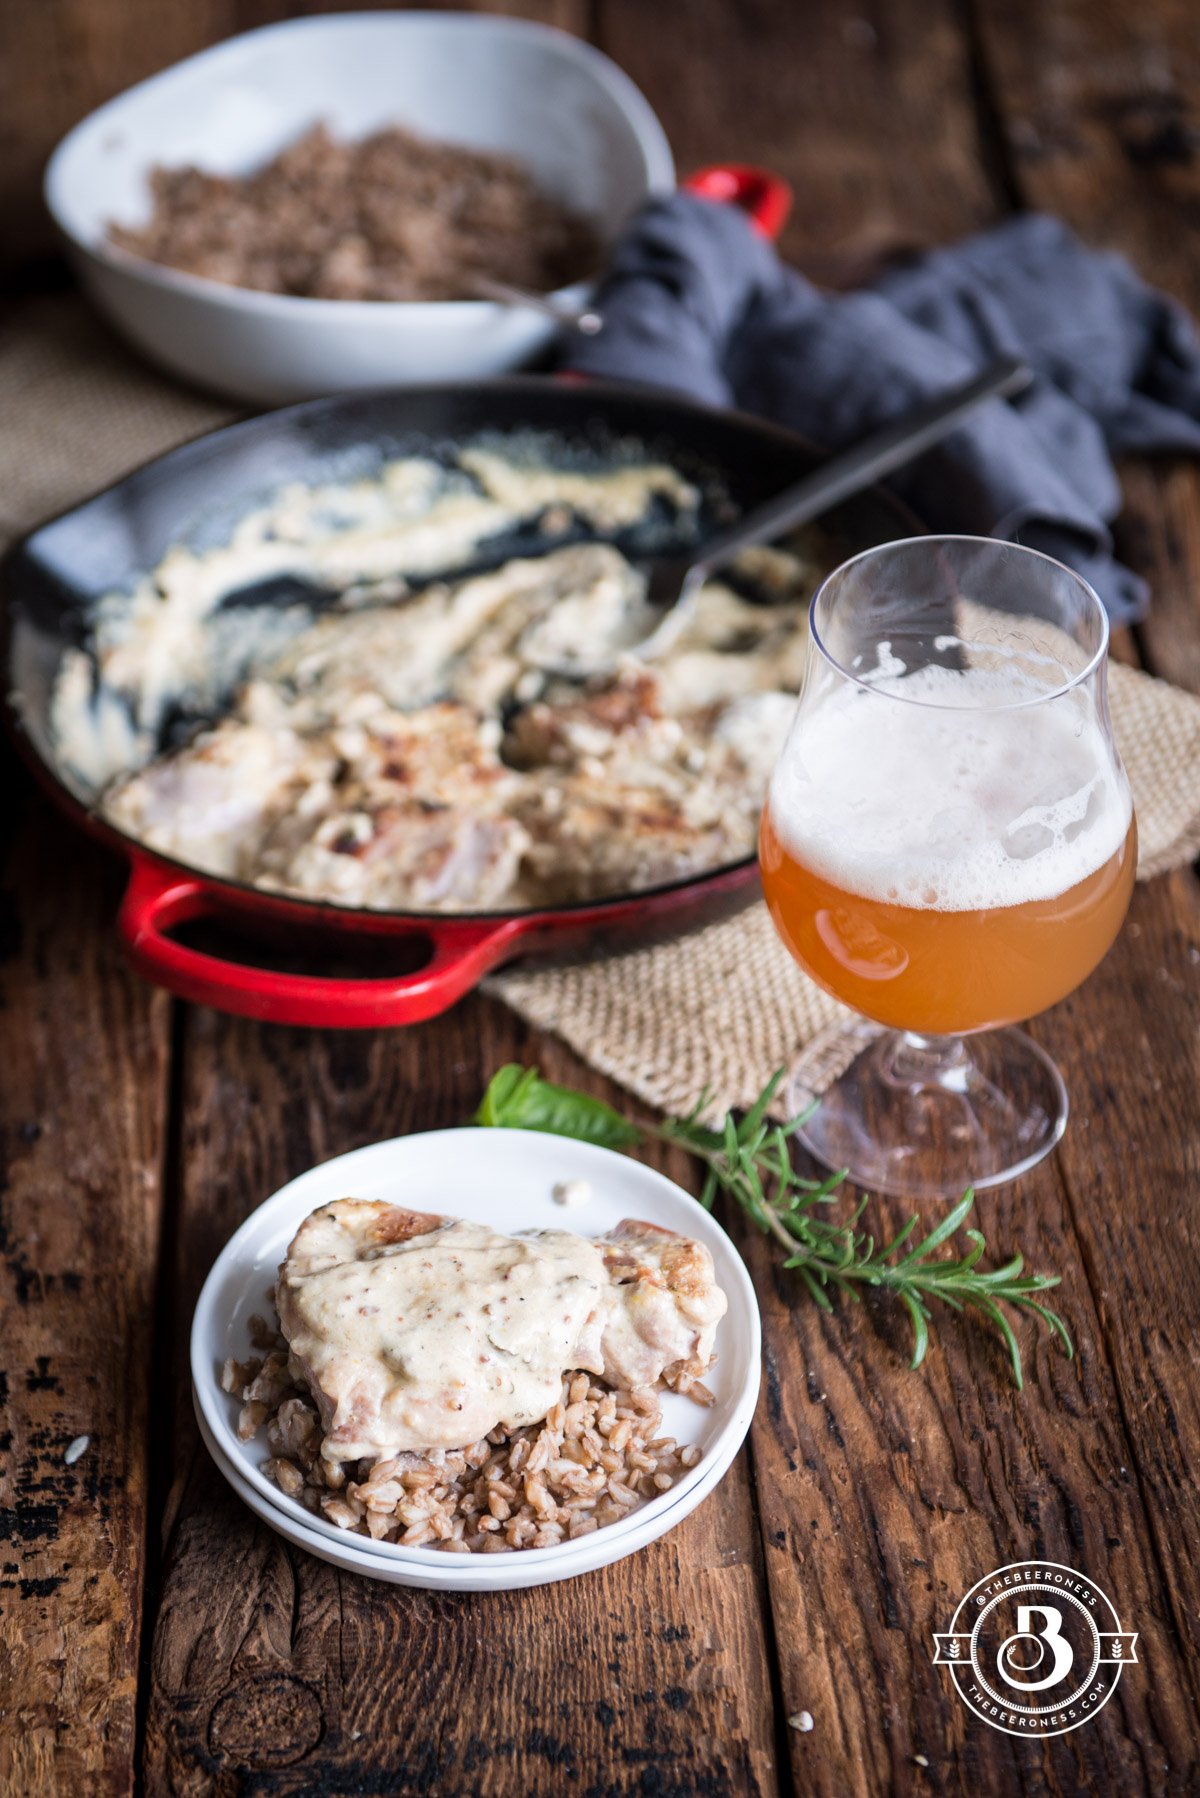
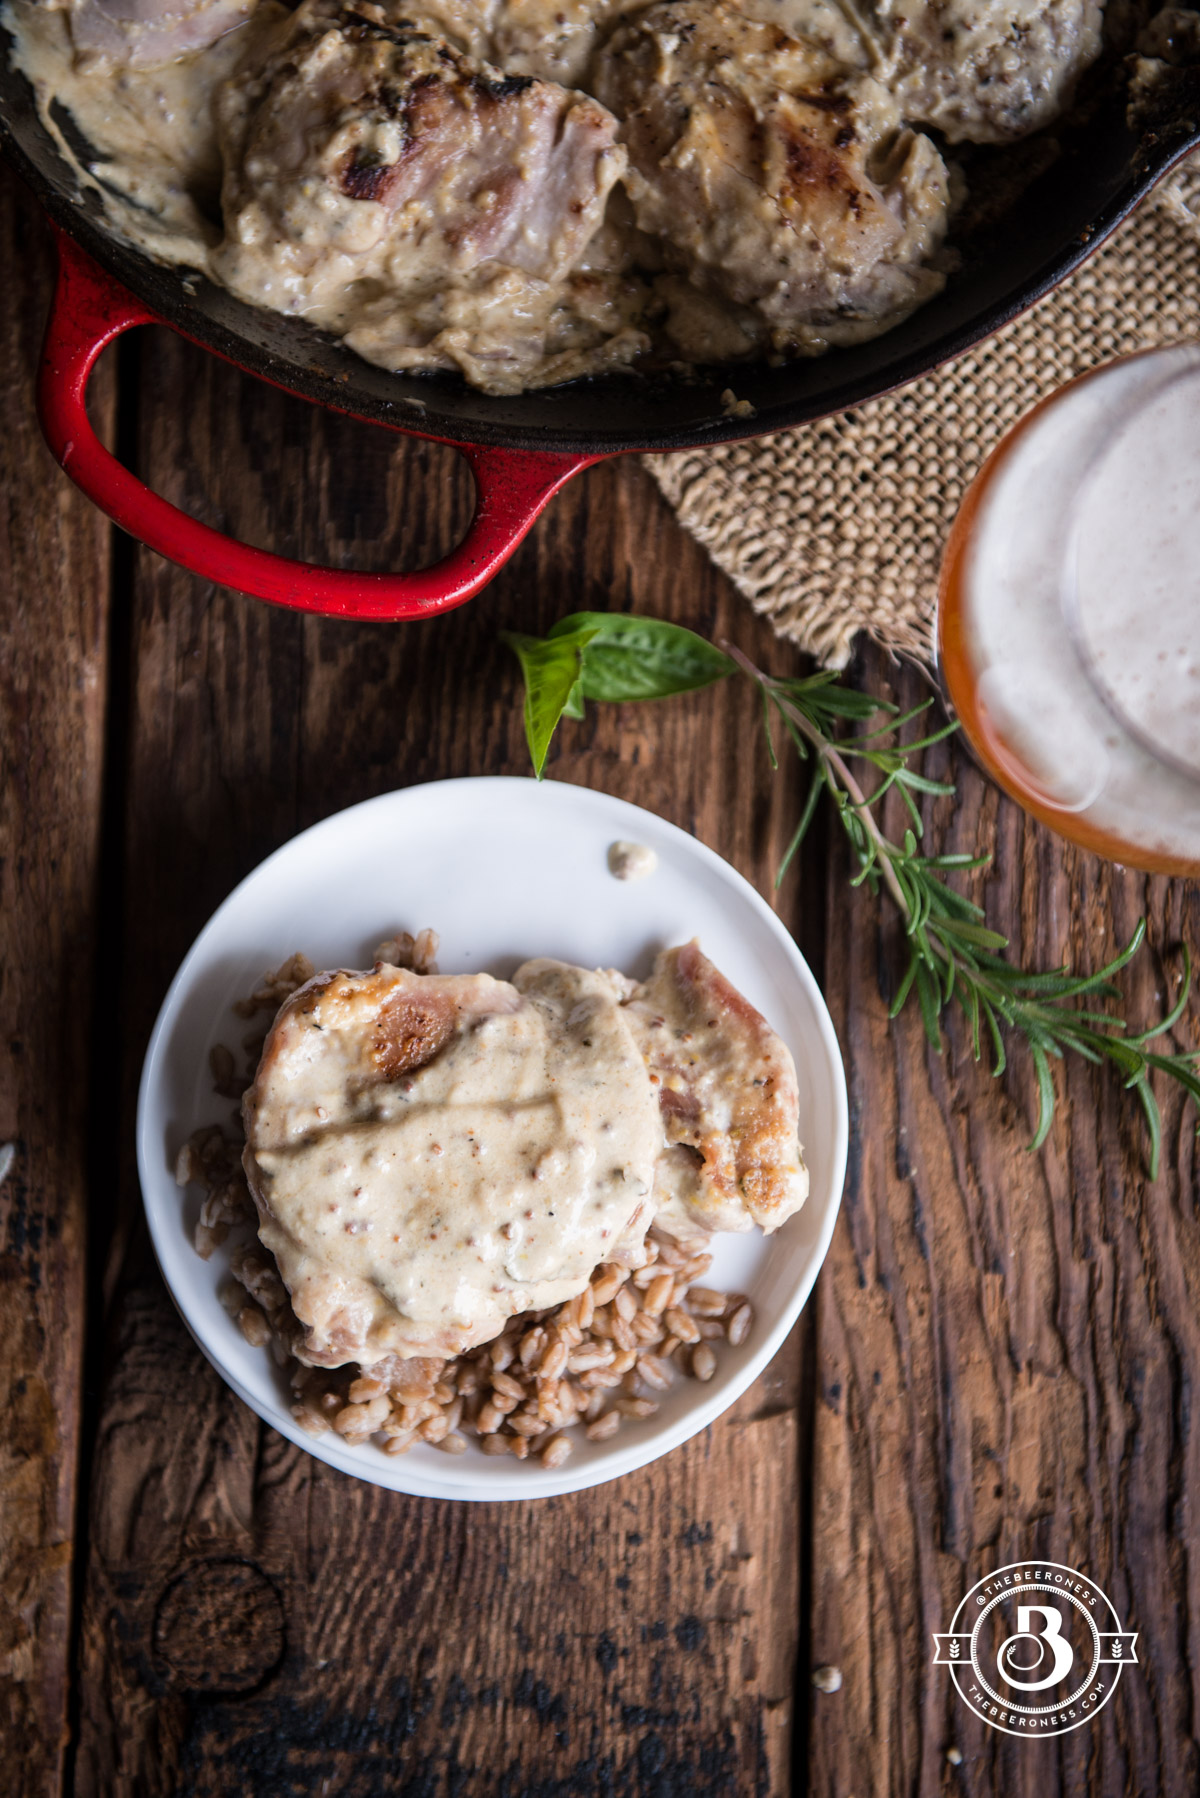
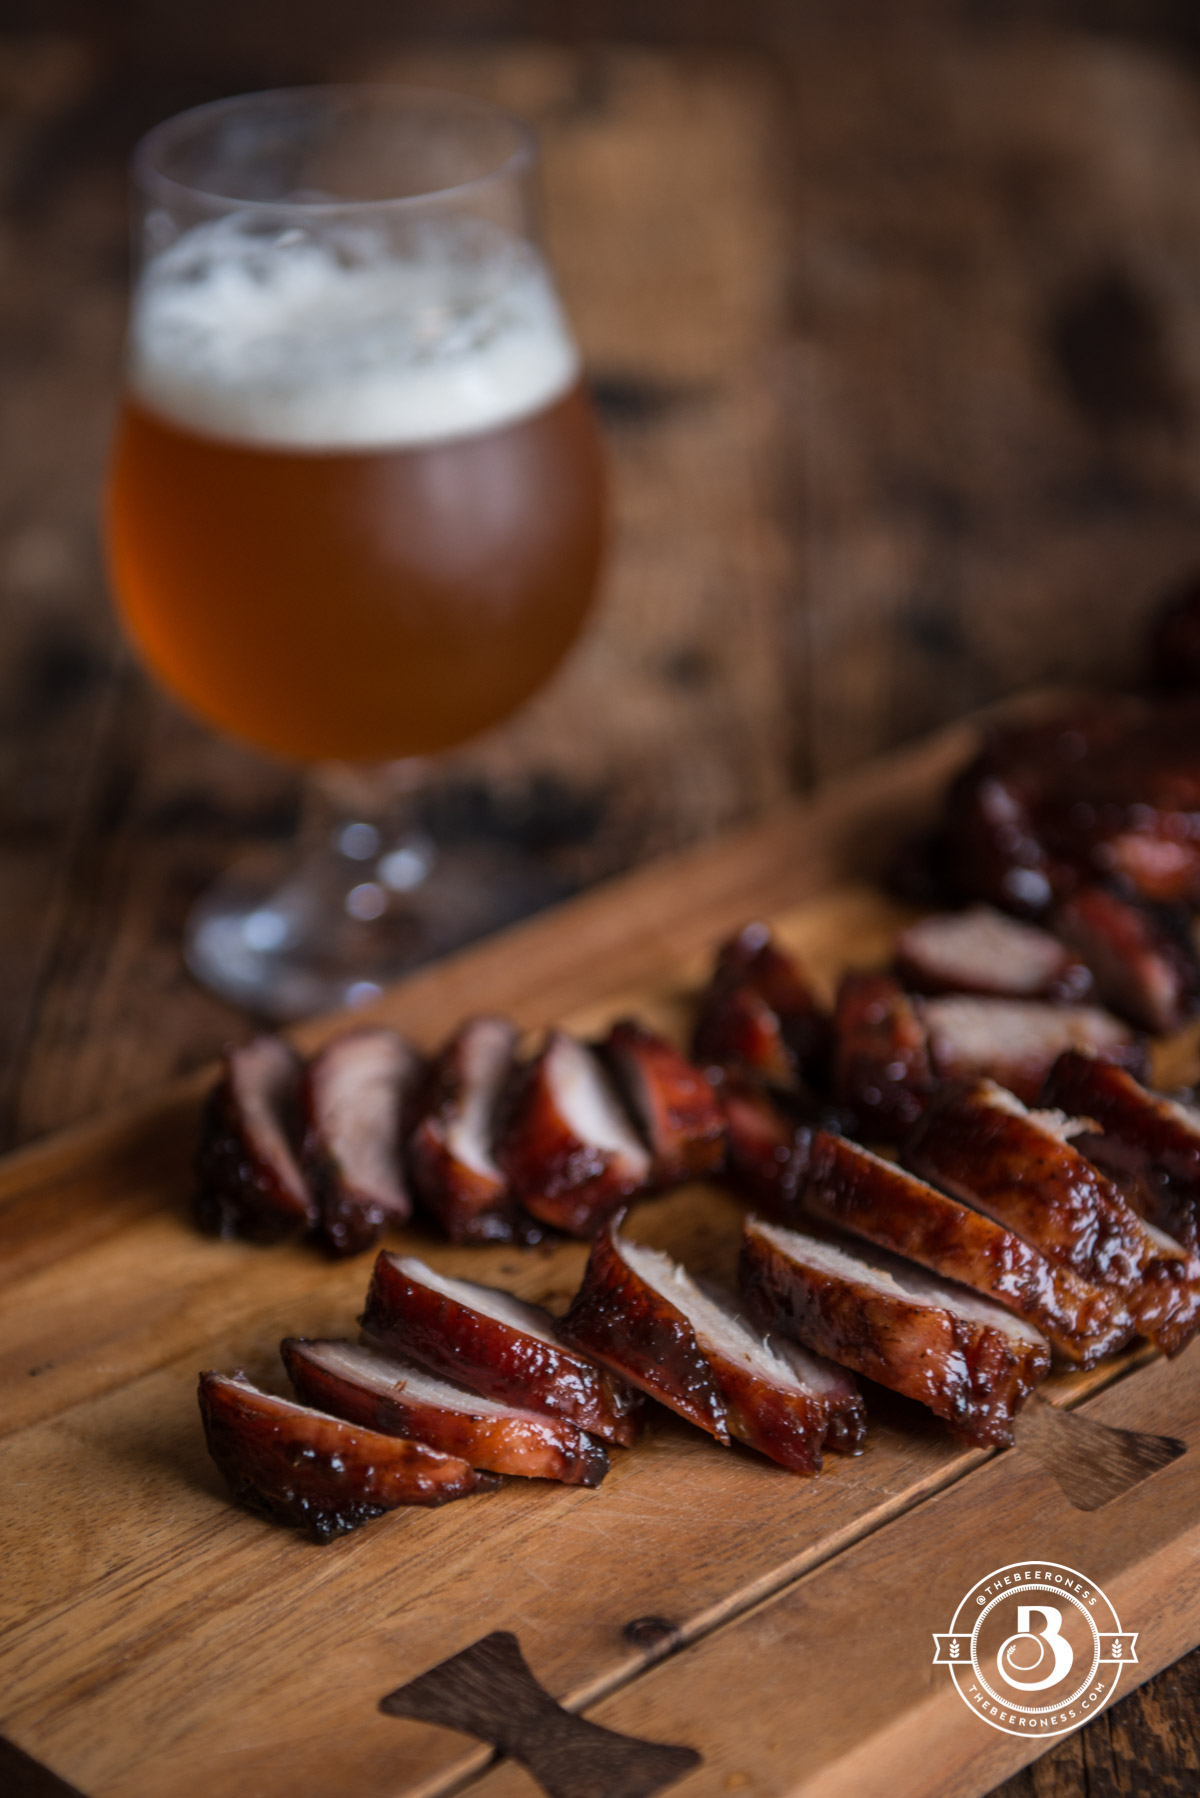
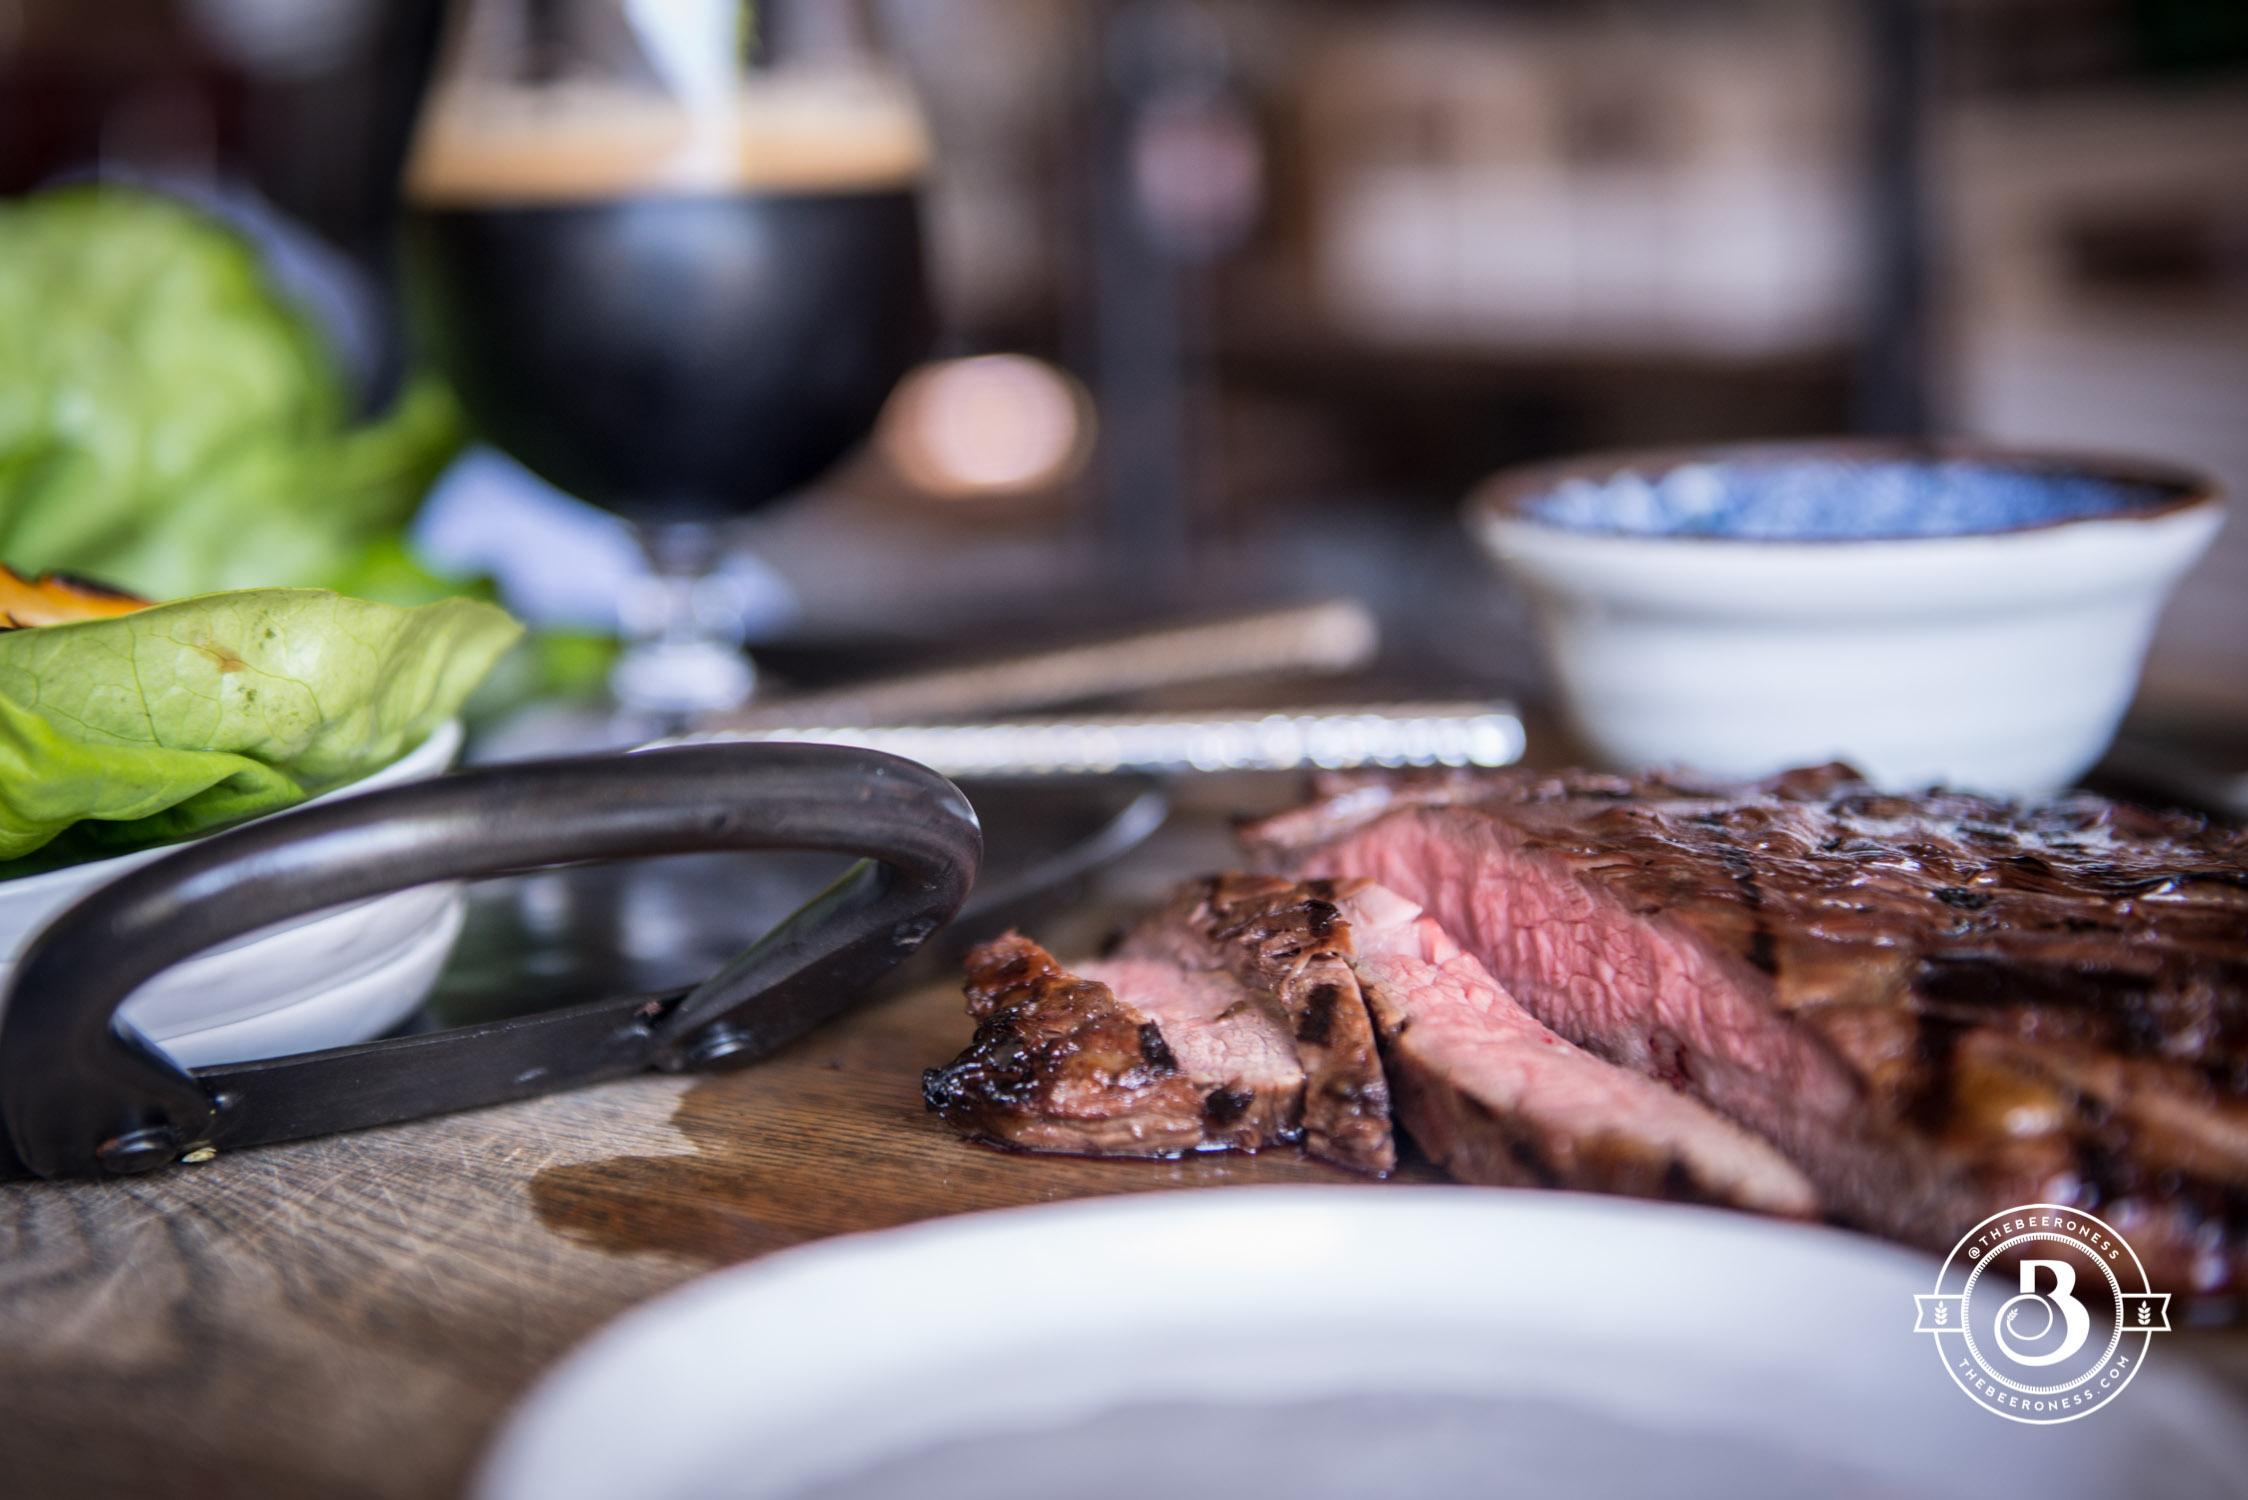
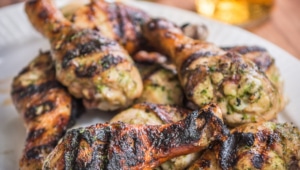
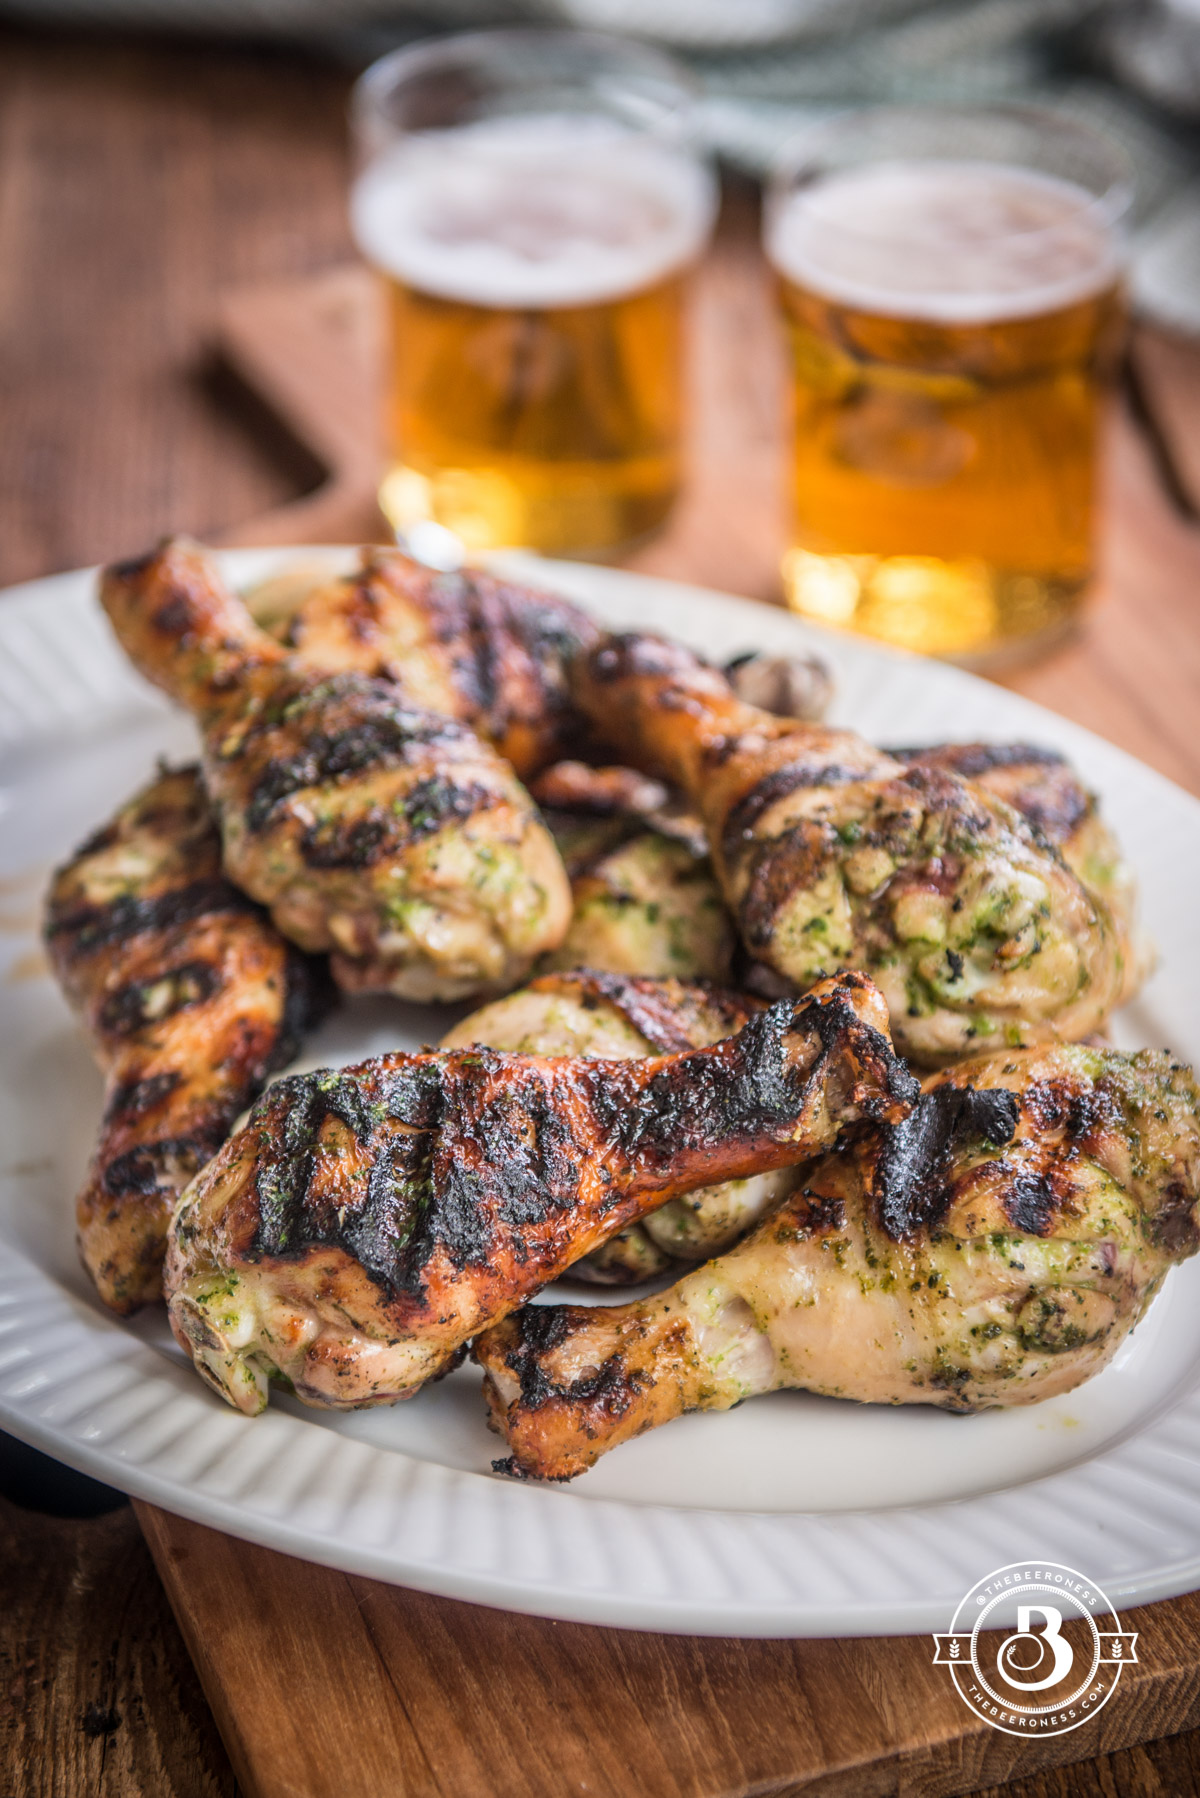
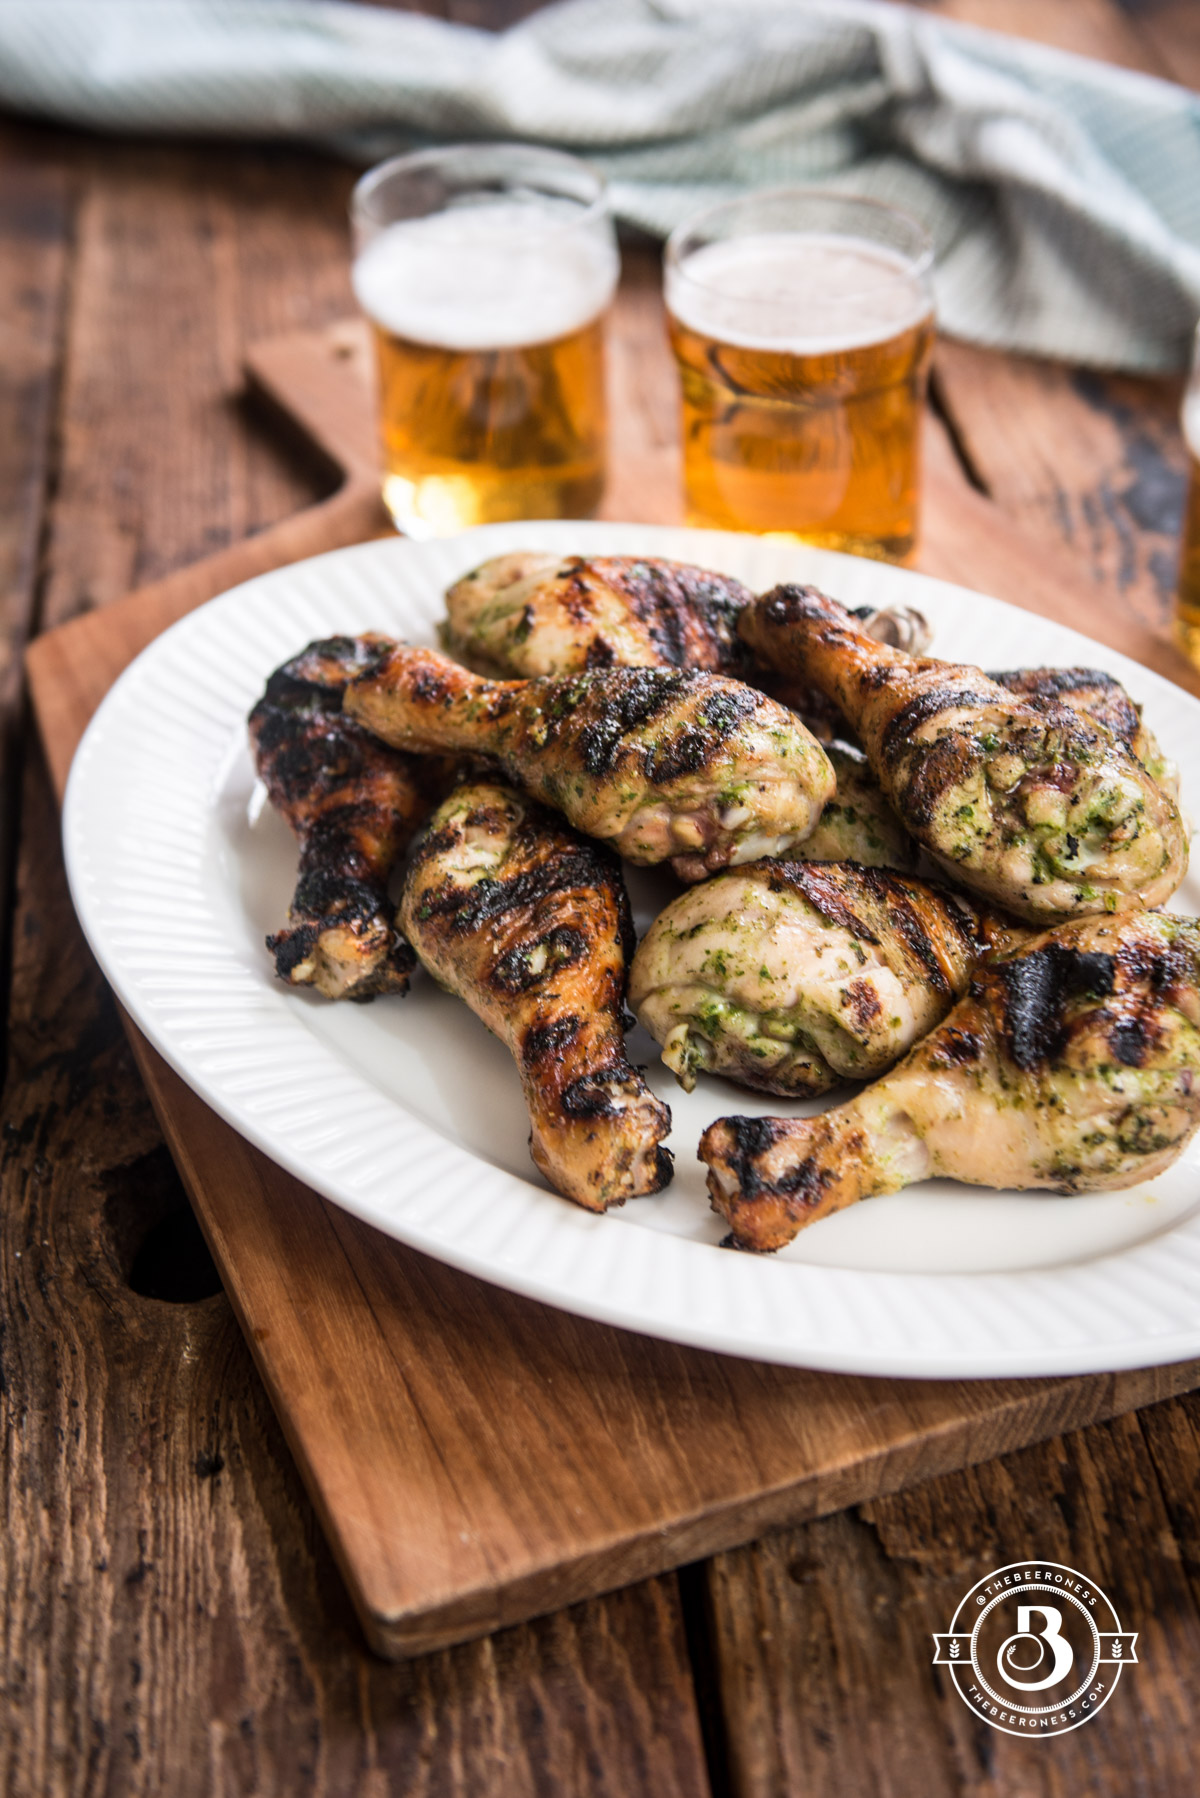
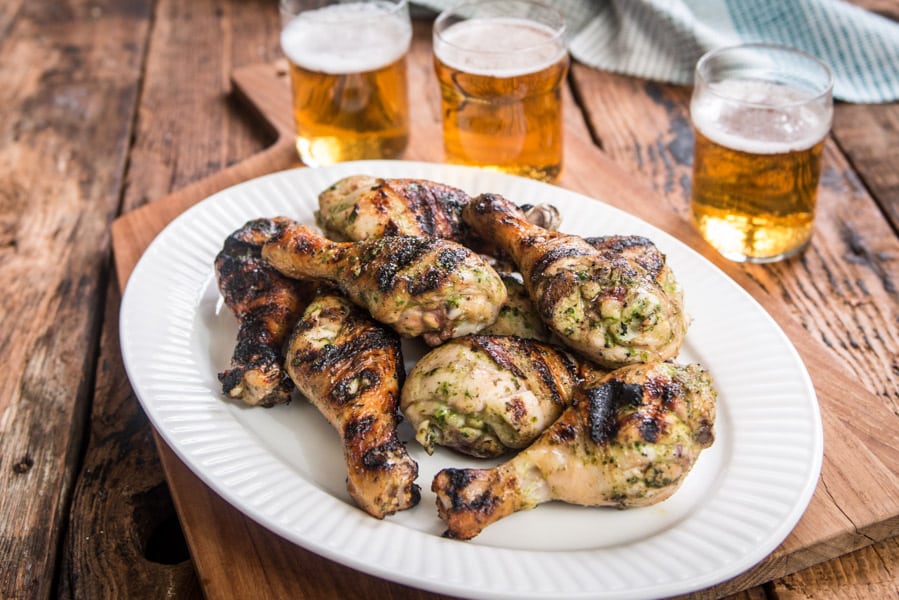
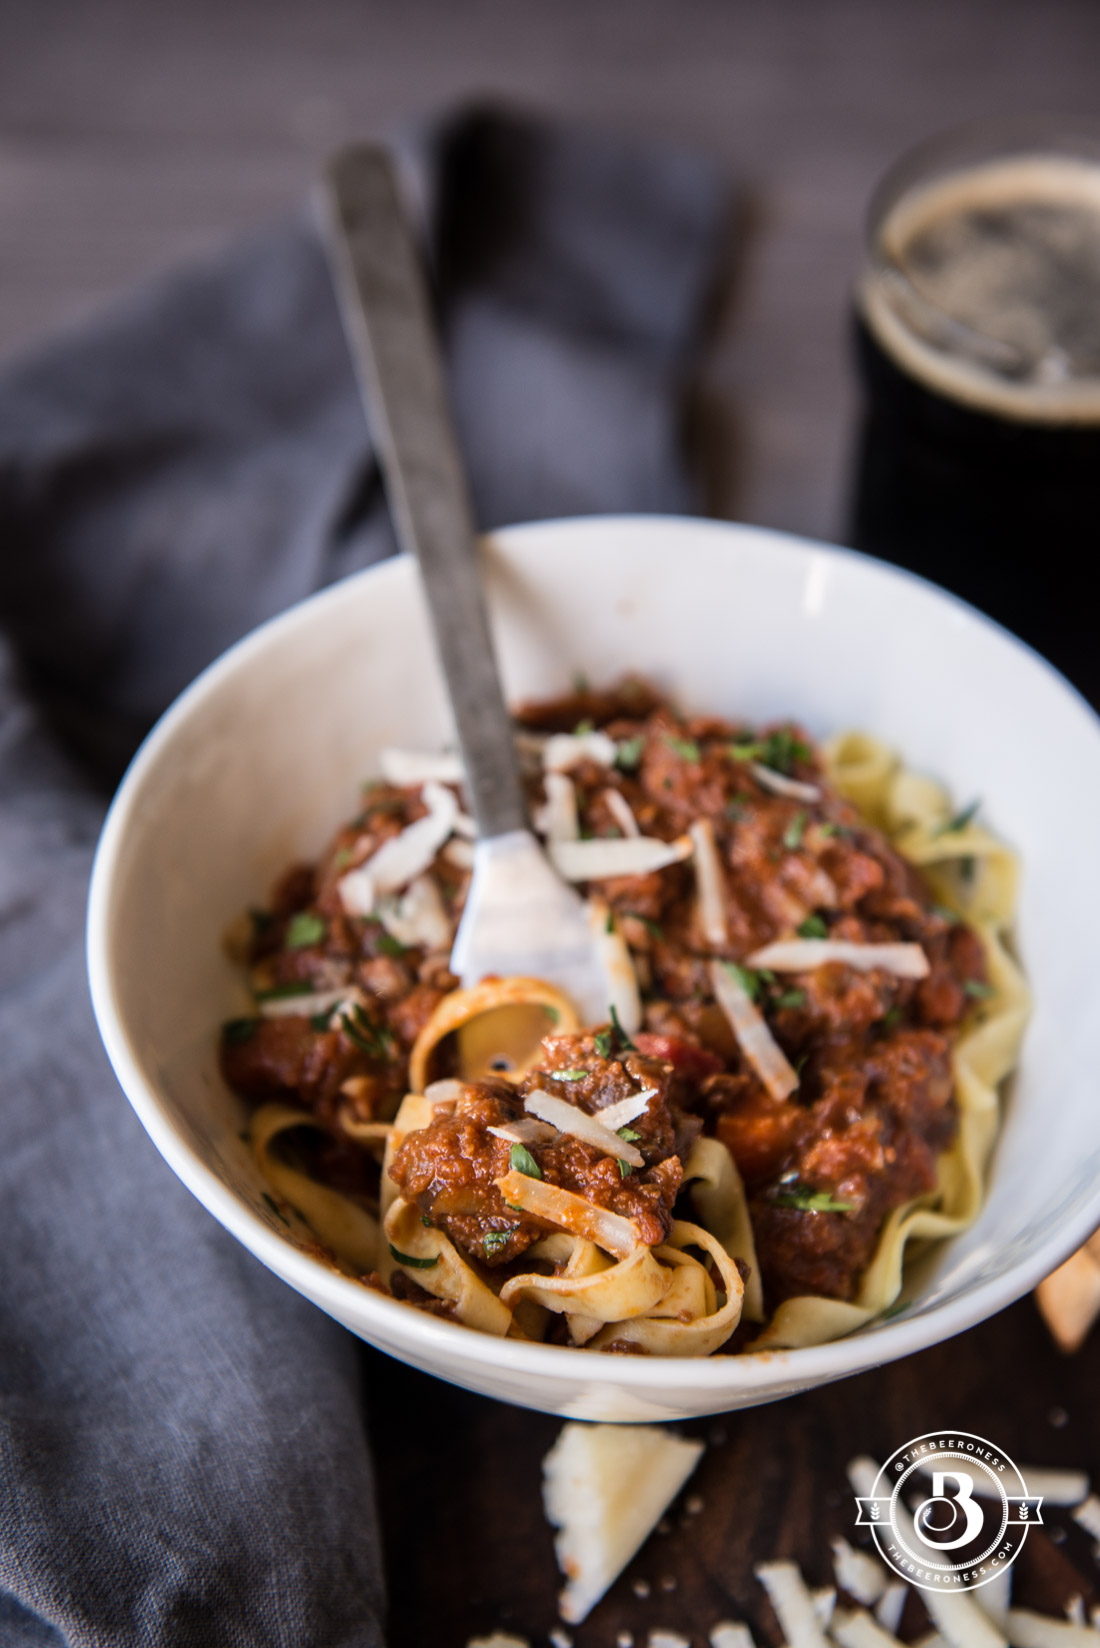
Oven Baked Orange Pepper Beer Chicken, delicious one-pot, super quick and easy meal!
There’s a thing about chicken that always seems to be true no matter how I make it: it’s just as much at home on a white tablecloth in a dimly lit sommelier infested fine dining space as it is on the rickety picnic table of a small backyard gathering.
I like this about chicken, it can go all places. This, in one way or another, is how I try to live my life. I want to be able to feel at home at the opera, or on the farm, or in the inner city. I say I TRY, not that I succeed. I try to be chicken, with its delicious versatility. I try to please everyone from nugget-loving-kids, to batter-dipped-and-fried-devotees to people who confit things.
I don’t, however, think it works all the time. I swear too much, making suburban moms nervous to have me at football parties. When I drink I get loud and start to draw too much attention. And I will probably knock down a toddler to pet a strangers dog. These are not very chicken-like things. Chicken makes people happy, chicken blends in but leaves a good impression. Chicken is a crowd pleaser.
I’m more like beer. You either love me or you don’t. But I do my best to make everyone happy. And maybe there is enough chicken in the world. But a girl can dream.
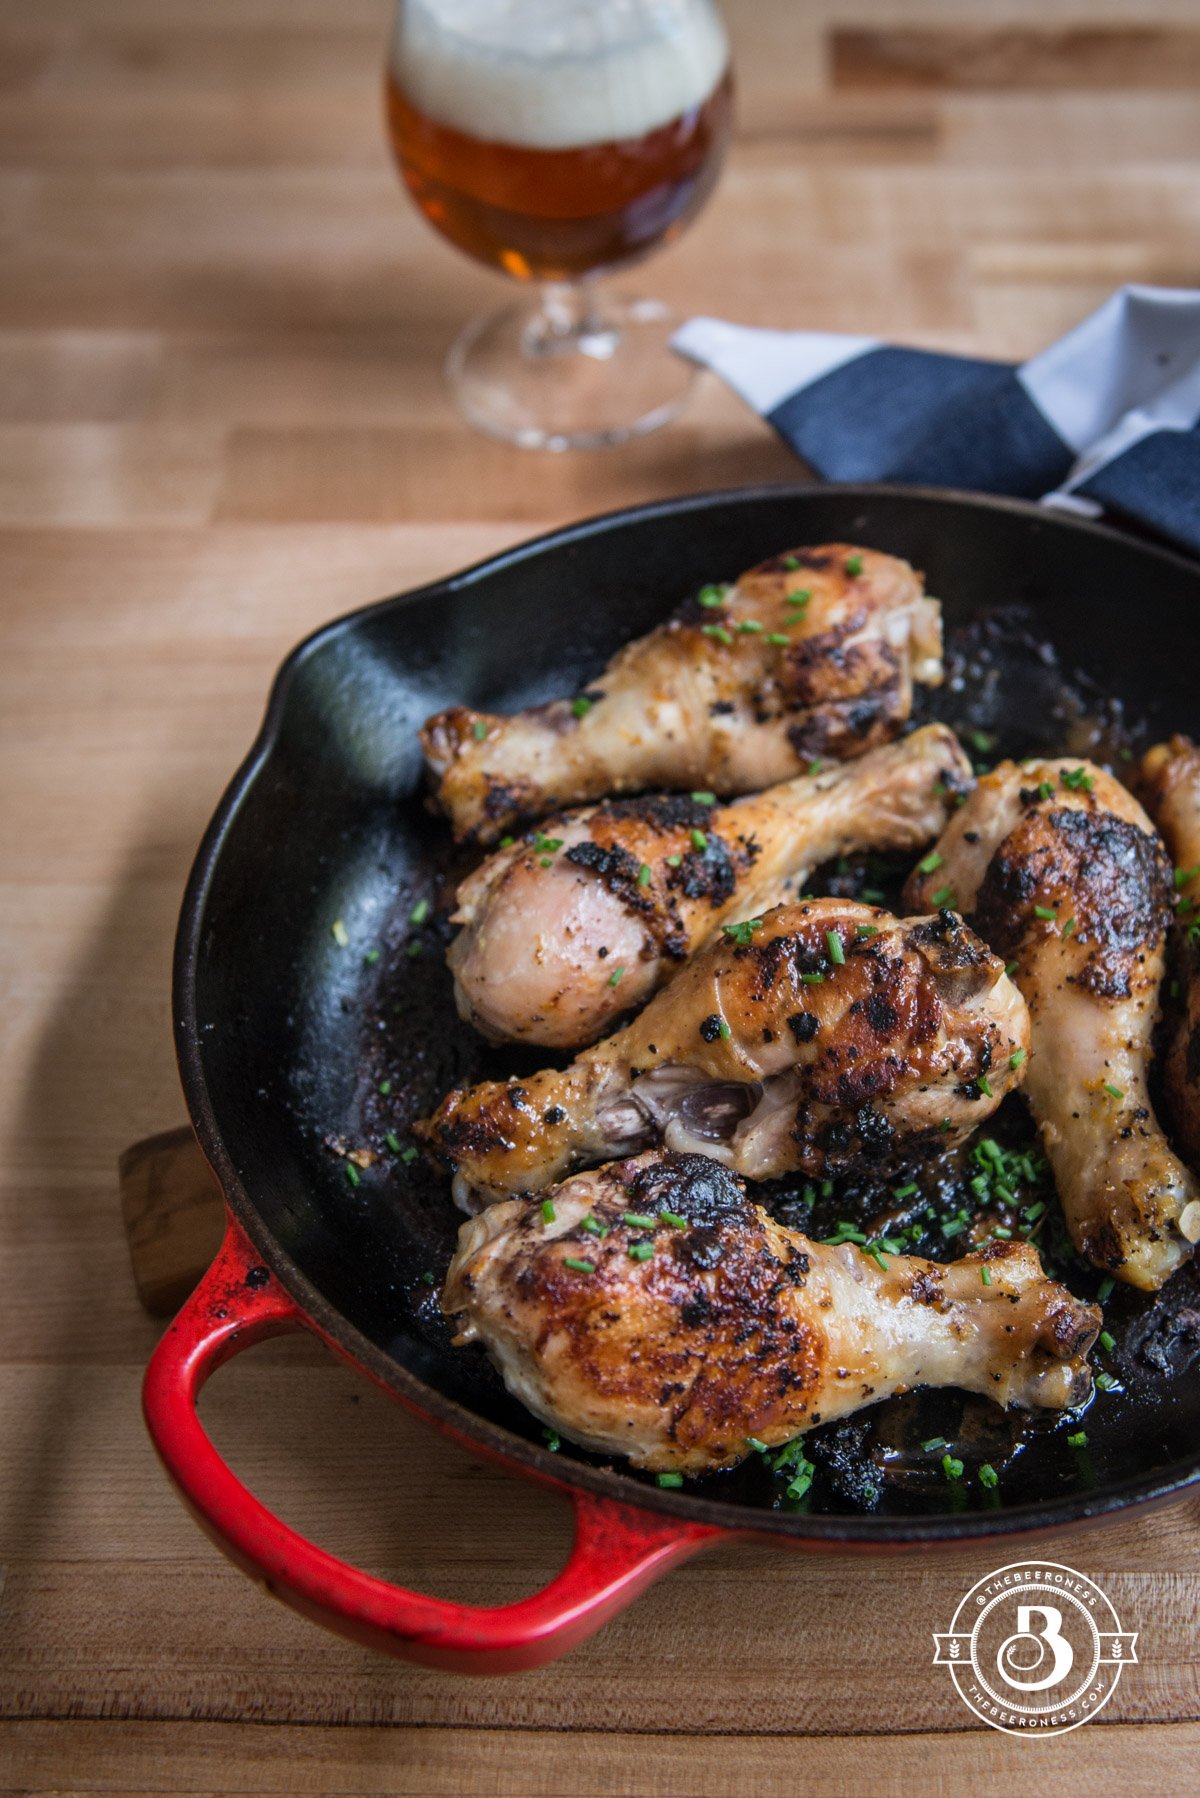
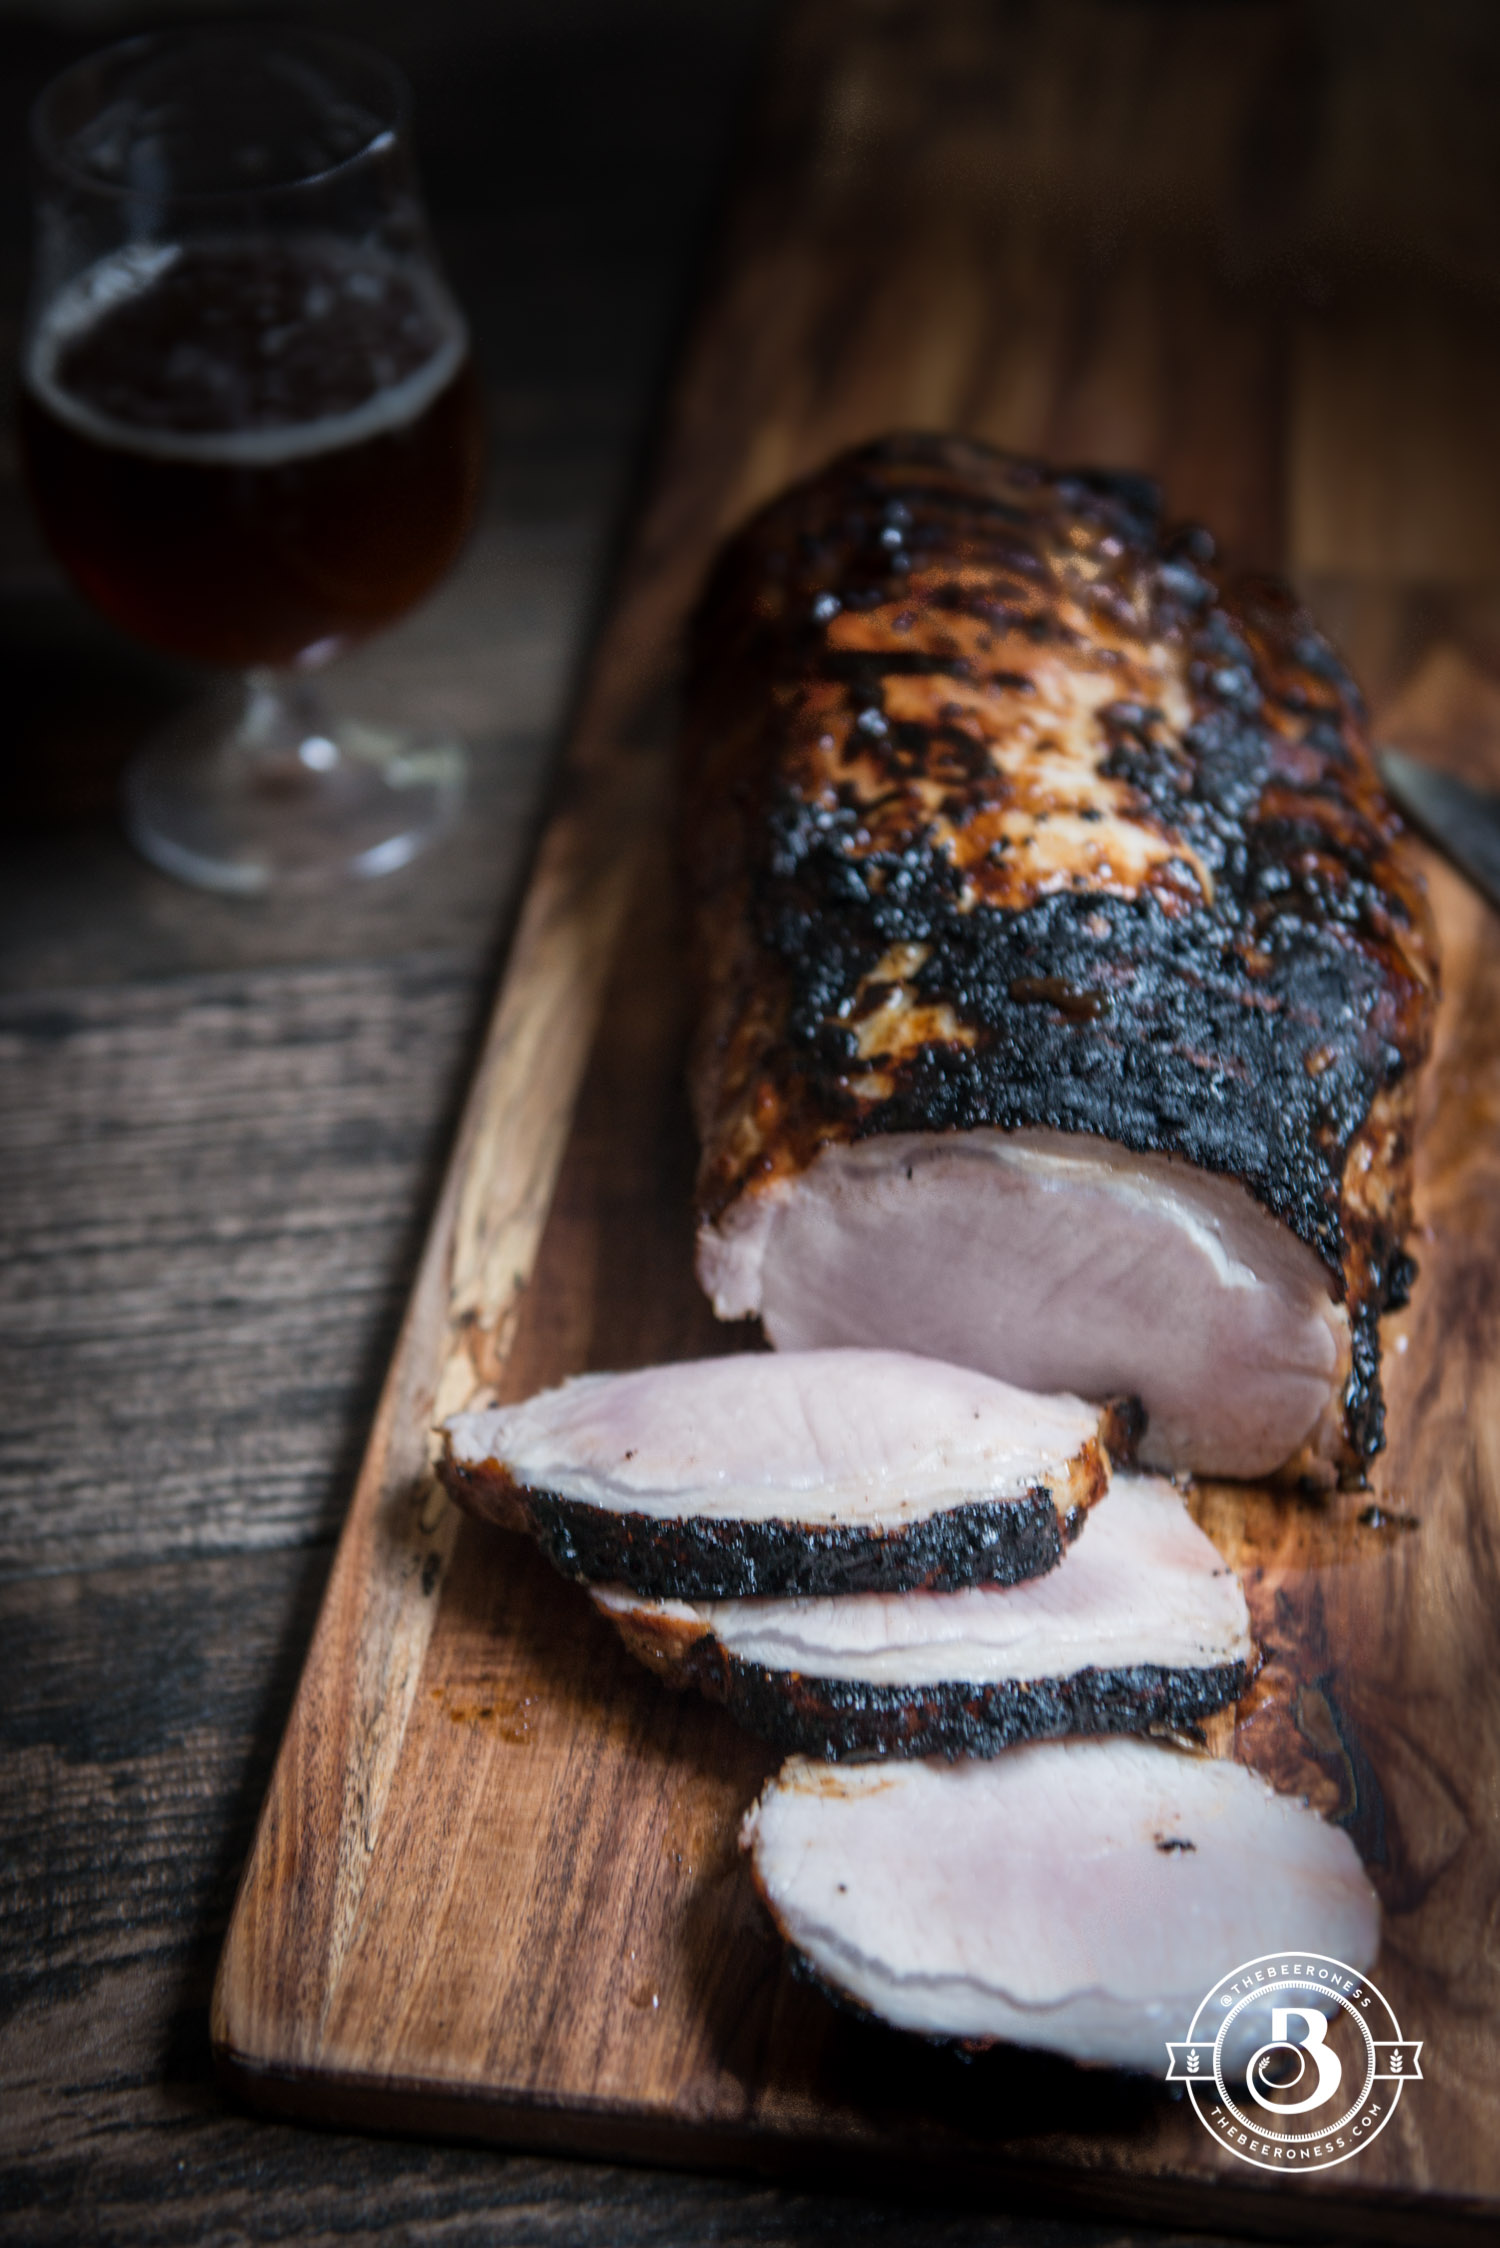
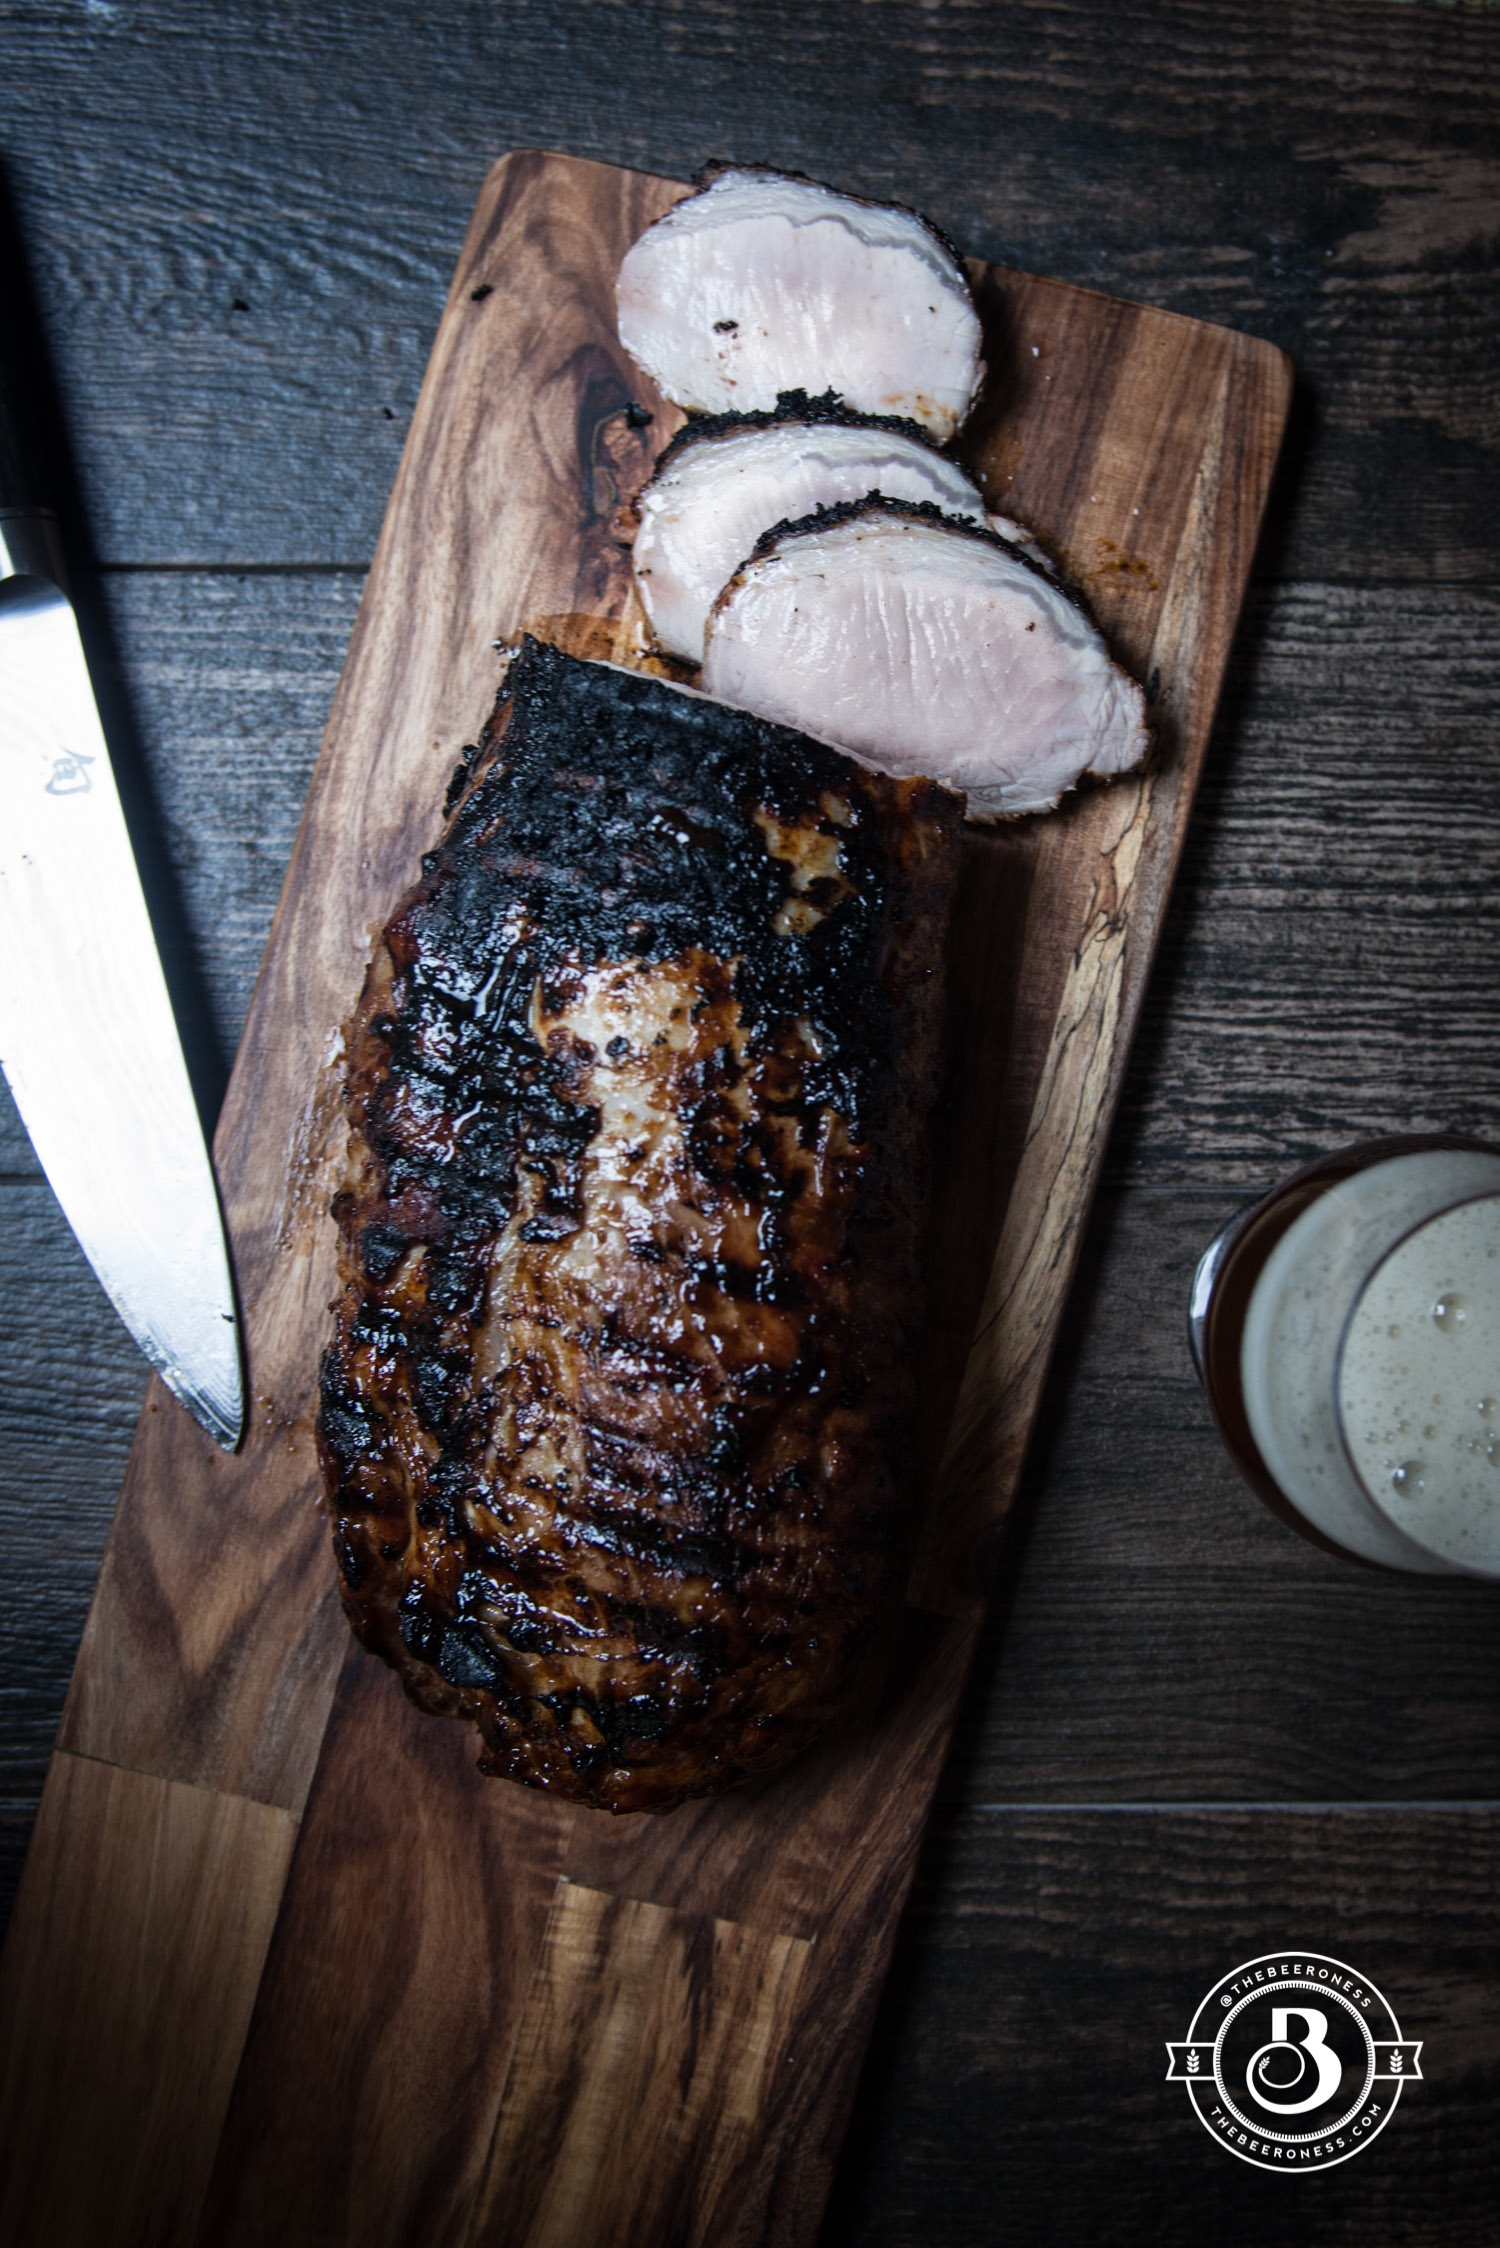
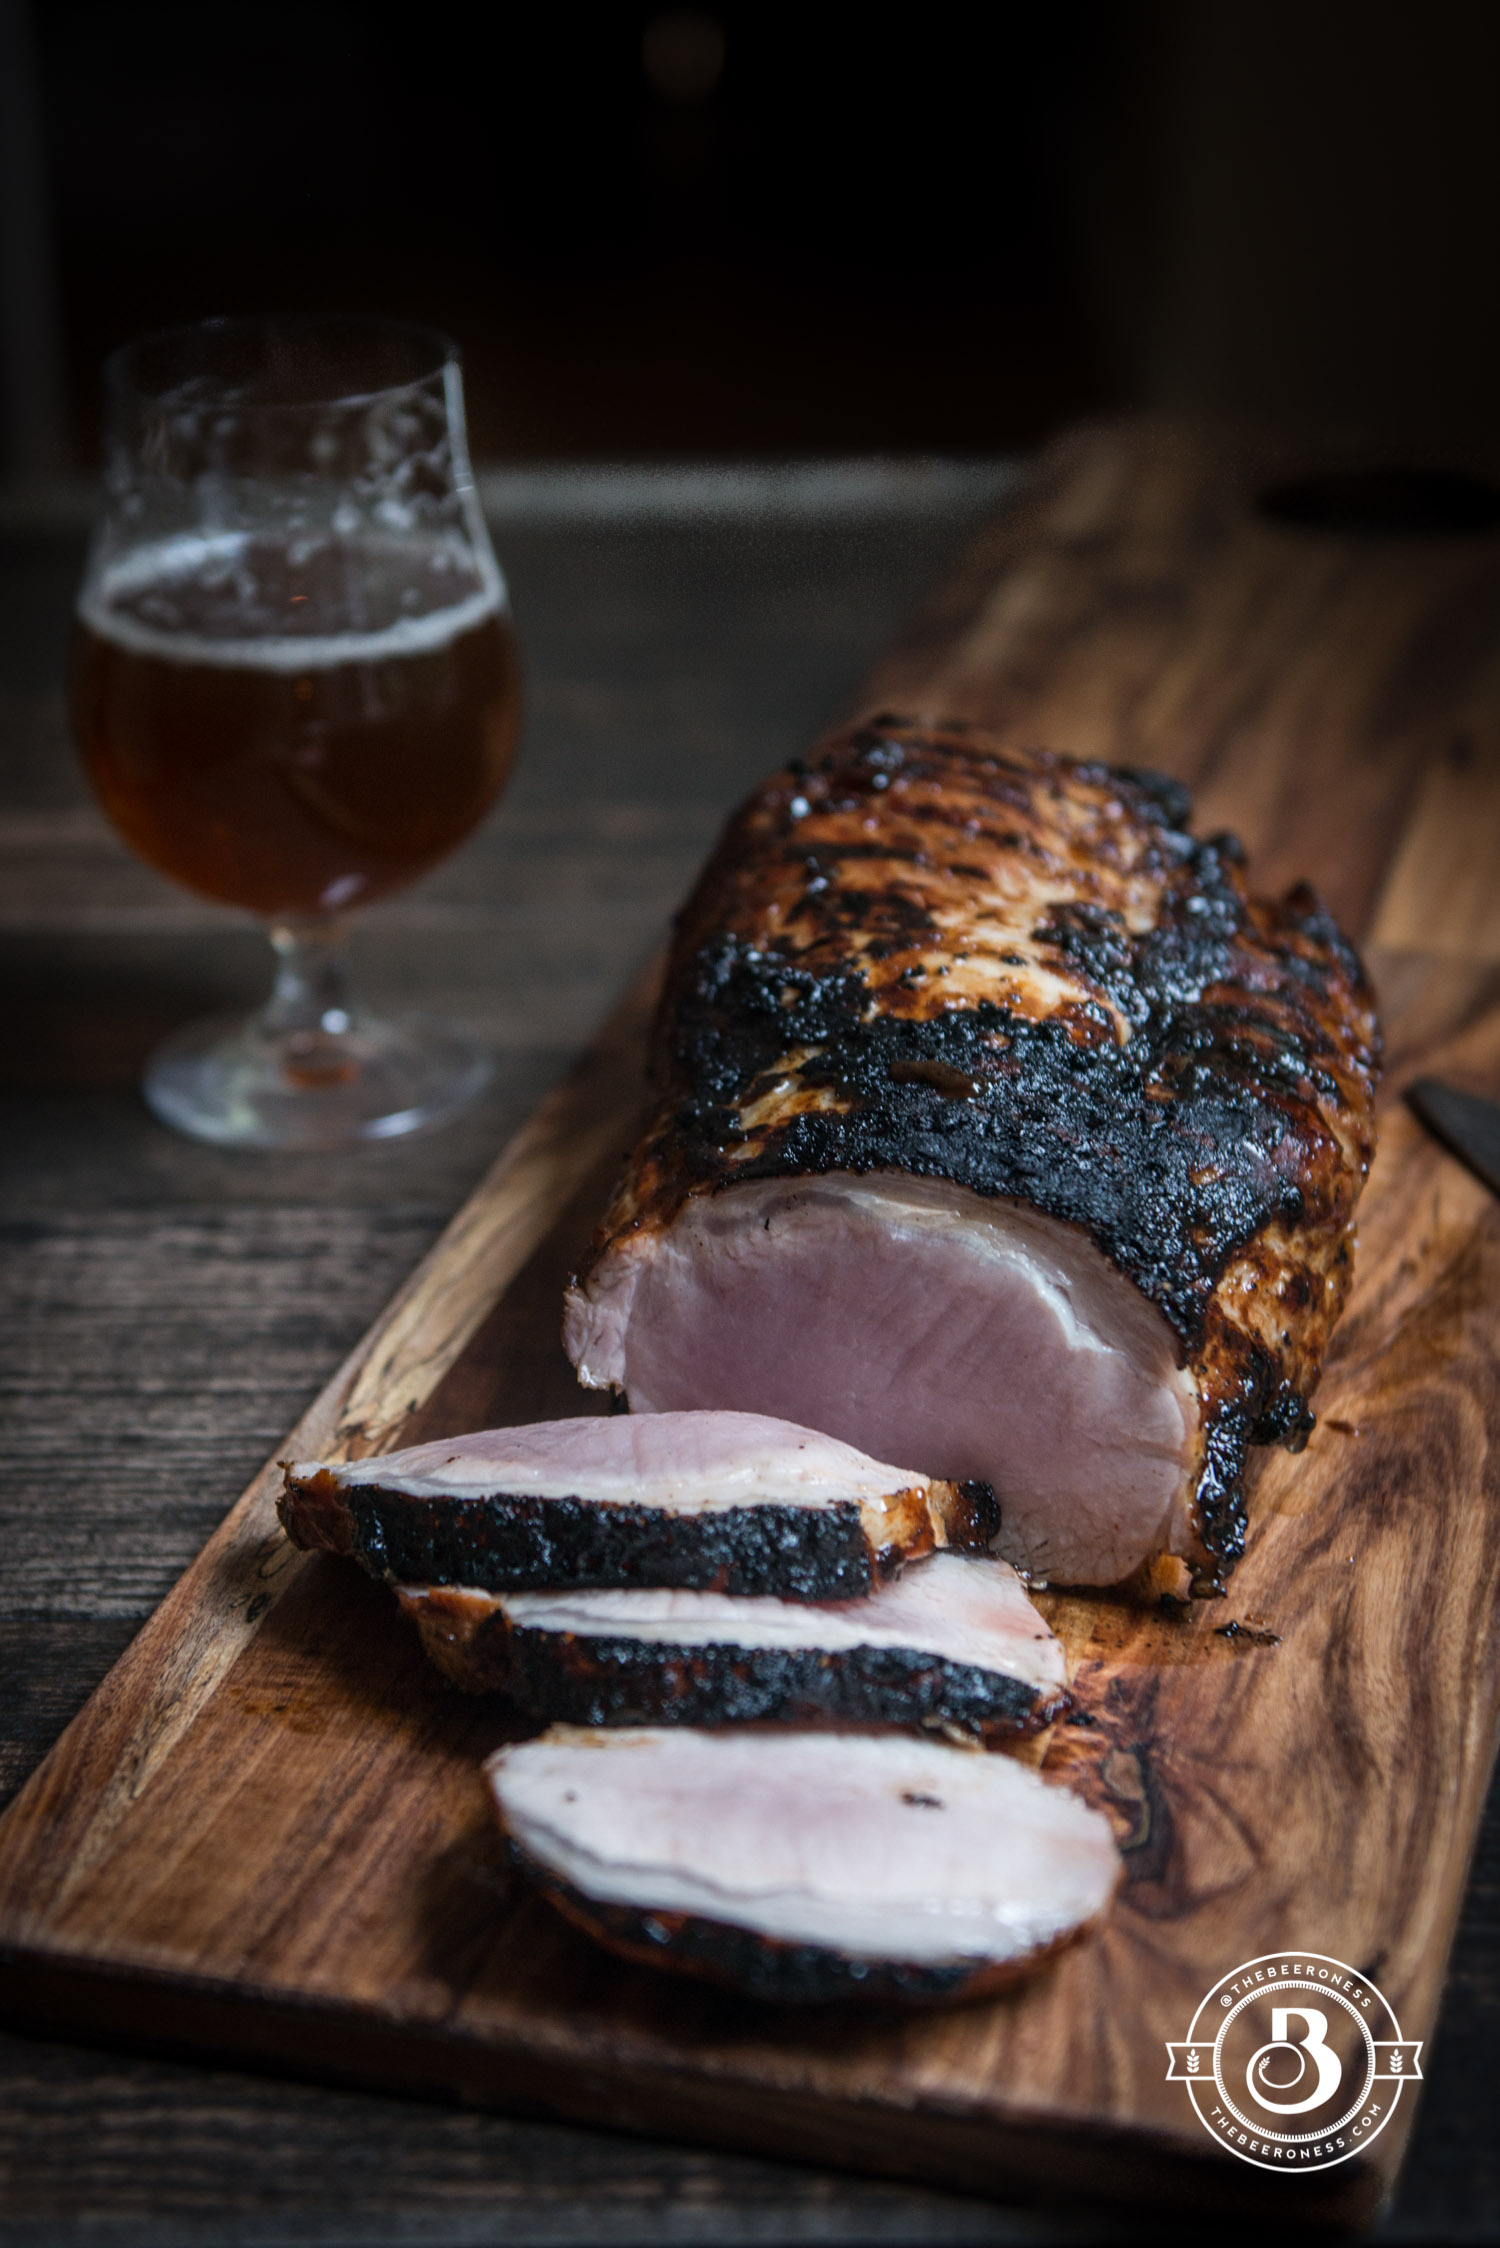
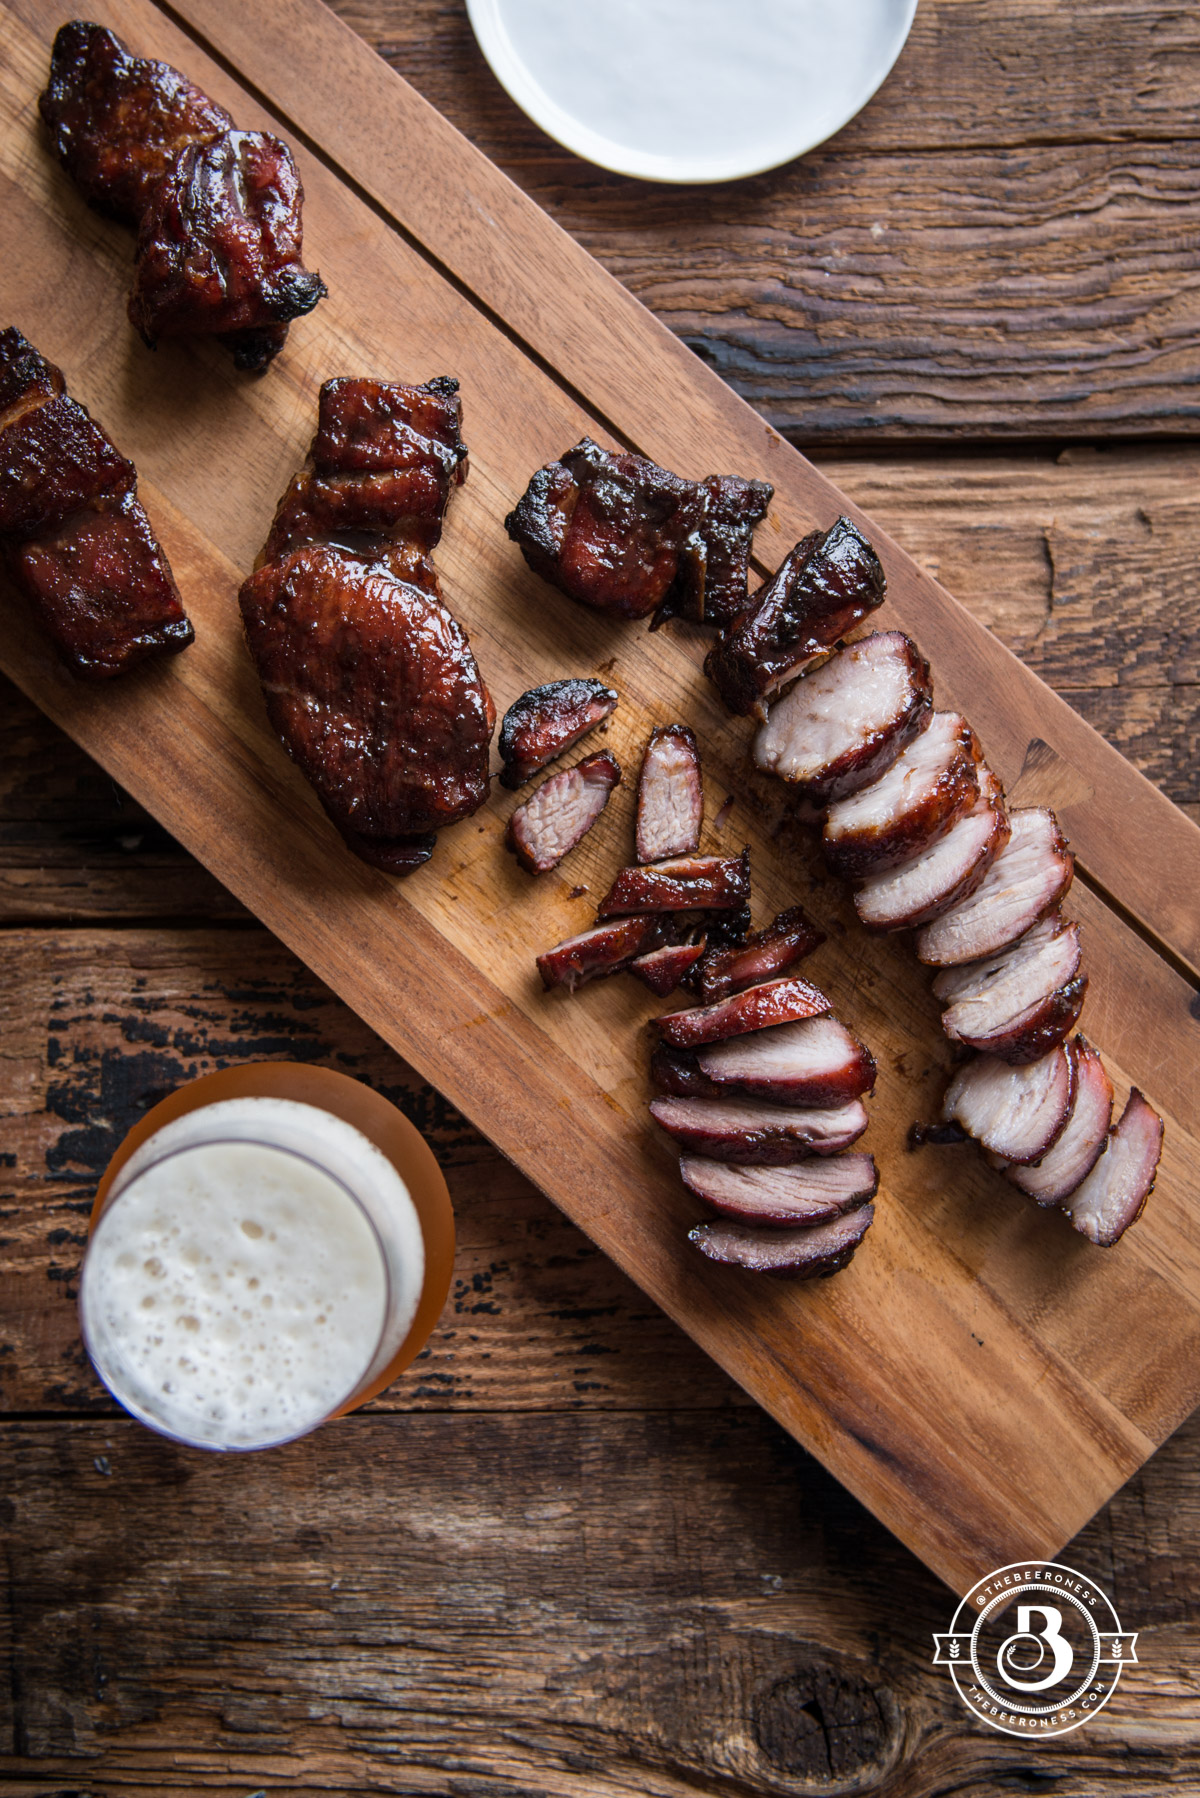
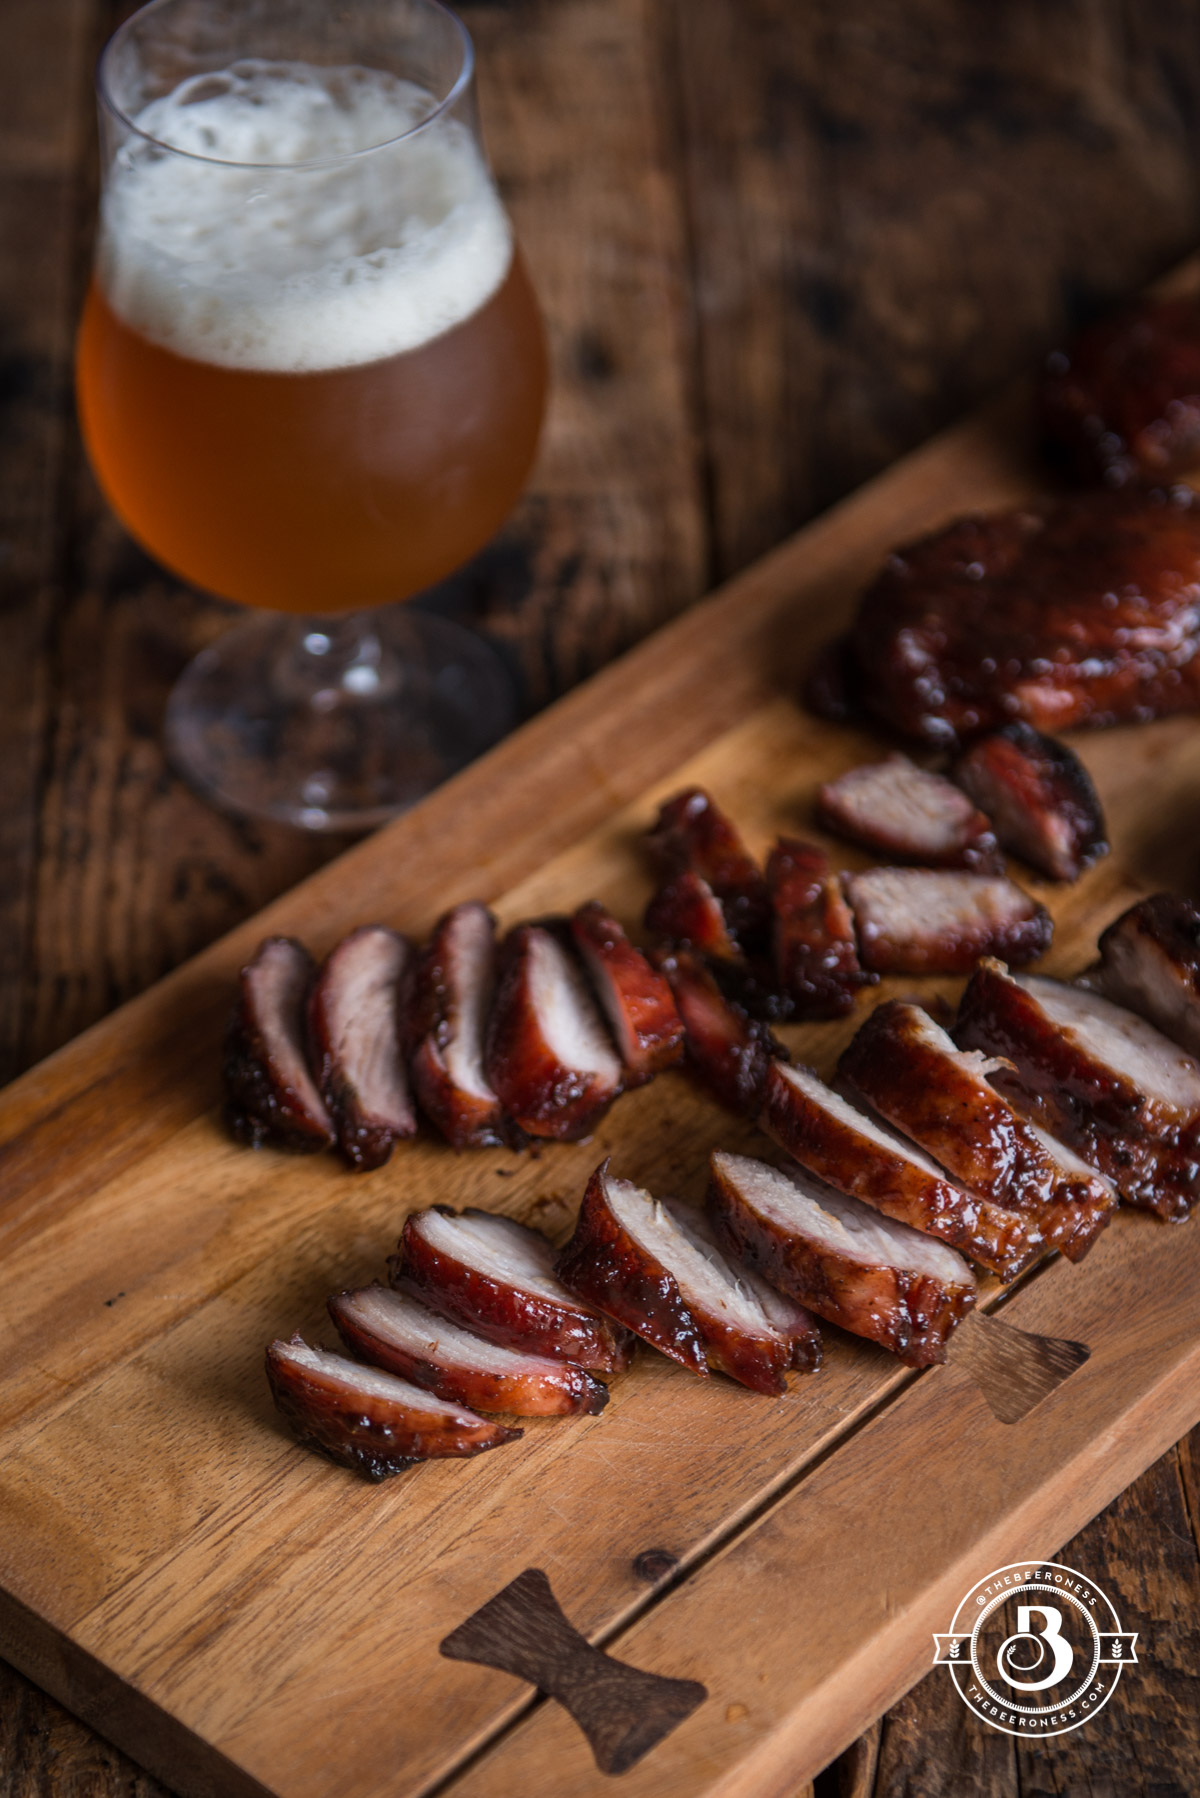
Oven Baked Orange Pepper Beer Chicken
Ingredients
- 1 tablespoon orange zest about 1 large orange
- 1 teaspoon black pepper
- 1 teaspoons kosher or sea salt
- 1 teaspoon garlic powder
- 1 teaspoon cornstarch
- 2 lbs chicken legs
- 2 tablespoons olive oil
- ½ cup 4oz pale ale (or pilsner, wheat beer)
- ¼ cup 2oz orange juice (about ½ one large orange)
Instructions
- Preheat oven to 350°F.
- In a small bowl combine the zest, pepper, salt, garlic powder and cornstarch.
- Rub the spice mixture into the legs on all sides.
- Heat the olive oil in a large cast iron skillet until hot but not smoking.
- Add the chicken, searing on all sides until browned. Pour the orange juice and beer over the chicken.
- Transfer pan to the oven, cooking until the chicken is cooked through, about 25 minutes.


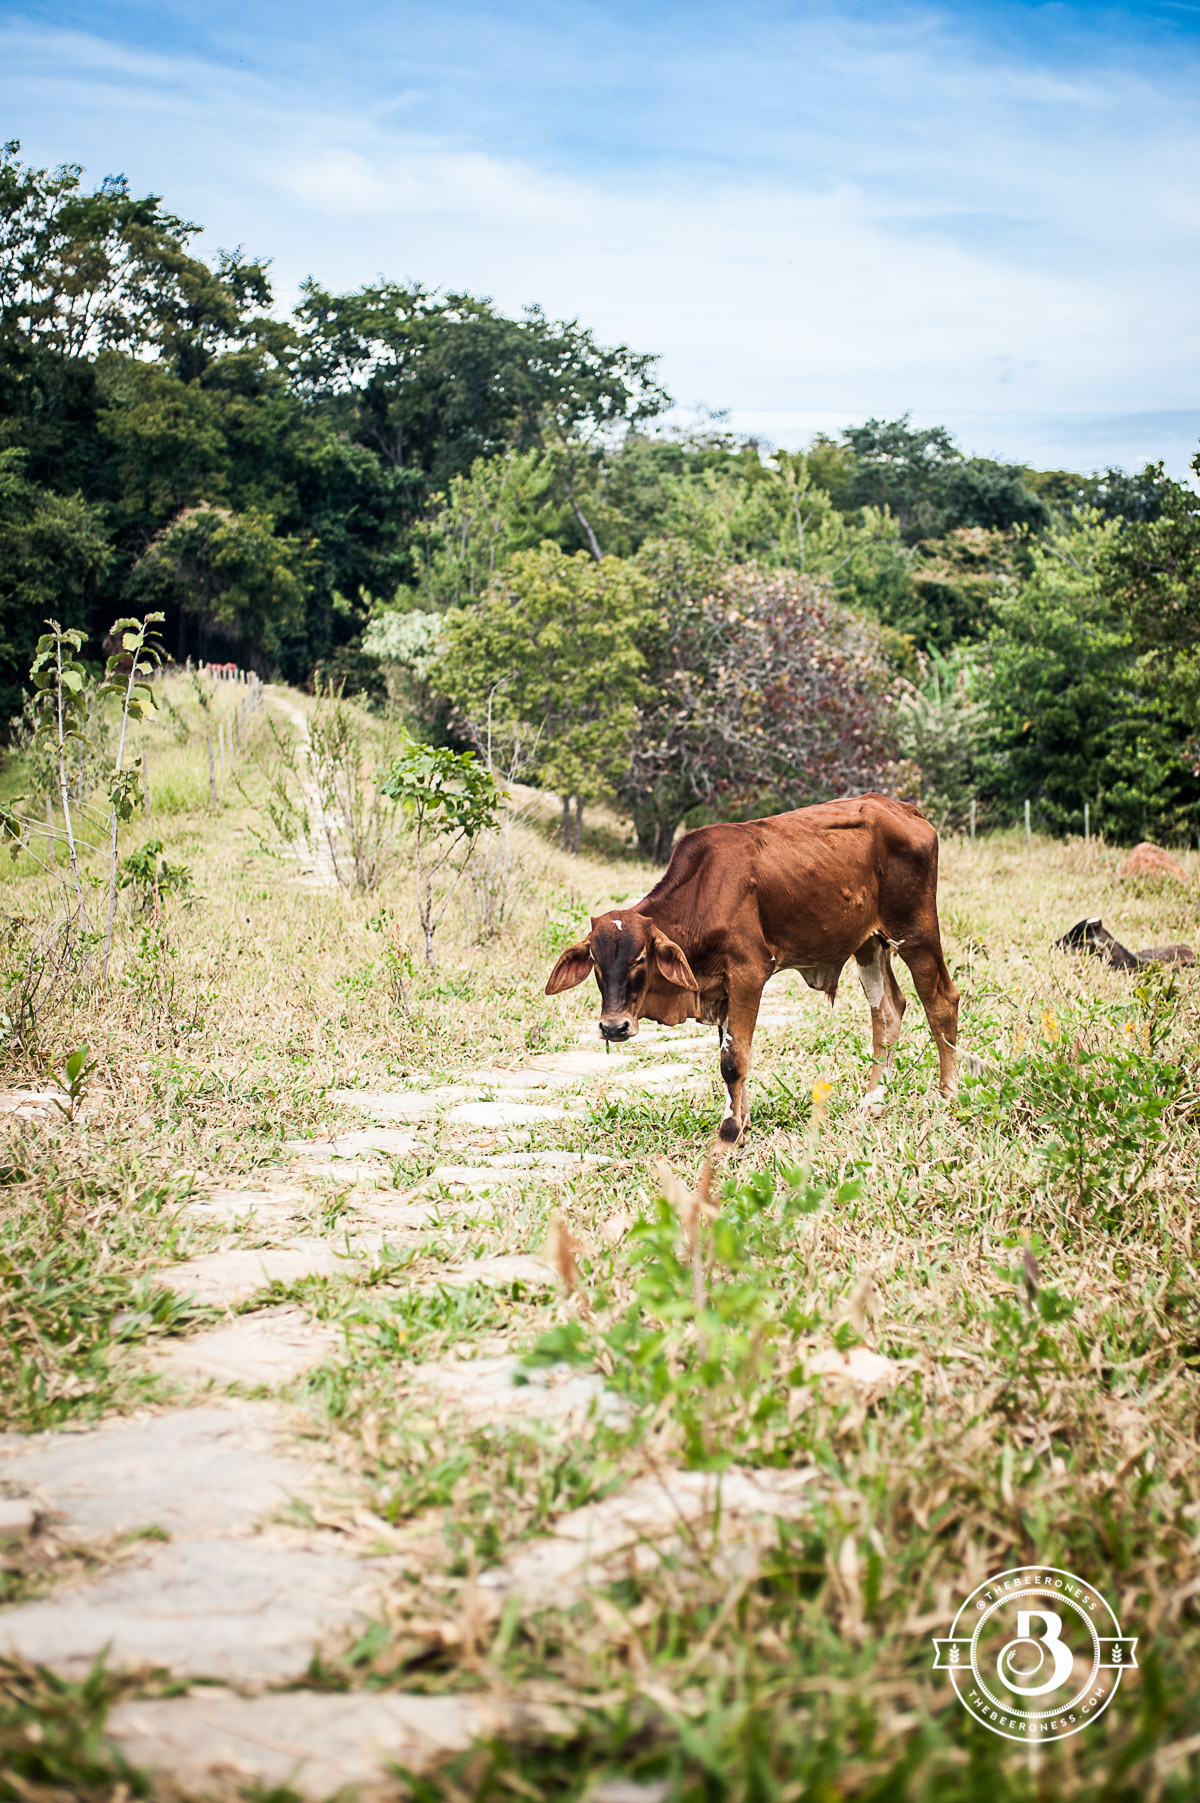
 A small glass jar with what appeared to be a home-printed label with a scripty font that read, "Miel." Honey. That’s what I wanted. It’s a part of the land, the honey and it’s hard working bees allowing me to check in my luggage 6 ounces of the terrior to take home.
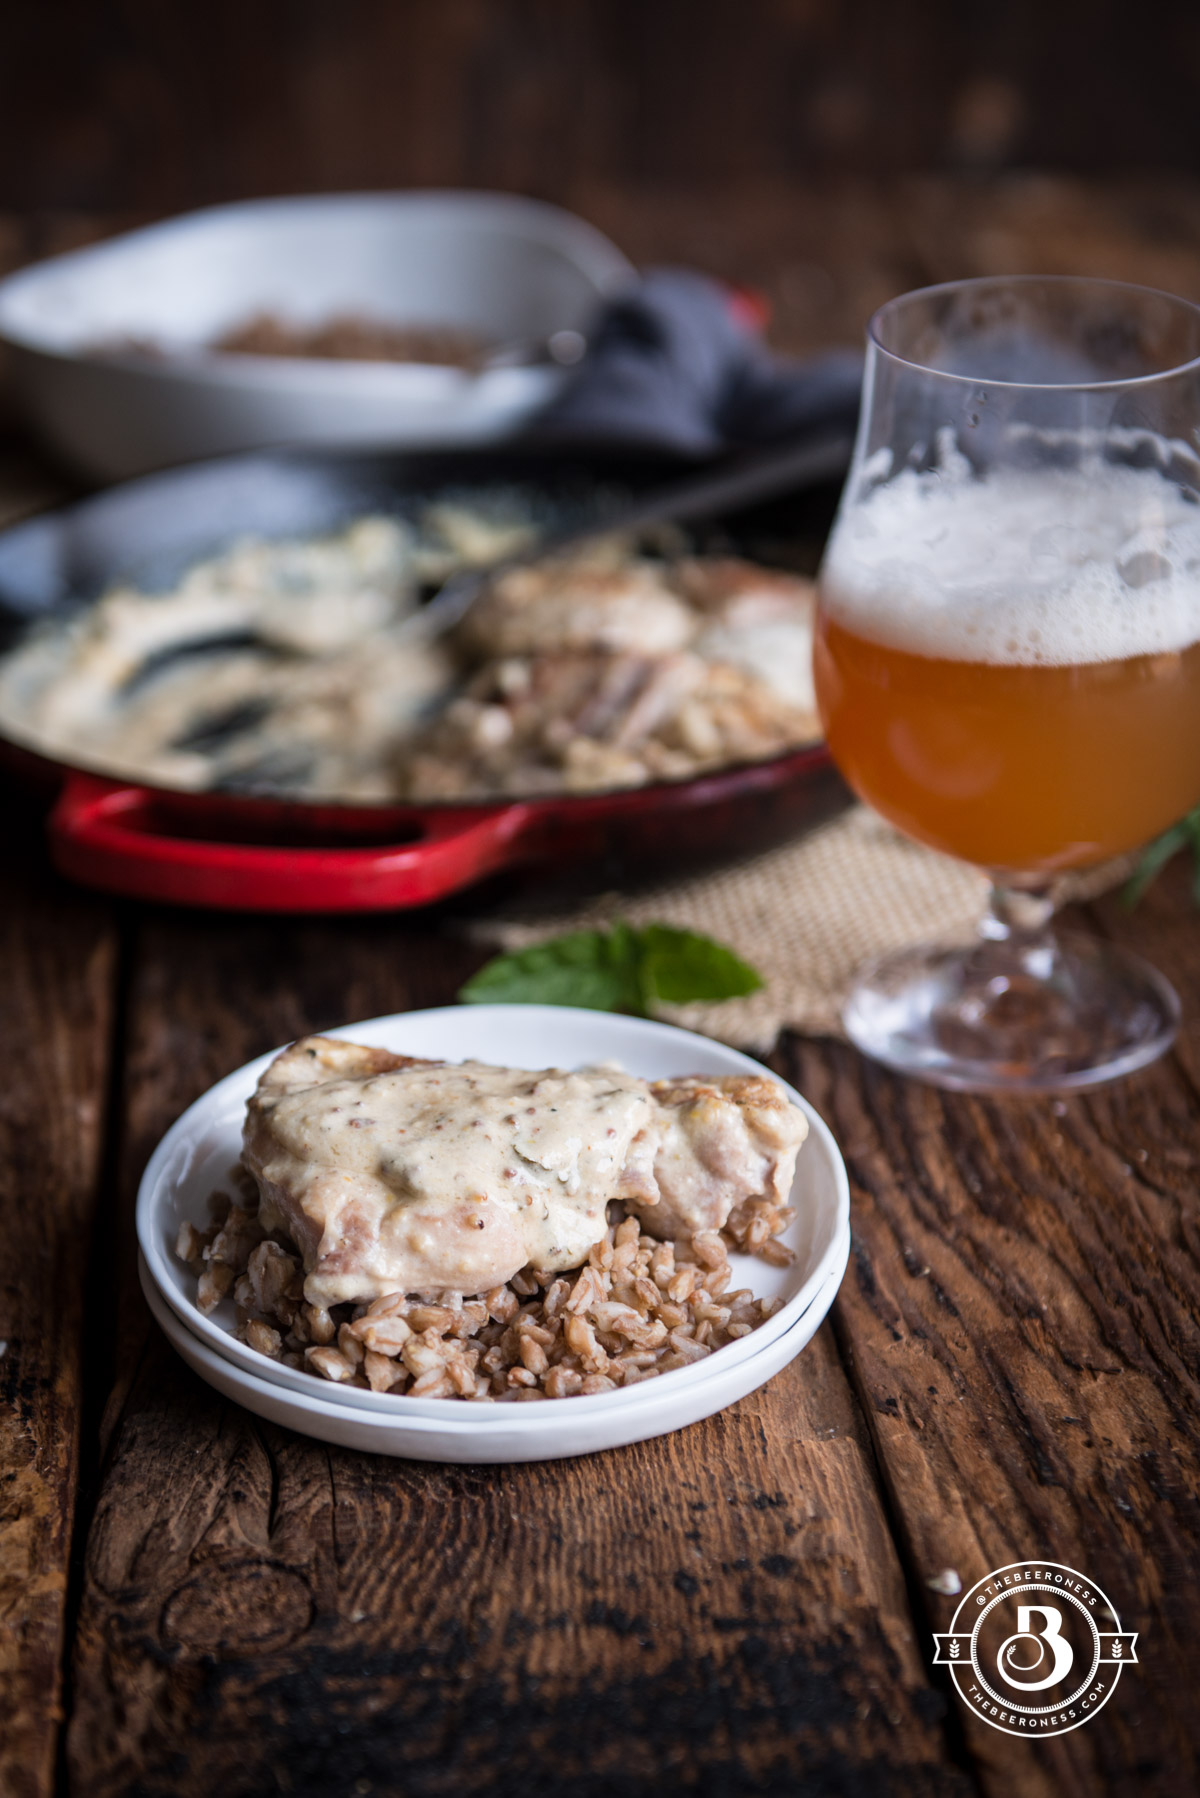

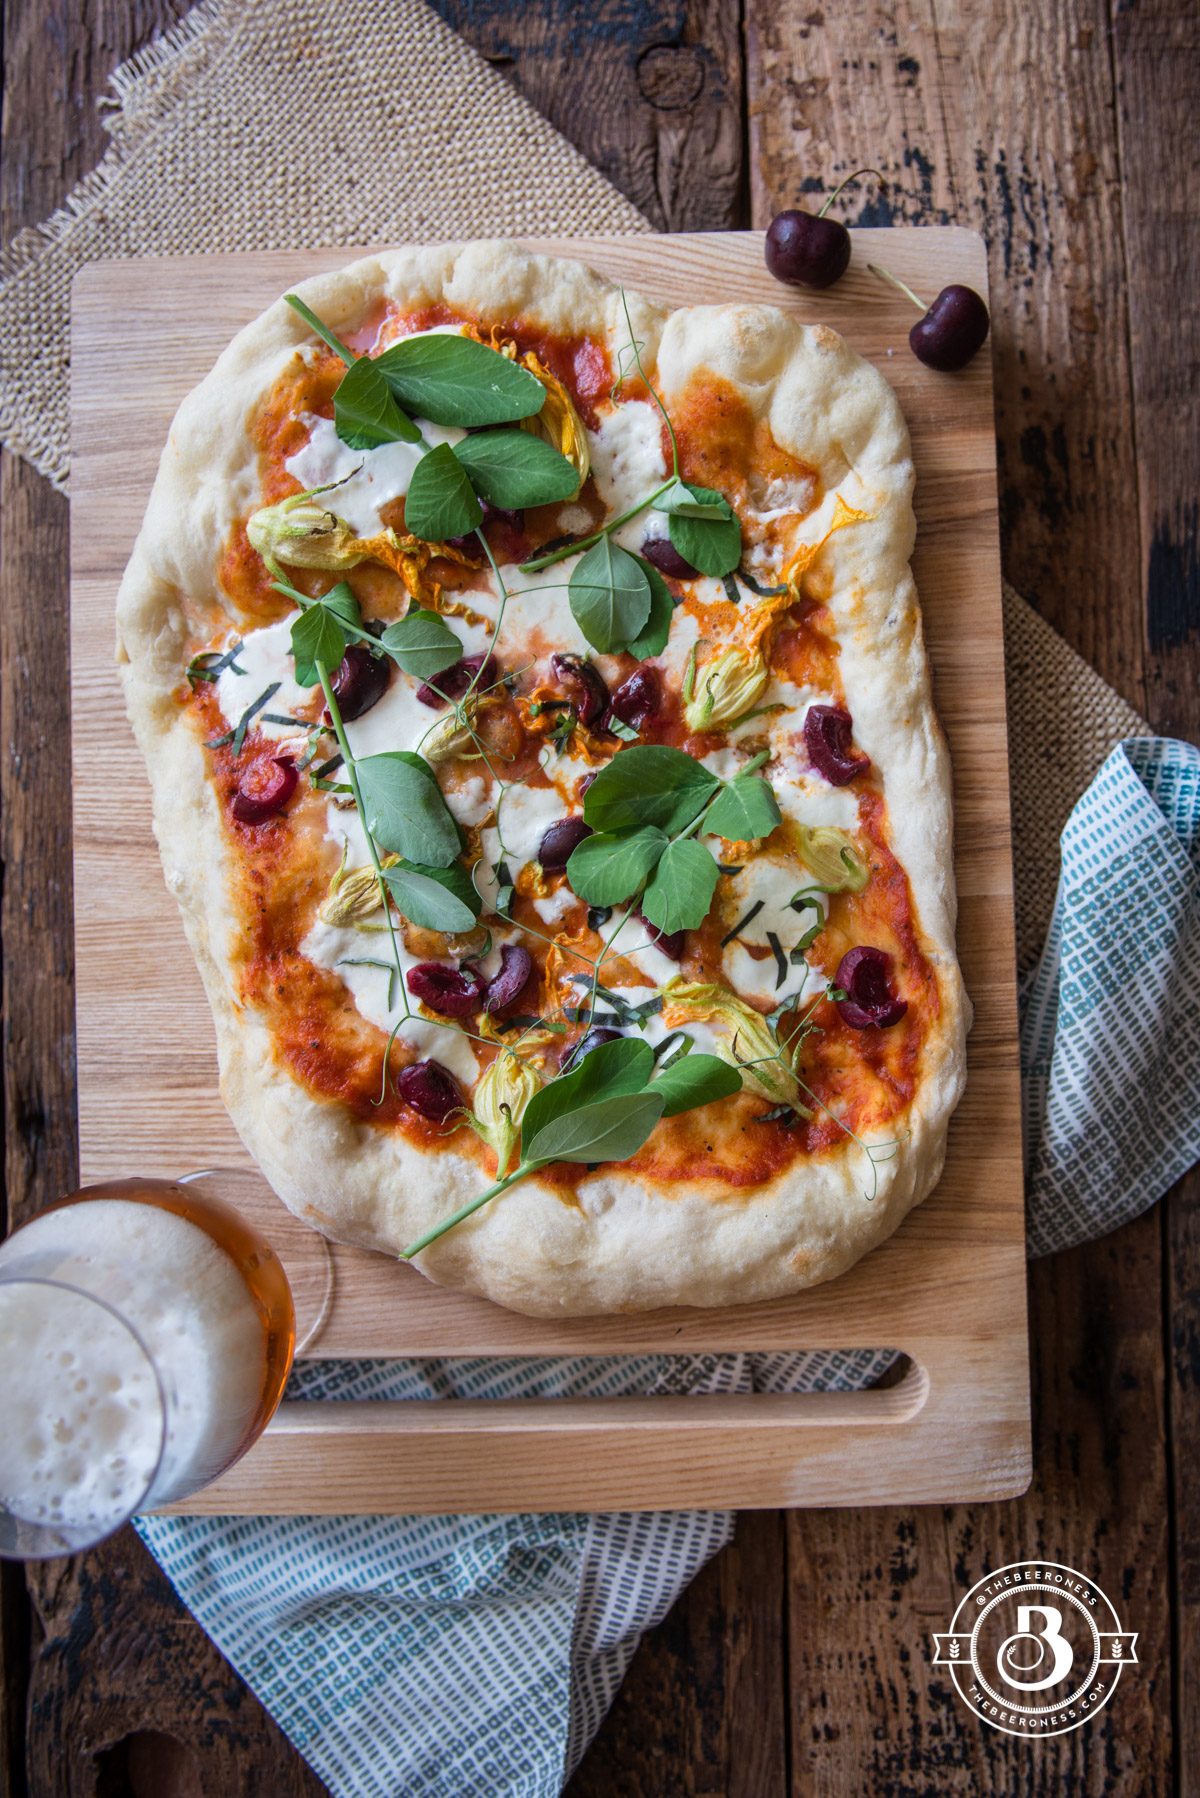


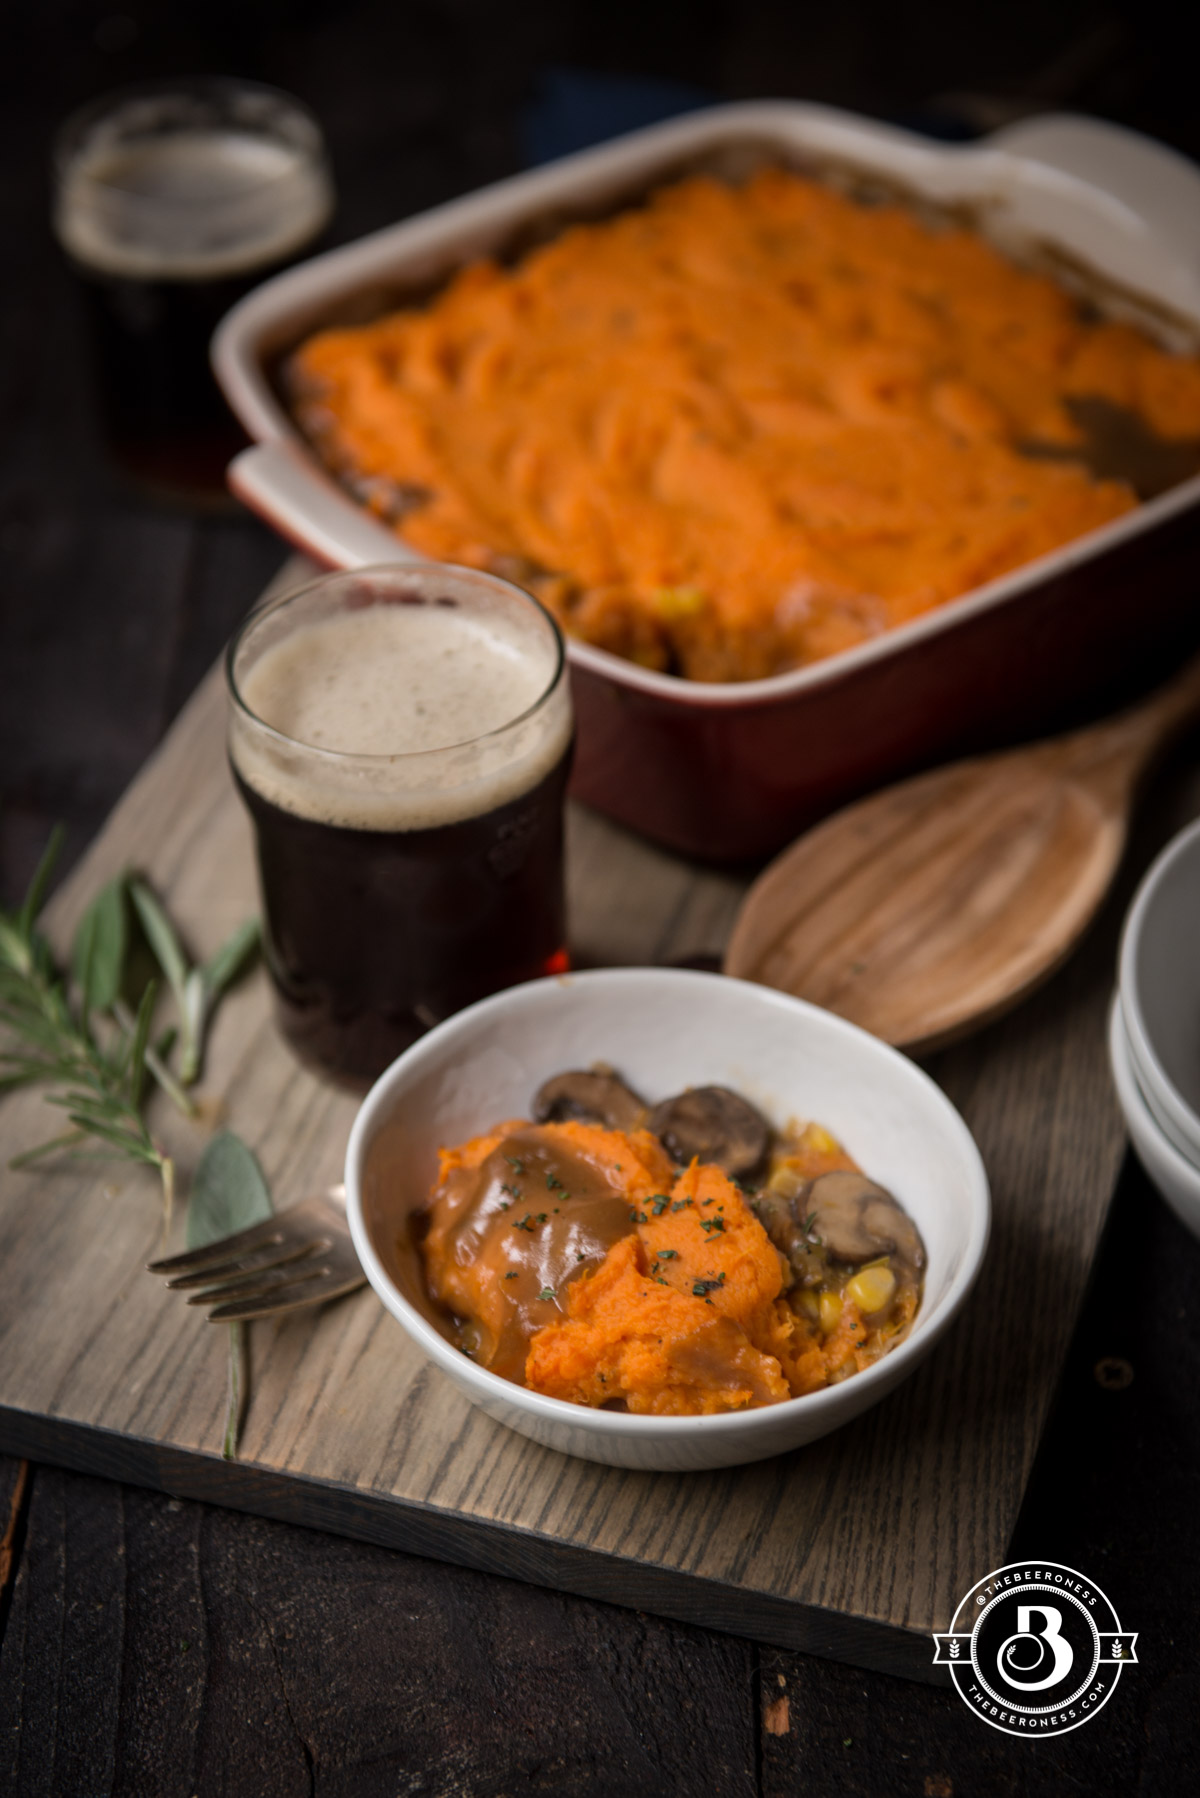
 I want to write you a book so full of beautiful dishes that you won’t even notice that I left out meat, it’s not just for vegetarians, it’s for anyone who loves food and beer.
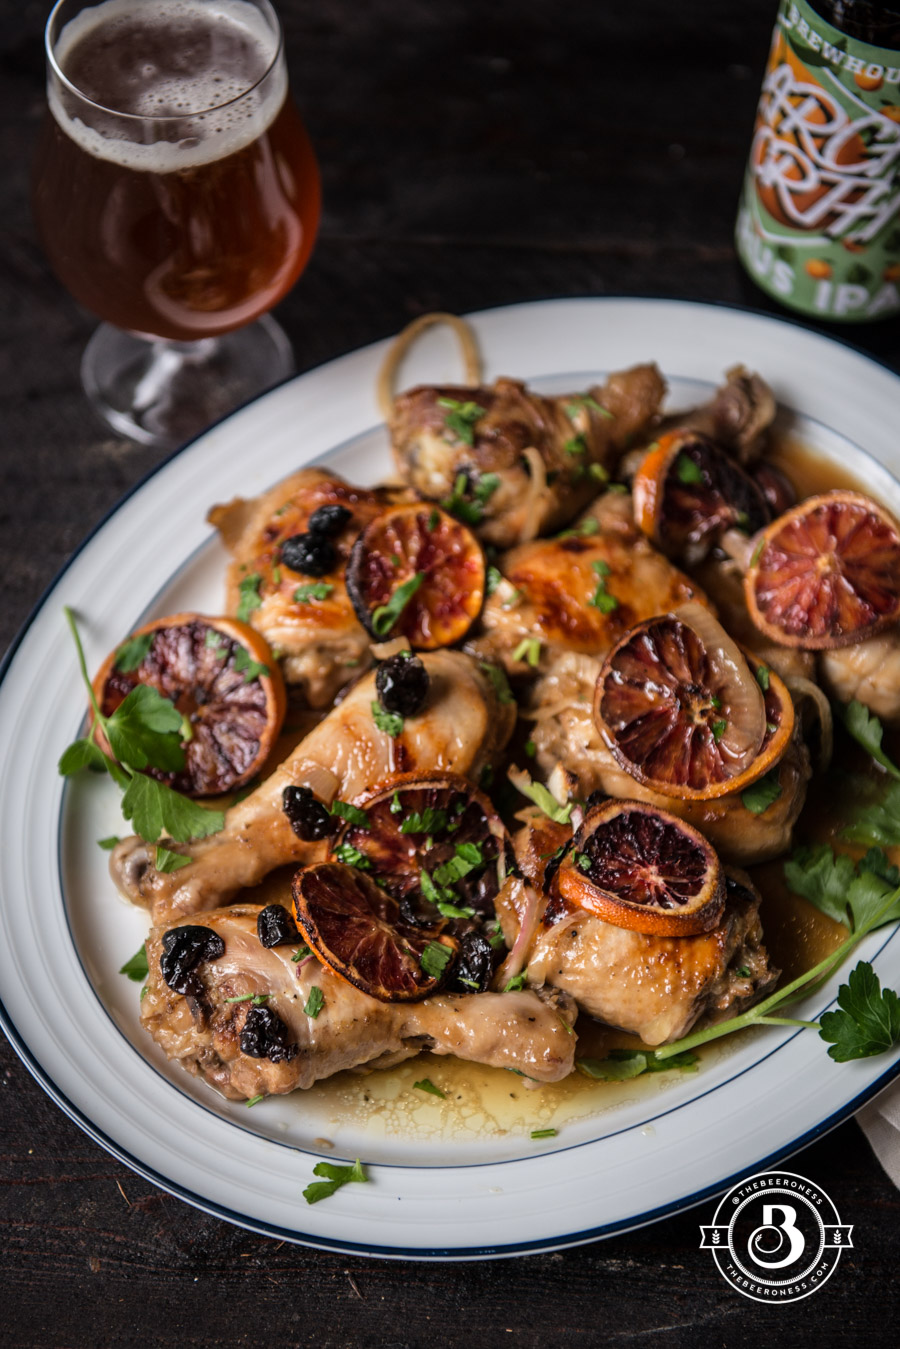
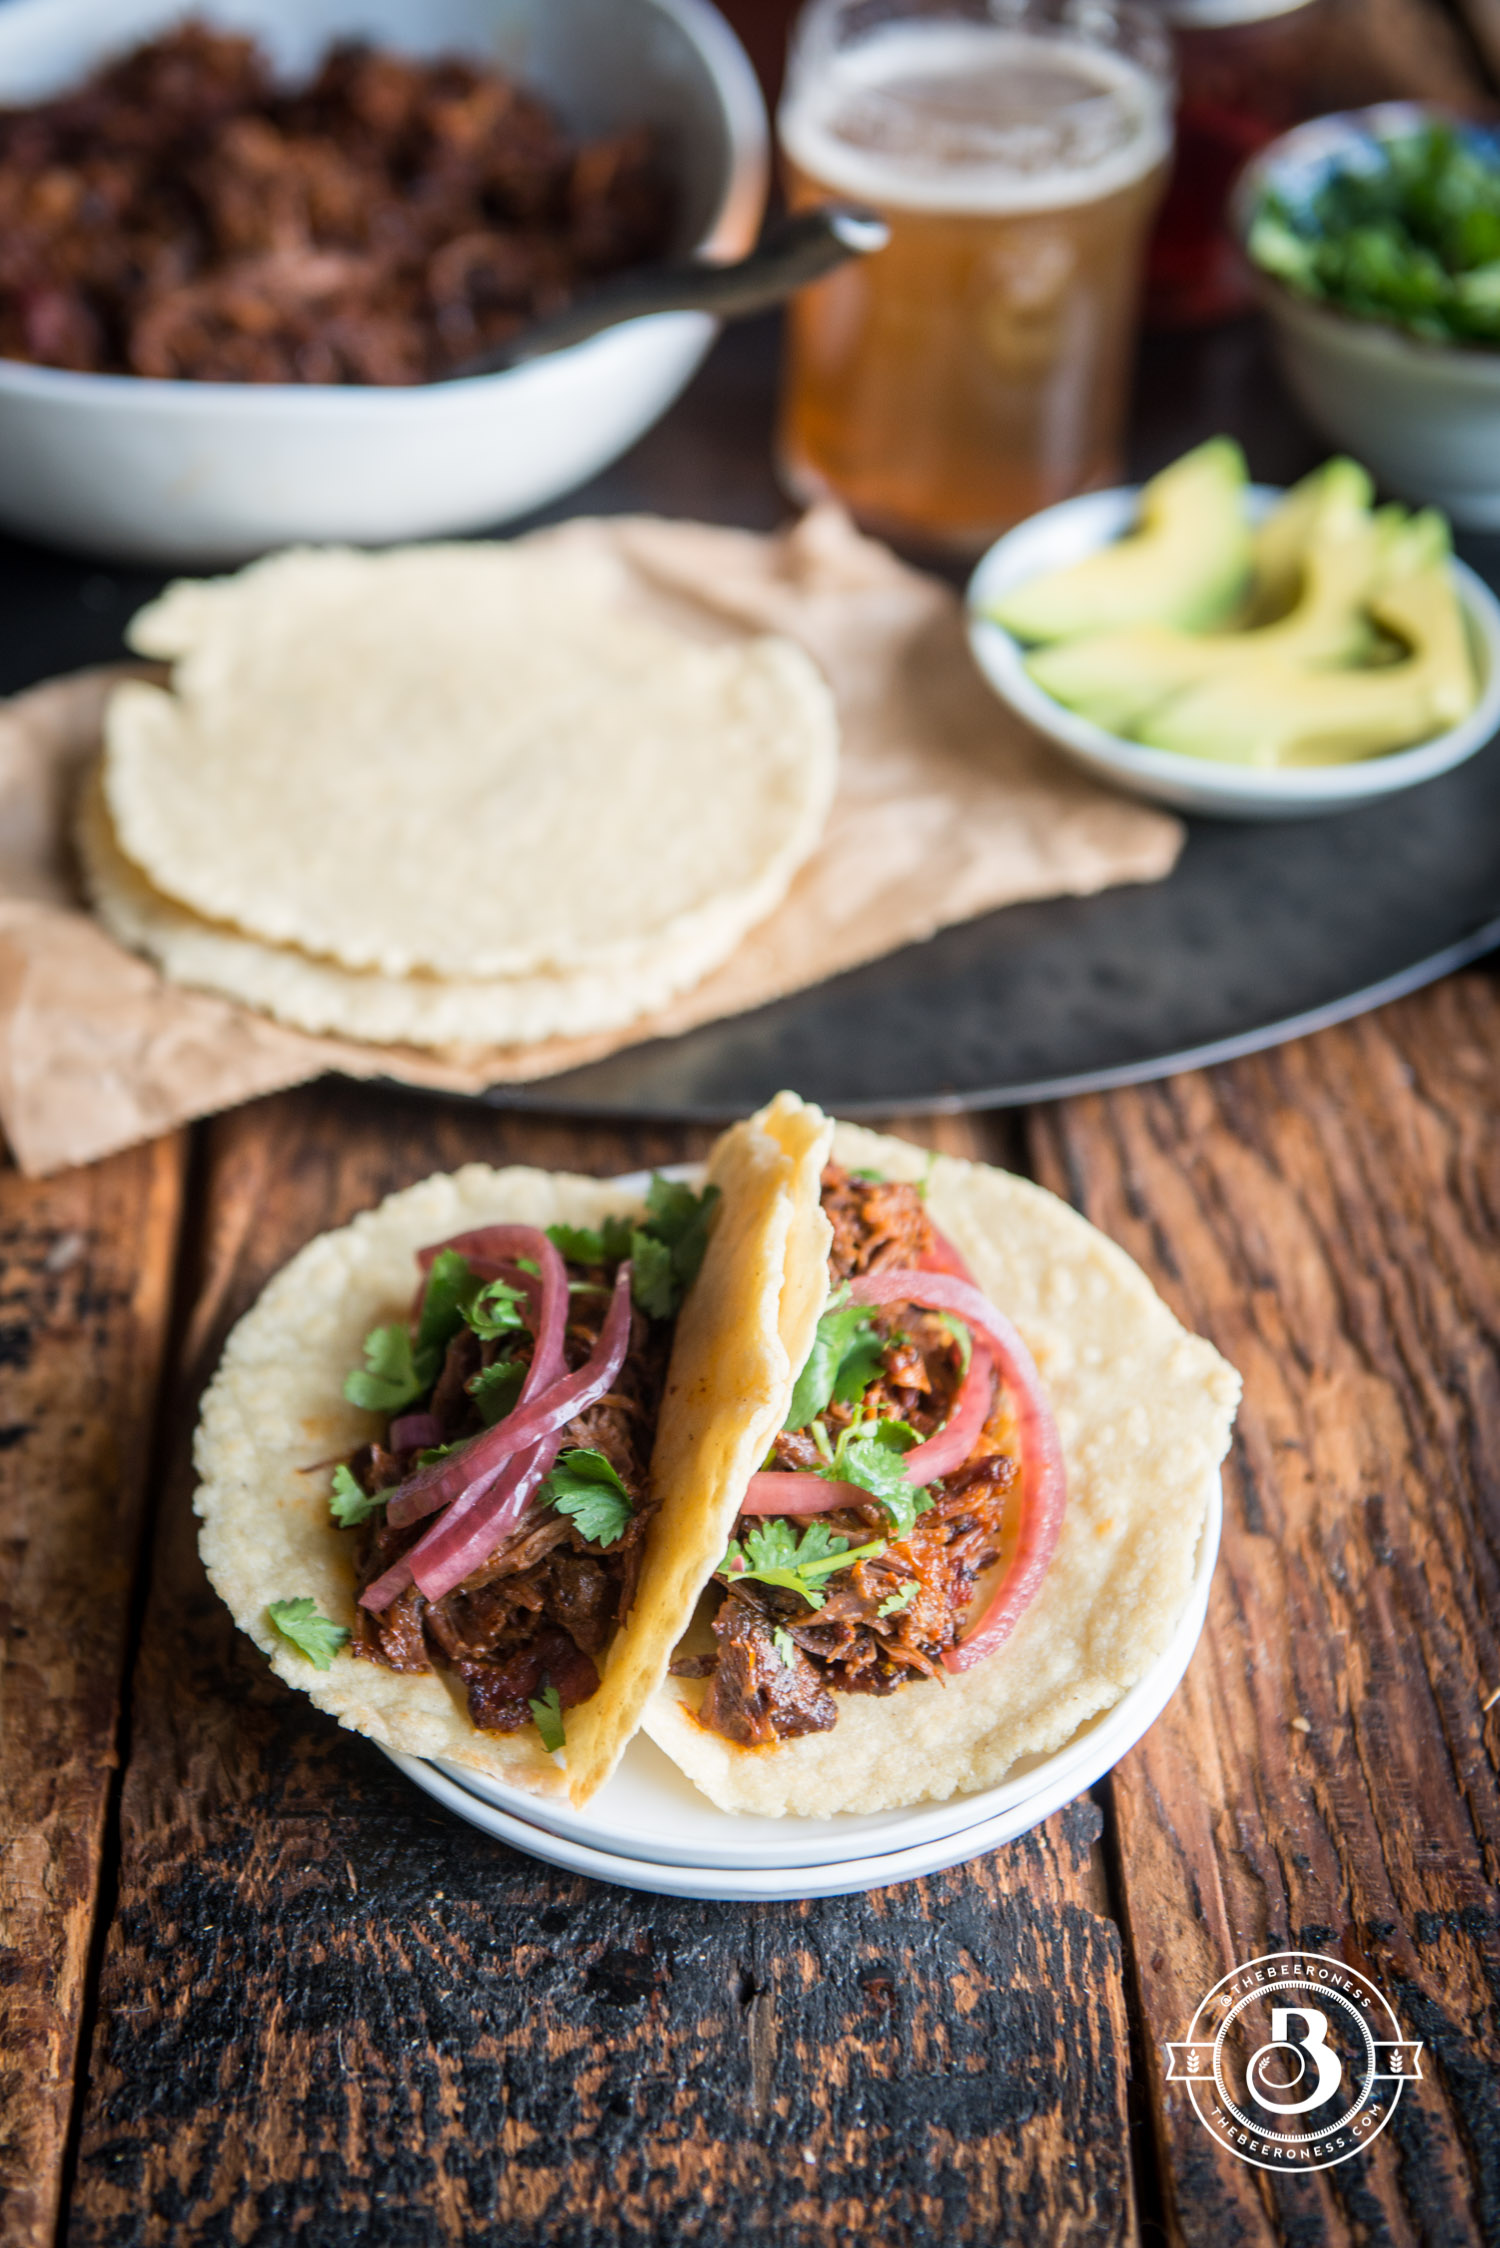
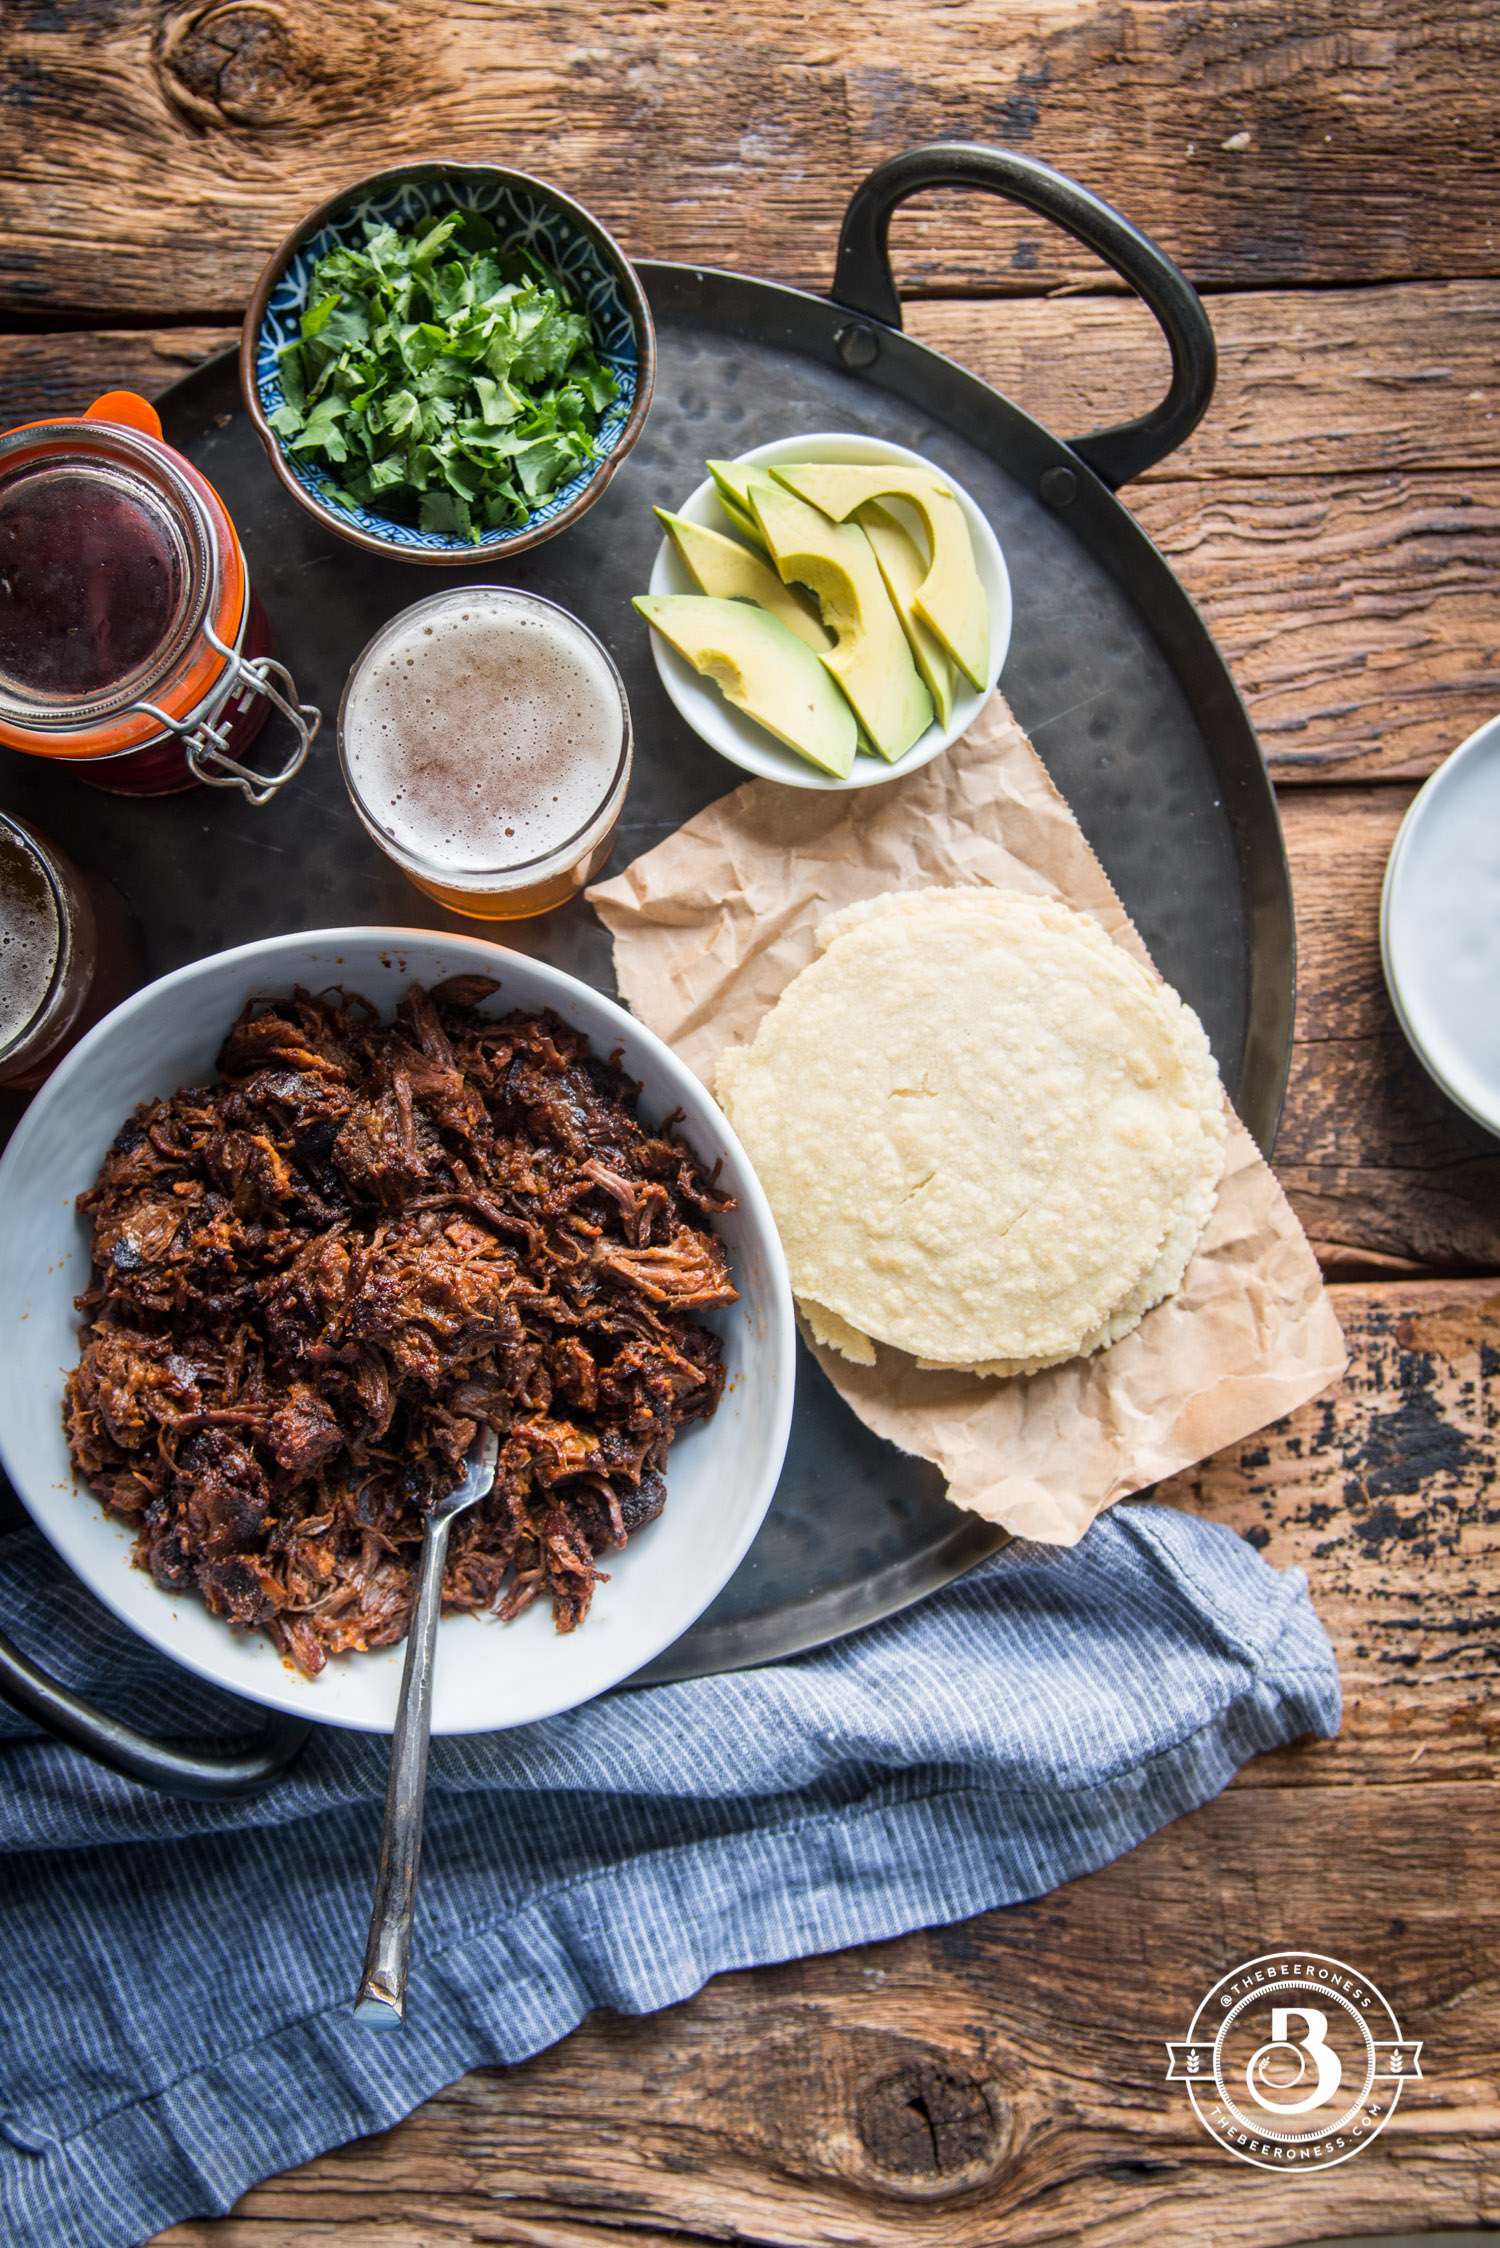
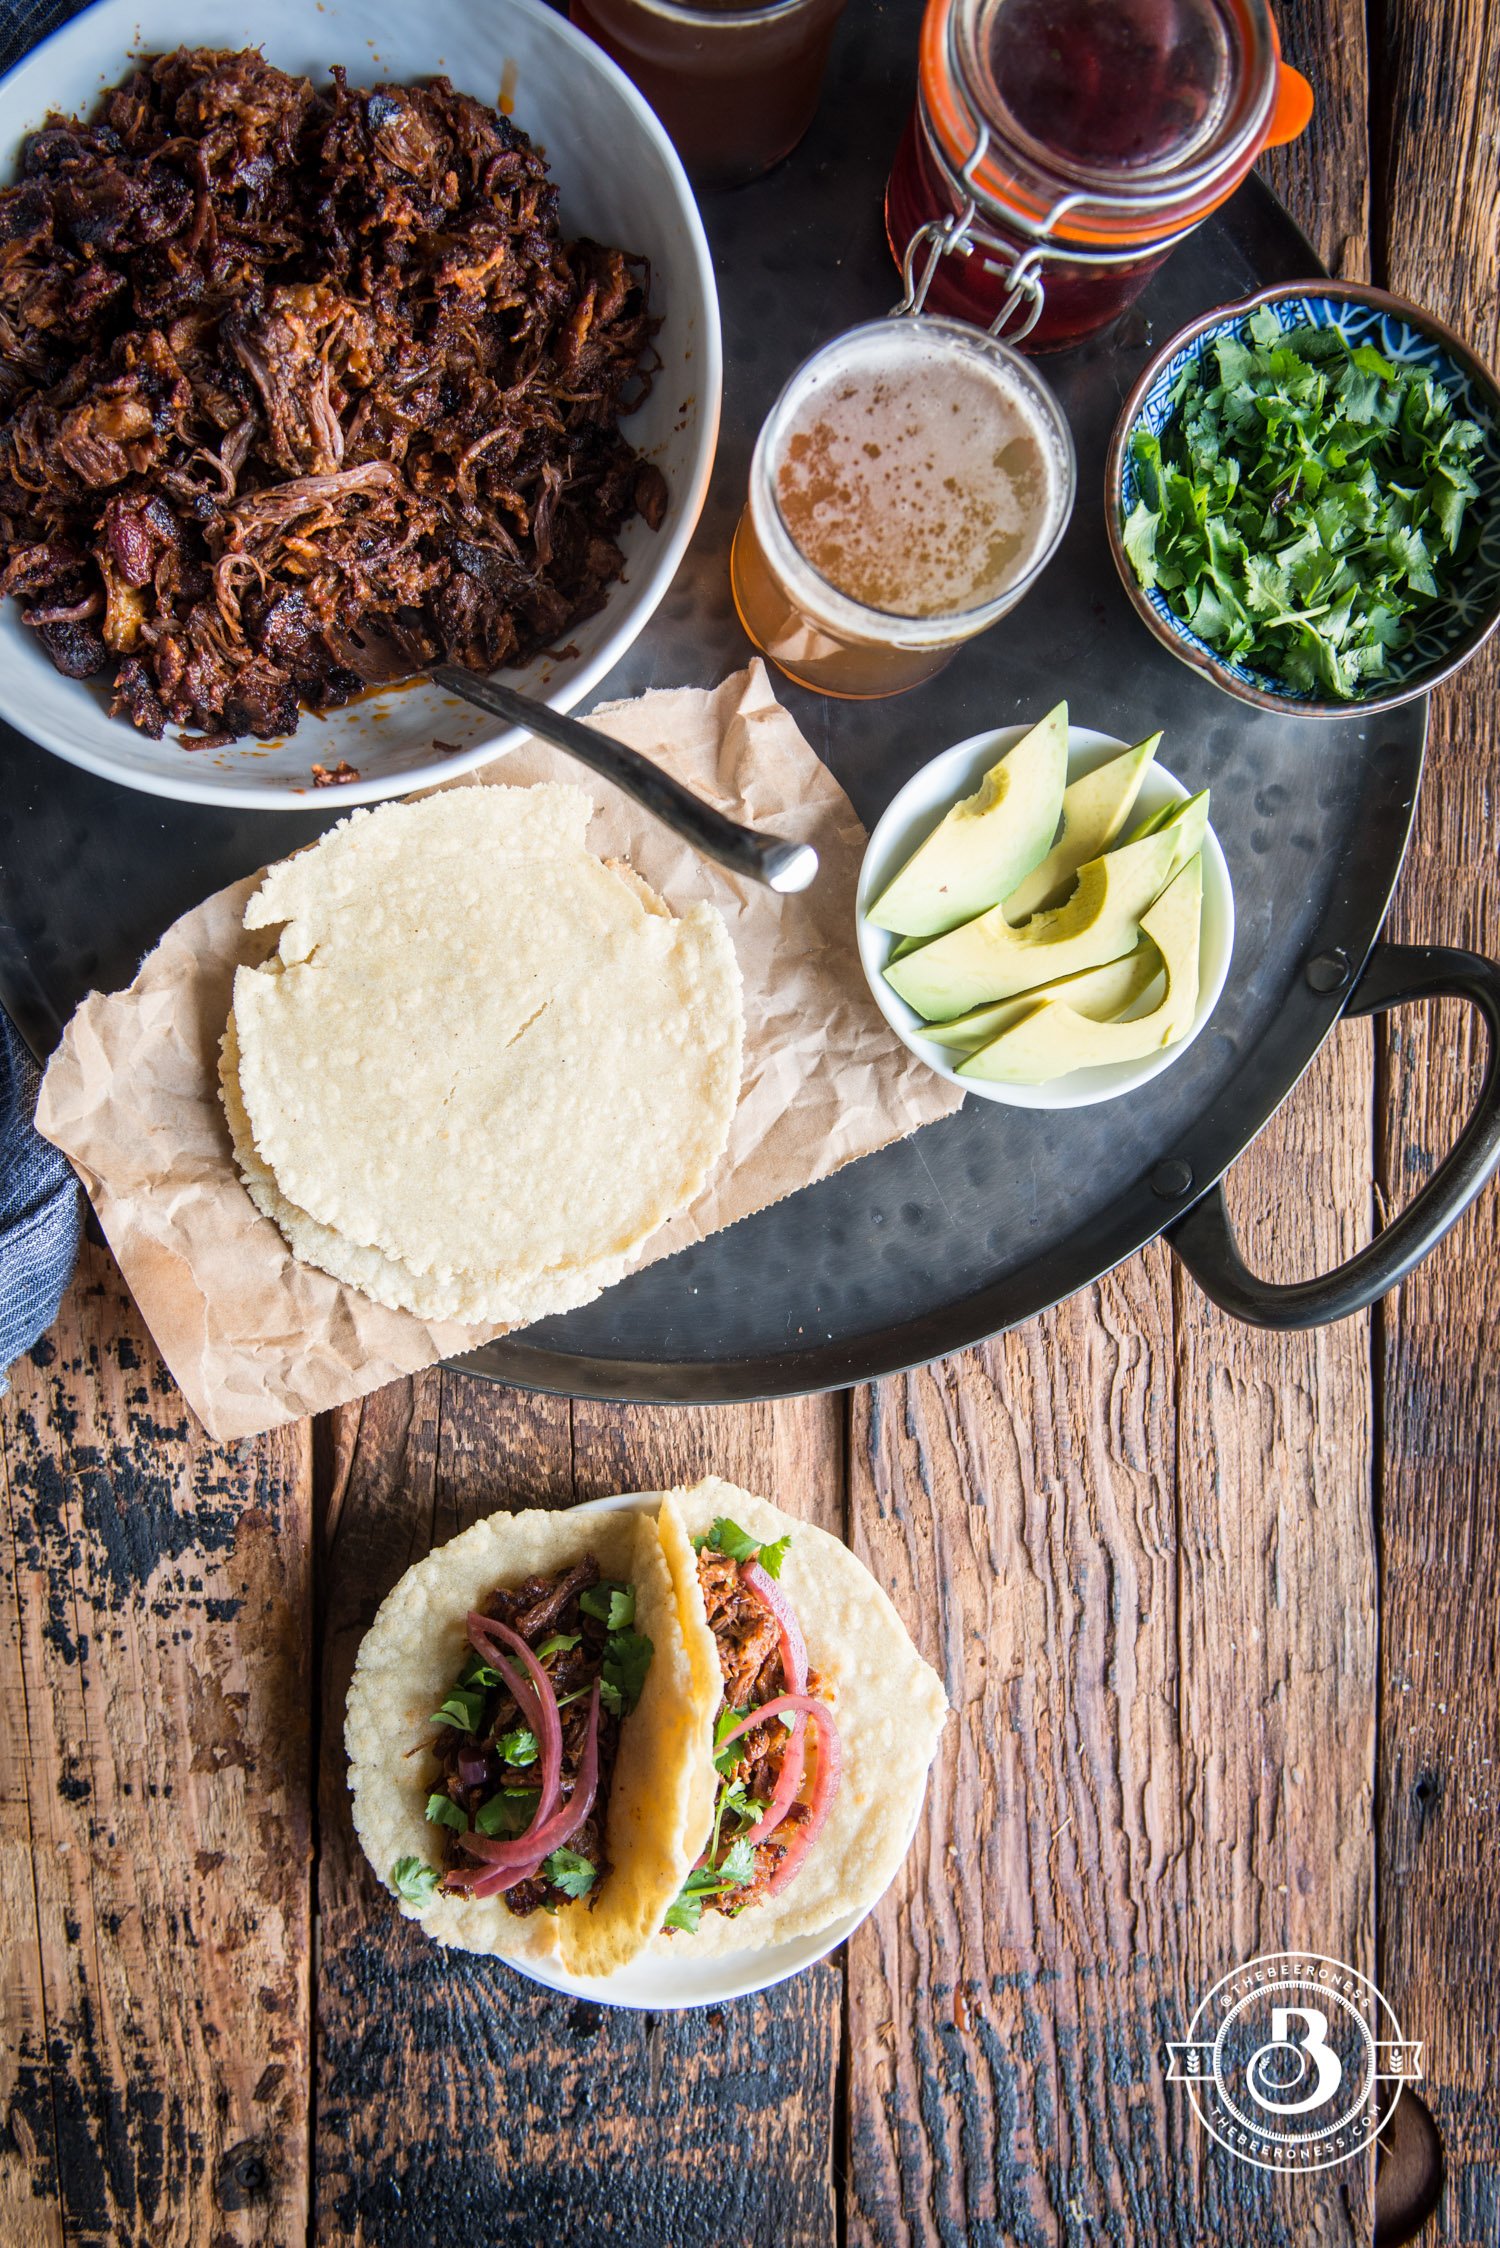
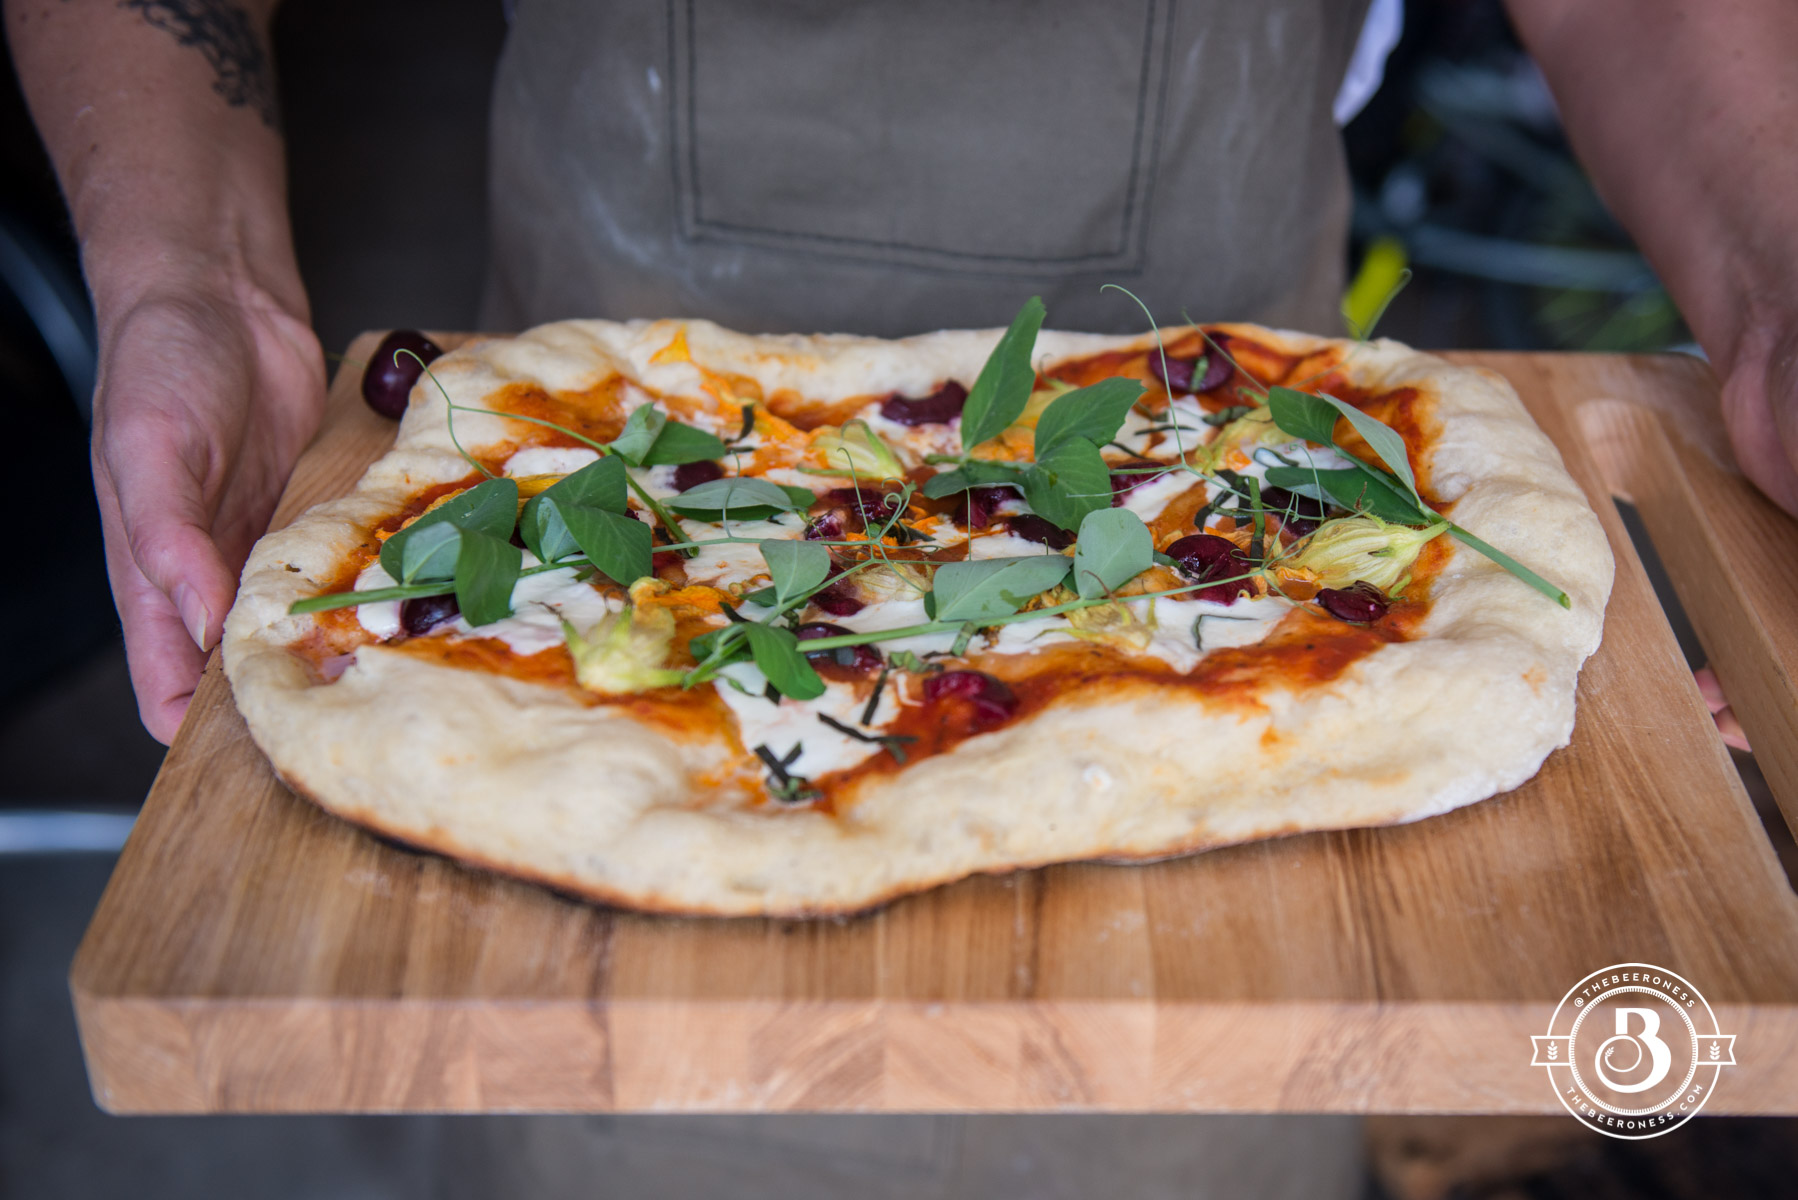
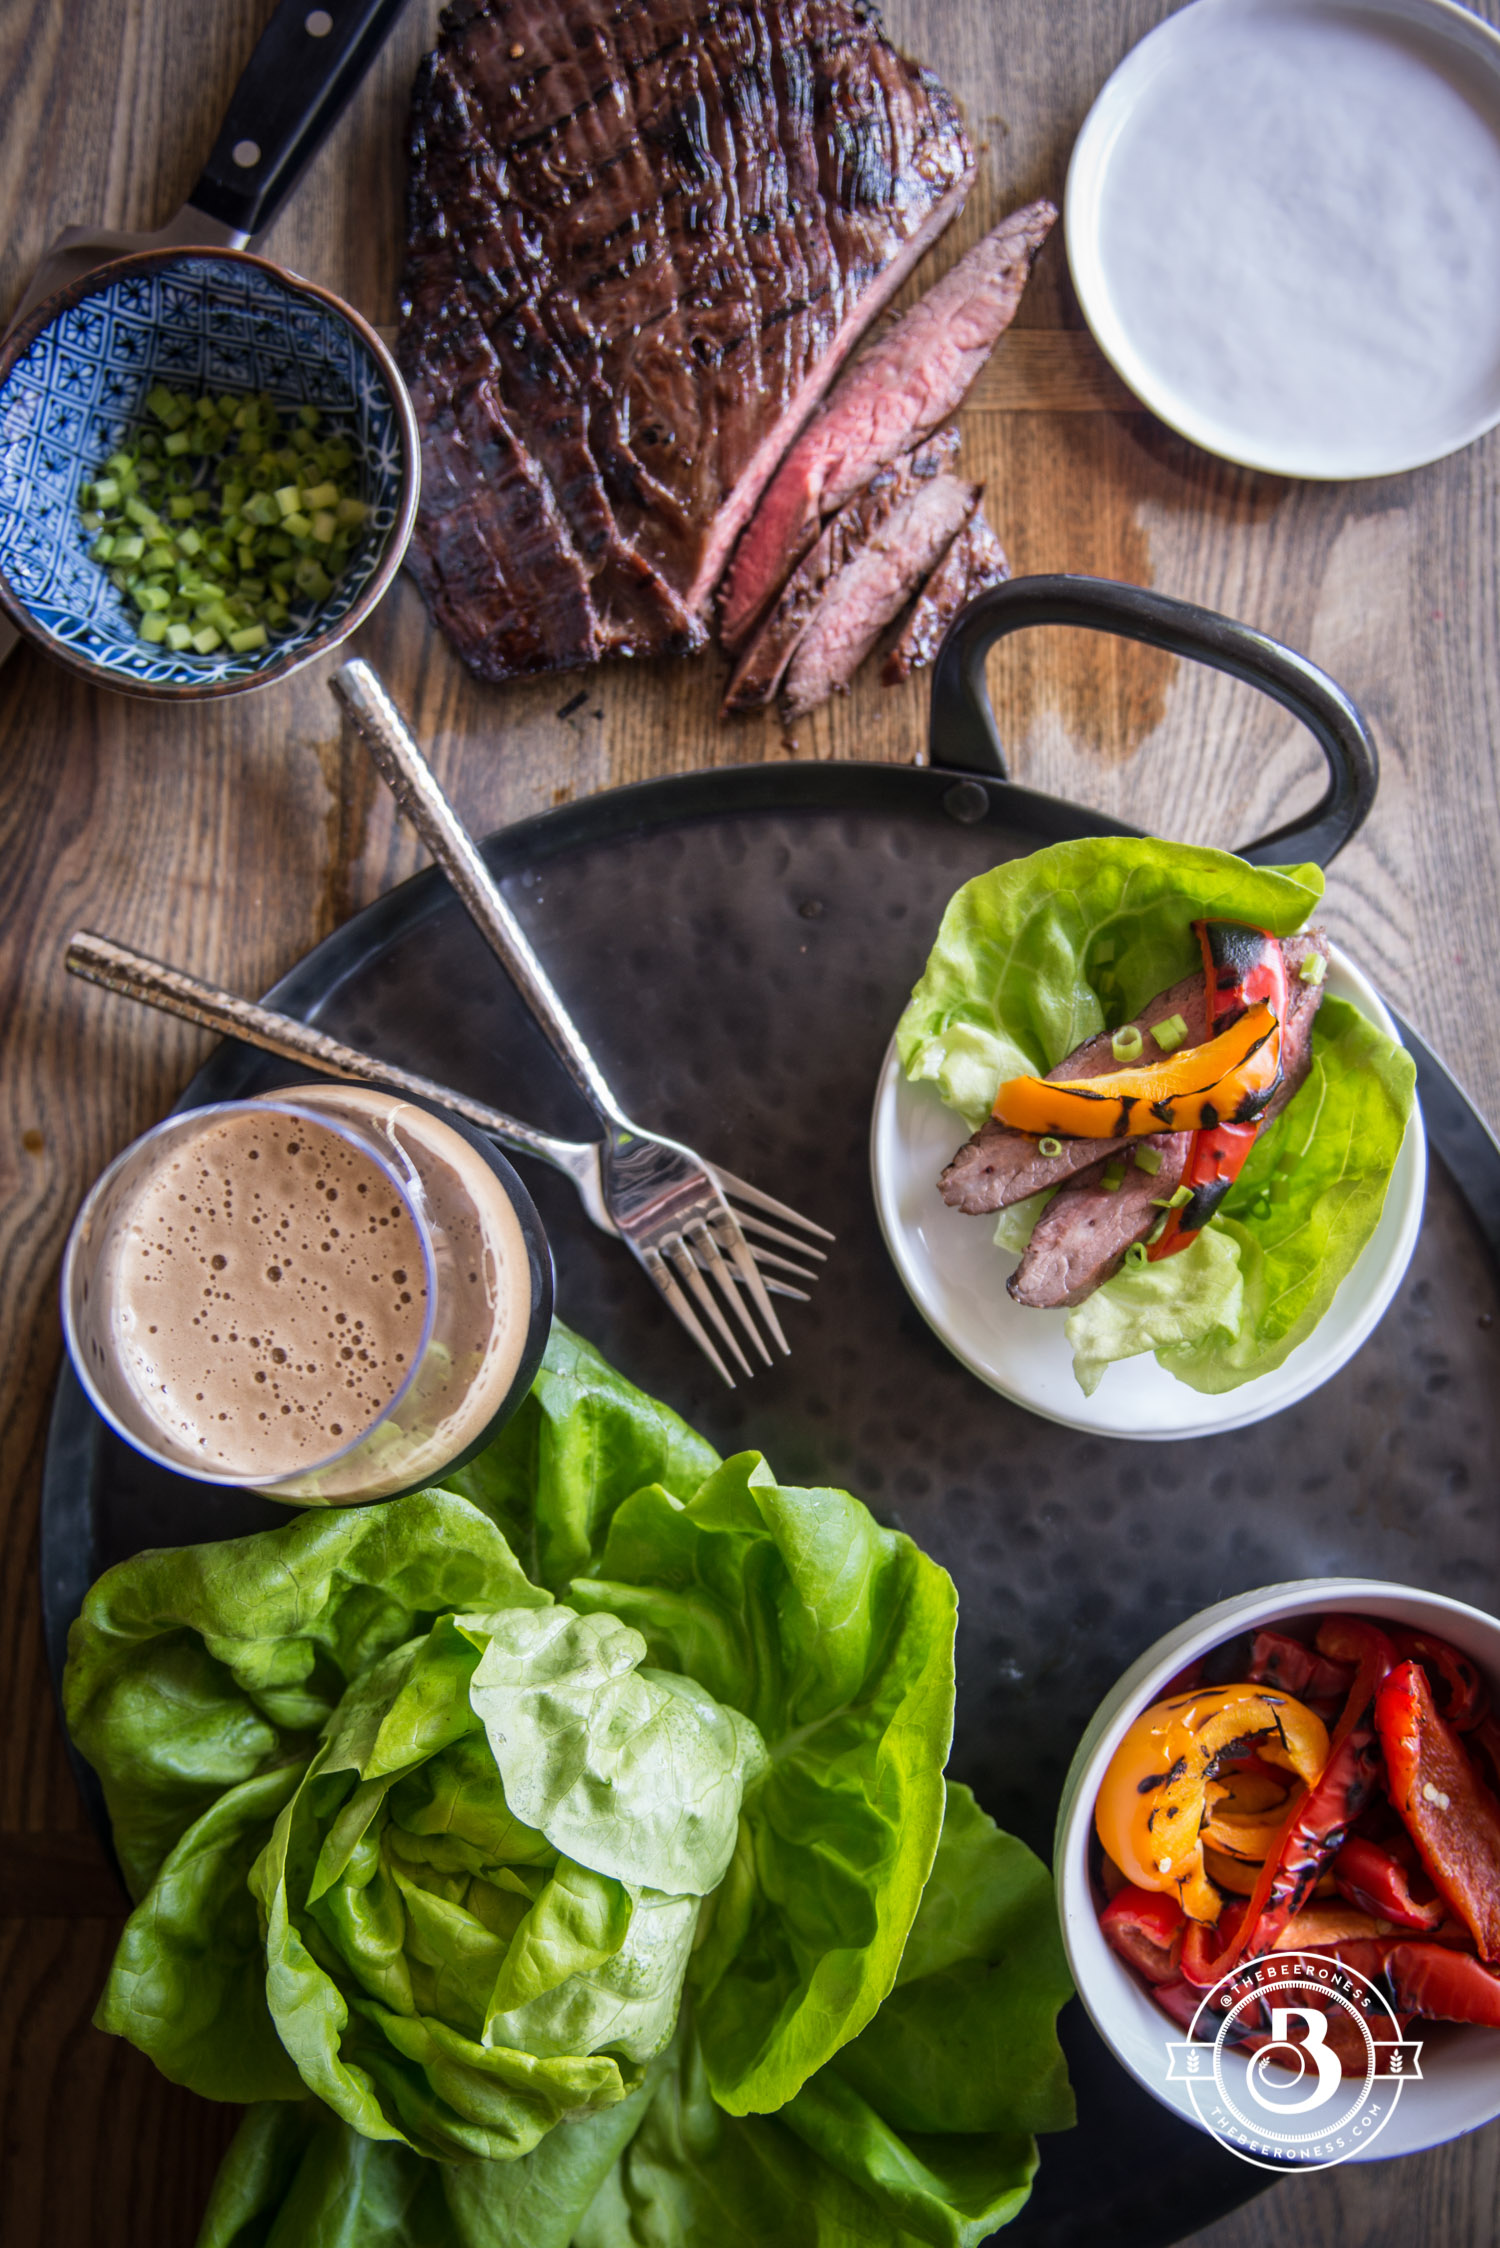
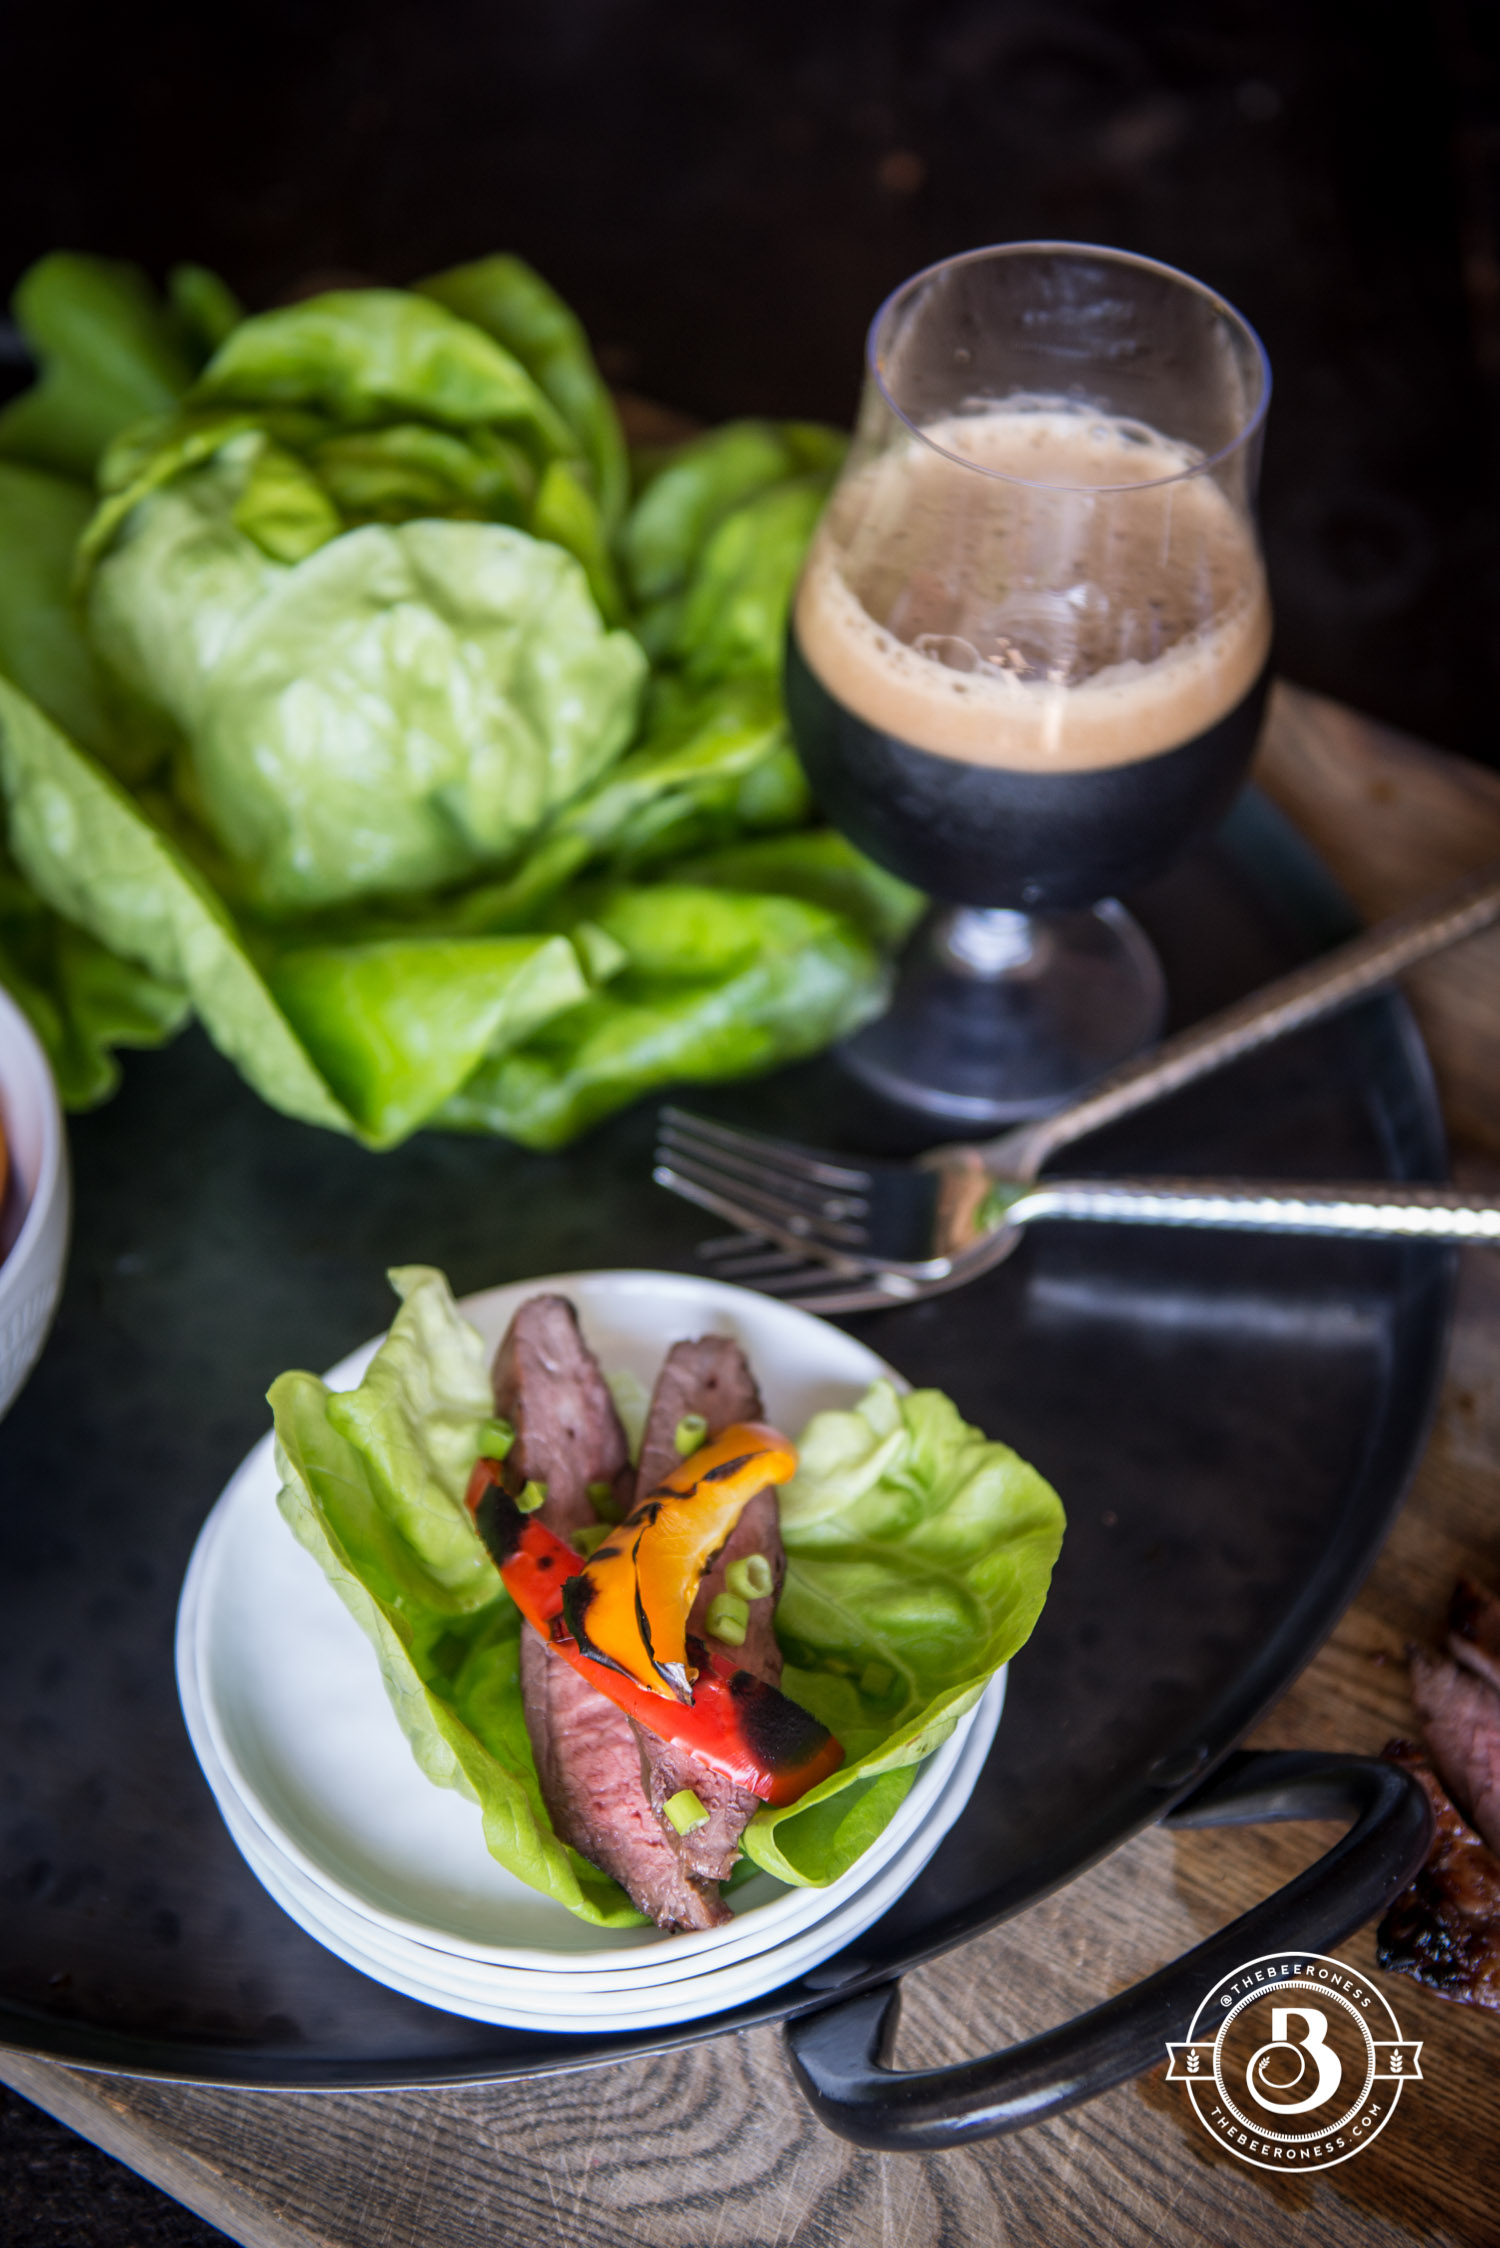
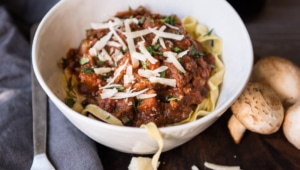
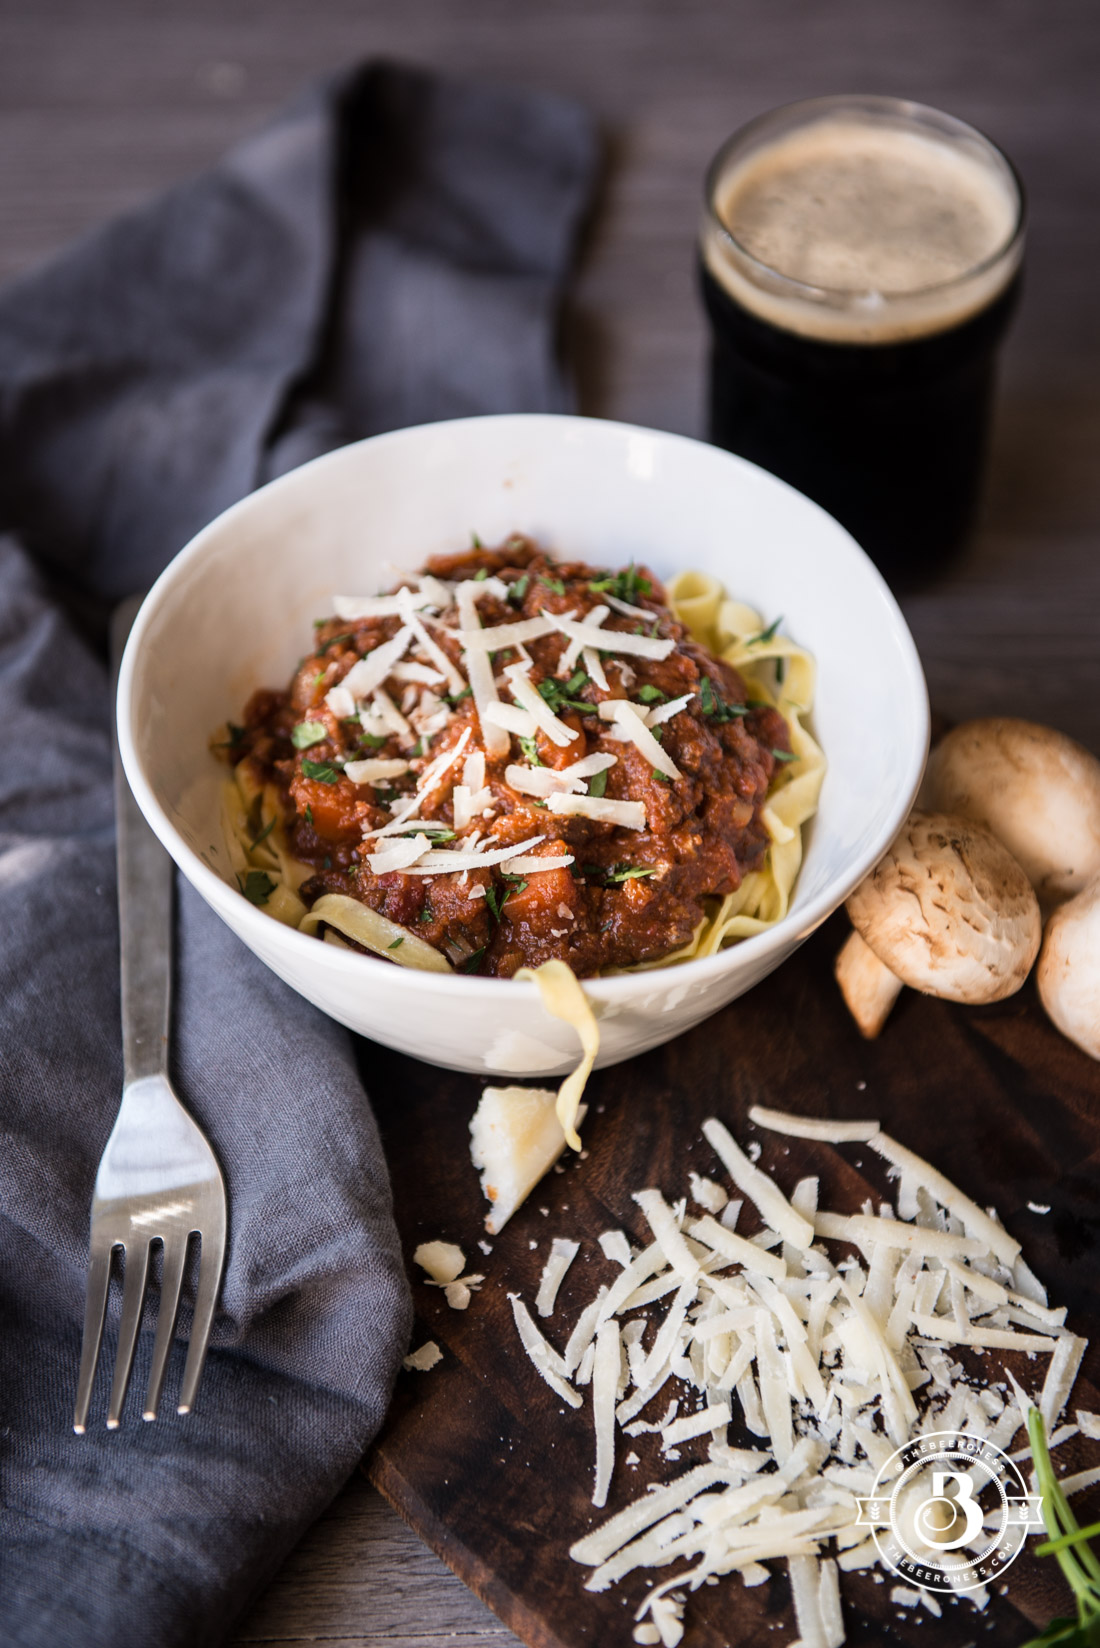
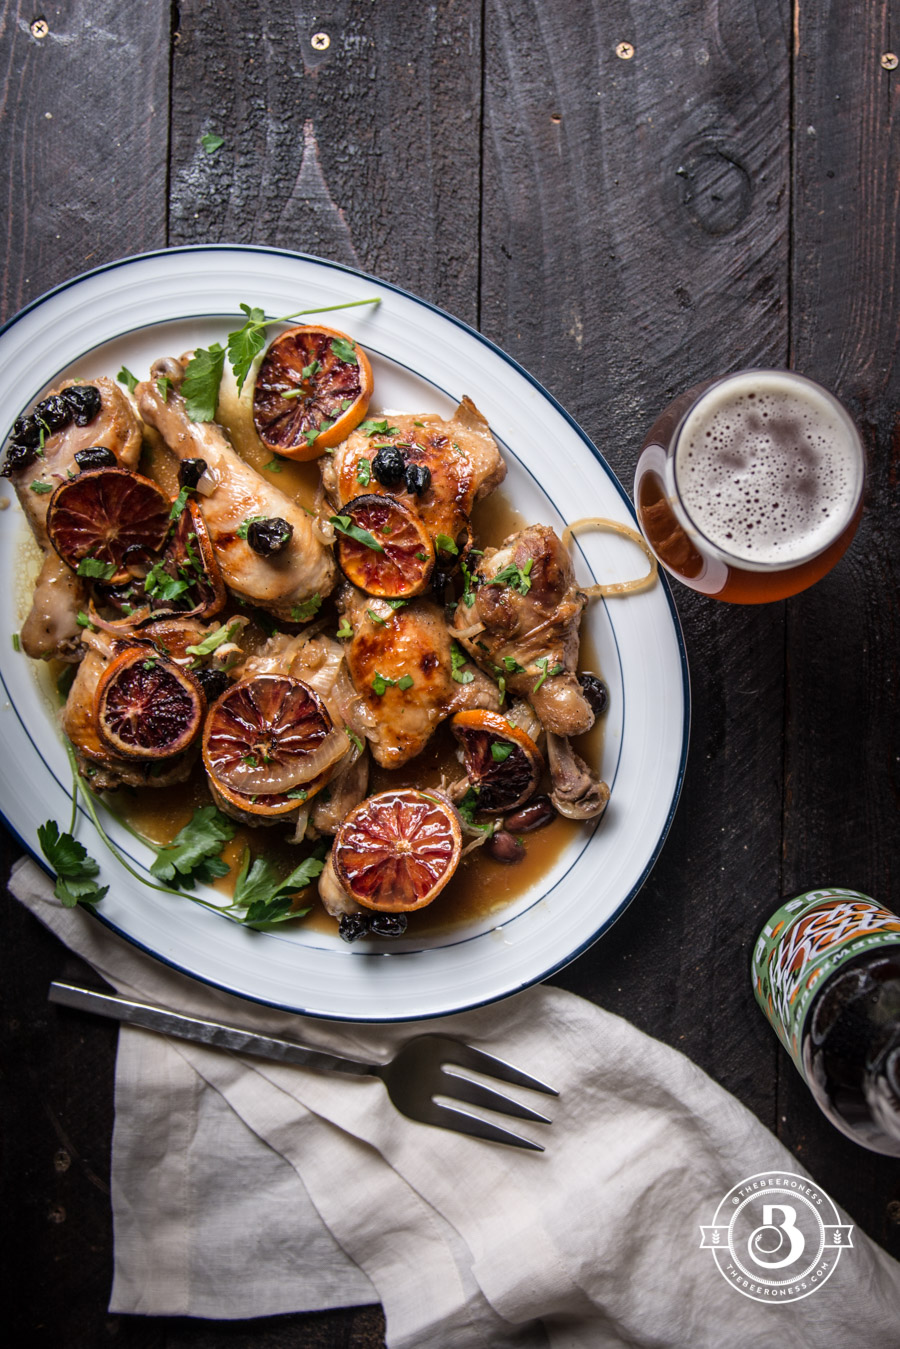 But if you did come over and I cooked dinner, I’d make you something like this. It’s easy, it’s so, so good, and it has some weird ingredients (brown sugar, cherries, and olives together? it works, I swear).