
Entree

Semi-Finalist Pulled Chicken Sliders with Hoisin Barbecue Sauce

I’ll end the suspense. I didn’t win. I had a great time and the competition was fierce. Well, they were actually really nice, lovely people, but people who had run themselves around this recipe circuit quite a bit. One woman, Roxanne, Has over 800 winning recipes to her name! Pascal owns a restaurant, Jennifer and Jamie have both made names for themselves winning dozens of recipe contests all over the country. Me? This was the 4th recipe contest I’ve ever entered. I was the rookie for sure. It was a fantastic experience for, I met some great people, had a wonderful trip to San Diego, I have such a better understating of what the judges are looking for and I am ready for the next contest, bring it on.

They even put me up in a fabulous hotel the night before the event. Here is Tater and I, enjoying the room:

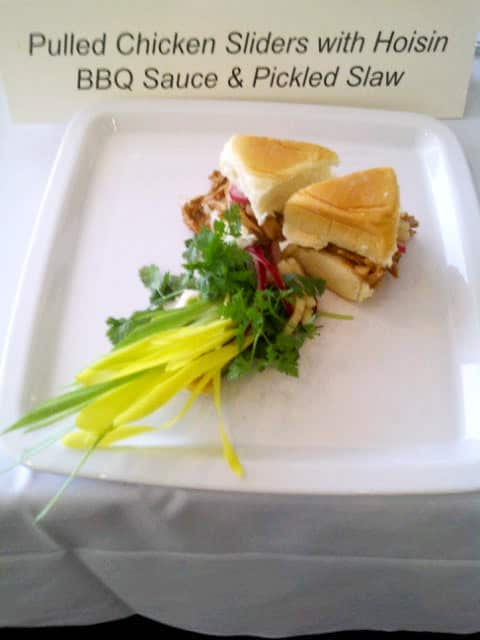
 For those of you want to try out my Semi Finalist Chicken Sliders, I am now able to post the recipe:

Pulled Chicken Sliders with Hoisin BBQ Sauce & Pickled Slaw


Serves 4 – 6


4 Foster Farms chicken breast halves, boneless and skinless

1 ½ cups red onion, peeled and sliced into thin rings

2 cups cucumber, peeled and cut into matchstick sized pieces

¼ tsp salt

1/3 cup lemon juice

3/4 cup apple cider vinegar, plus ¼ cup, divided

2 tbsp sugar

8 whole dried allspice berries

1 tsp whole cloves

½ tsp black peppercorns

2 tbsp extra-virgin olive oil

1 tsp fresh garlic, minced

1 cup hoisin sauce

1 tsp chili powder

¼ cup low sodium soy sauce

1 tsp sesame oil

20 mini Hawaiian bread rolls

In medium bowl, combine onion, cucumbers, salt and lemon juice.  Let stand and room temperature 30 minutes.

In small saucepan over medium high heat, combine ¾ cup apple cider vinegar, sugar, allspice, cloves and peppercorns.  Bring mixture to a boil and cook for 30 seconds.  Remove from heat and cool to room temperature.  Strain the liquid to remove the cloves and allspice then pour over the onions and cucumbers and refrigerate mixture for 30 minutes.

Meanwhile, place chicken in large pot or Dutch oven.  Fill with water to completely cover chicken.  Place on stove over medium-high heat and bring to a slow boil.  Cover and cook for 15 – 20 minutes or until chicken is completely cooked.

While chicken is cooking, prepare barbeque sauce by warming olive oil in large saucepan over medium-high heat.  Add garlic and sauté for 30 seconds; add remaining vinegar, hoisin sauce, chili powder and soy sauce.  Cook for 3 minutes or until thickened, remove from heat and add sesame oil and stir well to combine.

When chicken is cooked, remove from water and allow to cool.  Using two forks, shred chicken to as thin slices as possible, then add to hoisin barbeque sauce pan, tossing well to coat.

Split rolls in half across the middle to resemble small sandwich buns.  Fill each bun with about 2 tablespoons of the chicken and top with pickled slaw.

Cookin in the fancy kitchen:

*The slider pictures, as well as the above picture of me cooking were taken by a photographer for Foster Farms, Charlie. Here is his website for more information: http://www.charliegesellphotography.com/#

*The picture of Tater was taken by my husband.

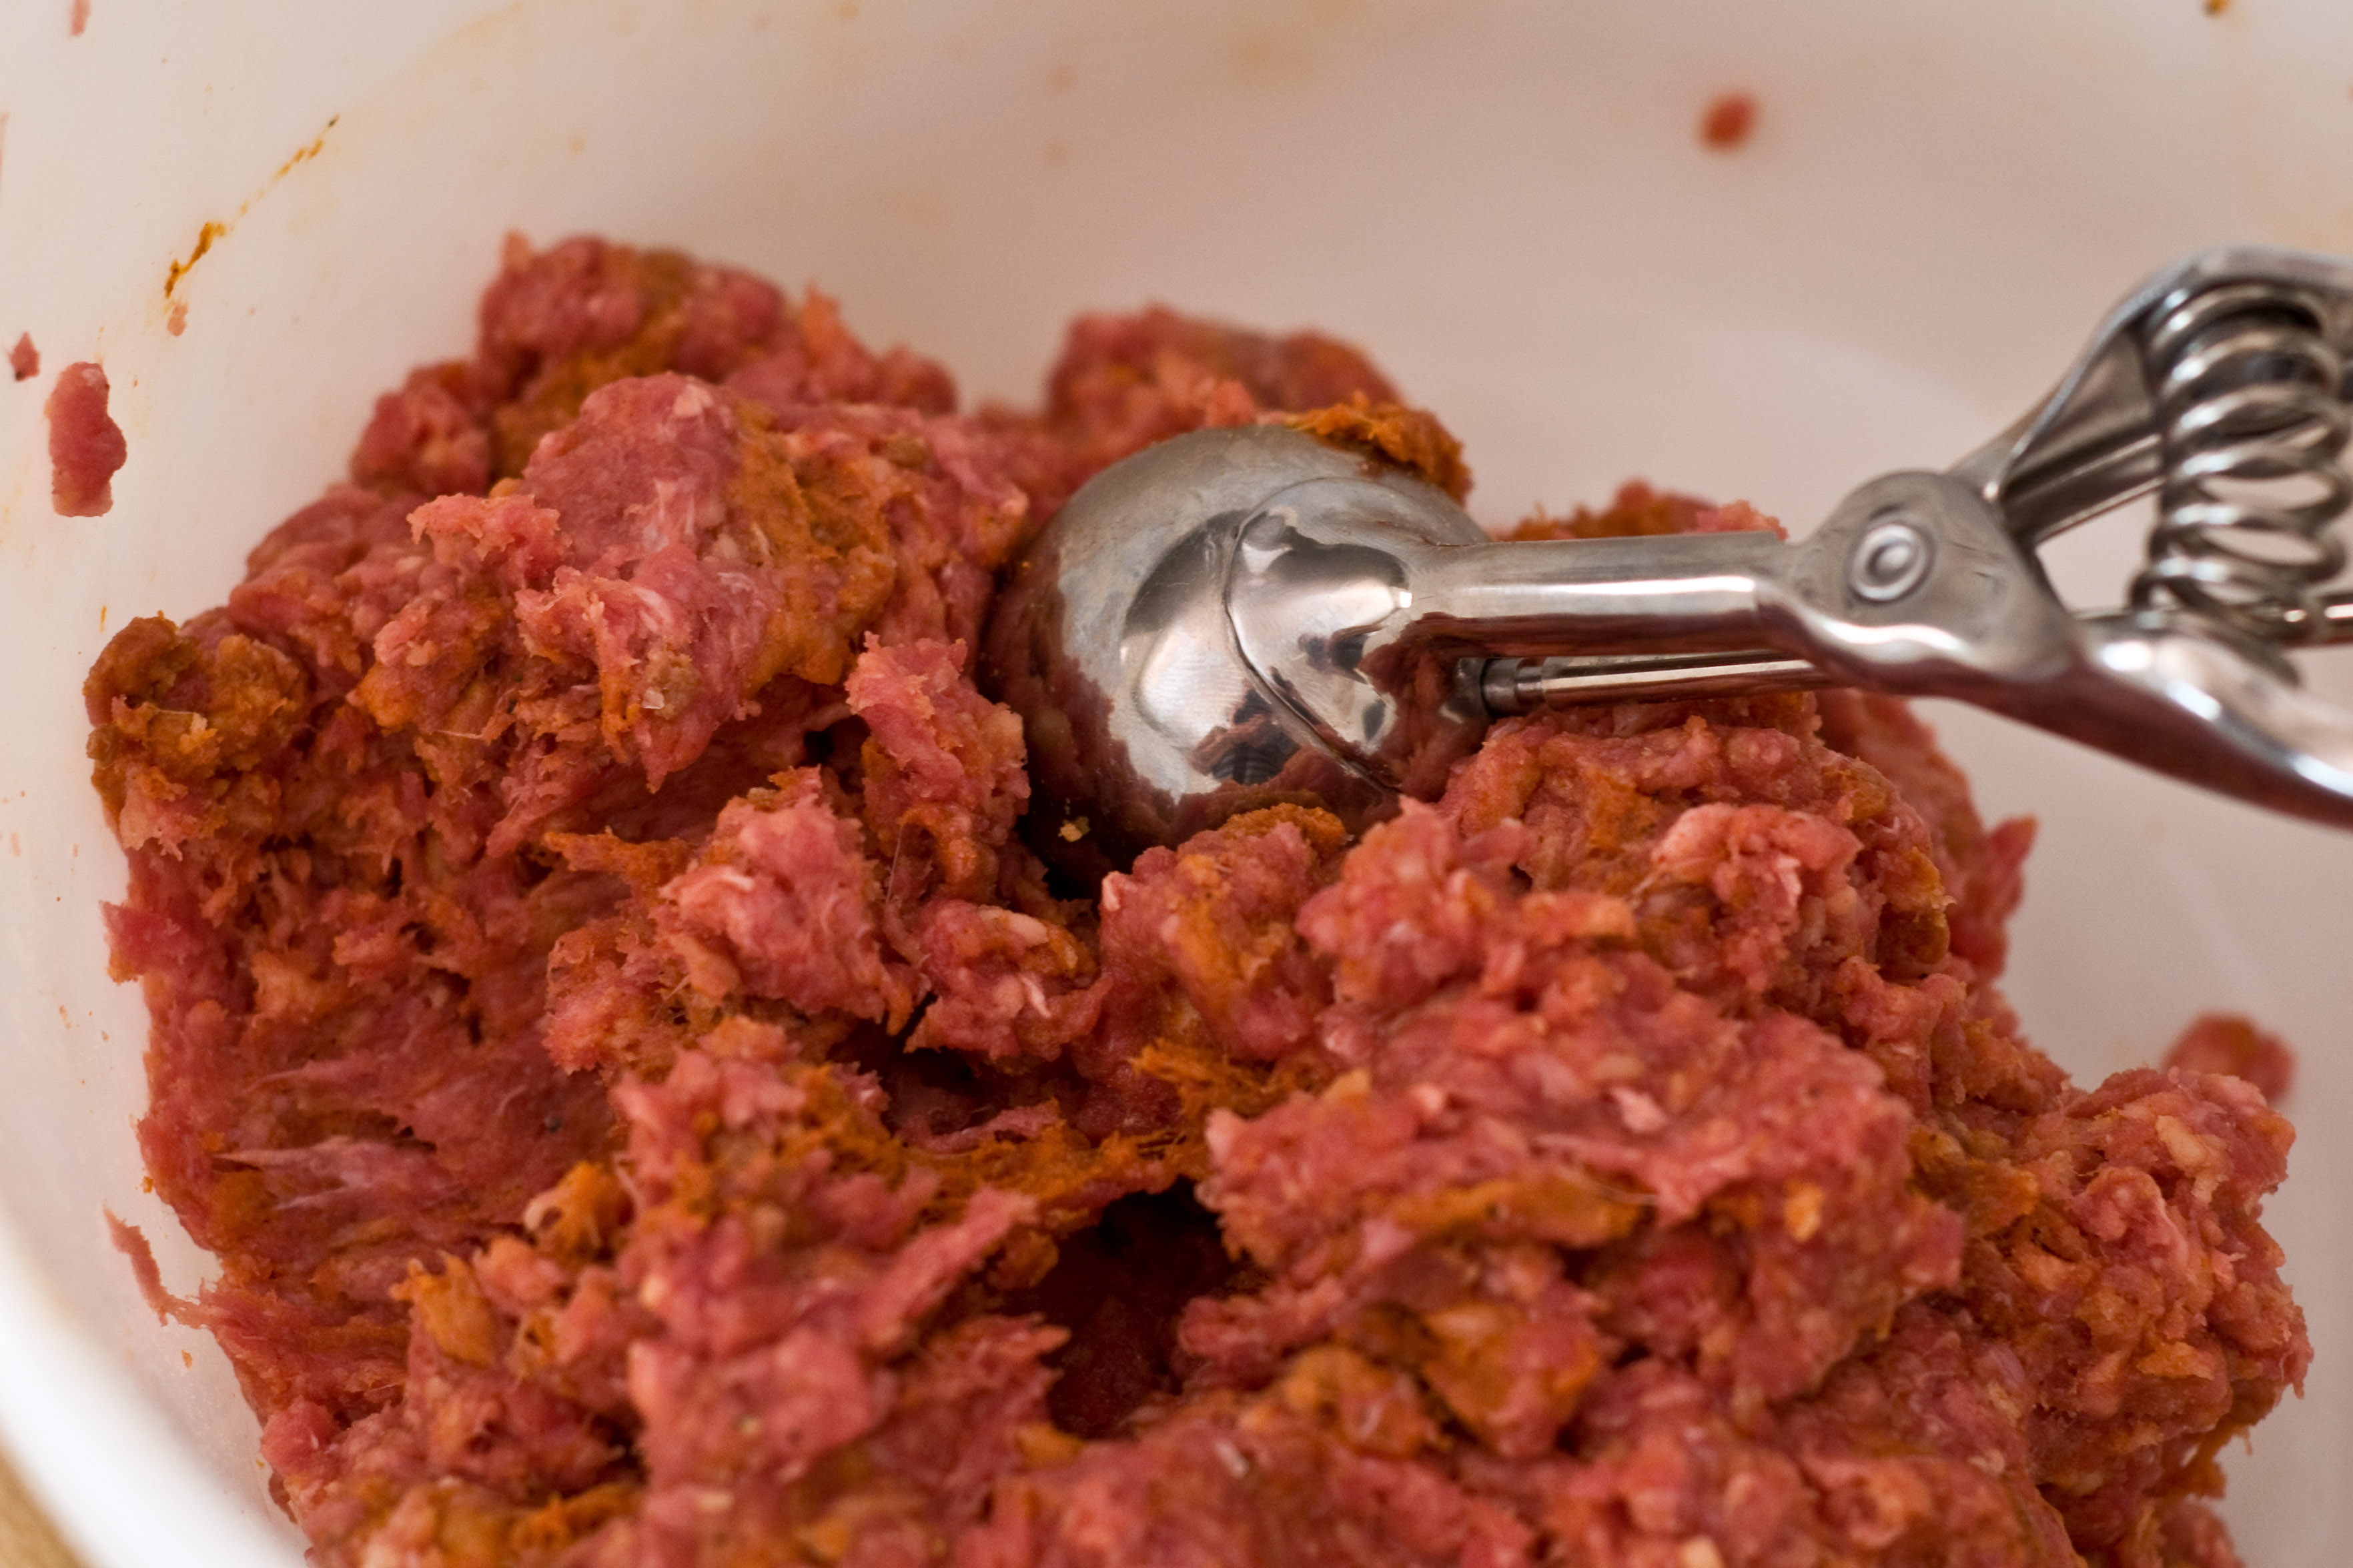
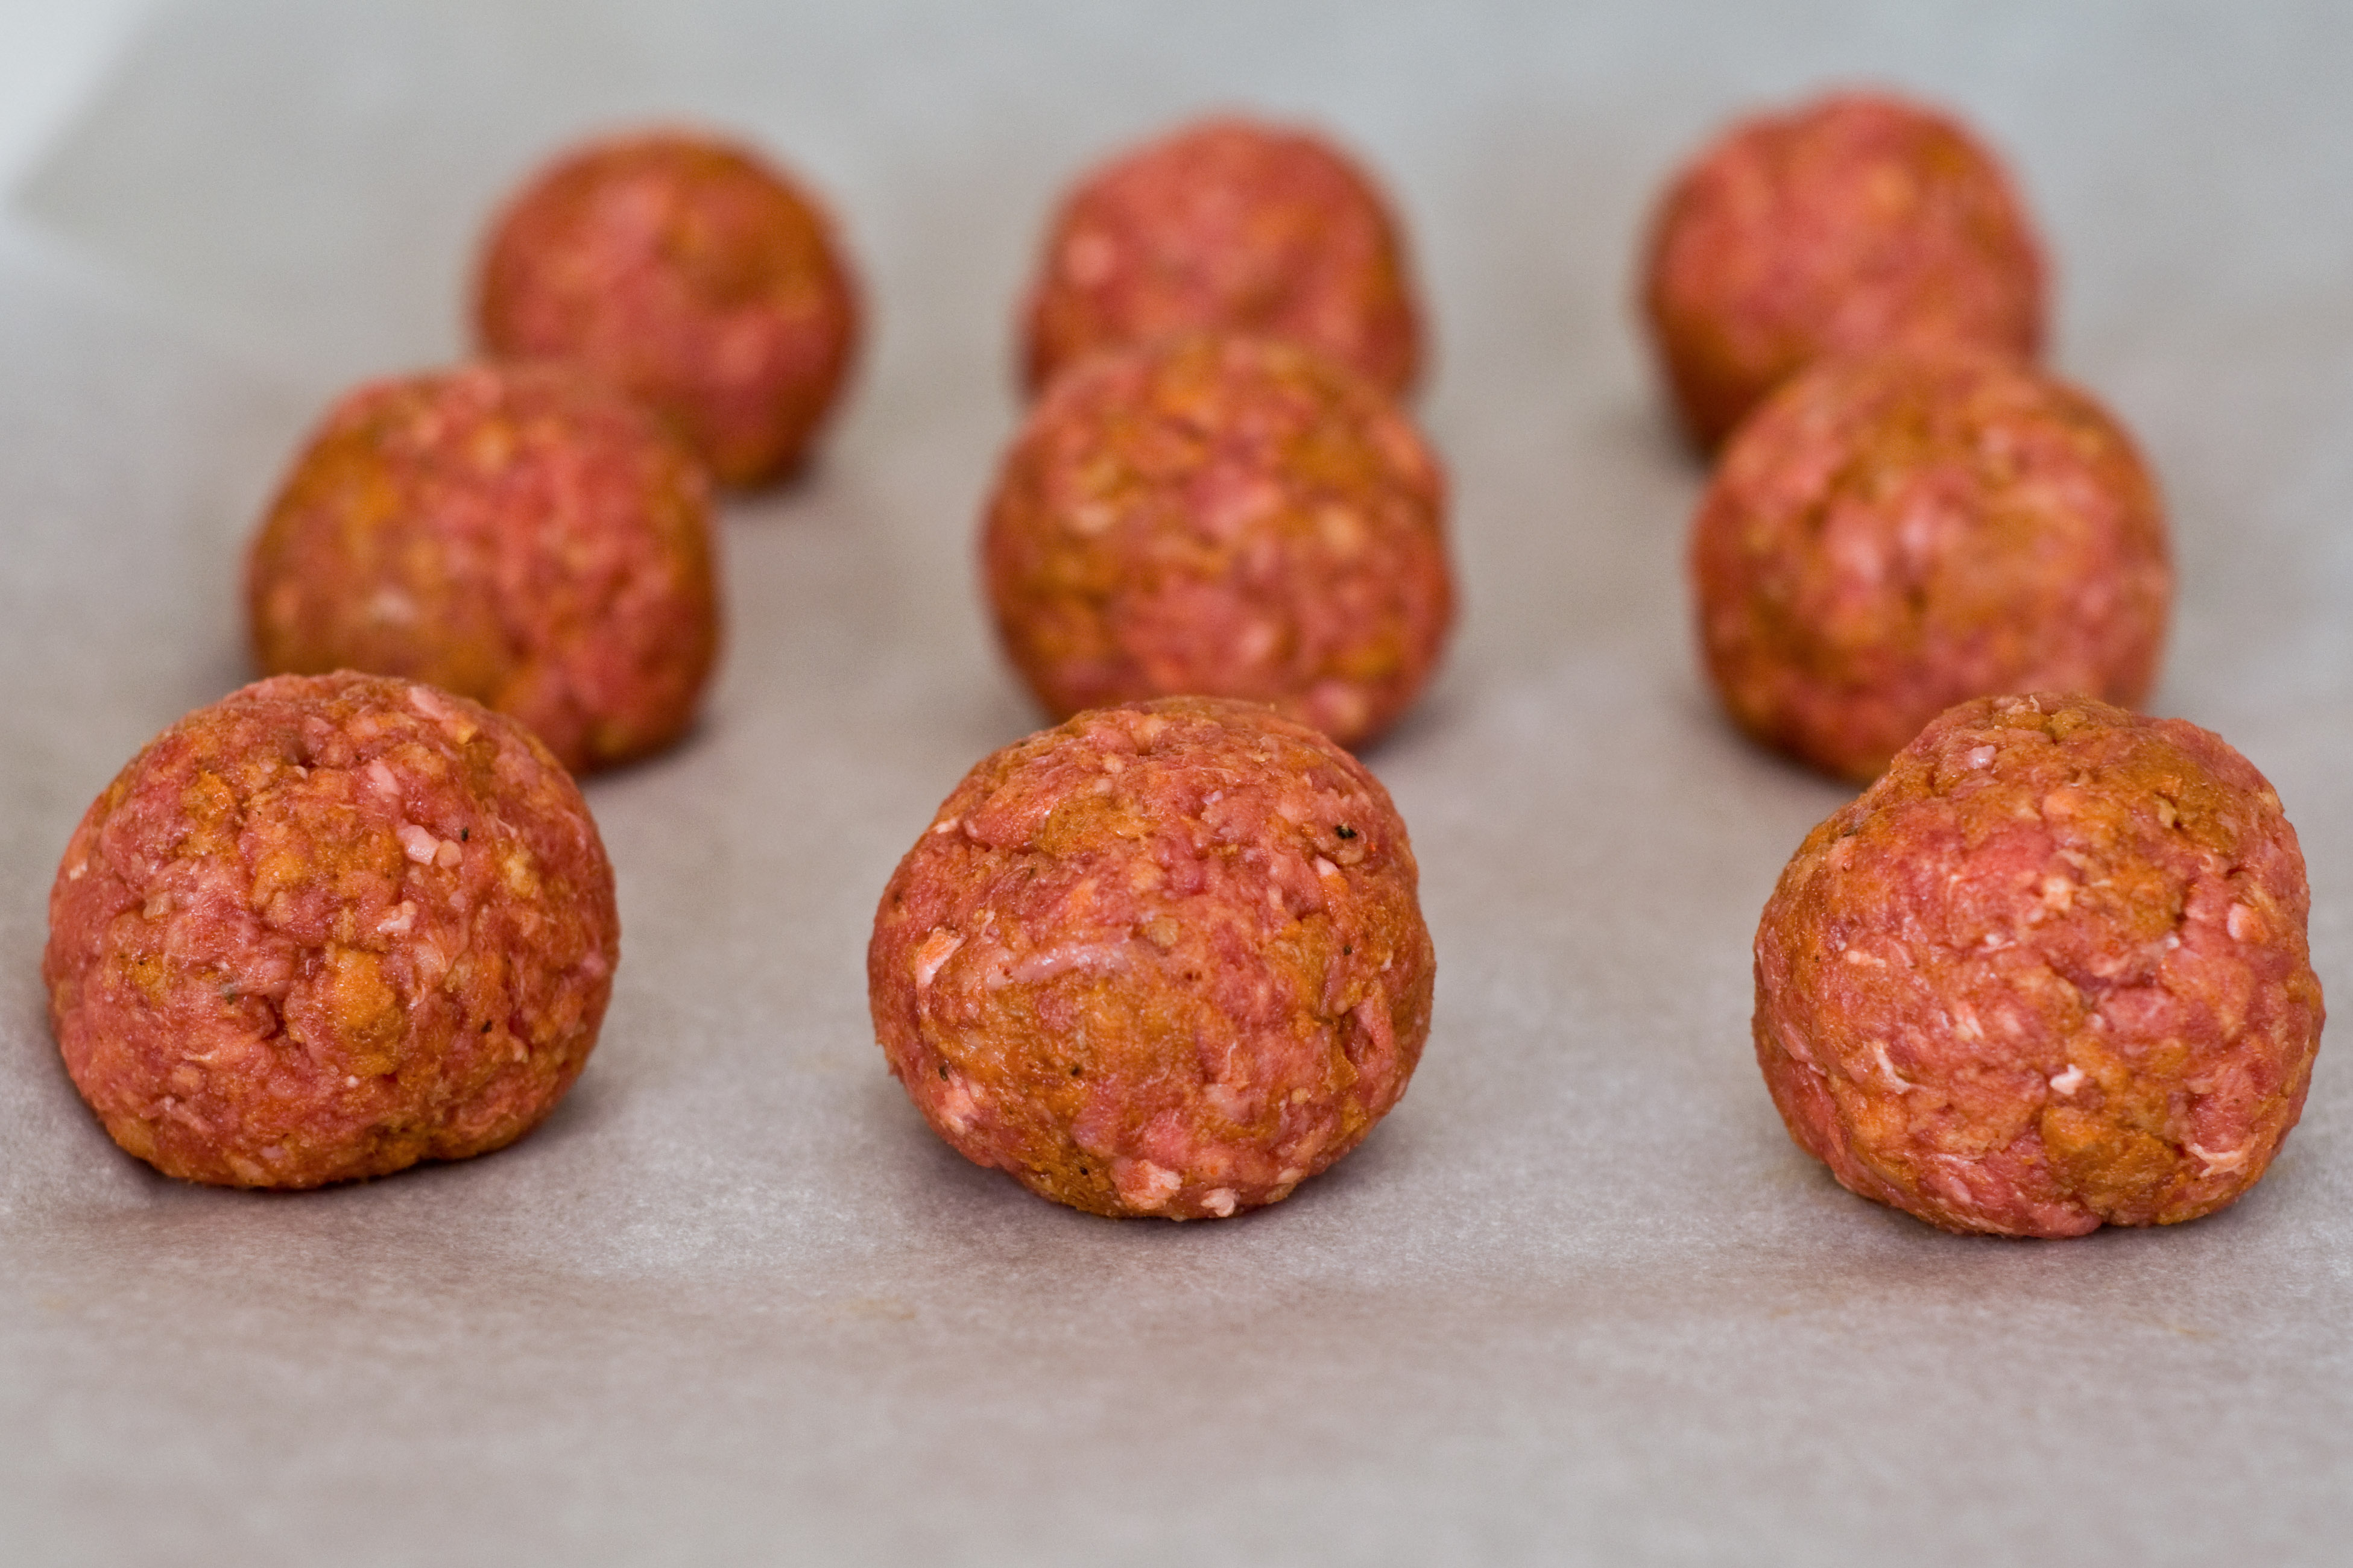
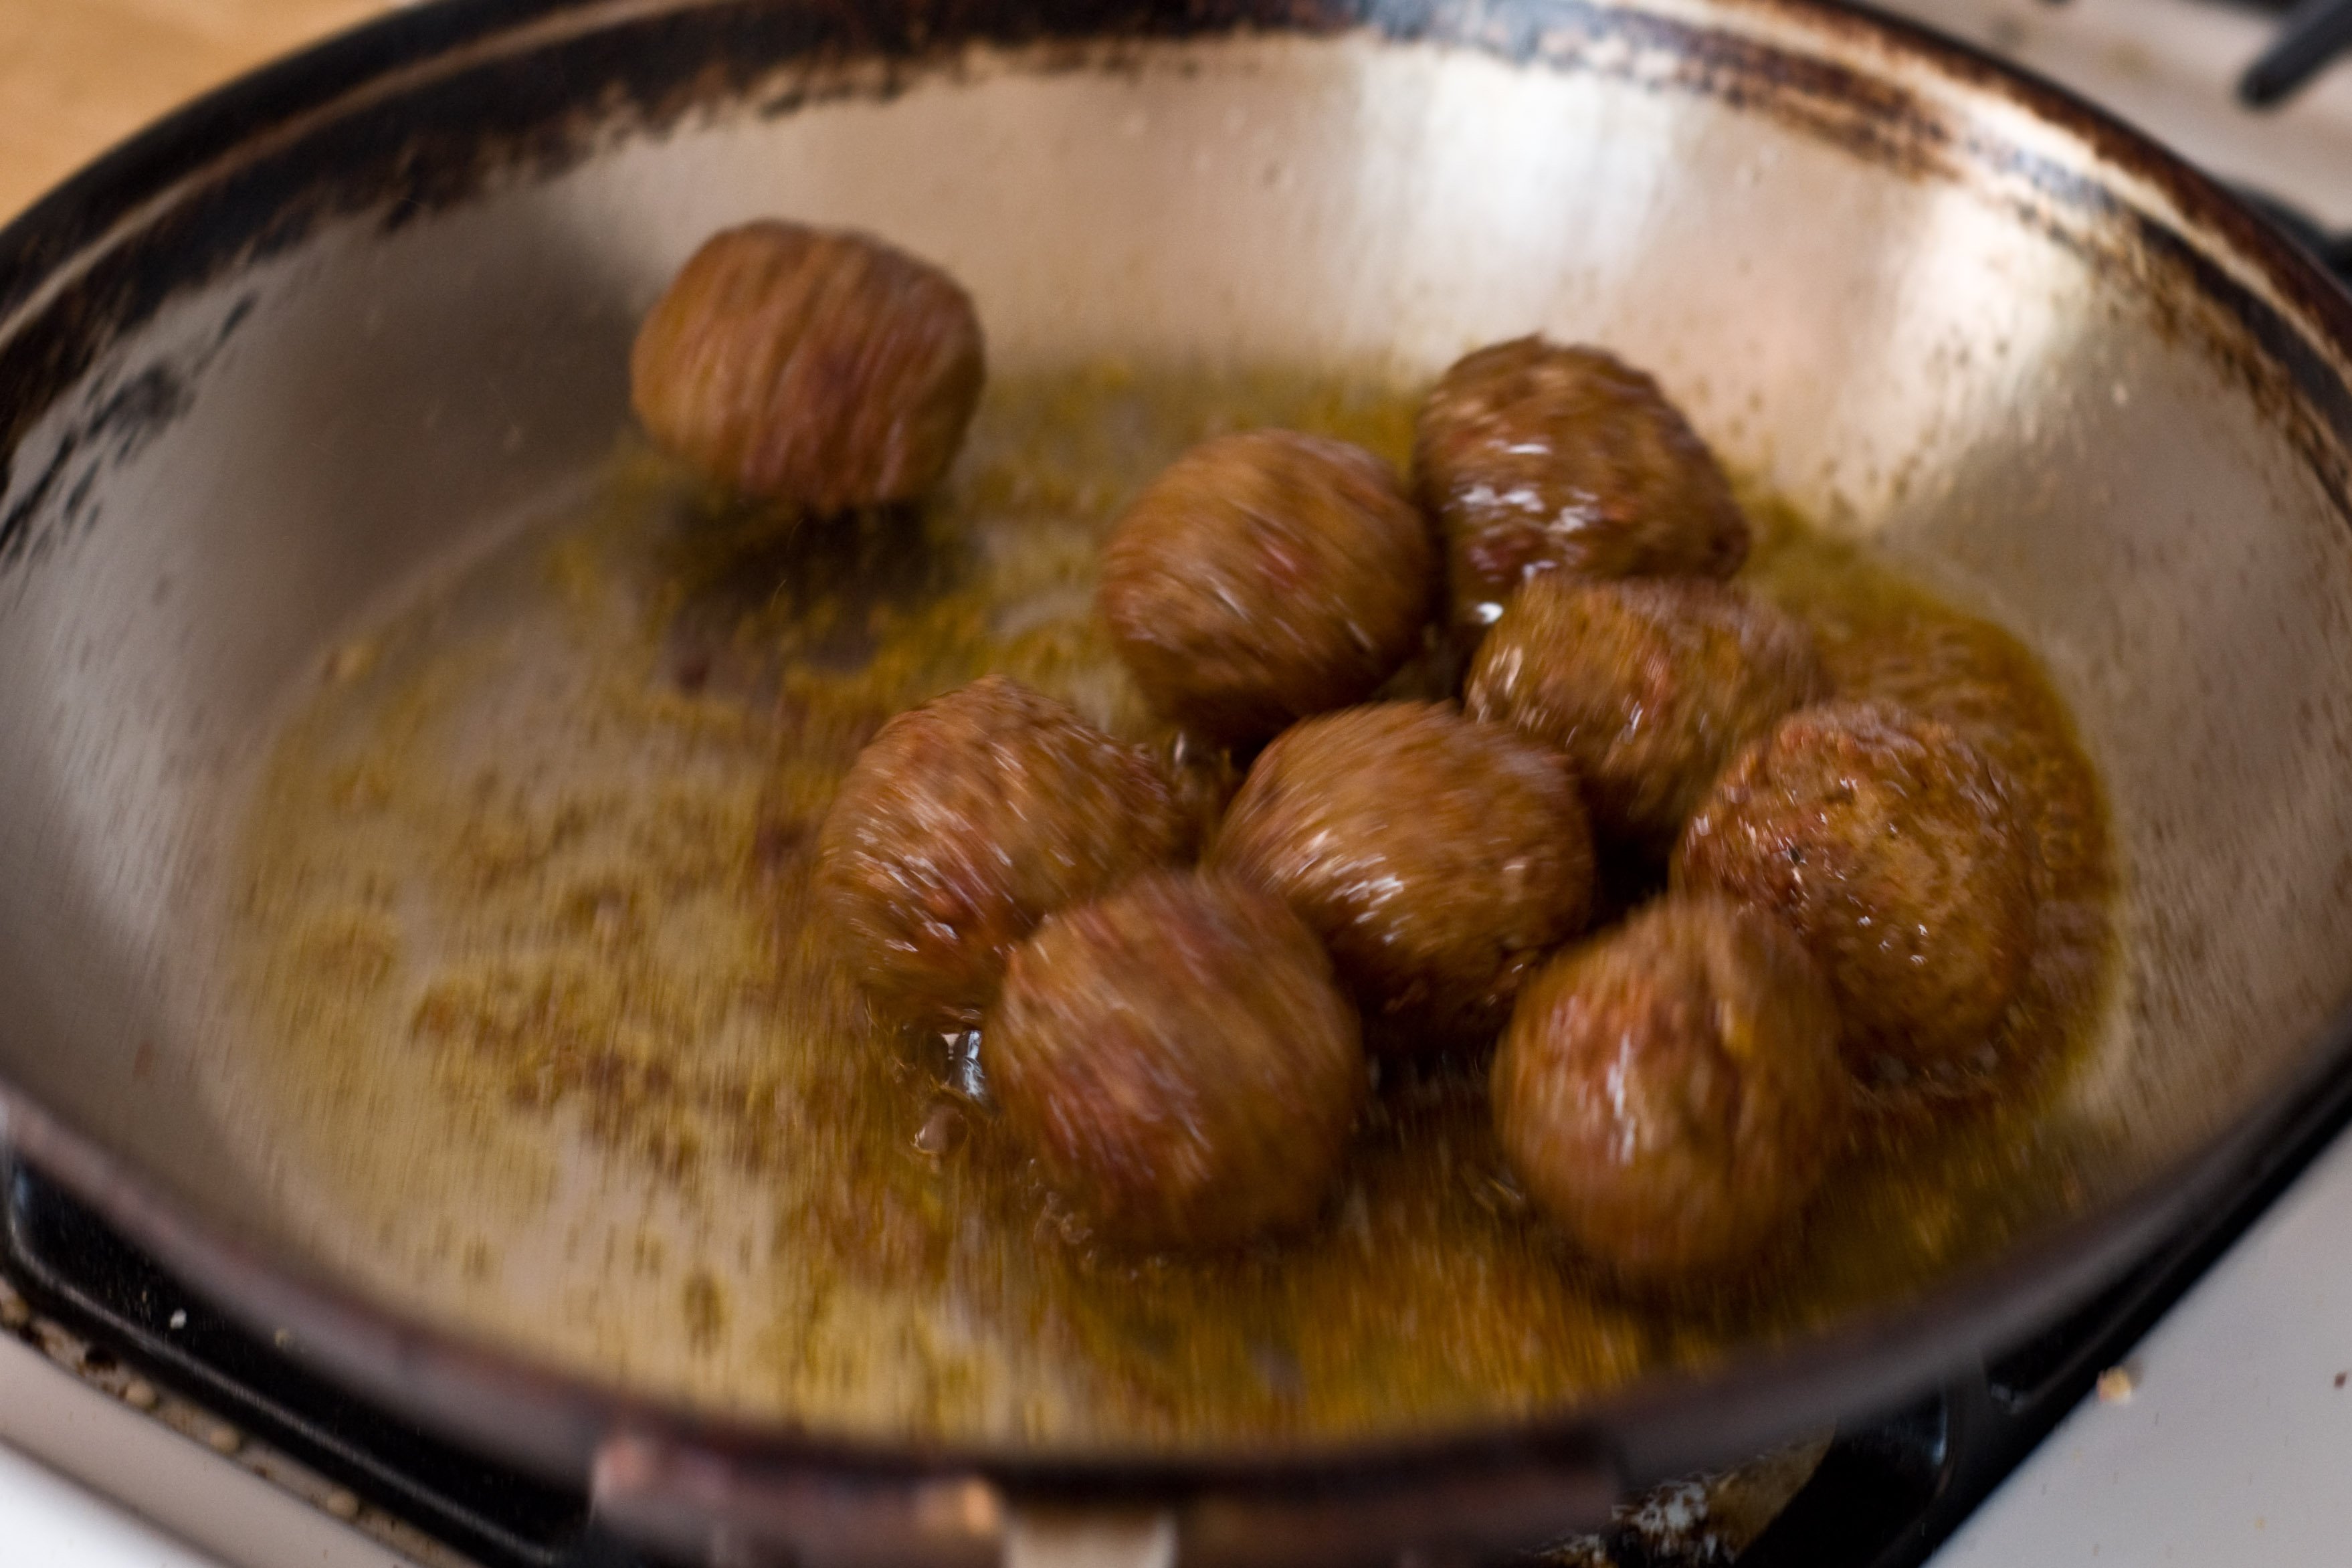
*I didn’t get a chance to take picture =(

How To: Make Round Meatballs

I got a request last week (yay!)  for a How To post about round meatballs. Most pan fried meatballs have the same issue, flat on three sides, in a pyramid shape, as opposed to the pretty round ones.

There are three methods to making meatballs round, but all start the same way.

Mix up your favorite meatball recipe making sure to use a binding agent (such as bread crumbs, oatmeal or even rice). For this post, I used the following:

2 cups lean ground beef

3/4 cup sweet italian sausage, casing removed

1 tsp salt

1/2 cup panko bread crumbs

1 tsp salt

1/2 tsp black pepper

1/2 tsp smoked paprika

1 egg

Mix it up really well (your hands work best for this) and use a small cookie scoop to grab a meatball sized portion.

This will allow you to have uniformly sized meatballs.

Roll them in your hands to make them as round as possible.

This is where the methods will deviate.

Method 1

The first method is to boil them. This will give you perfectly round meatballs without much fuss. Just drop your meatballs in a pot of boiling liquid. You can use the sauce you intent to serve them with, water or broth and cook until the internal temp reaches 165 or until, well, they are cooked when you break them open (about 6-10 minutes depending on size)

This method works great to give you really pretty and uniform meatballs, as well as infusing liquid to make them juicy. As for me, I like the caramelized char of a pan fried meatball, so I’d take a misshapen one over a boiled one any day, but if looks are what you are going for, boiling is a great options

Method 2

Baking. Some people swear by this method and love the way the meatballs taste after baking. Next to boiling, it is a really healthy method, saving the calories of the oil in pan frying. Heat your oven to 350, place your meatballs on a baking sheet covered with parchment paper and bake for about 15-18 minutes. I baked half of my meatballs, and pan fried the rest. The baked meatballs did still have a slight flat spot where they sat on the pan but the flavor was great. They did lack that browning on the outside that I love.

Method 3

Chill then pan fry. Place the meatballs on a plate and chill in the fridge for at least two hours. You want to be able to brown the outside before the inside knows whats going on and has a chance to sag. Heat 2 tbs of oil in a pan until it is very hot and almost smoking. Get your meatballs out of the fridge and place them in the hot pan. Grab the handle of the pan and pull it back and forth over the burner so that your meatballs never have a chance to settle.

Cook for about 5-8 minutes, make sure that the meatballs are cooked through before serving. I just broke one open but you can also break out the thermometer and make sure the temp is at least 165.

Here are the final product of Method 2 (baking) and Method 3 (chill then pan fry).

Method 2 is on the left and Method 3 is on the right.

Of all the methods, chilling and pan frying was my favorite. They aren’t as perfectly formed as boiled ones,but that browning taste that I love came through beautifully. Another factor to keep in mind is that lean meat cooks better, while fattier meat may leave empty pockets where the fat has melted, making your meatballs misshapen.

If you have a request for How To Mondays, you can email it to me at [email protected] or leave it on my Facebook wall at

http://www.facebook.com/pages/Domestic-Fits/230654216968376

How To: Roast a Chicken

I can’t stop thinking about chicken. Not any chicken,the Foster Farms Chicken Cooking Contest. I am Semi-Finalist for California. Of course I’m excited, giddy even. But I am also so dang nervous. In only 11 days (11DAYS!!) I go to San Diego to compete. Last weekend the Washington Semi-Finalists competed and the winners were:

Tina Hoban, Bellingham – Chicken with Cherry Tapenade over Creamy Pancetta Polenta

and

Rebecca Spence, Vancouver – Crispy Orange Chicken with Fennel, Avocado and Orange Salad

Seriously, how yum do those sound? But more immediate is that fact that in order to even GET to compete with those two in Napa in September, I have to beat out the following recipes:

Jennifer Daskevich, Los Angeles – Chicken and Quinoa with Figs, Spinach and Mint

Jamie Brown-Miller, Napa – Olive & Lemon Poached Tuscan Chicken on Grilled Pitas with Spinach Spread

Roxanne Chan, Albany – Asian Braised Chicken Thighs with Soybean Salad

Pascal Vignau, Encinitas – Pretzel Chicken Tenders

*Nervous*

But after reading those, I’m also hungry. I hope that I at least get offered a taste, because I’ll take it. Or maybe two.

Most people don’t do much bird roastin' outside of late November. Probably because an entire day of roasting a turkey, and an entire night of dishes is something most people don’t welcome more than once a year, although neither of these take place when roasting a little chicken for only a few people, I think the scars of Thanksgiving clean up run deep. Let me give you my arguments for why you should roast a chicken at least once a month:

1. It’s cheap. Really. The last time I bought a roasting chicken I got it in a Los Angeles grocery store for $5, and it feed 4 people.

2. It’s easy, the step by step will show you that.

3. Homemade broth is delicious. Just take whatever is left of that chicken, put it in a big stock pot, cover it with water and allow to simmer for 2-4 hours. Strain out all the solid parts (use a colander lined with cheese cloth) and freeze one cup at a time in Tupperware (I’ve even been known to use zip lock bags) and defrost as needed. That alone will get you $5 worth of chicken broth.

4. It’s yummy AND healthy. Yummy, healthy and cheap is the trifecta when it comes to cooking for your family.

How to Roast a Chicken

5lb Chicken

1 tbs, plus 1 tsp salt

1 head of garlic

1 large carrot

1/2 stick of butter, softened

1 tsp fresh rosemary, chopped

1 tsp fresh sage, chopped

1 tsp black pepper

2 cups of chicken broth

2 cups of apple juice

Preheat the oven to 425

Step one:

Defrost the chicken. It’s safest to do this by leaving it in the fridge for a few days. Although I don’t recommend it (unsafe food handling an all) some people run frozen meat under warm water.

Step two:

Take the gross insides out. You can save them to make broth, if you want, or just toss them to the dog (my dog, who eats raw garlic and sticks, politely declined).

Step three:

Rinse it off and pat it dry. Seems weird, since you want a juicy bird, but this is how to get crispy skin.

Step four:

Salt the inside of the bird with about 1 tbs of salt. Then cut the top of the garlic (exposing the cloves, just cut it’s head off), chop the carrot, and put both the garlic (sans top) and the carrot inside the bird.

Step five:

In a food processor, add the butter, sage, 1 tsp salt, and the pepper. Blend it up.

Step Six:

Loosen the skin on the breast of the chicken by sliding your hands between the skin and the meat.

Then cover it with the herb butter you just made. Smear it all over the chicken, with your hands, and get it under the skin as well.

Tie the chicken feet together so it keeps it’s shape

Step seven:

Place it in a roasting pan, in the roasting rack. Under the chicken, pour 1 cup of broth and 1 cup of apple juice, but make sure the liquid doesn’t touch the chicken. Replenish the liquid when the pan starts to dry out. As the liquid evaporates, it steams the chicken, adding moisture and flavor.

Step eight:

Cook in the 425 degree oven for about 1 1/2 hours, or until the internal temp is about 165 (it will continue to cook another 5-10 degrees once removed from the oven). Bast with pan juices as necessary. Allow to rest 5 minutes before carving.

Step nine:

Feed it to people you love. Pretend like roasting a chicken is lots of hard work. People will be very impressed that you do it so often.

Caprese Stuffed Chicken Burgers

I am a finalist in the Foster Farms cooking contest. I’m going to San Diego at the end of the month for the big Cook Off. Of course, I would love to share my Semi-Finalist recipe for Pulled Chicken Sliders with Hoisin BBQ Sauce and Pickled Slaw with you, but I can’t, contest rules don’t allow it. And as much as I love you all, I’m so frickin' excited about this, I’m not gonna chance it. BUT in honor of Foster Farms, and their wonderful locally grown chicken, I AM sharing my favorite chicken burger recipe, as well as the secrets to a juicy chicken burger. And as soon as I am able to share that Chicken Slider recipe with you, don’t think I won’t.

Caprese Stuffed Chicken Burgers

1/2 cup fresh whole milk mozzarella

4-6 basil leaves

1 tomato

1/2 tsp salt

1 lb ground Foster Farms chicken

1 tsp salt

1 tsp pepper

1 tsp garlic powder

1/2 cup bread crumbs

4 hamburger buns

cooking spray

2-4 cups chicken broth

Slice the mozzarella ball into slices 1/4 inch thick. If you have shredded mozzarella, use about 1 tbs.

Chop the tomato and the basil and add to a bowl with 1/2 tsp salt, tossing to combine.

In a bowl, add the ground chicken, 1 tsp salt, pepper, garlic powder and bread crumbs, mix until combined. One at a time, make 8 patties about 4 inches across and about 1/2 inch high. Place on parchment paper or an oiled surface so it does not stick.

On 4 of the patties, add 1 slice of cheese (or one tbs) and 1 tbs of the tomato/basil mixture, making sure to keep it in the middle, avoiding the edges.

One at a time, add the remaining 4 patties to the top of the filled patties, sealing the edges. Make sure that none of the filling is visible through the meat.

Spray the inside of a skillet (with a lid) with cooking spray and heat the pan over medium heat until hot but not smoking. Add the patties (don’t crowd the pan, cook in two batches if needed) and cook on one side for 4 minutes or until the bottom has browned. Flip the patties and allow to cook for 2 minutes, add the chicken stock to the pan until the broth comes to about half way point on the patties, but does not submerge them completely. Make sure the top of the patty is above the broth. and cover with a lid.  Allow to simmer in the broth for  8 minutes. This method of cooking chicken burger is the secret to juicy chicken burgers. The brilliance is that even an over cooked patty is still moist and full of flavor.

Remove from pan and allow to drain on paper towels before serving on a bun.

Watermelon Ceviche

The last time I had ceviche I was one week into my pregnancy with Tater. We were in New York. A trip that had been planned for months, even before all the fertility goalies were removed and we were officially “trying.” The first few weeks of pregnancy, when it is all just more of an idea, a theory, than an actual BABY, there is a thick fog of impending miscarriage. As if that is the inevitable outcome. You don’t tell anyone outside your very inner circle so that you don’t have to UNtell, “in case…well, you know.” We had gone to have dinner at the apartment of a newly married couple we know. He’s a musician we’ve known since we were kids and she is a doctor we feel grateful to know as adults. We arrive to a beautiful spread of homemade ceviche. I panic. I haven’t been able to do all research. Fish? Some is ok, right? What if this is the horrible, mercury laden trigger that will decimate the theoretical baby growing in my uterus? I gave a frantic look towards Mr. Fits.  Casually, he searched Google on his phone without missing a conversation beat, as if just answering a text rather than shieling his unborn theory from poisonous, metal saturated fish.  “It’s fine,” he leans over and whispers to me, showing me the phone, “Very low in mercury. They even encourage you to eat this kind because the omega 3’s are good for brain development.” Brain development? BRAIN? I’m growing a brain. It all hits me. I am growing a human. No one can even tell and my guts are making a brain. That was the moment that this theory, this idea, this pregnancy actually started to become a baby, a human Tater.  Ceviche will always remind me of that night, and the realization that my pregnancy would end with my beautiful baby being born.

Watermelon Ceviche


3 cups of watermelon, chopped

½ cup diced red bell pepper

¼ cup diced red onion

¼ cup chopped cilantro

2 tbs diced fresh jalapenos, seeds removed

1 ½ cup cooked, chopped shrimp, tails removed

½ cup fresh squeezed lemon or lime juice (or a mixture of both)

1 ½ tsp kosher salt

1 tsp black pepper

1 tsp sriracha

Corn chips and Boston lettuce leaves for serving

Put all the ingredients (except the chips and lettuce) in a large bowl and mix until combined. Allow to chill for at least an hour before serving.

Prosciutto Wrapped Scallops with a Mango Sriracha Coulis

381__520x440_s-finished
A few years ago I found an article in Cooks Illustrated about why I wasn’t able to get a restaurant quality taste out of my grocery store scallops. I had always assumed it my because I just didn’t have the cookin’ chops to compete with a restaurant chef. And while that may be true, it wasn’t the main reason my scallops lacked taste. Here is my Scallops lesson of the day:
Wet vs. Dry
If you buy scallops at the grocery store, they will be wet 99% of the time. This is bad. It means that someone decided to saturate them in a solution of water and phosphates. Because of this, the scallops have a difficult time browning and they have a slightly soapy taste and rubbery texture. If you have a great seafood market, ask if they have dry scallops. If they aren’t sure, the scallops are probably wet. A dry scallop will be, well..dry. If it is sittin’ in a bowl of milk liquid, it’s a wet guy.
I’ll just assume that ya’ll have wet scallops, since that is what is most commonly available, but if you can find dry, buy them. The taste difference is huge (at least to me).
Ingredients

1 quart of water
1/4 cup of lemon juice
2 tbs Kosher or Sea salt
8 jumbo scallops (10-20 per lb size, the little guys just don’t hack it)
2 tbs butter
8 slices of prosciutto
1 tsp-ish of black pepper
1/2 cup fresh, diced mango
2 tsp olive oil
2 tsp honey
1/2 tsp siracha
pinch or salt
Combine the water, lemon juice and 2 tbs of salt in a bowl and soak the scallops for 30 minutes (if you are 100% bet your $20 worth of seafood on it sure that they are dry, skip this step). Remove the scallops and place them on a stack of about 4 absorbent paper towels, then top them with  more paper towels and press down slightly. Allow the scallops to drain and dry for about 10 minutes. In a sauce pan, melt the butter on medium high until very hot. Fold a slice of prosciutto in half the long way and wrap around your scallop (you can also cut it in half to make two long strips if you’d like) securing with a tooth pick.
s-wraped
Season the top and bottom of your scallops with pepper. Once the pan is hot, add 4 scallops to the pan (you don’t want to crowd the pan or your scallops will never brown) and cook for about 4 minutes, then turn over and cook on the other side for an additional 4 minutes or until the top and bottom both have a nice brown sear.
s-in-pan
in a food processor, combine the mango, olive oil, honey, siracha and a pinch of salt and puree until smooth.
s-fp_0
Top the scallops with the coulis and enjoy.
381__520x440_s-finished

Jalapeno Mac N Cheese

Mr. Fits and I are friends with an amazing couple who own two Gastropubs in Los Angeles called The Fat Dog.  A few weeks ago they asked me to come take some photos of their new joint in Hollywood for their website. I was more than super excited about this for the following reasons:

1. They are amazing, and interesting humans and I will take any excuse to hang out with them.

2. Their bar is full of pictures of bulldogs (my own bulldog included)

3. They make a Jalapeno Mac N Cheese that I have spent the last 3 years trying to duplicate.

Below is my best attempt at recreating my cheesy spicy muse.

Ingredients:

1/2 pound elbow macaroni

3 tablespoons butter

3 cloves of garlic, minced

1/4 cup of onions, finely diced

3 tablespoons flour

3 cups milk

½ cup pickled jalapenos from a jar, diced

1 large egg

½ cup sharp cheddar, shredded

½ cup Smoked Gouda

½ cup Gruyere (or swiss, or jack if you have a hard time finding Gruyere)

1 tsp kosher or sea salt

1 tsp fresh black pepper

1 teaspoon smoked paprika

Topping:

1 cup panko bread crumbs

Directions

Preheat oven to 350 degrees F.

In a large pot of boiling, salted water cook the pasta until almost done.

While the pasta is cooking, in a separate pan, melt the butter. Cook the garlic and the onions until soft, about 4 minutes. Whisk in the flour, make sure it’s free of flour lumps. Stir in the milk, jalapeños (add a little juice from the jar, about 2 tsp), and paprika. Simmer for ten minutes. Allow to cool a bit. In a small bowl, beat the egg with a little of the milk mixture to temper, then add the egg to the pan and stir until combined. Stir in 3/4 of the cheese. Season with salt, pepper and stir. Fold the macaroni into the cheese mixture and pour into a baking dish. Top with remaining cheese. Top the macaroni with the bread crumbs (add some jalapenos for garnish on top). Cover with aluminum foil and bake for 30 minutes. Remove from oven and rest for five minutes before serving.

[singlepic id=302 w=320 h=240 float=]

Braised Chipotle Orange Oxtails

Oxtails scare me a bit. Not really because of what they are, but the gamey-ness is hard to tackle at times. This recipe was inspired by Carne Asada, another cut of meat that finds a delicious outcome only after the right treatment. A reminder that there really isn’t a “throw away” cut of meat, just ones that need the right touch.

Braising just means you brown the meat first, and then slow cook it in liquid. Really similar to pot roasting, although much more fancy sounding.

You’ll need about 4-6 large oxtails. The most often overlooked step in successful browning is to pat the meat dry. Sounds really counter intuitive, to REMOVE moisture when you want your meet juicy, but its important, just trust me. After the patting, season the meat with salt, pepper, onion powder and smoked paprika and don’t be shy.

oxtails-seasonedRoll them in flour

oxtails-flouredCut up half of an onion and saute in a cast iron pot in about 1/4 cup of olive oil

oxtails-onions-sauteOnce they are translucent and soft, take them out and set them a side. You’ll be putting them back in the pot soon.

Brown the oxtails on all sides, it’ll take about 10 minutes, work in batches if you have to. Add more olive oil if the pot starts to get dry, you want a thin layer at all times

oxtails-browningAdd all of the following to the pot:

your previously sautéed onions

2 cups of red wine

3 cups of sliced tomatoes

3 cloves of garlic, minces

3 chipotle chilies (from a can in Adobo sauce) chopped up, plus about 1 tbs of the Adobo sauce

2 tbs cummin

juice from 3 large oranges

pinch of salt and pepper

oxtails-begining-braiselower the heat to maintain a low simmer and put the lid on. Cook for 2 1/2 hours, stir occasionally. Then take the lid off and add 1 tbs Grade B Maple syrup, juice from 2 more oranges and simmer uncovered until the sauce reduces and thickens a bit, about 20 minutes. Serve over rice

oxtails-done

Hoisin Glazed Beef Tenderloin Stuffed with Mushrooms and Asparagus

Tenderloin is one of my favorite go-to meals when I have guests over. Mr. Fits parents were in town this week and I love cooking for them. Even when things don’t go as planed, they are always impressed and gush for days over how much they loved my food. “Wow, that chicken you made the other day was really something special!” Really? The overcooked, under seasoned chicken? Well thank you.

Ingredients

4 tbs butter

1/4 cup chopped yellow onions

3 cloves of garlic, minced

1 cup of mushrooms, chopped

5 large spears of asparagus (trimmed the ends about 2 inches) chopped

1/4 cup cooking sherry

1/2 cup Panko bread crumbs

2 tbs olive oil, plus 2 tbs, divided

Salt and Pepper

1 2lb beef tenderloin

(more salt and pepper)

1/2 cup Hoisin sauce

2 tbs soy sauce

Preheat oven to 350

Heat the butter in a large pan over medium heat until melted. Add the onion and cook until softened, then add the garlic, cook for about 30 seconds. Add the sherry, scraping to deglaze the pan, then add the mushrooms and  asparagus.

tenderloin-mush-asp-in-pan

If the pan starts to look too dry, you can add olive oil or more butter to moisten things up a bit. Cook, stirring frequently until mushrooms are darker and softened. Add the olive oil, and Panko and stir until it resembles a paste, salt and pepper to your liking.

tenderloin-stuffing-in-pan

Cut the tenderloin down the middle, making sure not to cut all the way through and then open it up like a book. Pile the stuffing in the middle of the tenderloin, forming into a tight log with your hands.

tenderloin-flat-stuffed-pre-rollRoll the tenderloin up tightly and secure with kitchen twine. If you have never used kitchen twine, its really easy. Here is a simple how to:

http://www.saveur.com/gallery/How-to-Use-Kitchen-Twine

tenderloin-roll-pre-oven

Once the twine is secure, heat the last 2 tbs of olive oil in a pan until hot and shimmery. Sprinkle all sides of the tenderloin with salt and pepper. Once the pan is hot, brown the tenderloin on all sides. It should take about 4 minutes per side, roll it until all sides are brown, remove from pan and add to a glass baking dish.

In a bowl, combine hoisin and soy sauce. Brush all sides with the hoisin mixture. Cook in the oven for about 25-30 minutes or until the internal temp reaches between 130-140 for medium rare (meat will continue to cook after it is removed from the oven.) About  every ten minutes during the cooking, re-brush the beef with the hoisin glaze. Remove from the oven and allow to rest for about 5 minutes. Cut into rings and serve.

tenderloin-finishedtenderloin-finished-2

Ham with Bourbon, Maple, Bacon Glaze

As I’m putting the final touches on my Easter Ham, I’m chatting with a friend of mine. A friend who wasn’t spending the holiday with his family, well, because he’s Jewish. It occurs to me, as I’m glazing my large hung of pork with smaller hunks of pork, how Un-Jewish Friendly this holiday is. Not only is it a celebration of the resurrection of Jesus, it’s signature dish is Ham. SO, I apologize to all of my Jewish friends for the excessive use of bacon on this blog, and I promise my next post will be Kosher.

For those who would don an “I Heart Pork” t-shirt, this is my hands down favorite ham recipe. I was very happy with the end results and it was one of the few times I was able to eat a meal that I prepared without thinking of all the things I would change for next time.

Ingredients

1 10 lb ham

1 1/2 cup apple juice plus 1/2 cup, divided

4 strips of bacon

2 tbs butter

1/4 cup Bourbon (I used Buffalo Trace)

1 1/2 cups packed brown sugar, plus 2 tbs, divided

1 cup pecans

1/4 cup grade B maple syrup

1 tsp coriander

Place the ham in a roasting pan, fat side up. Add 1 1/2 cups of apple juice to the bottom of the pan. Cook at 325 for 1 1/2 hours (for a 10 pounder, or 9 minutes per pound).

ham-pan-pre-cookedCut the bacon into small, 1/4 inch strips

ham-bacon-cutIn a sauce pan over low heat, melt the butter. Add the bacon and spread out in the pan, sprinkle with 2 tbs brown sugar. Cook slowly until the fat is mostly rendered.

ham-bacon-pan-cookedIn a small bowl, add the remaining 1/2 cup apple juice and the bourbon. In another bowl, add the brown sugar, coriander, maple syrup and pecans, mix well. A side note about Maple Syrup: Grading doesn’t have to do with the quality, like some might assume. Syrup is graded according to color and translucency. Typically, grade A is much lighter (and mellower in flavor)  than grade B.

ham-glaze-ingredientsAdd the bourbon mixture to the pan, increasing the heat to medium, and cook until reduced by 3/4. Reduce the heat to low and add the brown sugar mixture and stir until well combined and thick.

ham-glaze-cookedOnce the ham has cooked for 1 1/2 hours, remove from the oven. Increase oven temp to 375.  With a sharp knife, score the ham in a diamond pattern.

ham-scoredCover the top of the ham, and as much of the sides as possible with the glaze. Cook for an additional 20-30 minutes, or until glaze is dark and bubbly. Remove from oven and allow to rest for 10 minutes. Cut the ham in slices, from front to back, and spoon the pan drippings over the pile of meat, or put it in a gravy boat to serve along side.

The trick to cooking a juicy ham is to under cook it. Remember that ham comes to you already cooked, you’re just heating it up and glazing it. If you cook it to the recommended 140-160 degrees, it will be dry and over cooked. Most meats will continue to cook, even up to 15 percent more, after you remove it from the oven.  If you want to thermometer cook it, shoot for closer to 110 degrees. Remember, its much better to serve slightly cold ham than dry overcooked ham.

ham-cooked

The Perfect Steak

Really, is there anything better? A beautiful crust, tender, pink in the middle. Cooking a lovely cut of beef at home, on par with your favorite steak house, is completely possible. Years ago, I set out on a journey for the wisdom of the beef that would enable me to cook up a beautiful hunk of meat in a way that would WOW my guests (and by that, I mostly mean my husband). It was much simpler that I had expected.

First, pick the right cut. Of course a $50 steak is going to taste amazing, but you can also get a great meal out of a $5 steak as long as you know what to look for and how to read the label.

USDA Grades

Prime, Choice, Select? What the heck? Here’s the basic rule: stick with only Prime and Choice, don’t select Select and NEVER choose ungraded for this cookin’ method.

Prime is the best and Choice is the second choice. Select is a passable cut, but for only a few dollars more, a Choice cut will taste twice as good. All meat is inspected my the USDA, so don’t let that label fool you. If it just has a “Inspected by USDA” sticker and no grade sticker it just means the meat didn’t meet standards for a grade. If a cut has a grade, the sticker will be on the package. If there isn’t a sticker, it’s not going to be a tasty, tender cut. Although there are a lot of ways to make a cheap ungraded cut of beef taste great, it involves quite a bit of marinatin’ and manipulatin’.

Remove excess moisture. Although it sounds counter-intuitive when you want a juicy steak, patting the outside of the meat with paper towels is important. If you don’t, you’ll end up with gray meat (and that’s no metaphor).

steak-patting-2SALT!!! I’m a huge fan of salt, but even if you would rather pass on this seasoning, ALWAYS SALT YOUR MEAT (also not a metaphor). It’s essential. Not only is salt a tenderizer, it also brightens flavors and aids in a perfect crust. Just sprinkle each side of your meat with salt before you add anything else, and don’t be shy with it. I’ve concocted dozens of steak rubs, but its hard to go wrong with just salt and pepper. You can also add just about any seasoning that you love: onion powder, garlic powder, mustard, even a sprinkle of sugar will add a beautiful caramelization to your crust.

steak-begin-2Hot Pan. Get out the best quality pan that you have, add olive oil and let it get hot, about 4 minutes. You don’t want the oil smoking, but you want it hot enough to let out a loud sizzle as you throw your meat in. Cook for about 2-3 minutes on each side. If your meat sticks to the pan, it’s OK. Don’t frantically pull it in an attempt to rescue it, it will release from the pan when it’s done.

steak-panFinish in the oven. I once took a cooking class from a fancy chef who spent years as a personal chef to celebrities in Beverly Hills. He said that this was his “steak cooking secret.” Not so much a secret, most restaurants do this, but it’s the best way to get a perfect crust and a pink-not-red center. 350 degrees for about 7 minutes for a 1 1/2 to 2 inch thick steak (Medium rare).

steak-ovenThe feel test. This has been a technique of line cooks for a century. Put your thumb and forefinger together. With your other hand, feel the fleshy part of your palm, just below your thumb. That is what a rare steak will feel like. Then put your thumb and middle finger together. The fleshy part of your palm will now feel medium rare. Thumb and ring finger: well done. This is a way to get the doneness you want without having the unsightly cut marks in your beautiful steak.

Here is a great article about that: http://primecutsblog.com/2008/12/01/the-finger-test-to-check-the-doneness-of-steak/

My favorite really-impressive-really-easy steak topping is Gorgonzola Butter. In a food processor put one stick of softened butter, two tbs Gorgonzola cheese, pinch of salt and 1 tsp garlic powder and pulse until well combined. lay out a sheet of plastic wrap and put the Gorgonzola butter in the middle. Roll up the butter in the plastic wrap into a log shape and secure the ends. Place the log in the fridge until firm. Cut off slices of the butter and place a few pats on top of a warm steak. Gorgonzola butter is also really good on asparagus.

gorg-butter steak-done-2