
I’ve had a busy week, and my body has decided to request that I slow down.
On Friday, I was asked to do a cooking segment on CBS news in Los Angeles. I’ve spent the week preparing. My husband helped me run through the segment in the evenings, and for an entire week my drive home consisted of me practicing my talking points, out loud, looking like a crazy person, on an LA freeway. It all seemed to work, the segment went well:
As soon as I started my drive home from the studio, I started to crash. The next morning I lay in bed as my incredible husband got up with Tater, and I was able to sleep until the late, late hour of 8:45. In Mom Time, that’s pretty close to sleeping until noon. As I lay in bed, trying to pull myself together and trick myself into thinking I’m not actually sick, I watched this, this and this, and laughed so hard I think it worked. Maybe it’s true what they say about laughter and that whole "Best Medicine" thing.
And on Thursday I leave for the Foster Farms Cook-Off. I’ll be competing against 4 other cooks for $1,000 and a trip to Napa for the Cook Off Finals with a prize of $10,000.
Wish me luck! I’ll be posting on twitter and instagram as the contest goes along.
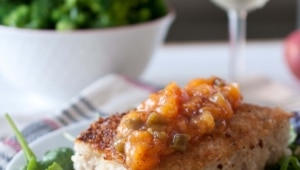
And now, the recipe. I bought a huge bag of Masa to make corn tortillas with, and if you have never made corn tortillas, you really, really need to . They’re so good, nothing like those cardboard disks they sell at the store, and they take about 5 minutes. The flavor is so good, I’ve been throwing the corn flour into everything, I’m totally in love with it. And the Jalapeno Peach Jam I also used on pork chops. So Good.
Coconut Cornmeal Shrimp With Jalapeno Peach Jam
Ingredients
For The Jam:
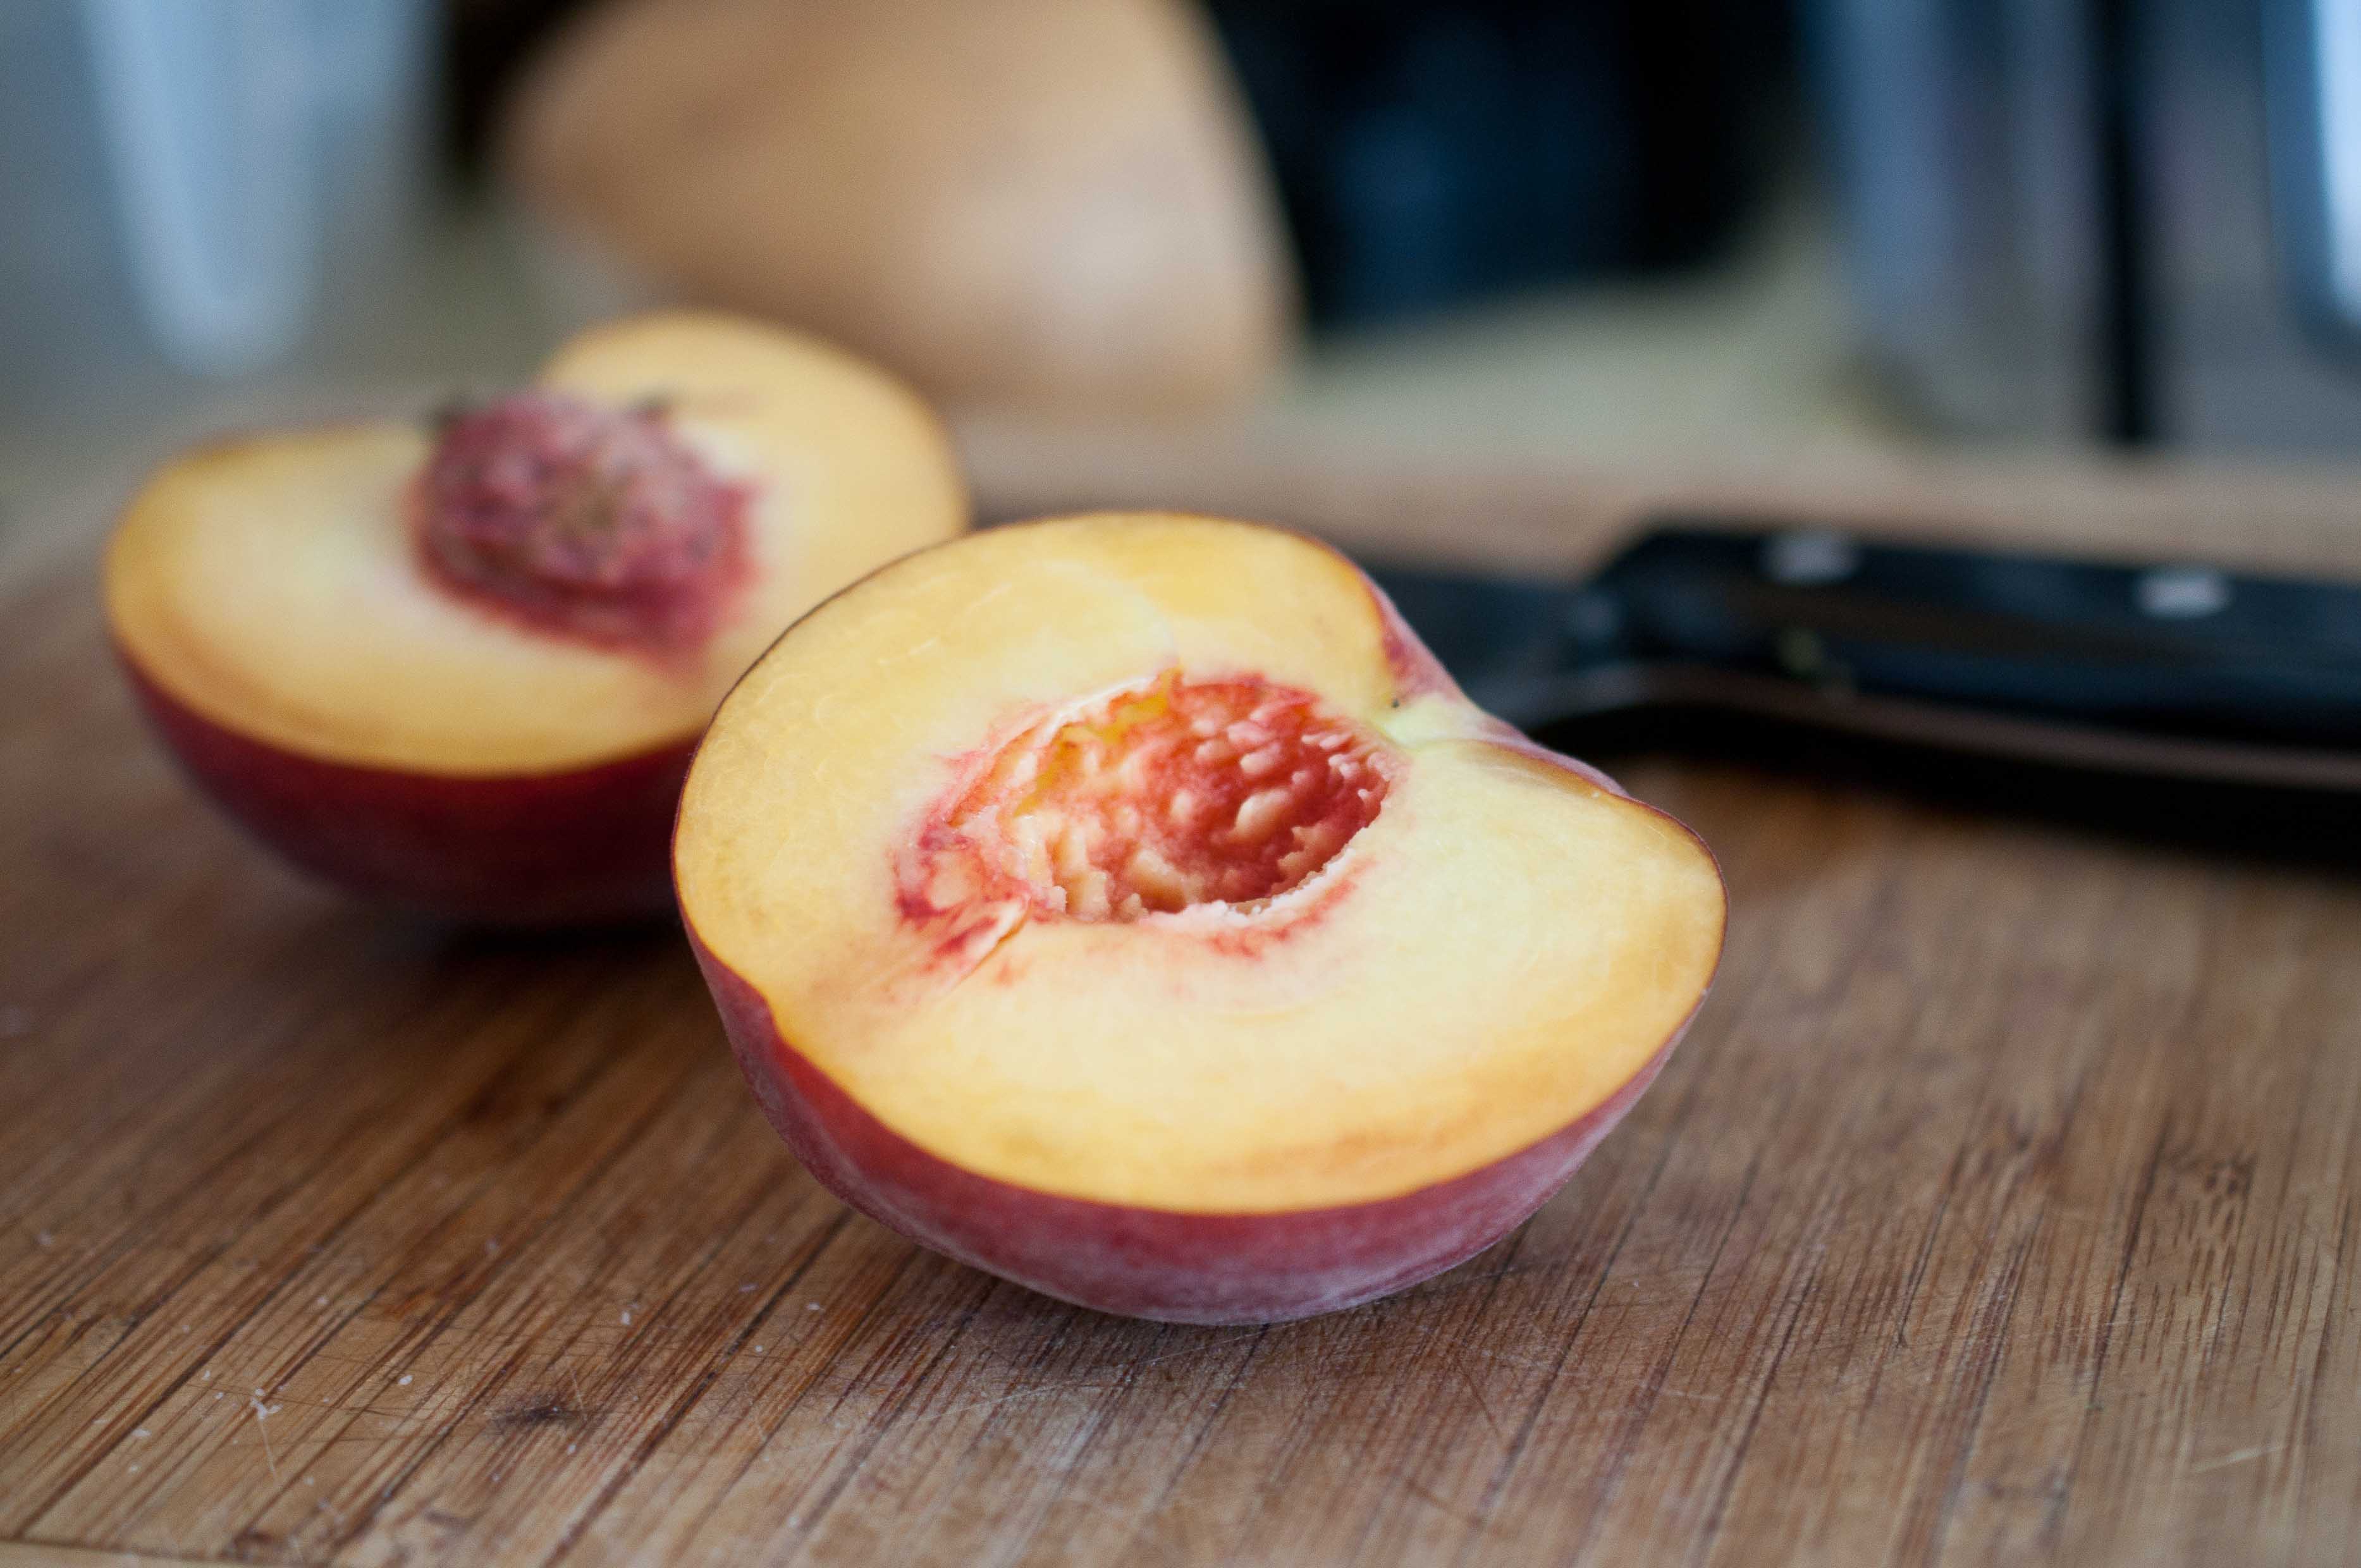
- 3 cups peaches, skin removed, chopped
- 2 tbs fresh lemon juice
- 1/4 cup sugar
- 1 jalapeno, stem and seeds removed, diced
- 1 tsp cornstarch
For The Shrimp:
- 1 can coconut milk
- 2 lbs raw shrimp, shell and tail removed
- 1 cup Masa Harina
- 1/2 cup shredded coconut
- 1/2 tsp salt
- 1/2 tsp pepper
- pinch cayenne pepper
- 1/4 cup oil
Instructions
- Add the raw shrimp and coconut milk to a bowl. Chill in the fridge for about 45 minutes while you make the jam.
- In a pot over medium high heat, add all of the jam ingredients. Stirring occasionally, allow to simmer (not boil) until thick, and the peaches have broken down, about 45 minutes. Smash peached with a potato masher until a jam like consistency is reached. Remove from heat and set aside.
- In a bowl, combine the masa, coconut, salt, pepper and pinch cayenne. One at a time, remove the shrimp from the coconut milk and allow to drain a bit before adding to the cornmeal mixture. Coat the shrimp well in the corn meal mixture.
- Heat oil in a large skillet over medium high heat. Add the shrimp and cook until golden brown, about 3 minutes per side.
- Remove from heat. You can either top the shrimp with the jam or serve the jam as a dipping sauce.


