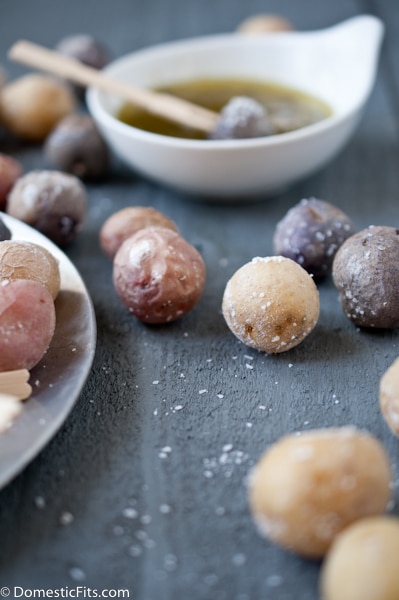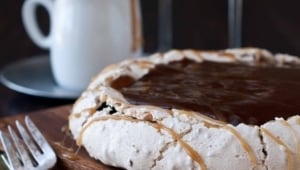
These are easier than you think.
And the possibilities are endless. Try your favorite extracts (coconut marshmallows?!), or food coloring to match your party, or covering them in chocolate. Once you make them, it’s hard to remember why you went so long without trying your hand at these.
Step one:
Prepare the pan. Grease well (cooking spray, butter or vegetable shortening) and then cover in powdered sugar.

Step two:
In the bowl of a stand mixer add 3 1/2 packets of gelatin to 1/2 cup ice cold water. Let stand while you prepare the sugar.
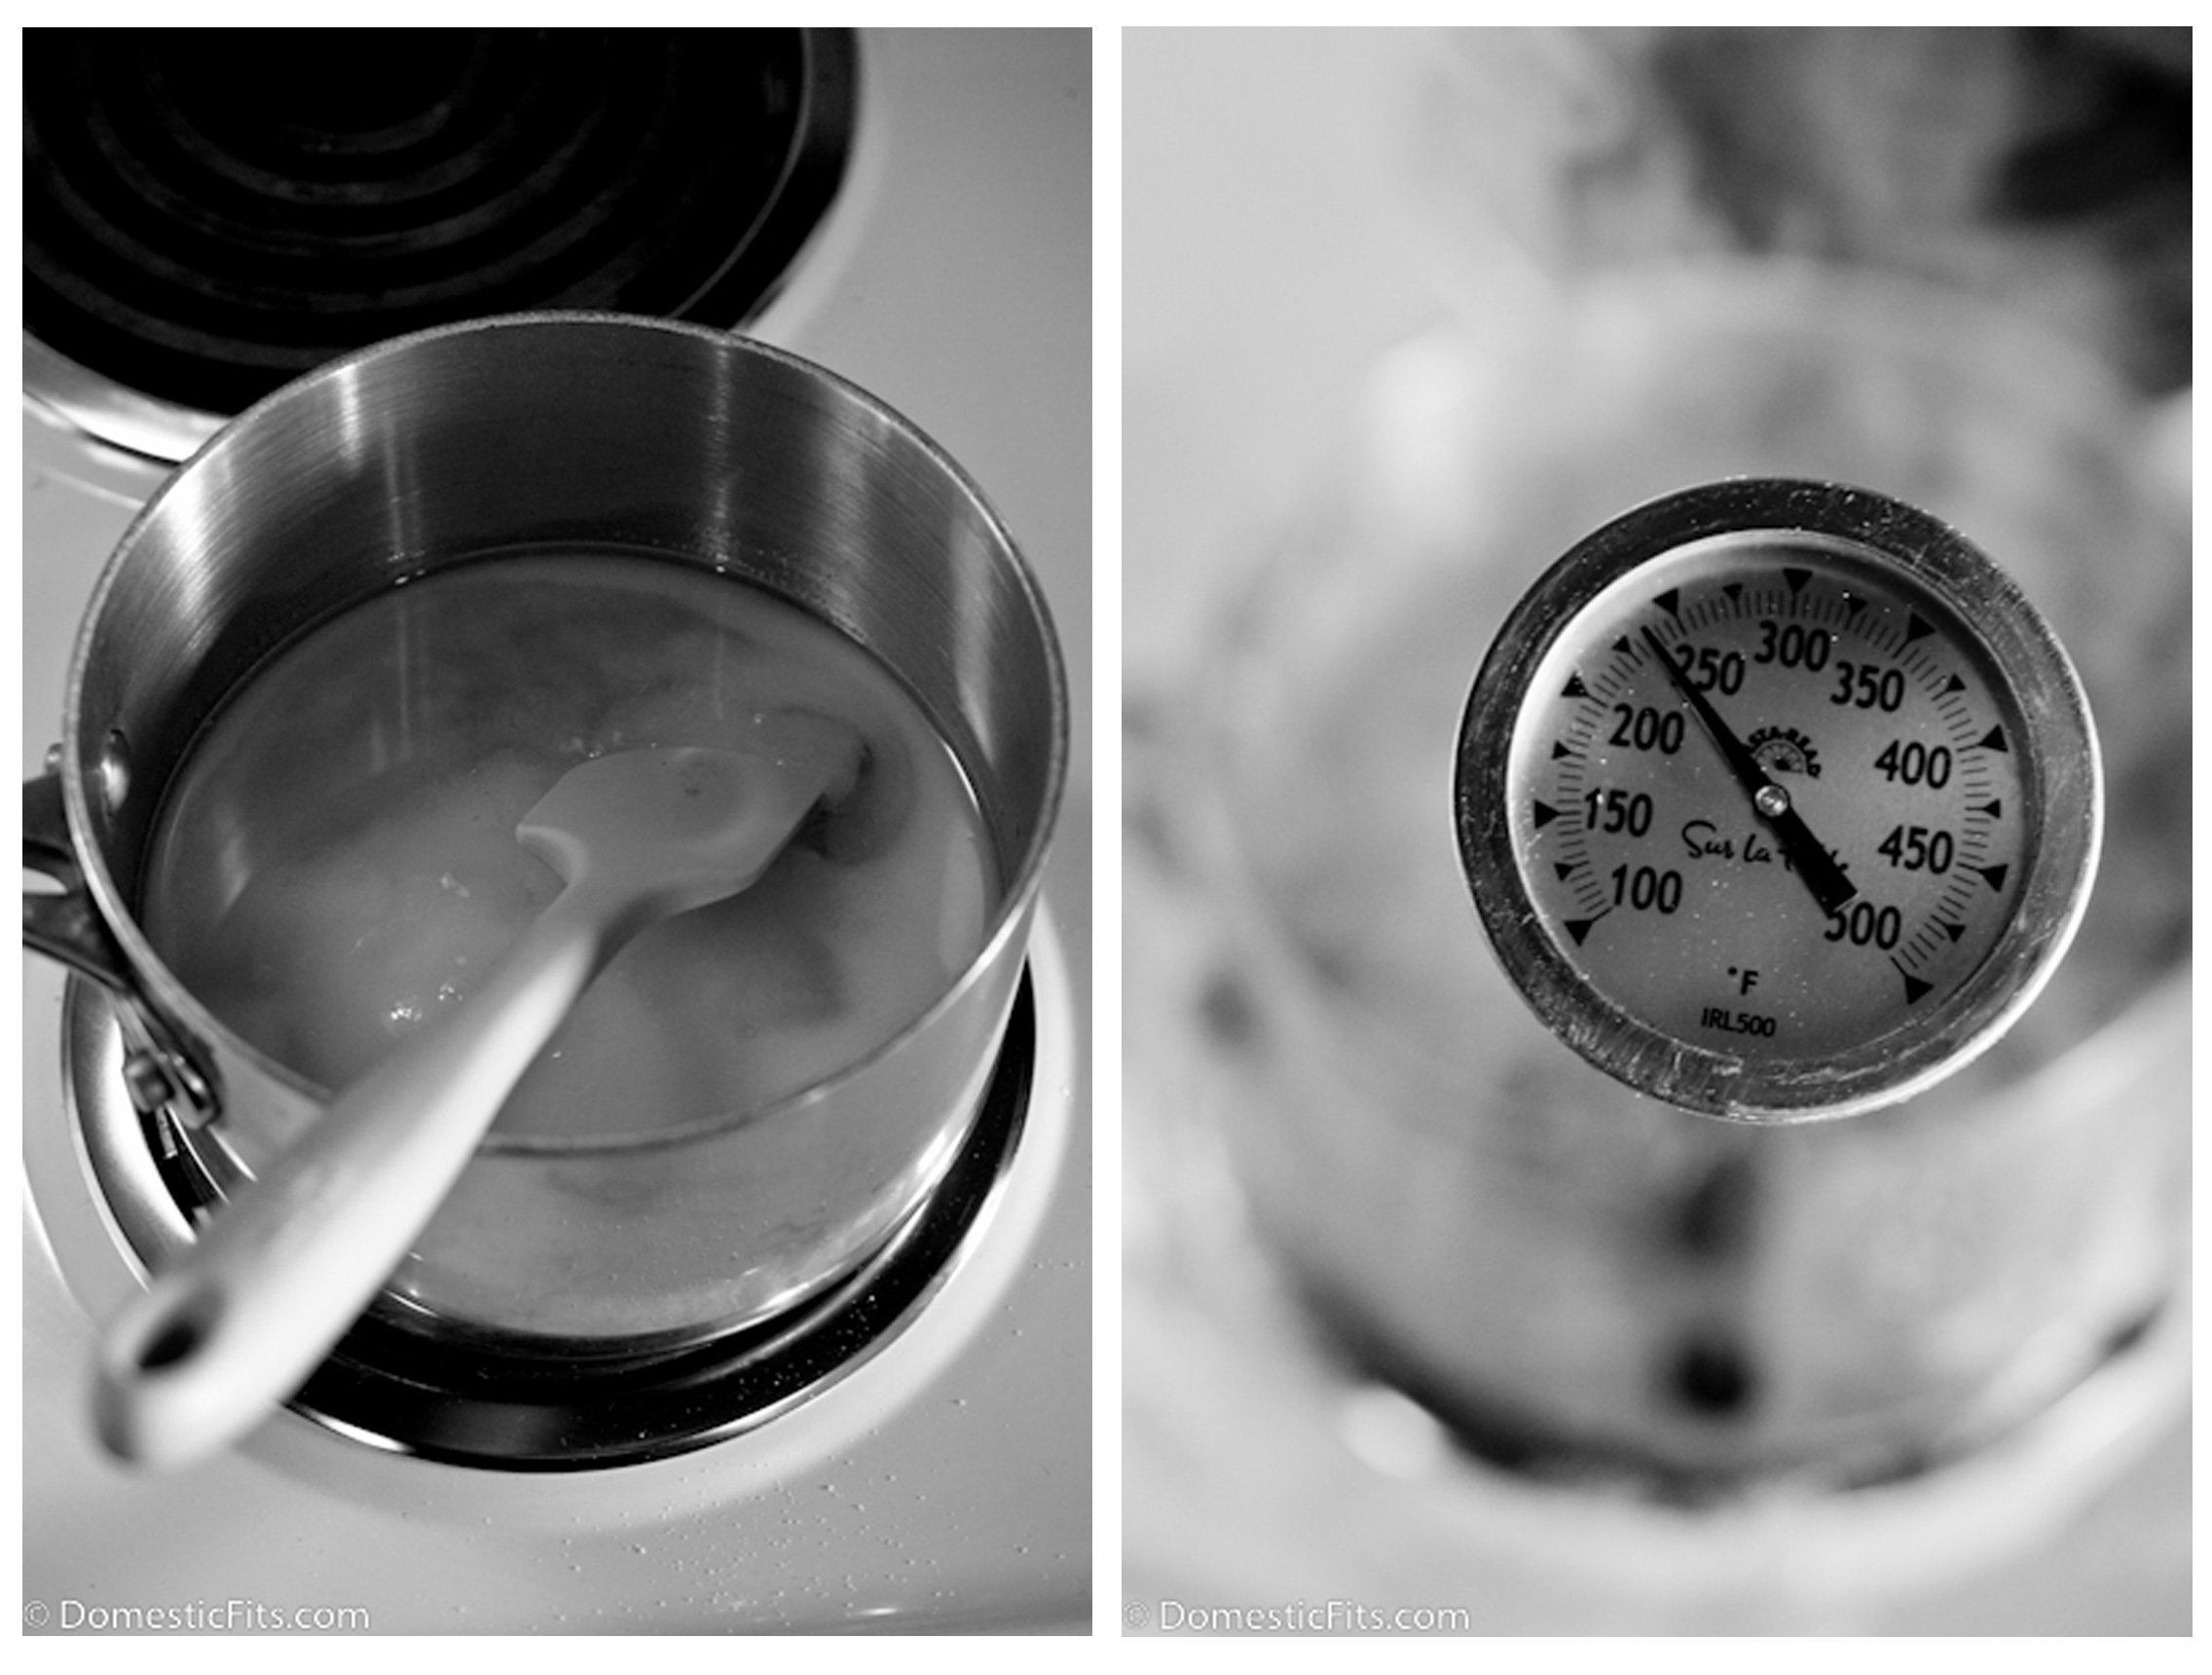
 Step three:
In a pan over medium heat add 2 cups granulated sugar, 1/2 cup corn syrup and 1/2 cup water. Once the sugar has dissolved, turn the heat to high, allow to boil until the mixture has reached 240 on a candy thermometer.
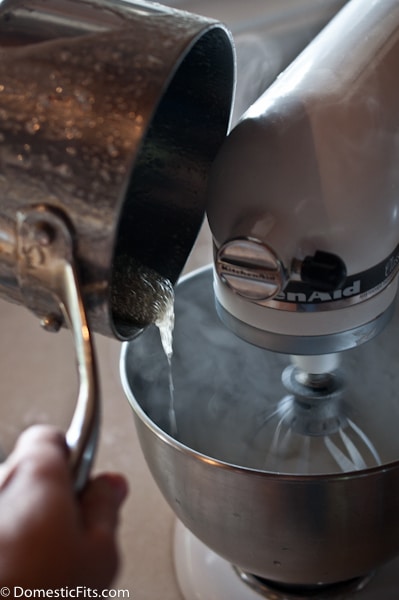
Step four:
Turn the mixer on low and slowly pour the hot sugar into the gelatin mixture. Once all the sugar has been added, raise speed to high. Beat on high until light and fluffy and tripled in volume, about 6 minutes.
Step five:
In a medium bowl, add the egg whites and salt. Beat with a hand mixer until stiff peaks form. Gently fold the egg whites and vanilla into the marshmallows.
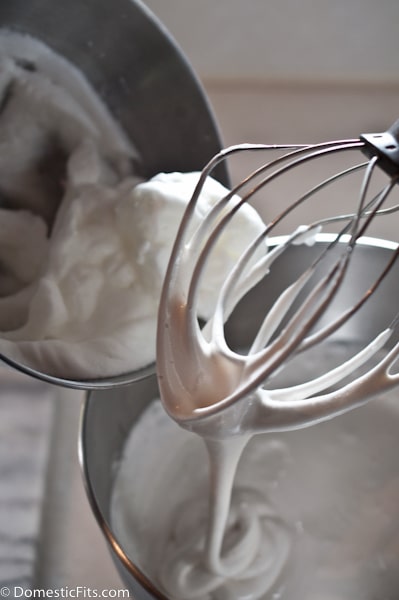 Step six:
Pour marshmallows into prepared pan. Smooth into an even layer, sprinkle with powdered sugar.

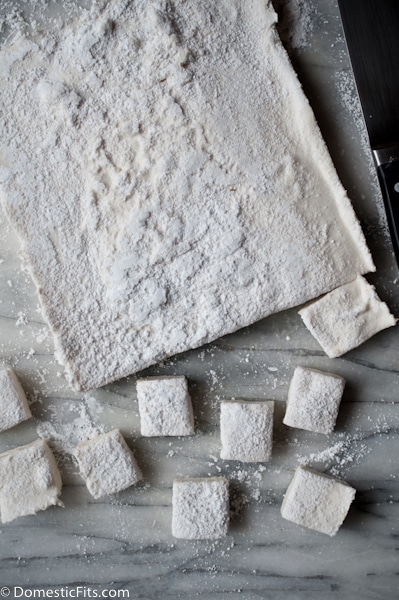
Step seven:
Allow to sit at room temperature until set, about 3 hours. Invert pan on a flat surface, slice into squares.
To make beer marshmallows, check out Chocolate Stout Covered Beer Marshmallows.
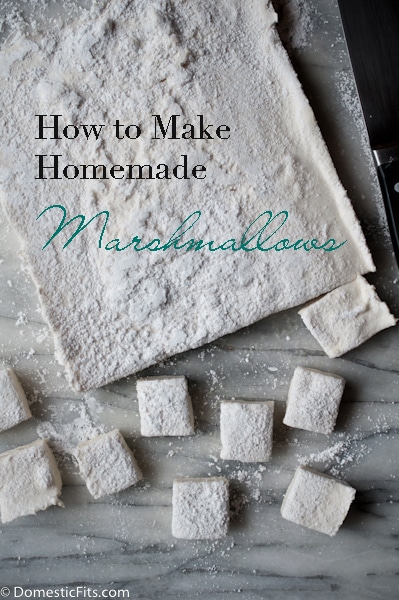
How to Make Homemade Marshmallows (step by step with photos)
Ingredients
- Powdered sugar
- 3 ½ envelopes unflavored gelatin (such as Knox)
- 1 cup ice cold water, divided
- 2 cups granulated sugar
- ½ cup light corn syrup
- 2 large egg whites
- ½ tsp salt
- 1 tbs vanilla extract
Instructions
- Grease a 9×13 baking pan, sprinkle with powdered sugar until well coated, set aside.
- In the bowl of a stand mixer add ½ cup cold water. Sprinkle with gelatin. Allow to stand while the sugar is being prepared.
- In a large saucepan over medium heat, add the remaining ½ cup water, sugar and corn syrup. Stir until the sugar has dissolved.
- Raise heat to high and allow to boil until the mixture reads 240F on a candy thermometer (about 6-8 minutes).
- Once the temperature has been reached, turn off heat.
- Turn the mixer on low and slowly pour the hot sugar mixture into the gelatin. Once all the sugar has been added turn the mixer on high until light and fluffy and tripled in volume, about 6 minutes.
- While the mixer is running, prepare the egg whites. Add the egg whites to a bowl with the salt. Beat on high with a hand mixer until stiff peaks form.
- Gently fold the egg whites and vanilla extract into the stand mixer ingredients until just combined.
- Pour the marshmallows into the prepared pan. Sprinkle with powdered sugar. Allow to set at room temperature until set, about 2 hours. Remove from pan, cut into squares.