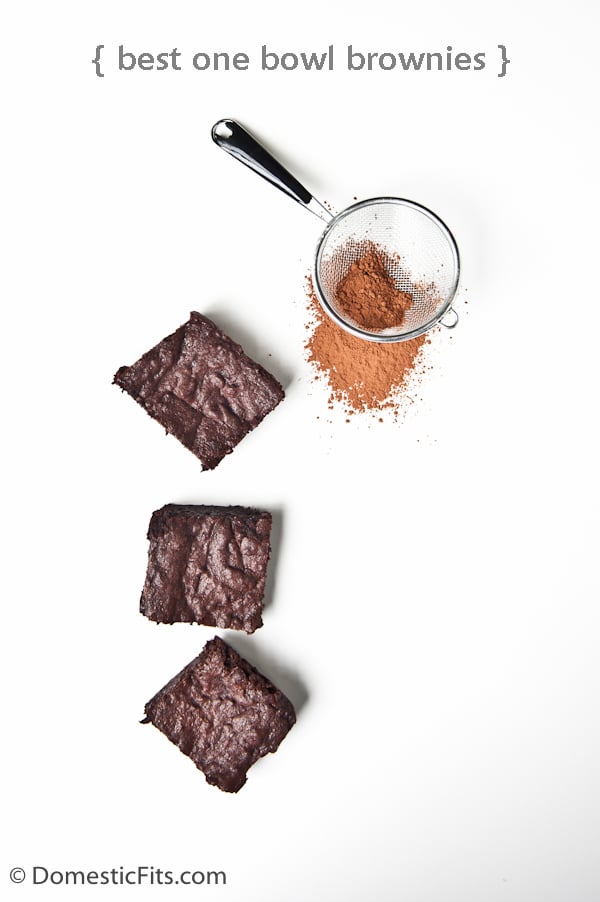
Best One Bowl Cocoa Brownies & Why You Shouldn’t Feel Sorry For My Daughter
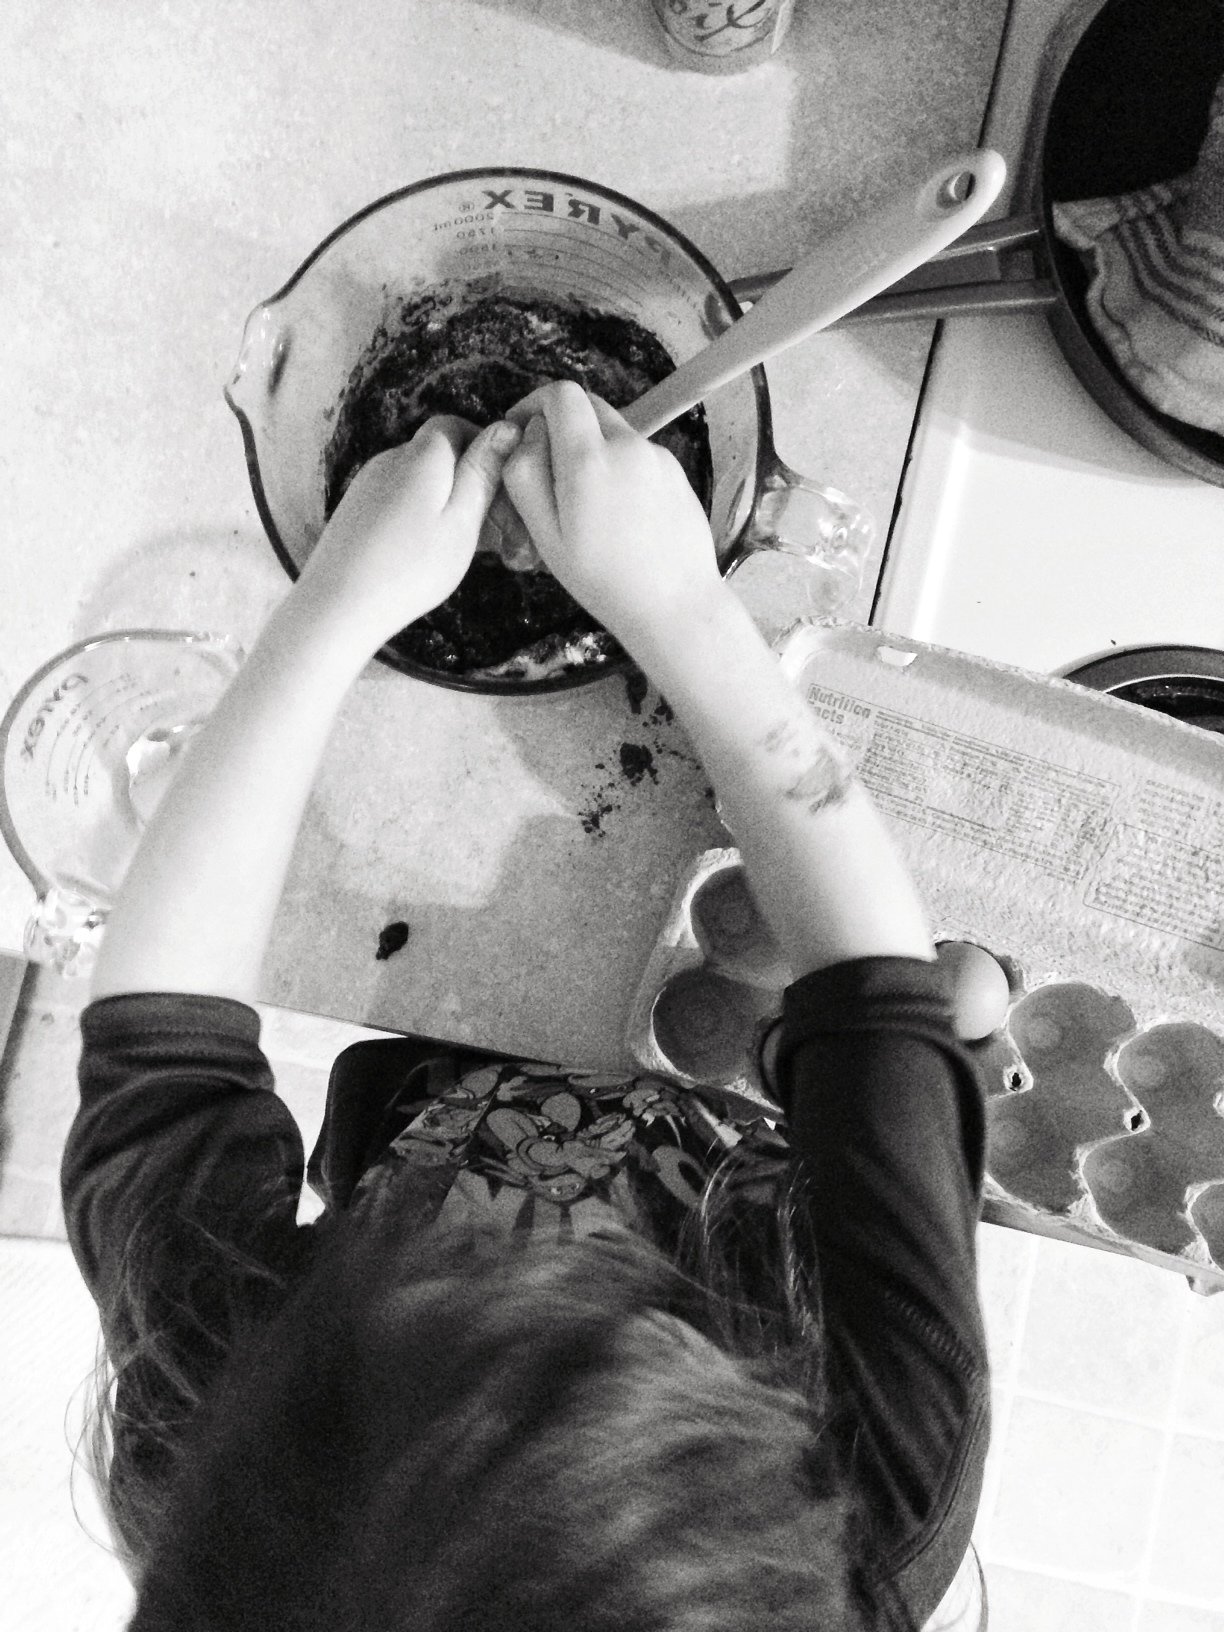
Tater likes to stand on her red stool to help me cook. She’s sloppily mixing the cocoa into the batter when she looks up at me, “Mom, Did you know some people don’t even have houses?”
“Yes, honey. I know.”
“Well, that makes me SUPER lucky. Because I have two houses.”
I smile all the way through to my guts. When you’re a divorced parent, the impact it could have on your kids keeps you up at night, follows you around all day, and seeps into every conversation you have with them.
“And some people don’t have moms. And some people don’t have dads. And I have a mom AND a dad!” She starts to count this on her fingers, one for mom, one for dad, “And I have two houses” two more fingers go up. He tiny little almost-five-year-old hand is holding up four fingers. She’s showing me how lucky she is, but all I can see is how lucky I am.
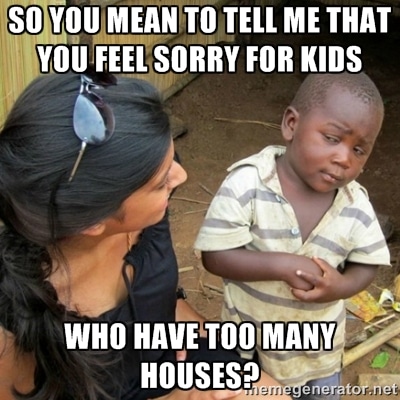
I worked with kids in Los Angeles for nearly a decade. Probation and foster kids who didn’t have enough pieces of parents to make a whole one. Birthdays went forgotten, homework didn’t matter, graduations lost, Christmas morning might only include a hastily wrapped donated present, clothes rarely fit well, most kids never knew what love really felt like. I think of these kids when people tell me they feel sorry for my daughter.
I image a middle aged, upper income, white man bending down to a talk to a foster kids about this. A kid that has never had a birthday party, never woken up on Christmas morning to a stack of presents, a kid who has never heard, “how was your day?” as they walk in from school, a kid that doesn’t know what a relationship with a parent is supposed to look like. I image this man trying to tell that kid how sad it is that my daughter is loved by two parents, has two rooms filed with toys. My daughter who has both parents planning a big birthday party for her. My daughter who hears “I love you” every single day from one or both of her parents. I imagine the confusion on the kids face when they try to understand why this is sad, just because those two loving parents live in different houses.
You could tell those kids how sorry you feel for my daughter. Or maybe you can tell the kids who go to bed hungry. Or maybe you can say it to the kids who fall asleep every night listening to their parents scream at each other. But please, don’t tell my daughter that you feel sorry for her, she’ll have no idea why.

Best One Bowl Cocoa Brownies
Prep Time: 5 minutes
Cook Time: 30 minutes
Yield: 6 large brownies
Ingredients
- ½ cup melted butter
- 1 ¼ cup sugar
- ¾ cup unsweetened cocoa powder
- ½ tsp salt
- 1 tsp vanilla extract
- 2 large eggs
- 1/3 cup flour
Instructions
- Preheat oven to 325.
- Add melted butter, sugar, cocoa power, vanilla and salt to bowl. Stir to combine.
- Add the eggs, stir until well combined.
- Sprinkle with flour, stir until just combined.
- Pour into an 8X8 baking dish that has been greased.
- Bake at 325 for 28 minutes. Allow to cool completely before cutting.