I could eat pie every day. I love it. It’s my First Love when it comes to desserts and cooking in general. I could have an All Pies blog ("Pie Fits"??) and be perfectly happy. When I was a kid, I didn’t want birthday cake (gasp!!!) I wanted birthday pie. Usually Apple. Not enough people eat savory pie and I want to change that. Hand pies, empanadas and anything else small, savory and portable, should be right there among the sandwich masses. This recipe is easy, and the dough is based off a pie dough, but with a few alterations to make it more like an empanada, and it really is easy and quick. Also, a prefect lunch to pack for a picnic or a hike.
Get moving, eat pie.
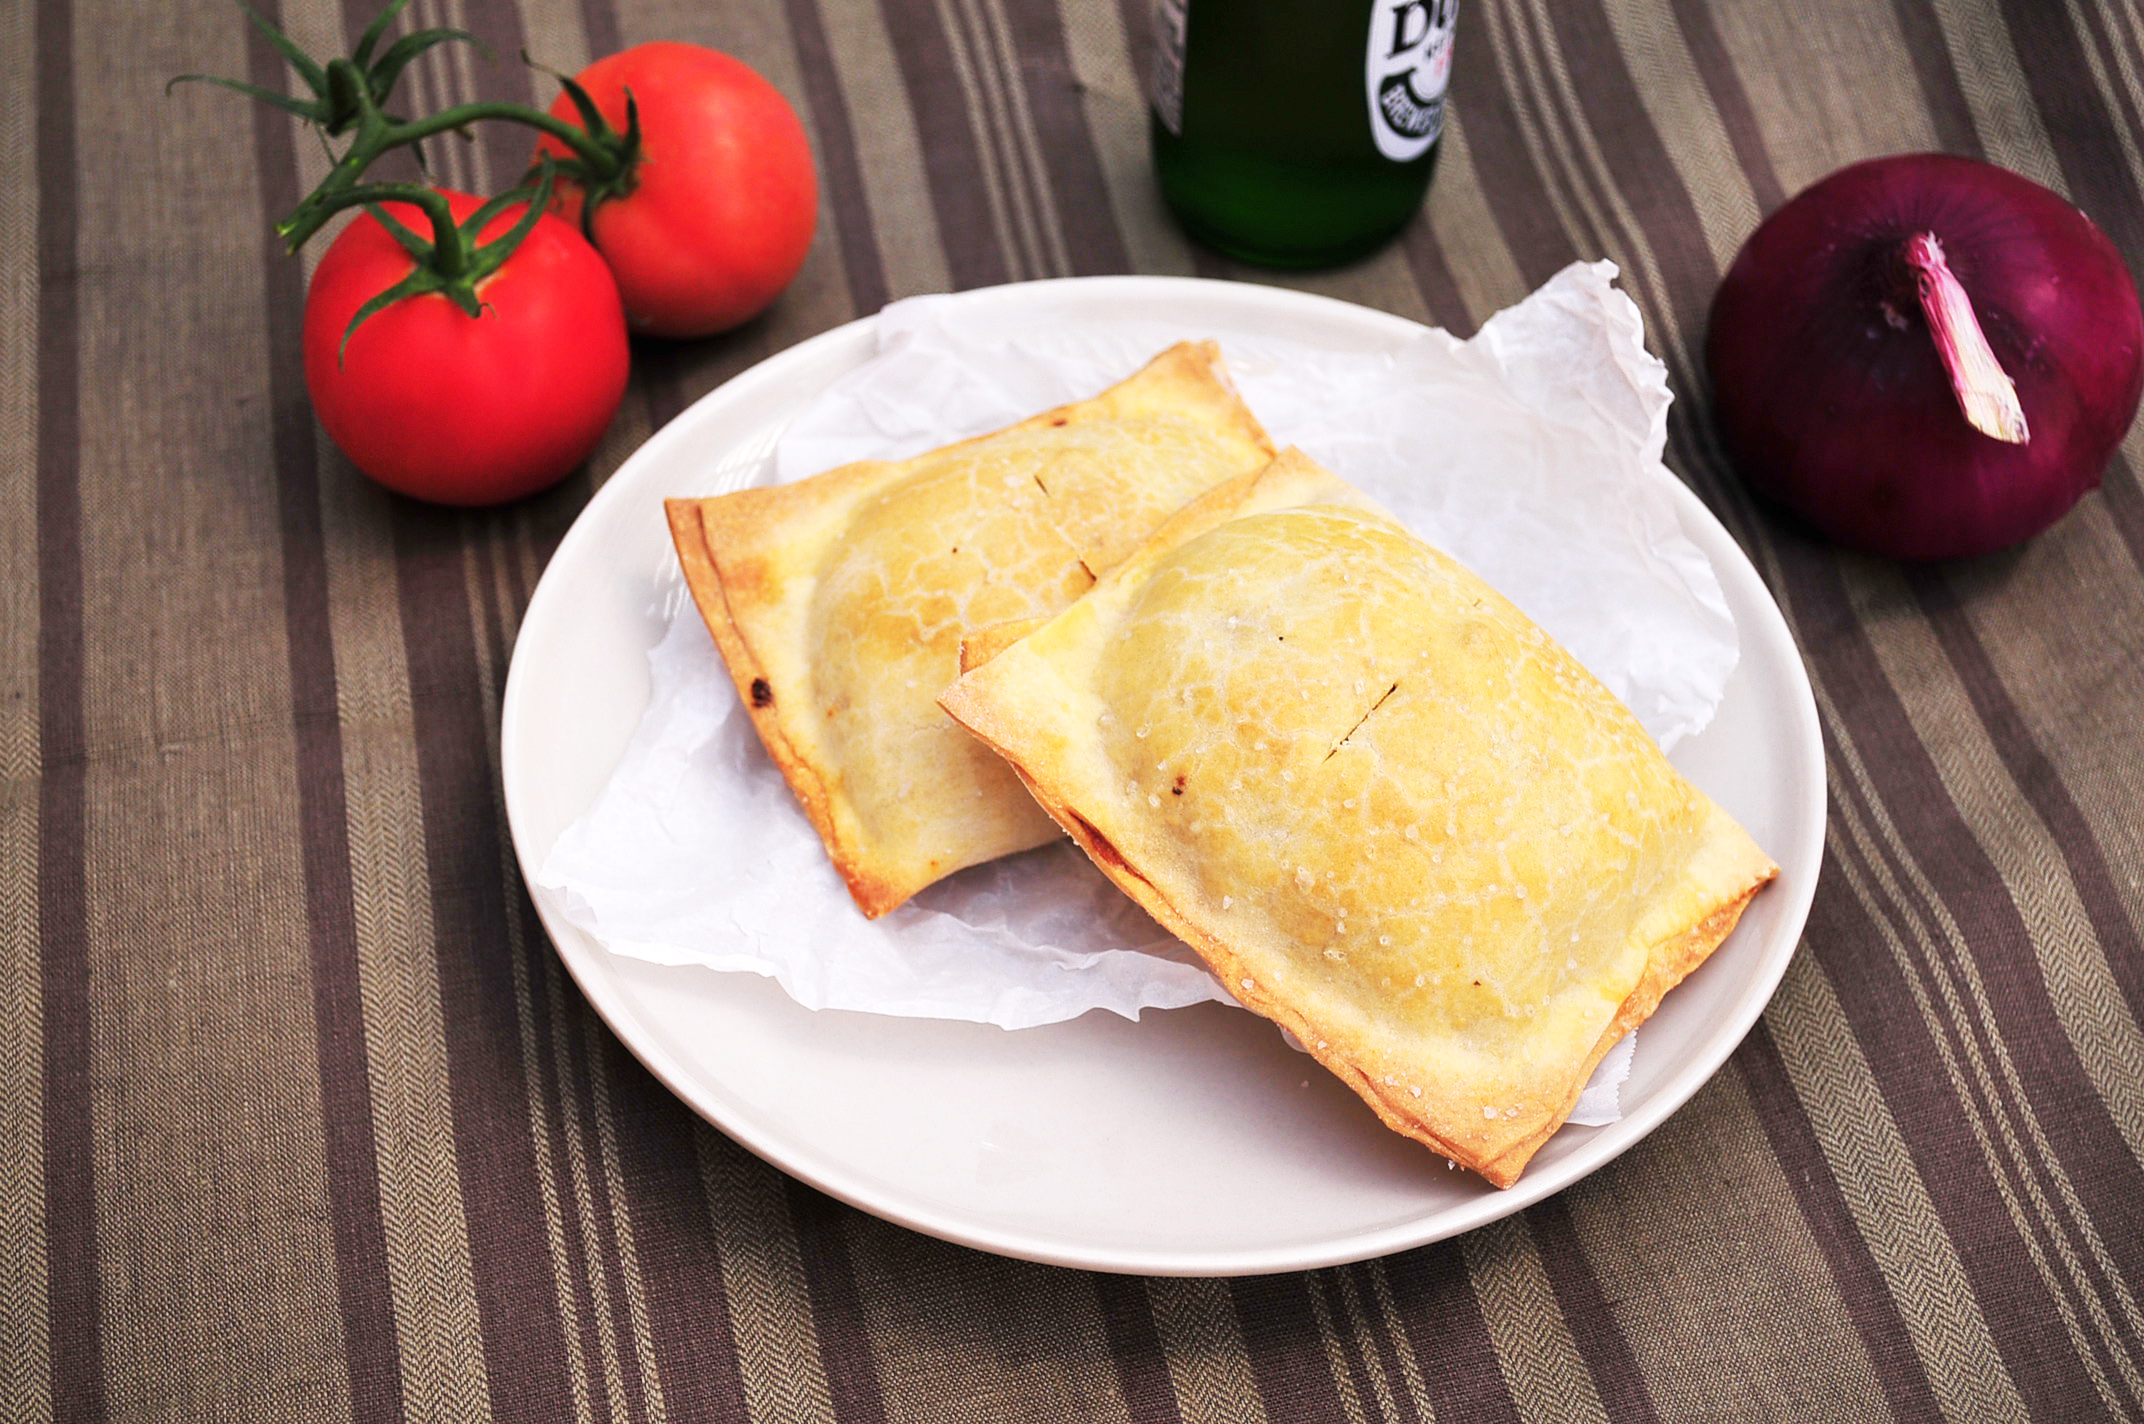
Mushroom Pork Hand Pies
For The Dough:
2 1/4 cup flour
1 tsp salt
10 tbs butter, cold, cut into cubes
1 egg
1/3 cup ice water
For The Filling:
2 tbs olive oil (plus more as needed)
1/4 cup onioins, chopped
2 cloves of garlic, minced
1/2 cup mushrooms, chopped
1 cup ground pork (you can sub turkey or chicken as well)
1 cup tomatoes, chopped
1/2 cup roasted red bell peppers, chopped
1 tsp salt
1/2 tsp pepper
1 tsp smoked paprika
1 tsp chili powder
For The Top of Dough:
1/4 cup melted butter
pinch of salt
Put 1 1/2 cups of flour and the salt in a food processor, pulse for a second to combine. Add the butter and process until combined. Add the remaining flour and process again. Move to a bowl. In a small bowl, beat the egg and water together until well combined then add the egg/water to the dough with a wooden spoon. If you add the water and egg with the food processor, your dough will turn out crispy and cracker like.
Form into a disk, cover with plastic wrap and chill for at least 1 hour.
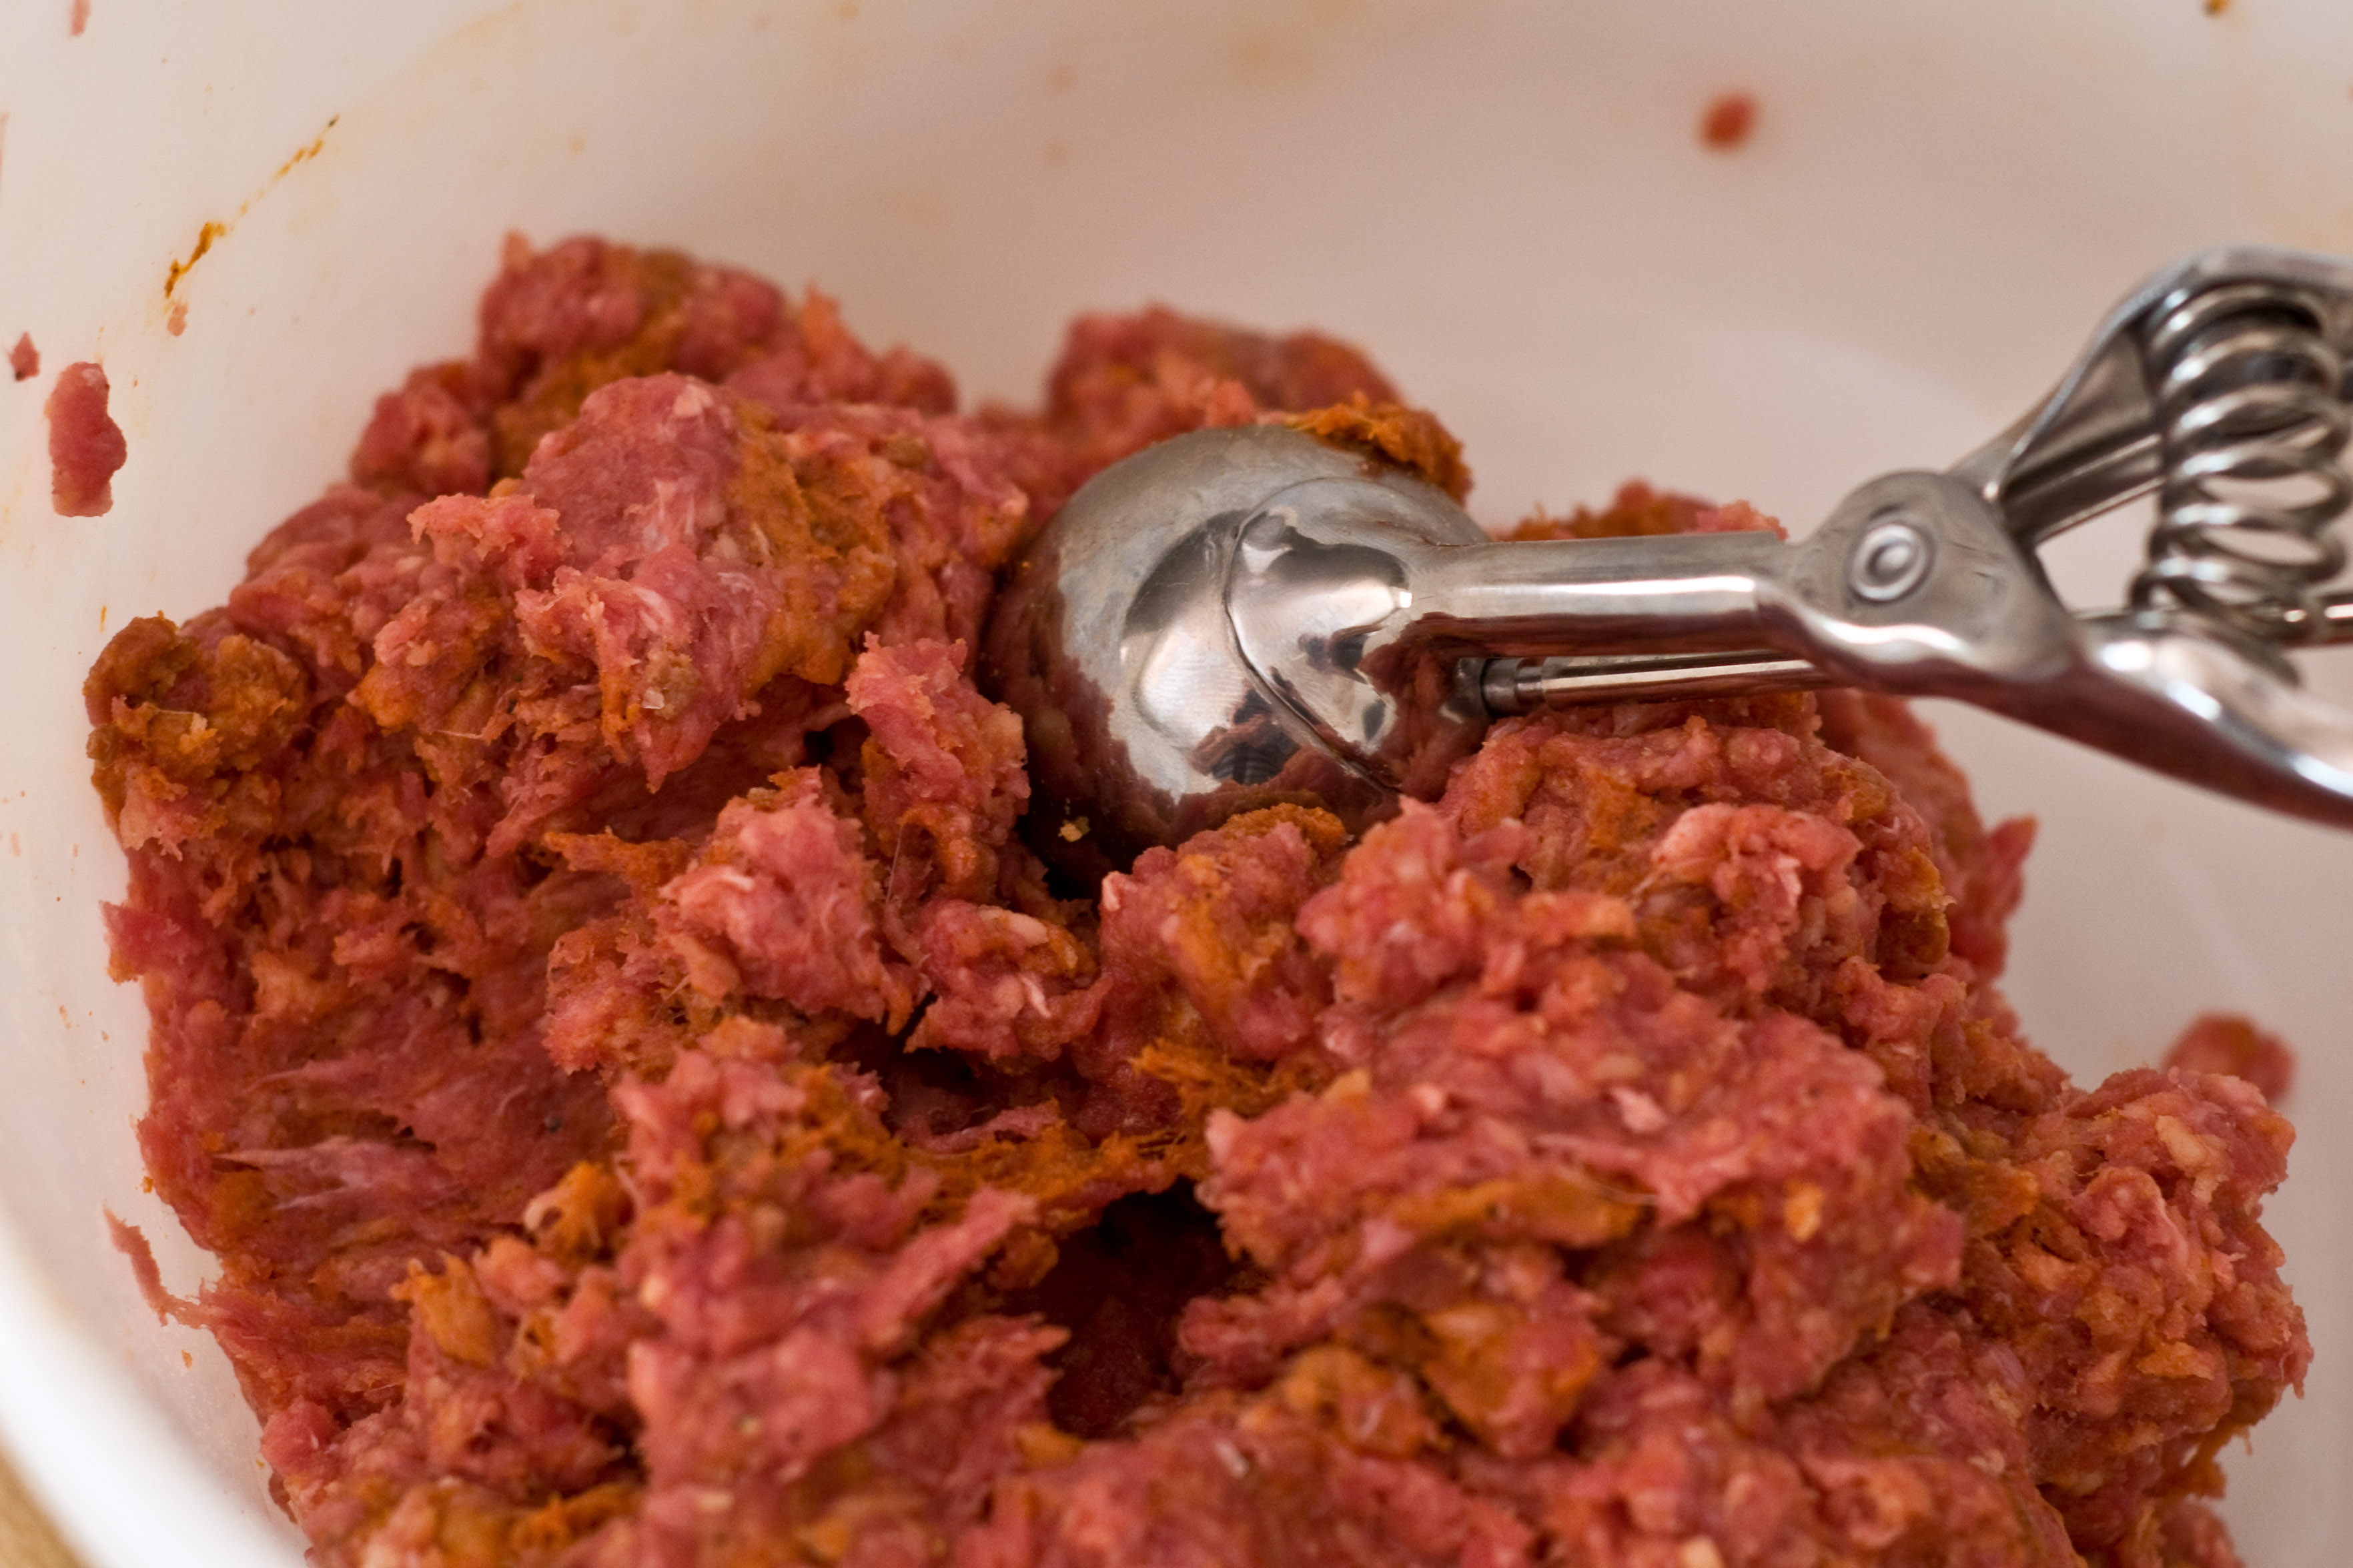
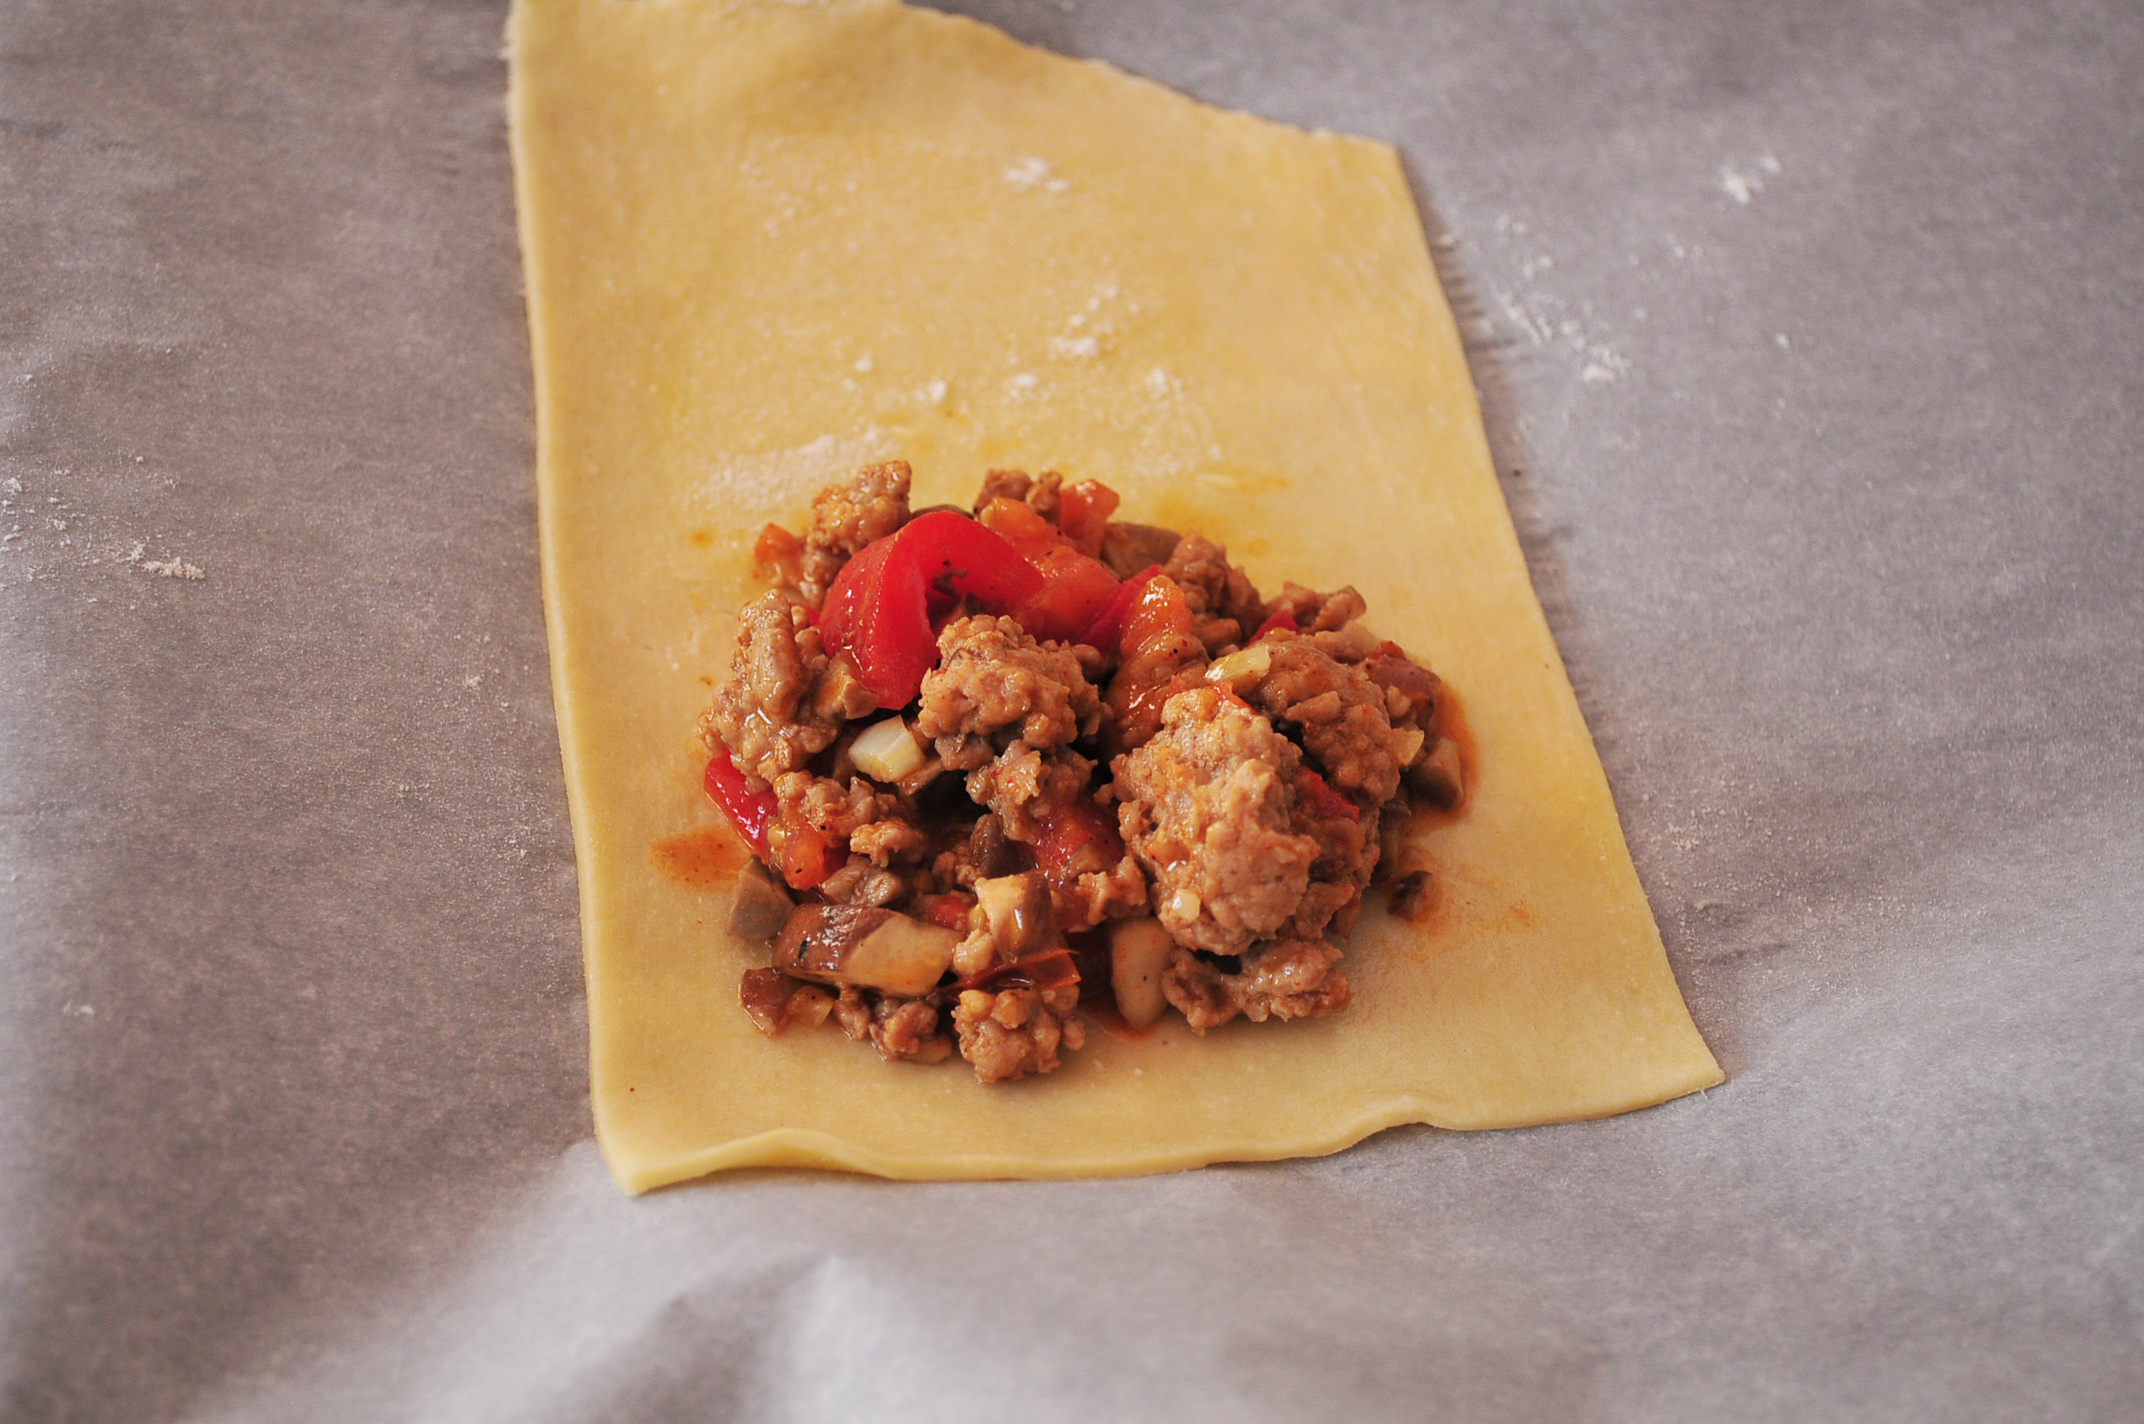
Heat the oil in a saucepan over medium heat. Add the onions and cook until opaque, about 3 minutes. Add the garlic and the mushrooms and cook until the mushrooms are soft, adding a little more oil if the pan gets dry. Add the remaining filling ingredients and cook until warm and combined, about 3 minutes. Allow to cool.
Once the dough is chilled, roll out on a flat surface and cut into sections that are 6 inches by 8 inches. Add 1/4 cup of the filling to one end of the strip, keeping at least an inch between the filling and the edges.
Fold the empty half over the filling and press the edges until secure.
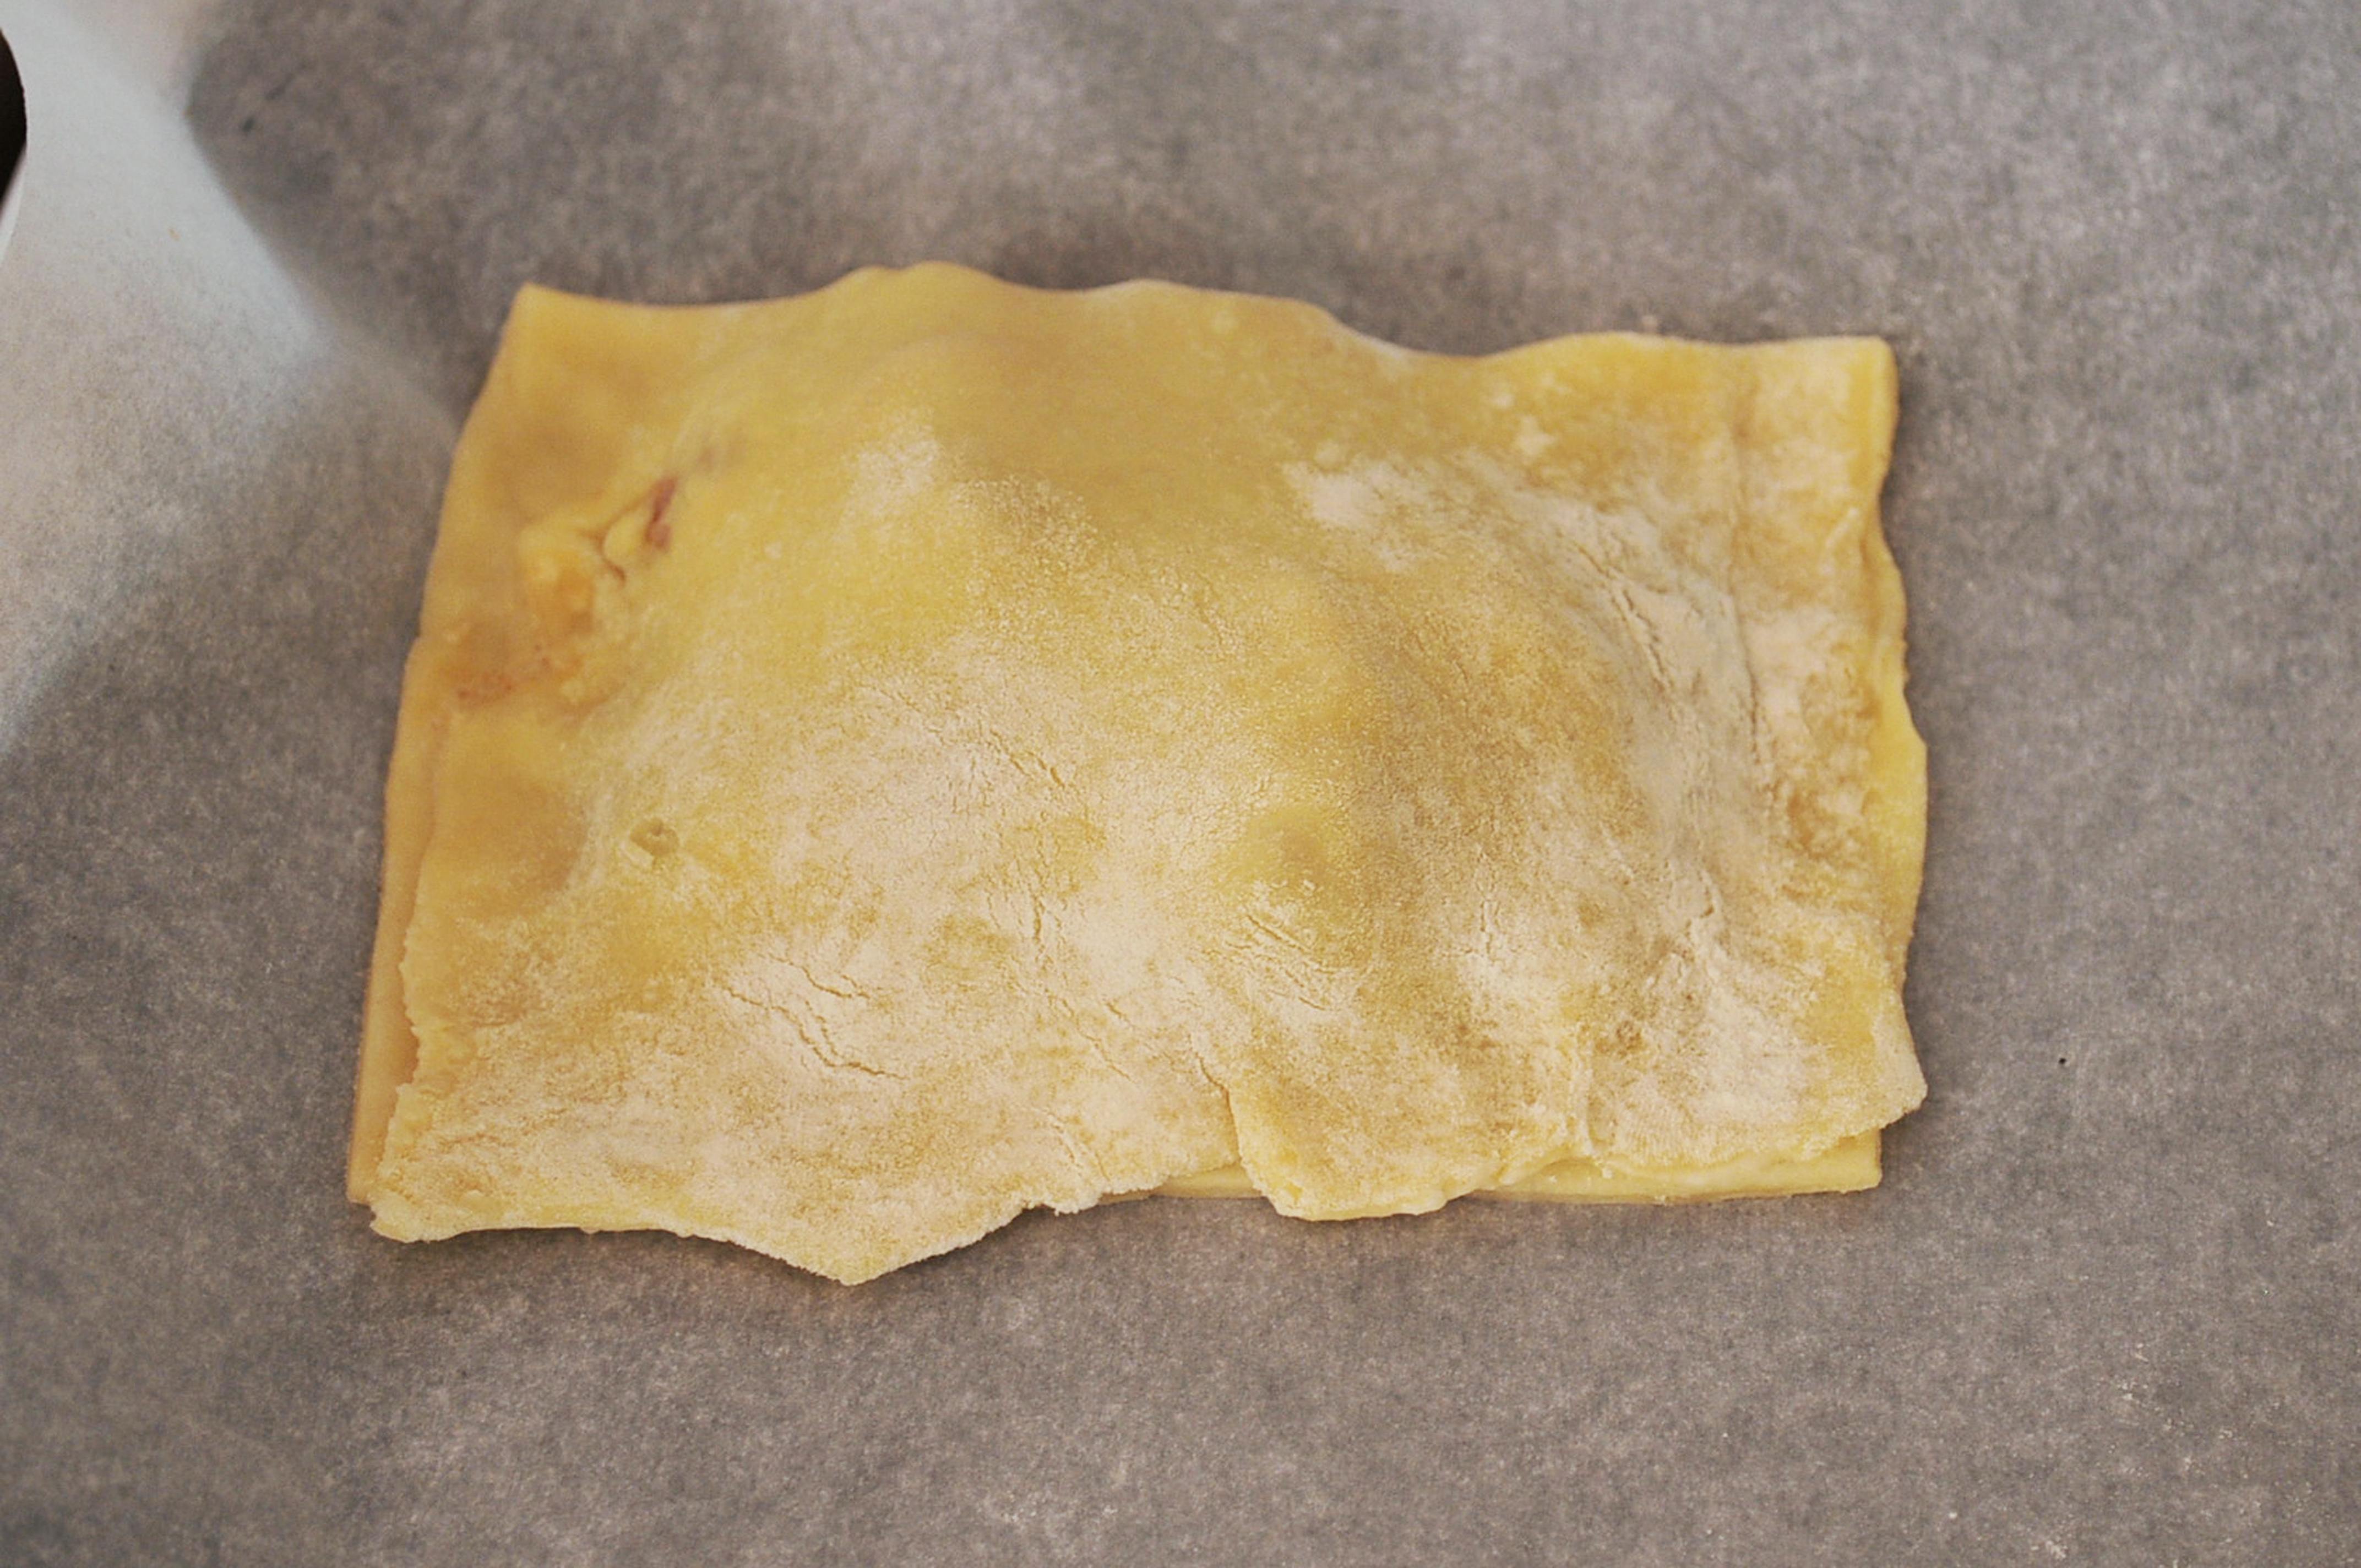
Transfer to a baking sheet (sprayed with cooking spray or covered with parchment paper to prevent sticking).
Repeat until all the dough and filling are used. Brush the tops of the pies with melted butter and sprinkle with a little salt.
Should make between 8 and 10 pies.
Bake at 400 for 20-25 minutes or until golden brown.