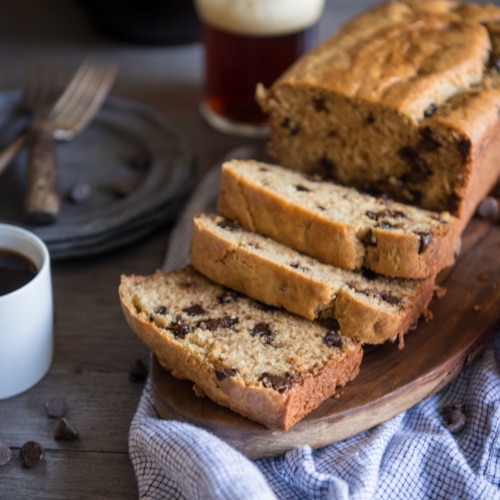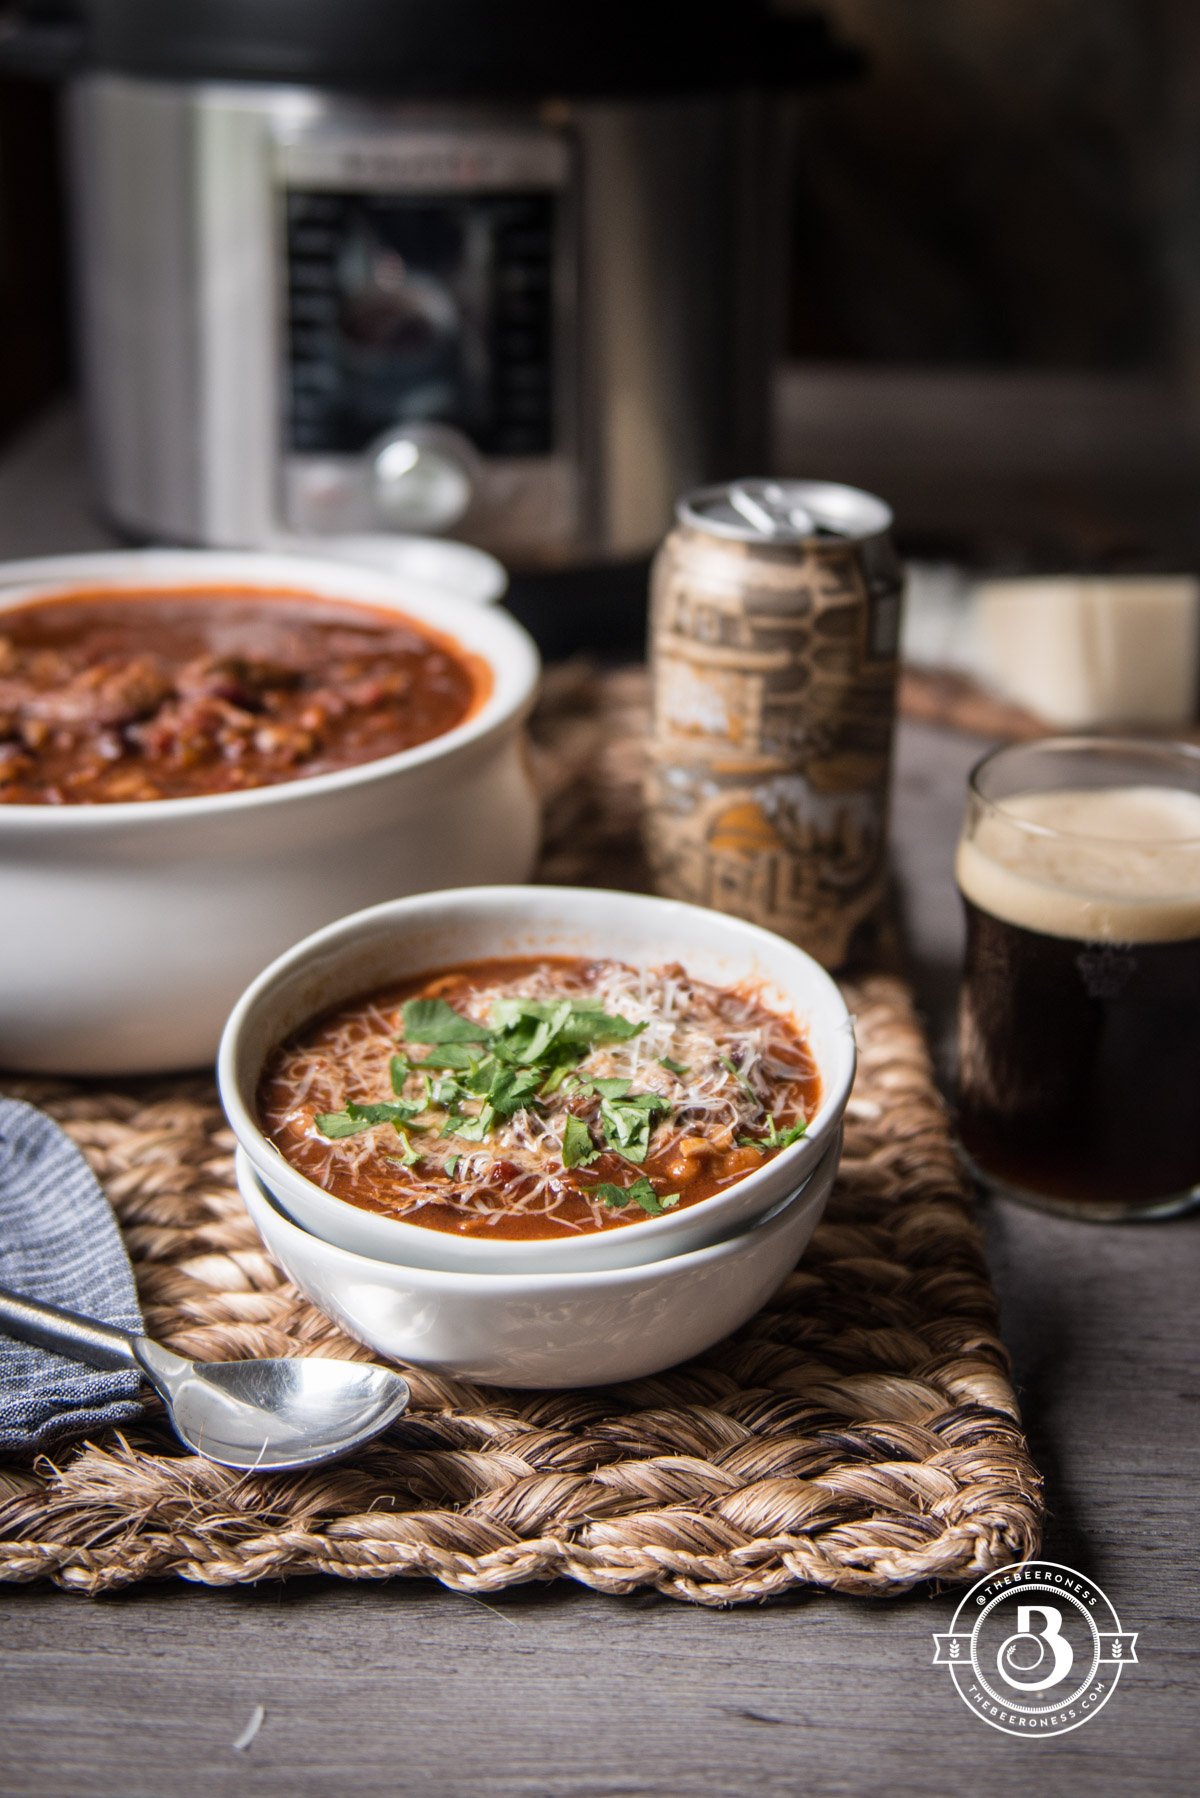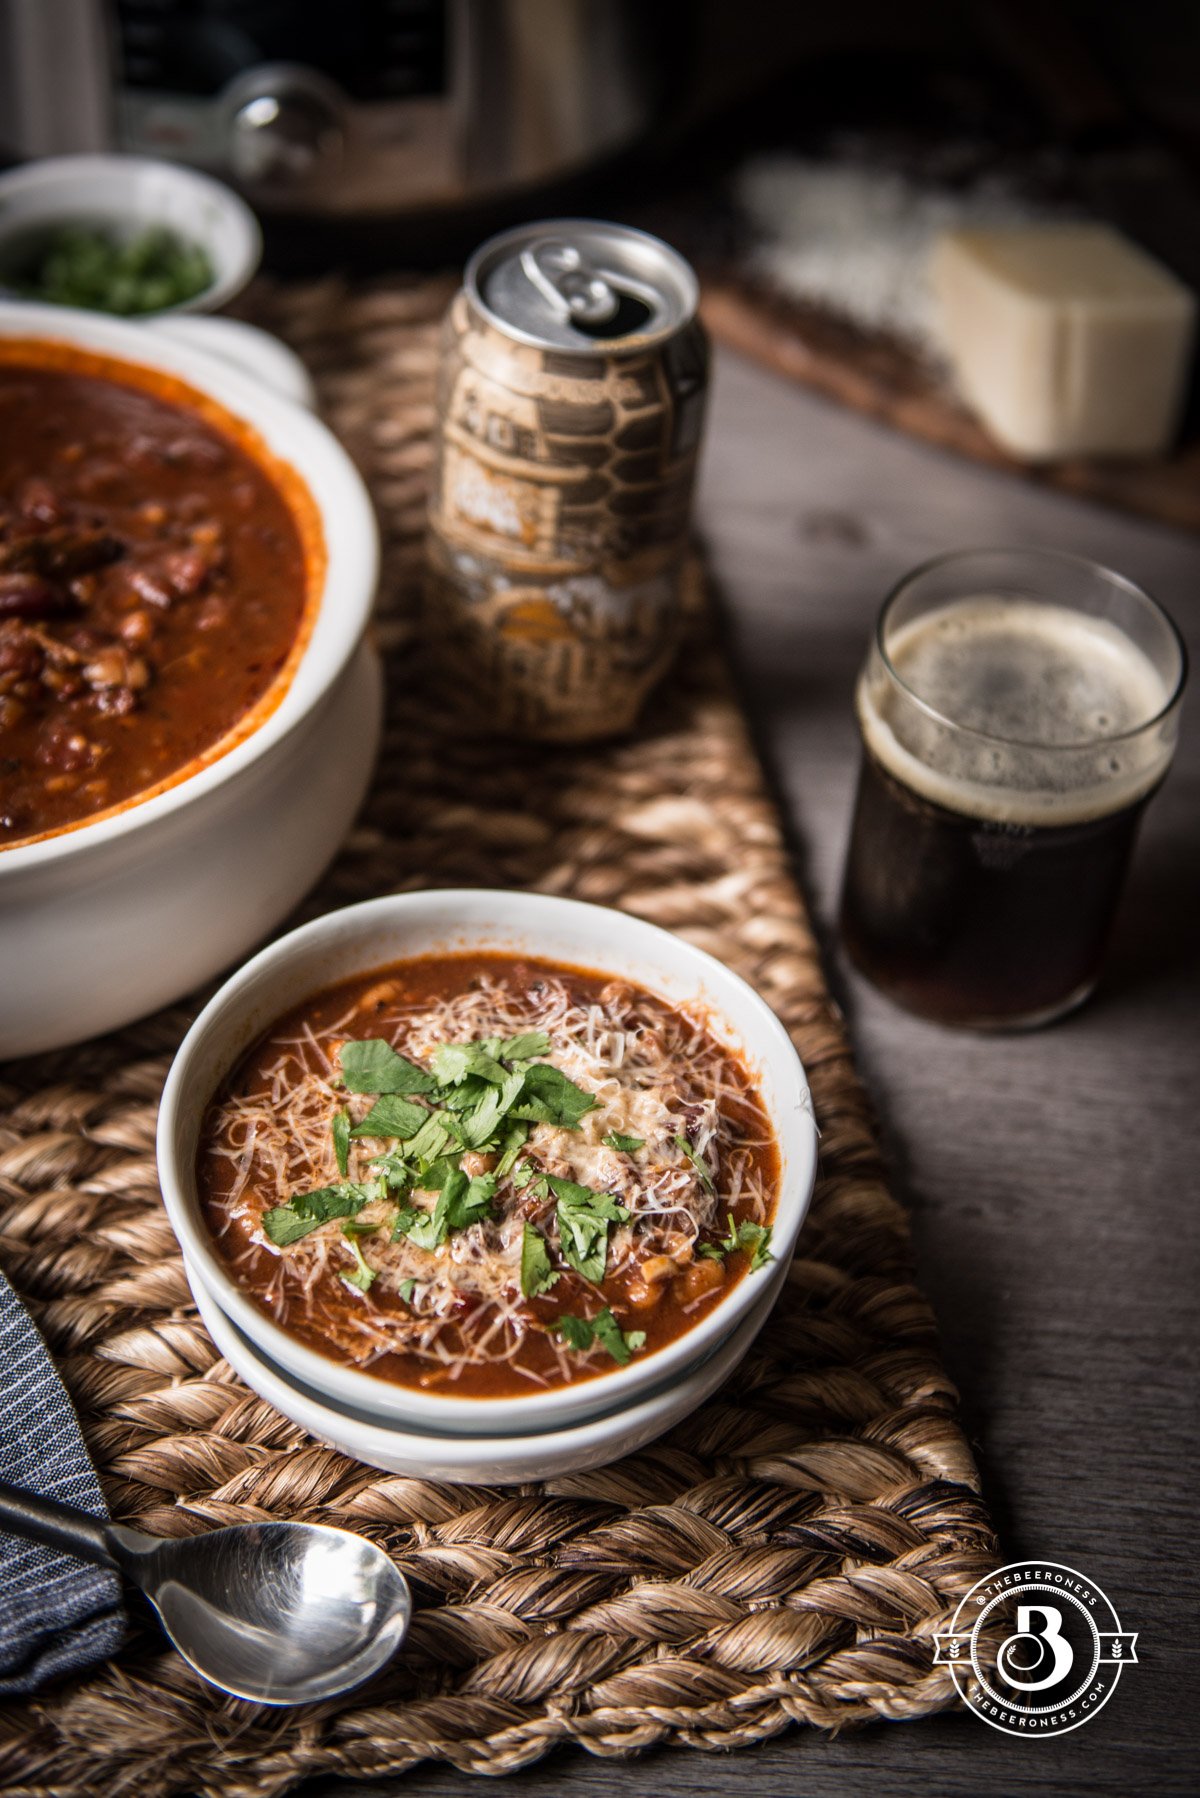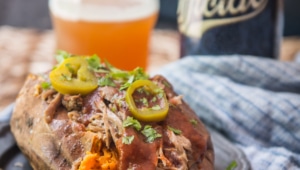
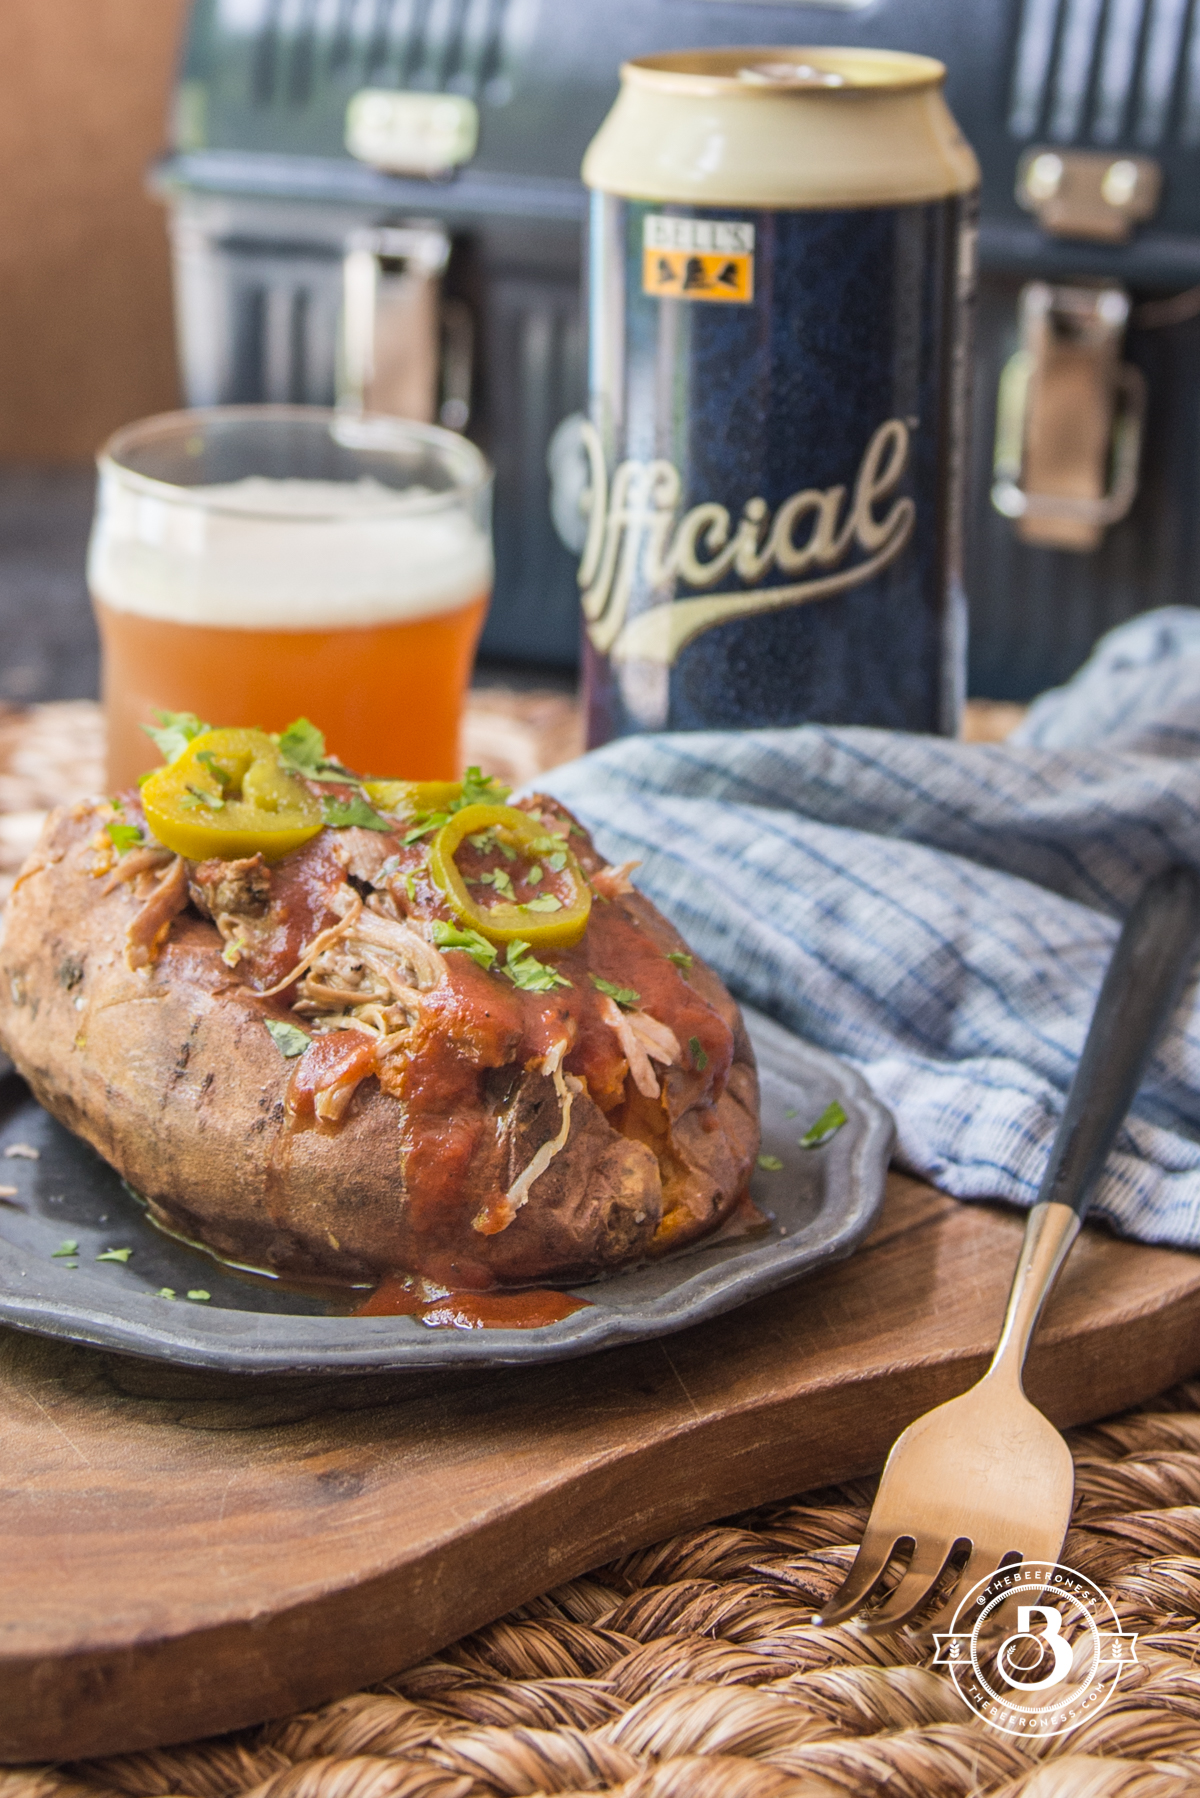
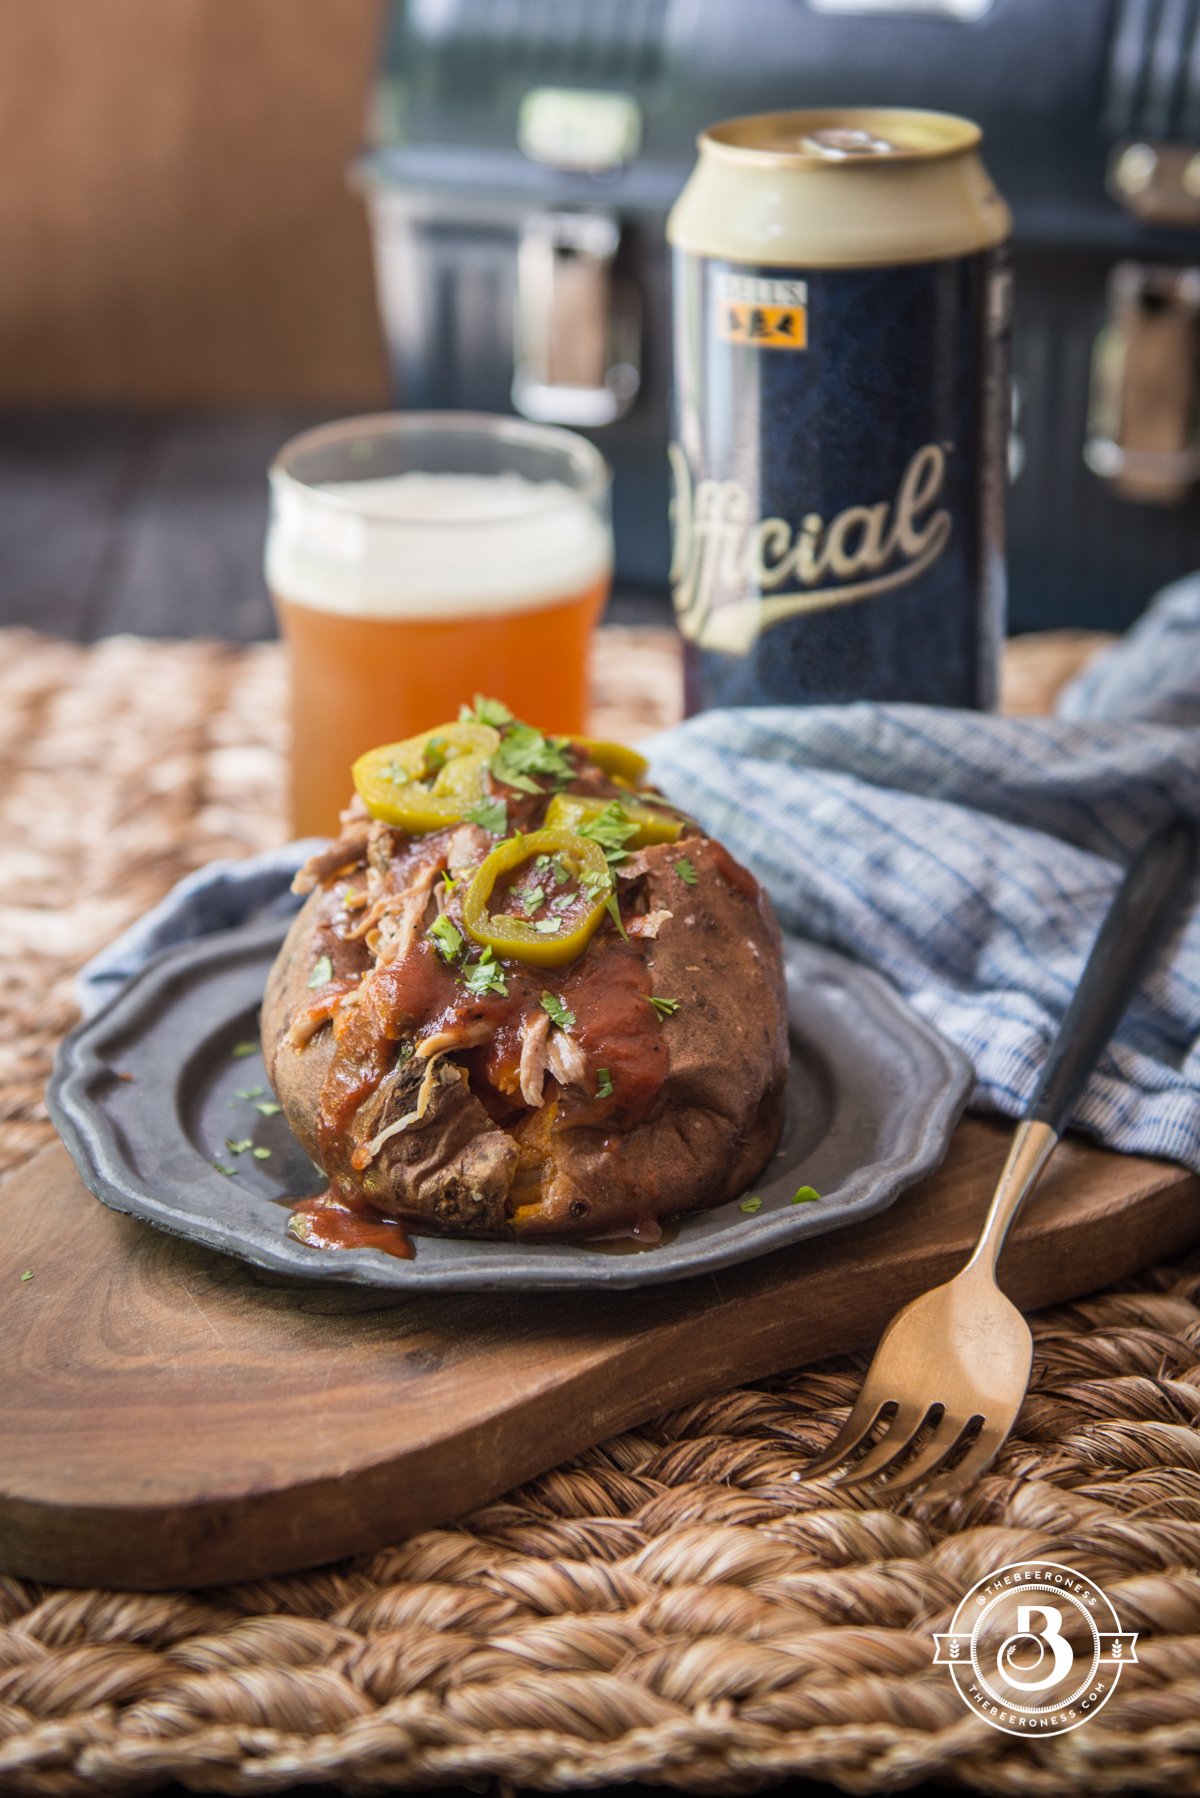
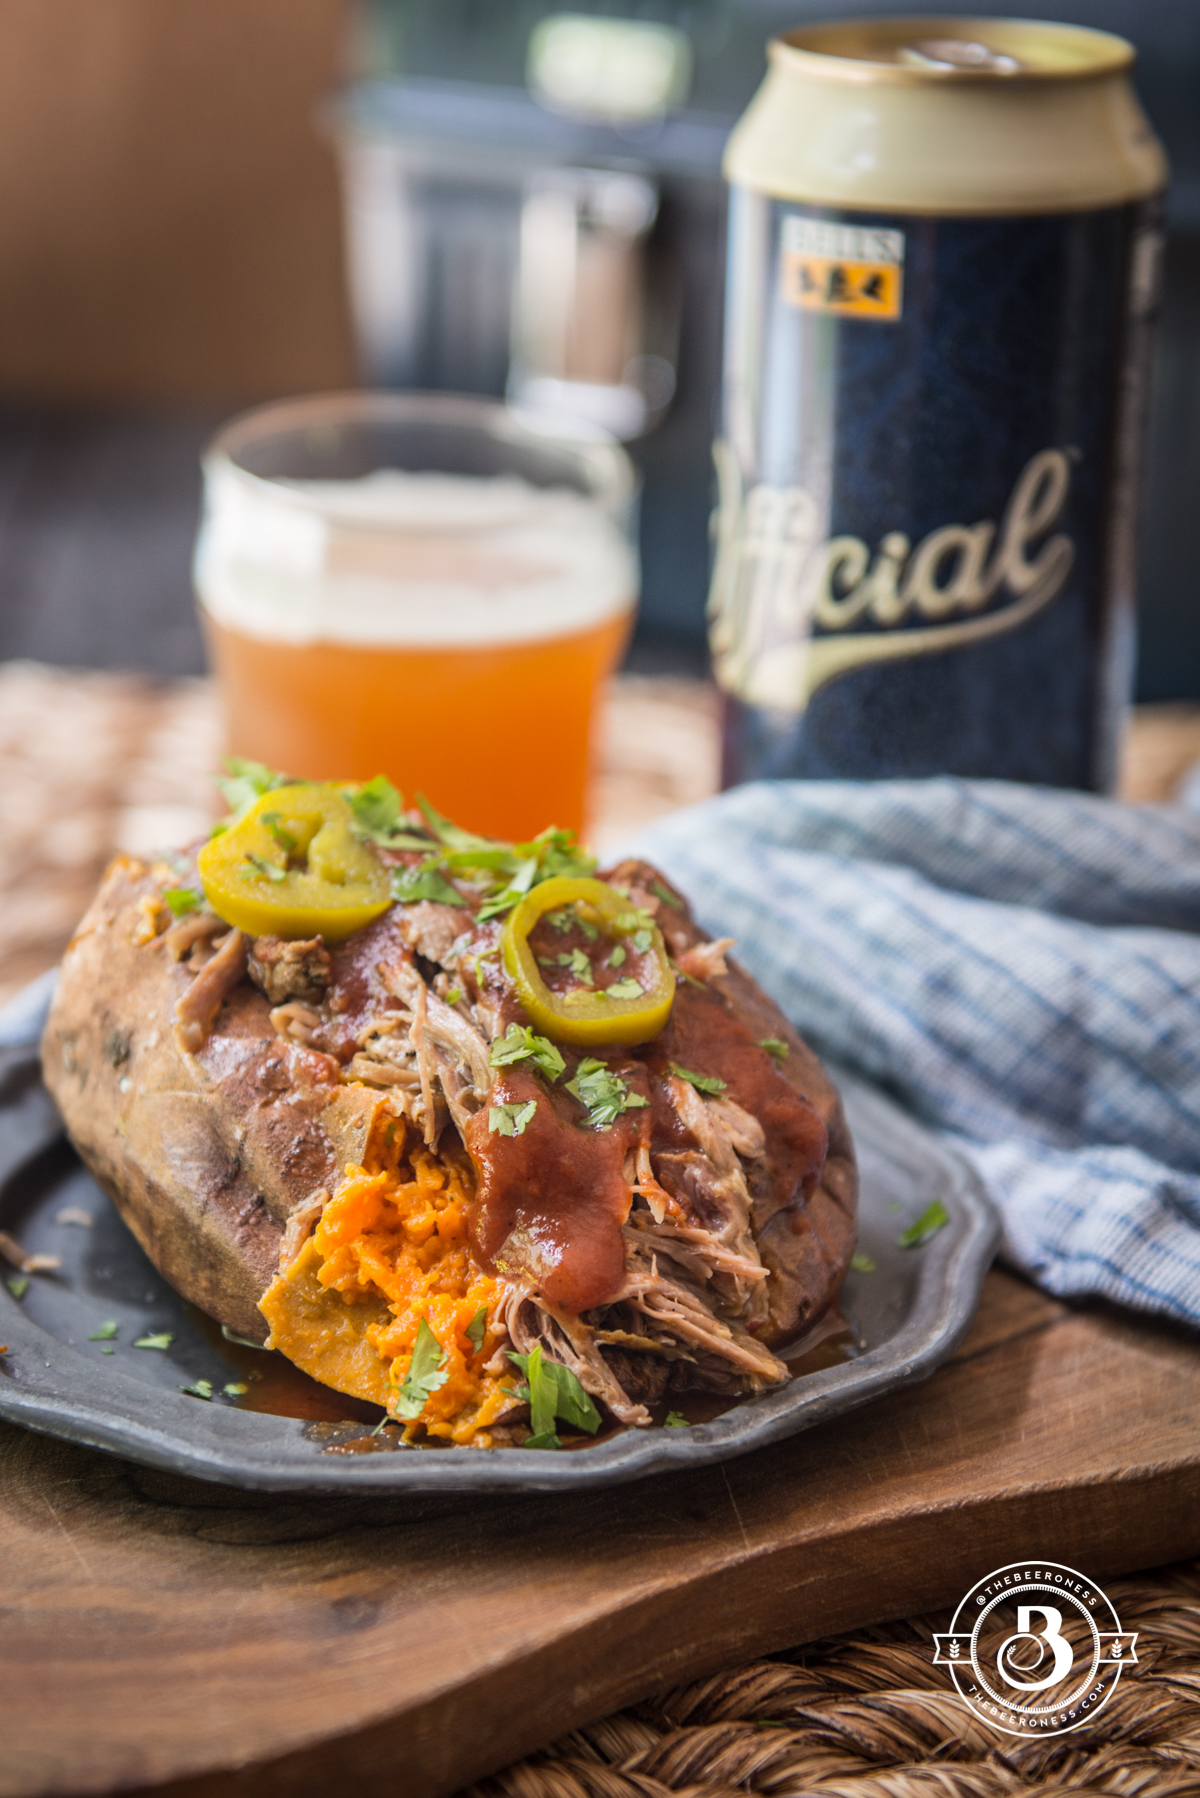
Spicy Beer Pulled Pork Stuffed Sweet Potatoes
Somedays the internet is just pug videos and Game of Thrones memes and other days it feels so full of trolls lurking just under the surface, waiting with their beady little eyes for the chance to pounce. On the bad days, I have to believe those of us who are willing to mama-bear the good people and come out in force against the trolls are much larger in quality and quantity than former.
Let’s just make that agreement, shall we? As we make our pulled pork and drink our beer that we’ll look out for each other. We’ll stick up for someone who’s being bullied online and push the trolls back into the caves from which they came.
There are days when I want to be the kind of person that will love the trolls so hard they will crack wide up and shed their skin like a snake and evolve into a self-aware human.
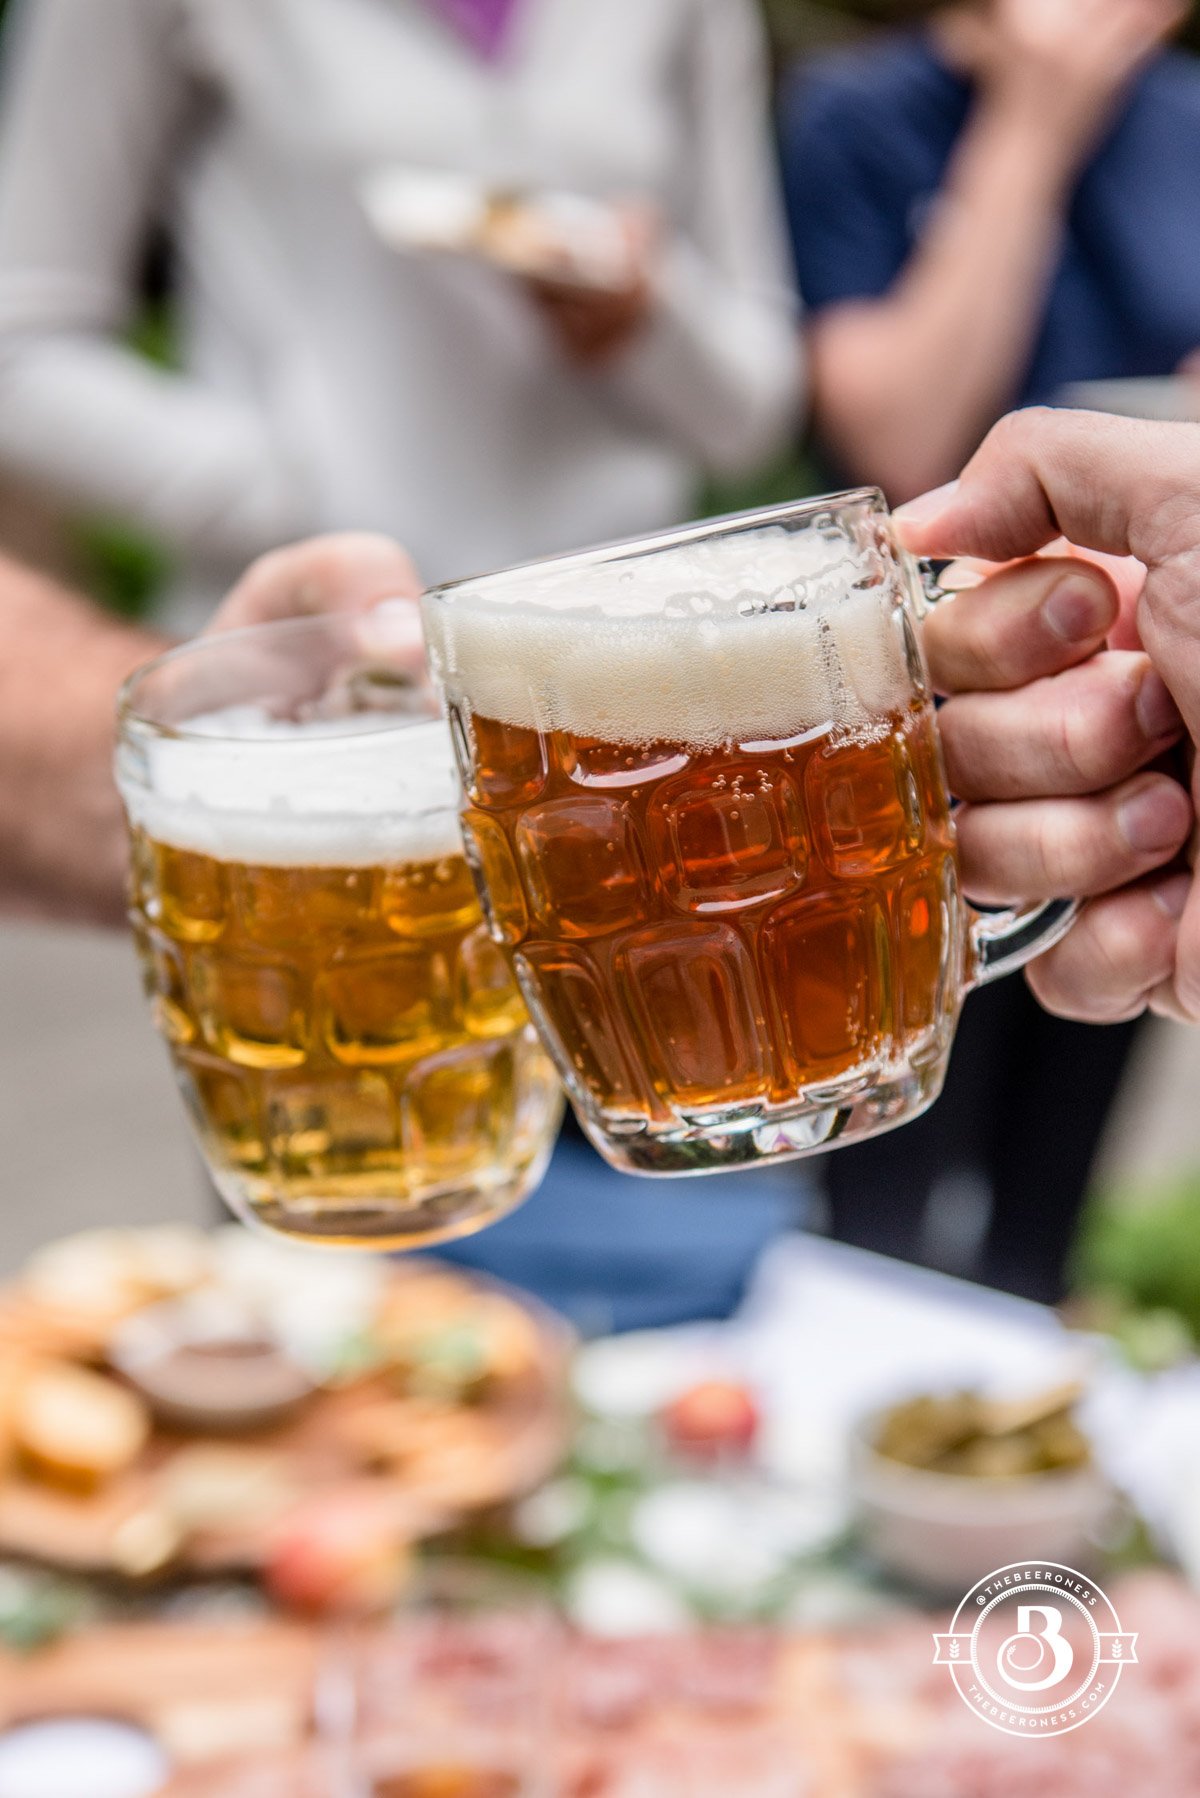
But other days I don’t have the strength. I just want to hand you my beer and wreck shop. I find the restraint and often channel that rage into cooking. So I rage cooked you some stuffed sweet potatoes and served them with this amazing hazy IPA from bells called Official Hazy IPA. It’s one of those beers that makes everything right in the world.
Spicy Beer Pulled Pork Stuffed Sweet Potatoes
Ingredients
For the pulled pork:
- 1 tablespoon kosher salt
- 1 tablespoon brown sugar
- 1 tablespoon onion powder
- 1 tablespoon chili powder
- 1 tablespoon ground cumin
- 1 tablespoon black pepper
- 2 teaspoon smoked paprika
- 2 teaspoon dry mustard powder
- 2 teaspoons cayenne pepper
- 4 lb pork shoulder
- 6 cloves of garlic peeled
- ¼ cup olive oil
- 3 cups stout or smoked porter
For the potatoes:
- 6 medium sized garnet sweet potatoes
- olive oil
- kosher salt
- 6 tablespoons butter
For the toppings:
- 1 cup BBQ sauce for beer BBQ sauce, link above
- ¼ cup chopped cilantro
- ¼ cup pickled jalapenos for beer pickled jalapenos, link above
Instructions
Make the pulled pork:
- In a small bowl stir together the salt, brown sugar onion powder, chili powder, cumin, pepper, smoked paprika and mustard powder together until combined, set aside.
- Take out your pork and stab 6, 2-inch deep holes fairly evenly spaced through the meat. Push a clove of garlic into each hole until no longer visible.
- Rub the entire surface of the meat with the spice mixture, using it all.
- In a large Dutch oven, heat the olive oil until very hot. Sear all surfaces of the meat, even the sides, until browned. The entire process will probably take about 10-15 minutes. Pour the beer over the meat, cover and reduce heat to medium-low. Cook for about 3 hours, turning the meat over about every 30 minutes, until the meat is tender and falling apart.
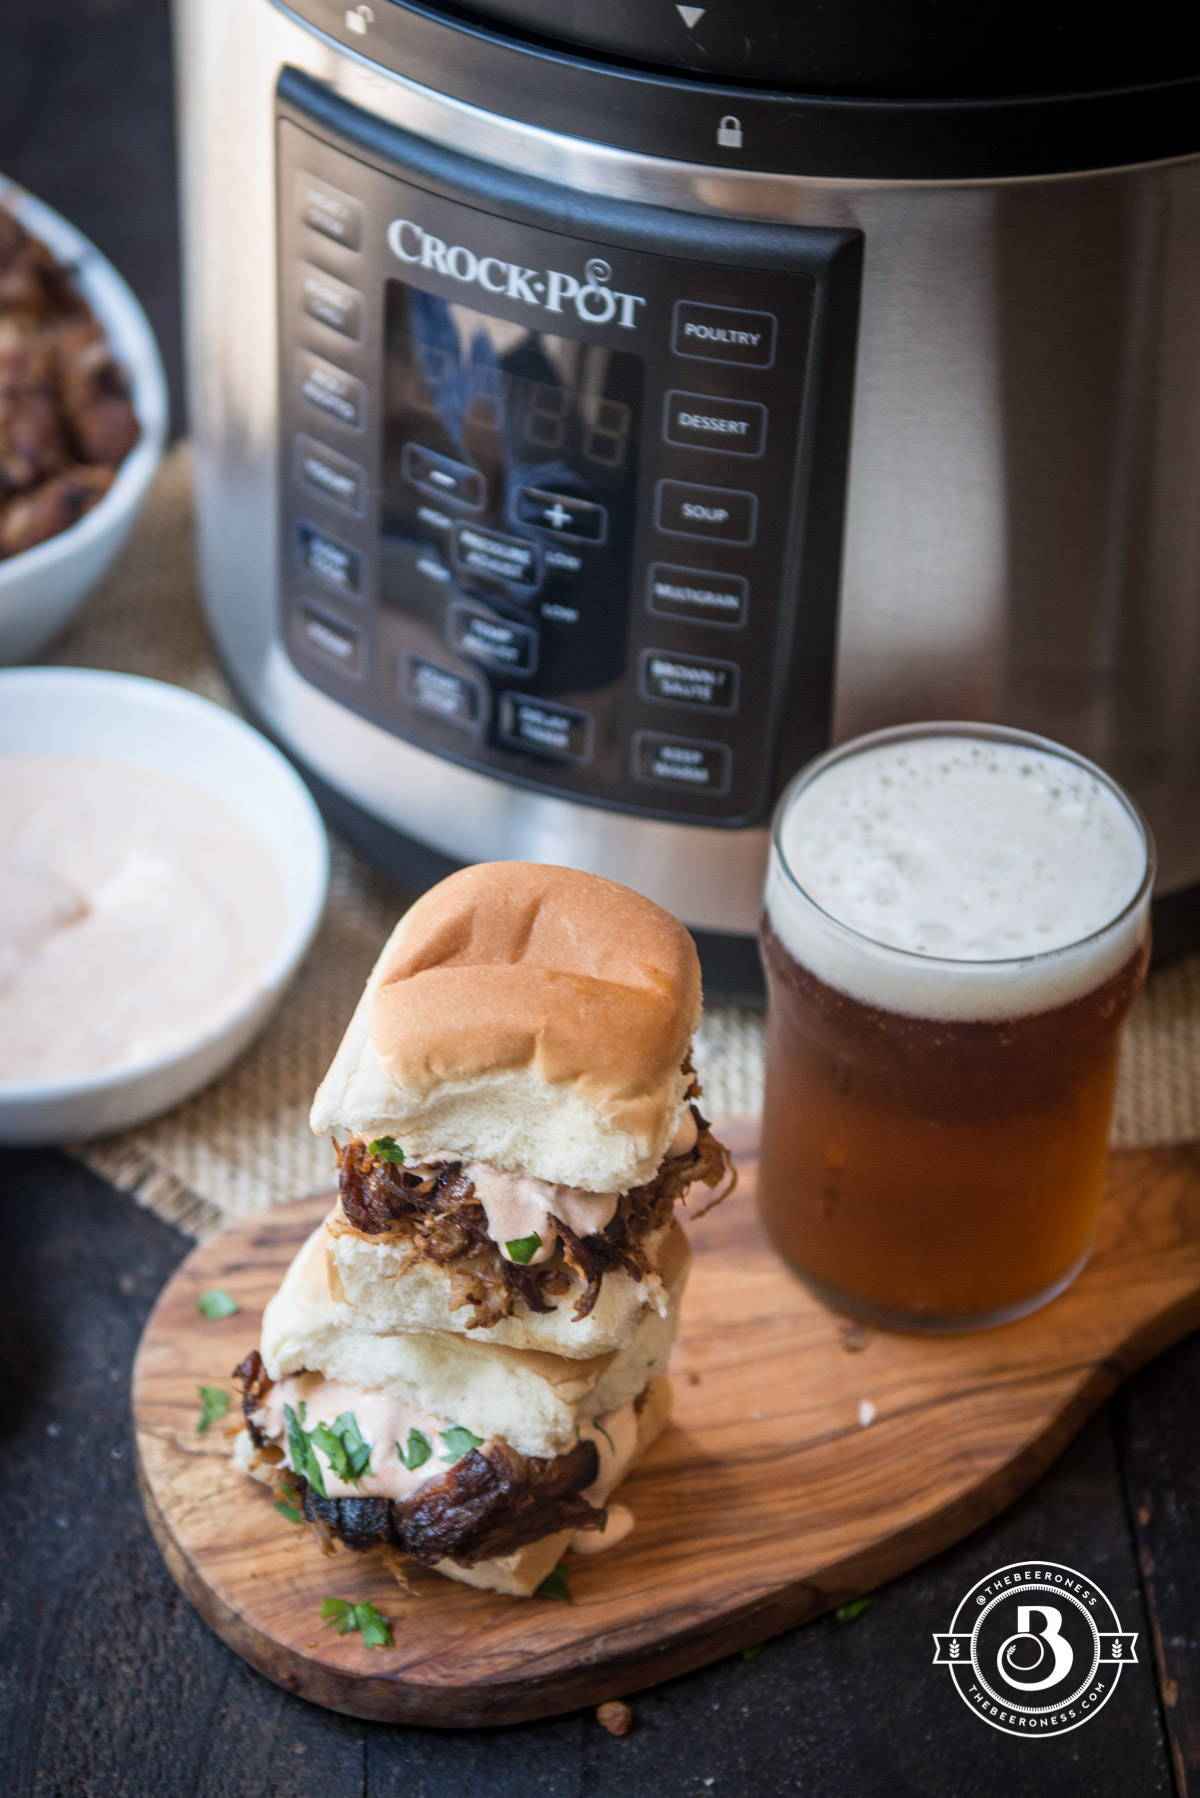
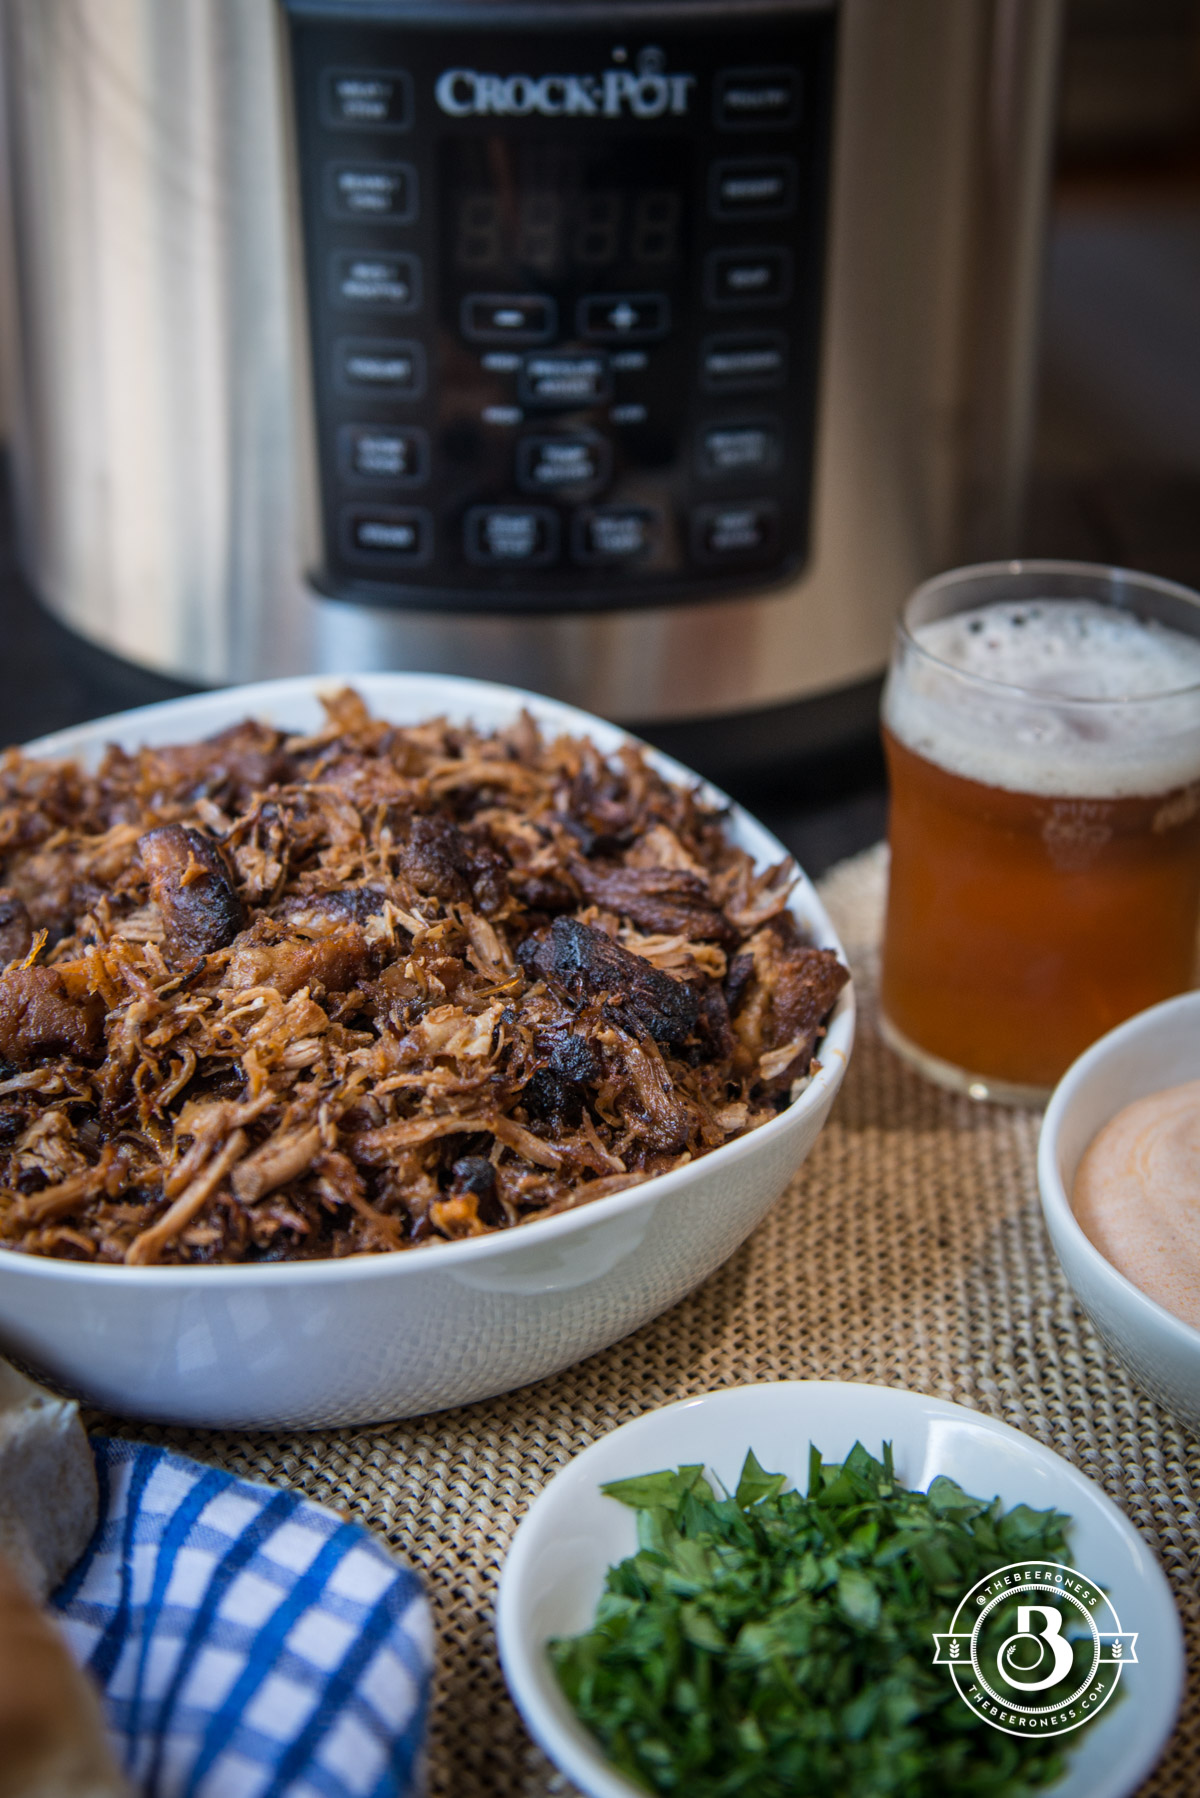
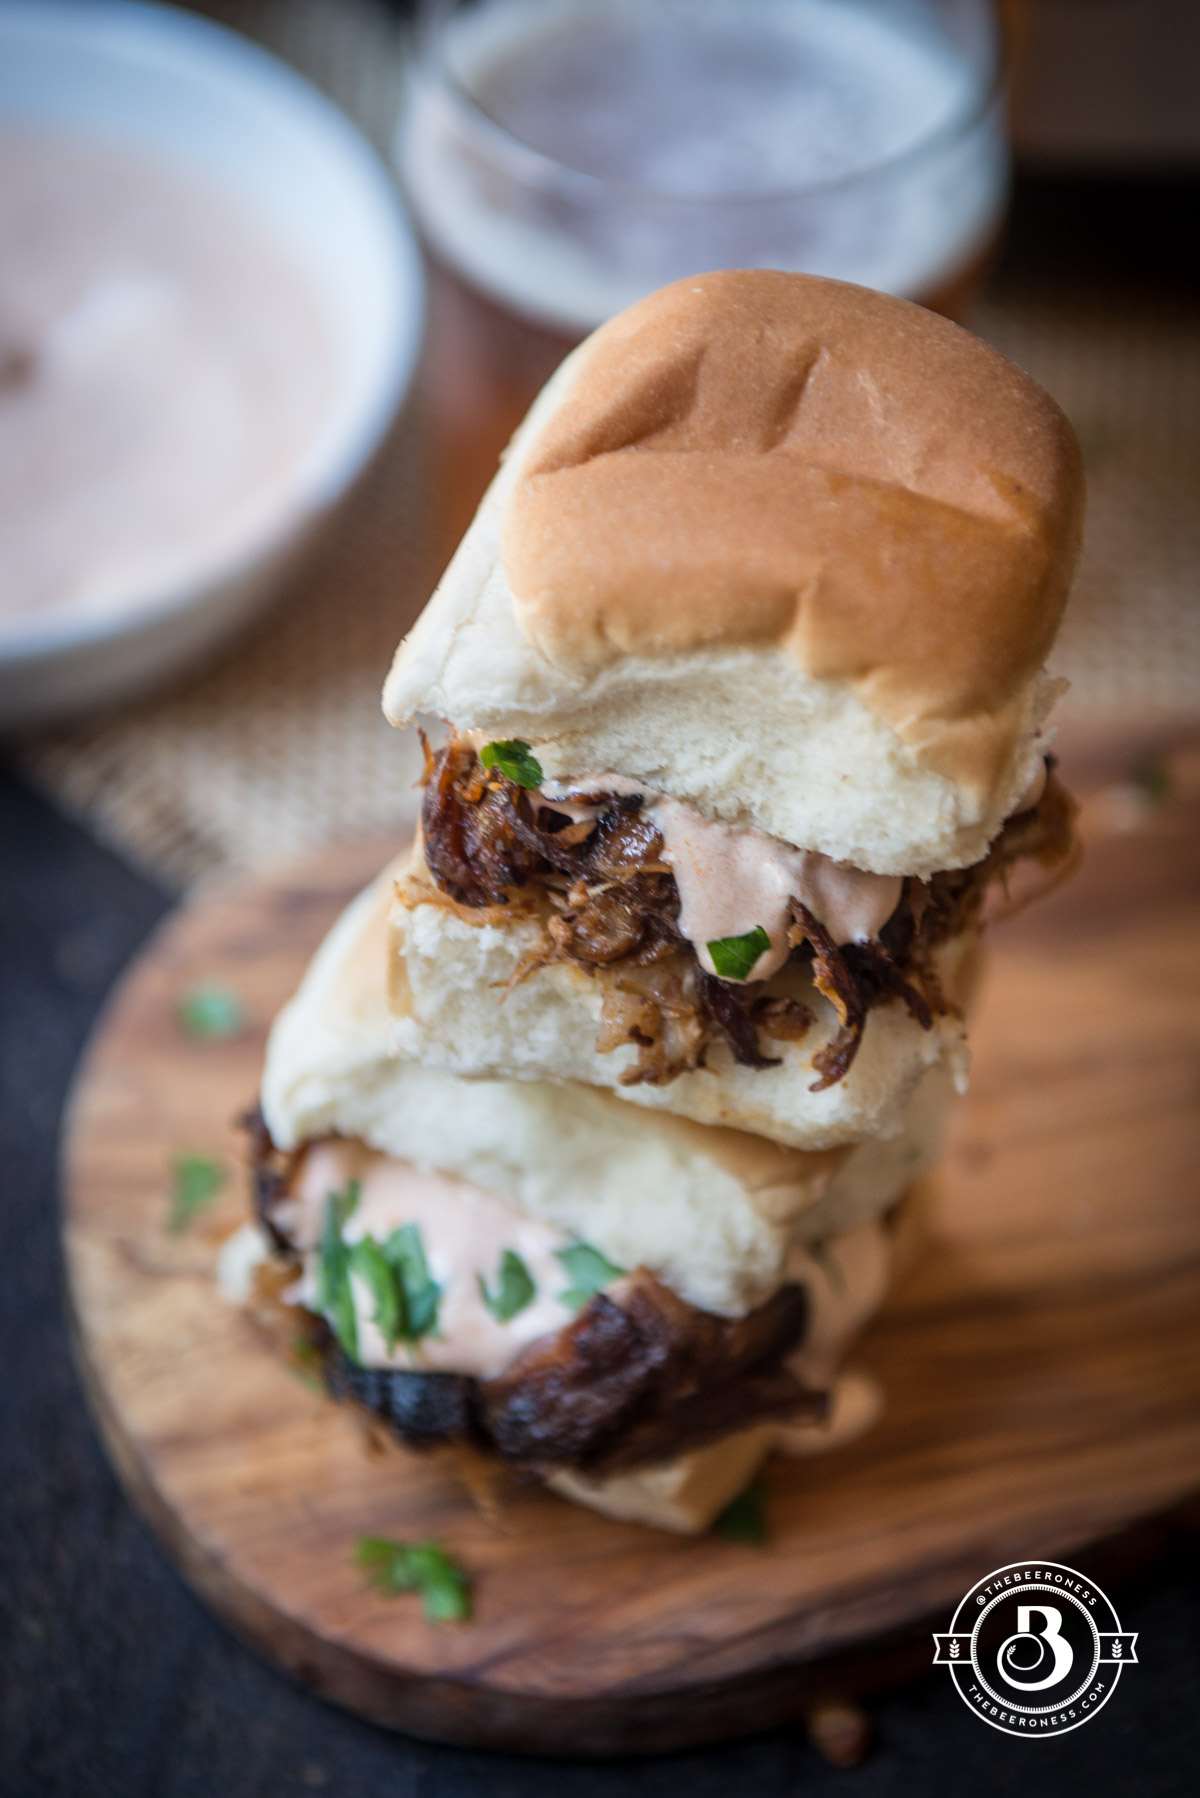
- Once the meat is tender remove from heat, use two forks to shred into pieces while still in the pot (or remove, shred and return to pot). Return to the pot to heat and allow to simmer for about 5 minutes. Remove the meat from the pot, add to a servings bowl.
- If planning on store the meat, reserve ½ cup of the cooking liquid to add to the meat while storing.
Make the potatoes:
- Preheat the oven to 400°F.
- Pierce the potatoes all over with a small knife.
- Add the potatoes to a wire rack over a baking sheet. Drizzle with olive oil, sprinkle with salt.
- Bake for 40 minutes or until fork tender ( the time will depend on the size of your potatoes, larger ones can take up to 30 minutes longer).
Top the potatoes:
- Slit the potatoes lengthwise. Add 1 tablespoon of butter to the center of each, sprinkle with salt. Mash the butter and salt into the sweet potato with a fork.
- Add desire amount of pulled pork to each potato, top with cilantro, barbeque sauce, and jalapenos.