party

Cucumber Cups Stuffed With Goat Cheese Caprese


Winner Winner Chicken Dinner!

On Friday I fought a culinary chicken battle that ended with a giant foam core check with my name on it. This was my second attempt to win the Semi-Finals of the Foster Farms Chicken Cook Off, last year wasn’t my year. But this year, I won a giant check, a trip to Napa, the opportunity to cook at the Culinary Institute of America at Greystone (my favorite prize so far) and the chance to grab another Giant Check worth ten grand.

I’m so excited. Not just because the other dishes I was competing against were incredible and each worthy of their own Big Check, but because, in a way, this Big Check (that currently sits on my bar, in all it’s 4 foot long splendor) serves as a validation for what I do. I’m good at this! See, look, other people picked my recipe out of thousands of other ones!

Maybe that seems silly, I create 3 to 5 recipes a week, post them for you and you seem to like them. You send me emails and post comments telling me that you liked my little creations. That should be enough, right?

But for some reason, that Big Check gave me tangible evidence that my recipes are good. Other people, who don’t even know who wrote that recipe, liked it.

Maybe I have a future here.

;

For this, I’m resurrecting and re-creating one of my most popular posts.

I love these little cucumber cups, so easy, so versatile, the perfect thing to throw together for a party. They take about 5 minutes, and they look so fancy. I used persian cucumber for these, smaller than your standard English cucumbers and the skin is so thin, there is no need to peel them.

Just use a small melon baller to scoop out a good portion of the middle, or use a paring knife to cut a wedge out of the middle and you can fill them with just about anything.

Cucumber Cups Stuffed With Goat Cheese Caprese

Ingredients

  • 1/2 cup balsamic
  • 4 Persian Cucubers
  • 2 oz goat cheese
  • 1 large beefsteak tomato, chopped
  • 3 large basil leaves, chopped
  • salt & pepper

Instructions

  1. Place balsamic in a small sauce pan over medium high heat. Cook until reduced by half (you can also by pre-reduced balsamic, called balsamic glaze, in the market near the balsamic vinegar).
  2. Cut the cucubmbers into 1 1/2 inch slices. Use a melon baller to scoop out the middle, leaving the walls and bottom in tact.
  3. In a bowl, add the goat cheese, tomatoes, basil and stir until combined. Salt and pepper to taste.
  4. Fill cups with goat cheese mixture, drizzle with balsamic reduction.



Crab Guacamole

I try to eat a healthy balanced diet. Most days, my daily meal planner looks like this:

Breakfast: 2 slices of high fiber wheat toast with 1 tbs of peanut butter each and coffee. Lots of coffee.

Lunch: Quinoa salad or leftover dinner from the night before.

Dinner: Some arrangement of lean protien (mostly chicken or fish), vegetables, and either rice or quinoa

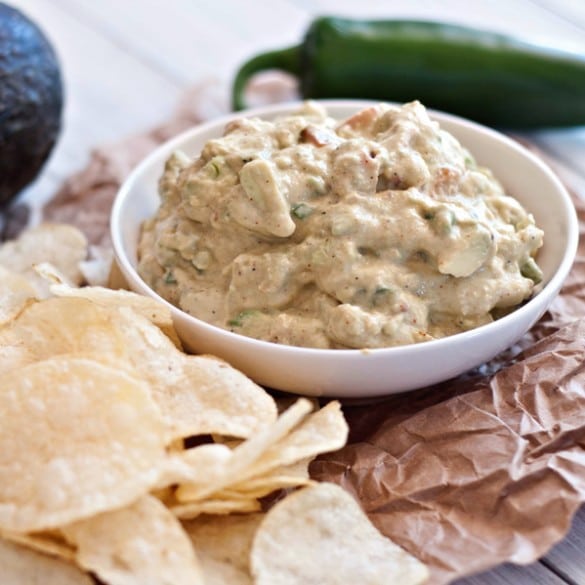
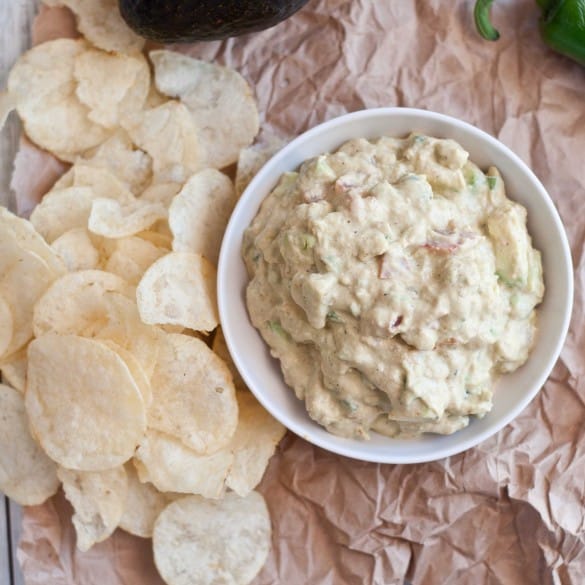
But sometimes I just want to use the gorgeous avocados that were delivered to my door from a local produce delivery service. I want to mix it up with crab and sour cream and eat it over the sink while Tater plays in the back yard. So that’s what I did.

I added fresh jalapenos, and removing the seeds removes most of the heat so you get the flavor, a little crunch and just a bit of heat.

Crab Guacamole

 3 large ripe avocados

1 tbs chopped shallots

2 tbs chopped fresh jalapeno, stem and seeds removed

1/2 cup full fat sour cream

3 ounces crab meat

2 tbs lemon juice

2 tbs chopped cilantro

1/2 tsp sea salt

1/4 tsp black pepper

1/2 tsp chili powder

cut the avocados in half, remove the pit and scoop the flesh into a large bowl. Add the remaining ingredients and smash it all together until well combined, but some chunks of avocado still remain.

Pin This Post!

Follow me on twitter

Follow me on Pinterest

Like Domestic Fits on Facebook


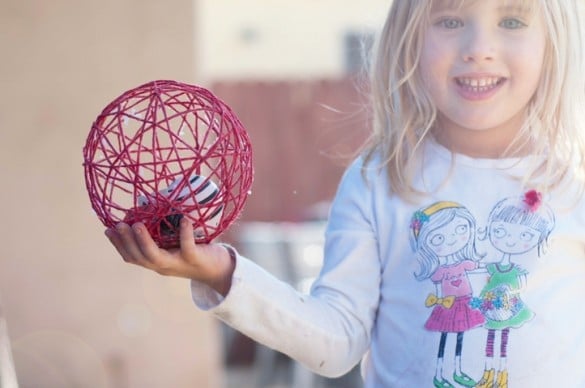
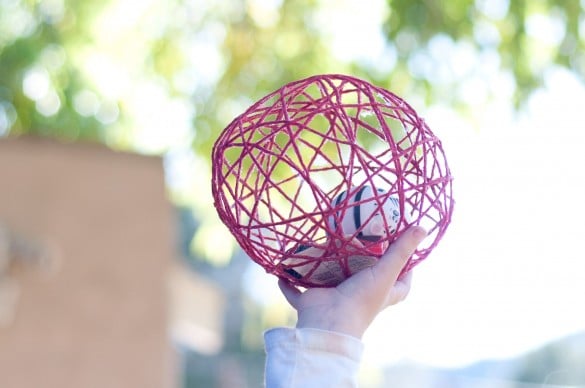
Yarn Ball Party Favors

When you have a blog, and you post instructions about how to make or cook something that you have dreamed up, you want all of the mistakes to happen to you. You want to be the one to discover the holes in the theories, the lapses in the instructions or the possible interpretations that will end up in failure.

Lucky for me, and for any who attempt to make these, those failures bestowed themselves upon me during this craft project.

These yarns balls have been popping up in craft books since the 70’s but made a resurgence a few years ago when Martha Stewart posted a rough DIY on how to make these as christmas ornaments.

Craft bloggers began posting these as decorative balls for baskets, ornamental garland and even colorful Easter eggs. (Other tutorials: Happy Hour Projects, Ruffled Blog, Make and Takes, On Shore)

Reading the comments on the post it seem as if half the people who attempted this had glowing success and the other half had epic failures. I fell into the latter half. Which ended up being a good thing because I was forced to seek out the answers to the most common failure:

WHY didn’t the yarn harden??

Most of the bloggers who did respond didn’t seem to know the answer: Too much glue? Wrong type of glue?  Too humid in your part of the Country?

None of those answers really seemed to fit the issues I was having, but I could tell by the next morning with string that was soft and not stiff, that I had to fix the problem or there would be no party favors for Taters "Lets Have A Ball" Party.

I consulted my sister, from whom I stole the idea to put toys inside these decorative balls in the first place. She’s completely brilliant and epically creative Polaroid photographer.

Her advice: "More glue, it won’t have a choice but to harden."

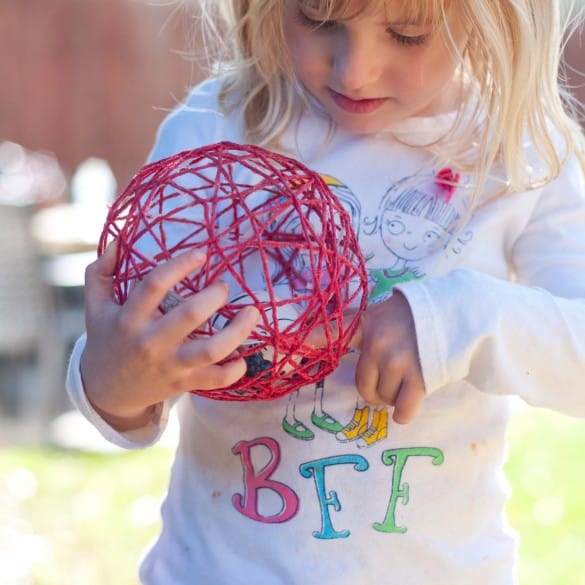
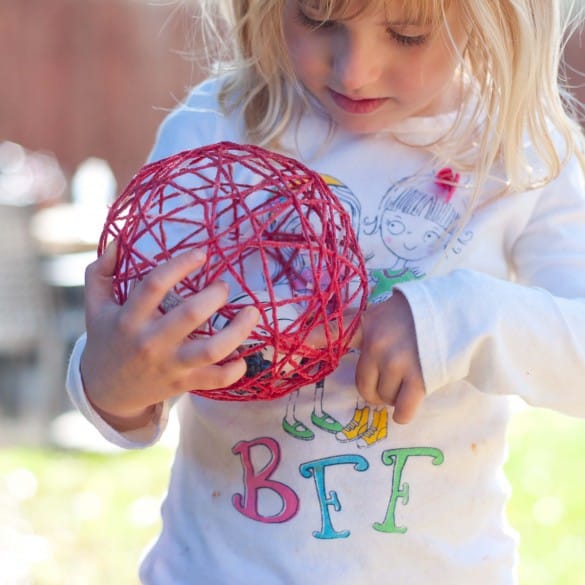
True. I traced the lines of the yarn with my Elmer’s glue bottle, blotted it in with a sponge brush and in three hours, I had Yarn Ball Party Favors ready to go.

Another common factor that I saw in success was glitter. It seems to act as a binder of sorts. Add it to the glue and it helps to hold shape.

Other than the threat of failure looming over my head, I loved the way these turned out.


Materials:

8 ballons, about 6 inch round

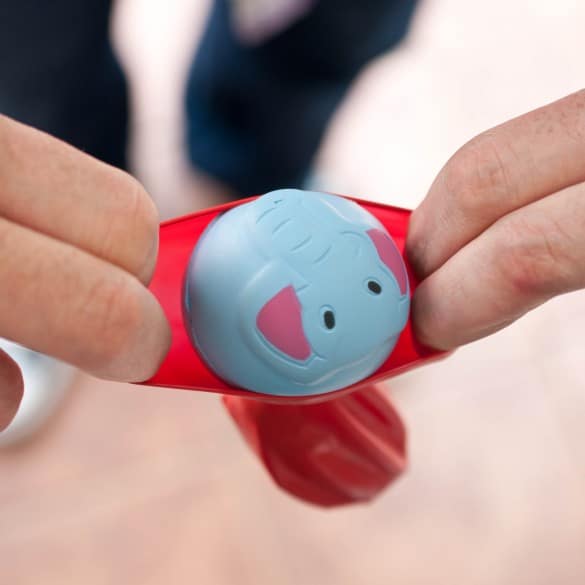
Toys, I used squishy balls, temporary tattoos and Lady Bug Bubbles (Small enough to smash into a balloon and large enough not to fall through the yarn holes)

2 bottle of Elmer’s glue

1/4 cup warm water

2 tbs glitter

Step one:

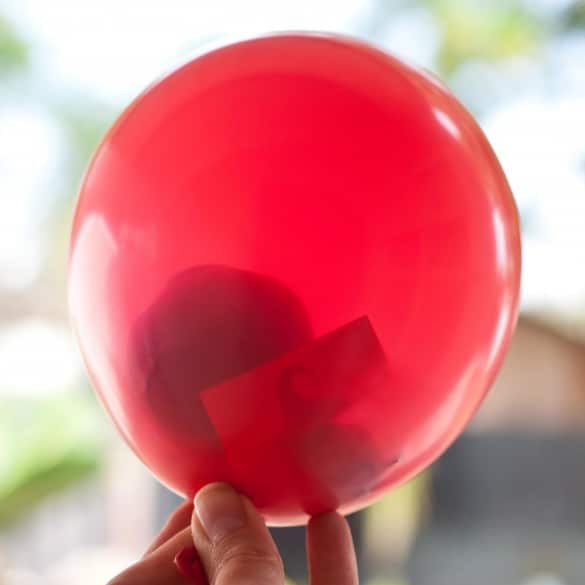
Squish the toys into the balloons. You might want to have extra incase you break some trying to get the toys in. Also, it helps to have an extra set of hands to help. I used my husbands:

Step Two:

Blow up the balloons and securely tie the end.

Step Three:

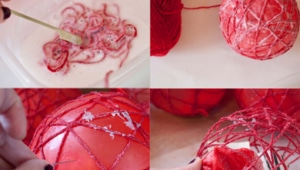
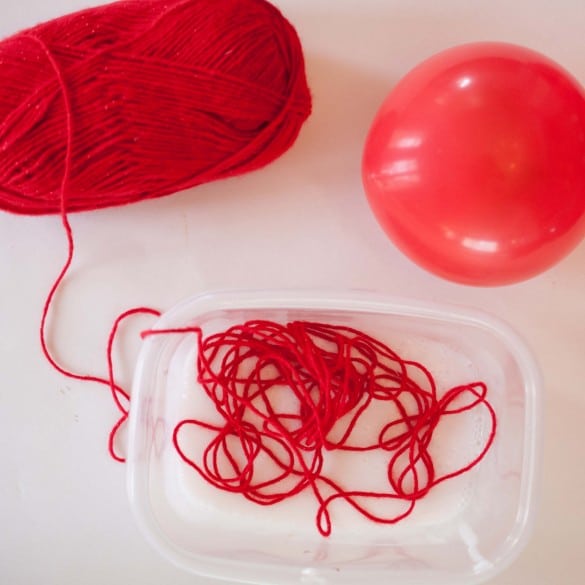
Mix the glue, water and glitter in a large bowl.

Step Four:

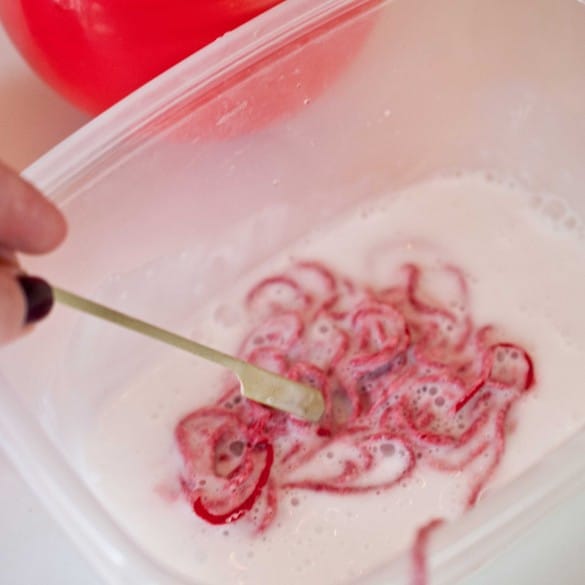
Place a few feet of yarn into the glue and press down, try not to stir or you’ll end up with a tangled yarn mess.

Step five:

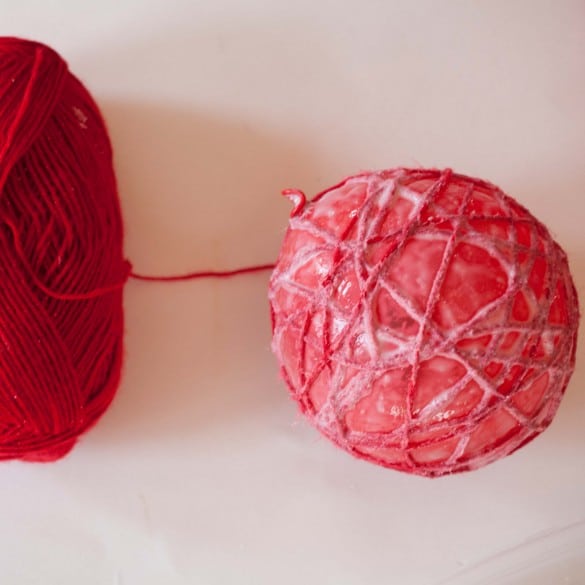
Wind the yarn around the balloons, cutting of the end and tucking it into an inconspicuous spot and then place on sheets of wax paper to dry.

Step Six:

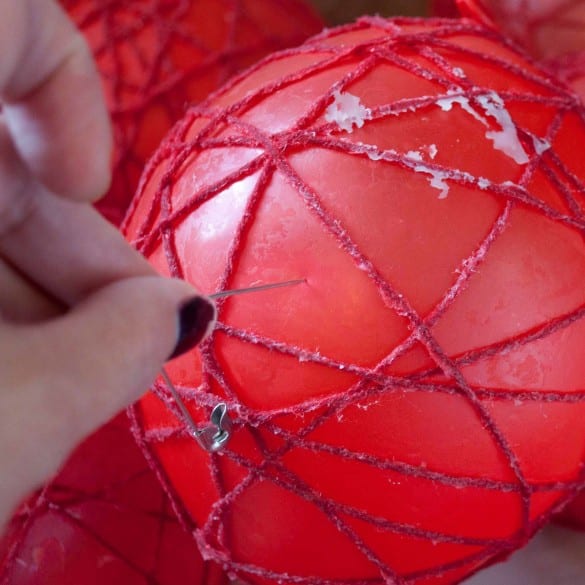
Allow to dry completely until the yarn has become very stiff and there is no give to it. Then pop the balloon in the middle.

Step Seven:

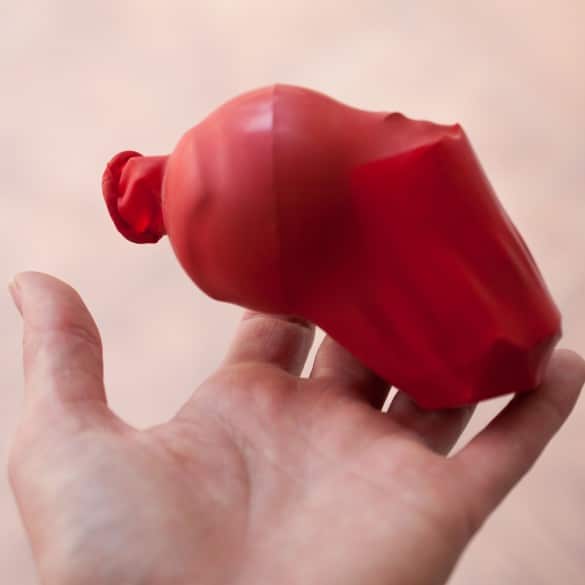
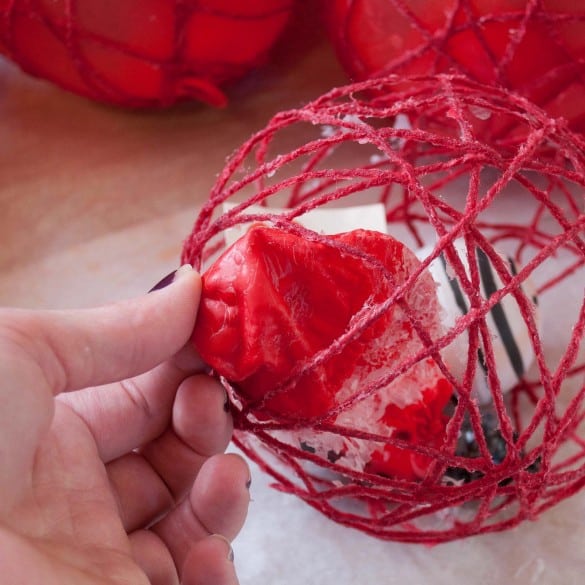
Wrestle the toys out of the popped ballon and remove the deflated balloon from the ball.

Tips:

If your yarn never hardens, don’t remove the balloon. Trace the yarn with the glue bottle tip and then pat the glue into the yarn with a sponge brush.

Yarn must be hard and stiff for this craft to work.

Pin this post!

Follow me on twitter

Follow me on Pinterest

Like Domestic Fits on Facebook


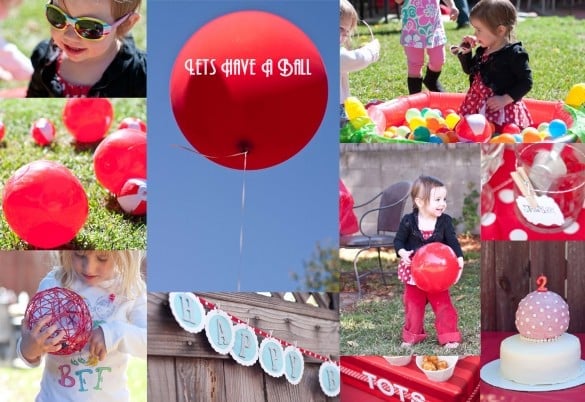
Let’s Have A Ball Themed Kids Party & Apple Slice Party Balls

I am now the mother of a two year old. 

Of course I’ve been warned about the Terrible Two’s and the nightmare that I am now  a party to. 

And no offense to those who have gone before me, but I rather enjoy this age. Every age, every situation and every person is not without drawbacks. There is no such thing as a perfect situation. Quality of life is built on figuring out what is great about the situation that you are in and enjoying the crap out of it. 
So, what is great about 2 year old?

You get to have all the answers. You are able to solve all of their problems. These tiny little humans see you, their moms, as the Fair Princess Goddess of The Universe. You have control over everywhere they go and who they play with. And all of that will end way too soon. As much as I long to have more freedom and independence, sleep past 6:30am, set my schedule on a whim, travel to exotic places and be able to pee in private again, I know without a single tiny doubt that I will miss the hell out of my 2 year old once she is all grown up. 

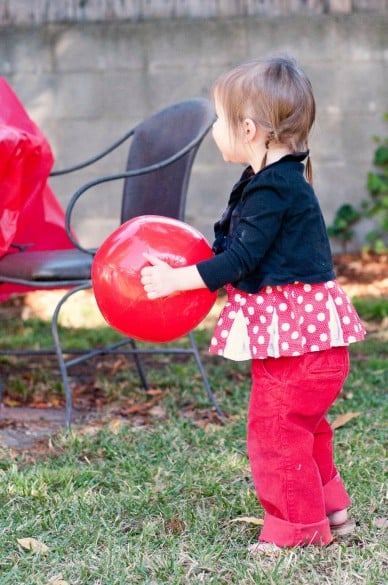
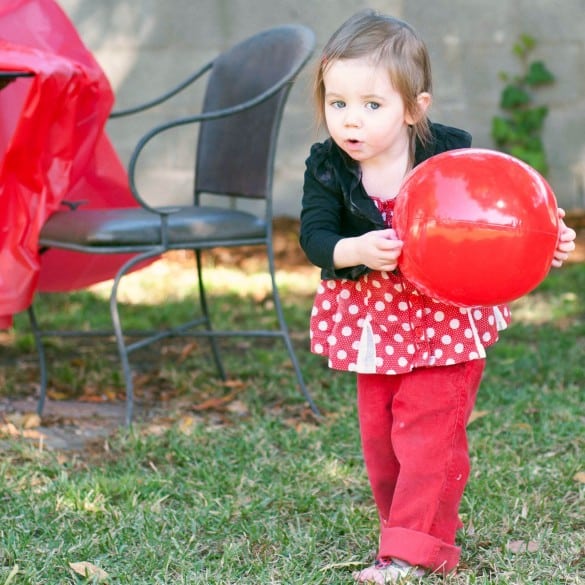
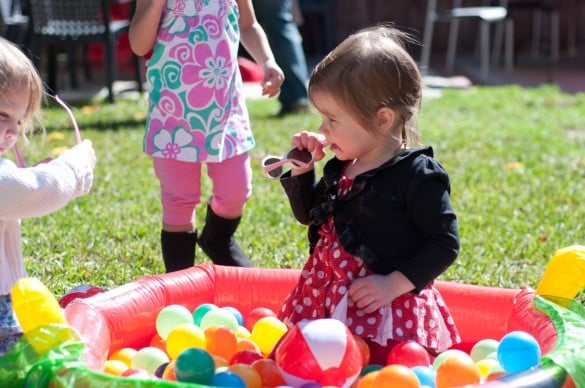
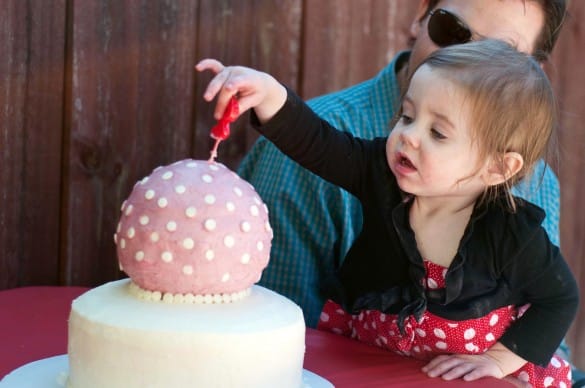
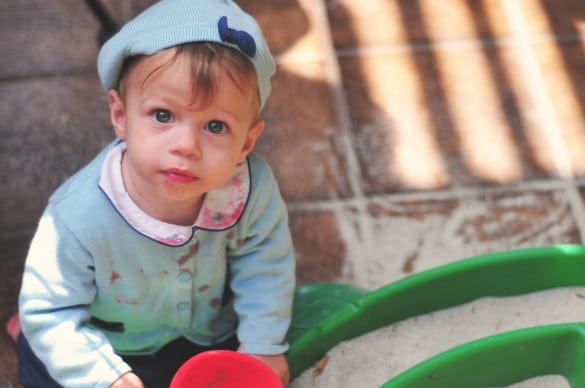
For Tater’s second birthday, my little tomboy wanted to run around the back yard and play with balls, her favorite thing in the entire world. So that’s what we did. 


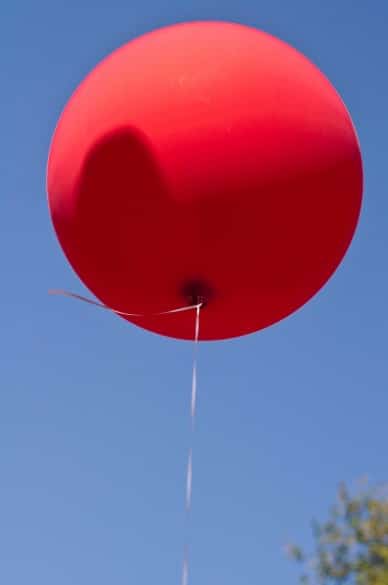
I had huge gigantic balloons from Sweet Lulu


I made Yarn Ball Party Favors, You can see the DIY here:

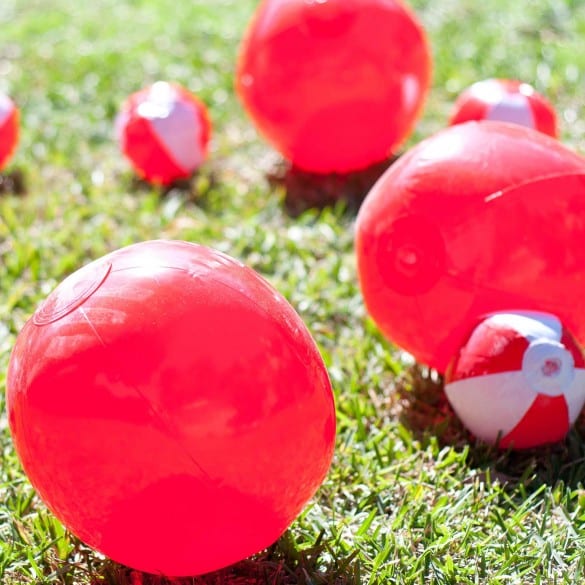
Dozens of red and white beach balls covering the lawn, that I bought from Oriental Trading

Tater was in love with this. 


I filled a red baby pool up with a bag of ball pit balls. 

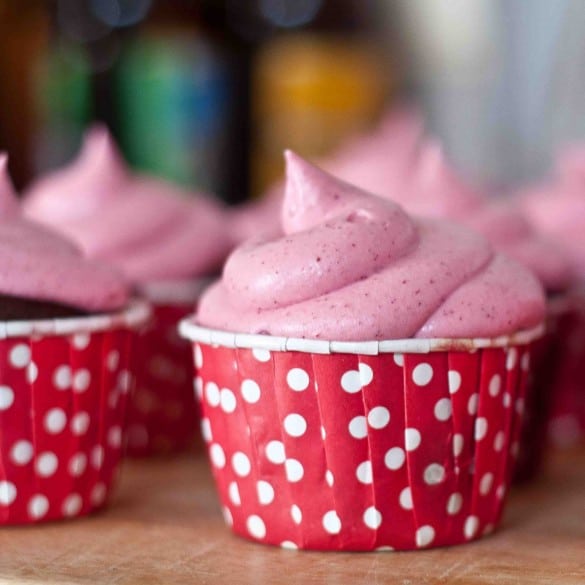
And as I shared with you a few weeks ago, I’m tring to rid my life of food dye. Quite a challenge for someone who is used to spending hours concocting the perfect frosting color for cakes. I let go and accepted the fact that the frosting I made with beet powder was just going to be purple and that was OK. More on that in a later post. 


A least I was able to sneak some antioxidants and vegetables into her cupcakes, at fine compromise in my opinion. 
And the food went largely unphotographed. A pretty shocking thing in my world, given the frequency with which I snap food pictures. 

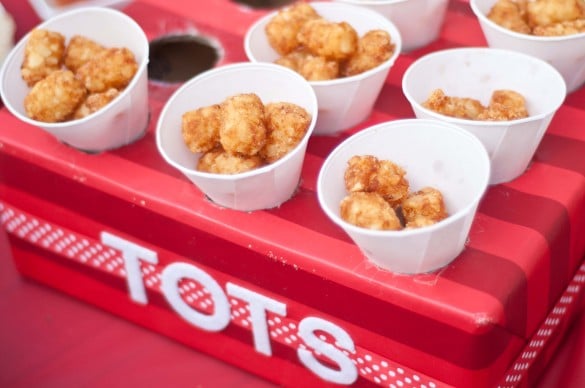
We did, however, reserect the Tater Tot Bar from last year.

I used white cone cups and made the cone holder out of a cardboard box and wrapping paper. 

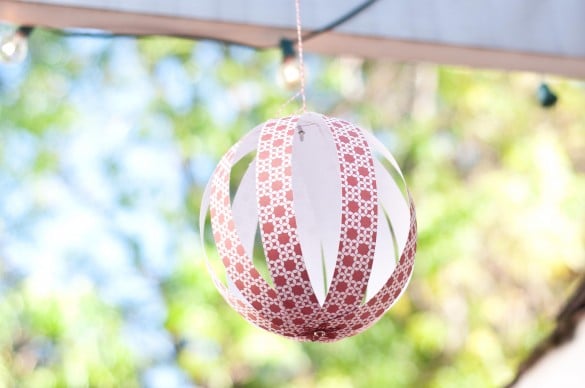
I also made the Hanging Paper Lanterns, one of my very first post was how to make them.

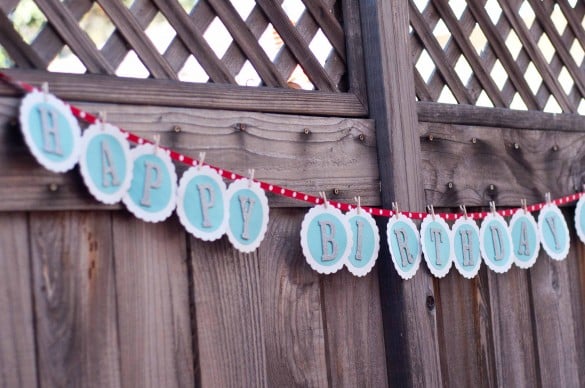
And I remade the paper Happy Birthday banner. 

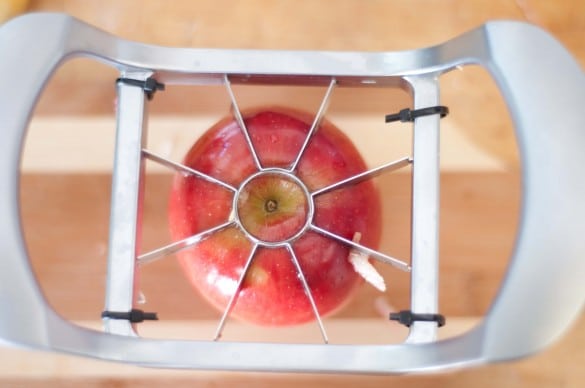
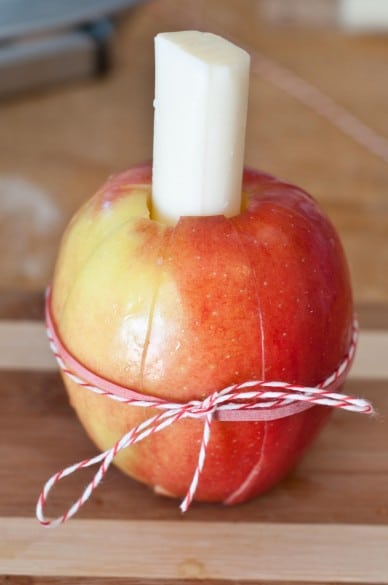
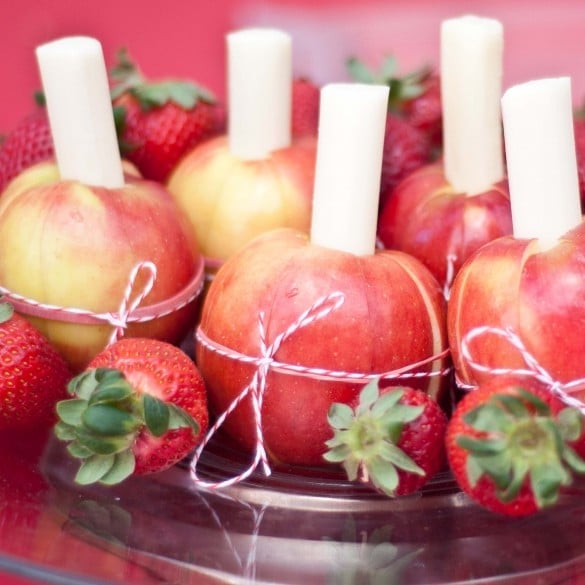
I did get a few shots of my Apple Balls, cored and sliced apples held together with rubber band and bakers twine. I replaced the core with string cheese. This will keep them fresh, un-browned and party ready for hours. 

First, core and slice the apples using an apple slicer. 

Remove the core and replace it with string cheese. Reassemble the apple and secure with a rubber band, then tie a ribbon or bakers twine around the rubberband. This will help your apple slices to stay fresh longer, without turning brown. 

If you can, try to find string cheese that is the same size, or just a bit larger than your apple corer. 

Pin This Post! 

Follow me on twitter

Follow me on Pinterest

Like Domestic Fits on Facebook


Food Craft: Spring Flower Pot Mini Muffins

I like to play with my food. For some reason, it makes me less hungry.

When I got these little suckers from a vendor at work, I had no interest in eating them. But I did want to play with them. Maybe it’s a commentary on how much food we waste in America, or maybe it’s just because candy is pretty, Food Crafts are huge source of entertainment in my world. Although there are many cupcake toppers featured on websites across the land, I’m not a fan of inedible garnishes. Even if I don’t plan to eat it, it seems like you just didn’t try hard enough.

Sure you can print out a pretty flower decal from your home computer, or make a rose out of paper, or a fancy embelishment with ribbons and buttons, but if you can’t eat it what the heck is it doing on my plate?

No one glues plastic googly eyes to a pot roast. Or puts a wizzard hat on a chicken sandwich. Why are completely random acts of craftiness allowed on baked goods?

And paper flag banners on a cake? weird. Why not put a pile of mail on there, or decorative globe? What’s next, filling my plate with bedazzled paper mache vegetables?

Here is my entry for completely edible cupcake garnish, other than the stick, of course.


Spring Flower Pot Mini Muffins

Supplies:

12 chocolate mini muffins

12 small suckers (dum dum sized)

18 standard size marshmallows

3 microwave save bowls

1/4 cup white chocolate

1 pair scissors

1/2 cup chocolate chops

1/2 cup chocolate graham crackers (or chocolate Teddy Grahams)

Cut the marshmallows into four to five slices. There are going to be a few that just don’t look right, so cut more than you need. They will curl up a bit, but just push them flat.

There will most likely be one end that is a bit more rounded and one that is a bit pointier.

Cut off a very small amount of the pointed end, about 1/8 of an inch.

Place the white chocolate in a microwave safe bowl. Heat in the microwave on high for 20 seconds, stir and repeat until melted. Don’t over heat or it will seize. Using a butter knife or a spoon, smear a small on the marshmallow petal where you just made the cut.

Press the chocolate side against the sucker, at the base, nearest the stick. 

Repeat for all pedals. You’ll want to put about 5 petals on each flower which will require a bit of overlapping of the pedals. 

Lay flat until the chocolate glue dries. 

Put the chocolate chips in a microwave safe bowl and heat on high for 30 seconds, stir and repeat until melted. 

In a food processor, process the graham crackers until nothing is left but crumbs. Transfer crumbs to a bowl. 

One at a time, take the mini muffin and submerge the top in the melted chocolate until completely coated. 

Before the chocolate cools and dries, roll the melted chocolate muffin top around in the graham cracker crumbs. 

Once all the chocolate has dried, plant your candy marshmallow flower in your little mini muffin pot. 

Pin This Post!

Follow me on twitter

Follow me on Pinterest

Like Domestic Fits on Facebook 


Two Peas In A Pod: Twin Girl Baby Shower

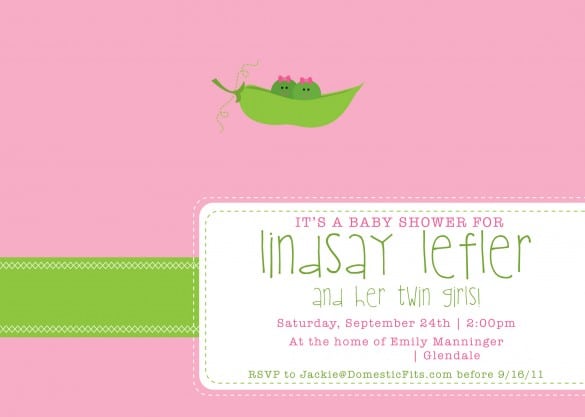
(The above invitation was made by Kim Nelson)

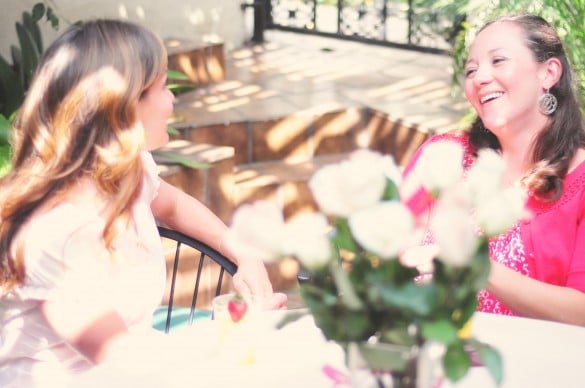
My friend Lindsay is pretty amazing. I mean, how many people can say they got pregnant twice in the same week? Thats pretty efficient if you ask me. She is due with her twin girls pretty soon and I was one of the lucky ladies (along with my friend Emily, who is gorgeous, and her house is so beautiful it made any type of decorations borderline unnecessary) who got to throw this amazing Mom a baby shower.

Two Peas in a Pod was a fun theme, however, it was pretty hard to find adorable embellishments to go along with the party so I had to rely on Etsy and my own craft prowess to get me through.

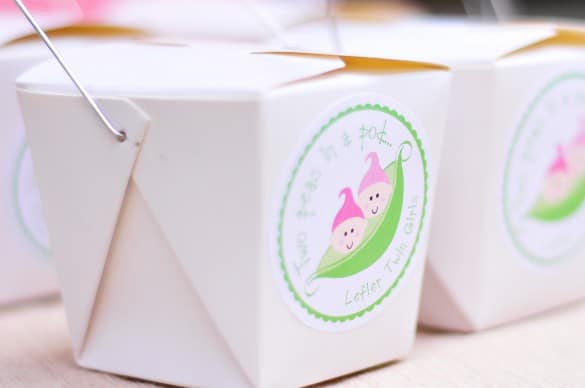
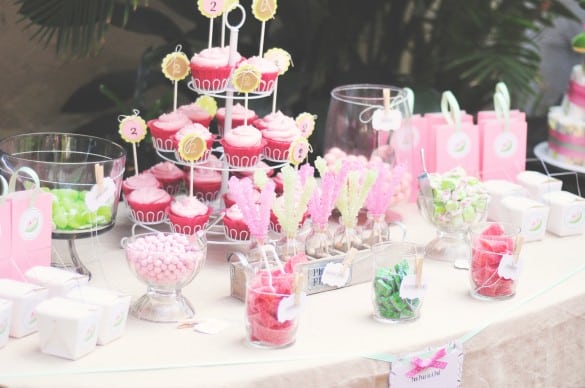
I ordered stickers from Autumnleah On Etsy that said, "Two Peas In A Pod, Lefler Twin Girls." Adorable. I used them on mini takeout boxes for the candy buffet,

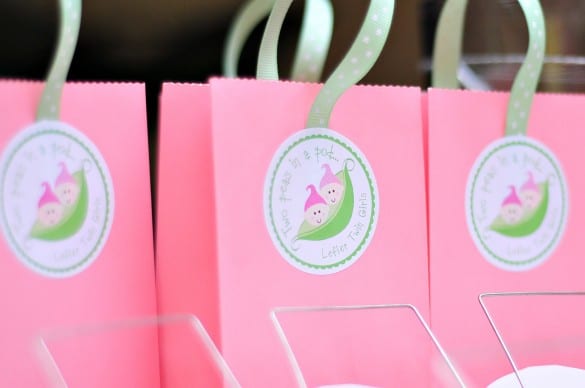
I also used the stickers to make take away cupcake bags using mini pink lunch bags and ribbon.

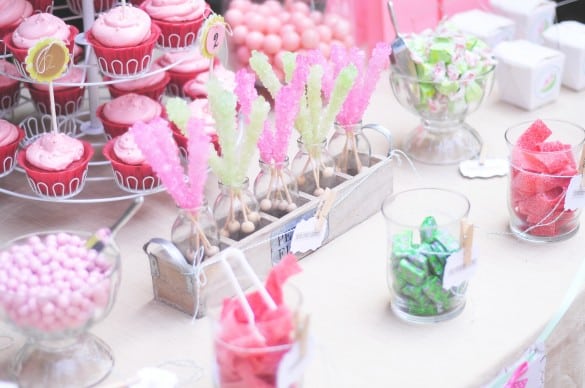
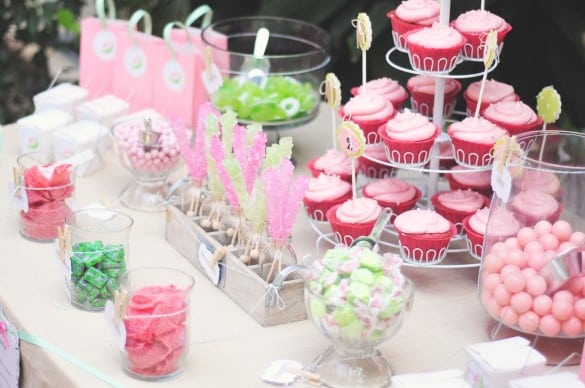
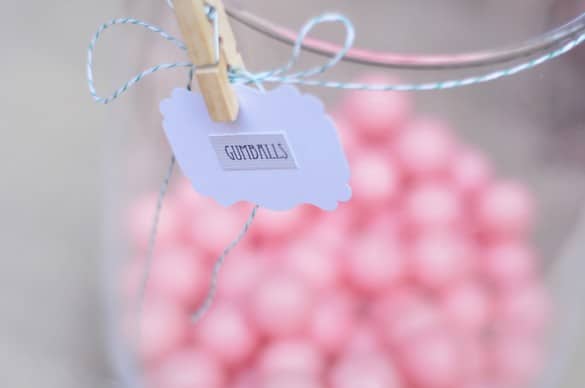
Of course, the candy buffet was pink and green and a big hit.

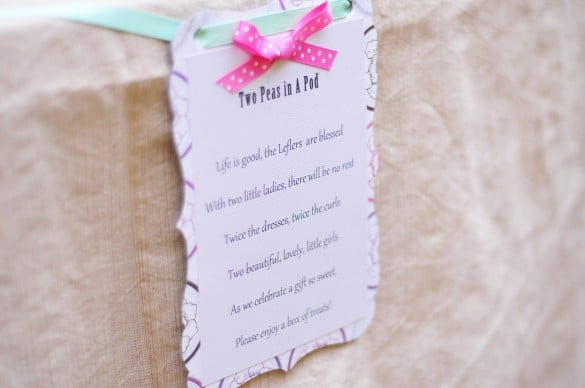
I made a sign for the candy buffet that said:

Two Peas in A Pod

Life is good, the Leflers  are blessed

With two little ladies, there will be no rest

Twice the dresses, twice the curls

Two beautiful, lovely, little girls

As we celebrate a gift so sweet,

Please enjoy a box of treats!

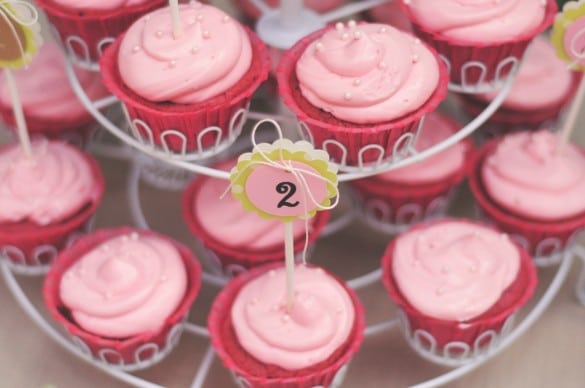
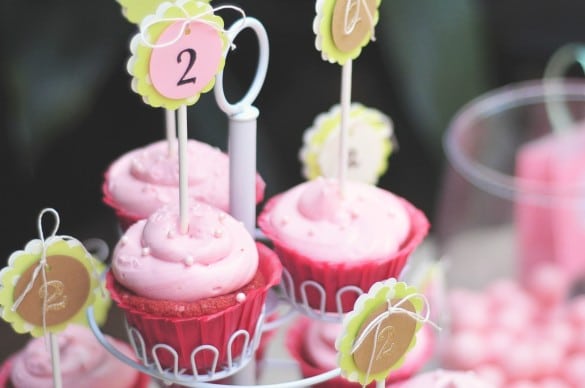
I made cupcake toppers with supplies from Paper Dozen on Etsy.

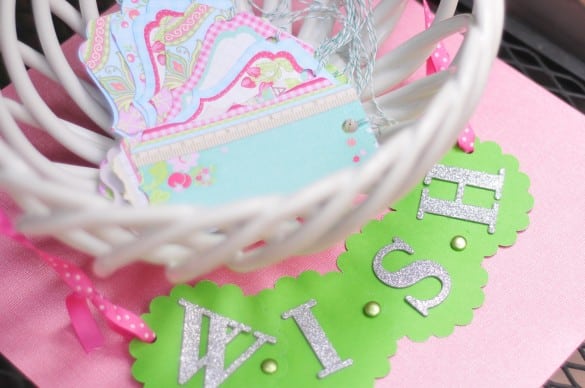
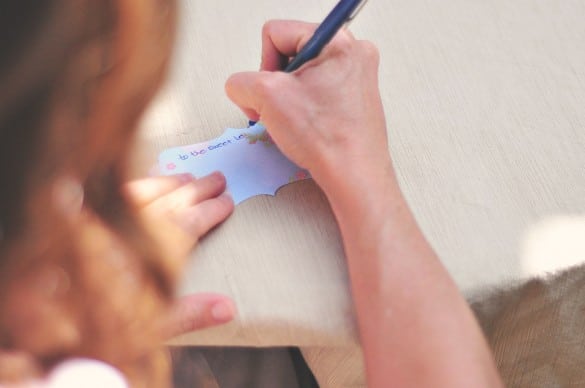
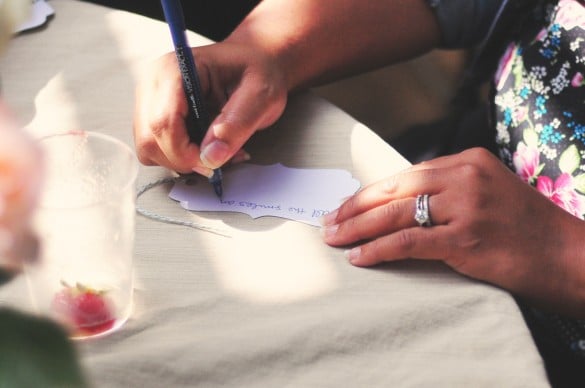
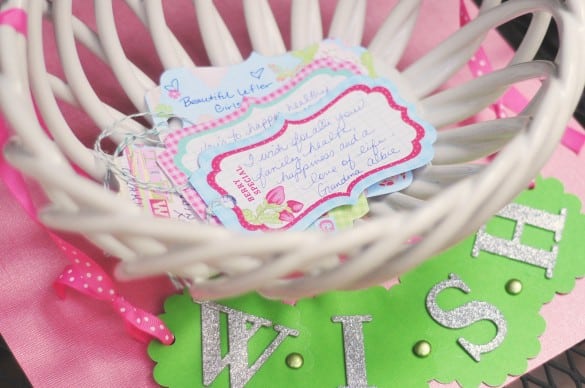
We also had people write down wishes and prayers for the Lefler family, easily my favorite activity of the day. I made the wish sign from chipboard letters, ribbon, brads, and scalloped circles from JCSkyline on Etsy. I heart Etsy and those crafting geniuses who sell their wares.


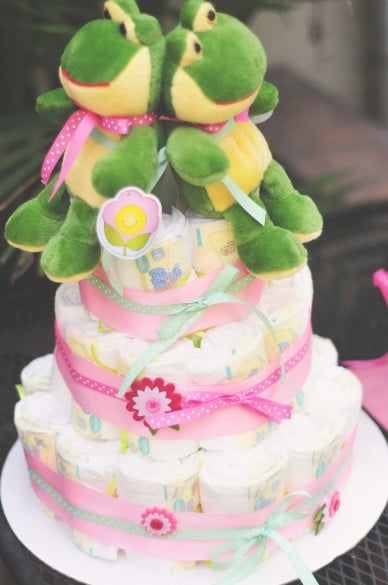
I also made my very first diaper cake. Tater picked out the frogs for the top, although I’m pretty sure she had no idea I would ask her to part with them. I did distract her with fresh strawberries and a juice box.

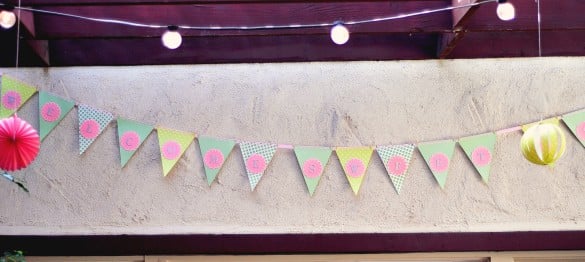
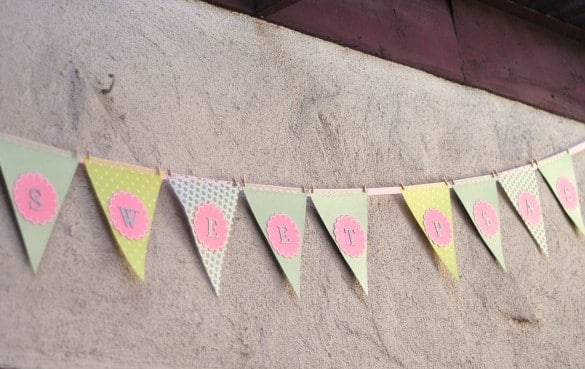
Now, no one really tells you this, but it turns out that photographing a 15 foot banner is actually harder than making a 15 foot banner. Here is my best attept. Although it’s hard to see, I was pretty dang proud of that banner. I use scrapbook paper, pink paper circle coaster from the Martha Stewart Crafts collection, sparkly chipboard letters, grosgrain ribbon and tiny little clothespins.

It says, "Welcome Sweet Peas." Anytime you have to actually explain what’s in a photo, it’s not a good photo. Sorry, Nikon, it wasn’t your fault.

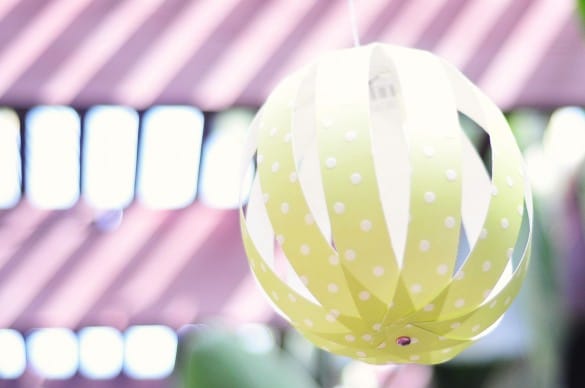
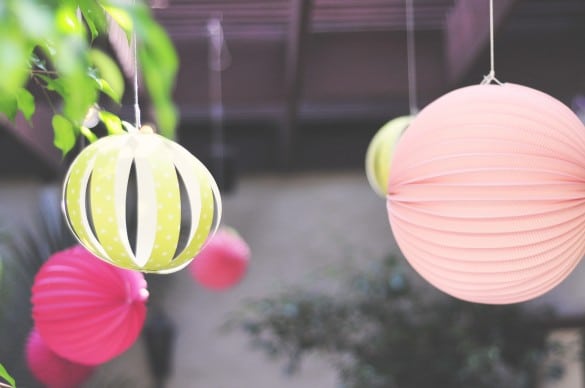
I also made hanging paper lanterns, the green ones not the pink one. My crafting skills aren’t quite that good yet. I used the same techniques that I used in this hanging paper lantern tutorial. If you want to make super duper cheap lanterns for your own party, it is super duper easy.


We also had food. I know, we’re pretty crazy.

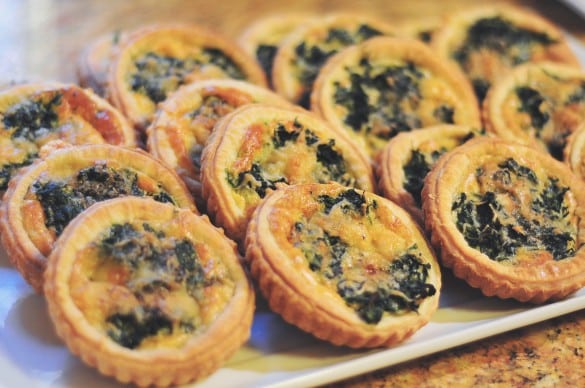
Mini quiches

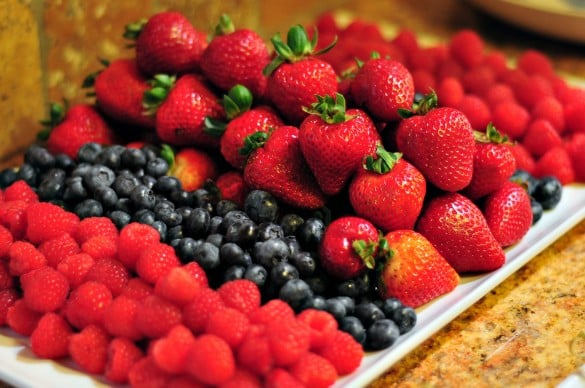
Berry platter that was as much of a decoration as it was a food item, so beautiful.

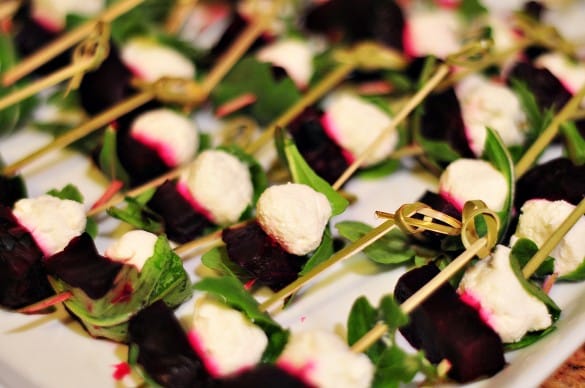
I made two kinds of Salad Skewers, Goat cheese, Roasted Beet & Arugula as well as the ever popular Caprese Skewers.

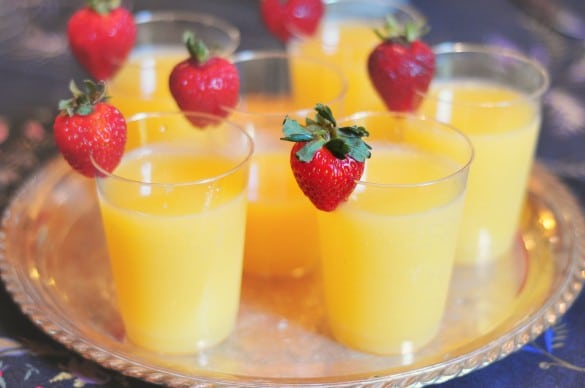
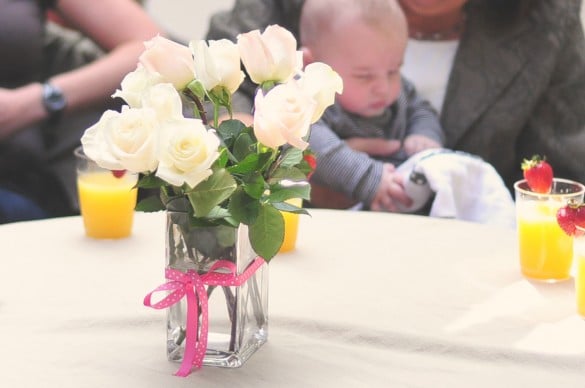
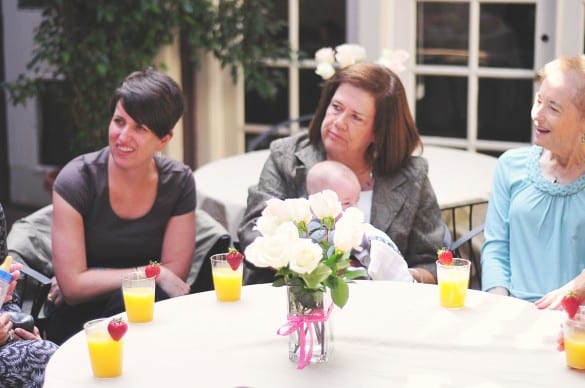
We also had delicious mimosas, some made with real life champagne and others with pregnancy friendly sparkling cider.

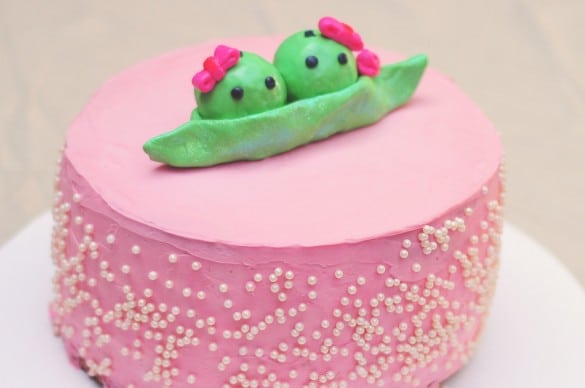
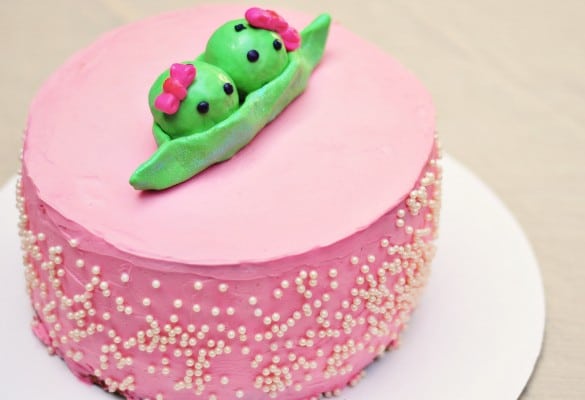
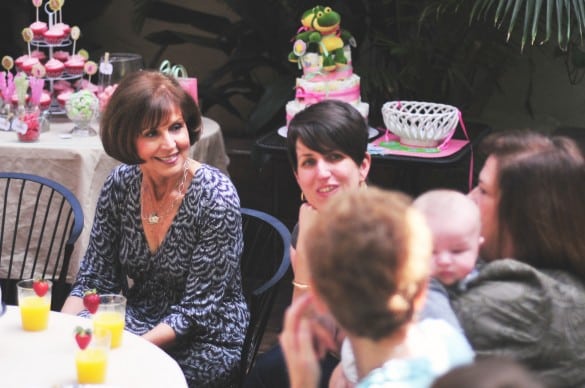
And I made a cake! Shocking, I know. It was a white cake with a vanilla pastry cream filling and a brown sugar buttercream frosting. I used the same cake batter recipe I used for these cupcakes, the same  frosting as with these cupcakes (the NON-beer version) and I decided to post a How To on making pastry cream because that dang cream was so good it was the true star of the cake. I made the peas in a pod out of fondant and doughnut holes, and brushed them with luster dust.

Oh yeah, there were people there too, and some super cute babies.

For the Lefler Family, My wish to you:

I Wish You Well, By Bill Withers

I wish you flowers sunshine and smiles
I wish your children that grow to make you proud
I wish you pretty things to wear
Sweet things to smell

I wish you well (oh I wish you well)
I wish you well (well)

I wish you good friends that always treat you fair
Wanna wish you ribbons to tie around your hair
I wish you, truckloads of cheer
and many happy years

I wish you well (oh I wish you well)
I wish you well (well)

I wish you freedom to do the things you love
Wanna wish you blessings and kindness from above
Wanna wish you sunlight through the clouds
I hope you laugh out loud

I wish you well (oh I wish you well)
I wish you well (well)