
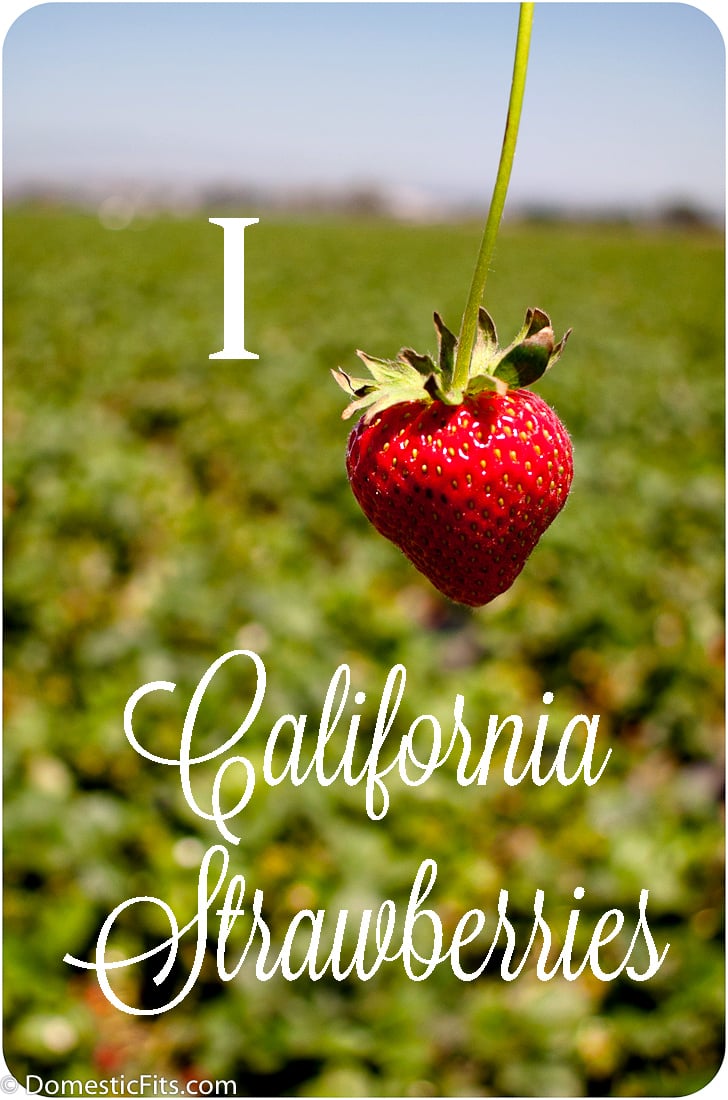
This post is sponsored by California Strawberries. All thoughts, opinions, and ideas are my own.
Lunch box meals are an enormously difficult challenge. You need to have the ability to create a meal that will dazzle a tiny human (no small feat), have the staying power to last in a little box that’s been tossed around in a kids backpack and probably sit at room temperature for a while, be quick to throw together the night before, and packed with nutrition. It’s not surprising that I find it easer to plan my Thanksgiving menu than a weeks worth of unique lunch box ideas.
Strawberries are one of my favorite items to include in the lunch box, she loves strawberries as much as she loves candy but they have incredible health benefits that my growing tiny human needs in her little body. Strawberries are a super food, packed with fiber and vitamin C, plus strawberries are one of the most antioxidant dense fruits, packed with cancer fighters.
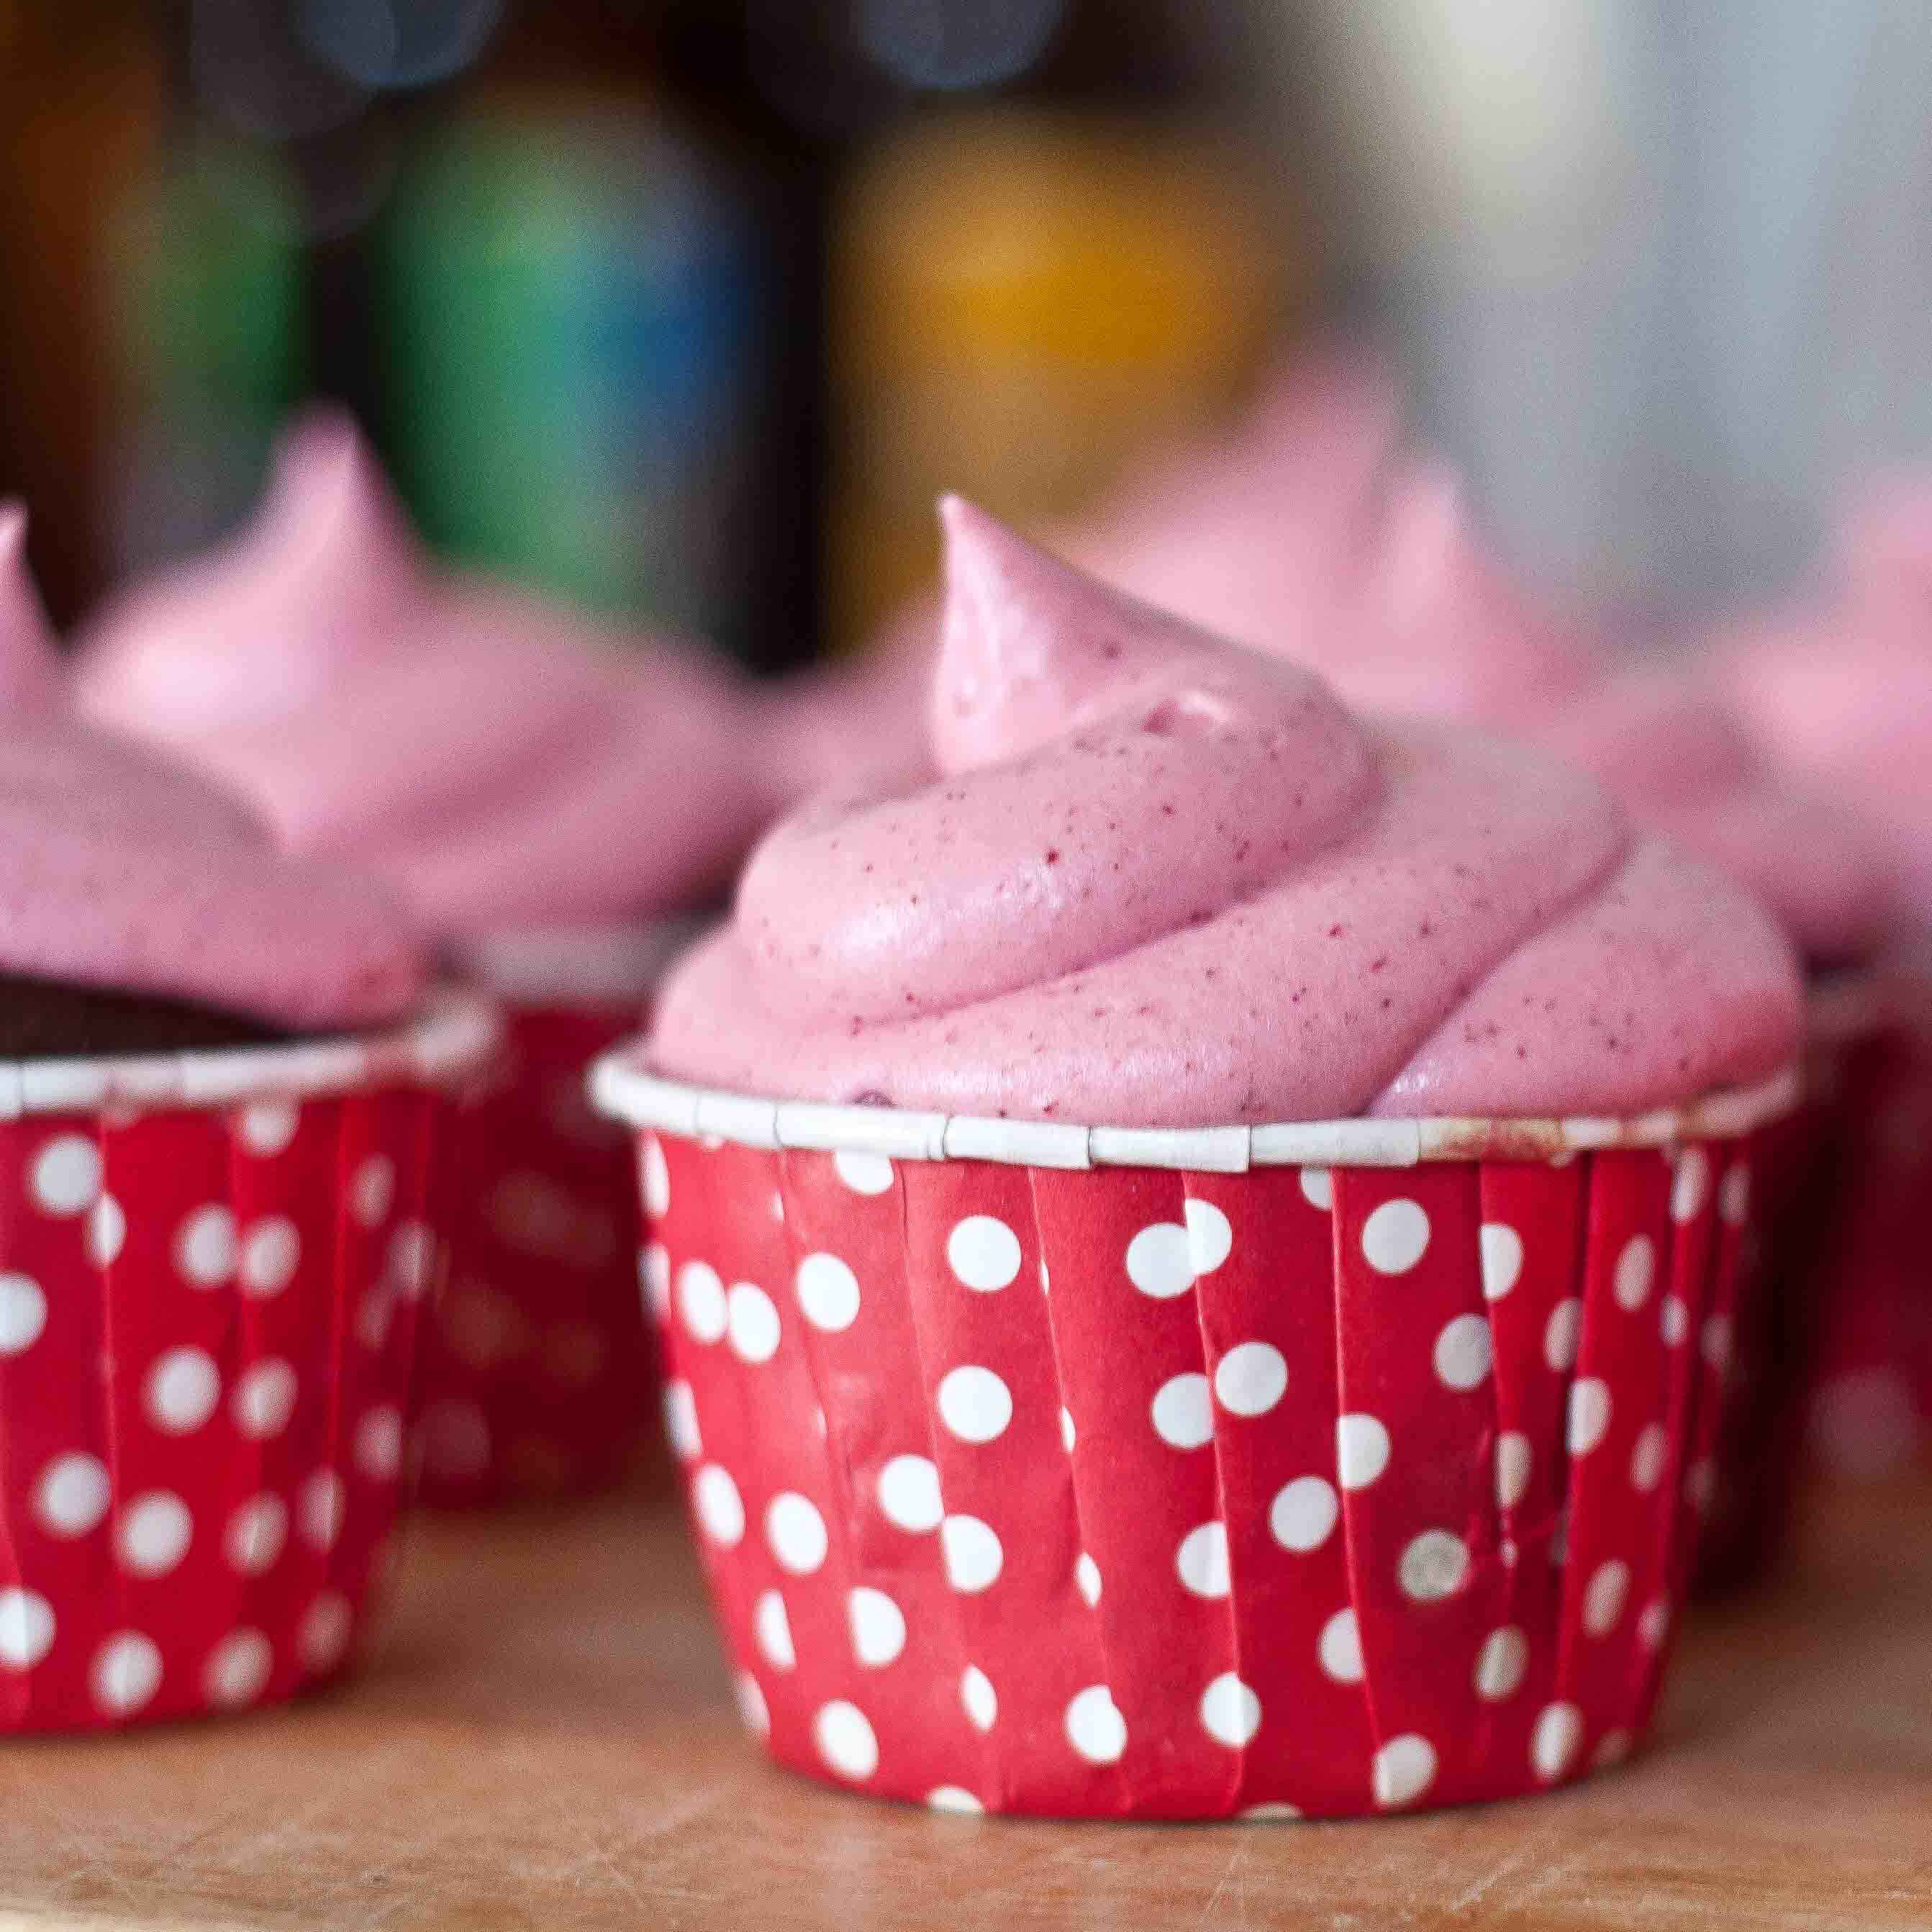
 But more than anything, they’re so pretty. I know she’ll reach right for them. The sauce I make is just a combination of apple sauce and strawberries giving it a gorgeous natural pink color that inspired her to name it "Princess Sauce." When trying to move my family away from all artificial food coloring, strawberries are the perfect way to add stunning color in a natural and health filled way.

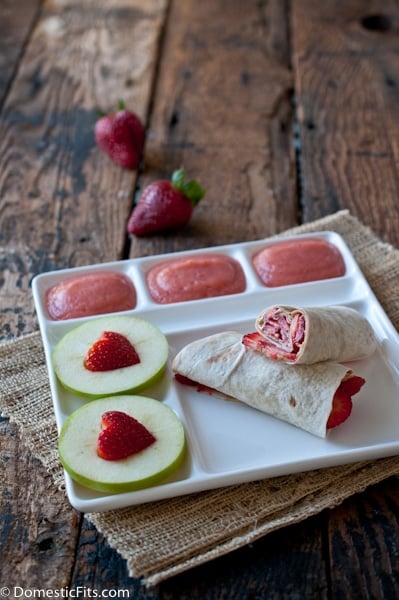
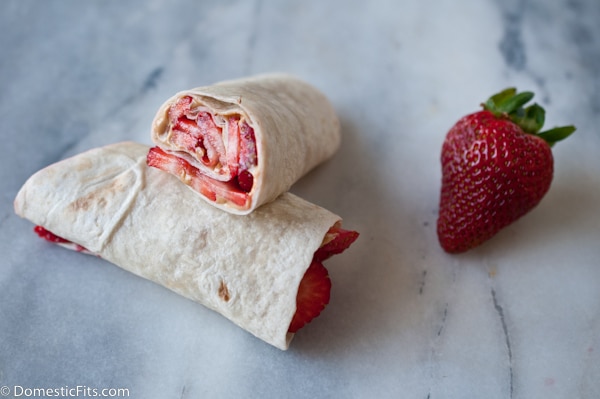
I also really love to make her these Strawberry Peanut butter Burritos. The sliced berries hold up better to a lunch box environment better than jam, there isn’t the risk of soggy bread. She also loves that it’s different than your average sandwich.
This lunch box meal takes less than ten minutes to throw together, and it’s packed with fiber, antioxidants, and general goodness, although she only sees fun finger food. Just the way I want it.
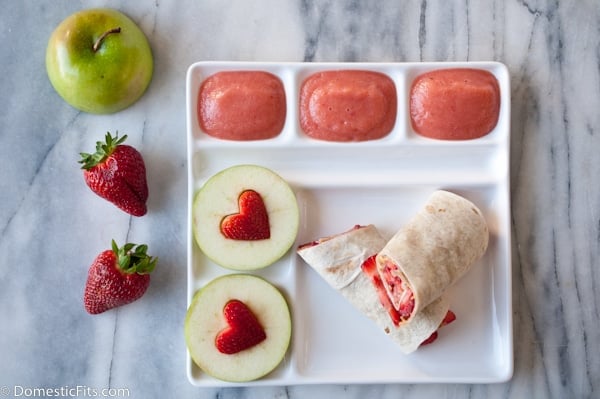
Strawberry Lovers Lunch
Ingredients
- Peanut Butter Strawberry Burritos
- 1 6-inch flour tortilla
- 3 tbs creamy peanut butter
- ½ cup fresh sliced strawberries
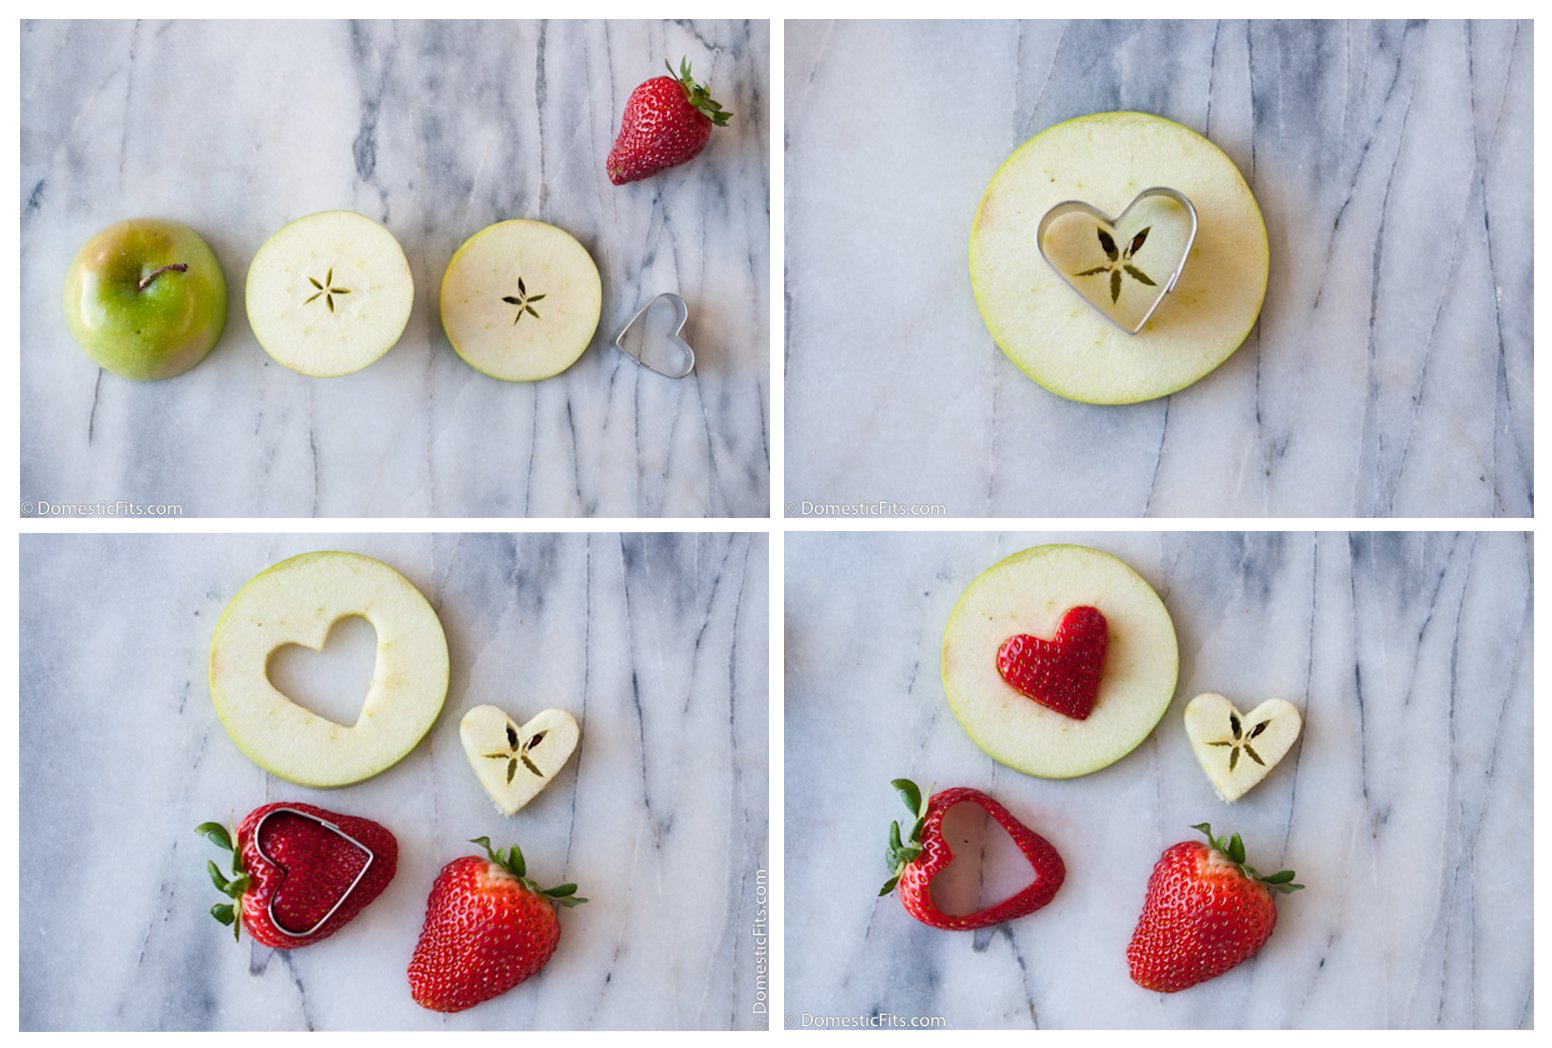
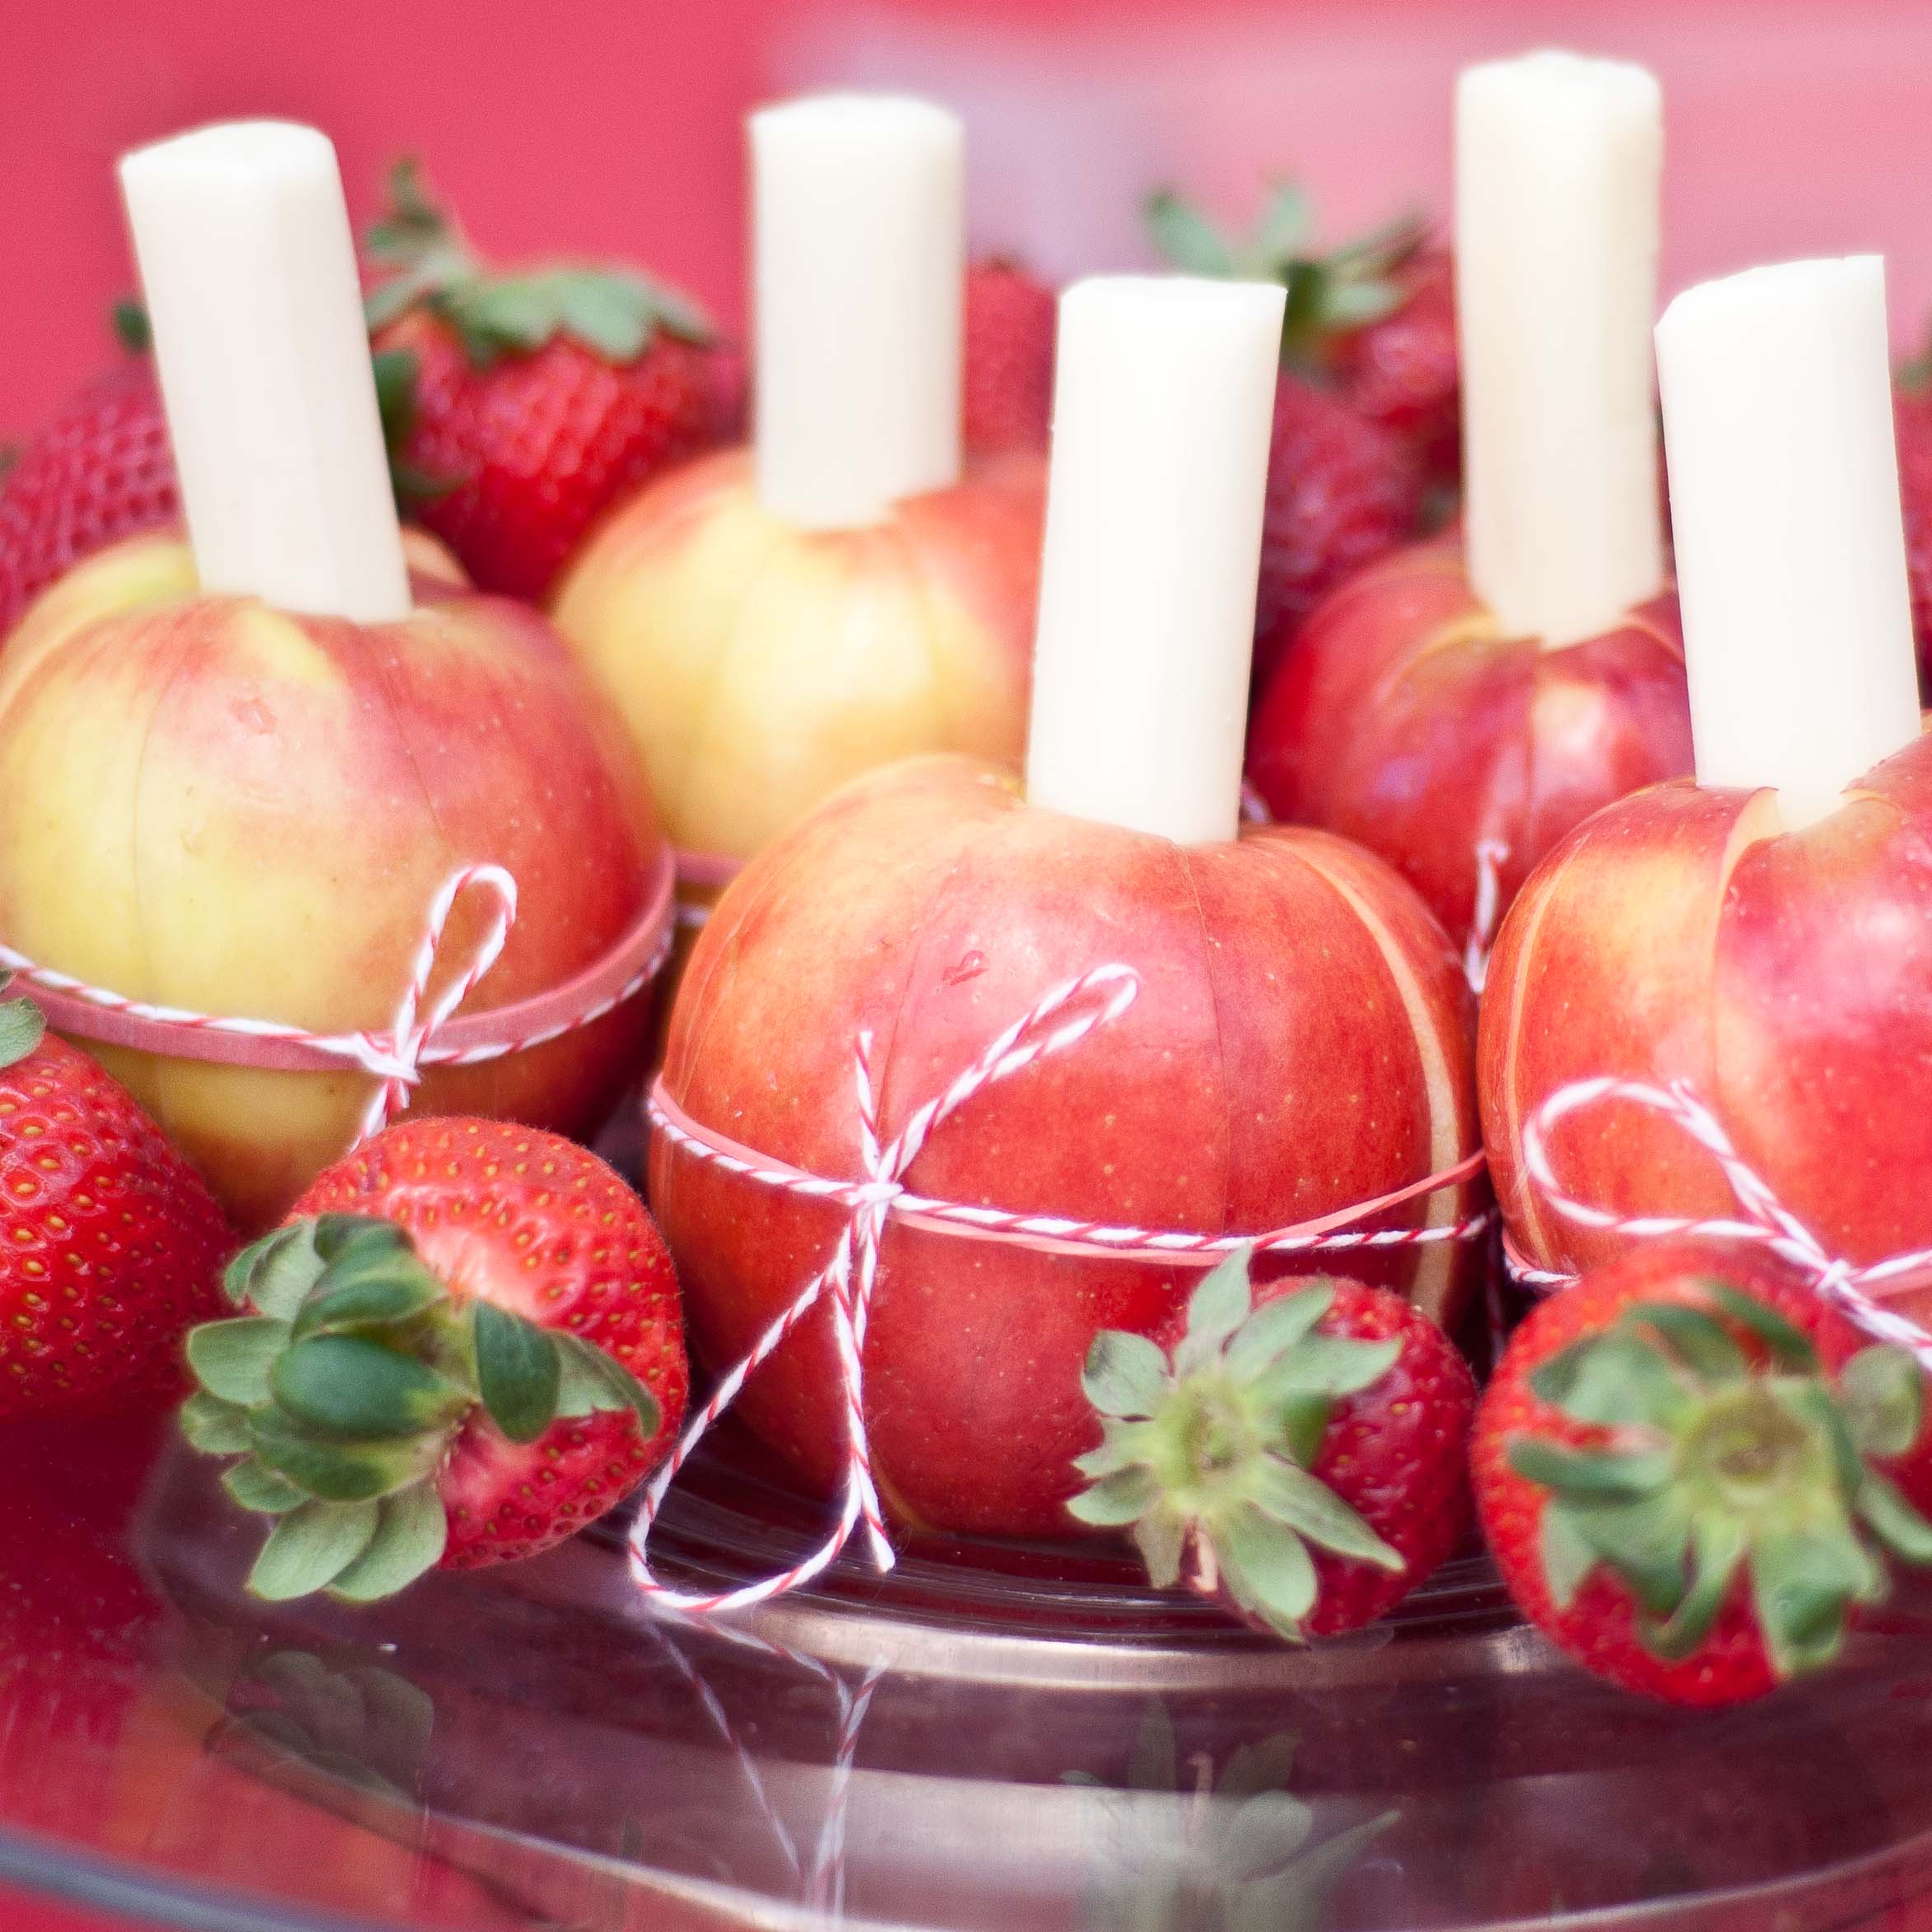
- Apples Heart Strawberries
- 1 granny smith apple
- 2-3 large strawberries
- Princess Sauce
- 1/2 cup apple sauce
- 1/4 cup sliced strawberries
Instructions
For the peanut butter strawberry burritos
- Spread the peanut butter liberally across the tortilla
- Lay the strawberry slices in an even layer on top of the peanut butter, overlapping slightly.
- Roll up into a burrito.
- Slice in half, if desired.
For the apples:
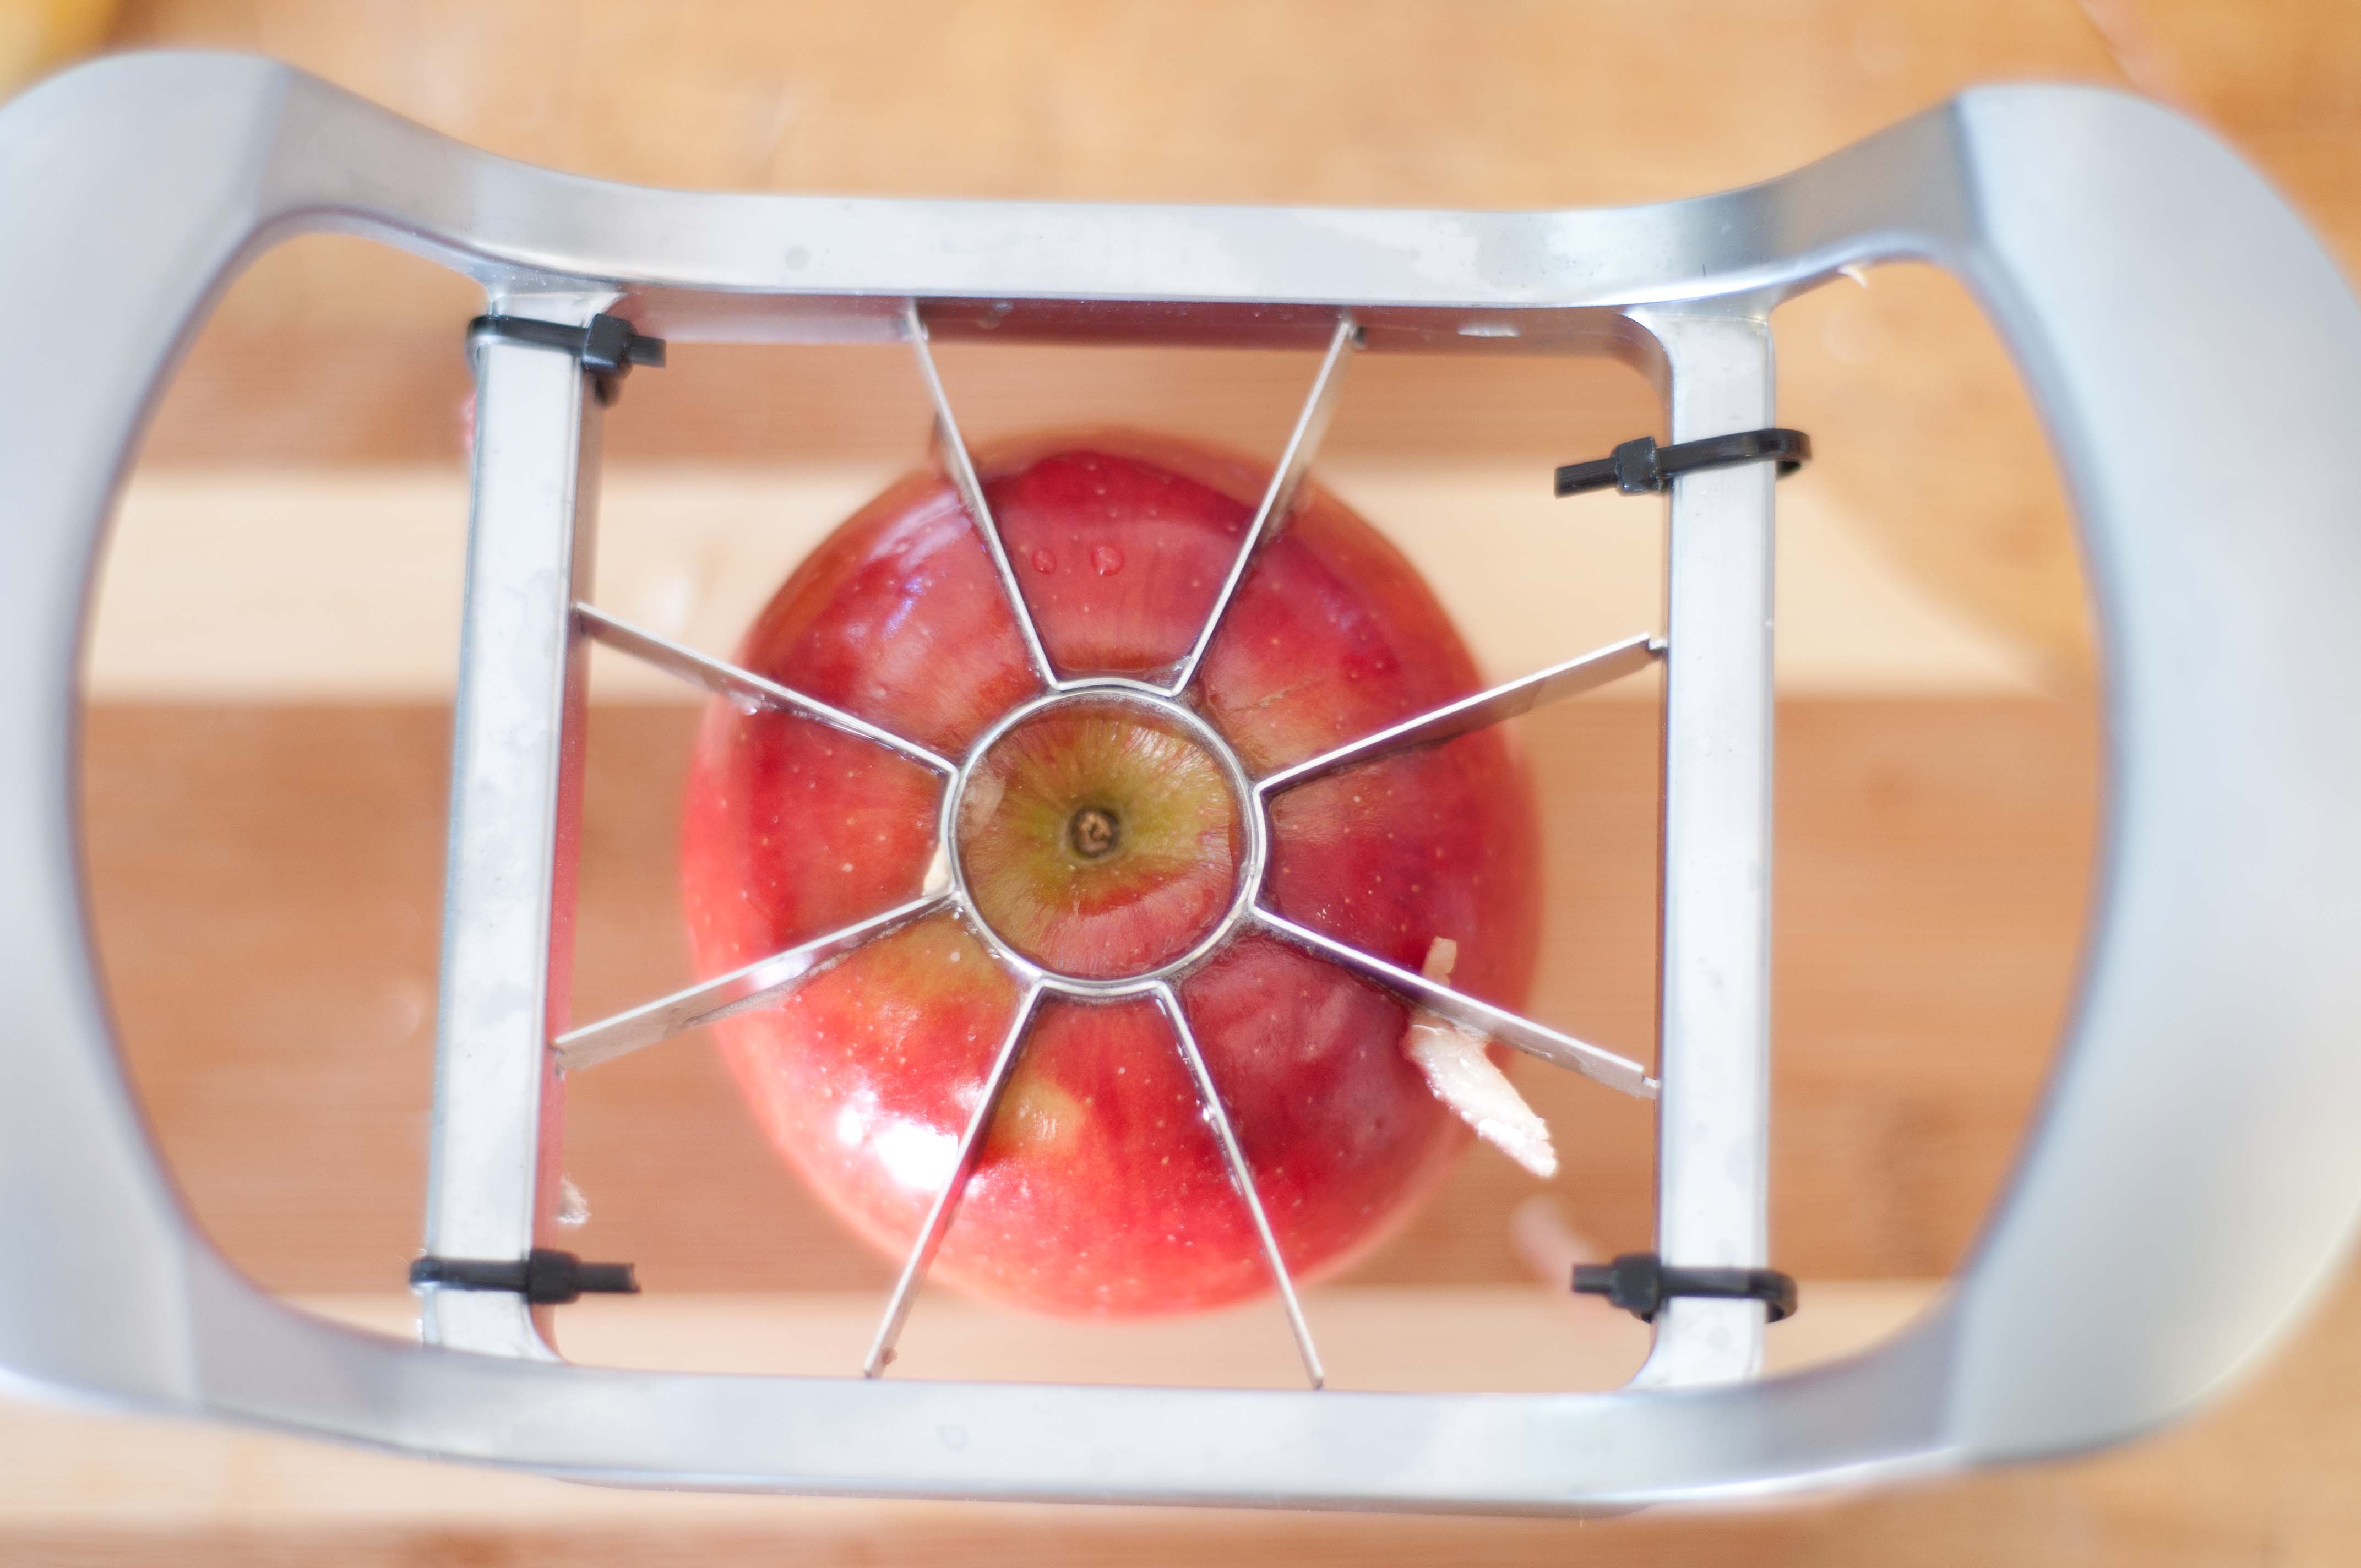
- Cut the apple in half across the middle (rather than down the stem) Slice into 4 to 6 (½ inch) rings.
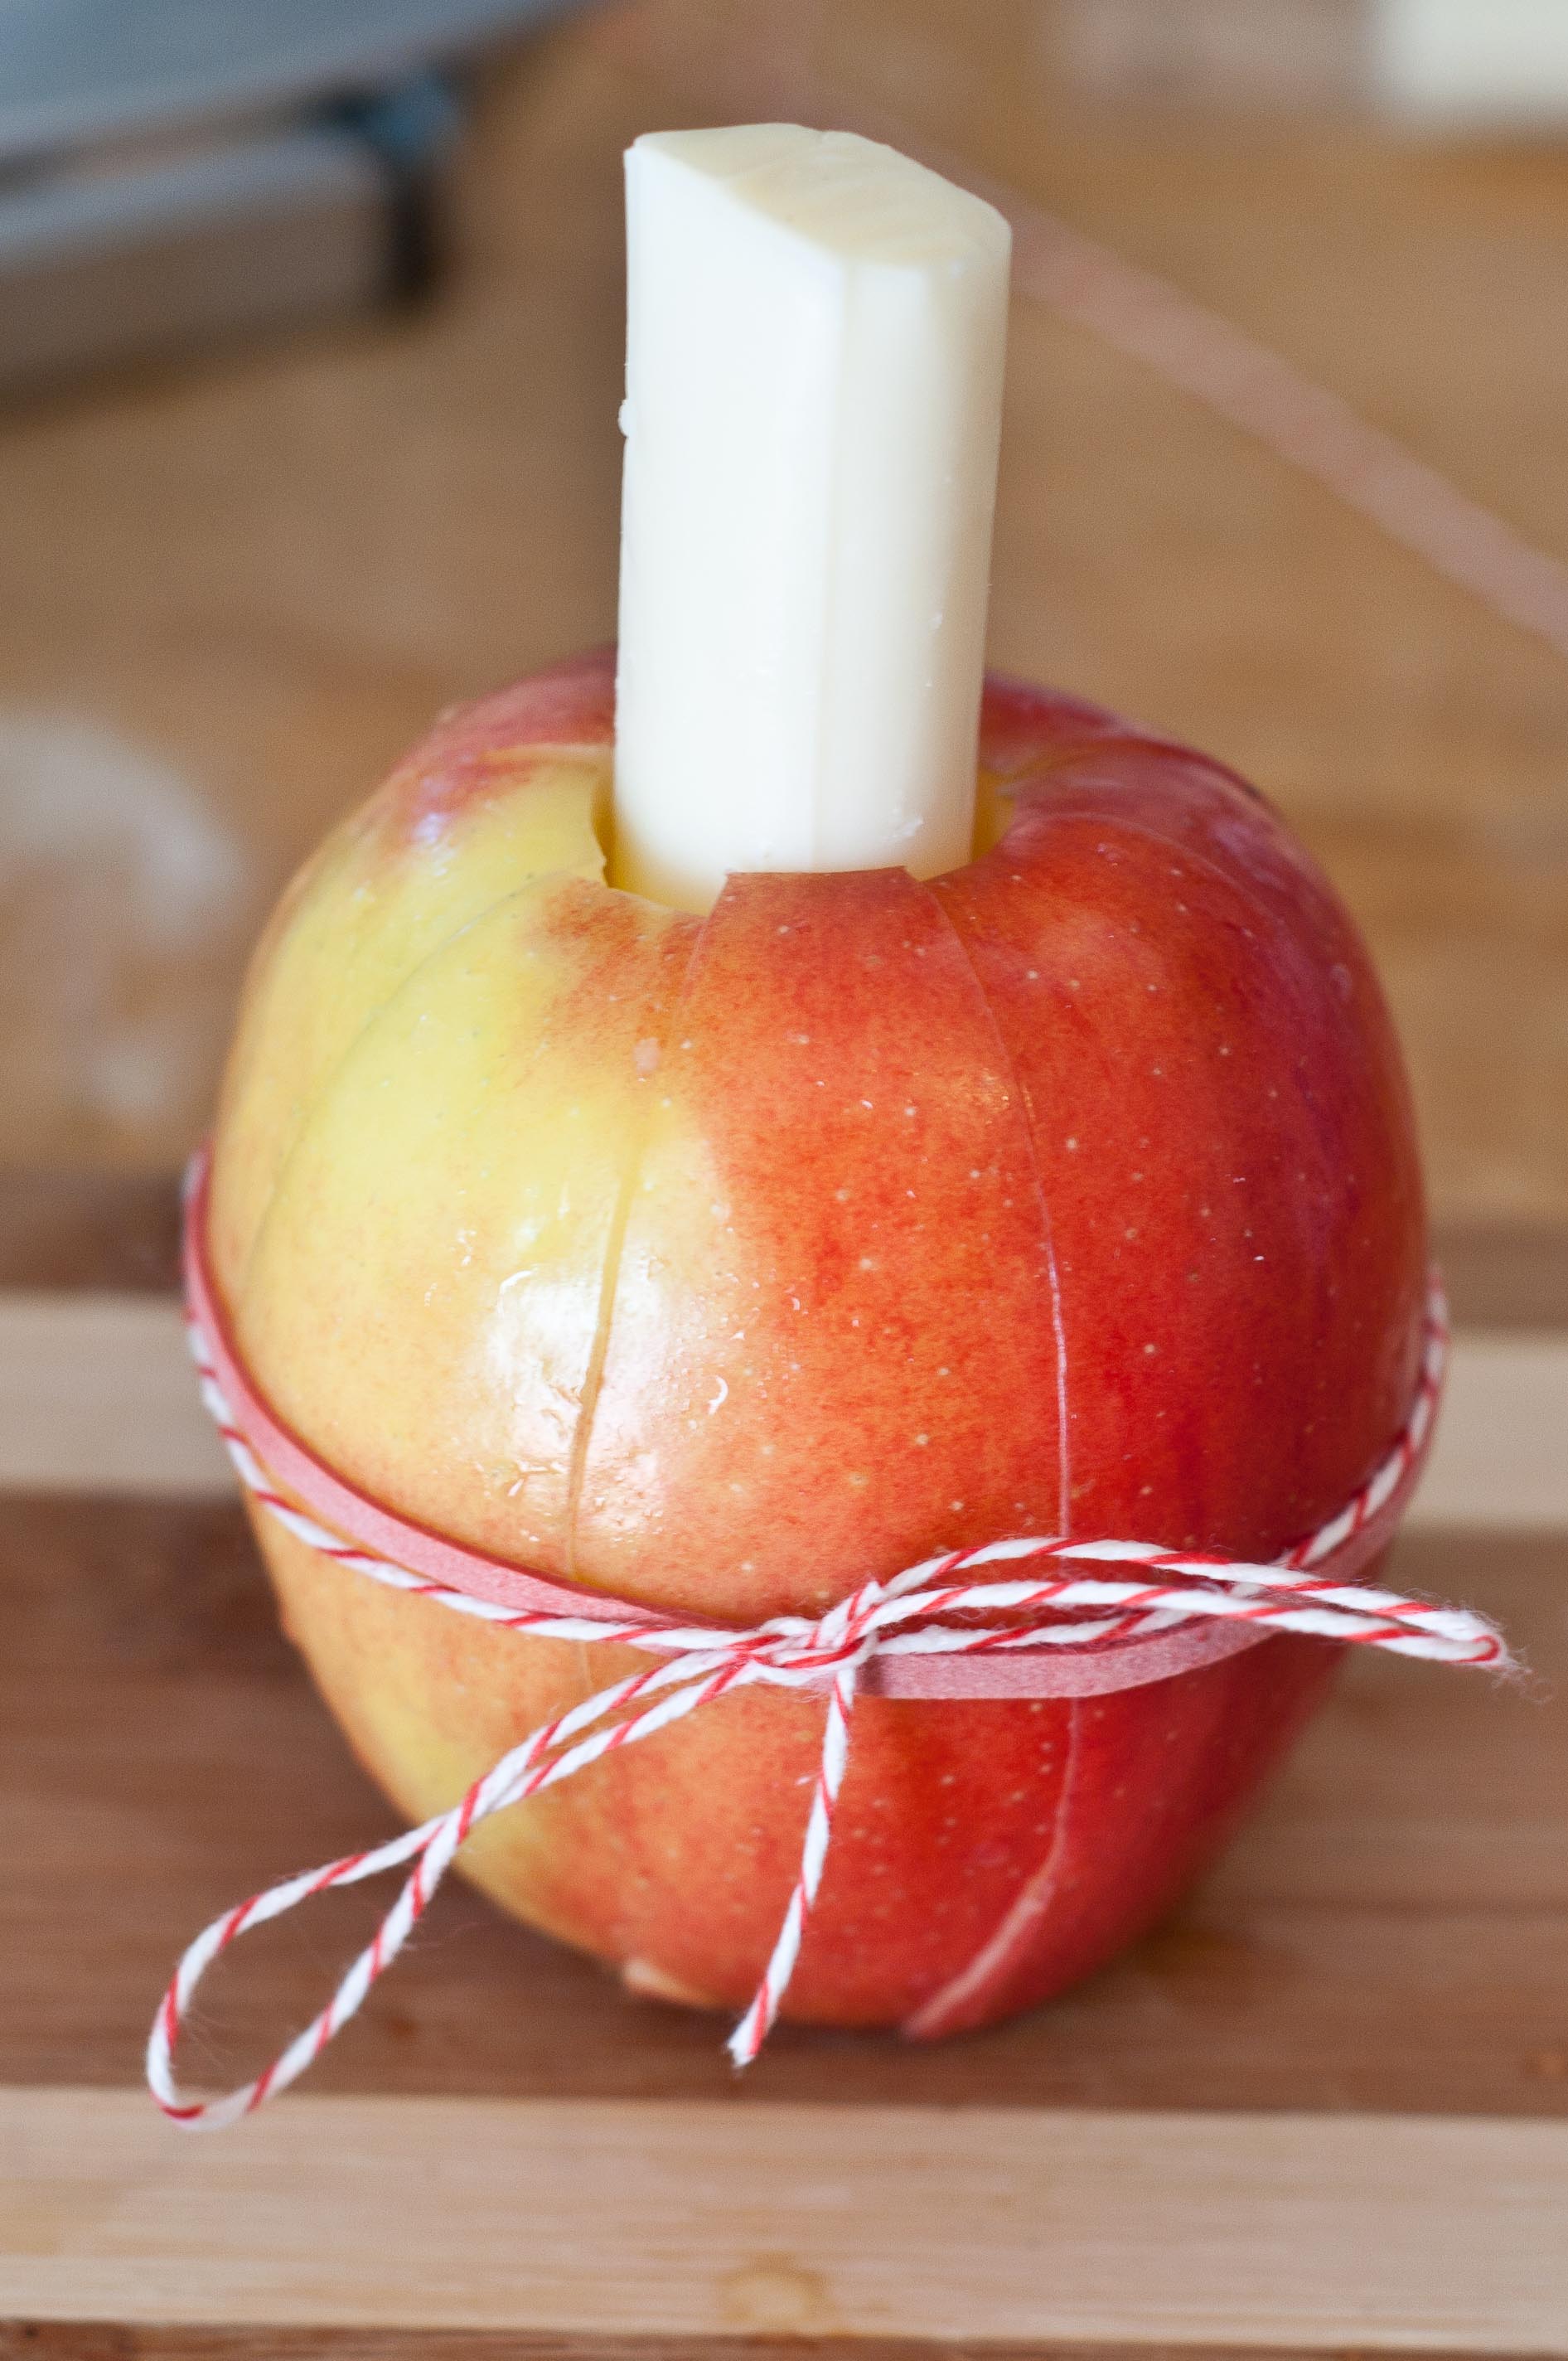
Using a small cookie cutter (I prefer a heart shape) remove the core. - Slice the strawberries down the center, through the leaves.
- Using the same cookie cutter used to cut the apples, cut a shape out of each strawberry half. Place the strawberry in the hole in the center of the apple.
For the Princess Sauce:
- Add apples sauce and strawberries to a small blender or food processor.
- Process until smooth.
Catch more great strawberry recipes on the California Strawberries Facebook page! They always find the greatest strawberry concoctions.


