fruit

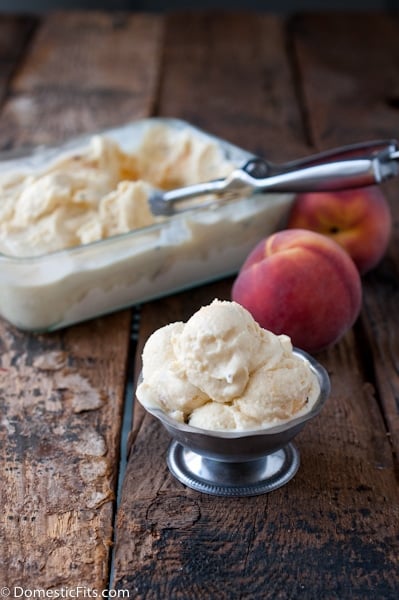
Grilled Peach Ice Cream

Grilled Peach Ice Cream

I’m really hard on myself, I’ve told you that before. I’m a nothing-is-ever-good-enough kind of person. Lately, my photos have been in my line of fire when it comes to Stuff I’m Not Good Enough At. I can’t figure it out, why the light is never that beautiful, why the images aren’t compelling enough, why the heck I can NEVER master the over head shot. By the way, this all drives my husband crazy, because in the Grand Tradition of Amazing Husbands, he thinks I’m the most talented person in the world, let’s not disrupt that delusion, I sort of like it.

So, one of my tangible fixation for resolving at least some of the issues I have with my sub par photos was this slightly deranged idea that I NEEDED a reclaimed wood table. I NEEDED it (#firstworldproblems). I priced this absolutely necessary item, and in the Los Angeles area, this need could be fulfilled for the low, low price of about $2000. My aforementioned Amazing Husband disagreed that this was an actual need after seeing the price tag for such items.

I couldn’t stop thinking about such a need, and scoured Craigslist for the possibility that I might be able to pick one up. But as luck might have it, an old house in my neighborhood started to get torn apart. It was a 1920’s California Bungalow and the sight of it being ripped apart made me a little heartsick.

As I drove home one night, I noticed a stack of gorgeous antique wood, full of age and scars that I couldn’t get out of my mind. After dinner I pulled on a pair of old boots, waited for the workmen to leave for the day, and began to dig the gorgeous planks out of the trash piles.

I had two very specific feelings about this slightly insane venture of trespassing to dig through a trash pile, at dusk, in East Los Angeles. First, I felt like a crazy person (and clearly an amateur who didn’t think to bring gloves to dig through construction waste and old wood) as I tried to ignore the freaked out looks from passers by. Second, that I was heroically saving this amazing wood from the fate of a land fill (also slightly insane that I was heroizing myself for something so selfish).

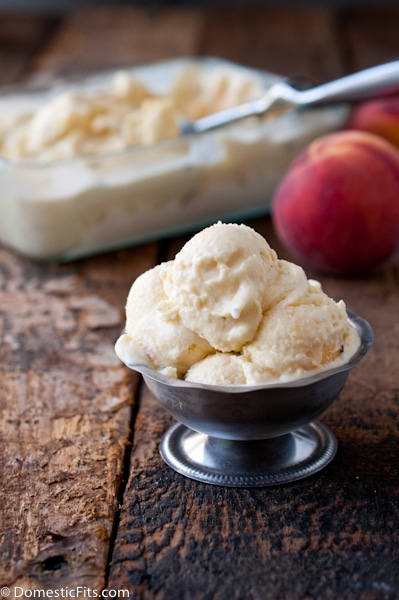
Grilled Peach Ice Cream2

After I got home with Heroically Aquired Gorgeous Wood, I used actual real life and potentially dangerous power tools to nail it together, saw off the excess and I then had myself a Personally Reclaimed Wood (prop) Table. And posted the picture of my slightly insane venture on Instagram.

Although I’m fairly certain that my newly acquired fake table did not improve my photos, I’m still happy to have him in my house instead of a landfill.

Grilled Peach Ice Cream

Ingredients

  • 1 cup sugar
  • 2 cups cream
  • 1 cup whole milk
  • 1 teaspoon vanilla extract
  • 4 egg yolks
  • 4 yellow peaches cut in half, pit removed

Grape seed or canola oil

Instructions

  1. In a sauce pan off heat whisk together the sugar, cream, milk, vanilla, and egg yolks until very well combined.
  2. Place the saucepan over medium heat, stirring constantly until it thickens enough to coat the back of a spatula.
  3. Transfer to an airtight container (strain through a fine mesh strainer if any lumps were created), refrigerate until chilled, about 4 hours and up to 24.
  4. Preheat the grill to medium high heat (alternately, a cast iron grill pan can be used).
  5. Brush the cut side of the peaches with oil. Place, cut side down, on a hot grill. Close the lid and allow to grill until deep grill marks appear, about 4 minutes.
  6. Remove from grill and gently peel the skin away (should remove easily).
  7. Chop the peaches.
  8. Add the peaches and the ice cream base to your ice cream maker and churn according to the manufacturer’s instructions. Freeze until set, about 2 hours.
  9. Remove from freezer about 5 minutes prior to serving to make scooping easier.
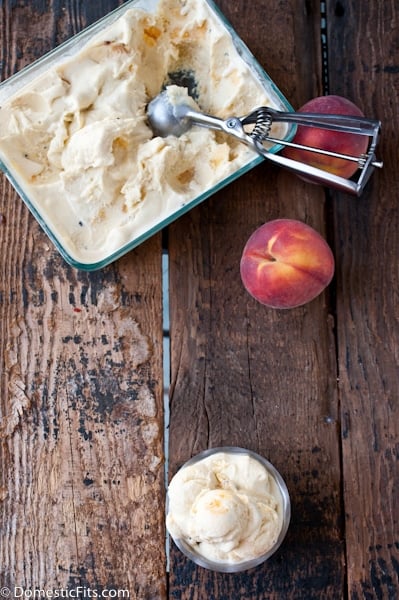
Grilled Peach Ice Cream3

Boozy (or not) Watermelon Stars

I have a confession to make. 

I stole this idea from my friend Tori. She is the genius behind The Shiksa In The Kitchen. And if you watch the morning news, anywhere in America, there is a chance she cooked up something special on your TV. She is a big hit in New York and San Francisco especially, but can you blame them? She’s gorgeous, smart and nicer than you could ever expect. 

Even when the inevitable day comes when she gets her own cooking or travel show, she will be the girl who sits in the airport terminals between flights and answers your cooking question via twitter, because she’s that nice. 

We met over crayons and wide ruled paper in Mrs. Newets 4th grade class room. We lost touch when I moved to Eastern Washington, because we are both older than the internet, but met up again through blogging. Which is one of the reasons I love blogging. And why I love when my friends in the computer, become real life humans who call me on the phone and invite me to have lunch with Mario Batali. 

I’m going to show you how to make these watermelons into stars for that I Heart America holiday that is rapidly approaching, but you’ll have to go over to her blog to find out how to put booze in them

Make sure you do, because whats more American than produce and booze? Good Bless the USA. 

Go check out: Tori’s Watermelon Mojito Pops!

Watermelon Stars

Materials:

1 medium sized watermelon

14-18 large blueberries

6 inch wooden skewers

Cap to a Chapstick tube


Step One:

Slice the watermelon into 1 inch rings. 

Step Two:

Lay the rings on a flat surface and cut out as many stars as you can with a Star shaped cookie cutter. You should be able to get two or three stars out of each ring. If the stars are too fat, cut them in half width wise to make two thinner stars. Be sure to reserve the watermelon "scraps."

Step Three:

I know this is a little skeevey, but bear with me, use the cap to a Chapstick tube to cut out a hole in the center of your star. It’s odd that I’m asking you to go find a tube of Chapstick to add to your kitchen equipment, but if you are anything like me, you have handfuls of those things in every drawer and purse in your house. 

Just push the cap all the way through the center of the star. The hole is the perfect size for a large blueberry. 

Step Four:

Place a blueberry in the hole in the center of the star. 

Step Five:

Press a six inch skewer into the watermelon and through the blueberry. 


watermelon stars5

Step Six:

Go to Tori’s site and she will tell you how to turn these suckers into boozy treats!

What to do with all those leftover Watermelon scarps:

Grilled Watermelon and Cotija Salad

Watermelon Ceviche 

Watermelon Jalapeno Margarita 

Watermelon Feta Mint Salad 


Pin this post!


Follow me on twitter

Follow me on Pinterest

Like Domestic Fits on Facebook


Let’s Have A Ball Themed Kids Party & Apple Slice Party Balls

I am now the mother of a two year old. 

Of course I’ve been warned about the Terrible Two’s and the nightmare that I am now  a party to. 

And no offense to those who have gone before me, but I rather enjoy this age. Every age, every situation and every person is not without drawbacks. There is no such thing as a perfect situation. Quality of life is built on figuring out what is great about the situation that you are in and enjoying the crap out of it. 

So, what is great about 2 year old?

You get to have all the answers. You are able to solve all of their problems. These tiny little humans see you, their moms, as the Fair Princess Goddess of The Universe. You have control over everywhere they go and who they play with. And all of that will end way too soon. As much as I long to have more freedom and independence, sleep past 6:30am, set my schedule on a whim, travel to exotic places and be able to pee in private again, I know without a single tiny doubt that I will miss the hell out of my 2 year old once she is all grown up. 

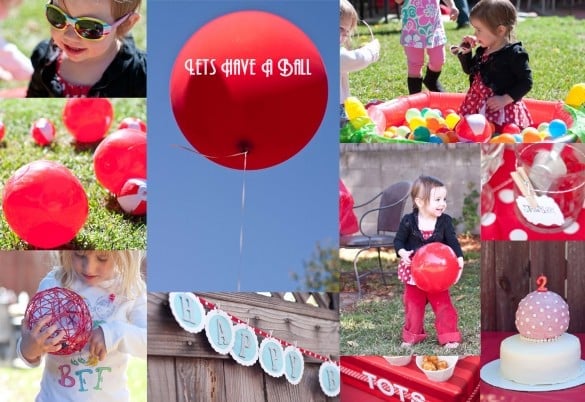
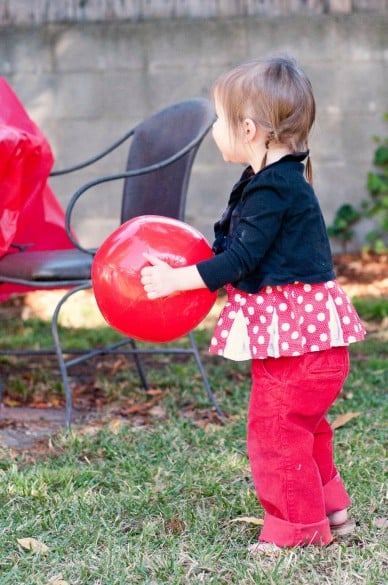
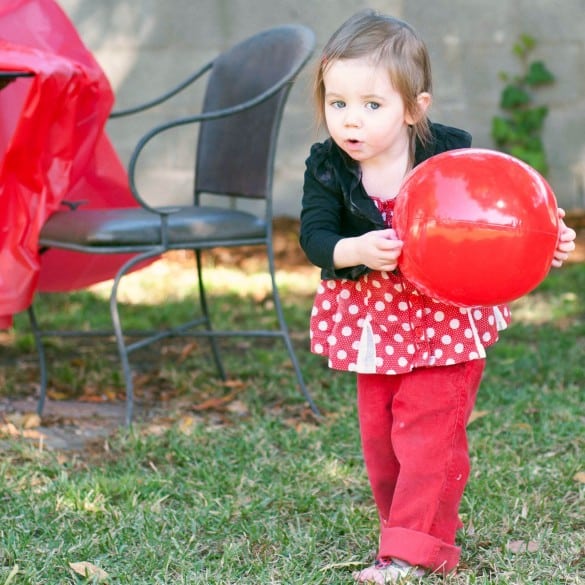
For Tater’s second birthday, my little tomboy wanted to run around the back yard and play with balls, her favorite thing in the entire world. So that’s what we did. 


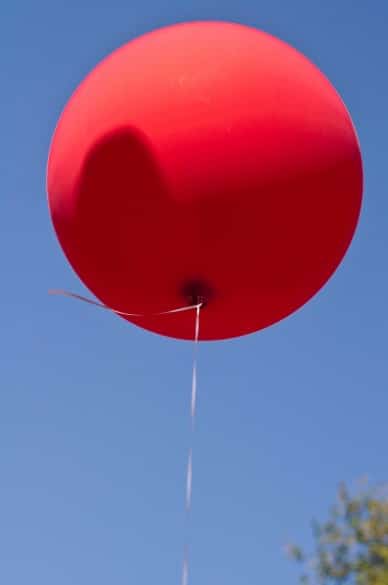
I had huge gigantic balloons from Sweet Lulu


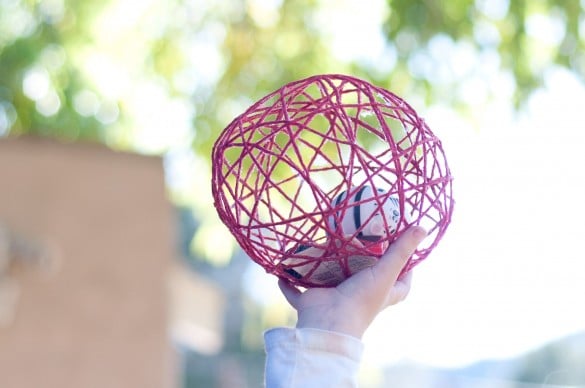
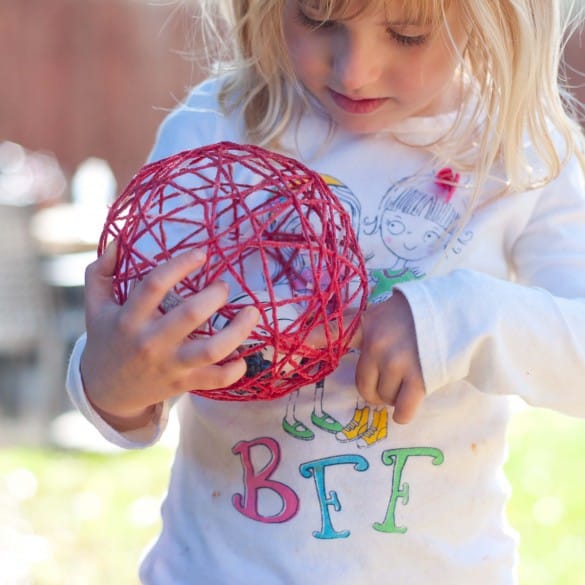
I made Yarn Ball Party Favors, You can see the DIY here:

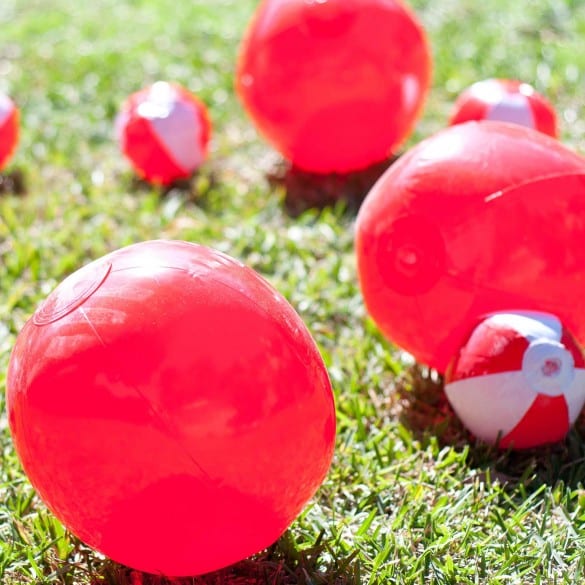
Dozens of red and white beach balls covering the lawn, that I bought from Oriental Trading

Tater was in love with this. 


I filled a red baby pool up with a bag of ball pit balls. 

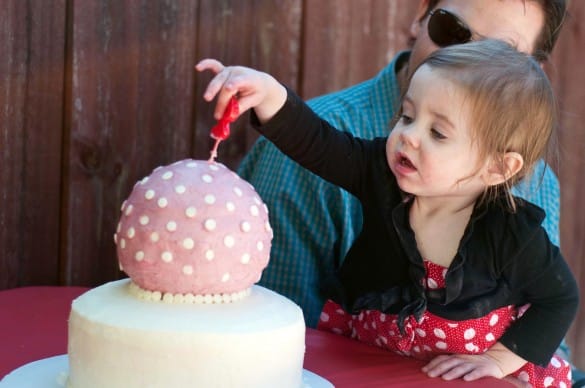
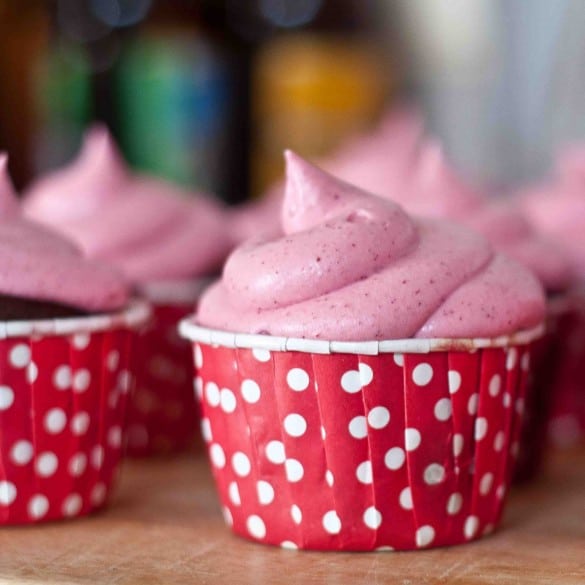
And as I shared with you a few weeks ago, I’m tring to rid my life of food dye. Quite a challenge for someone who is used to spending hours concocting the perfect frosting color for cakes. I let go and accepted the fact that the frosting I made with beet powder was just going to be purple and that was OK. More on that in a later post. 


A least I was able to sneak some antioxidants and vegetables into her cupcakes, at fine compromise in my opinion. 

And the food went largely unphotographed. A pretty shocking thing in my world, given the frequency with which I snap food pictures. 

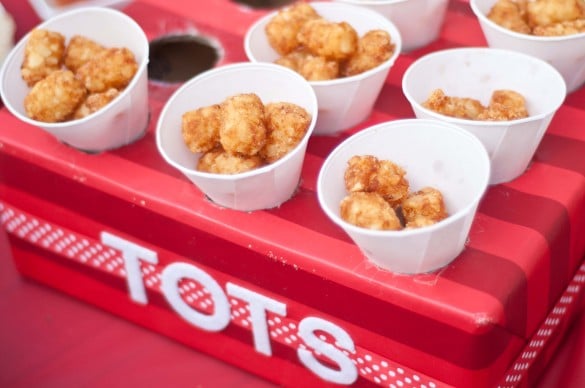
We did, however, reserect the Tater Tot Bar from last year.

I used white cone cups and made the cone holder out of a cardboard box and wrapping paper. 

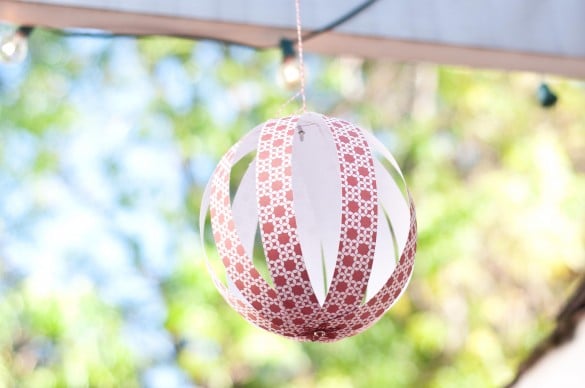
I also made the Hanging Paper Lanterns, one of my very first post was how to make them.

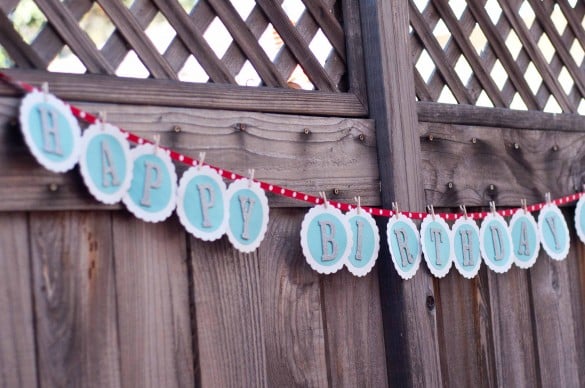
And I remade the paper Happy Birthday banner. 

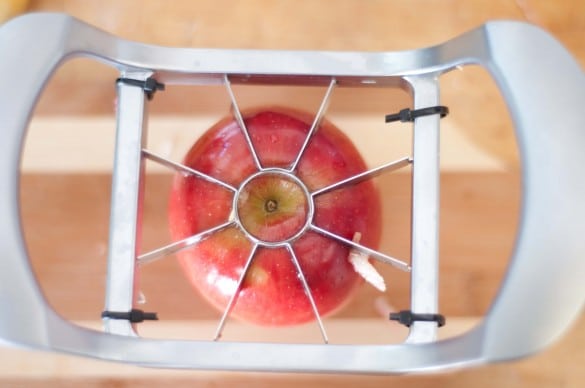
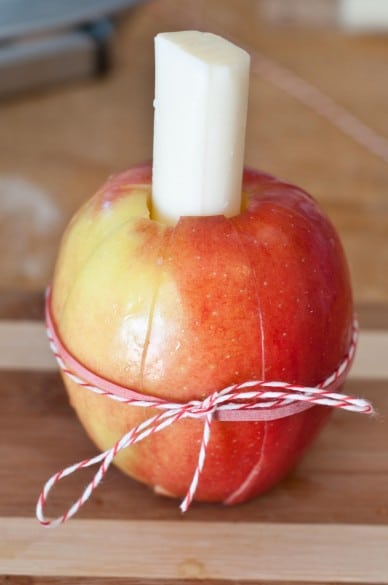
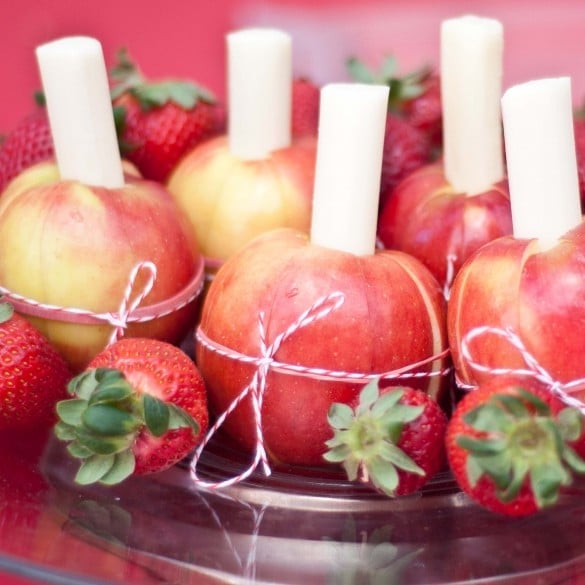
I did get a few shots of my Apple Balls, cored and sliced apples held together with rubber band and bakers twine. I replaced the core with string cheese. This will keep them fresh, un-browned and party ready for hours. 

First, core and slice the apples using an apple slicer. 

Remove the core and replace it with string cheese. Reassemble the apple and secure with a rubber band, then tie a ribbon or bakers twine around the rubberband. This will help your apple slices to stay fresh longer, without turning brown. 

If you can, try to find string cheese that is the same size, or just a bit larger than your apple corer. 

Pin This Post! 

Follow me on twitter

Follow me on Pinterest

Like Domestic Fits on Facebook