
When you have a blog, and you post instructions about how to make or cook something that you have dreamed up, you want all of the mistakes to happen to you. You want to be the one to discover the holes in the theories, the lapses in the instructions or the possible interpretations that will end up in failure.
Lucky for me, and for any who attempt to make these, those failures bestowed themselves upon me during this craft project.
These yarns balls have been popping up in craft books since the 70’s but made a resurgence a few years ago when Martha Stewart posted a rough DIY on how to make these as christmas ornaments.
Craft bloggers began posting these as decorative balls for baskets, ornamental garland and even colorful Easter eggs. (Other tutorials: Happy Hour Projects, Ruffled Blog, Make and Takes, On Shore)
Reading the comments on the post it seem as if half the people who attempted this had glowing success and the other half had epic failures. I fell into the latter half. Which ended up being a good thing because I was forced to seek out the answers to the most common failure:
WHY didn’t the yarn harden??
Most of the bloggers who did respond didn’t seem to know the answer: Too much glue? Wrong type of glue? Too humid in your part of the Country?
None of those answers really seemed to fit the issues I was having, but I could tell by the next morning with string that was soft and not stiff, that I had to fix the problem or there would be no party favors for Taters "Lets Have A Ball" Party.
I consulted my sister, from whom I stole the idea to put toys inside these decorative balls in the first place. She’s completely brilliant and epically creative Polaroid photographer.
Her advice: "More glue, it won’t have a choice but to harden."
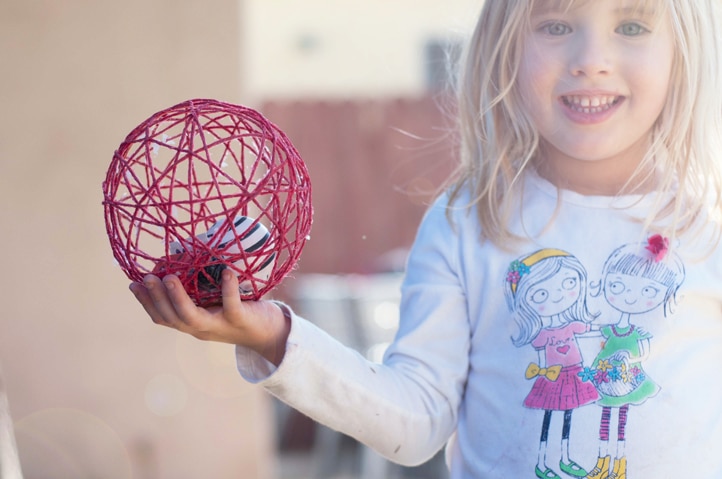
True. I traced the lines of the yarn with my Elmer’s glue bottle, blotted it in with a sponge brush and in three hours, I had Yarn Ball Party Favors ready to go.
Another common factor that I saw in success was glitter. It seems to act as a binder of sorts. Add it to the glue and it helps to hold shape.
Other than the threat of failure looming over my head, I loved the way these turned out.

8 ballons, about 6 inch round
Toys, I used squishy balls, temporary tattoos and Lady Bug Bubbles (Small enough to smash into a balloon and large enough not to fall through the yarn holes)
2 bottle of Elmer’s glue
1/4 cup warm water
2 tbs glitter
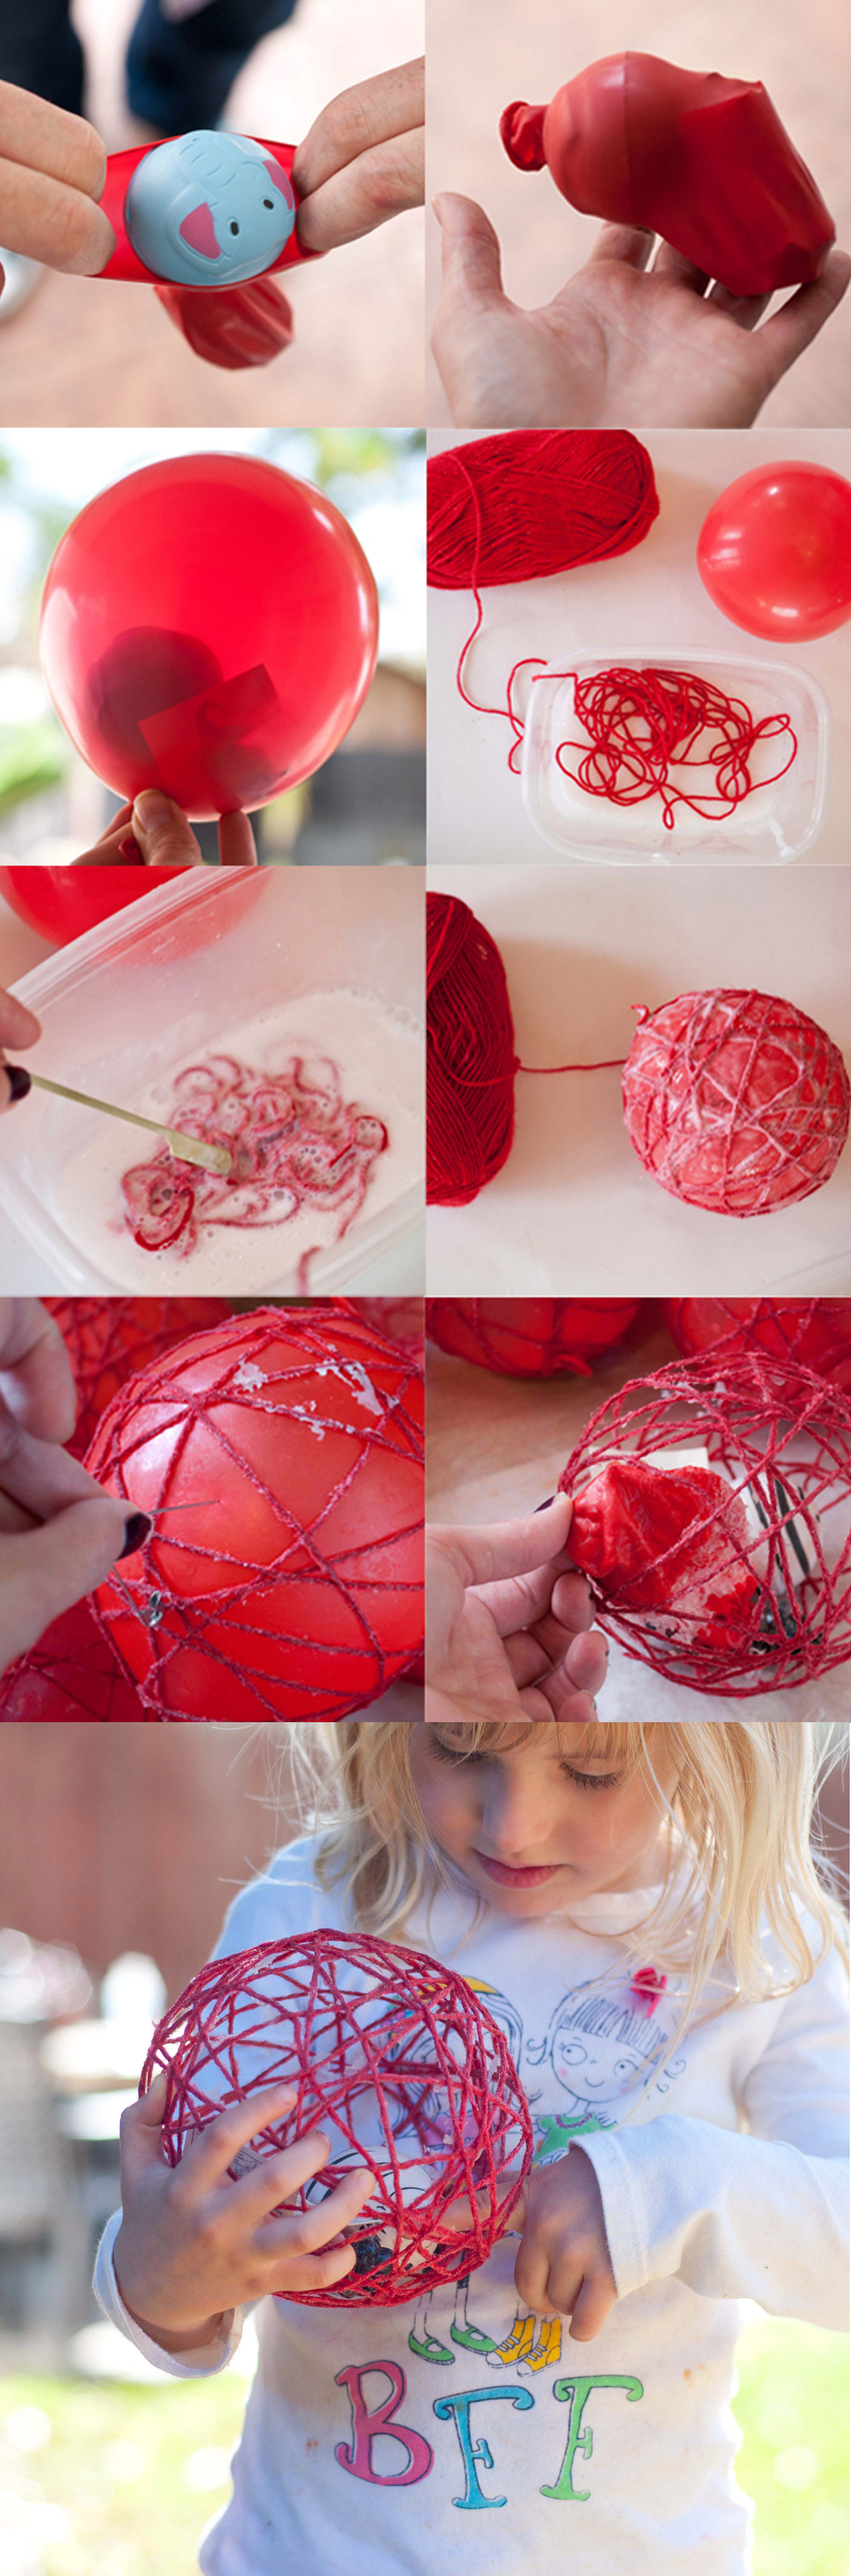
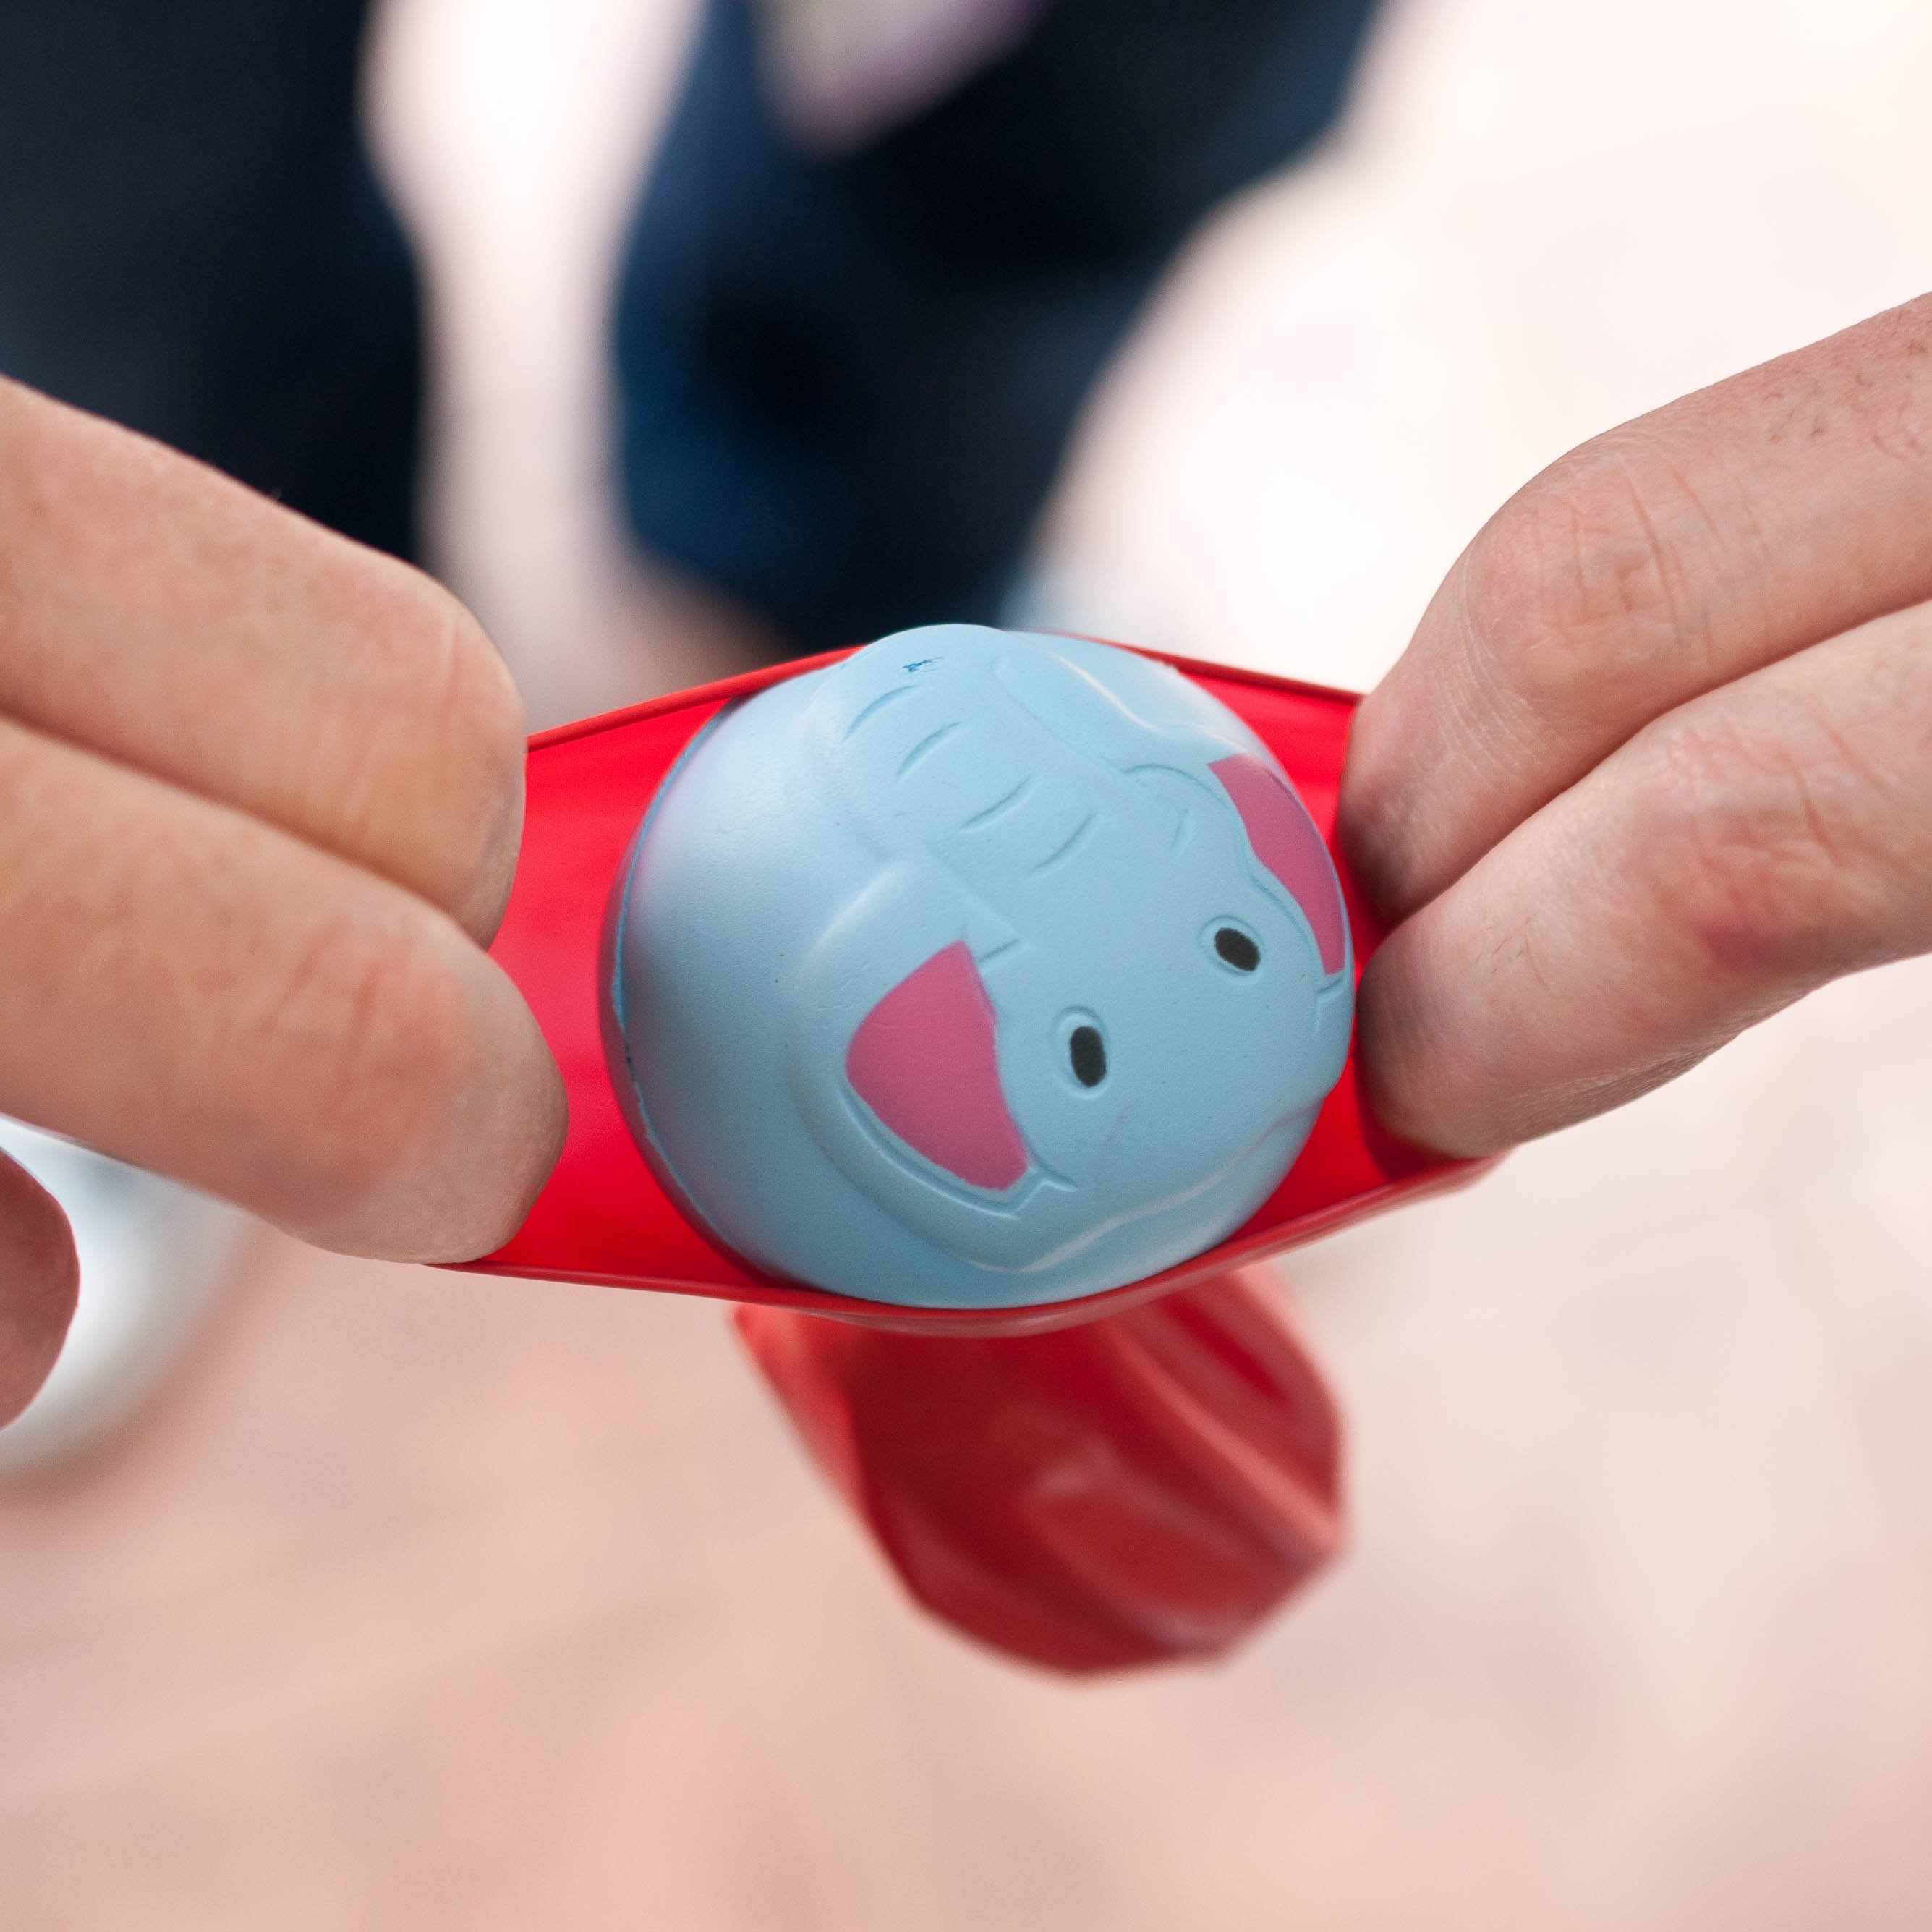
Step one:
Squish the toys into the balloons. You might want to have extra incase you break some trying to get the toys in. Also, it helps to have an extra set of hands to help. I used my husbands:

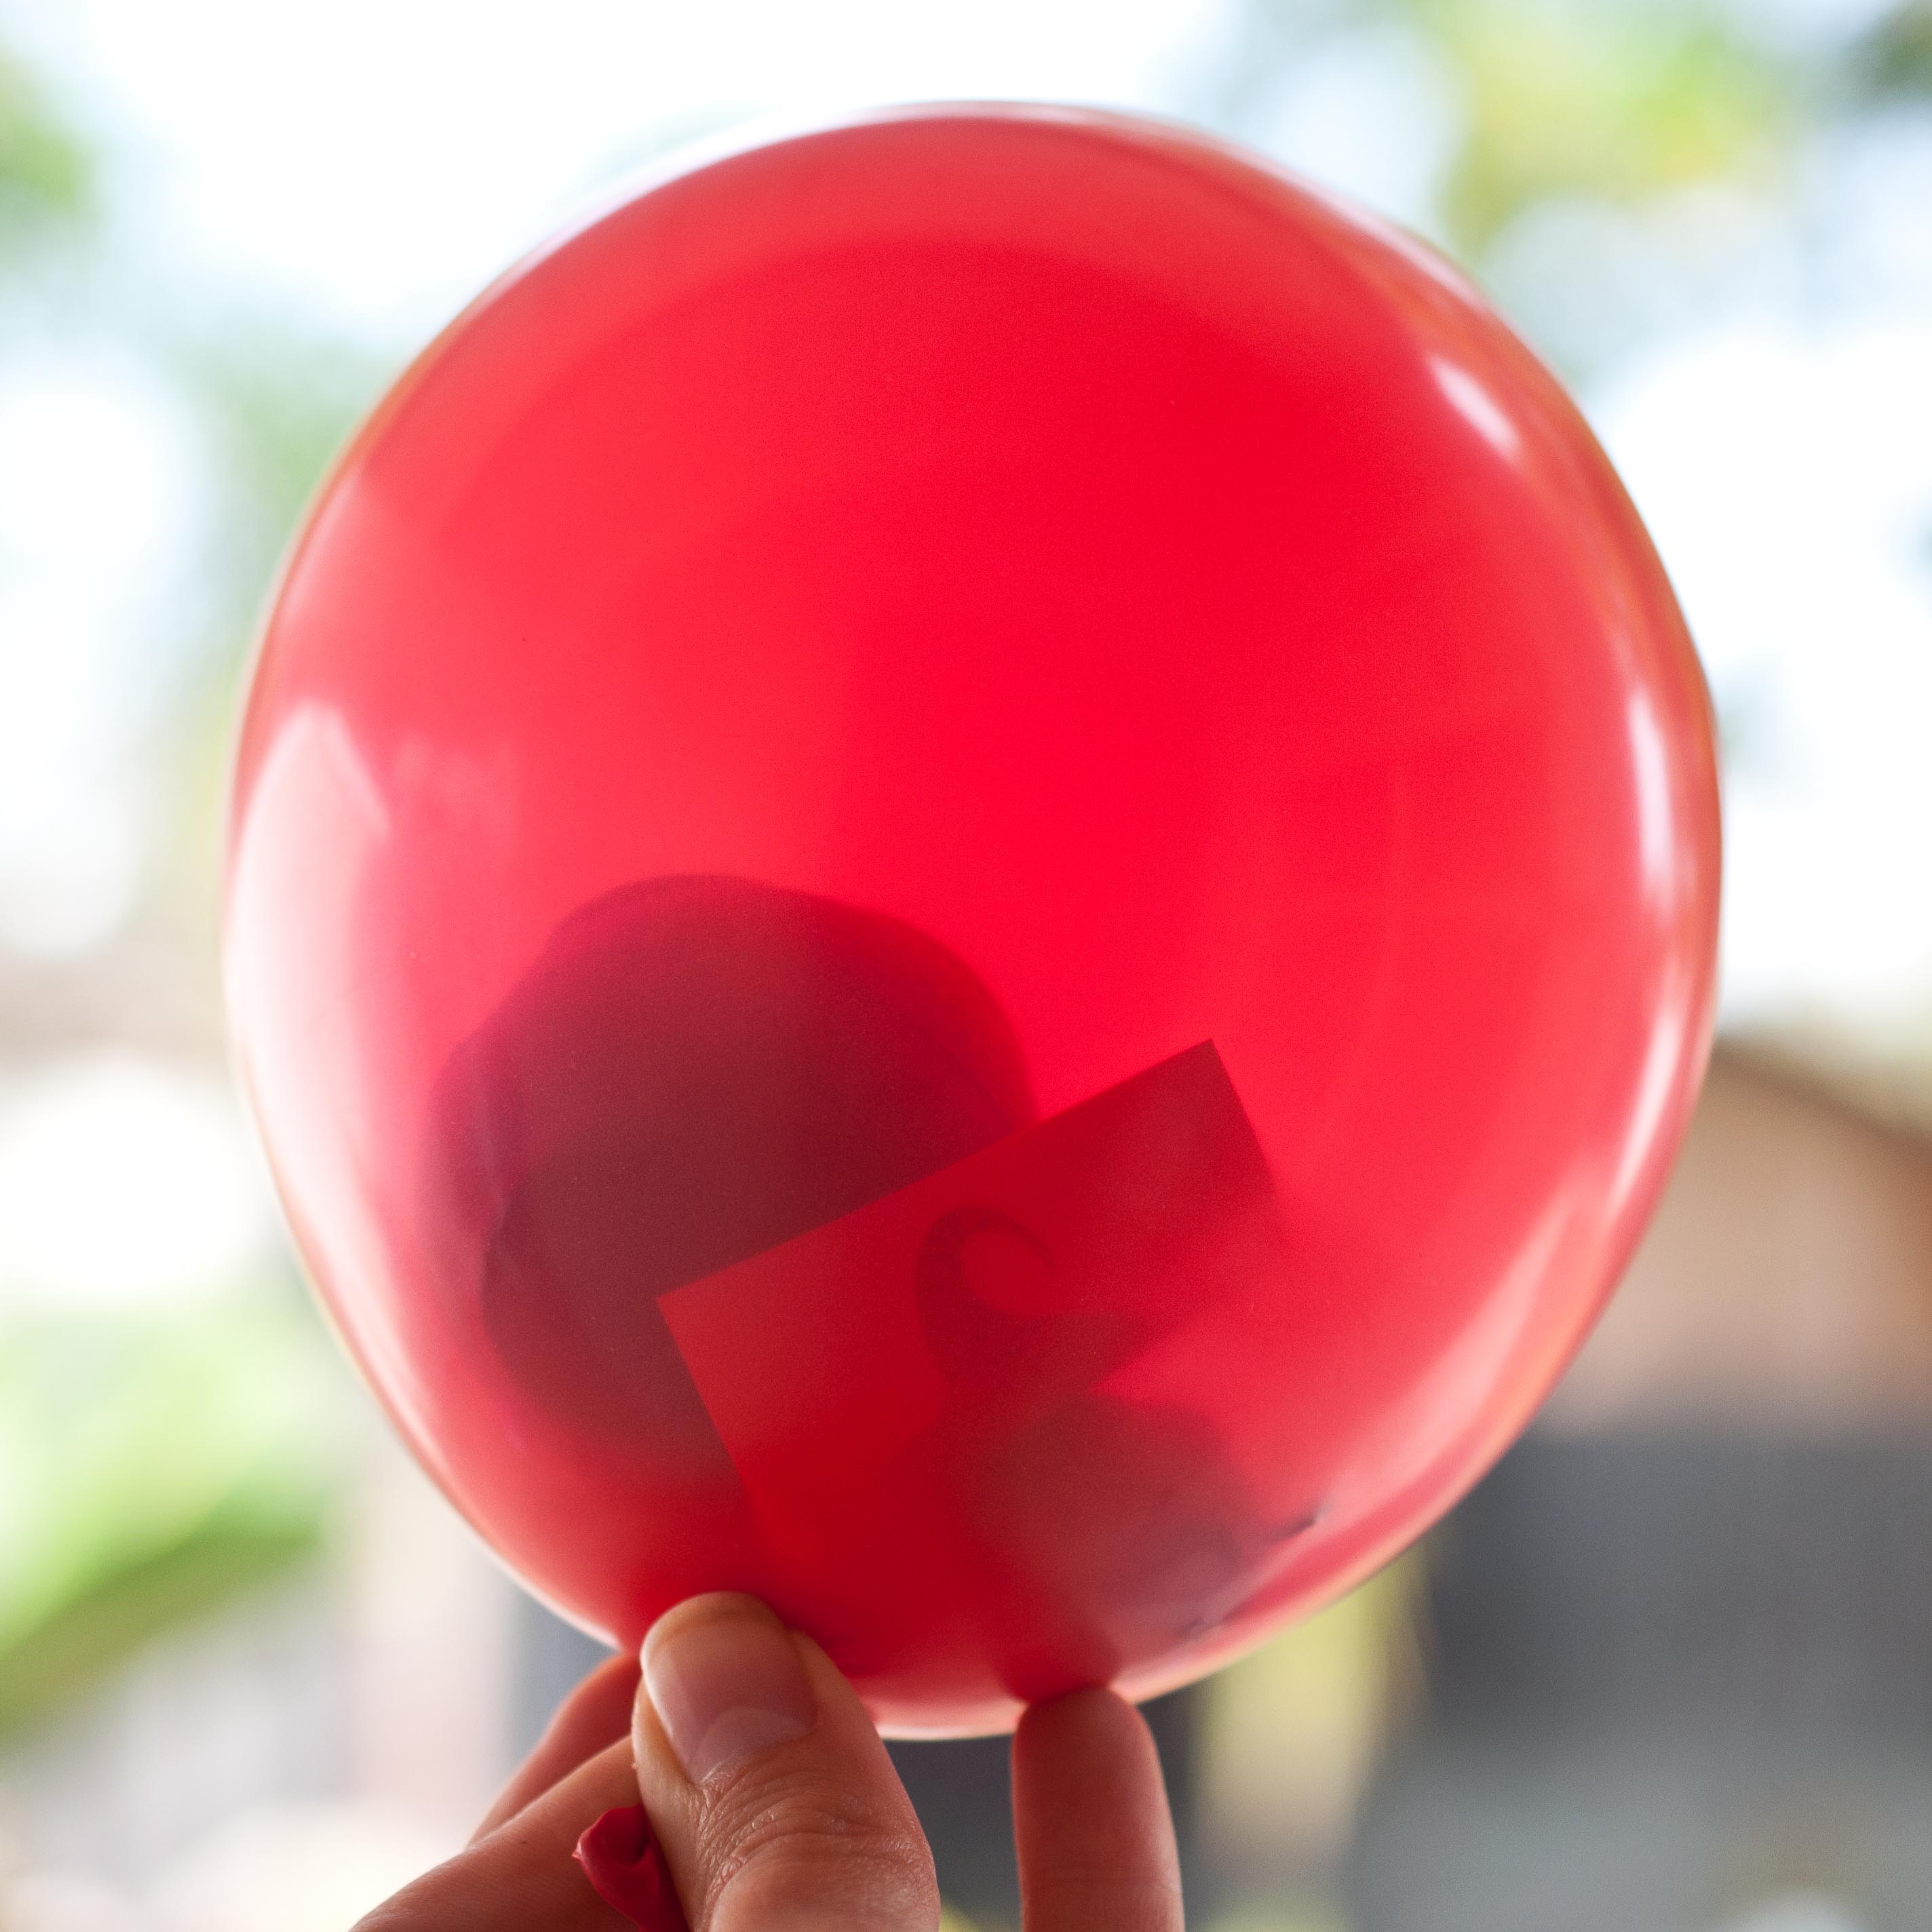
Step Two:
Blow up the balloons and securely tie the end.
Step Three:
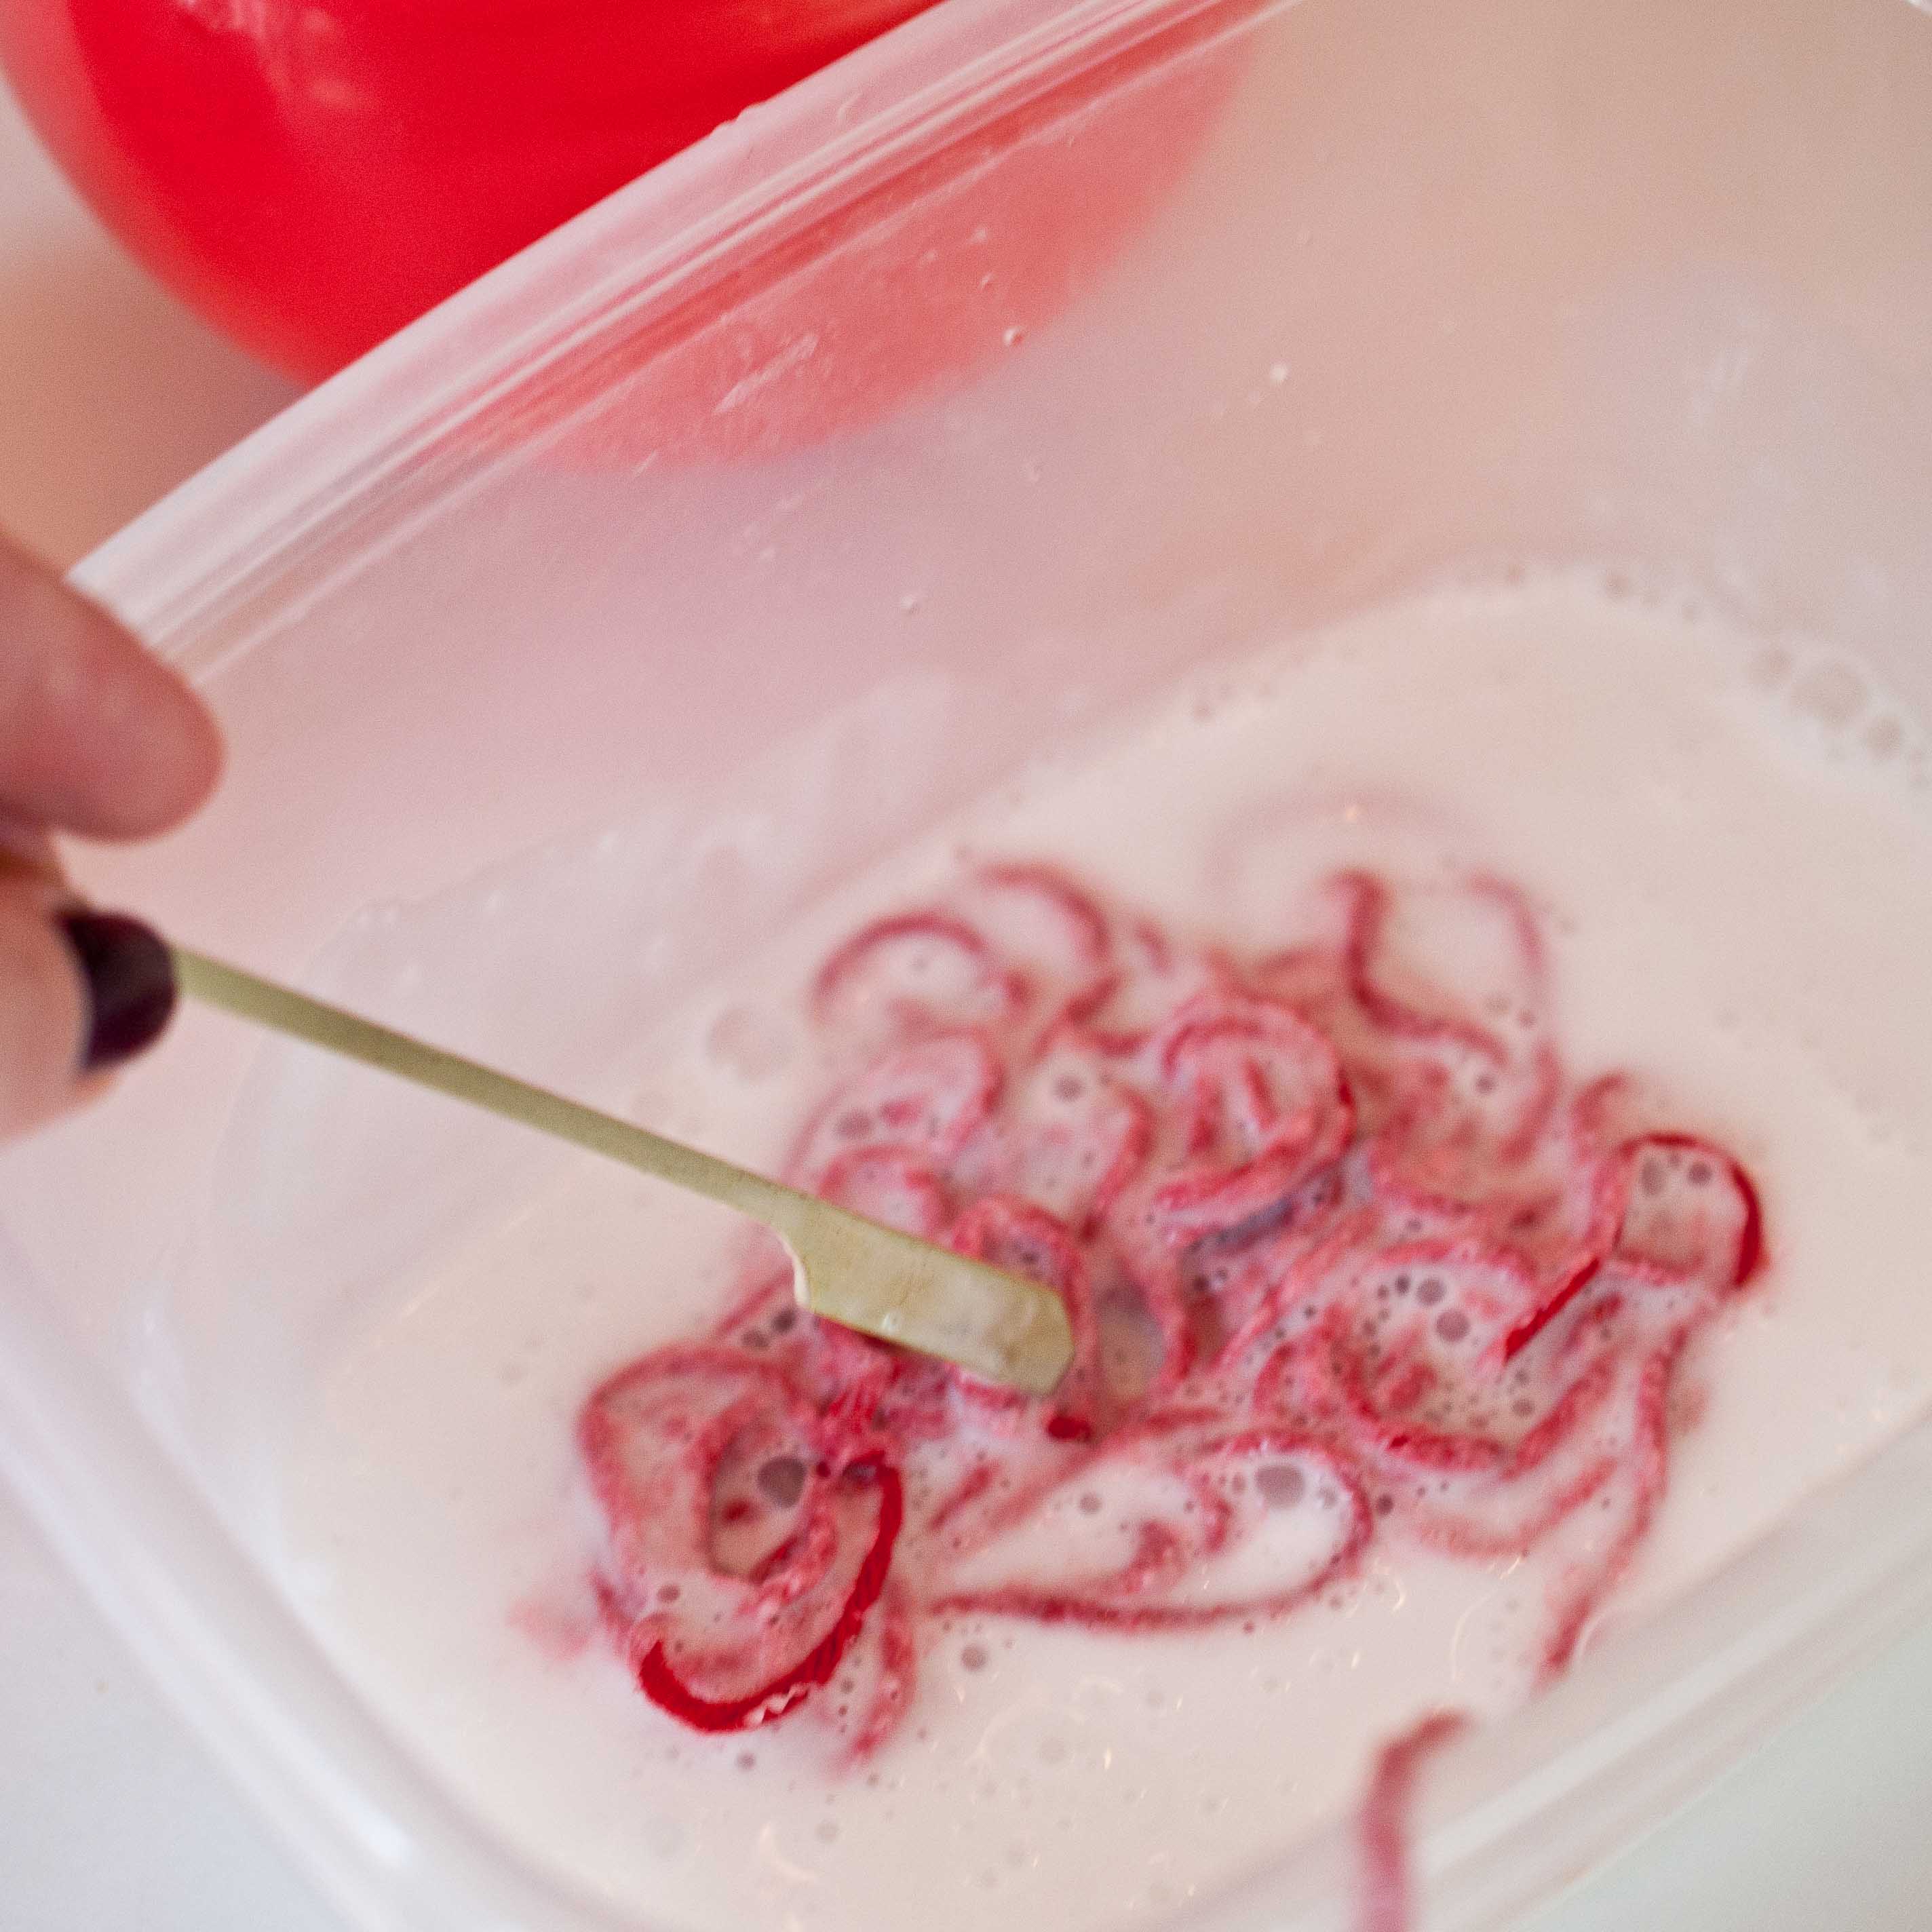
Mix the glue, water and glitter in a large bowl.

Step Four:
Place a few feet of yarn into the glue and press down, try not to stir or you’ll end up with a tangled yarn mess.
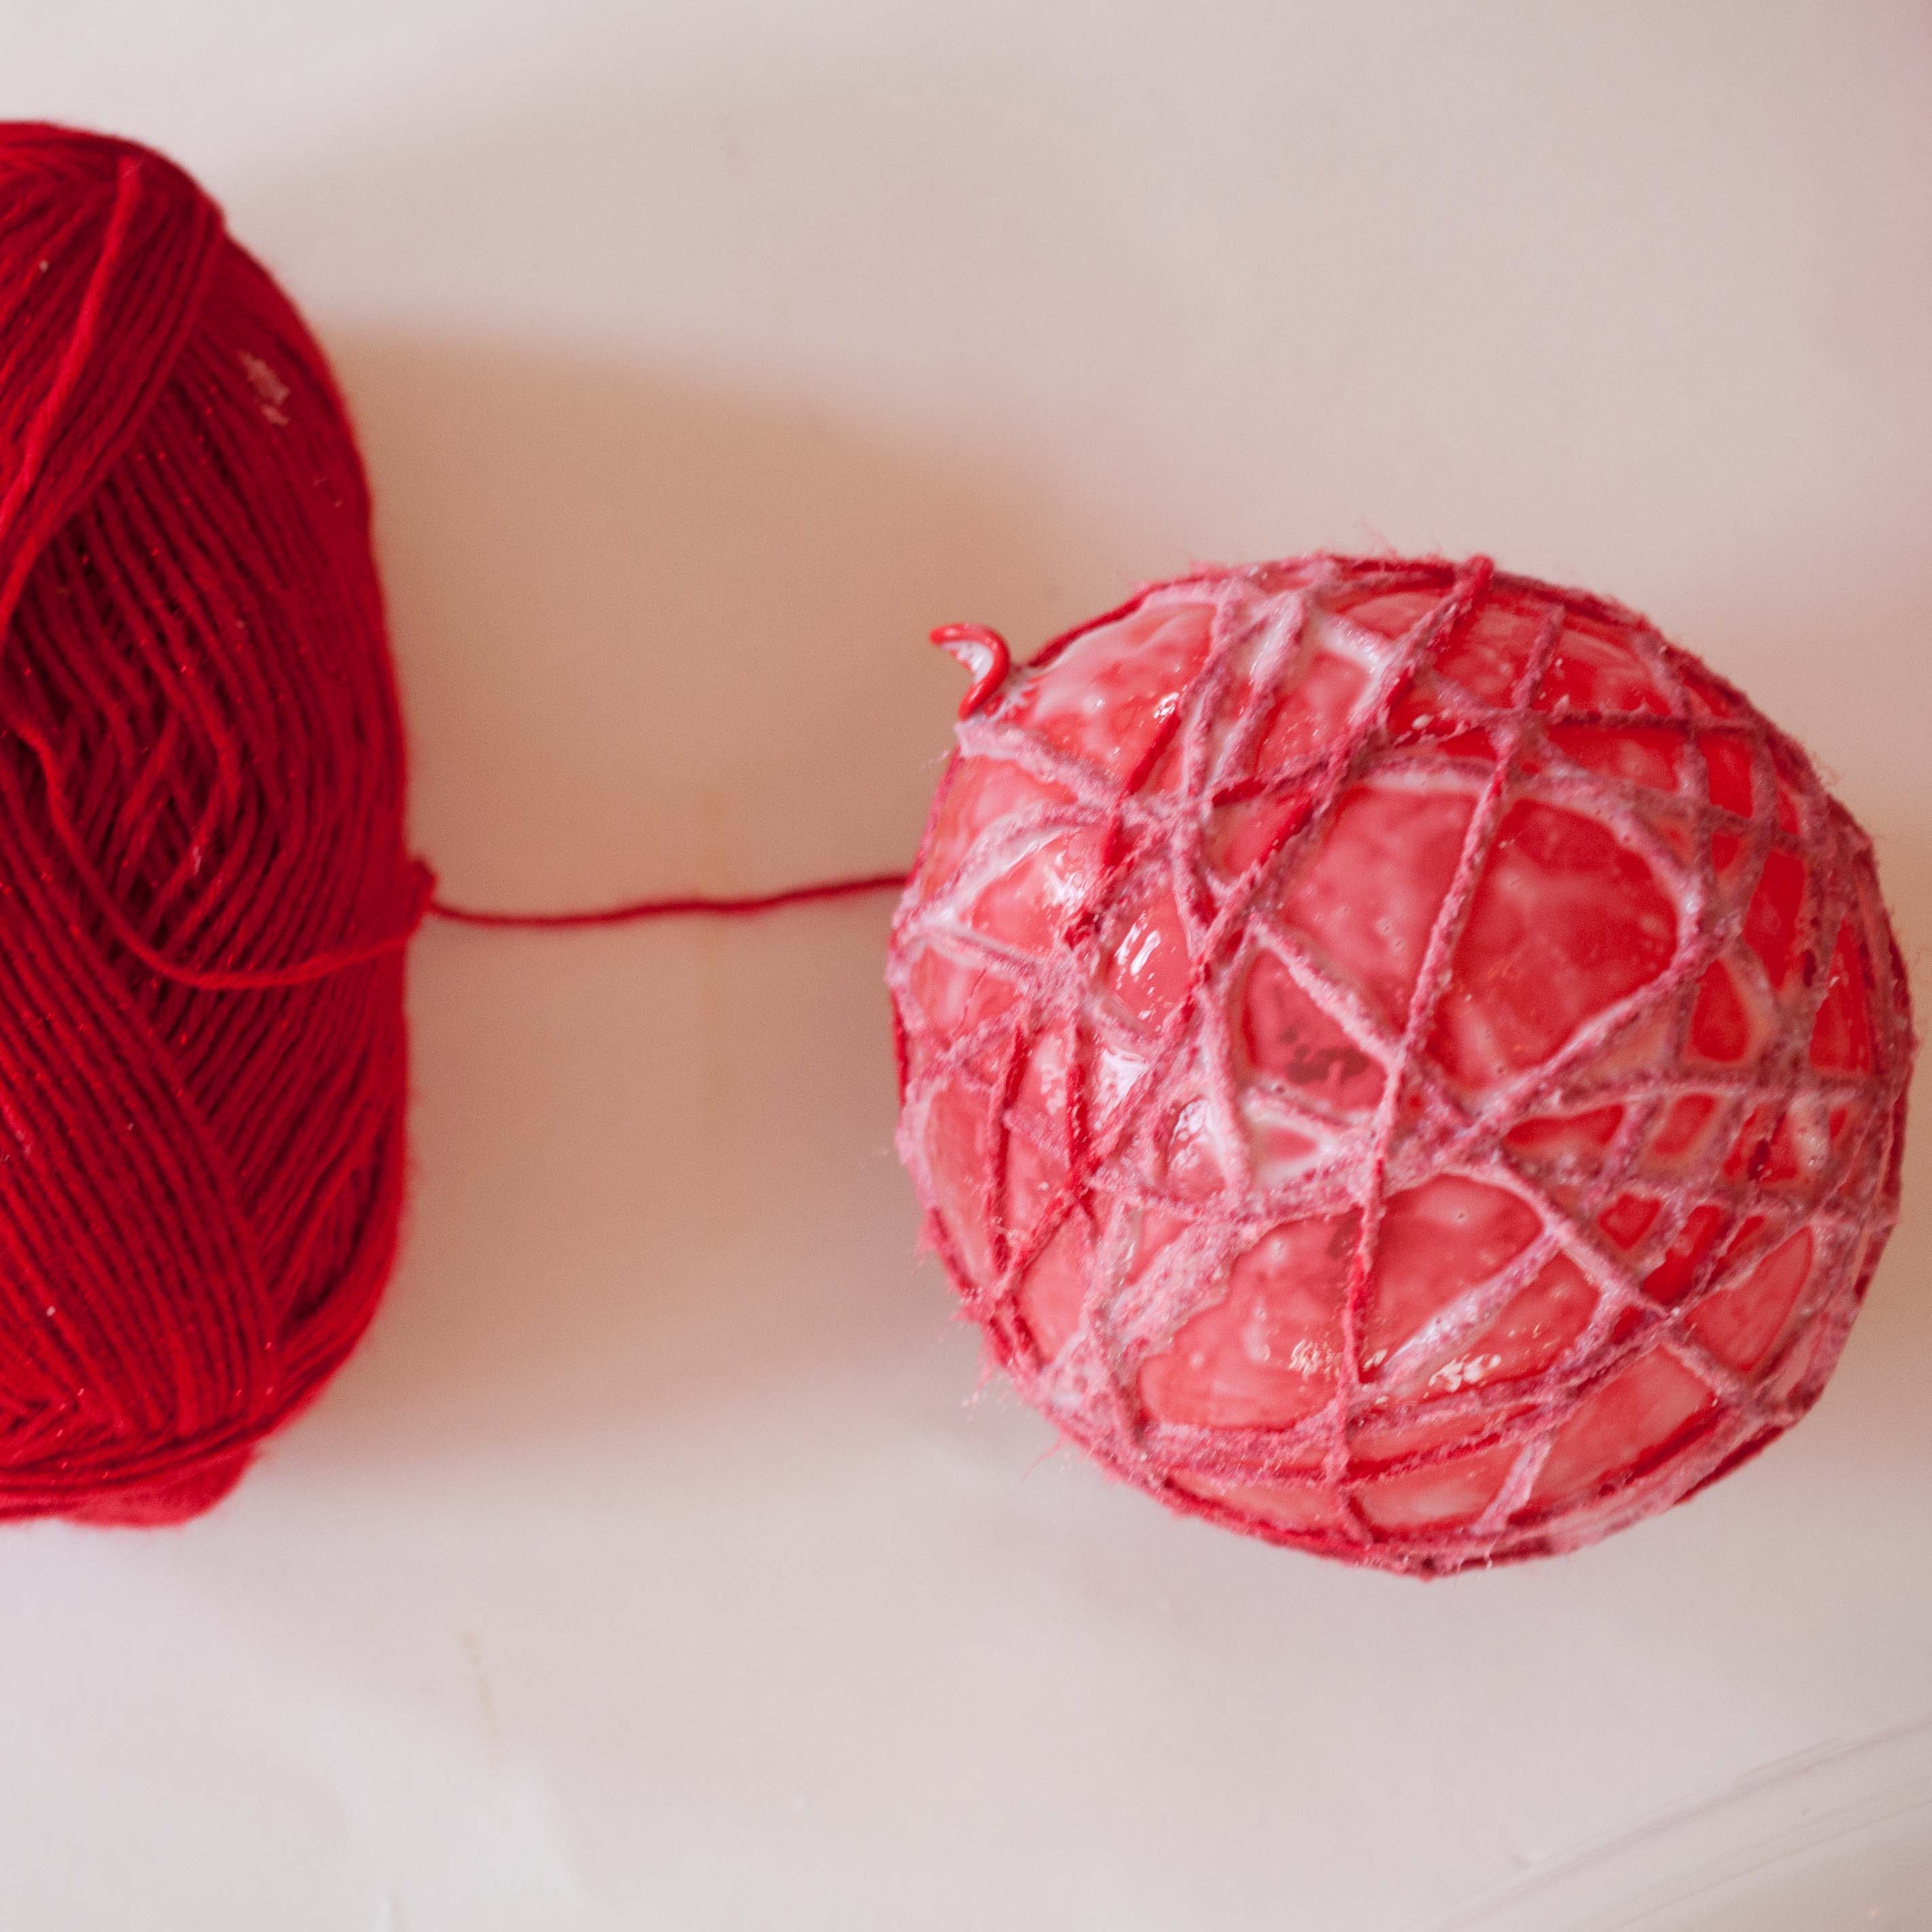
Step five:
Wind the yarn around the balloons, cutting of the end and tucking it into an inconspicuous spot and then place on sheets of wax paper to dry.
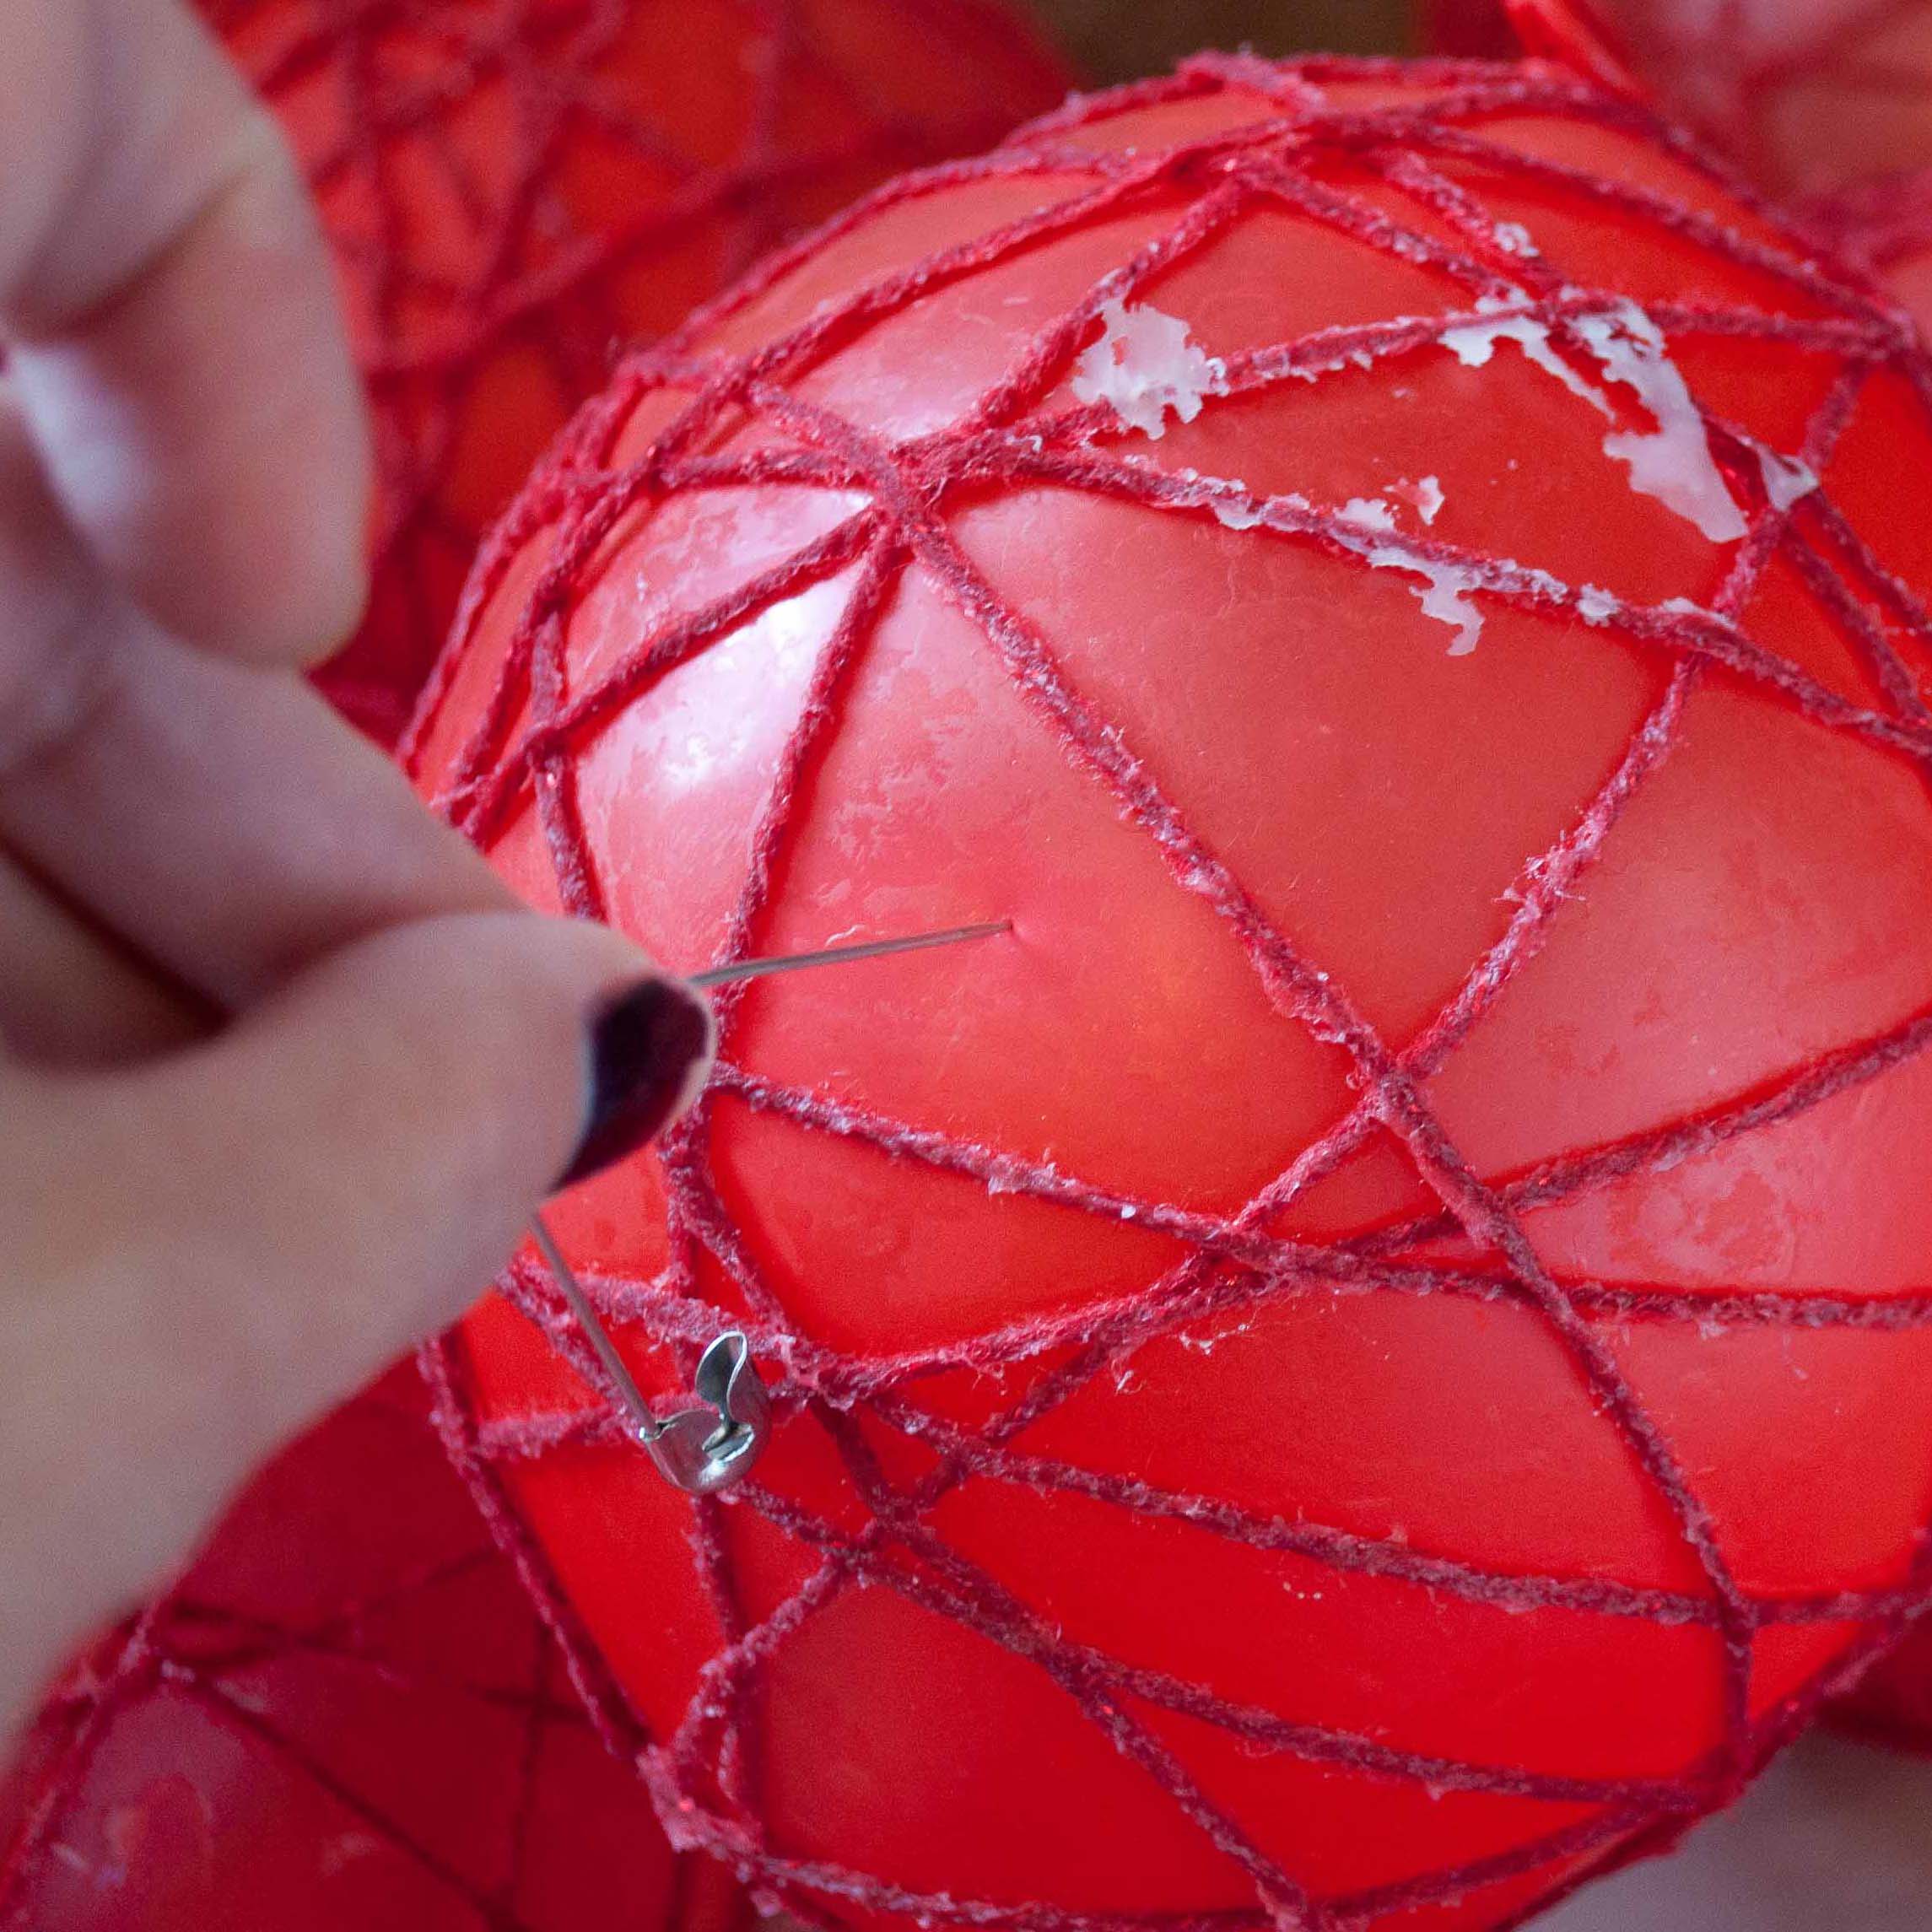
Step Six:
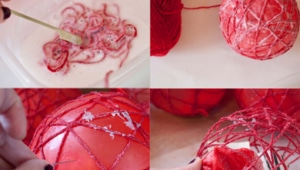
Allow to dry completely until the yarn has become very stiff and there is no give to it. Then pop the balloon in the middle.
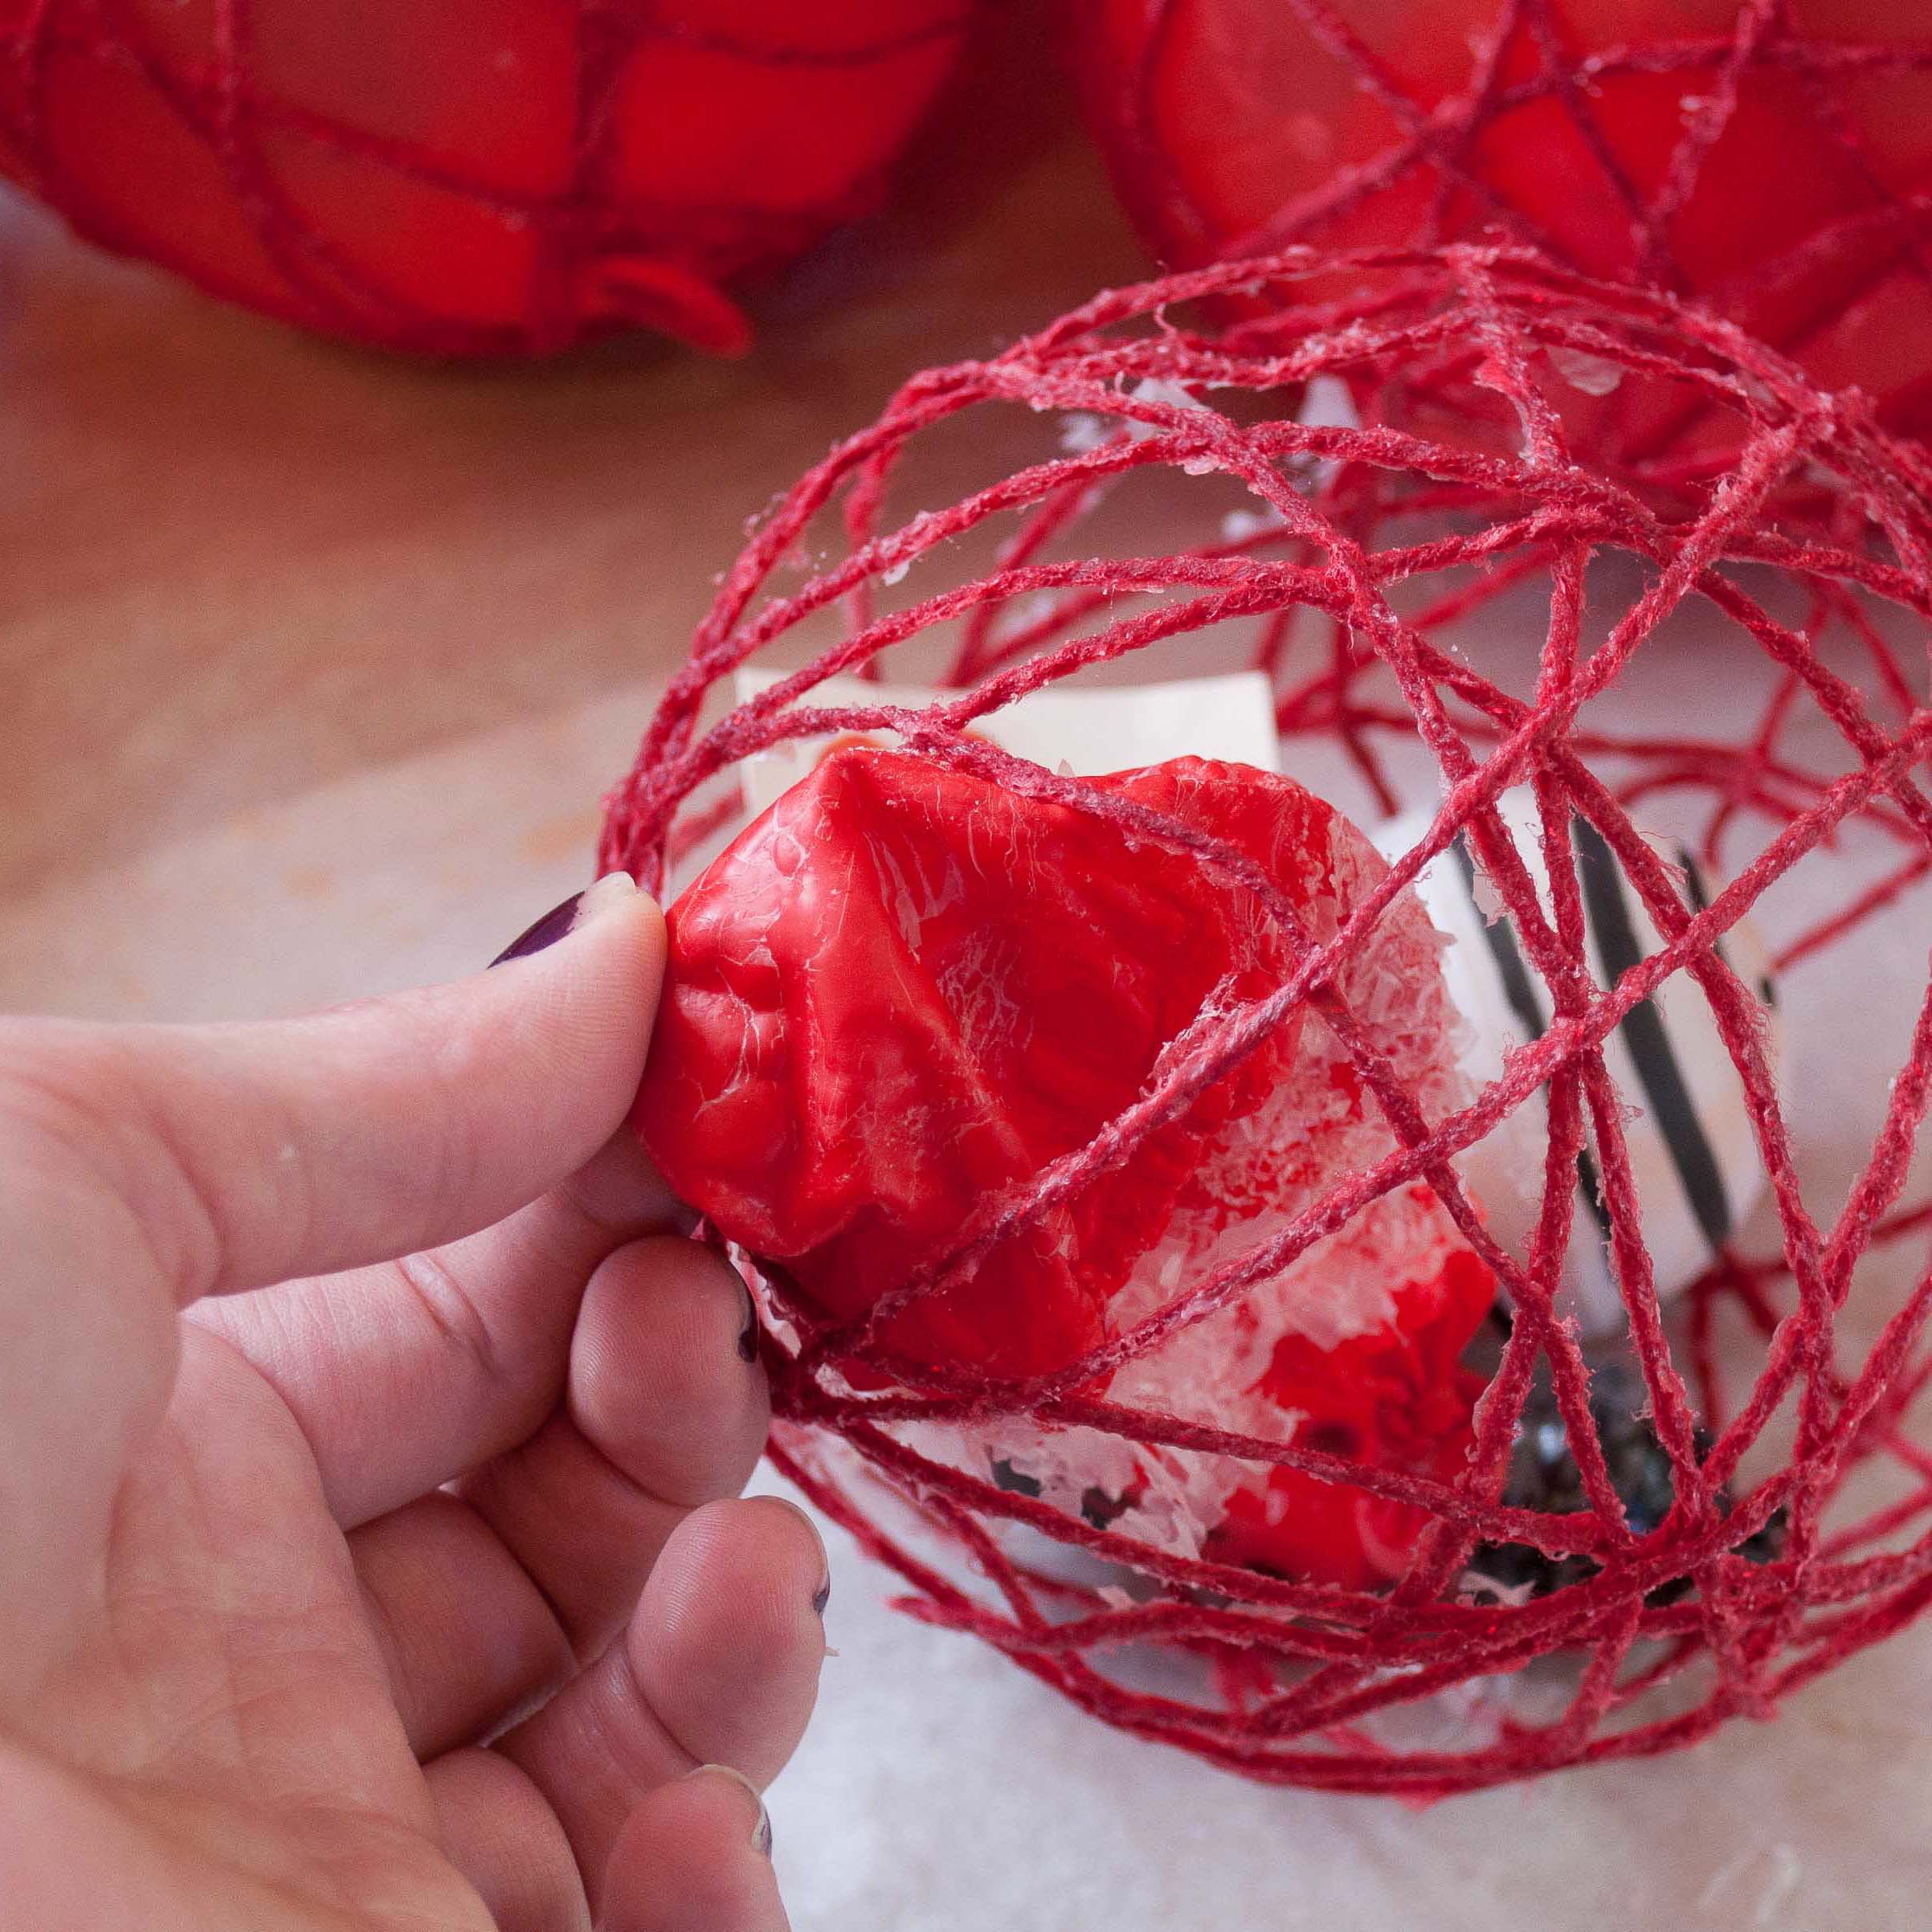
Step Seven:
Wrestle the toys out of the popped ballon and remove the deflated balloon from the ball.
Tips:
If your yarn never hardens, don’t remove the balloon. Trace the yarn with the glue bottle tip and then pat the glue into the yarn with a sponge brush.
Yarn must be hard and stiff for this craft to work.
Like Domestic Fits on Facebook